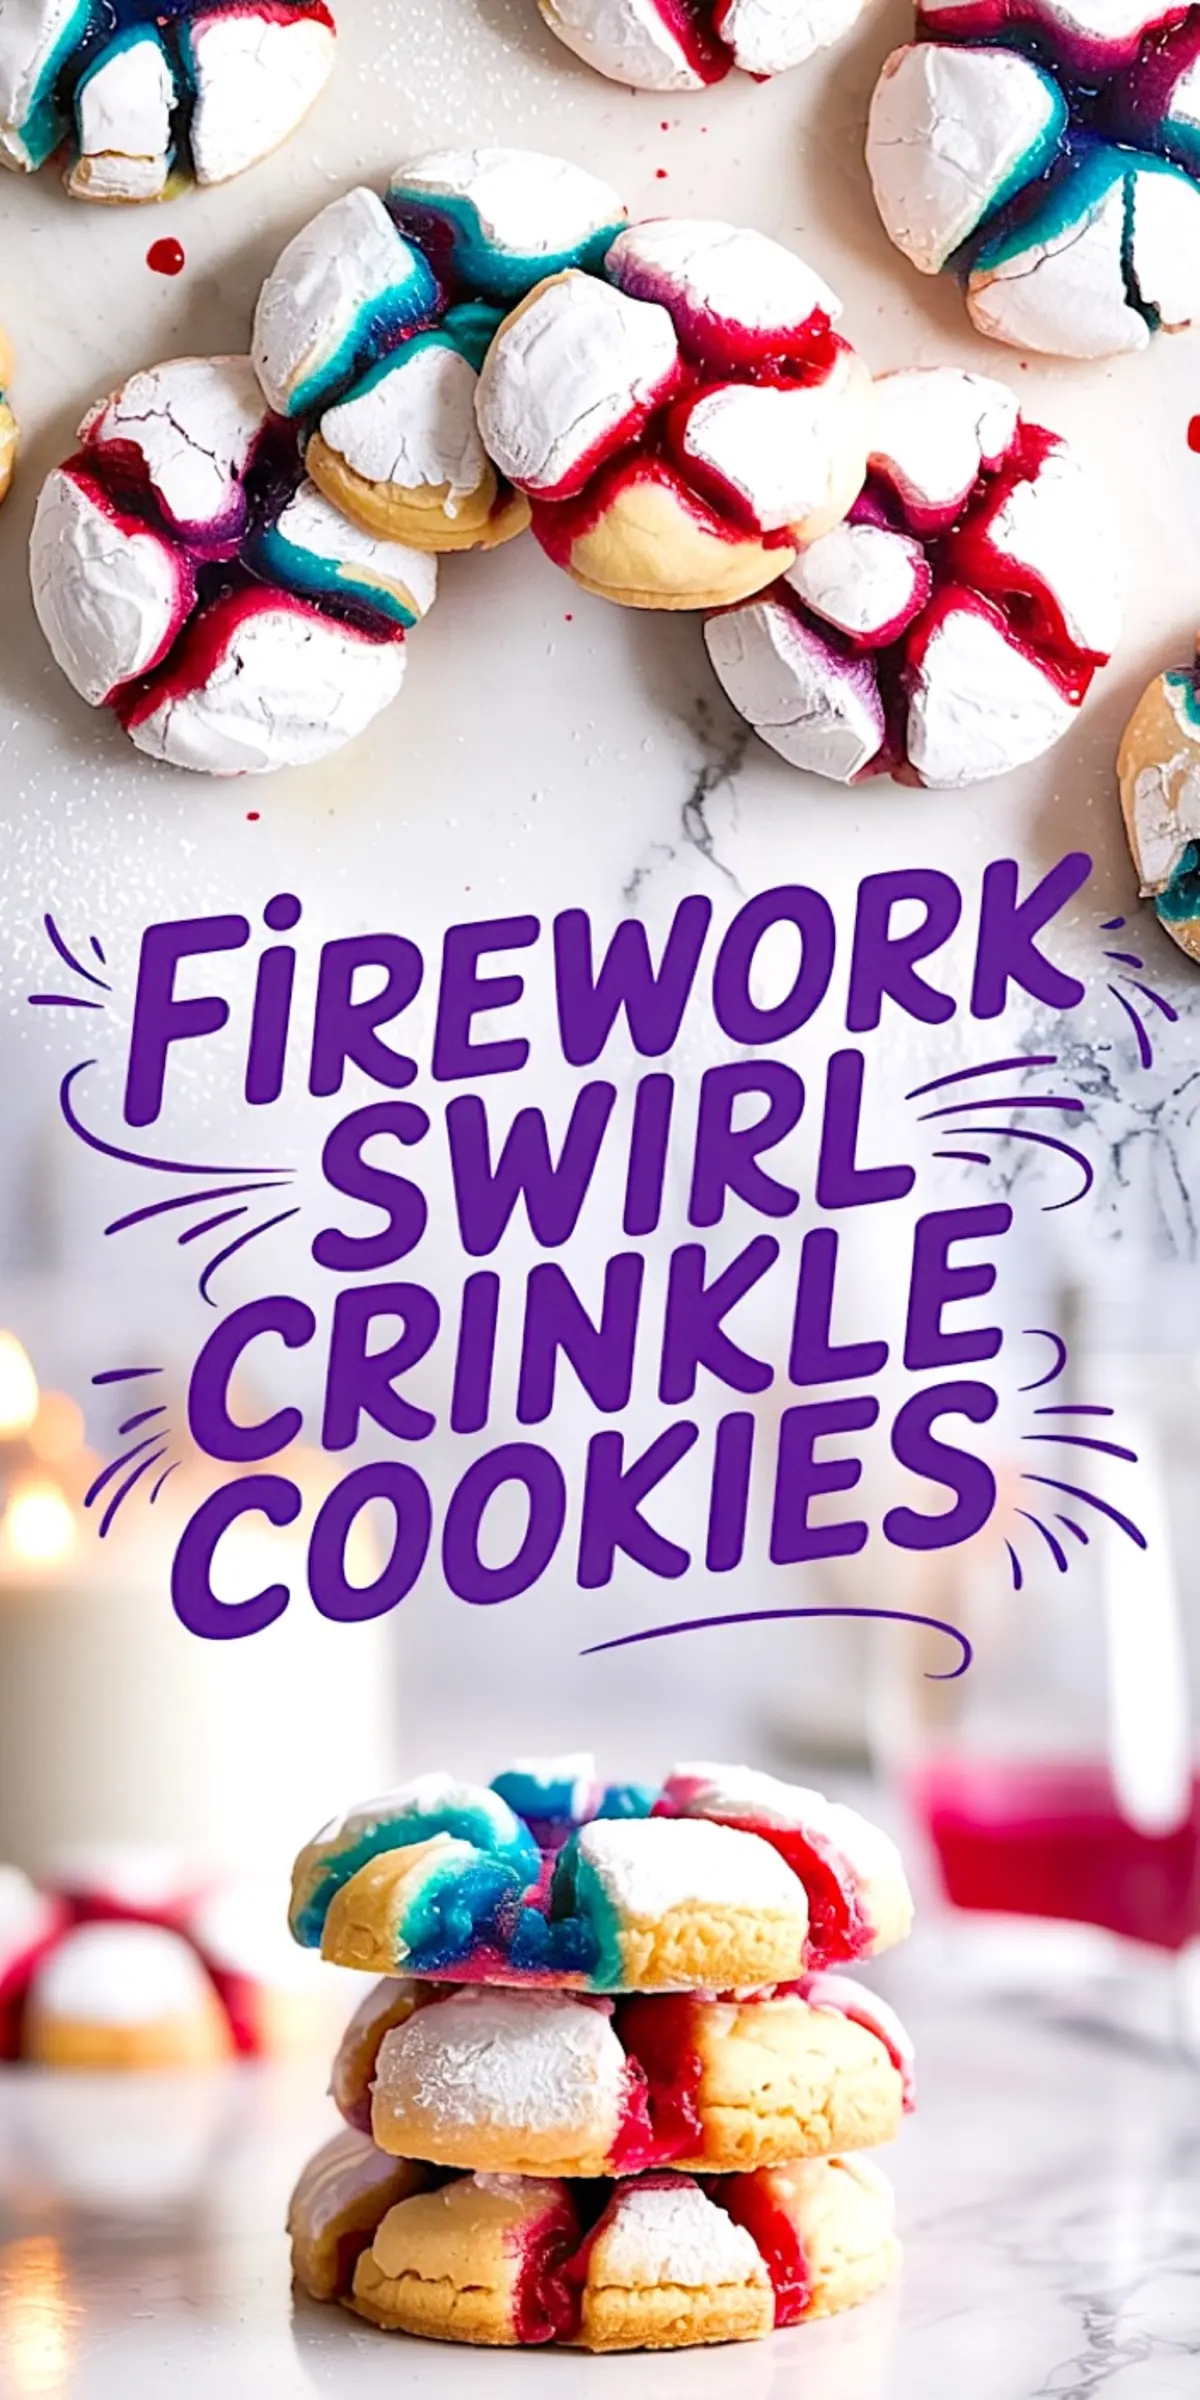
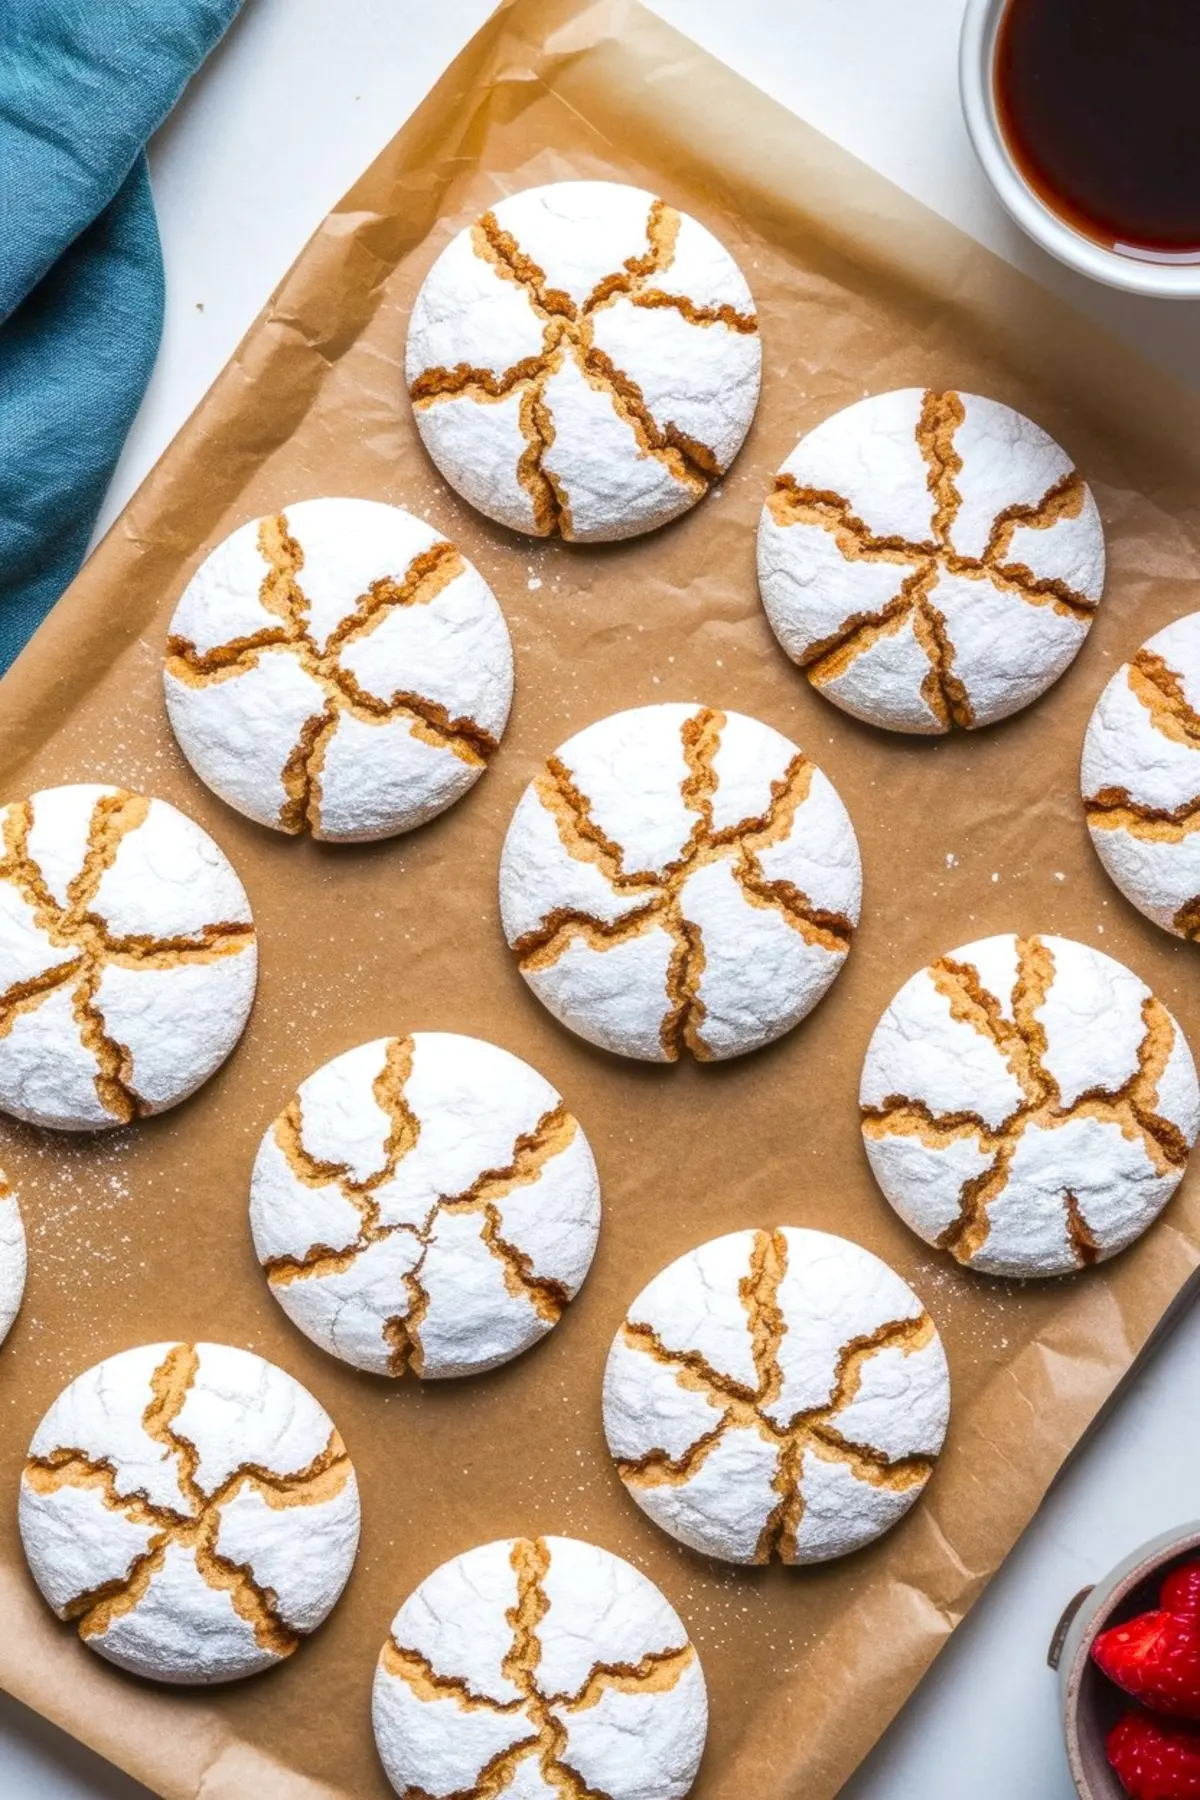
There’s something satisfying about taking a familiar cookie and giving it just enough of a twist to make people pause and ask, “How did you do that?” These Firework Crinkle Cookies do exactly that.
You’ll learn how to create a soft, chewy vanilla-almond cookie base, then finish each one with vivid, hand-painted streaks of red, blue, and purple after baking. The method is simple. The results look like you’ve spent hours. But the real surprise? The flavor stays classic and comforting, even while the colors shout celebration.
These cookies are for the bakers who want a statement dessert that doesn’t rely on sprinkles or shortcuts. You’ll be working with gel food coloring and a little vodka or extract as your paint medium, brushing the cracks of each cookie like it’s a small, edible canvas. This isn’t just decorating. It’s a way to take something traditional and make it personal.
Following a special diet?
Every recipe on this site can be converted to gluten-free, vegan, dairy-free, keto, nut-free or egg-free with adjusted ratios so nothing falls flat.
Try the Recipe Converter →Vanilla Almond Cookie Dough for Painted Crinkle Cookies

Start with room-temperature butter. If you forget to take it out in time, cut it into small cubes and let it sit near the warm oven while you prep your trays. Cream the butter and sugar until it lightens in color, about two or three minutes if your mixer’s on medium speed.
You’re not just blending. You’re building structure and aeration here, and it shows in the final texture.
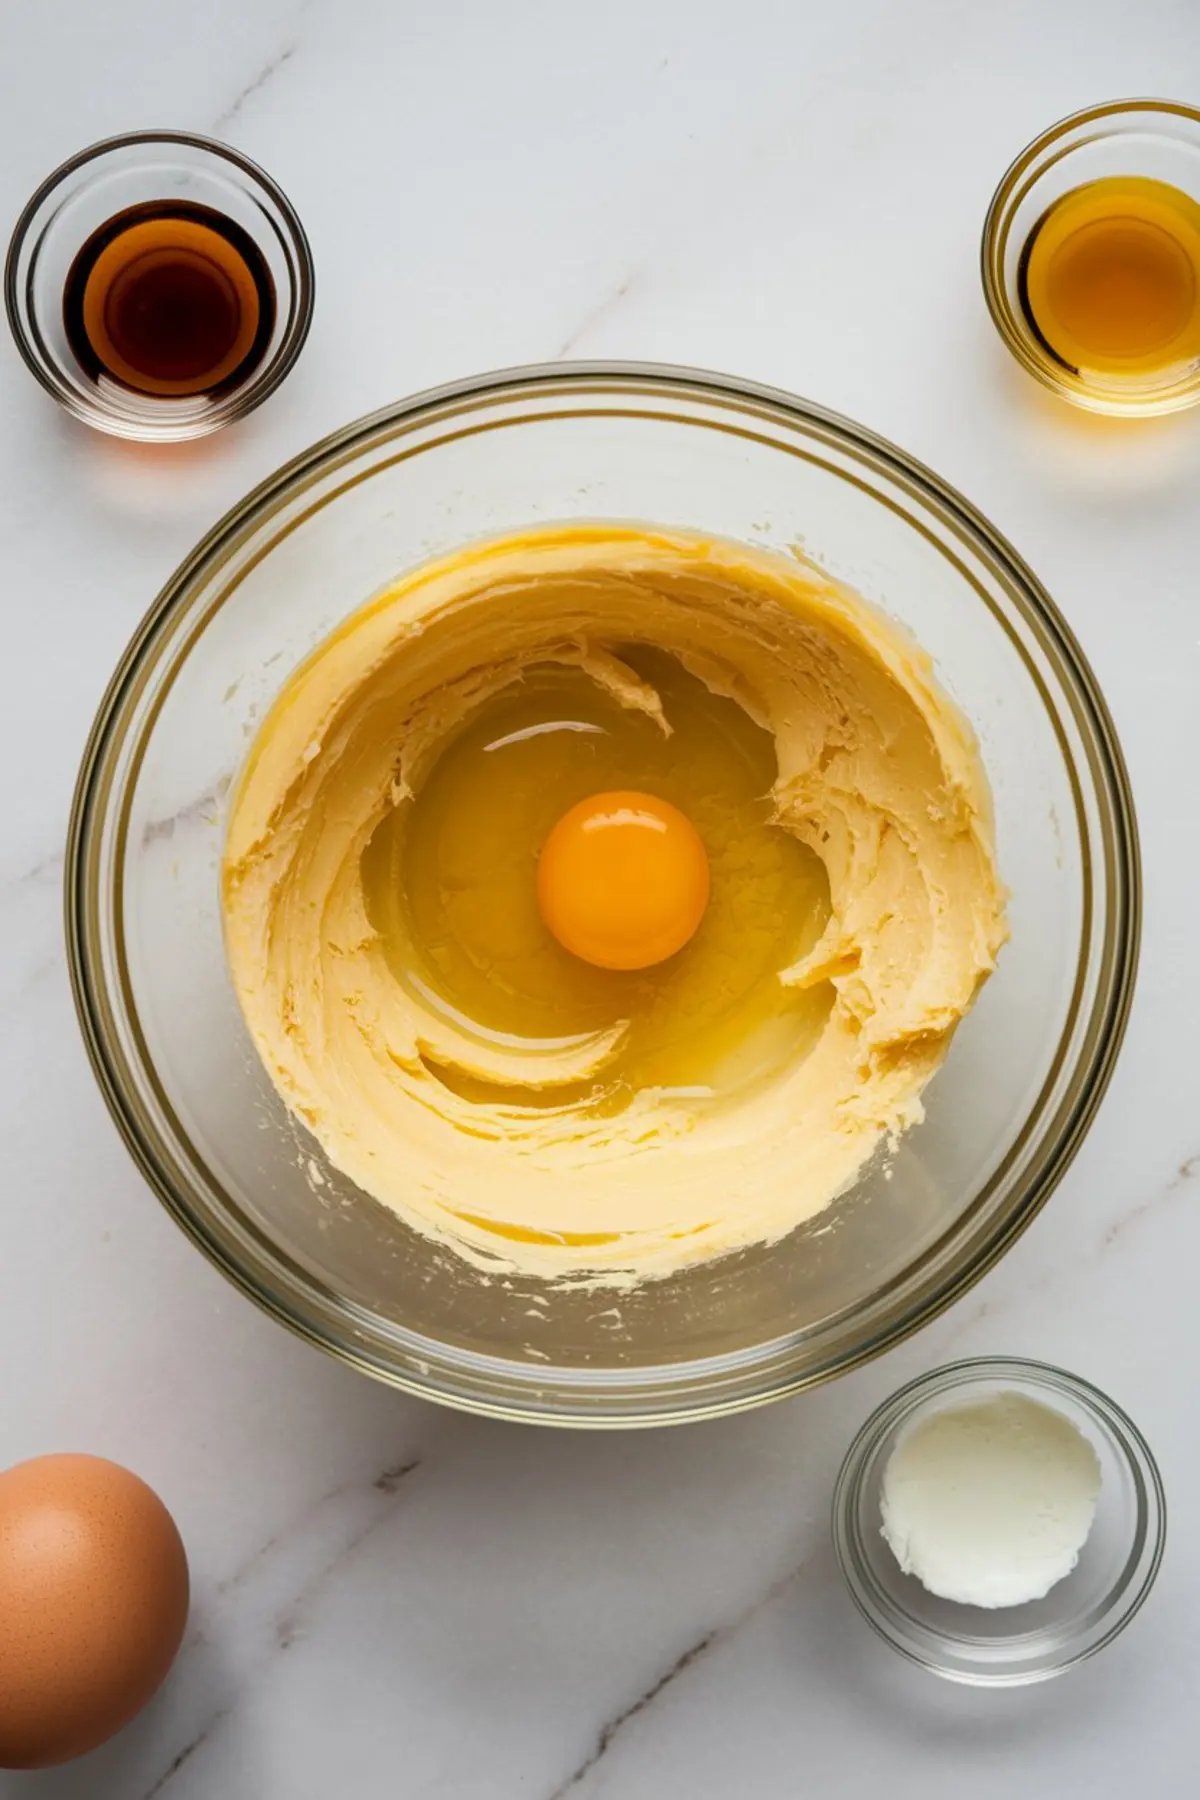
After that, add your eggs one at a time. Let each one mix in completely before moving on. Add vanilla extract for body and warmth. I like to include almond extract as well. It adds a subtle sharpness that lingers just behind the vanilla without overpowering it.
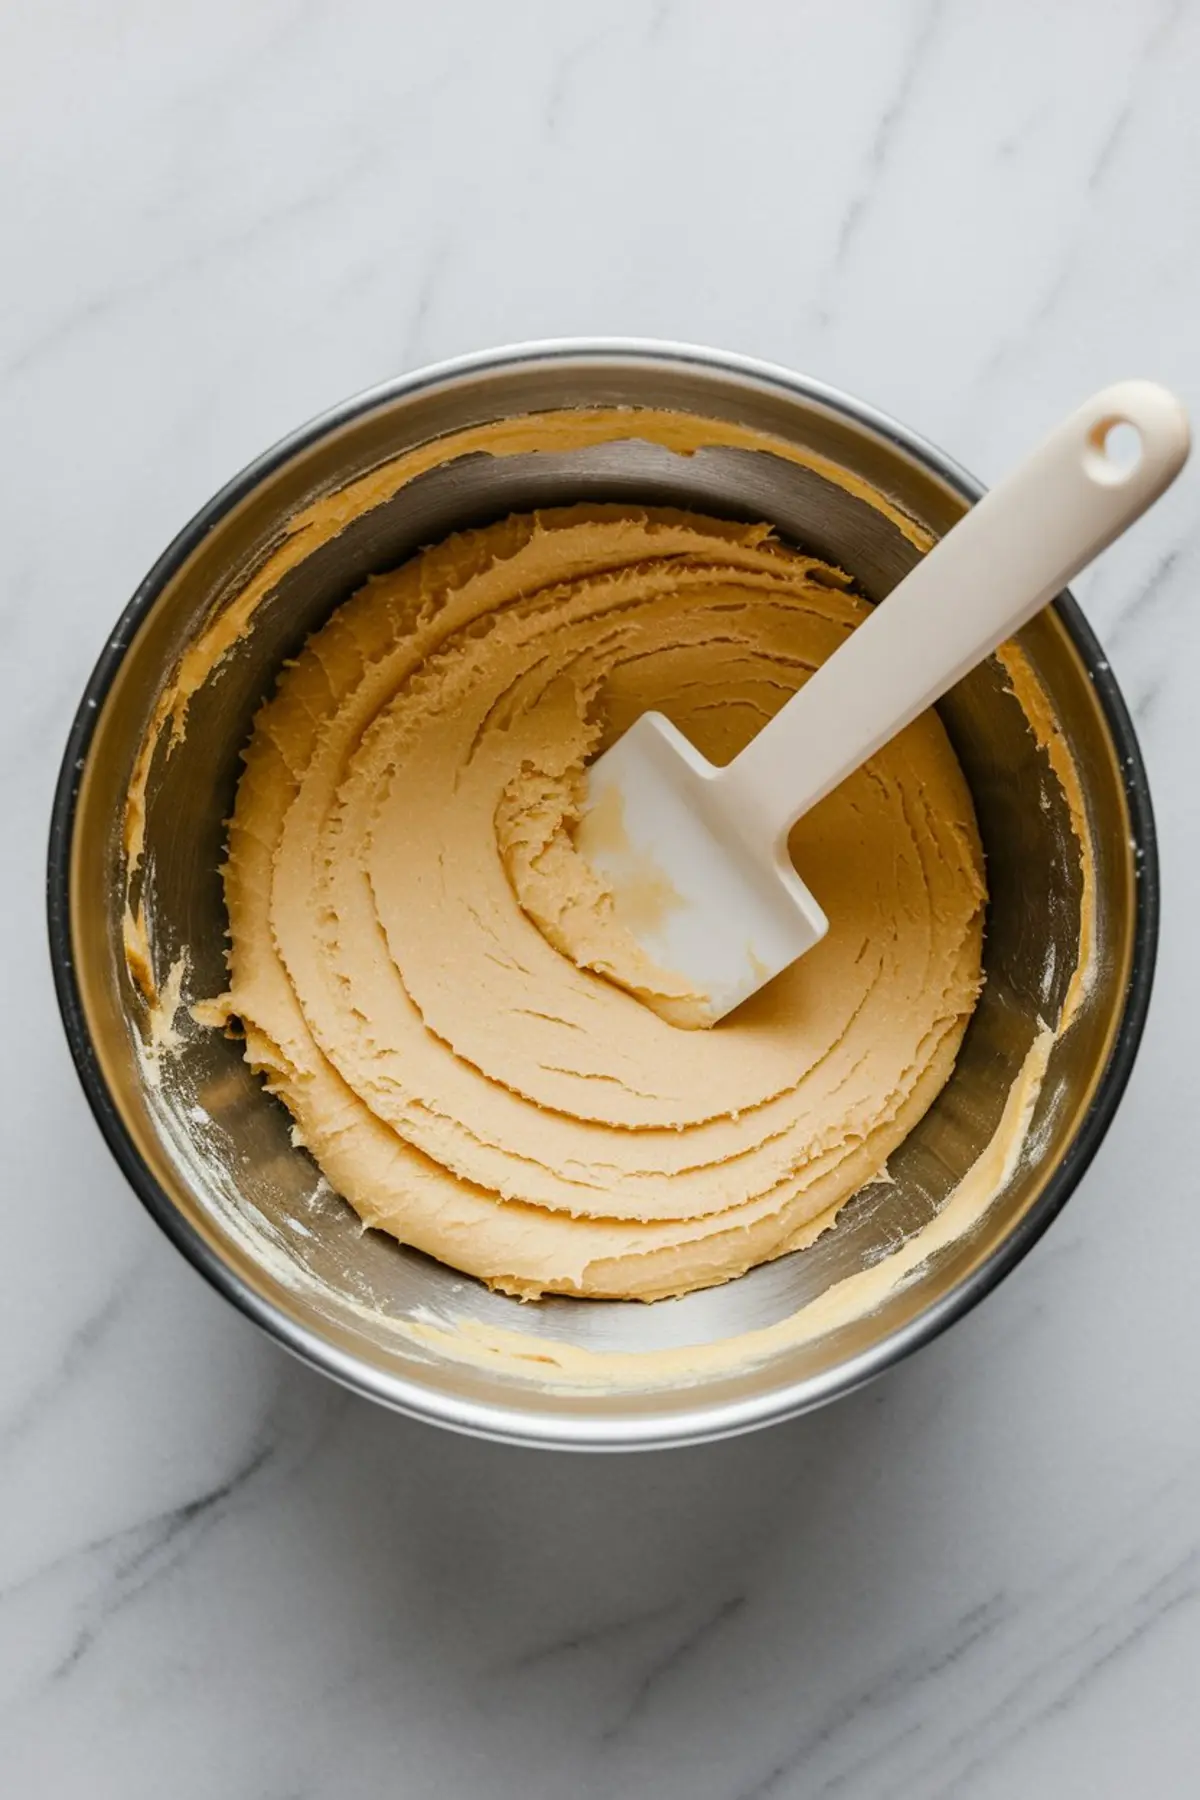
Now, whisk together the flour, baking powder, and salt in a separate bowl. Combine that with your wet ingredients gradually. Use low speed and stop when everything just comes together. The dough should feel soft and pliable, not stiff or crumbly.
Don’t skip the chill. Thirty minutes in the fridge tightens the dough just enough to help hold its shape during baking. It also lets the powdered sugar stick better when rolling.
Tip from my kitchen: Always use a light touch when combining dry and wet. Overmixing makes the cookies dense. You want them tender.
Baking and Rolling the Crinkle Cookies
After chilling, scoop tablespoon-sized portions and shape them into smooth balls. Roll each one in powdered sugar generously. The more coverage you have, the stronger the crackle will appear once baked. Space them apart on parchment-lined baking sheets—these will spread, but not aggressively.
Bake at 350°F for about 10 to 12 minutes. Watch for the tell-tale cracks on top and slight puffing in the center. Don’t wait for golden edges—these cookies stay pale. That’s how you keep the contrast for the painted swirls later on.
Let them cool right on the tray for five minutes before moving them to a wire rack. If you paint too early, the colors bleed. If you wait too long, the paint won’t settle into the cracks. There’s a sweet spot, and it’s right after they’ve cooled completely.
Baking note: I’ve tested both glass and metal trays for these. Metal pans bake more evenly and hold less heat after removing from the oven. Glass can overbake the bottoms if left too long. I always reach for metal here.
How to Paint the Firework Swirls
Once your cookies are completely cool, mix your colors. Use gel food coloring, not liquid. It’s concentrated, vibrant, and won’t soak into the cookie’s surface too fast. Add just a drop or two of vodka or lemon extract to each color. You’re aiming for a thin, smooth consistency that glides on but dries fast.
Use a food-safe brush or even a clean toothpick. Trace the existing cracks in the cookie, following the natural ridges. No need for precision. These aren’t meant to be identical. Each one will look different and that’s the point.
The vodka evaporates quickly, leaving the color behind without making the cookie soggy. Lemon extract works the same way and adds a faint citrus note if you prefer that direction.
Helpful reminder: Don’t oversaturate your brush. Use light strokes. Let the texture of the cookie do most of the work.
These Painted Crinkle Cookies Stand Out
There’s no dye in the dough, no colored sugar, no food-grade glitter. Instead, the color appears after baking, brushed in by hand. That gives you full control and keeps the interior soft, buttery, and clean.
You’re not masking flavor here. You’re framing it.
This decorating method also travels well. The paint sets within fifteen minutes and doesn’t smear in a cookie tin. You can make these a day ahead and serve them with confidence, still soft, still bright.
For summer parties, I serve these alongside this Patriotic Poke Cake and a tray of Red White and Blue Meringue Kisses. The mix of textures—chewy, fluffy, crunchy, makes a beautiful spread.
If you want a no-bake option, the Patriotic Lasagna Dessert pairs beautifully in theme and color.
Key takeaway: The painting step looks advanced but is easier than royal icing or piping. And unlike food pens, the color blends into the cracks naturally.
Final Thoughts from My Notebook
These Firework Crinkle Cookies remind me why I bake for holidays, not to impress, but to share something hands-on and made with intention. You get to hold the dough, shape each one, and paint with your own hand. That kind of process brings presence to the kitchen.
I’ve taught this recipe to kids, to first-time bakers, and to pastry students looking for something clever but reliable. It holds up across all skill levels.
Save this post to your dessert board if you’re building out your Fourth of July menu.
And if you try them, I’d love to hear how they turned out. Did you go bold with the colors? Or soft and pastel? Leave a comment and let me know how yours looked. I always enjoy seeing other bakers’ hands in their work.
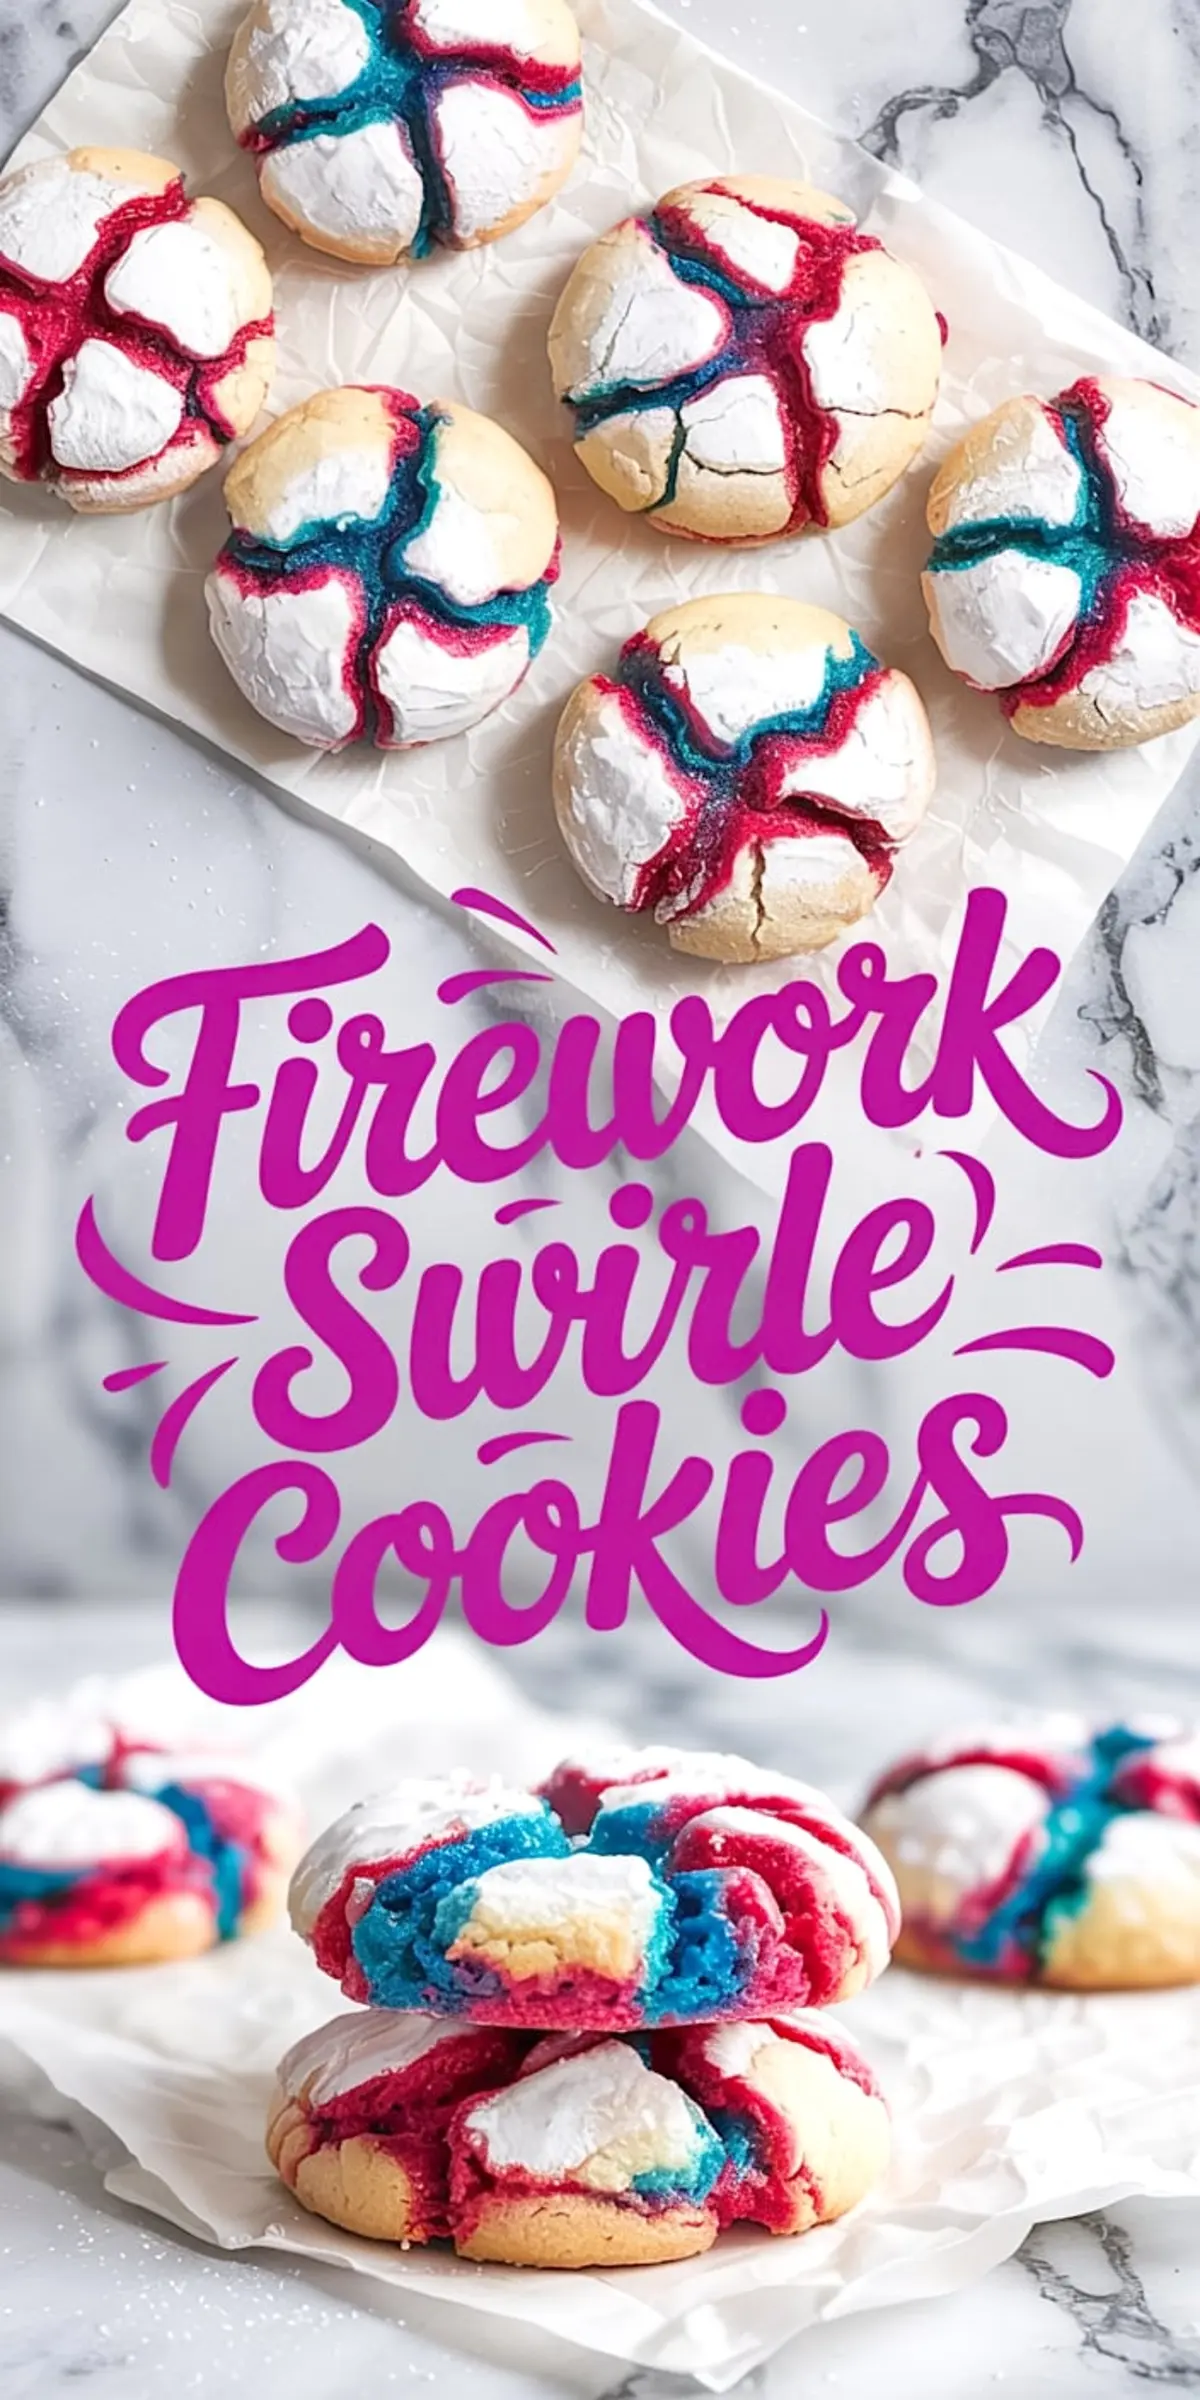
Firework Crinkle Cookies
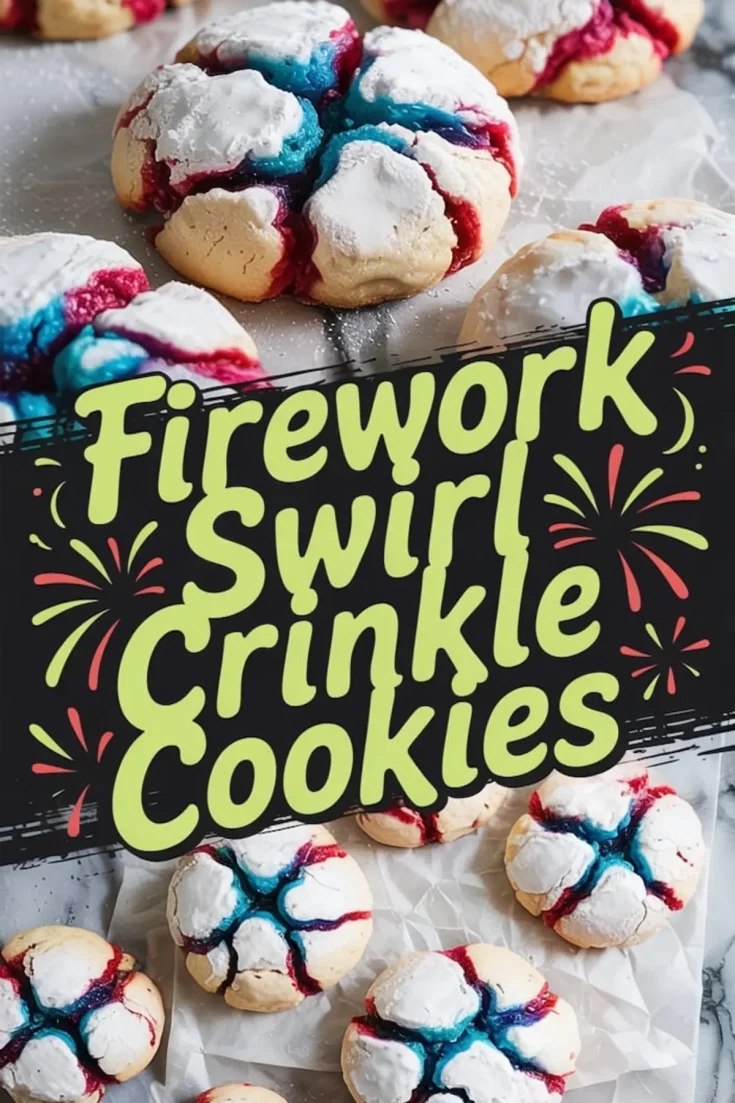
These Firework Swirl Crinkle Cookies are soft and chewy with a unique decorating twist. Instead of mixing color into the dough, you paint vibrant red, blue, and purple swirls directly into the cookie cracks after baking. This method creates a bold, festive effect and turns each cookie into a mini edible canvas. The vanilla-almond base provides a buttery, classic flavor that pairs perfectly with the playful presentation.
Ingredients
- FOR THE COOKIES
- 2 1/4 cups (270g) all-purpose flour
- 1 tsp baking powder
- 1/4 tsp salt
- 1/2 cup (115g) unsalted butter, softened
- 1 cup (200g) granulated sugar
- 2 large eggs
- 1 tsp vanilla extract
- 1/2 tsp almond extract (optional)
- 1/2 cup powdered sugar (for rolling)
- FOR DECORATION
- Gel food coloring in red, blue, and purple
- A few drops of vodka or lemon extract (for mixing into "edible paint")
- Clean food-safe brushes or toothpicks
Instructions
- PREHEAT THE OVEN: Preheat the oven to 350°F (175°C) and line two baking sheets with parchment paper.
- MIX DRY INGREDIENTS: In a medium bowl, whisk together the all-purpose flour, baking powder, and salt. Set aside.
- CREAM BUTTER AND SUGAR: In a large mixing bowl, beat the softened butter and granulated sugar together until the mixture is light and fluffy, about 2–3 minutes using a hand or stand mixer.
- ADD EGGS AND EXTRACTS: Beat in the eggs one at a time, ensuring each is fully incorporated before adding the next. Mix in the vanilla extract and almond extract if using.
- COMBINE WET AND DRY INGREDIENTS: Gradually add the dry mixture to the wet ingredients, mixing on low speed until a soft dough forms. Avoid overmixing to maintain a tender texture.
- CHILL THE DOUGH: Cover the dough and refrigerate for 30 minutes. This step helps the dough firm up and prevents excess spreading during baking.
- SHAPE AND ROLL IN SUGAR: Scoop out tablespoon-sized portions of dough and roll into balls. Coat each ball generously in powdered sugar and place them spaced apart on the prepared baking sheets.
- BAKE THE COOKIES: Bake the cookies for 10–12 minutes, or until they have puffed up and the tops are visibly cracked. Remove from the oven and allow them to cool on the baking sheets for 5 minutes before transferring to a wire rack to cool completely.
- PREPARE EDIBLE PAINT: Once the cookies are fully cooled, mix a small amount of each gel food coloring with a few drops of vodka or lemon extract to create a thin, paint-like consistency.
- DECORATE THE COOKIES: Using a fine food-safe brush or a toothpick, carefully paint streaks of red, blue, and purple into the cracks of each cookie. Allow the decorated cookies to dry for 10–15 minutes before serving.
Notes
Use gel food coloring for best results; liquid colorings may bleed. Let cookies cool completely before painting to avoid color smearing.
Nutrition Information
Yield
20Serving Size
1Amount Per Serving Calories 86Total Fat 1gSaturated Fat 0gTrans Fat 0gUnsaturated Fat 1gCholesterol 19mgSodium 68mgCarbohydrates 15gFiber 0gSugar 4gProtein 2g