
A decorated sugar cookie can either delight or disappoint. You know this if you’ve ever bitten into one that looked stunning and tasted like cardboard. That’s why I rely on my Fireworks Sugar Cookies with Royal Icing—not just because they’re festive, but because they’re actually good.
These cookies deliver a buttery snap under a crisp, glossy icing, and they hold up well. You can decorate them a day in advance, and they’ll still look freshly made by the time guests arrive. In this post, I’ll walk you through how to get the dough right, how to make royal icing behave, and how to store and serve these cookies without losing texture or taste.
Whether you’re prepping for the Fourth of July, Memorial Day, or a summer backyard party, these cookies do more than fill a dessert tray. They give you time back in the kitchen.

Following a special diet?
Every recipe on this site can be converted to gluten-free, vegan, dairy-free, keto, nut-free or egg-free with adjusted ratios so nothing falls flat.
Try the Recipe Converter →Why I Trust This Sugar Cookie Dough Every Time
The dough begins with a soft base: unsalted butter creamed with white sugar until the grain dissolves into air. That’s what makes the cookies tender without being too fragile. The egg binds, the vanilla deepens the flavor, and a touch of baking powder lifts just enough to prevent dense cookies.
Once the flour mixture folds in, the dough holds together without crumbling. It feels soft, but it firms up perfectly after chilling.
I’ve tried skipping the chill time before. It leads to spread-out cookies with weak edges. One hour in the fridge changes everything. If your kitchen runs warm, go longer.
Rolling and Baking for Sharp, Clean Edges

This dough rolls out smoothly after a rest, and I always use a light hand with the flour. Too much on your rolling surface, and the dough will dry out at the edges. Keep it at ¼ inch thickness. Thinner than that, and the cookies won’t support the icing.
A 3-inch round cutter gives you a neat canvas without making the cookies too big. They bake in under 10 minutes. I pull them when the edges are just turning golden—any longer and the centers lose that soft chew.
If you’re making a full batch ahead of time, you can freeze the cut-out dough on trays before baking. Once frozen solid, transfer to a bag. Bake from frozen without thawing. Add one extra minute in the oven.
Royal Icing That Actually Works and Tastes Good
Most royal icing either dries too hard or refuses to hold its shape. Mine holds peaks without turning brittle. The trick is meringue powder and water that’s warm, not hot.
Beat the icing until stiff. Then, thin just the white portion for flooding. It should settle in about ten seconds when you stir. This step is where patience pays off. Rushing the base layer makes a mess later.
Let the flooded cookies dry overnight if you want clean detail work. I’ve tried shortcuts with a fan or dehydrator, but they crack or lose shine.
Red and Blue Fireworks: A Simple Piping Method That Works
I use gel food coloring to avoid thinning the icing too much. Liquid dyes ruin the texture. Divide the stiff icing, color each portion, and pipe short lines outward from the center of each cookie. Think of a tiny sunburst. A few dots at the end of each line add movement.
If this is your first time decorating, practice a few designs on parchment first. You’ll find a rhythm quickly. And don’t worry about perfection—consistent shapes look better than overly intricate ones.
🔗 Want more easy decorative cookie ideas? You might like these Strawberry Sugar Cookies, which use naturally colored icing for a soft finish.
Comparing Butter vs. Shortening in Sugar Cookie Dough
I’ve tested versions of this recipe using shortening instead of butter. The dough held its shape better during baking, but the flavor lacked depth. Butter gives these cookies their warmth and richness.
In my notes, I’ve marked this difference clearly: if you want taste, use butter. If you want a tighter shape, consider blending both. But for holiday cookies, especially ones guests will eat without icing, butter wins.
Storing and Serving: How These Cookies Stay Fresh for Days
These cookies store well. Once the icing sets, I layer them between sheets of parchment in an airtight container. I’ve kept them at room temperature for up to a week with no loss in texture.
Avoid the fridge. Moisture softens the icing and can lead to splotches. For longer storage, freeze the undecorated cookies and ice them fresh. The icing doesn’t freeze well once applied.
Serve these with a cold glass of milk, sweet tea, or lemon punch. I often place them around a centerpiece dish, like these Patriotic Tartlets or Fourth of July Chocolate-Dipped Pretzels.
Why I Come Back to These Cookies Every July
These aren’t just pretty. They’re reliable. The dough holds its shape. The icing sets like porcelain. And they stay fresh without needing refrigeration or fancy storage tricks.
I’ve made these for community events, birthday parties, and quiet Sunday afternoons. They always get a nod, not just for how they look, but for how they taste.
One year, I packed up three dozen for a neighbor’s Fourth of July barbecue. She sent me home with an empty tray and a handwritten request for the recipe. I still keep her note in the front of my binder.
If you’re trying to find one Fourth of July dessert that feels made with care—and gives you breathing room in the kitchen—I’d start with these.
🔗 Want a red-white-blue no-bake option? These Patriotic Chocolate Balls are ready in minutes and great for gifting.
Save and Share: Let’s Keep the Oven Warm Together
If these Fireworks Sugar Cookies find their way into your summer plans, I’d love to hear how they turned out. Leave a comment below if you tried different colors or added your own spin. And if you’re planning to bake soon, save this post on Pinterest so you don’t lose it later.
Let’s keep building something warm, one tray at a time.
Fireworks Sugar Cookies Recipe

A buttery sugar cookie base and smooth royal icing create a festive treat decorated in red, white, and blue firework bursts. These cookies are colorful, cheerful, and simple to customize for any celebration.
Ingredients
- FOR THE SUGAR COOKIES
- 2 ½ cups (315g) all-purpose flour
- ½ teaspoon baking powder
- ¼ teaspoon salt
- ¾ cup (170g) unsalted butter, softened
- ¾ cup (150g) granulated sugar
- 1 large egg
- 2 teaspoons vanilla extract
- FOR THE ROYAL ICING
- 4 cups (500g) powdered sugar, sifted
- 3 tablespoons meringue powder
- 6 tablespoons warm water (plus more as needed)
- Gel food coloring (red and blue)
Instructions
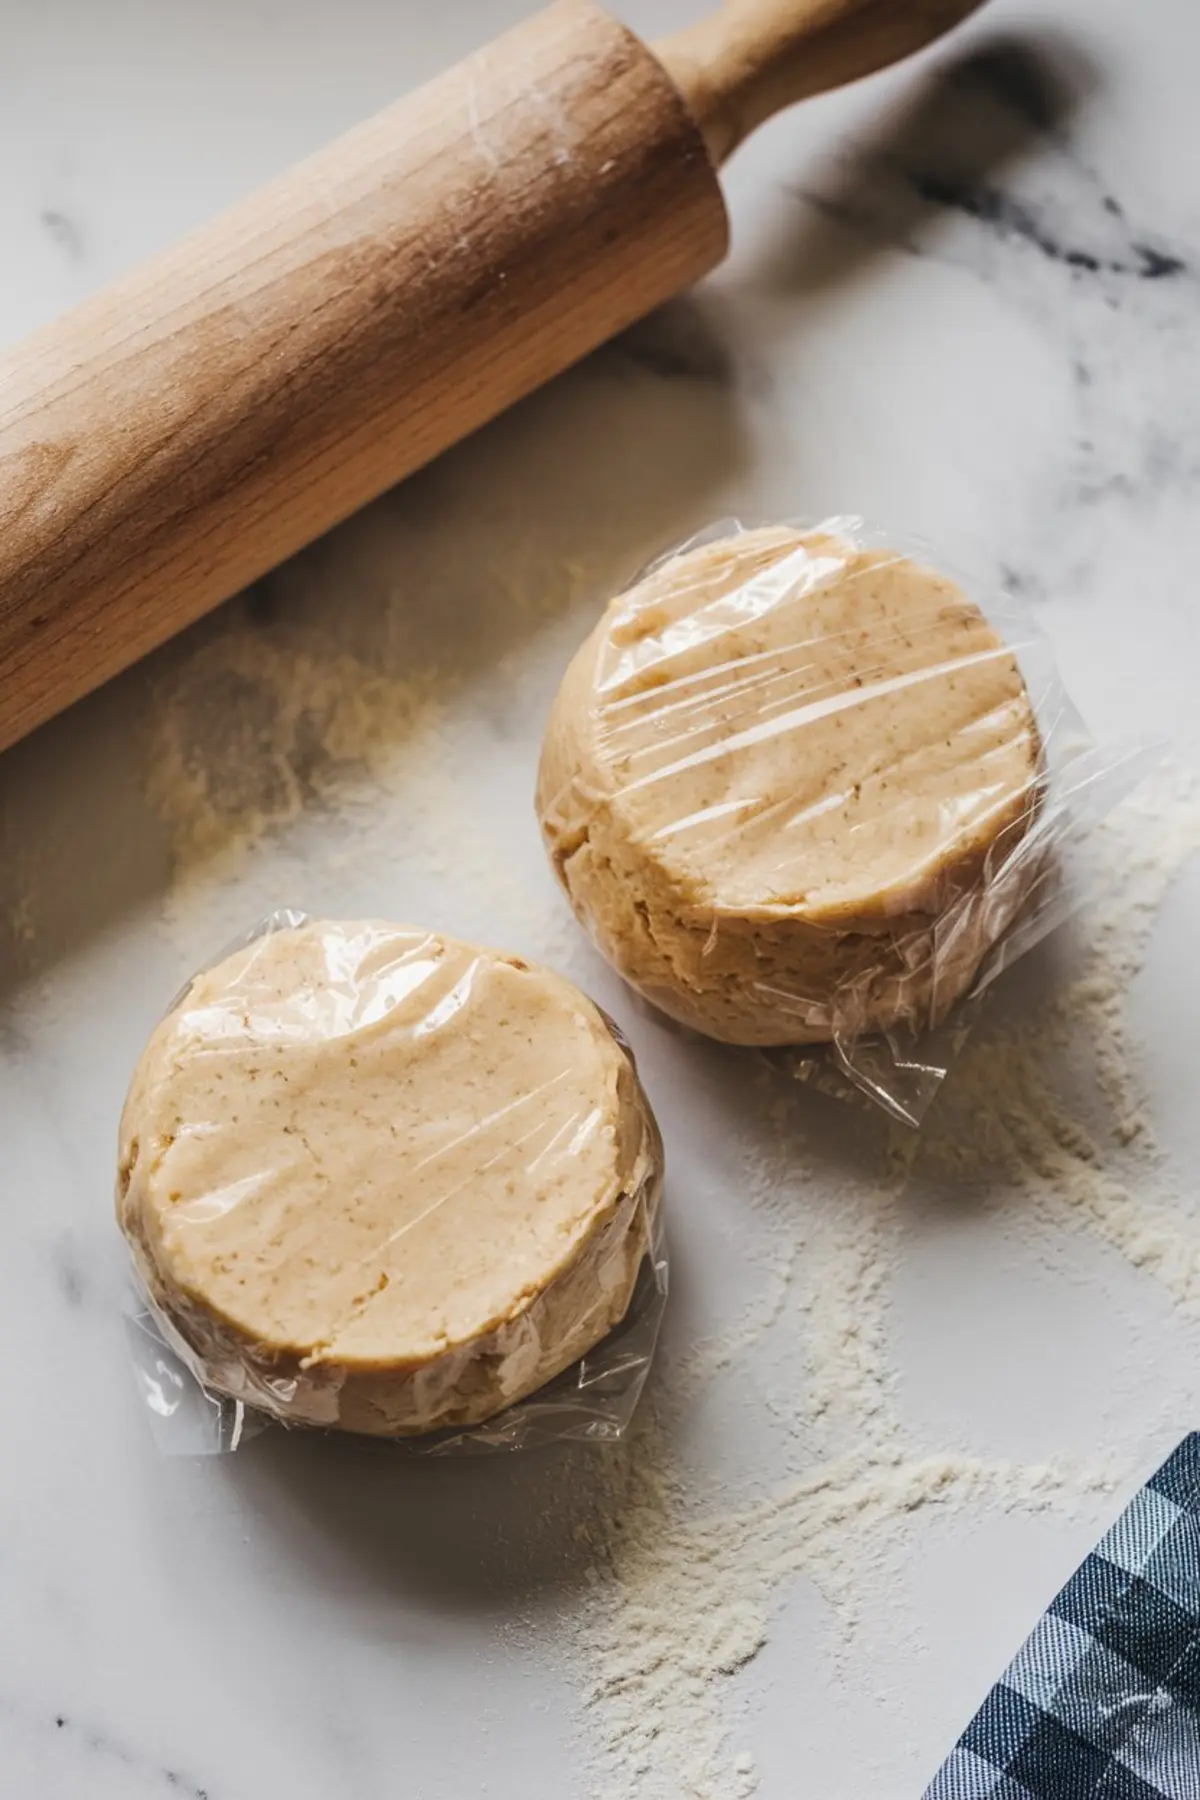
- MAKE THE SUGAR COOKIE DOUGH: In a medium bowl, whisk together the flour, baking powder, and salt. In a separate large bowl, cream the butter and granulated sugar together using a hand mixer until the mixture is light and fluffy, about 2–3 minutes. Beat in the egg and vanilla extract until fully incorporated. Gradually add the dry ingredients to the wet ingredients, mixing until a soft dough forms. Shape the dough into a disc, wrap it tightly in plastic wrap, and refrigerate for at least 1 hour.
- ROLL AND CUT THE COOKIES: Preheat the oven to 350°F (175°C). Lightly flour a clean work surface and roll the chilled dough to ¼ inch thickness. Use a 3-inch round cookie cutter to cut out circles. Arrange the cut-out cookies on a parchment-lined baking sheet, spacing them about 1 inch apart.
- BAKE: Bake the cookies for 8–10 minutes, or until the edges are set and just beginning to turn light golden. Allow the cookies to cool on the baking sheet for 5 minutes before transferring them to a wire rack to cool completely.
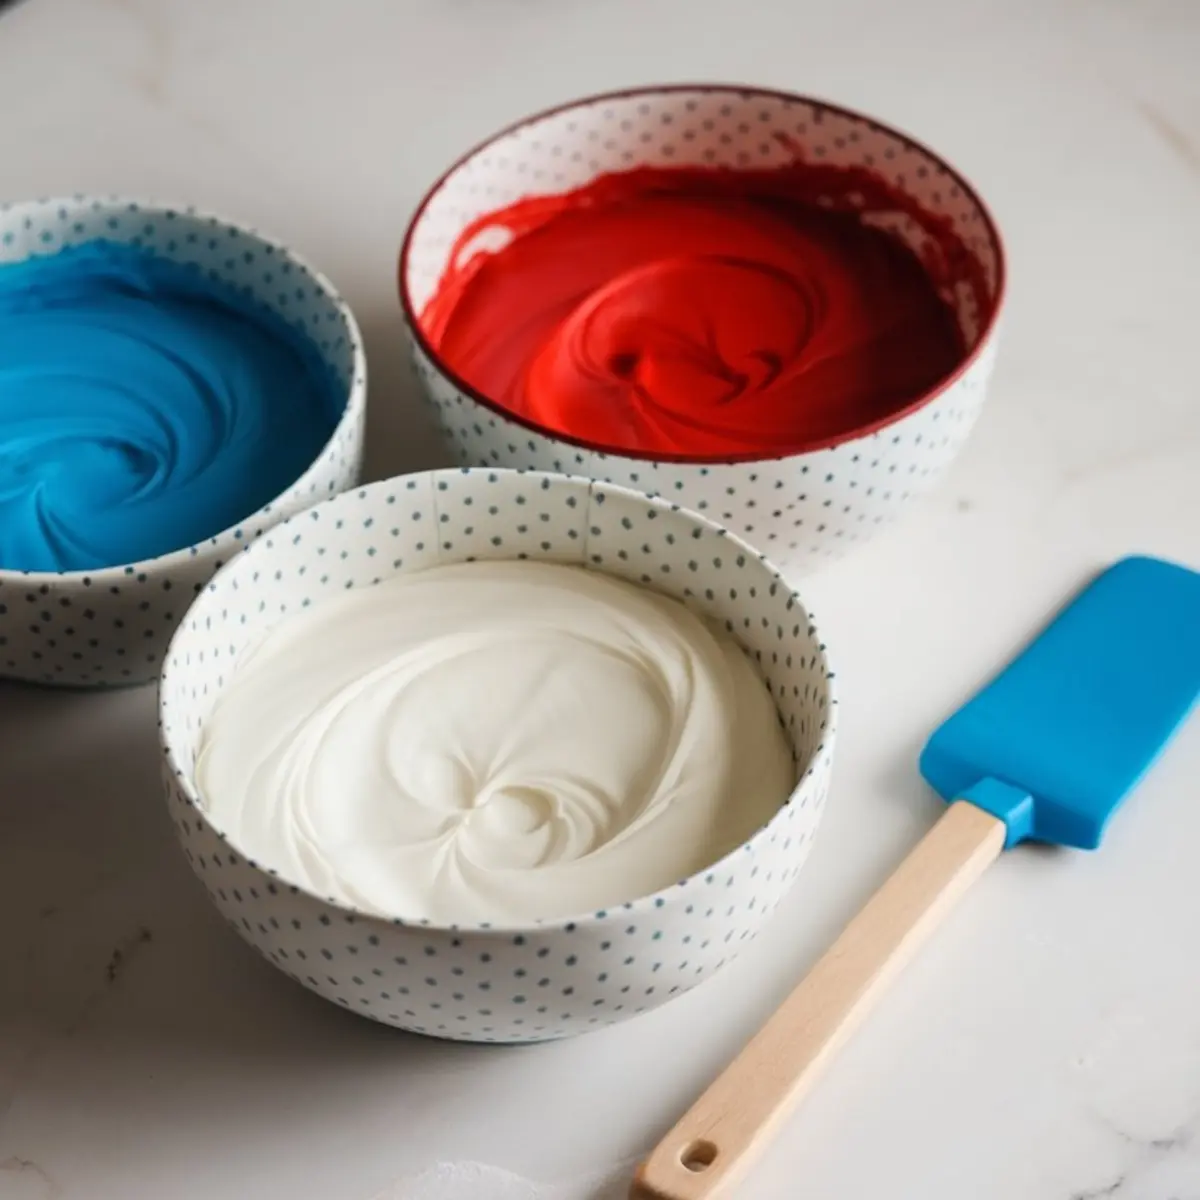
- PREPARE ROYAL ICING: In a large bowl, combine the powdered sugar, meringue powder, and warm water. Beat with a hand mixer on high speed for 5–7 minutes, or until stiff peaks form. Divide the icing evenly into three bowls. Leave one portion white, and color the other two portions red and blue using gel food coloring.
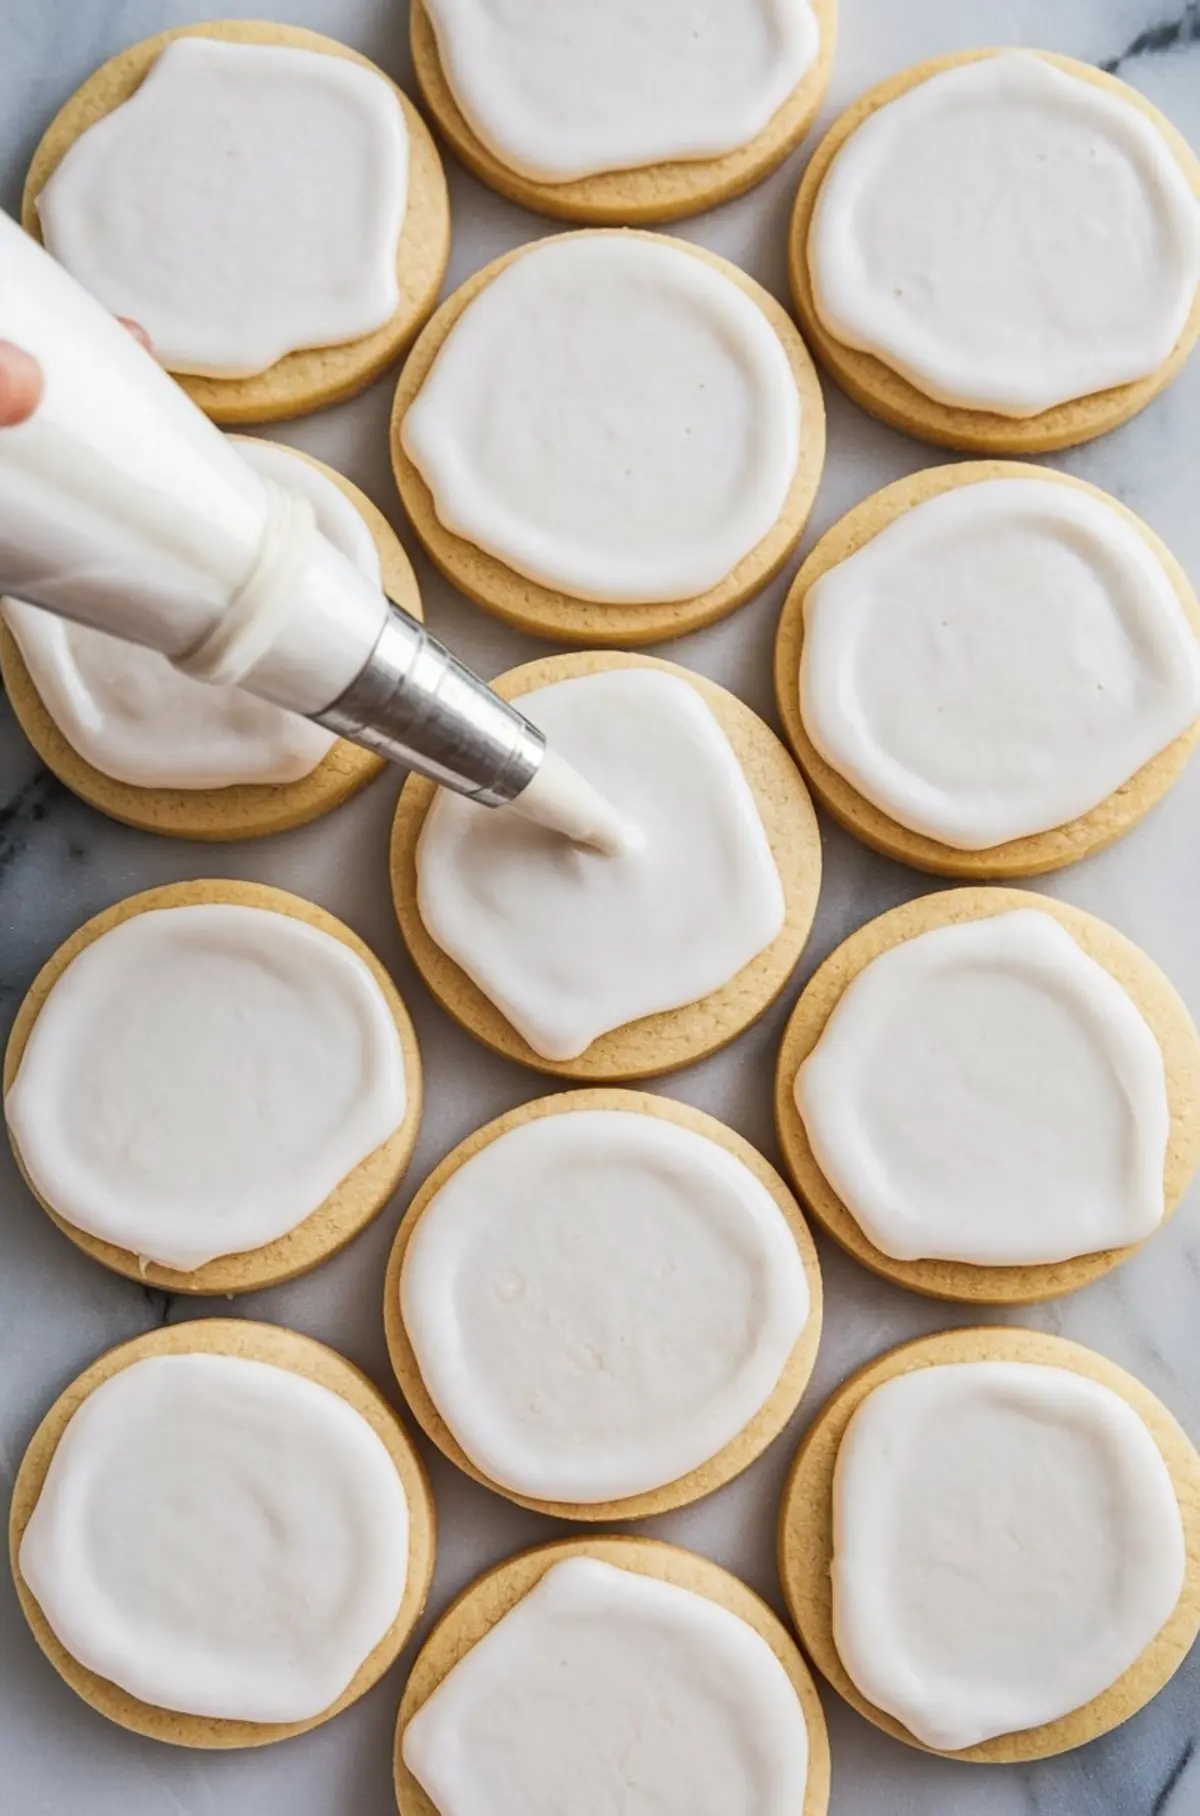
- BASE LAYER OF ICING: Thin the white icing with a few drops of water until it reaches a 10-second consistency, meaning when stirred, it smooths out in about 10 seconds. Fill a piping bag fitted with a small round tip with the thinned white icing. Pipe an outline around each cookie and flood the center, using a toothpick or scribe tool to spread the icing evenly. Allow the base layer to dry completely at room temperature, at least 6 hours or overnight, before decorating.
- DECORATE WITH FIREWORK BURSTS: Fill piping bags fitted with small round tips with the red and blue icing. Pipe lines from the center outward across the surface of each cookie to create a firework burst pattern. Add small dots at the ends of some lines to add dimension and detail. Allow the decorated cookies to dry completely before storing.
- STORE AND SERVE: Store the fully dried cookies in an airtight container at room temperature. They will stay fresh for up to 1 week.
Notes
For best results, ensure cookies are completely cool before applying royal icing to prevent melting or cracking. To achieve more defined firework designs, practice piping a few lines on parchment paper before decorating the cookies.
Nutrition Information
Yield
24Serving Size
1Amount Per Serving Calories 76Total Fat 1gSaturated Fat 0gTrans Fat 0gUnsaturated Fat 1gCholesterol 9mgSodium 47mgCarbohydrates 14gFiber 0gSugar 4gProtein 2g