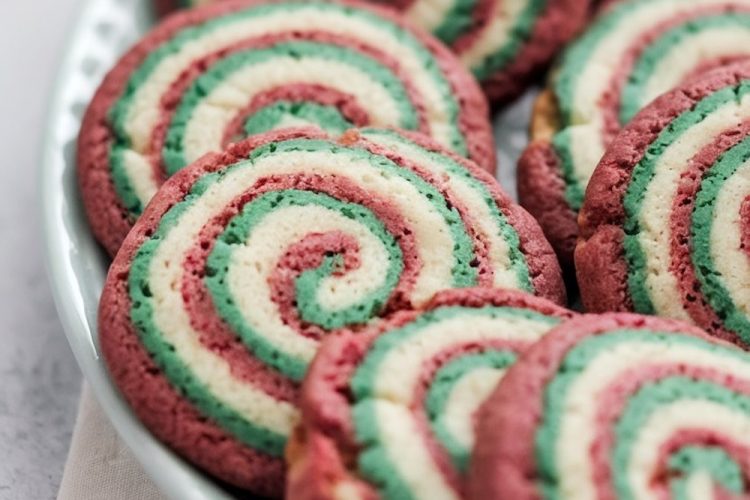
There’s just something about baking during the holidays that really puts it all together: the nostalgia, the cheer. These Holiday Pinwheel Cookies do just that.
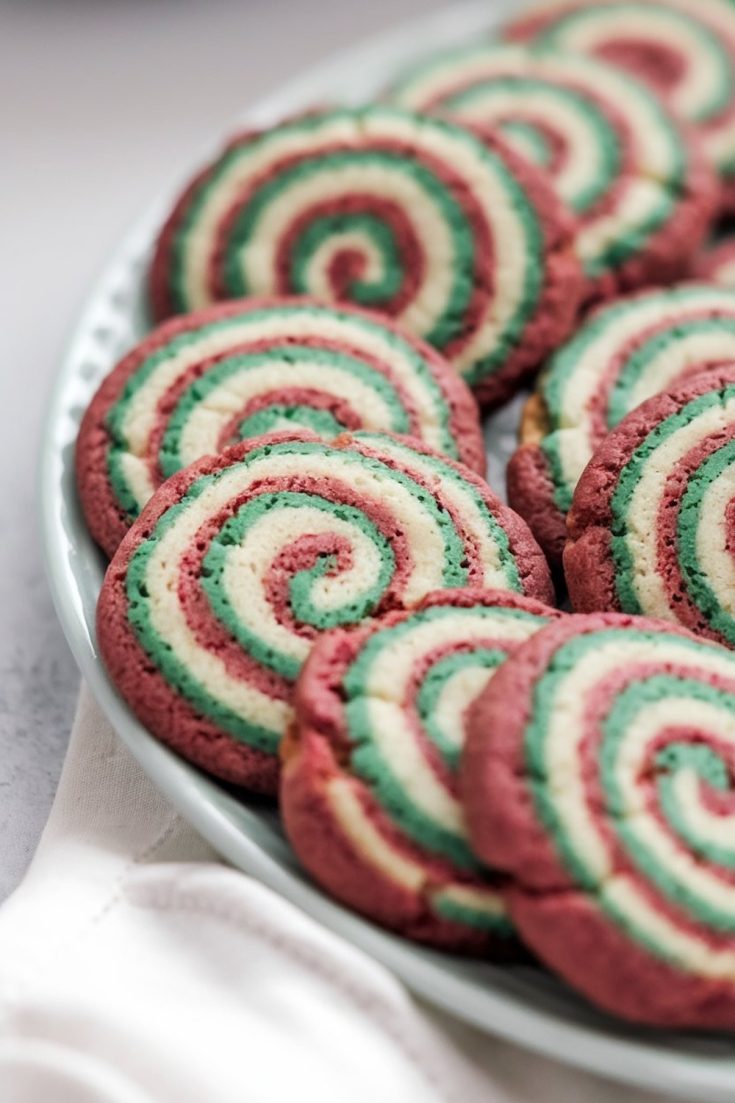
Not only will they add some lovely vibrancy with their swirls of red, white, and green, but they will also have that truly delicious, buttery taste that just melts in your mouth. They are really showstoppers to exchange, take to holiday parties, or simply to share a plate of festive treats with those dear to you.
Following a special diet?
Every recipe on this site can be converted to gluten-free, vegan, dairy-free, keto, nut-free or egg-free with adjusted ratios so nothing falls flat.
Try the Recipe Converter →The Inspiration Behind Holiday Pinwheel Cookies
Growing up, holiday cookies were always the stars of family gatherings, and each cookie had a story behind its beauty. Pinwheel cookies were some really colorful favorites-catching and fun to make! Each swirl is almost a little masterpiece, really capturing the magic and playfulness of the season. These cookies are a fun, hands-on treat that combines creativity with tradition, bringing out the holiday spirit in every swirl and layer.
Whether you’re baking them solo as a therapeutic afternoon project or getting little ones involved to create family memories, these cookies will bring warmth to your holiday season.
Ingredients You’ll Need to Create the Perfect Holiday Pinwheels
Creating these festive pinwheels calls for a handful of straightforward baking staples that come together to make something truly special:
- All-Purpose Flour: The base for your cookie dough, giving structure to each delightful swirl.
- Baking Powder: Helps the cookies bake up light and tender.
- Salt: Just a pinch to enhance the flavor of the dough and balance the sweetness.
- Unsalted Butter: Softened butter is essential for a creamy, rich dough that holds together beautifully.
- Granulated Sugar: Adds sweetness and helps give the cookies a slight crunch.
- Egg: Acts as a binder, giving the dough structure and tenderness.
- Vanilla Extract: A hint of vanilla infuses warmth and flavor throughout the dough.
- Red and Green Food Coloring: The magic behind those holiday hues! Gel food coloring is often best to keep colors vibrant without altering dough consistency.
- Milk (optional): Just a small amount, added if needed, can help make the dough easier to work with.
With these ingredients, you’ll create a soft, pliable dough that’s easy to color, roll, and shape into the iconic pinwheel swirls.
Knead Well to Form a Base
The dough preparation of the pinwheel cookie was like laying a blank canvas on which one would unleash his artistic ability. Whisk dry ingredients: flour, baking powder, and salt; mix well.
In a large mixing bowl, cream the softened butter and sugar until it becomes light and fluffy-a process besides incorporating air, it forms a base for a tender dough. Add the egg and a little bit of vanilla extract to give subtle sweetness and depth in each bite.
Once your wet ingredients are ready, add your dry ingredients in and mix until a soft dough forms, mixing softly. The dough is to be soft- able to be handled for later layering and rolling up, yet not too fragile. If it feels somewhat firm, add a tablespoon of milk to smoothen it out and make it easier to handle.
Adding the Holiday Colors: Dividing and Dyeing the Dough
To create those classic holiday swirls, you’ll divide the dough into three equal parts. Leave one part as it is for the white layer, then color the other two portions with red and green food coloring. Start with a few drops and add more as needed to achieve vibrant colors. Mix until the color is fully incorporated, resulting in three distinct sections of dough in red, white, and green.
Rolling and Chilling the Dough: Prepping for the Perfect Swirls
En Route to the Perfect Swirls For neat layers and even color distribution, roll each portion of dough between two sheets of parchment paper into a rectangle about 1/4 inch thick. This keeps the dough uniform and prevents sticking. Place the dough layers on a baking sheet and refrigerate for about 30 minutes after rolling them out. Chilling is important here; it firms up the dough so colors don’t blend when you layer and roll them into a log.
Creating the Swirls: Layering and Rolling the Dough Log
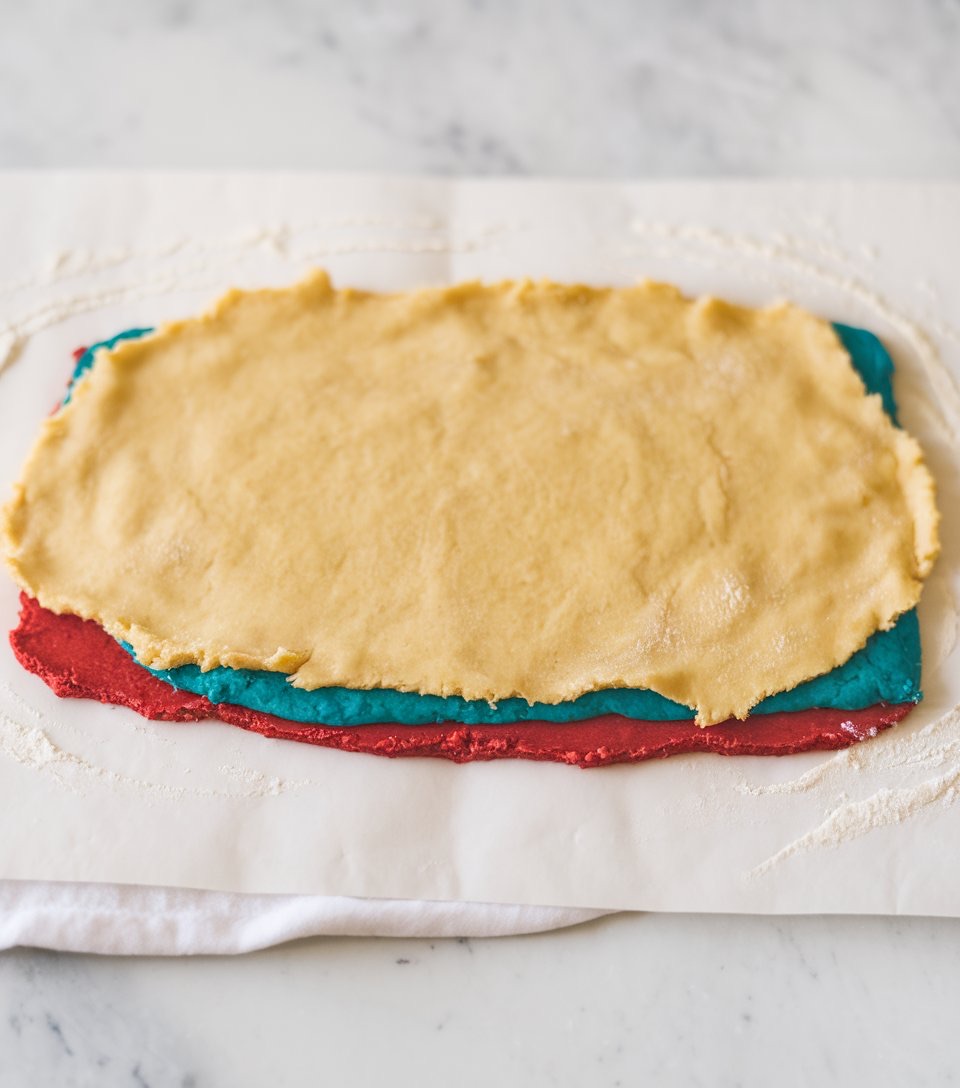
Firm dough can then be stacked carefully on top of one another-place the white on the bottom, the green in the middle, and the red on top. Gently use a rolling pin to press the dough to meld the layers but not so hard that the colors mix.
Starting from one of the long edges, roll the layered dough tightly into a log, starting the roll like a jelly roll. This is such an important stage that helps in creating those neat spirals.
Also, wrap the dough log tightly in plastic wrap and refrigerate it for at least two hours, if not overnight. The chilling of the rolled dough log is quite necessary for maintaining the swirled pattern after baking.

Baking the Cookies: From Log to Perfect Pinwheels
When ready to bake, preheat the oven to 350°F (175°C) and line your baking sheets with parchment paper. Slice the well-chilled and hard dough log into 1/4-inch rounds using a sharp knife. Place each slice onto the prepared baking sheet, leaving a little space between them because they do spread out some in the oven.
Bake the cookies for about 10-12 minutes, or until the edges are just set but not brown. Do this rather gently, in order to help keep the vibrancy in color and the tenderness of the texture. Let them stay on the baking sheet a few minutes before transferring them to a wire rack to cool completely.
Serving Suggestions and Festive Presentation Ideas
These Holiday Pinwheel Cookies are a festive treat on their own but can be dressed up even more for an impressive presentation:
- Cookie Gift Boxes: Pack them in small holiday-themed boxes lined with parchment paper for a lovely homemade gift.
- On a Dessert Platter: Arrange them with other holiday treats, like gingerbread men and snowball cookies, for a colorful and inviting dessert display.
- Paired with Hot Cocoa: Serve alongside mugs of hot cocoa topped with whipped cream or marshmallows for a cozy holiday treat.
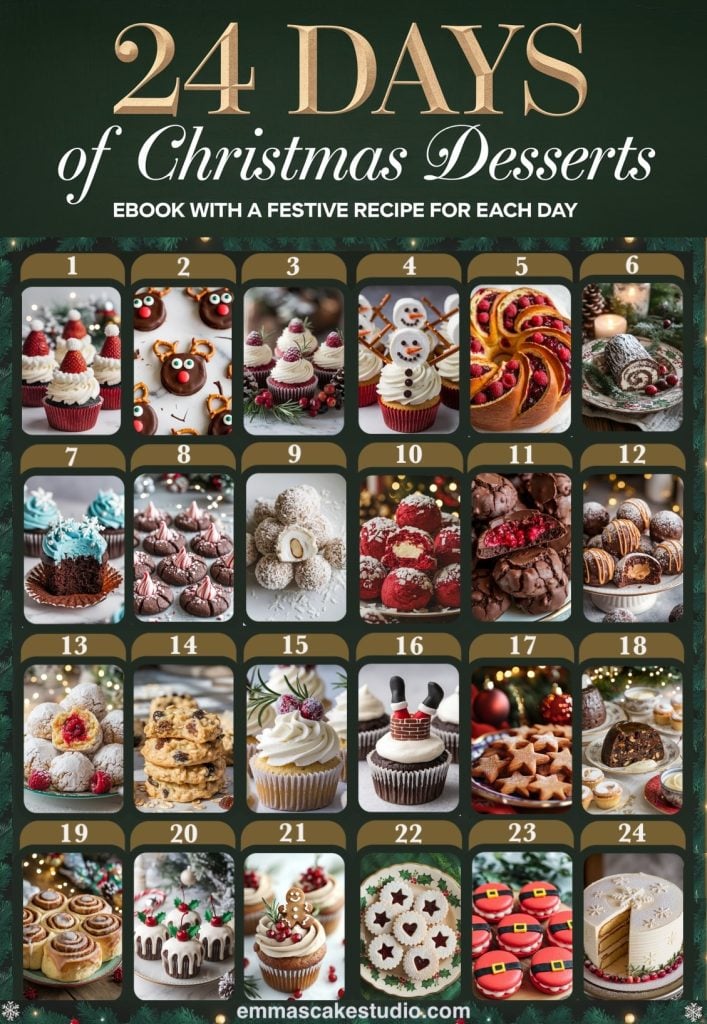
Getting excited for the holidays? Make each day leading up to Christmas even more special with exclusive treats from my ‘24 Days of Christmas Desserts’ eBook, featuring a delightful new recipe for every day of the season.
Tips for Making the Best Pinwheel Cookies
- Chill Thoroughly: Chilling the dough is essential at each stage. It helps keep the colors distinct and makes the dough easier to handle.
- Slice Cleanly: For clean, even slices, use a sharp knife and wipe it off between cuts to keep the colors from smearing.
- Avoid Overbaking: These cookies should be just set around the edges. Overbaking can dull the colors and make them overly crisp.
Your Magical Baking Ahead
Holiday Pinwheel Cookies add festivity and home-baked charm to the holiday cookie lineup. Colorful and sporting that classic buttery flavor, these cookies are bound to be a favorite among both kids and adults. Ready to take a shot at it? After giving it a try, leave a comment below and don’t forget to pin for future holiday baking!
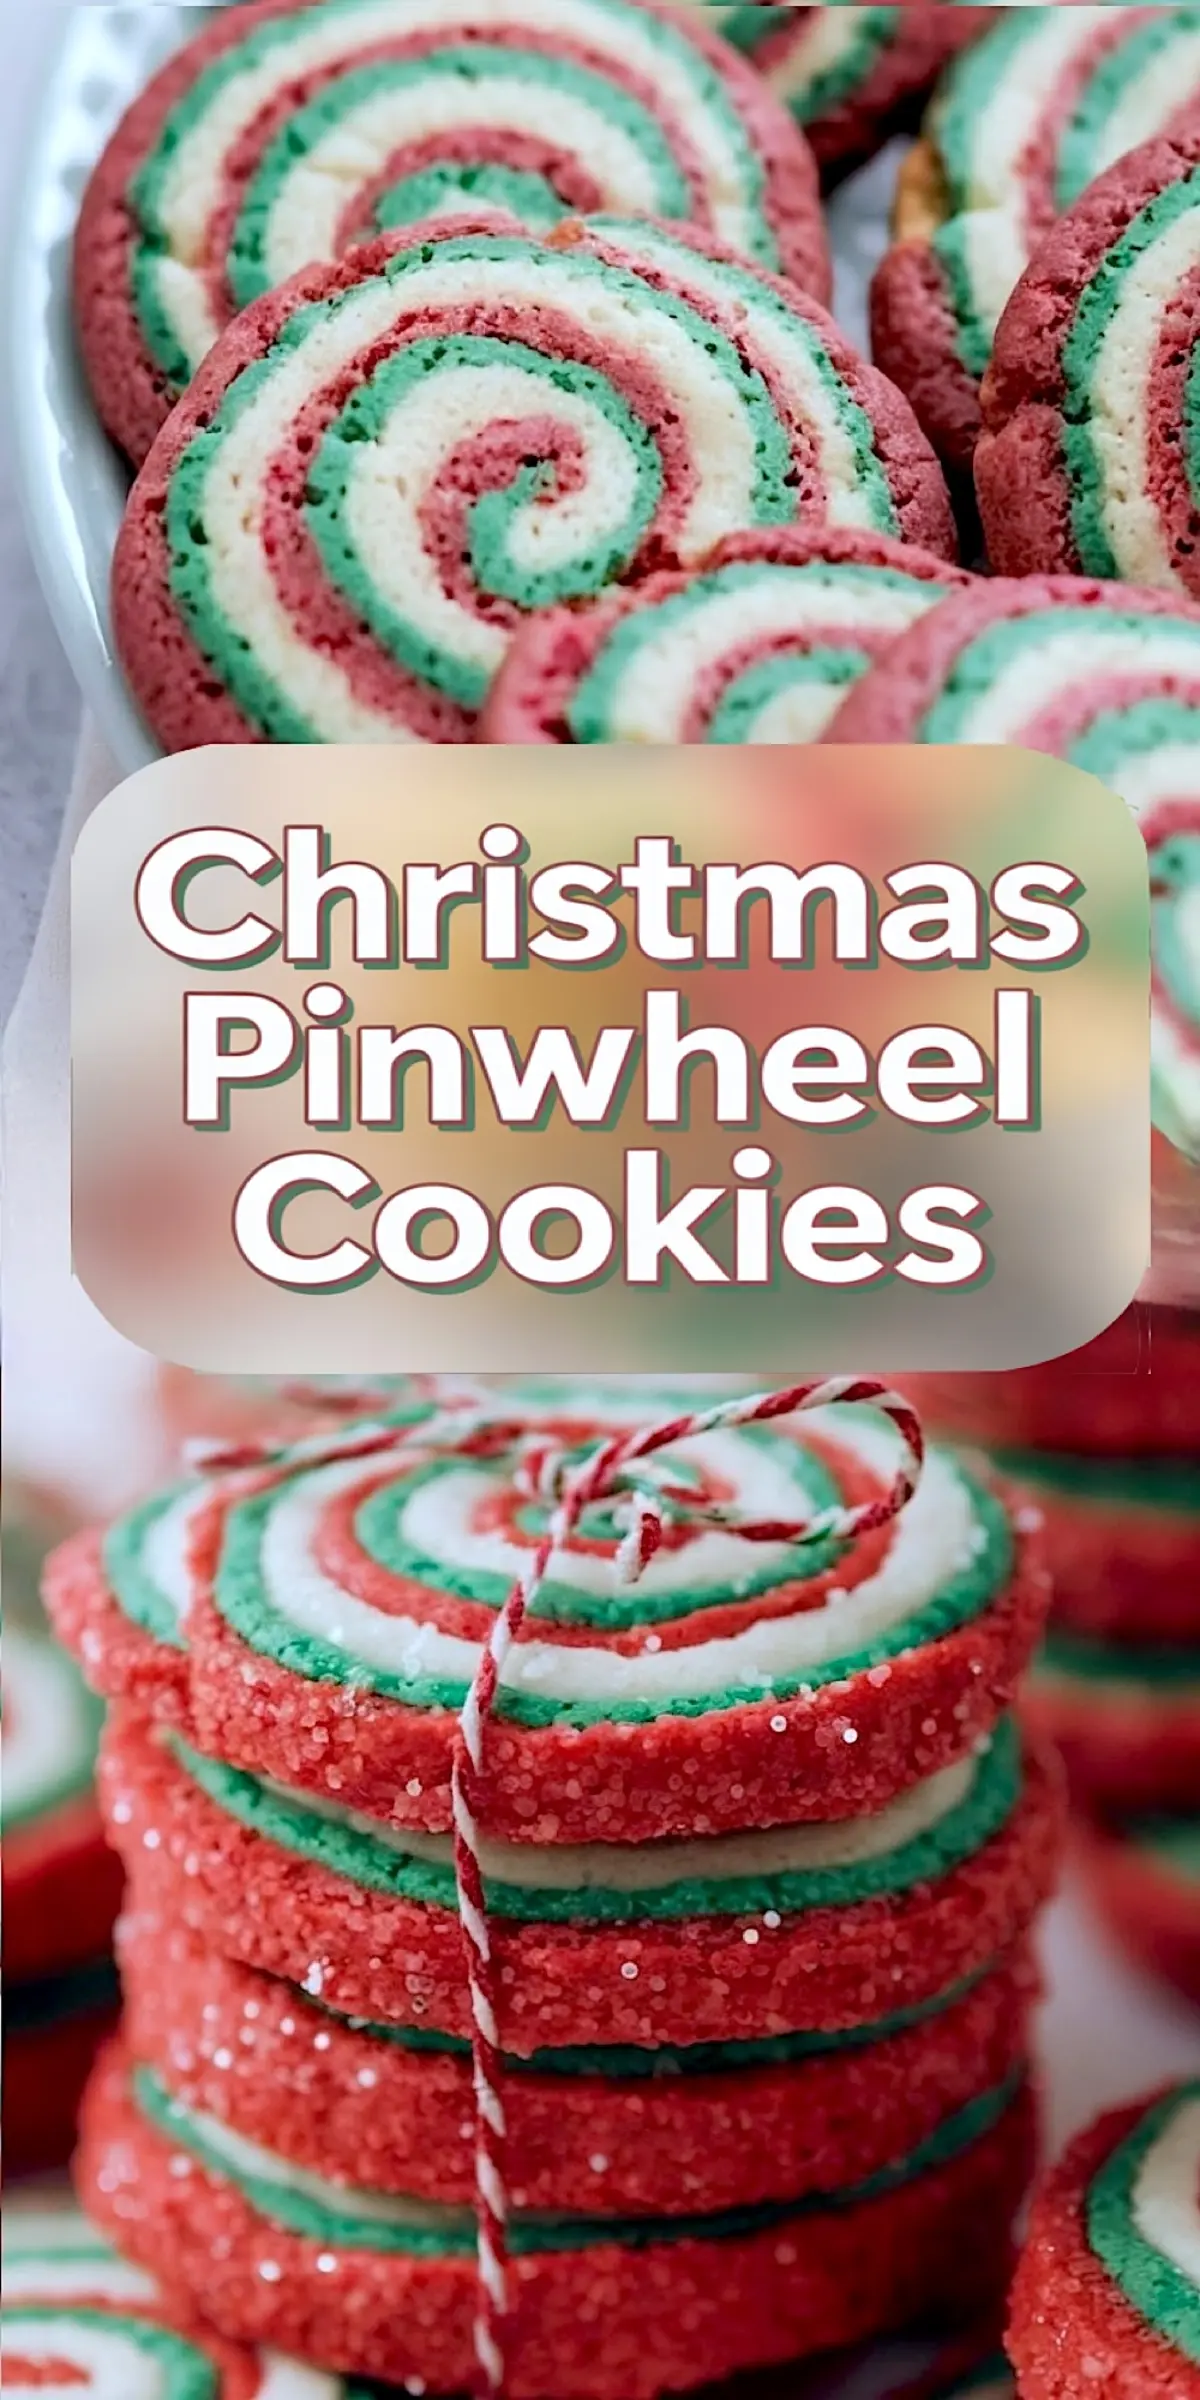
Pinwheel Cookies Recipe
Pinwheel cookies are a colorful and festive addition to your holiday baking lineup. This pinwheel cookies recipe uses a classic sugar cookie dough layered with tinted dough to create those signature red and white swirls. Whether you’re making Christmas pinwheel cookies for a cookie exchange, dessert tray, or just some fun cookies for the season, these look impressive and taste buttery and soft. Learn how to make pinwheels with simple steps for rolling and slicing. These pinwheel sugar cookies hold their shape while baking and deliver that nostalgic Christmas cookie charm with every bite.
Ingredients
- 2 ½ cups all-purpose flour
- ½ teaspoon baking powder
- ¼ teaspoon salt
- ¾ cup unsalted butter, softened
- 1 cup granulated sugar
- 1 large egg
- 1 teaspoon vanilla extract
- Red and green food coloring
- 1 tablespoon milk (optional, for easier dough handling)
Instructions
- PREPARE THE DOUGH BASE: In a medium bowl, whisk together the flour, baking powder, and salt, then set aside. In a large mixing bowl, cream the butter and sugar until light and fluffy, about 3 to 4 minutes. Add the egg and vanilla extract, mixing until fully incorporated. Gradually add the dry ingredients to the wet mixture on low speed, mixing until a soft, uniform dough forms.
- DIVIDE AND COLOR THE DOUGH: Divide the dough evenly into three portions. Leave one plain for the white layer. To the second portion, add red food coloring and mix until evenly colored. To the third portion, add green food coloring and mix thoroughly. If any portion feels too firm, mix in 1 tablespoon of milk to soften slightly.
- ROLL OUT THE DOUGH: Roll each dough portion between two sheets of parchment paper into a rectangle about ¼ inch thick and similar in size. Transfer each sheet of rolled dough to a baking sheet and chill for 30 minutes to help firm the layers for assembly.
- LAYER AND ROLL THE DOUGH: Once firm, remove the dough sheets from the refrigerator. Stack the green dough over the white dough and the red dough over the green, aligning edges as closely as possible. Use a rolling pin to gently press the layers together. Starting from one edge, tightly roll the layered dough into a log to create the spiral shape. Wrap the dough log in plastic wrap and refrigerate for at least 2 hours or overnight until firm.
- SLICE AND BAKE: Preheat the oven to 350°F (175°C) and line baking sheets with parchment paper. Using a sharp knife, slice the chilled dough log into ¼ inch thick rounds. Arrange the cookie slices 2 inches apart on the prepared baking sheets. Bake for 10 to 12 minutes, or until the edges are set but not browned. Let cookies cool on the baking sheet for several minutes before transferring to a wire rack to cool completely.
Notes
For sharper spirals, trim edges of each dough rectangle before stacking. Use gel food coloring for more vibrant color with less liquid.
Nutrition Information
Yield
35Serving Size
1Amount Per Serving Calories 92Total Fat 4gSaturated Fat 3gUnsaturated Fat 1gCholesterol 16mgSodium 25mgCarbohydrates 13gFiber 0gSugar 6gProtein 1g
Pinwheel Cookies
Course: Christmas Dessert Recipes, Cookies24
servings30
minutes10
minutes150
kcalIngredients
2 ½ cups all-purpose flour
½ teaspoon baking powder
¼ teaspoon salt
¾ cup unsalted butter, softened
1 cup granulated sugar
1 large egg
1 teaspoon vanilla extract
Red and green food coloring
1 tablespoon milk (optional, for easier dough handling)
Steps
Step 1: Prepare the Dough Base- In a medium bowl, whisk together the flour, baking powder, and salt. Set aside.
- In a large mixing bowl, cream together the butter and sugar until light and fluffy, about 3-4 minutes.
- Add in the egg and vanilla extract, mixing until combined.
- Gradually add the flour mixture into the wet ingredients, mixing on low speed until a soft dough forms.
- Step 2: Divide and Color the Dough
- Divide the dough into three equal parts.
- Leave one part plain (this will be the white layer).
- For the other two parts, add a few drops of red food coloring to one and green food coloring to the other, mixing until the color is fully incorporated.
If the dough feels too stiff, add 1 tablespoon of milk to soften it slightly. - Step 3: Roll Out the Dough
- Roll each dough portion between two sheets of parchment paper into rectangles, about ¼ inch thick and approximately the same size.
- Place each rolled-out dough rectangle on a baking sheet and chill in the refrigerator for about 30 minutes to firm up. This step ensures that the colors won’t mix when rolling.
Step 4: Layer and Roll the Dough- Remove the dough from the fridge. Carefully place the green layer on top of the white layer, and then the red layer on top of the green.
- Gently press the layers together with a rolling pin.
- Starting from one edge, tightly roll up the dough into a log, just like you would a jelly roll. Try to roll evenly to maintain a neat spiral pattern.
- Wrap the dough log in plastic wrap and refrigerate for at least 2 hours, or overnight. Chilling the dough helps to keep the spiral intact while baking.
- Step 5: Slice and Bake
- Preheat your oven to 350°F (175°C). Line baking sheets with parchment paper.
- Once the dough is firm, slice the log into ¼ inch thick rounds using a sharp knife.
- Place the pinwheel slices on the prepared baking sheets, spacing them about 2 inches apart.
- Bake for 10-12 minutes, or until the edges are set but not browned.
- Allow the cookies to cool on the baking sheet for a few minutes before transferring to a wire rack to cool completely.