It was a rainy weekend when I experimented with homemade salted caramels. A friend and I were stuck indoors, and we wanted something sweet but comforting. We had our favorite music playing and decided to try a new dessert project. A chaotic but joyful mood filled the kitchen. I splattered sugar on the counter, and my friend laughed as we rummaged through a pile of baking supplies.
We had a goal: create a batch of chewy goodness with a sprinkle of salt on top. By the time these little squares cooled, the aroma and appearance made us swoon. I tasted my first piece and felt a wave of satisfaction. That memory still lights up my day, and the same recipe continues to charm guests and family members.
Following a special diet?
Every recipe on this site can be converted to gluten-free, vegan, dairy-free, keto, nut-free or egg-free with adjusted ratios so nothing falls flat.
Try the Recipe Converter →Why I Love This Buttery, Sweet-and-Salty Treat
I sometimes share these caramels at gatherings or slip them into cute wrappers for a hostess gift. People often raise an eyebrow when they taste that mix of rich sugar and a hint of salt. I see it as a reminder that simple ingredients can deliver a memorable experience. I also love the gentle chew, which doesn’t cling to teeth. Each piece melts gradually, releasing a deep caramel flavor.
The basic elements in this recipe come together in a way that feels authentic and timeless.
Ingredients for Homemade Salted Caramels
Sugar, corn syrup, heavy cream, and butter work together in this recipe. These few items set the foundation. I favor granulated sugar because it caramelizes with a clean profile. Light corn syrup helps prevent the mixture from crystallizing. A splash of heavy cream adds a creamy richness, and generous cubes of unsalted butter build the texture.
A hint of salt within the mix unites all flavors. I keep a bit of flaky sea salt nearby for a final sprinkle, which boosts taste and texture. Vanilla extract brings a gentle finish that rounds out the sweetness.
Steps for Cooking and Transforming Sugar into Caramel
I set an 8×8-inch baking pan with parchment paper, folding the edges so I can lift the set caramel with ease. A light coat of butter or cooking spray on the parchment helps prevent sticking. I then combine the granulated sugar and corn syrup in a heavy-bottomed saucepan on medium heat. The mixture starts clear, then darkens, and I avoid stirring once everything is blended.
The swirling motion of the pan keeps the color even. I watch for a deep amber hue around the 8-10 minute mark. The sweet smell at this stage signals that the sugar is caramelizing properly.
I lower the heat and introduce cubes of butter slowly. Care is needed here because the hot sugar can bubble up fiercely. I stir the mixture until the butter disappears. A steady hand and patience help with this step. Next, I trickle in heavy cream, allowing the mixture to bubble. Salt goes in, and I rely on a candy thermometer to watch the temperature.
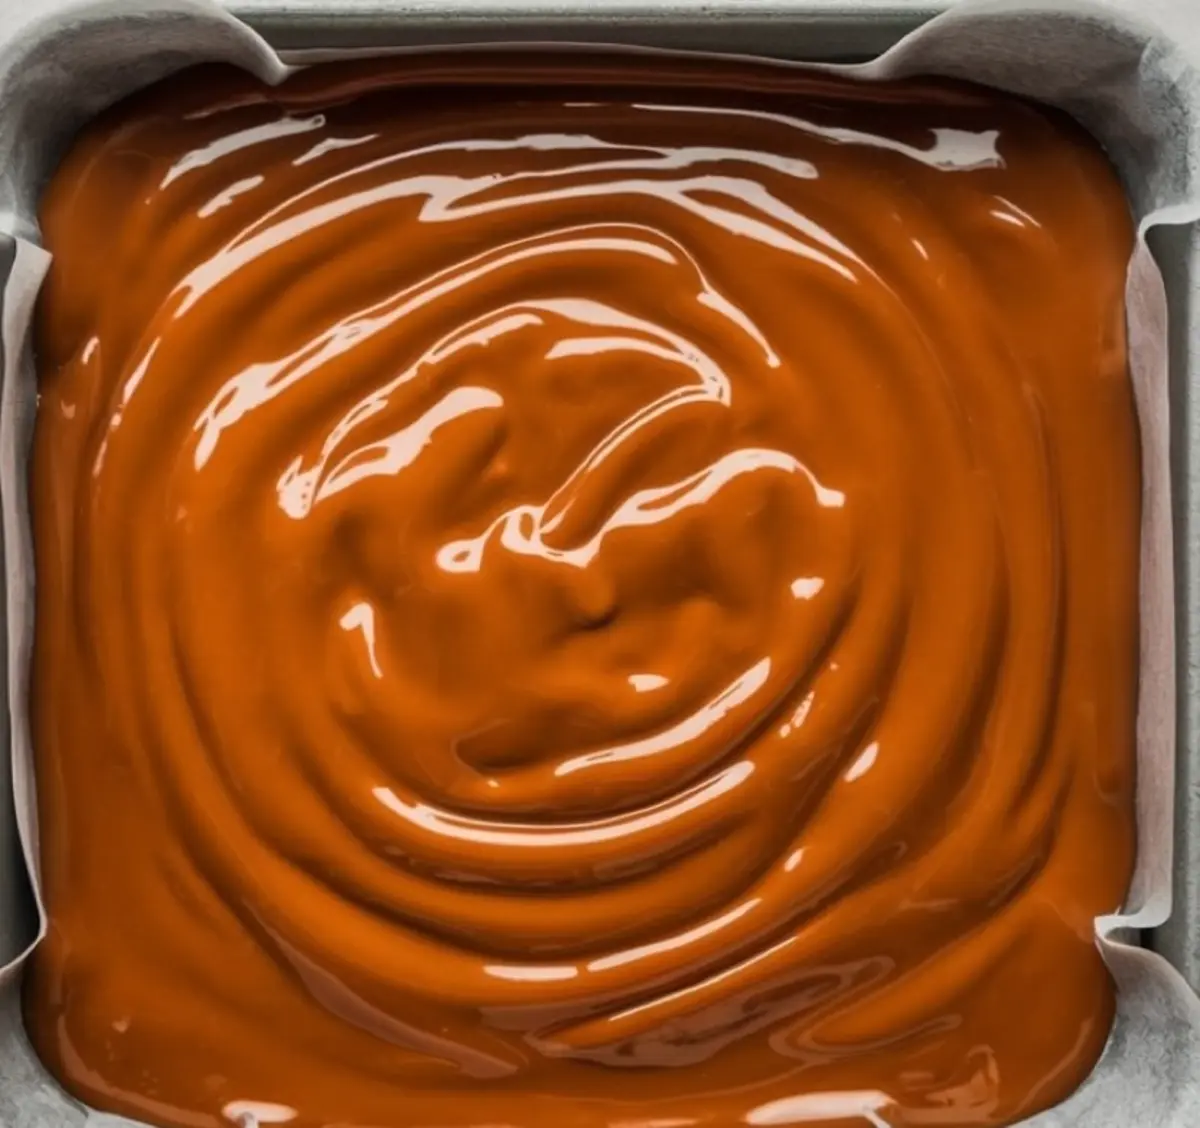
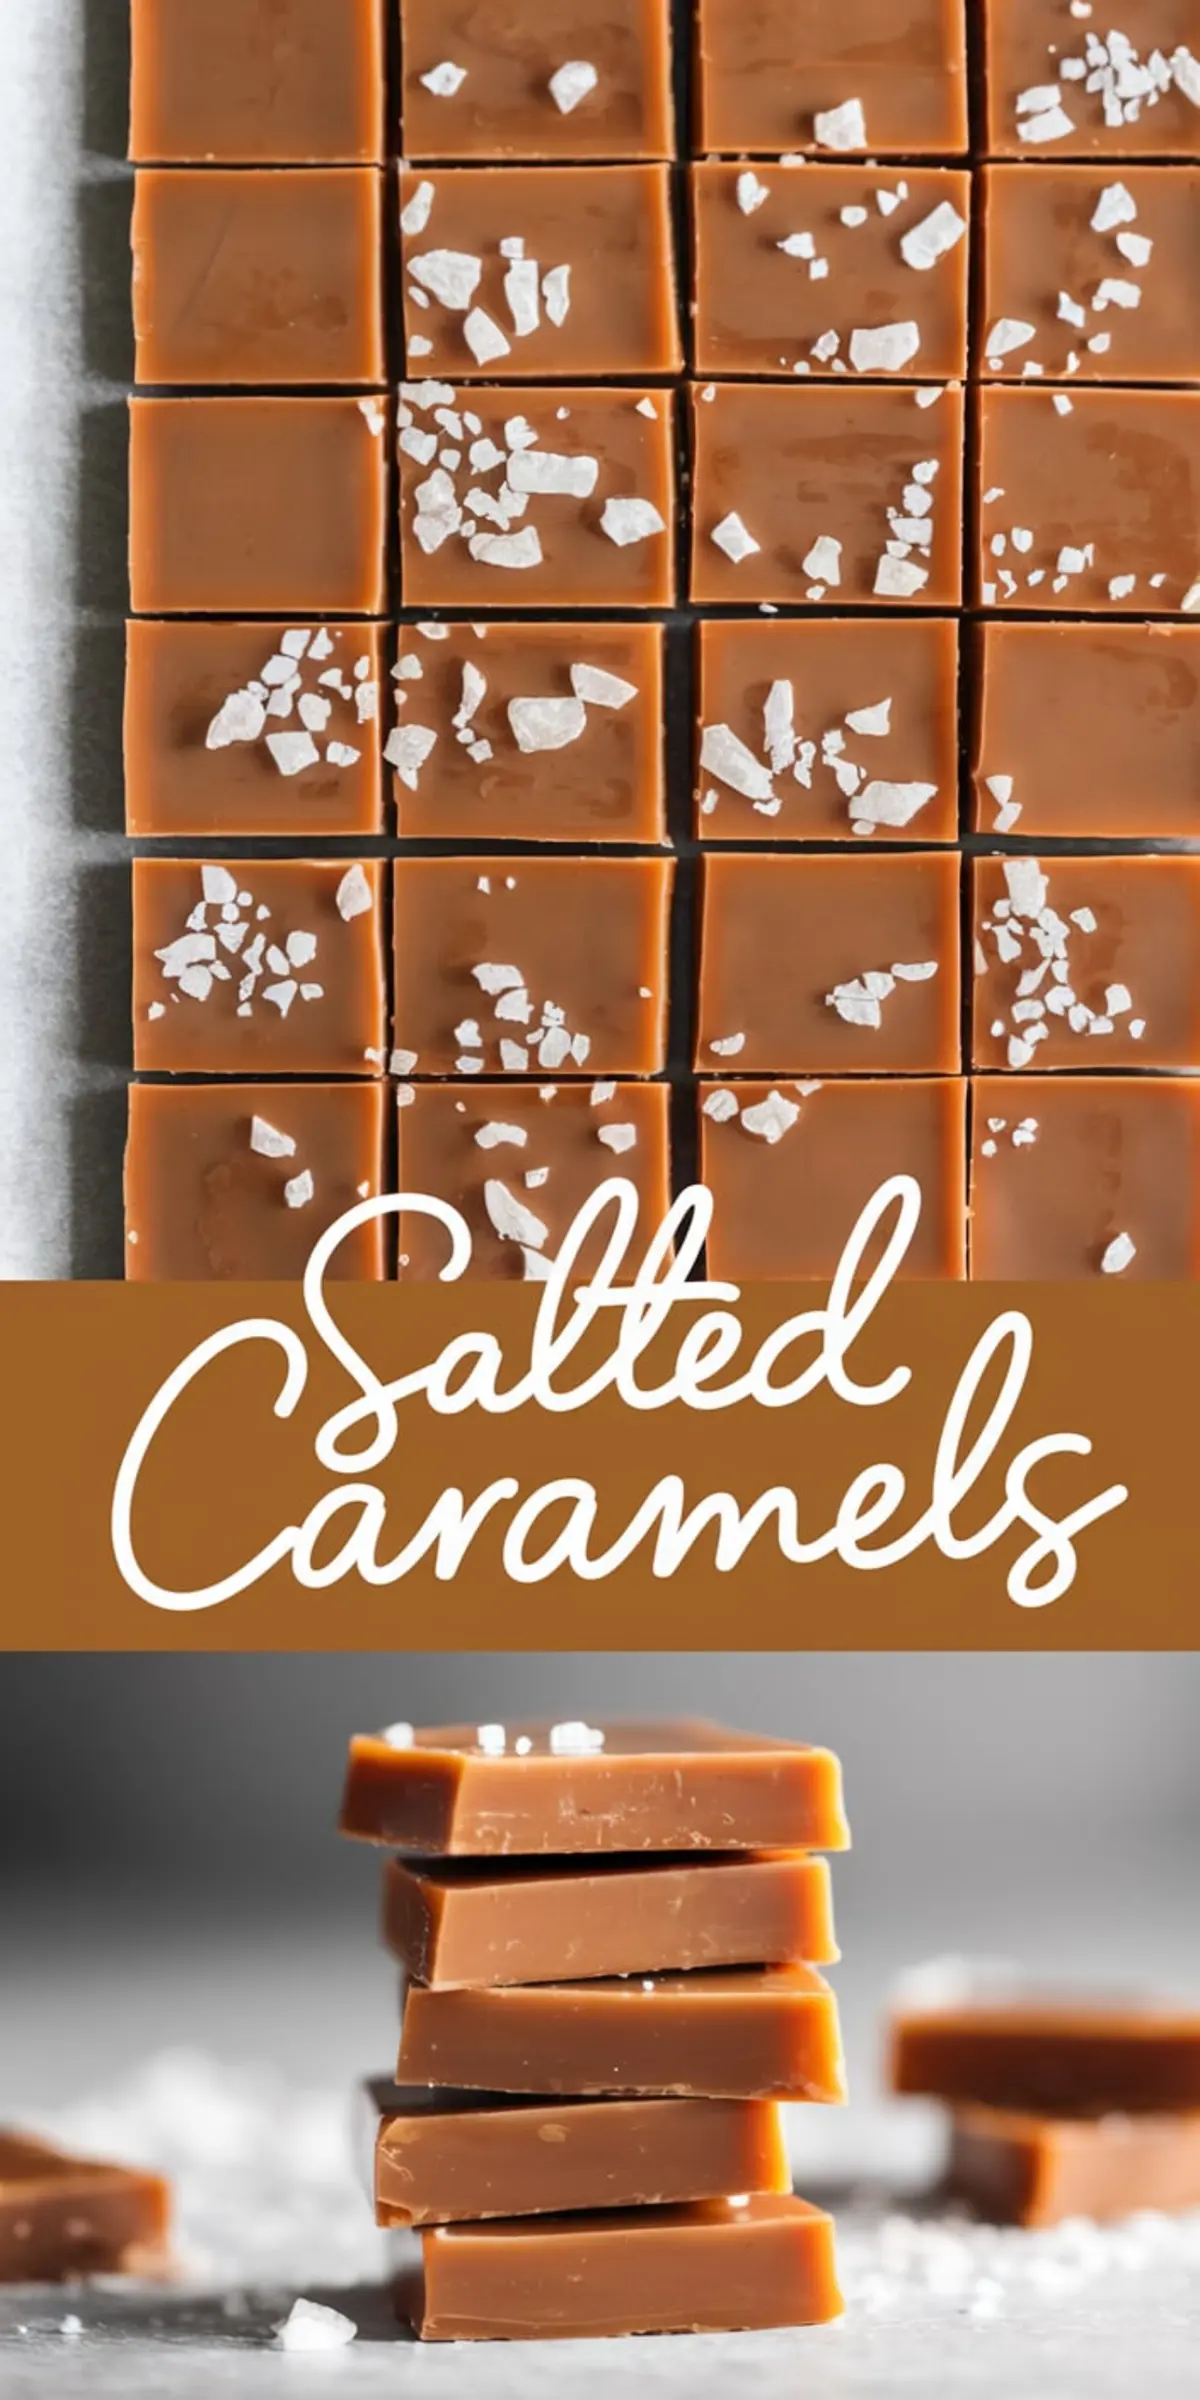
Reaching 245°F (118°C) creates that firm ball stage, which ensures chewy caramels. I then pull the saucepan off the heat, add the vanilla extract, and pour everything into the waiting pan. I sprinkle flaky sea salt on top right away because the warmth helps it cling. A two-hour rest on the counter allows the caramel to set. I cut the firm block into neat squares or rectangles, wrap them if I plan to gift them, and store extras in a container.
Small Tips to Keep Caramels Just Right
I remember a time I heated my caramel a bit too high, and the result was stiff squares. Everyone still devoured them, but the texture reminded me of toffee. That experience taught me the importance of a candy thermometer and a watchful eye on the heat. Using a sturdy saucepan also makes a difference.
Thin pans can lead to burnt sugar spots. An even heat distribution keeps your final caramel golden instead of bitter. I like to stock up on parchment paper, too, because it helps with a fuss-free cleanup.
Serving and Gifting Ideas
I enjoy placing these caramels on a pretty platter during the holidays. Their golden tone brightens up the table. My niece loves to help me wrap them in small squares of parchment. We twist the ends like old-fashioned candy. A fancy ribbon secures each parcel if we plan to hand them out as tokens of friendship.
I sometimes pair them with tea or coffee, letting guests savor them between sips. A few squares can transform an afternoon break into a mini celebration. Some people store them in the fridge, though I keep them in a covered container at room temperature, as that consistency is easier to chew.
Extra Inspiration with Other Caramel Treats
I like to encourage friends to explore more sweet ideas that include caramel flavors. My Chocolate Caramel Thumbprint Cookiesbring a gooey center to a classic cookie shape.
Another favorite is Salted Caramel Pecan Cookies, which combine nutty goodness with a buttery caramel drizzle. I have also enjoyed the warm taste of Caramel Apple Dump Cake that blends tender apples, cake mix, and caramel sauce in a simple dessert. These recipes extend that sweet-and-salty dimension and remind me how versatile caramel can be.
Common Questions and Practical Notes
Friends often ask me if they can substitute dark corn syrup for light corn syrup. I sometimes do that when I want a more robust color and deeper flavor, though it still works fine with light corn syrup. Others ask if they can reduce the amount of salt.
I usually say that salt levels vary depending on your taste. Some prefer just a gentle sprinkle on top. An accurate thermometer is key, so the sugar reaches that precise temperature for chewiness. I stand by this approach because guesswork tends to yield inconsistent results.
A friend once asked me about using different toppings. I tried toasted coconut flakes once, and it added a nutty twist. A sprinkle of crushed nuts also works well. I can’t say I prefer any of these more than classic flaky salt, but they still offer a fun spin. My mother even likes a light drizzle of dark chocolate on top. That extra contrast of chocolate and caramel can make dessert extra special.
Sharing the Experience and Building a Community
I love talking about food, and salted caramels spark conversations wherever they appear. I see them as conversation starters, especially among those who feel nostalgic about old-fashioned candy. I welcome anyone to try this recipe and then share their experiences.
Save this post to your dessert board if you want a quick reference. I suggest dropping a comment if you have questions or want to chat about how your batch turned out. Reading each other’s tips and stories creates a fun space, and I learn something new each time.
Closing Thoughts
I reflect on that first attempt when I look at a freshly made batch. Even now, the excitement feels real, as if I’m back in that cozy kitchen. This recipe stands as a promise that simple routines and a sense of adventure can lead to sweet results. I consider salted caramels a sign of warmth and comfort, and I hope they bring joy to your kitchen.
Let these squares linger on your tongue, and remember that small moments can produce big memories. Pin this recipe for future reference and share your thoughts if you decide to give it a try. Your insights might inspire someone else to pick up a candy thermometer and create their own sweet masterpiece.
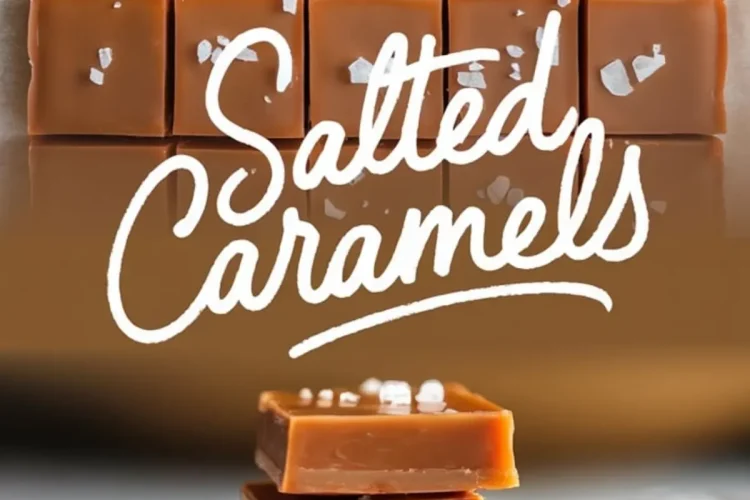
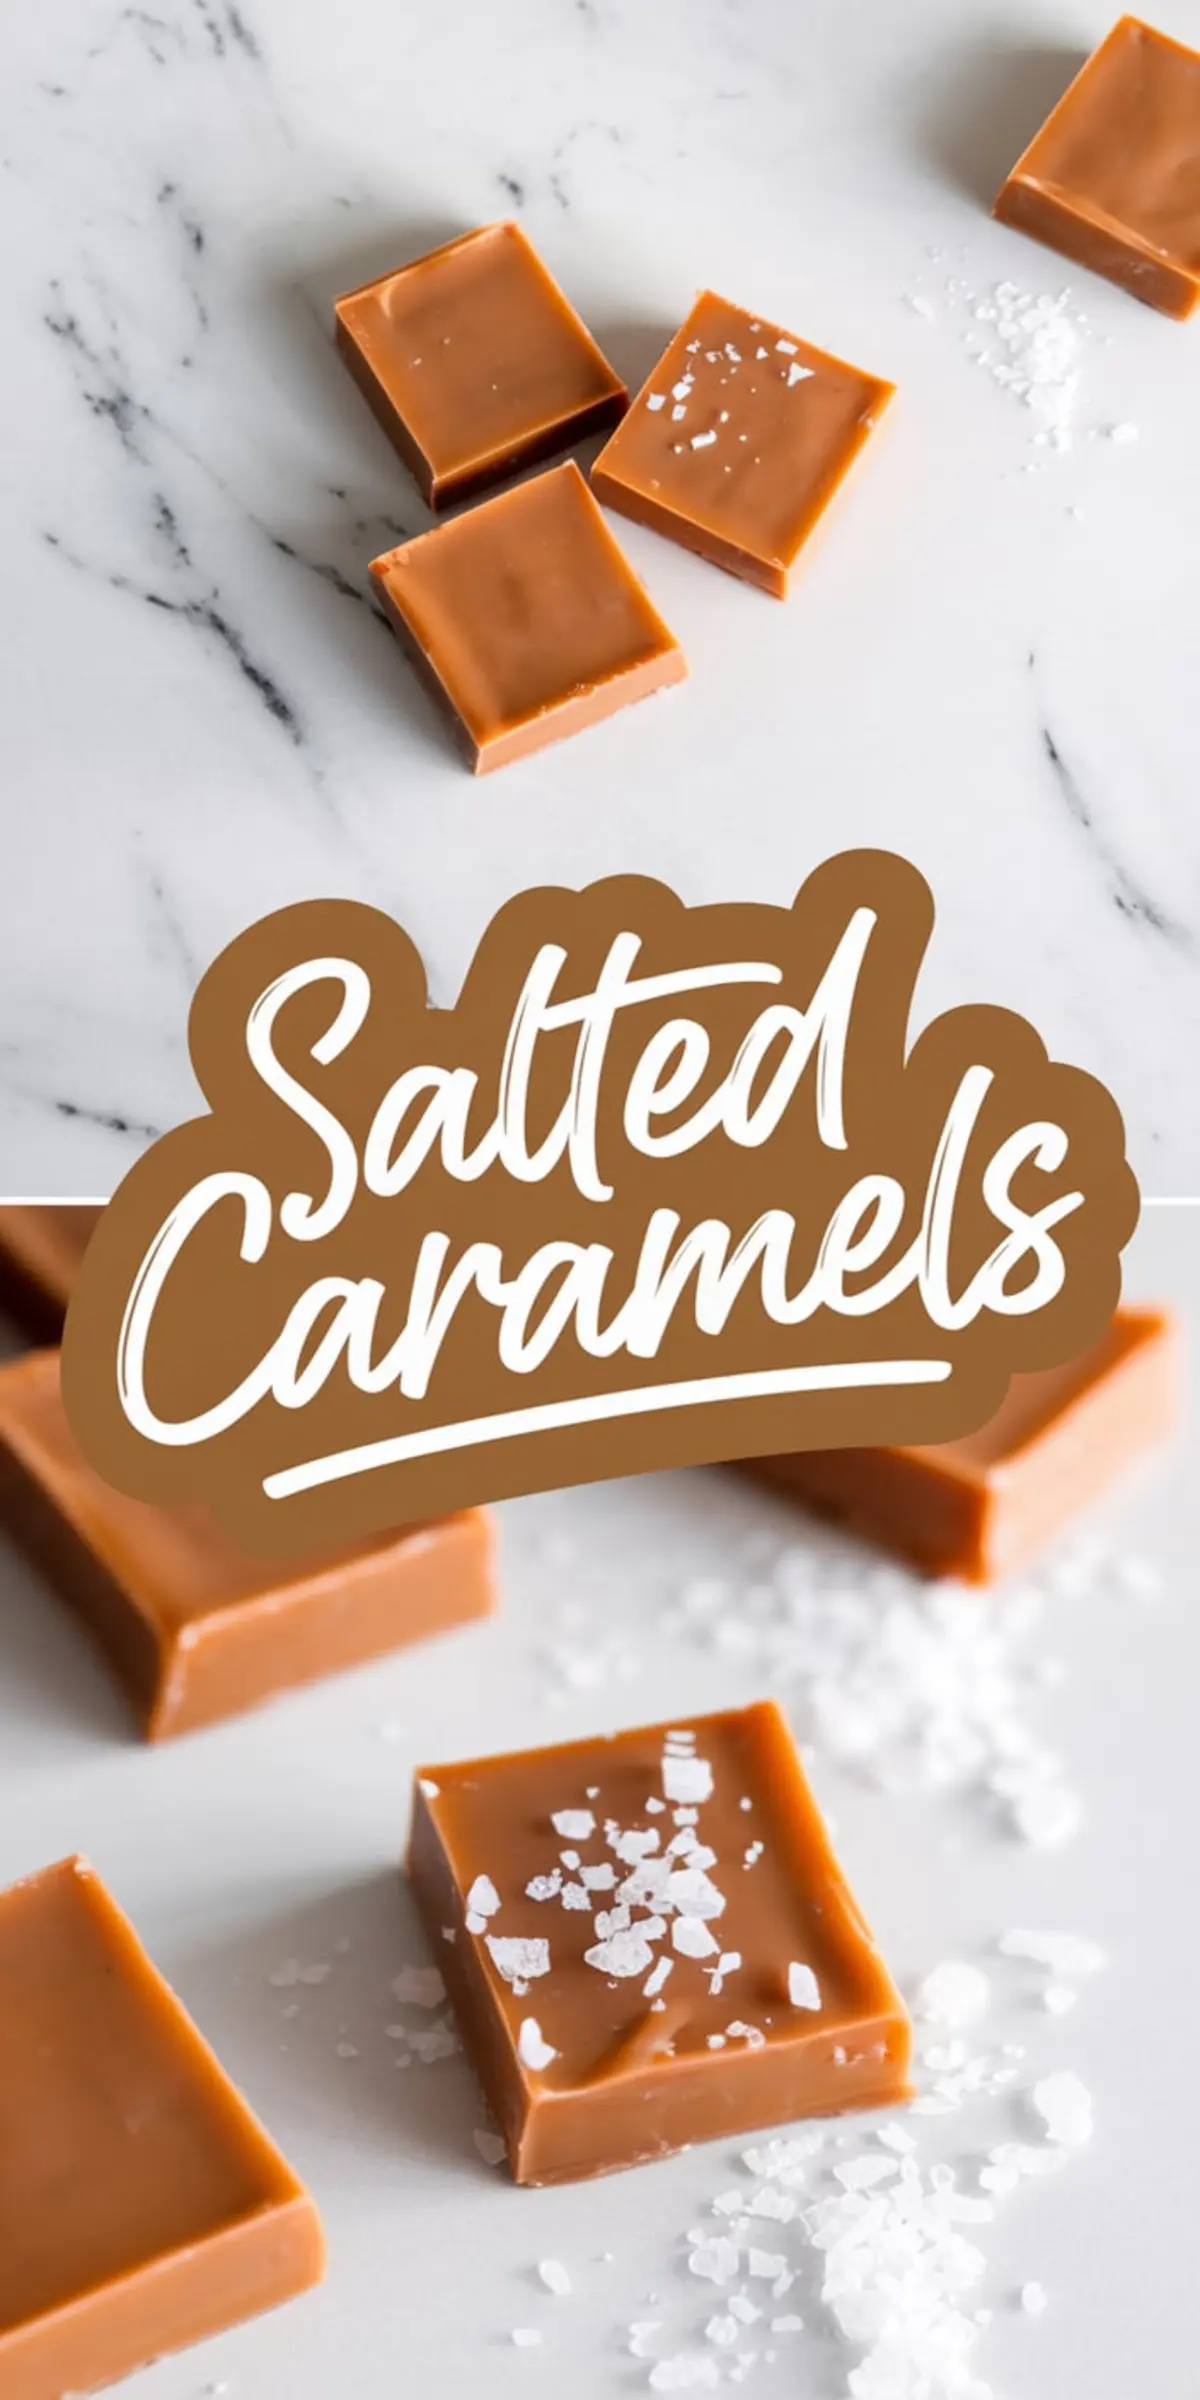
Homemade Salted Caramels Recipe
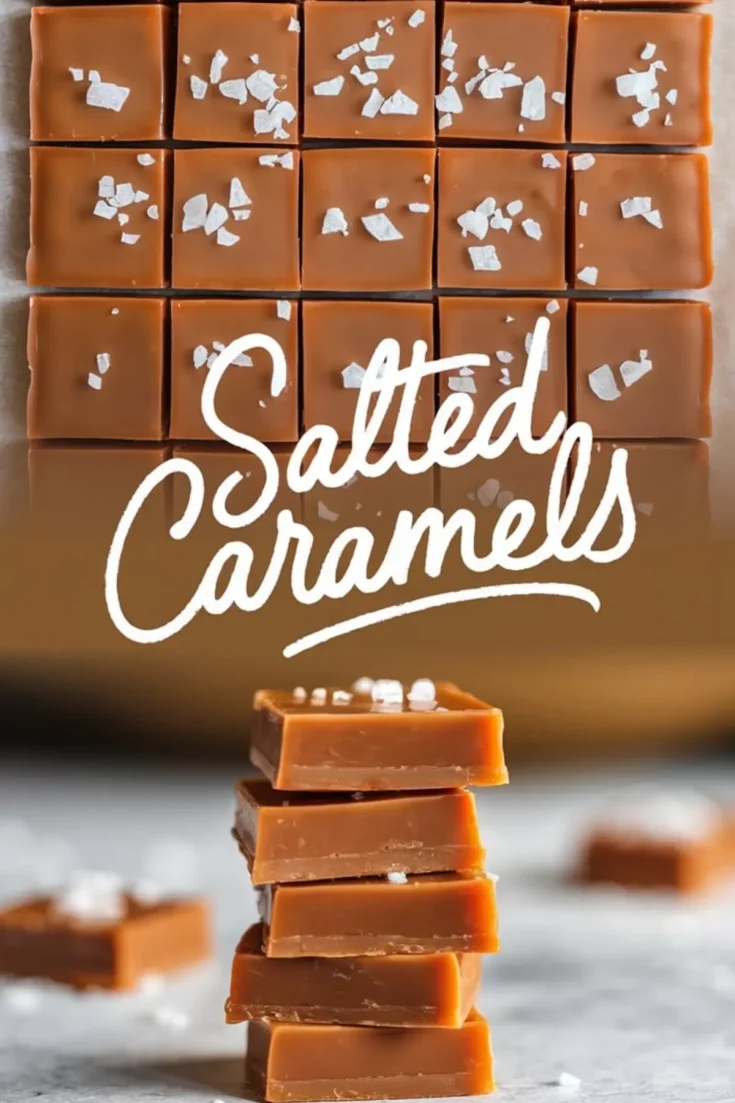
Homemade salted caramels have a smooth, chewy texture with a balance of sweetness and a hint of salt. The caramelization process creates a rich, deep flavor, while flaky sea salt enhances the taste. These bite-sized treats are perfect for gifting or enjoying at home.
Ingredients
- 1 cup (200g) granulated sugar
- ½ cup (120ml) light corn syrup
- ½ cup (120ml) heavy cream
- ½ cup (113g) unsalted butter, cut into cubes
- ¼ teaspoon salt
- ½ teaspoon vanilla extract
- Flaky sea salt, for sprinkling (such as Maldon or fleur de sel)
Instructions
- PREPARE THE BAKING DISH: Line an 8x8-inch baking pan with parchment paper, leaving an overhang on the sides for easy removal. Lightly grease the parchment paper with butter or nonstick spray.
- COOK THE SUGAR AND CORN SYRUP: In a medium, heavy-bottomed saucepan, combine the granulated sugar and corn syrup over medium heat. Stir gently just to mix, then stop stirring to prevent crystallization. Cook until the mixture turns a deep amber color, about 8-10 minutes, swirling the pan occasionally for even caramelization.
- ADD THE BUTTER AND CREAM: Carefully add the butter to the caramelized sugar, being cautious as it will bubble vigorously. Stir until the butter melts completely. Slowly pour in the heavy cream while stirring constantly, expecting more bubbling. Add the salt and continue cooking, stirring occasionally, until the mixture reaches 245°F (118°C) on a candy thermometer. This is the firm ball stage, ensuring the caramels set properly.
- ADD VANILLA AND POUR THE CARAMEL: Remove the saucepan from heat and stir in the vanilla extract. Immediately pour the caramel into the prepared baking pan, spreading it evenly. Sprinkle flaky sea salt over the top while the caramel is still warm.
- LET IT SET AND CUT: Allow the caramel to cool at room temperature for at least 2 hours, or until fully set. Once firm, lift the caramel out of the pan using the parchment paper. Use a sharp knife to cut into small squares or rectangles.
- WRAP AND STORE: If gifting, wrap each caramel in wax paper or parchment paper and twist the ends. Store in an airtight container at room temperature for up to two weeks.
Notes
For best results, use a heavy-bottomed saucepan to ensure even heat distribution and prevent burning. A candy thermometer is essential for accuracy, as the caramel needs to reach 245°F (118°C) to set properly. If the caramel is too soft, it may need a slightly higher temperature; if too firm, a slightly lower temperature next time may help. Flaky sea salt adds texture and enhances flavor, but it can be adjusted to taste. Store caramels in a cool, dry place to maintain their texture.