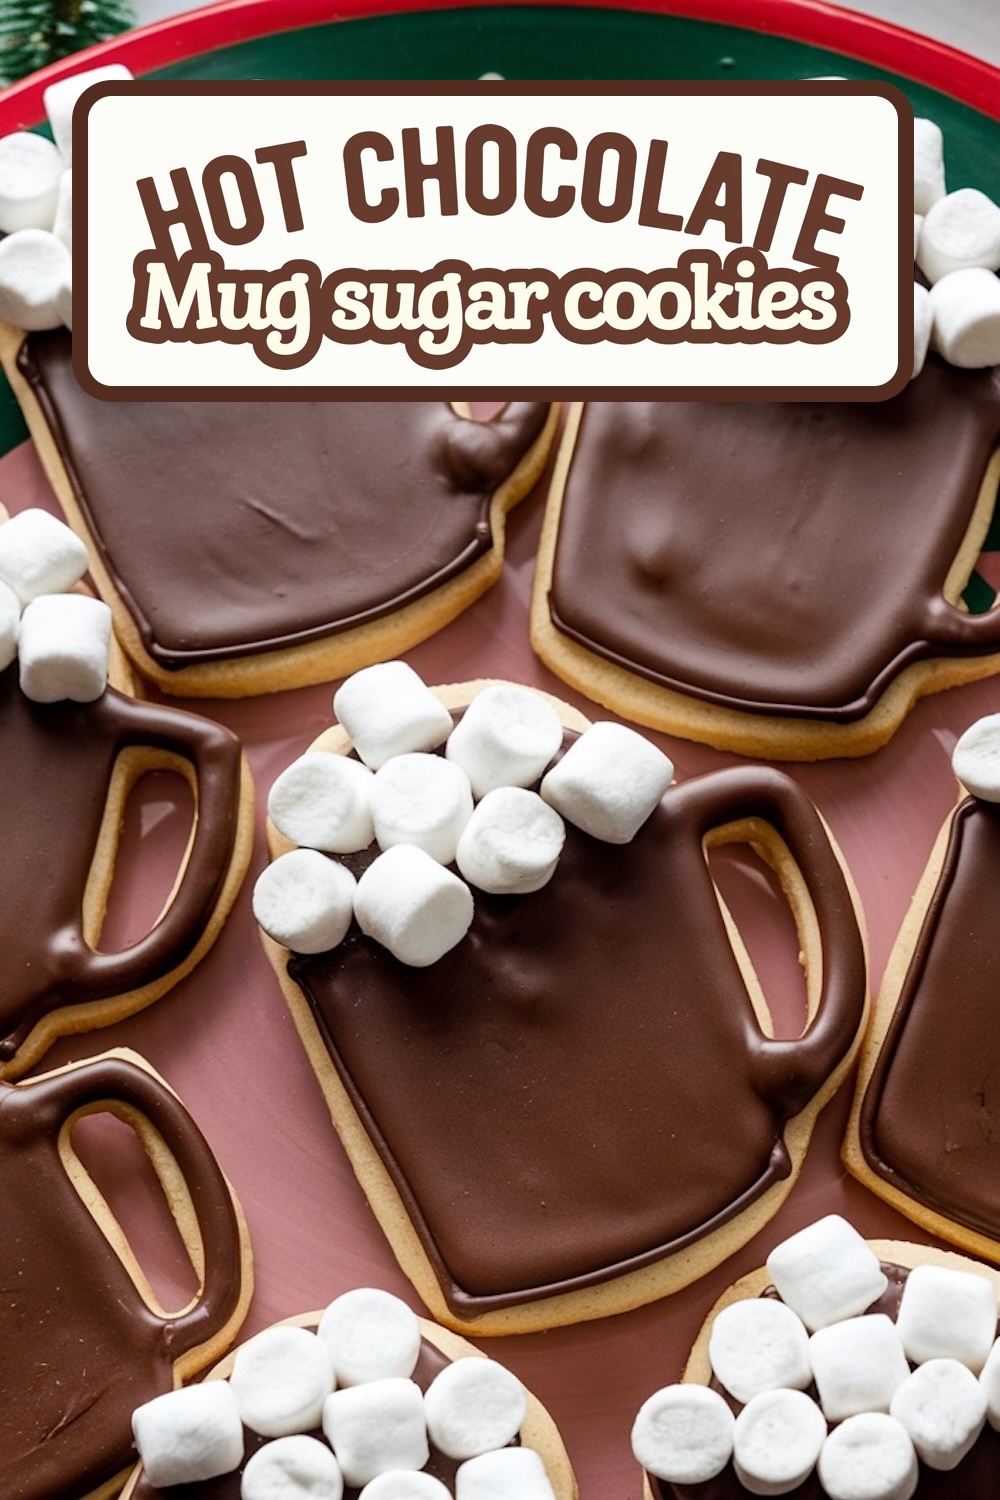
There’s something magical about sipping a cozy mug of hot chocolate on a chilly day. It’s one of those simple pleasures that instantly brings warmth and comfort. So why not take that comforting feeling and transform it into an adorable and delicious sugar cookie? That’s exactly what these Hot Chocolate Mug Sugar Cookies do. Each bite captures the charm of a wintery afternoon wrapped in a blanket, hands curled around a steaming mug of cocoa, while the soft and buttery sugar cookie melts on your tongue.
For more simple and delicious ideas, check out my popular collection of 50 Easy Christmas Desserts—perfect for effortless holiday baking everyone will love!
Following a special diet?
Every recipe on this site can be converted to gluten-free, vegan, dairy-free, keto, nut-free or egg-free with adjusted ratios so nothing falls flat.
Try the Recipe Converter →The Inspiration Behind the Recipe
Growing up, the first signs of winter in our house meant one thing: hot chocolate. My mom would make us big mugs of creamy cocoa, always topped with way too many marshmallows (as if there could ever be too many!). We’d sit around the fireplace, watching the snow pile up outside, and savor the simple joy of chocolate and marshmallows melting together. Those moments were pure magic, and when I set out to create this cookie recipe, I wanted to capture that nostalgia. These cookies are a little love letter to those winter evenings, but in edible form. Just like a hot cocoa on a cold day, they’re warm, inviting, and oh-so-sweet!
What You’ll Need for These Festive Cookies
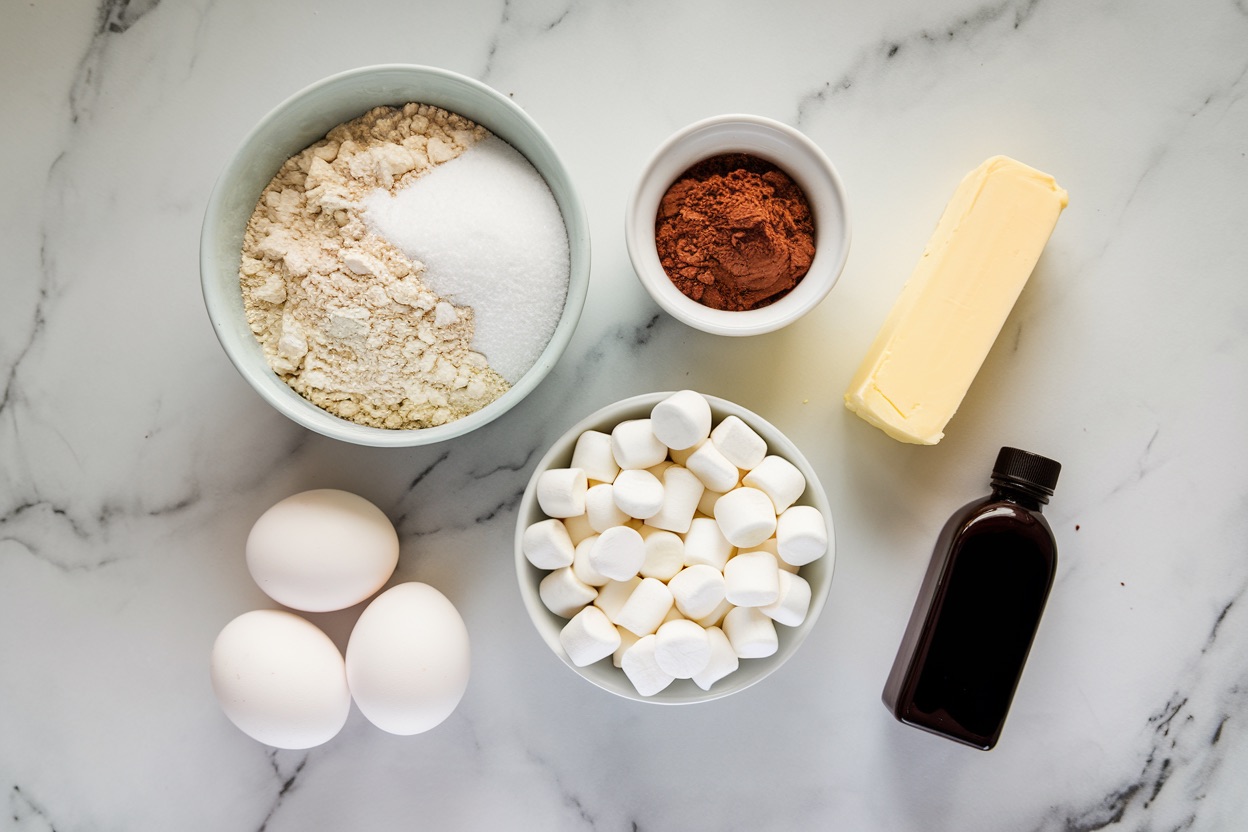
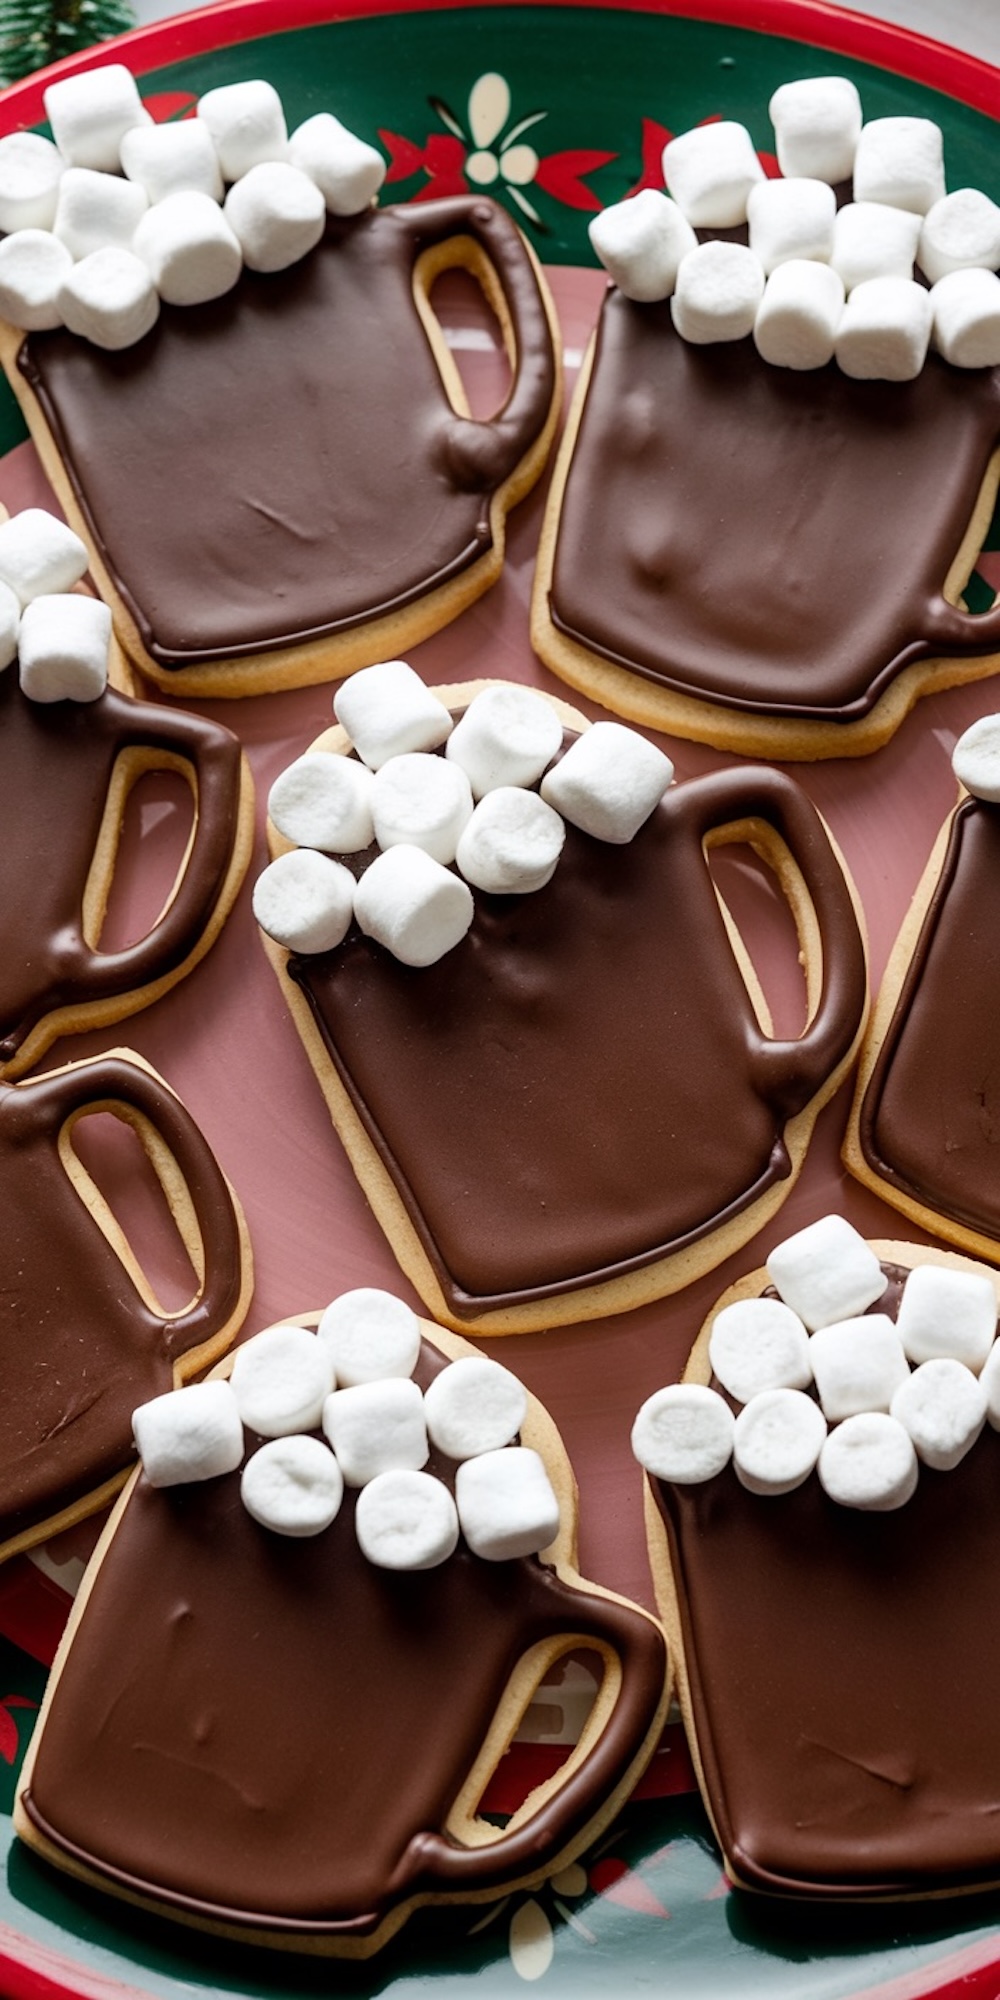
To make these Hot Chocolate Mug Sugar Cookies, you’ll need a few basic baking ingredients and some fun extras for decorating. The sugar cookie base is soft yet sturdy enough to hold its shape, making it perfect for detailed designs like these little cocoa mugs. Here’s what you’ll need to bring this recipe to life:
- Basic Sugar Cookie Dough: A simple combination of flour, sugar, butter, and eggs creates the base of the cookie. A touch of vanilla and almond extract enhances the flavor and adds a subtle sweetness that pairs perfectly with the royal icing.
- Royal Icing: This icing is the key to decorating. Made from powdered sugar and meringue powder, it dries hard and smooth, making it ideal for intricate designs. You’ll color part of the icing to mimic the look of hot chocolate, while leaving some of it white for the mug details and “marshmallows.”
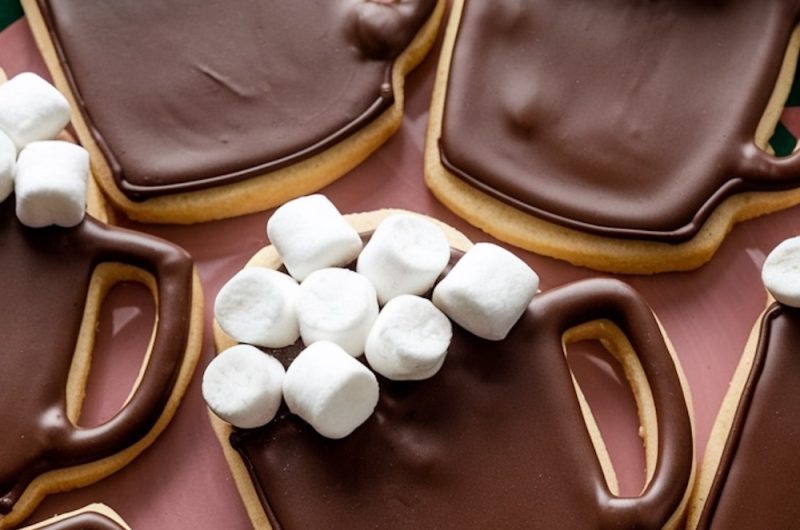
- Mini Marshmallows: These are the final touch that makes these cookies pop. Little marshmallows sit atop the “chocolate” icing, making the cookies look like a real mug of cocoa ready to be sipped.
- Brown Food Coloring: A drop or two of brown food coloring turns plain royal icing into the rich cocoa-colored topping for your cookies.
Rolling Out and Cutting Your Cookies

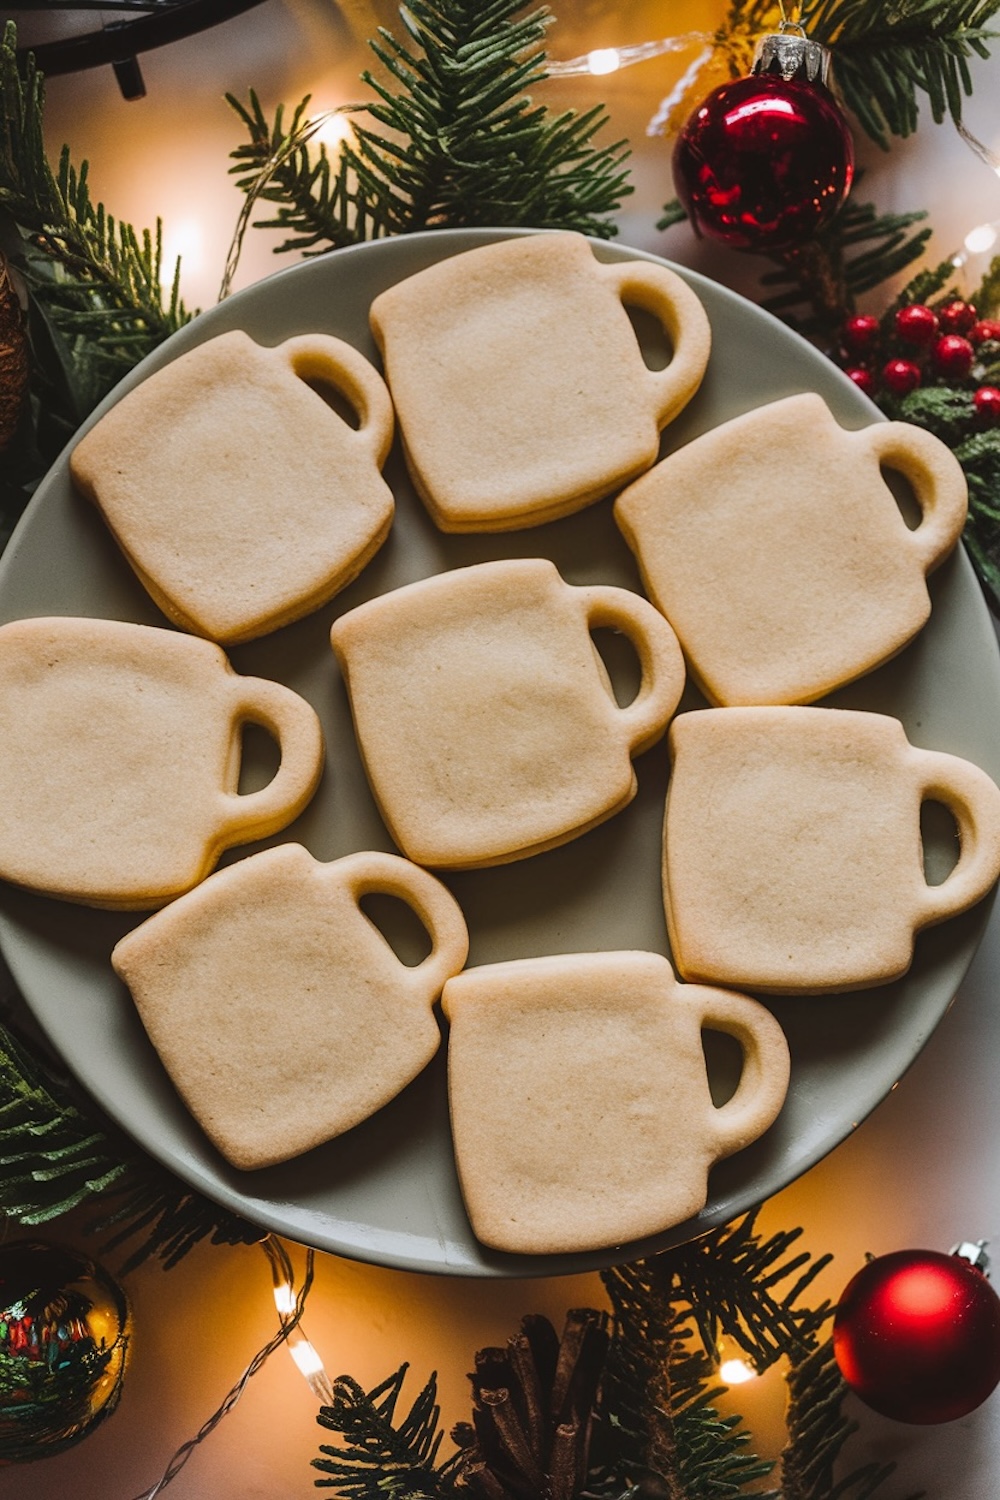
The fun part about this recipe is shaping the cookies to look like little mugs of hot chocolate. If you have a mug-shaped cookie cutter, you’re all set. But don’t worry if you don’t! You can easily use a knife to cut out the shape by hand. Here’s a simple method to do it:
- Chilling the Dough: Chilling is an important step. After mixing your dough, you’ll need to let it rest in the fridge. This firms it up, making it easier to roll and cut. If you skip this step, your dough might be too sticky, making the rolling process difficult.
- Shaping the Cookies: Once your dough is chilled, roll it out to about a ¼ inch thickness. If you’re cutting by hand, imagine a classic mug shape—wide at the top with a sturdy handle. Use a small knife to carefully trace and cut out the mug shapes. You can even add little handles by cutting small rectangles to attach to the sides.
Bringing the Mugs to Life with Icing
Now comes the creative part—decorating! The royal icing acts as the canvas for these cozy creations.
- Outlining the Mug: Start by outlining the edges of the mug with white icing. This creates a clean border and gives the cookie its defined shape. The icing will also act as a barrier when you fill in the mug with “chocolate” icing.
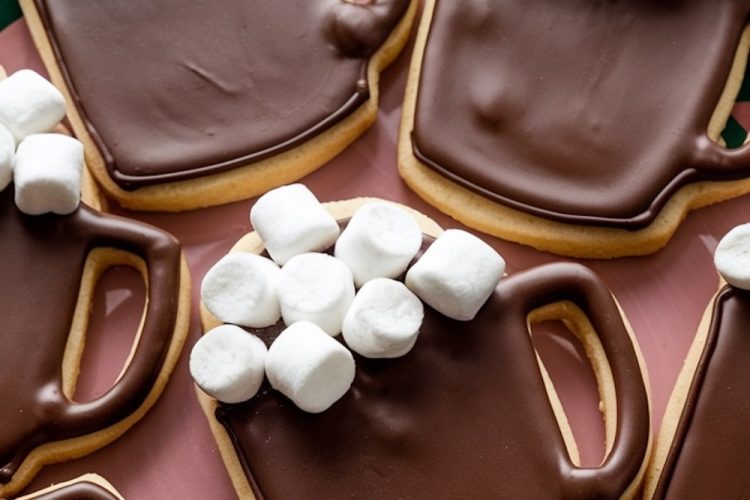
- Filling in the Cocoa: Once the white outline has dried a bit, it’s time to add the “hot chocolate.” Take your brown-tinted icing and flood the inside of the mug, creating the illusion of a rich, steaming cup of cocoa. The trick here is to work gently and give the icing time to spread evenly.
- Adding Marshmallow Magic: While the brown icing is still soft, carefully press mini marshmallows into the top to mimic those floating on real hot chocolate. It’s best to do this while the icing is still wet so the marshmallows stick firmly.
Perfecting the Process: Expert Tips
While this recipe is fairly straightforward, here are some tips to make sure your cookies turn out perfect every time:
- Keep the Dough Chilled: If your dough starts to feel too soft while you’re cutting out shapes, pop it back in the fridge for a few minutes. Cold dough holds its shape better in the oven, preventing your cookies from spreading too much.
- Thin Royal Icing: When making royal icing, it’s easy to overdo the water. Start with less and gradually add more until you reach the right consistency. You want it to be thick enough to hold its shape when piped, but thin enough to flood the cookies without lumps.
- Let the Icing Set Fully: It might be tempting to rush the decorating process, but patience is key here. Let your icing set completely before adding the marshmallows or stacking the cookies. This ensures a clean, professional finish.
Creative Serving Suggestions
These cookies aren’t just a treat for the eyes—they make fantastic gifts and party favors, too! Here are a few fun ways to share them:
- Hot Chocolate Gift Set: Pair a few of these cookies with a mason jar filled with homemade hot cocoa mix and a bundle of mini marshmallows. Tie it all together with a festive ribbon for a thoughtful winter gift.
- Holiday Dessert Tray: Add these cookies to your holiday dessert spread alongside gingerbread men and peppermint bark for a winter wonderland of treats.
- Edible Ornaments: If you’re feeling extra creative, poke a small hole in the top of each cookie before baking. Once decorated, string a ribbon through the hole, and you’ve got edible mug-shaped ornaments for your Christmas tree!
Hot Chocolate Mug Sugar Cookies Recipe
Course: Cake Ideas20-24
servings30
minutes8
minutes180
kcalIngredients
- For the Sugar Cookies:
2 ¾ cups all-purpose flour
1 teaspoon baking powder
¼ teaspoon salt
1 cup unsalted butter, softened
1 cup granulated sugar
1 large egg
1 teaspoon vanilla extract
½ teaspoon almond extract (optional)
- For the Royal Icing:
3 cups powdered sugar, sifted
2 tablespoons meringue powder
4-5 tablespoons water
1 teaspoon vanilla extract
Brown food coloring gel (for the mug and cocoa)
- For Decoration:
Mini marshmallows
Piping bags with small round tips
Mug-shaped cookie cutter (or a knife to cut by hand)
Steps
- Step 1: Prepare the Sugar Cookies
- Mix the dry ingredients: In a medium bowl, whisk together the flour, baking powder, and salt. Set aside.
- Cream the butter and sugar: In a large bowl, using a mixer, cream together the softened butter and sugar until light and fluffy (about 2-3 minutes). Add the egg, vanilla extract, and almond extract (if using), and beat until well combined.
- Add the dry ingredients: Gradually add the flour mixture to the wet ingredients, mixing on low until fully incorporated. The dough should come together and pull away from the sides of the bowl.
- Chill the dough: Divide the dough in half, wrap each portion in plastic wrap, and chill in the refrigerator for at least 1 hour (or up to overnight) to make rolling easier.
- Preheat the oven: Once the dough is chilled, preheat your oven to 350°F (175°C). Line two baking sheets with parchment paper.
- Roll and cut the cookies: On a lightly floured surface, roll out the dough to about ¼ inch thickness. Use a mug-shaped cookie cutter to cut out the cookies. If you don’t have a mug-shaped cutter, use a knife to carefully create the shape.
- Bake the cookies: Transfer the cut-out cookies to the prepared baking sheets. Bake for 8-10 minutes, or until the edges are lightly golden. Let the cookies cool on the baking sheet for 5 minutes before transferring to a wire rack to cool completely.
- Step 2: Prepare the Royal Icing
- Make the icing: In a large bowl, combine the powdered sugar and meringue powder. Add 4 tablespoons of water and vanilla extract, and beat the mixture using an electric mixer on medium speed for about 5 minutes until the icing forms stiff peaks. If the icing is too thick, add a little more water, a teaspoon at a time, until you reach a smooth but thick consistency.
- Color the icing: Divide the icing into two bowls. Leave one bowl white for the outline and mini marshmallow details. In the second bowl, add brown food coloring to make the “chocolate” icing. Mix until you reach the desired shade of rich cocoa.
- Step 3: Decorate the Cookies
- Outline and flood the mugs: Transfer the white icing into a piping bag with a small round tip (for outlining the mug). Carefully pipe the outline of the mug’s handle and base. Let it dry for a few minutes. Then, use the brown icing to flood the inner part of the mug (this will be the “hot chocolate”). Let the icing set for about 30 minutes.
- Add the mini marshmallows: Once the brown icing is set but not fully hardened, place mini marshmallows on the top part of the cookie to resemble marshmallows floating in hot chocolate. Gently press them into the icing so they stick.
- Let them dry: Allow the cookies to dry completely (at least 2 hours or overnight) before serving or packing them up.
Dear Reader
These Hot Chocolate Mug Sugar Cookies are more than just a treat—they’re a sweet way to relive the cozy moments that make winter so special. Whether you’re sharing them with family, giving them as gifts, or enjoying them with a warm drink, they’re sure to bring warmth and joy to any occasion.
Love this recipe? Don’t forget to pin it to your favorite holiday dessert board for later! And if you try it out, I’d love to hear how it went—leave a comment below and let’s chat about your cookie adventures.