This recipe for mint chocolate chip snowball cookies blends soft, buttery texture with cool peppermint and chocolate chips. Each cookie delivers the signature powdered sugar coating that defines classic snowball cookies, with a refreshing twist for holiday trays, cookie exchanges, or cozy baking days.
These mint snowball cookies come together quickly and bake in under 15 minutes, making them an easy mint Christmas cookie recipe worth repeating.
Following a special diet?
Every recipe on this site can be converted to gluten-free, vegan, dairy-free, keto, nut-free or egg-free with adjusted ratios so nothing falls flat.
Try the Recipe Converter →The key to a melt-in-your-mouth snowball cookie recipe lies in the butter-to-flour ratio. With a full cup of unsalted butter to just two cups of flour, the dough stays rich but soft. That ratio allows the cookies to hold their shape without becoming dense.
Some bakers add eggs or leavening, but snowball cookies work best without either. No eggs means a more delicate crumb. No baking powder means they don’t puff or crack, so they keep that round, smooth dome. I’ve tested versions with both and always return to this structure.
The powdered sugar as the base sweetener, instead of granulated, helps with that smooth, tender bite. It blends seamlessly into the butter and avoids any grit.
Every Ingredient Has a Purpose
Softened unsalted butter creates the structure. Room temperature makes all the difference here. Cold butter breaks the dough. Melted butter turns it greasy.
Powdered sugar doesn’t just sweeten the dough, it binds gently. That’s why the outside coating clings so well after baking.
Pure peppermint extract brings the mint chocolate chip cookies flavor to life without overpowering. I avoid artificial mint flavoring. The real stuff is sharper, cleaner.
Vanilla adds warmth. It rounds out the sharp mint and supports the chocolate.
All-purpose flour gives body and a slight chew. I don’t recommend cake flour it makes them too soft and crumbly to handle.
Mini chocolate chips distribute evenly. Regular-size chips tend to pop out or cause the dough to split when rolling. You can still use them, but press them in gently.
A pinch of salt keeps everything balanced. Without it, the flavor feels flat.
Green gel food coloring is optional, but just one or two drops gives a soft hue that stands out on a cookie platter without looking artificial.
The One Element You Can’t Skip
The double sugar coating defines snowball cookies. First roll happens while they’re still warm. That heat helps the sugar melt slightly and stick like a base layer. The second coating, done once fully cooled, adds the classic snowy finish.
Skip that second roll and they’ll look patchy. I’ve tried tapping the sugar on with a sifter or spoon—never the same. Rolling by hand works best. It’s a little messy, but that’s part of the charm.
If you’re already making these for a cookie exchange, you might also like my Winter Wonderland Chocolate Chip Cookies. They’re equally festive and easy to batch.
What It Looks Like As You Go
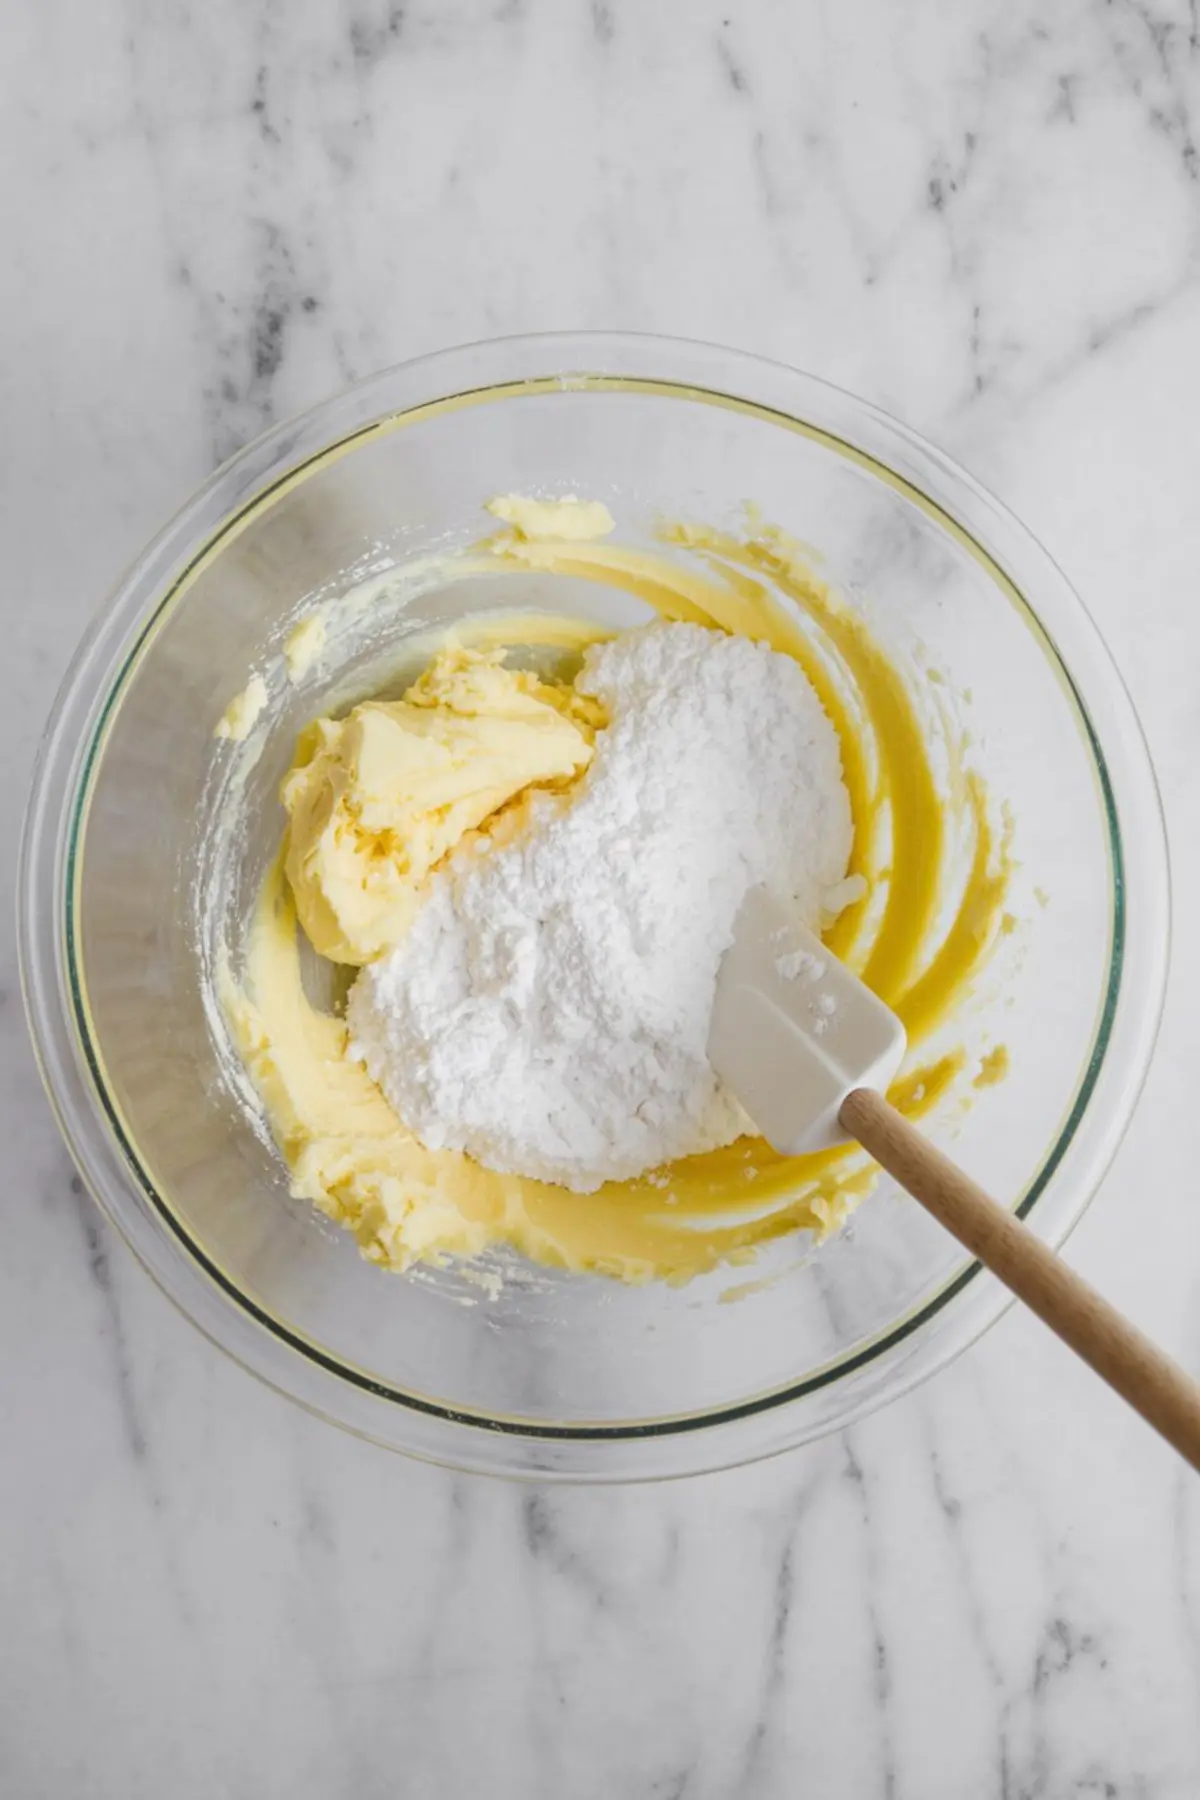
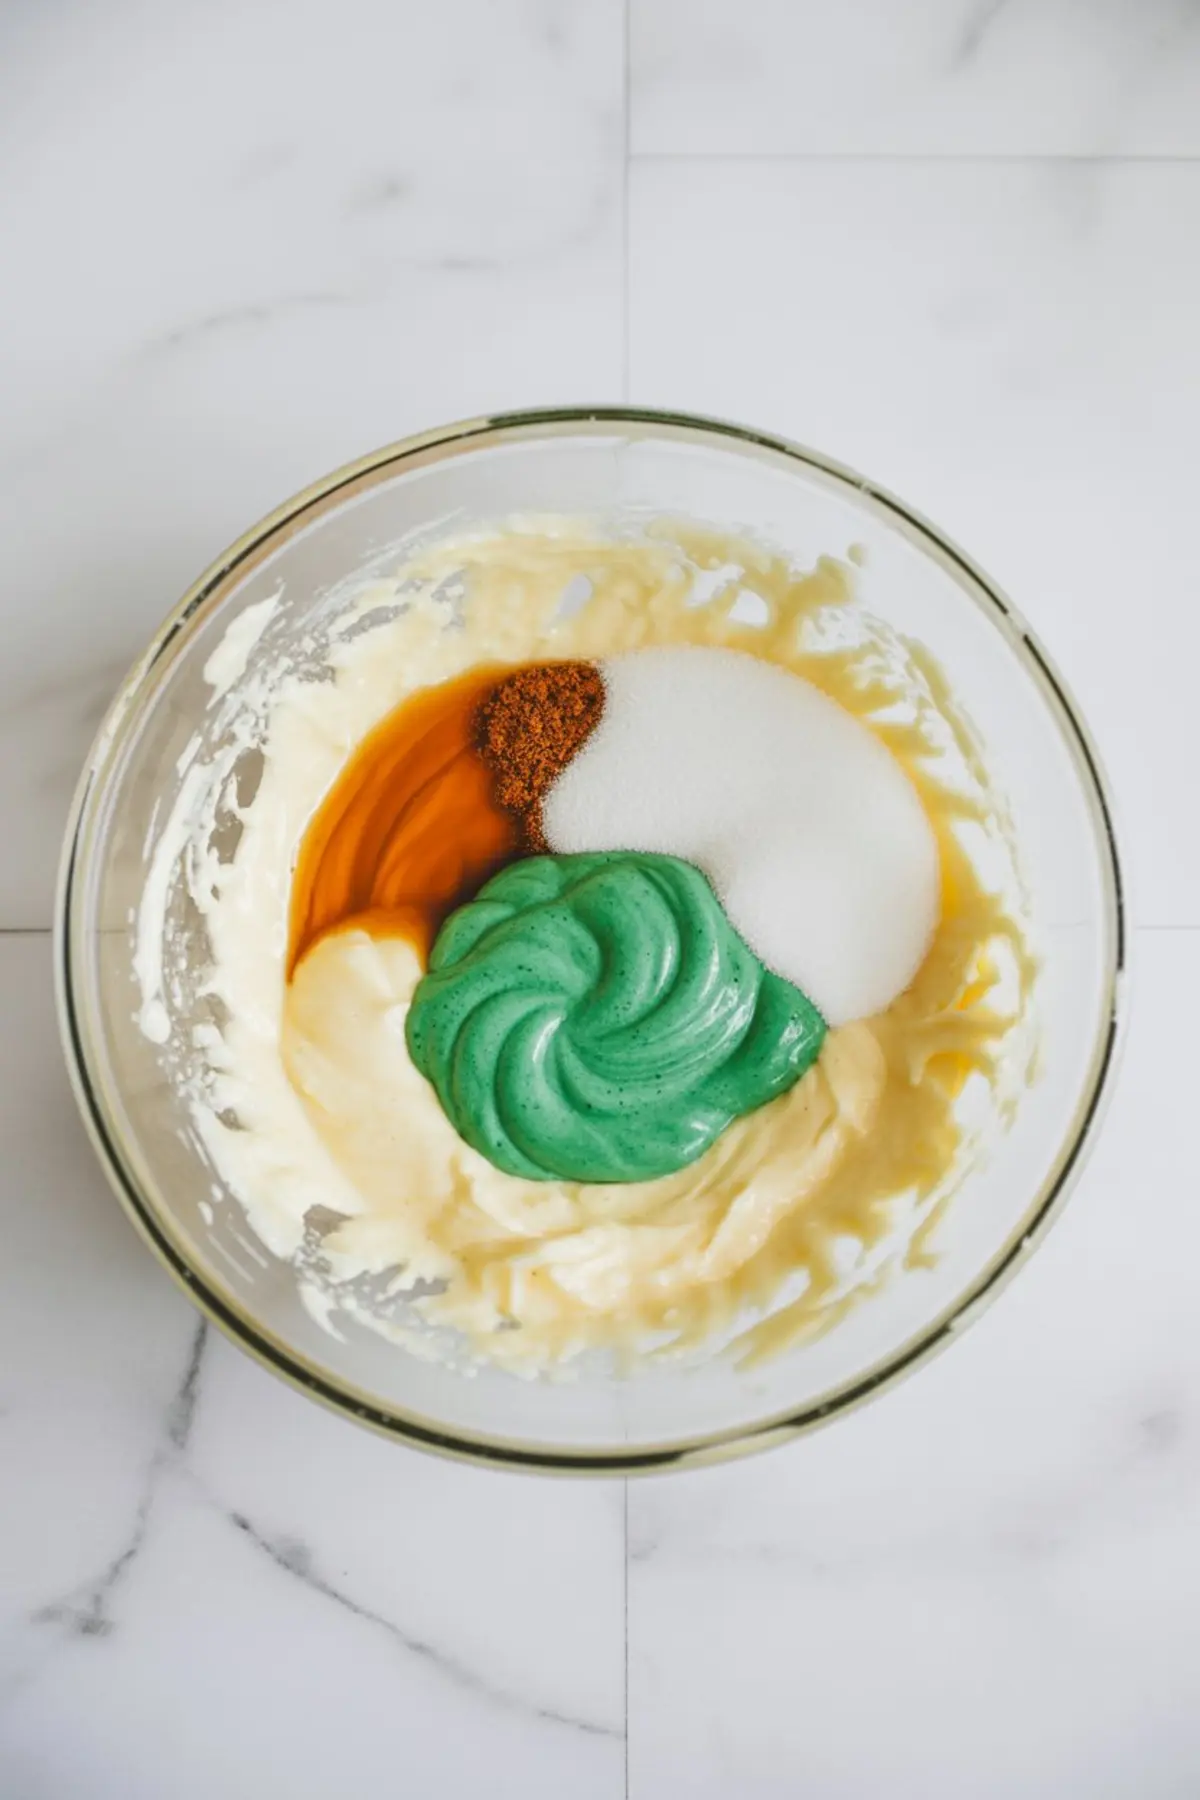
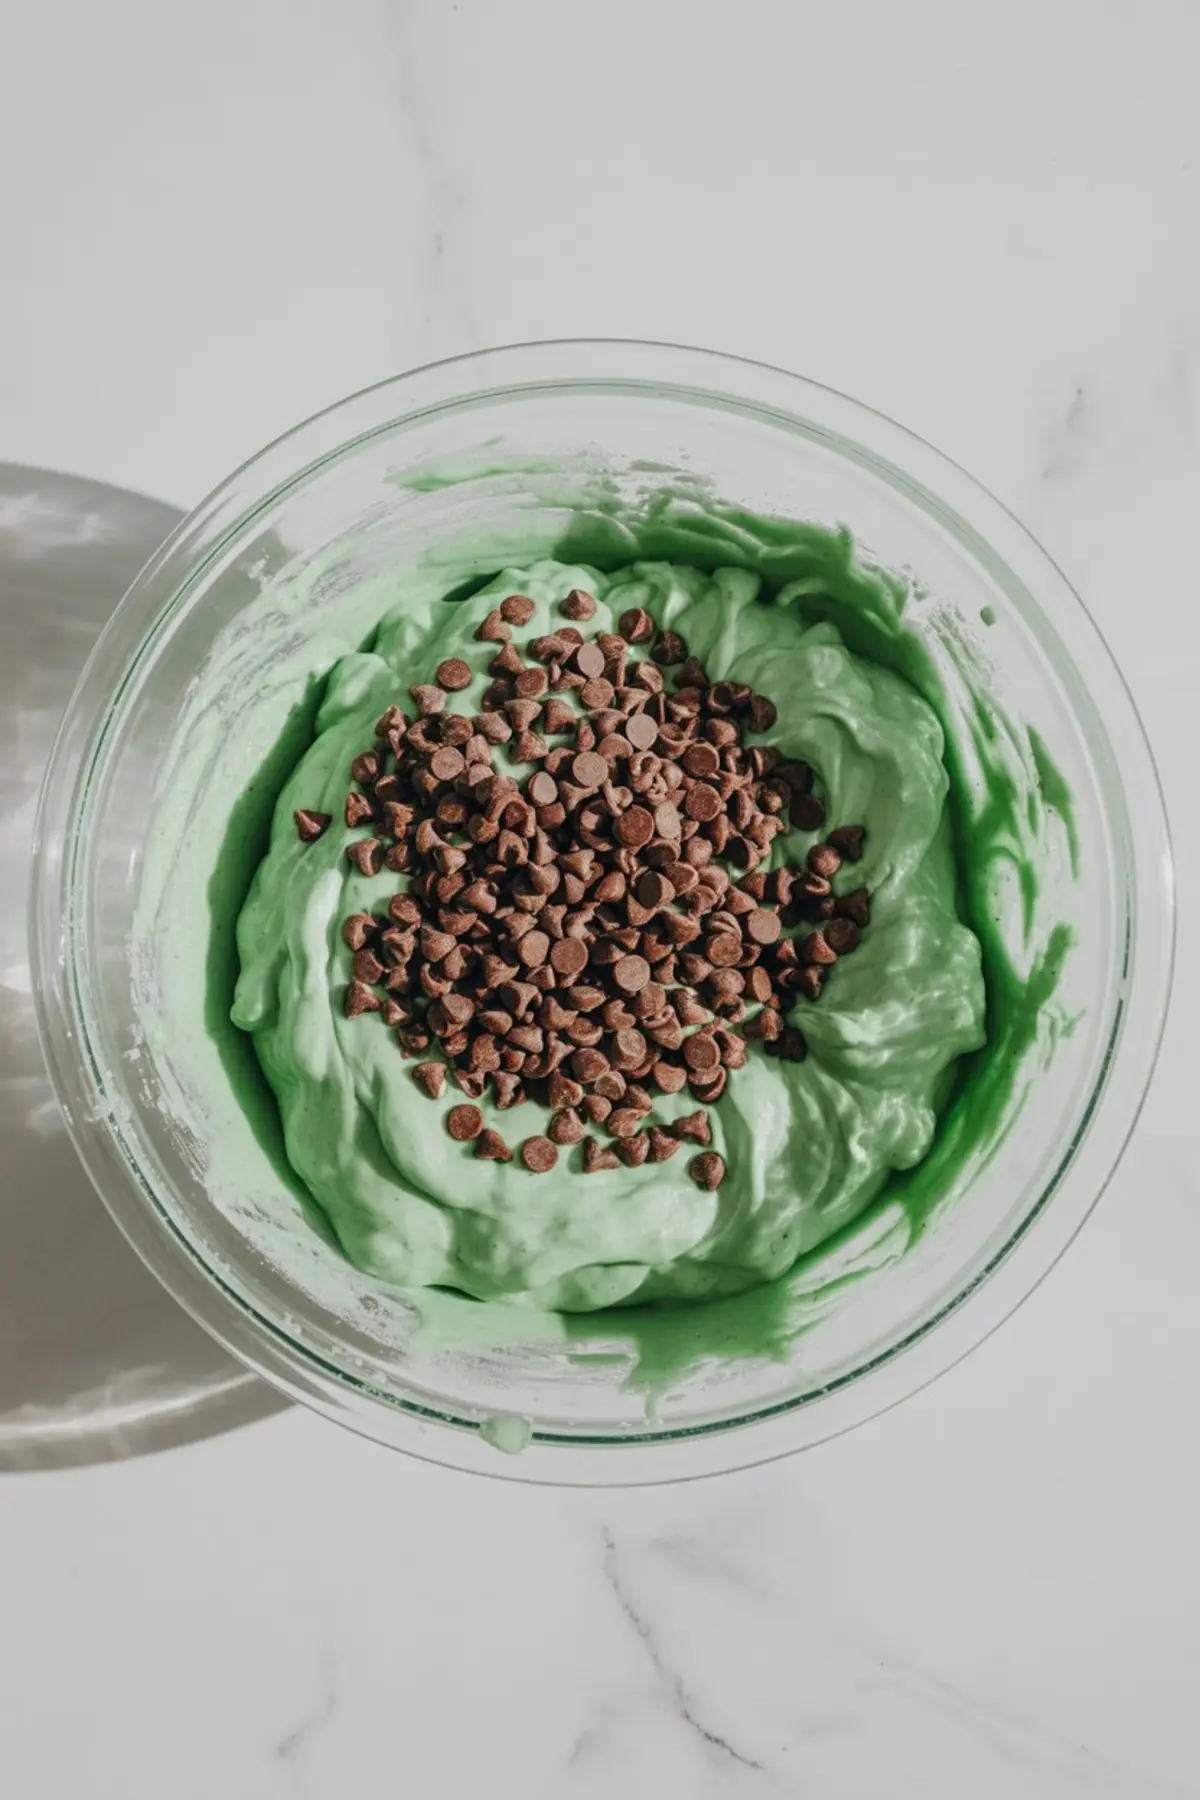
When creaming the butter and powdered sugar, aim for light and fluffy. It takes about 2 minutes. The mix should look pale and airy, like whipped frosting. After adding the extracts and coloring, you’ll notice the texture loosen slightly. That’s expected.
Flour goes in gradually. Once added, mix just until you can pinch the dough and it holds shape. Overmixing leads to tough cookies. Chocolate chips go in last, stirred by hand. That helps preserve the dough structure.
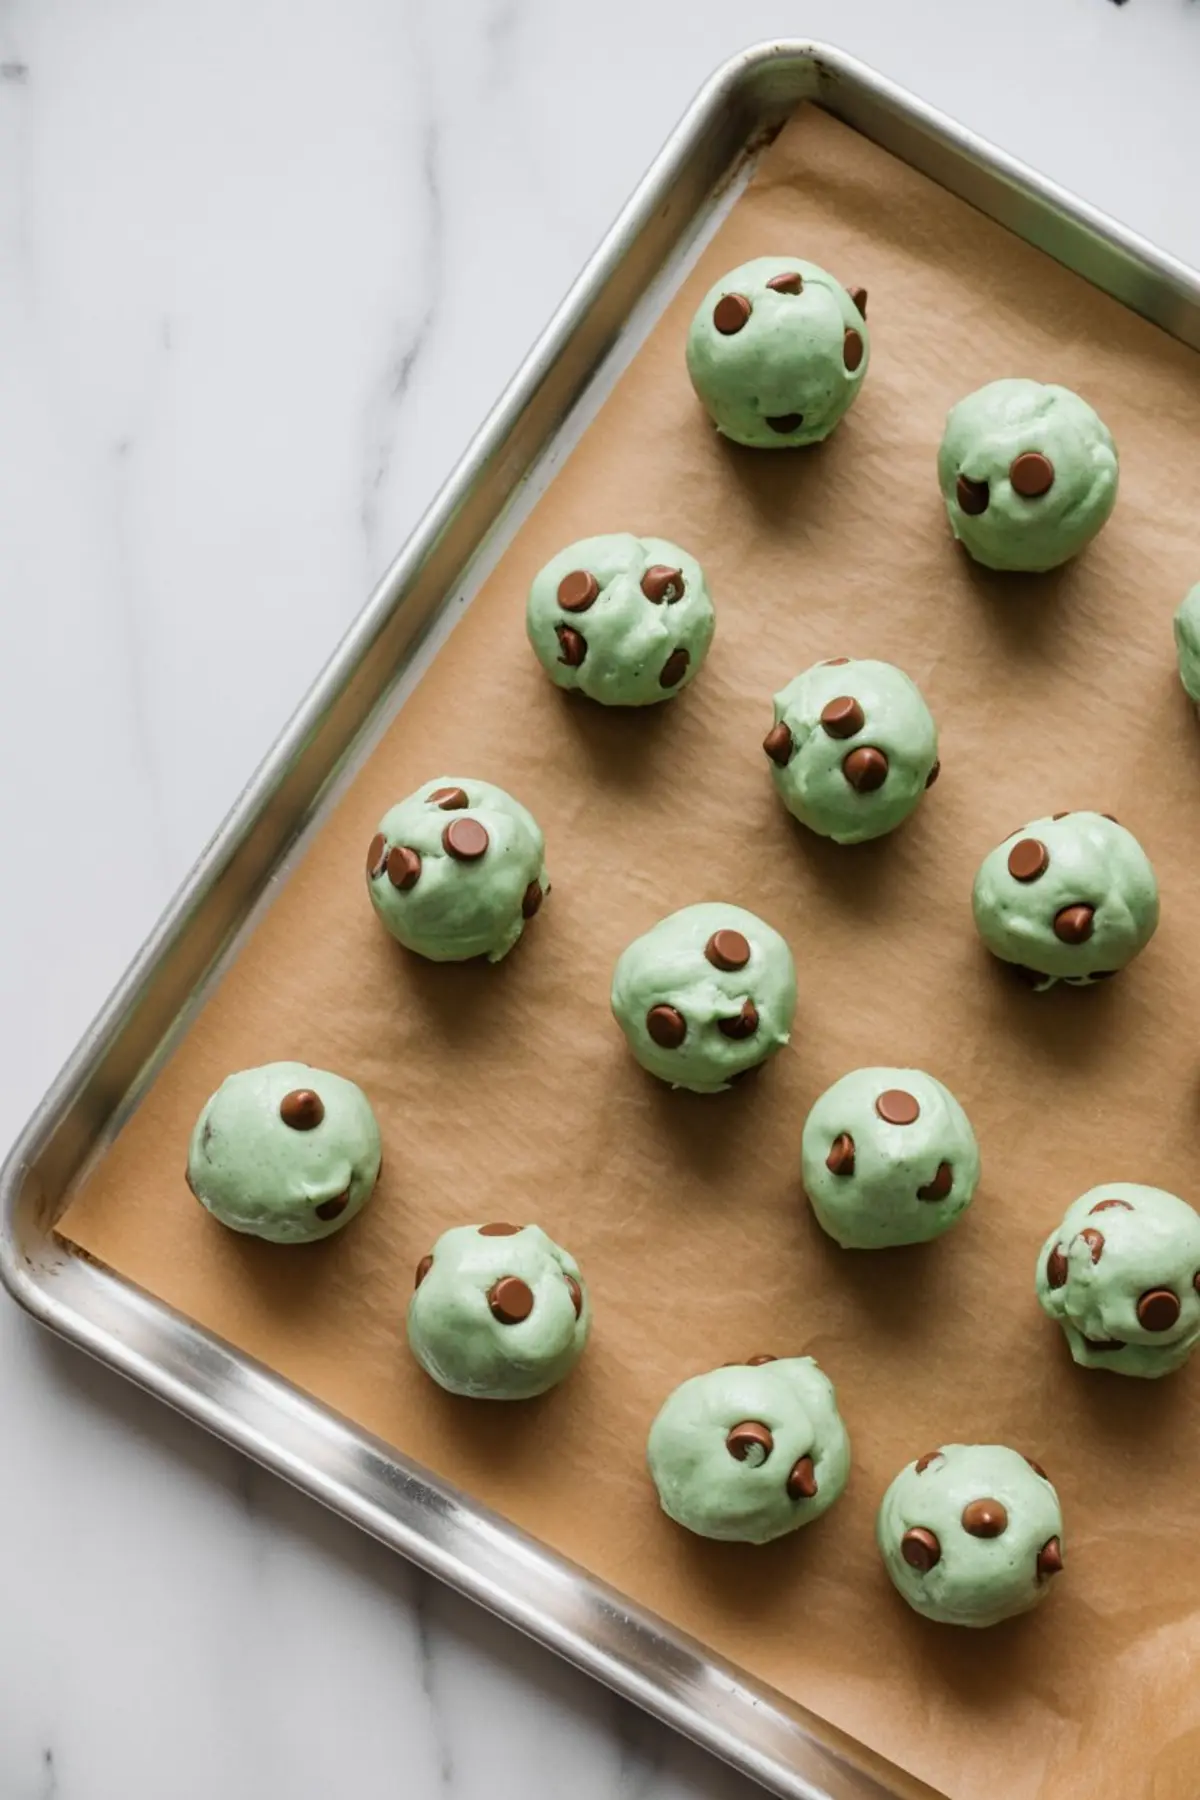
Form each cookie into a tight ball. They won’t spread much. Place them one inch apart to allow for air flow, but they’ll hold their shape.
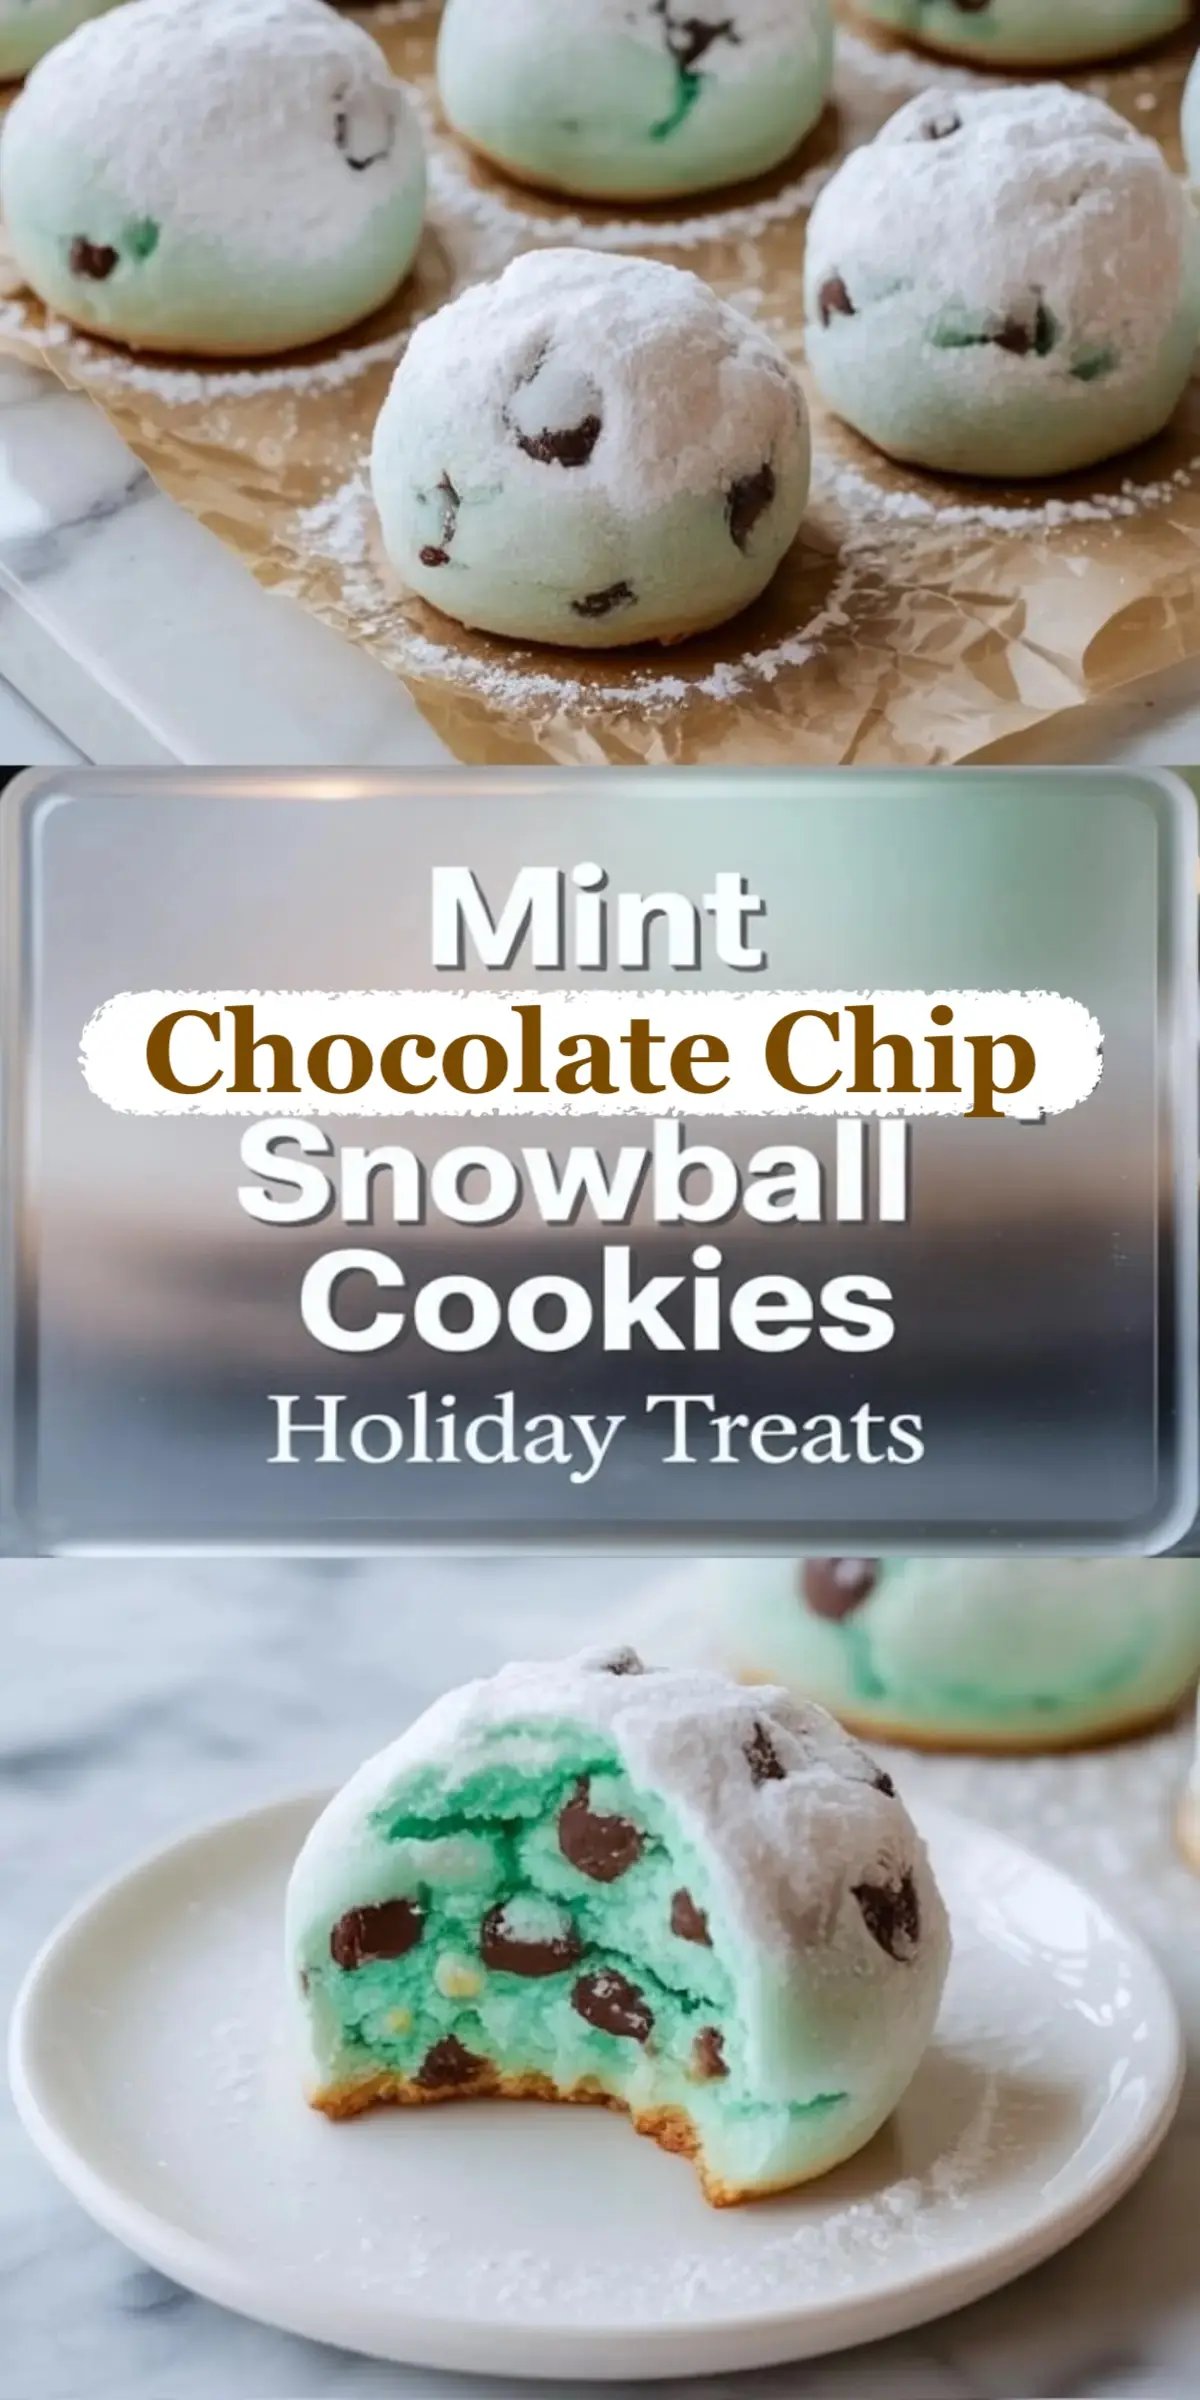
Once baked, the bottoms should turn faintly golden. Tops will look pale and feel soft, not firm. That’s correct. Don’t wait for browning on top.
Try this technique with my Peppermint Chocolate Chip Cookies if you want a more traditional chewy version with the same flavor base.
When They’re Ready and What to Watch
They bake quickly. Keep an eye around the 11-minute mark. Underdone cookies collapse after rolling in sugar. Overbaked ones crack and lose that melt-in-your-mouth feel.
When finished, the bottoms lift easily with a spatula. Let them sit for 5 minutes before rolling in sugar. If they fall apart when you touch them, they need a minute longer.
If you accidentally overbake, dust with extra powdered sugar and serve them as crunchy mint cookies. Still good, just different texture.
Common Issues and How to Fix Them
If your dough is crumbly, the butter may have been too cold. Let it rest 5 more minutes, then remix gently.
If the cookies flatten, the butter may have been too warm. Chill the dough 10 minutes before baking.
If the sugar doesn’t stick well, try rolling the cookies when they’re slightly warmer. Powdered sugar melts slightly and clings better to warm surfaces.
If the chocolate chips clump in the dough, swap to mini chips or chop regular ones smaller.
Want something smaller and bite-sized? Try Peppermint Oreo Truffles for an easy no-bake option.
Storage Advice for Freshness
On the counter, these last about 5 days in an airtight container. They’ll stay soft but slightly firmer by day four.
In the fridge, they keep about a week, though the texture may stiffen slightly. Let them come to room temperature before serving.
To freeze, store cooled cookies in layers between parchment. They keep 6 weeks frozen. Thaw on the counter and re-roll in sugar if needed.
Notes From Testing
Use a small cookie scoop for even sizing. Mine is about 1 tablespoon.
Don’t bake multiple trays at once. One tray on the center rack bakes more evenly.
Use gel, not liquid, food coloring. Liquid changes the dough texture.
Measure flour by weight or fluff and spoon it. Packed flour leads to dry cookies.
Taste the dough. If the mint feels too strong raw, it usually mellows during baking.
Plate with Peppermint Mocha Pudding Parfaits for a matching dessert duo.
Save and Share This Snowball Cookie Recipe
Save this mint snowball cookie recipe to your Christmas cookie board so it’s ready when holiday baking starts.
Tried it with your own spin? Share in the comments how yours turned out. I’d love to hear if you made swaps or paired them with other cookies!
Mint Chocolate Chip Snowball Cookies
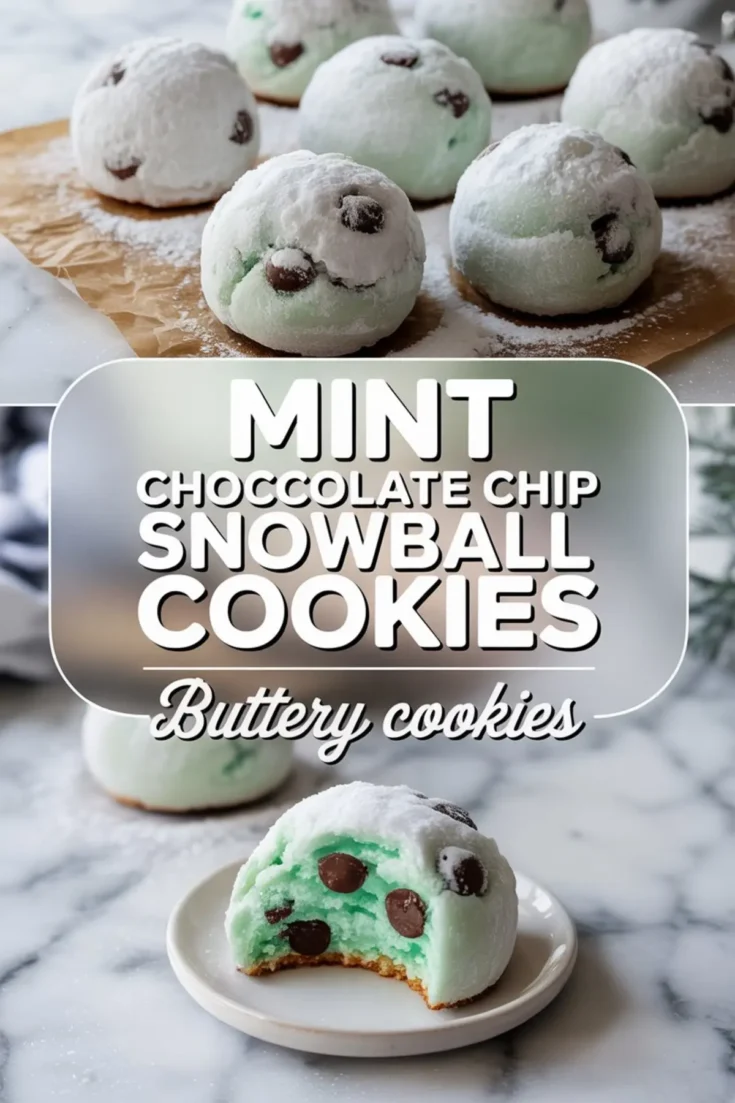
These mint snowball cookies bring a refreshing holiday twist to a buttery classic. Made with a hint of mint extract and mini chocolate chips, they’re rolled in powdered sugar for that signature snowy finish. Perfect for cookie exchanges, gifting, or festive trays, these mint chocolate chip snowball cookies will stand out in any Christmas mint snowball cookies collection. With a soft, melt-in-your-mouth texture, this snowball cookie recipe combines the coziness of the season with a subtle minty kick. Ideal for anyone who loves mint cookies, mint chocolate chip cookies, or easy mint chocolate cookies Christmas bakes.
Ingredients
- 1 cup (226g) unsalted butter, softened
- ½ cup (60g) powdered sugar (plus extra for coating)
- 1 ½ teaspoons pure peppermint extract
- ½ teaspoon vanilla extract
- 2 cups (240g) all-purpose flour
- ¼ teaspoon salt
- ¾ cup (120g) mini chocolate chips (or regular, if preferred)
- 1–2 drops green gel food coloring (optional)
Instructions
- PREHEAT THE OVEN: Preheat the oven to 350°F (175°C) and line a baking sheet with parchment paper to prevent sticking.
- CREAM THE BUTTER AND SUGAR: In a large mixing bowl, beat the softened butter and powdered sugar together for about 2 minutes until the mixture is light and fluffy.
- ADD EXTRACTS AND COLORING: Mix in the peppermint extract and vanilla extract. If using, add green gel food coloring and stir until the color is evenly distributed throughout the butter mixture.
- ADD FLOUR AND SALT: Add the all-purpose flour and salt to the bowl. Mix until the dough just comes together. Avoid overmixing to maintain a tender texture.
- FOLD IN CHOCOLATE CHIPS: Stir in the mini chocolate chips gently until they are evenly spread throughout the dough.
- FORM COOKIE BALLS: Scoop out tablespoon-sized portions of dough and roll them into balls. Place them 1 inch apart on the prepared baking sheet.
- BAKE THE COOKIES: Bake for 11 to 13 minutes, or until the bottoms are lightly golden. The tops will remain pale and soft, which is the correct texture for snowball cookies.
- FIRST SUGAR COATING: Allow cookies to cool on the baking sheet for 5 minutes. While still warm, roll each cookie in powdered sugar to coat.
- SECOND SUGAR COATING: Once cookies are fully cooled, roll them in powdered sugar a second time to achieve a thick, snowy appearance.
Notes
For a brighter green color, use an extra drop of gel food coloring. Cookies can be stored in an airtight container at room temperature for up to 5 days. To freeze, place cooled cookies in a single layer in a freezer-safe container. Dust with additional powdered sugar after thawing if needed.
Nutrition Information
Yield
24Serving Size
1Amount Per Serving Calories 214Total Fat 11gSaturated Fat 7gUnsaturated Fat 4gCholesterol 24mgSodium 96mgCarbohydrates 26gFiber 1gSugar 9gProtein 3g