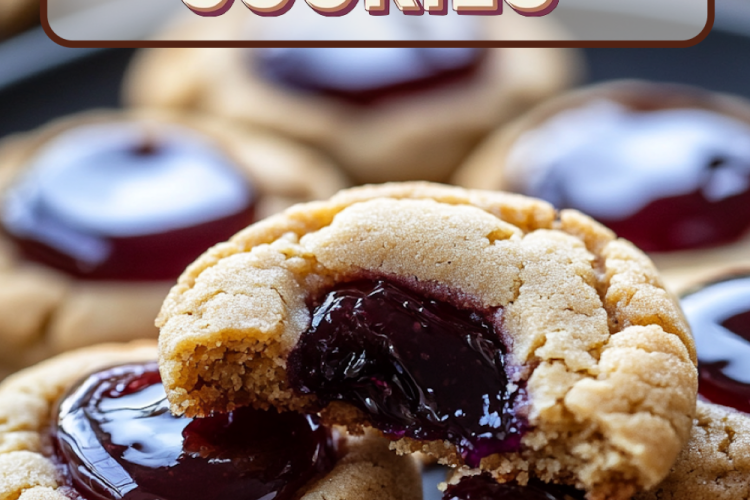
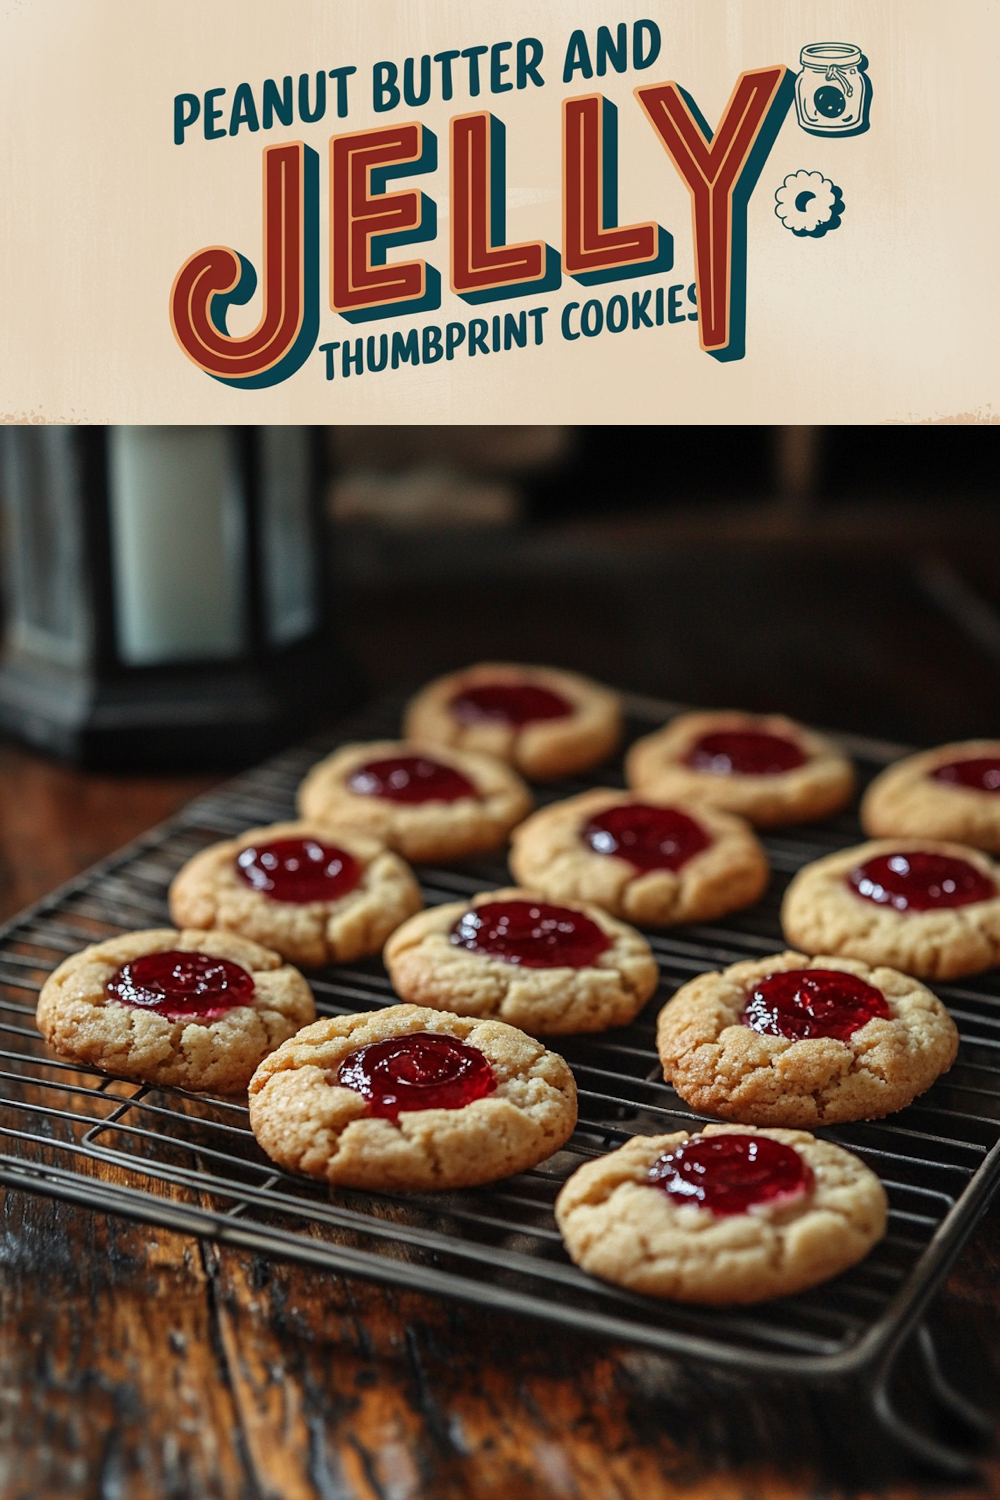
Those all-too-familiar things of childhood include peanut butter and jelly. Sweet and gooey all mixed together, creamy nutty goodness-pure magic. Now you can relive it in cookie form.
These thumbprint cookies take that whole sandwich thing and turn it into some fun little desserts: a soft peanut butter cookie holding onto a scoop of fruity jelly-perfect mix of flavors.

Following a special diet?
Every recipe on this site can be converted to gluten-free, vegan, dairy-free, keto, nut-free or egg-free with adjusted ratios so nothing falls flat.
Try the Recipe Converter →This is a classic thumbprint cookie recipe, and your kids and adults will be mighty pleased once they have tasted them. Now, get ready to taste them again, with a super fun twist!
Get ready for these PB&J thumbprint cookies to become your new sweet favorite. Comfy and new in a single delicious bundle-the ultimate combination. Prepare for your next baking adventure, which will delight your inner child and your taste buds.
Introduction to Peanut Butter and Jelly Thumbprint Cookies
Peanut butter and jelly-airy evoke childhood. Now, put this in a butter cookie. These thumbprint cookies bring together creamy peanut butter and sweet jam in a peculiar tart. These are some great twists on classic flavor combinations.
These cookies combine American and Swedish traditions. They are named after hallongrotta, which in Swedish means “raspberry cave.” The American influence is the peanut butter added to the mixture. Different types of jam are used instead of the usual raspberry filling.
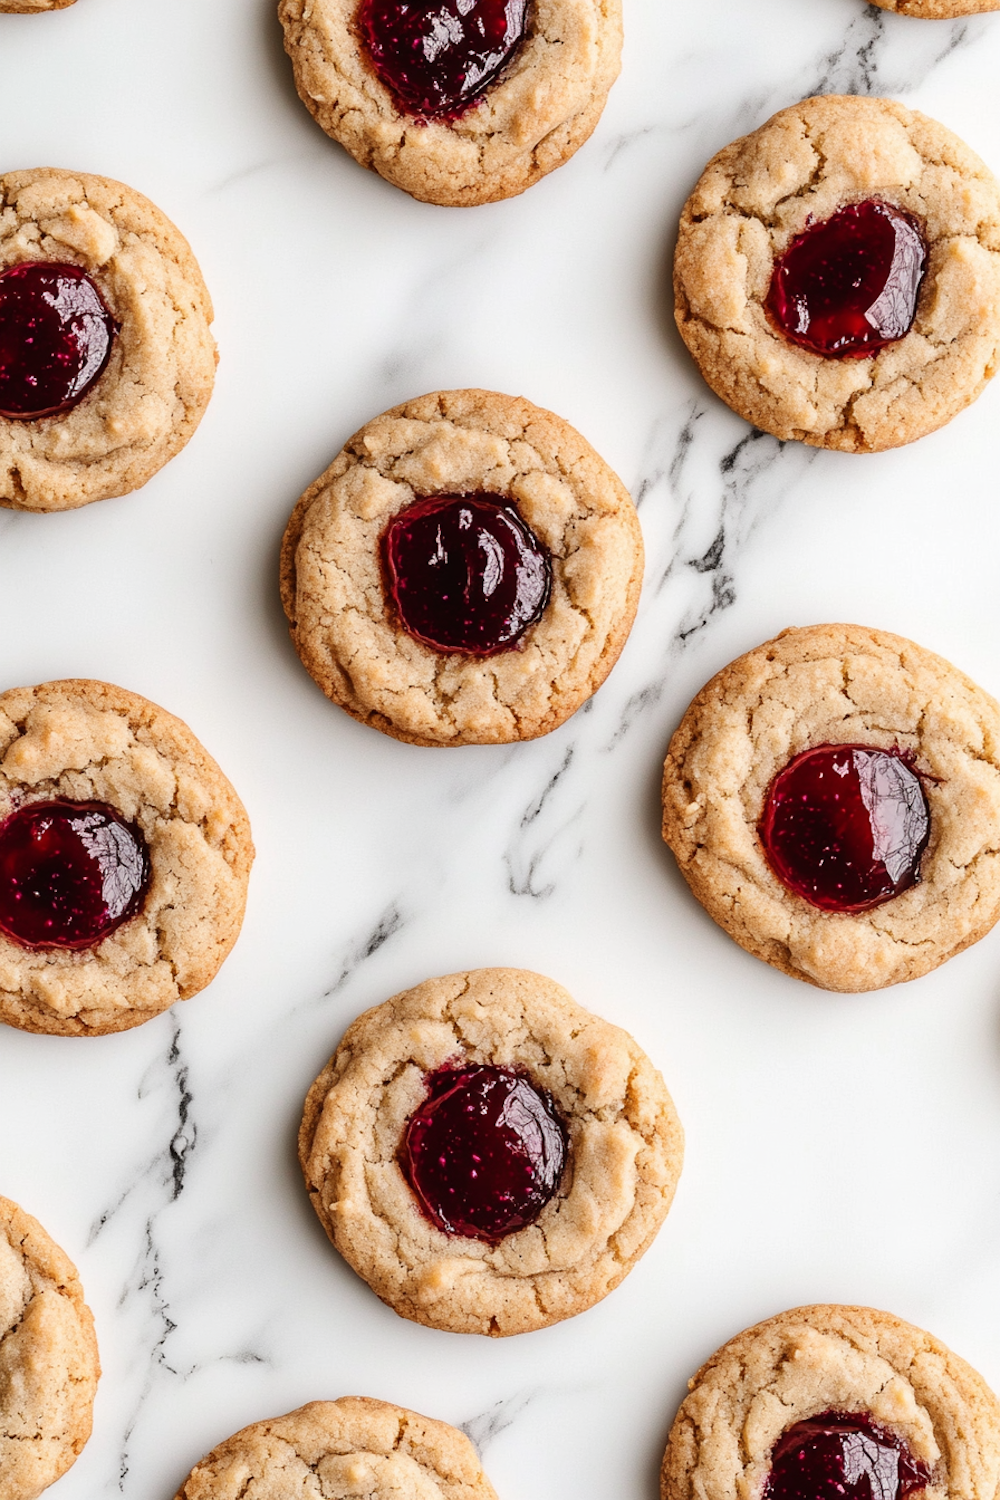
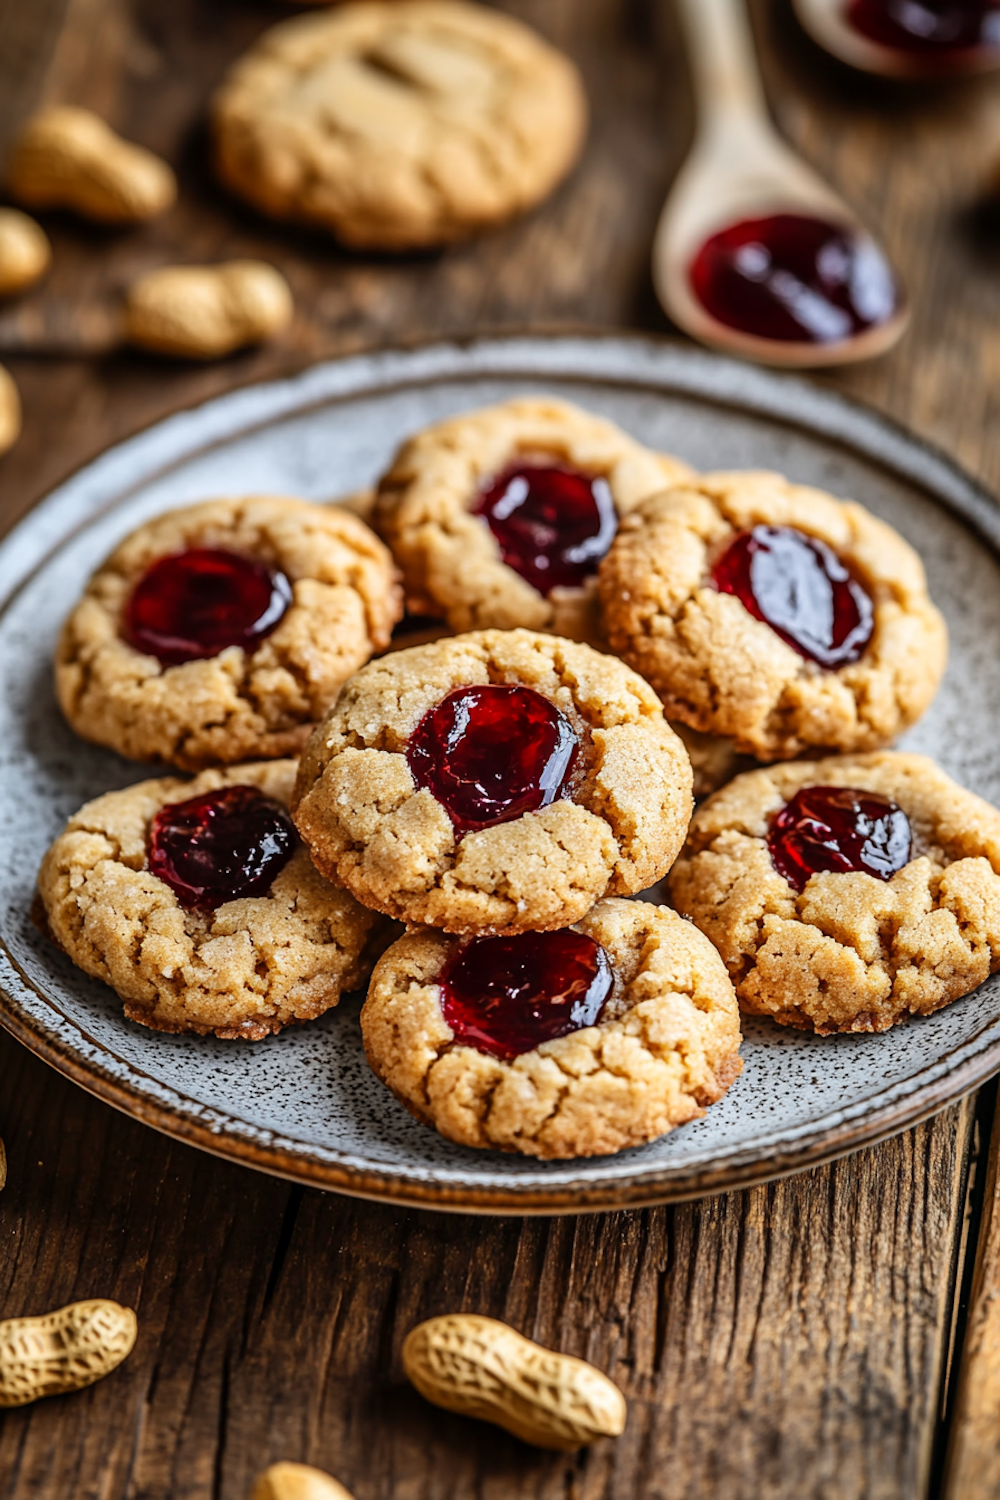
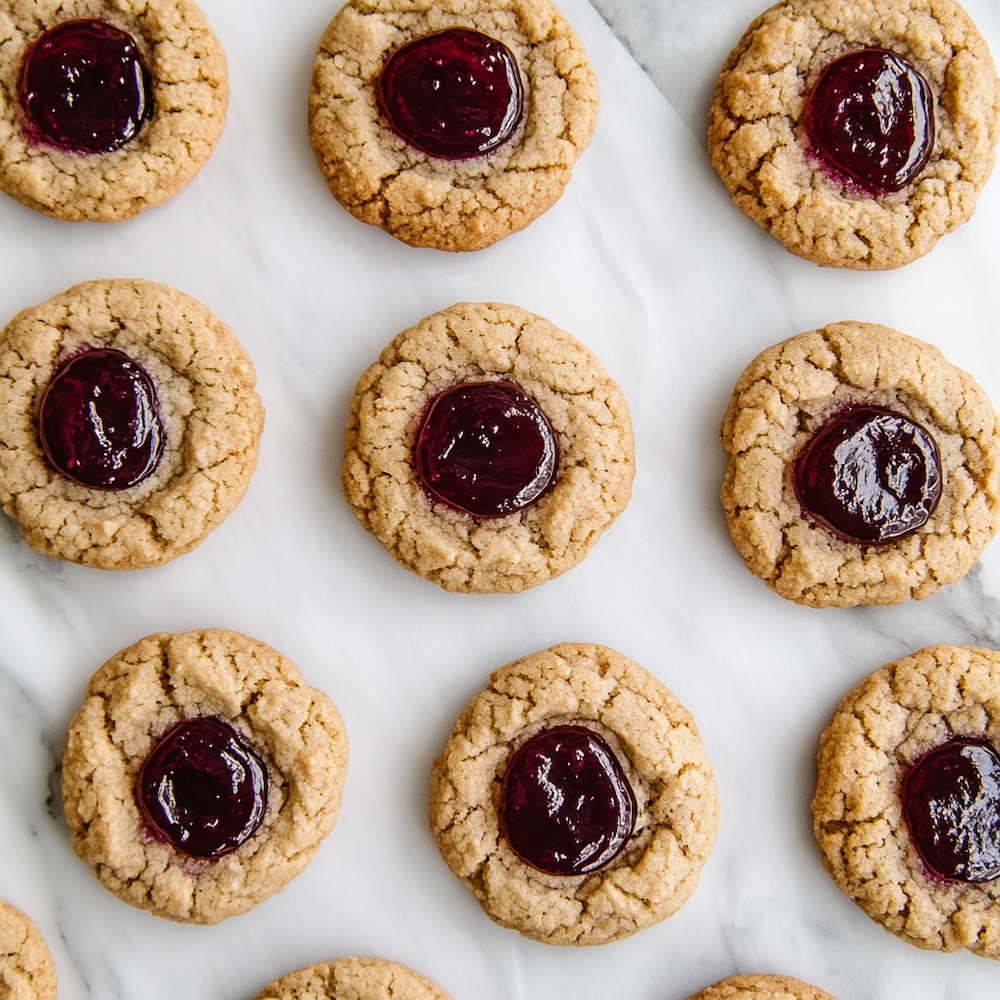
Texture is really what sets these cookies apart: crunchy outsides give way to soft interiors, perfectly complemented with rich peanut butter flavor; sweet jam centers-meaning this could very well be the work of a mini PB&J sandwich in cookie form.
These cookies are favored because of their simplicity and versatility; they are easily made and enjoyable to make personalized. With so many jams, there’s really no end of flavor combinations. These cookies can be very appealing at bake sales and family gatherings.
Cookies that brought back lunchbox memories. They’re simple to make for the novice and impressive enough for gatherings.
These cookies offer more than nostalgia. They’re versatile, allowing experimentation with different jelly flavors. They’re ideal for make-ahead baking too. Make a batch on Sunday for treats all week long.
Thinking of an after-school snack, or some other kind of potluck dessert? Well, these PB&J thumbprint cookies will do just perfectly. A deliciously different take on the classic combination that everybody will love.
The Essential Ingredients: A Closer Look
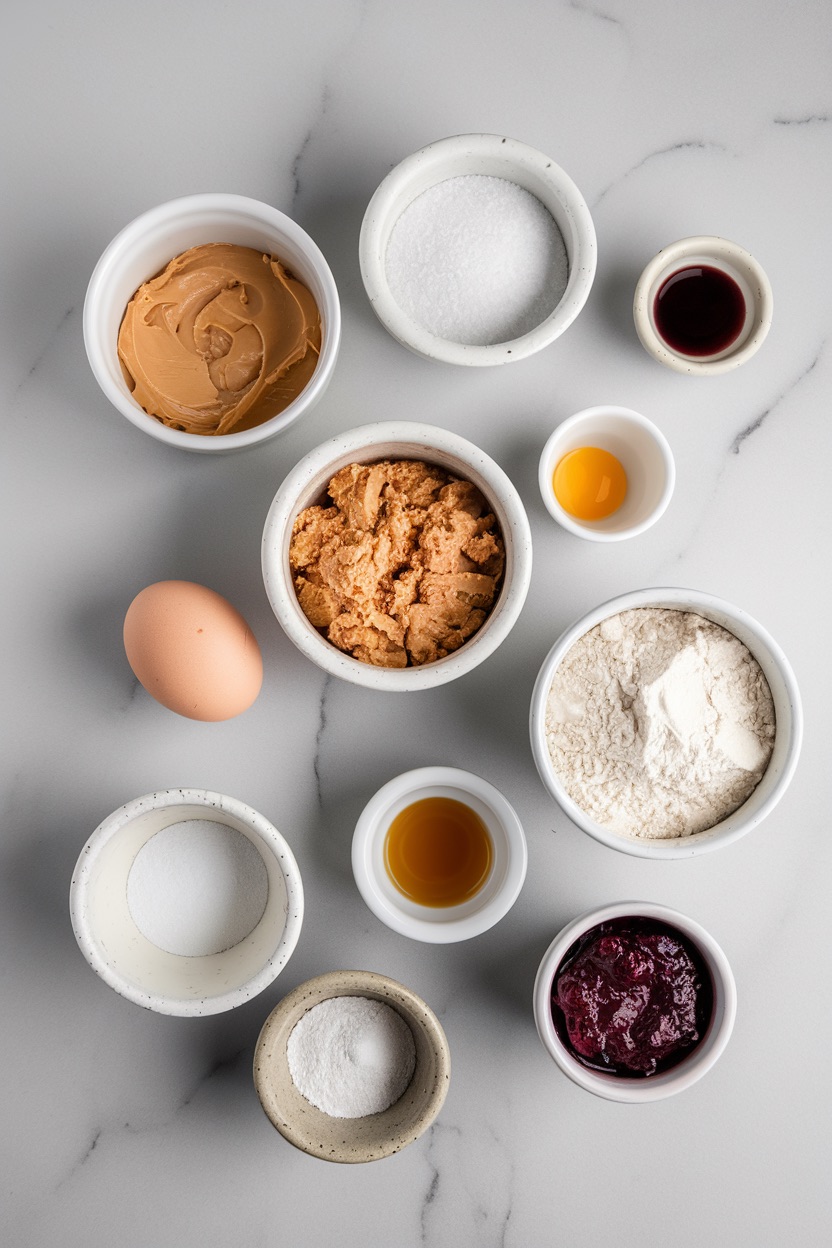
Peanut Butter
For these cookies, creamy peanut butter is your best friend. You can opt for natural peanut butter if you want a more intense peanut flavor, but any variety you enjoy will work beautifully. Natural peanut butter may yield a slightly softer dough, so if you find it too sticky, you can add a touch more flour to help with shaping.
Butter and Sugars
Softened unsalted butter gives these cookies a rich, tender crumb, while a combination of granulated and brown sugars adds just the right amount of sweetness and chewiness. The granulated sugar gives the cookie its subtle crunch on the outside, while brown sugar makes the dough rich and soft in the center. Together, they create the ideal cookie texture—crispy on the edges and tender in the middle.
Flour, Baking Soda, and Salt
The flour provides structure, while a bit of baking soda helps the cookies achieve a soft, slightly puffy texture. A touch of salt is essential here; it enhances the peanut butter’s nuttiness and balances the sweetness.
Jelly or Jam
The star of the thumbprint cookies, the jelly, is where you get to personalize each bite. Classic choices like grape or strawberry jam bring out the nostalgia factor, but you can get creative here! Try raspberry for a tart contrast, or even a homemade jam if you have some on hand. About a third of a cup should be just enough to fill each cookie with a lovely, jewel-like center.
How to Make These Cookies: Breaking Down the Steps
Mixing the Dough
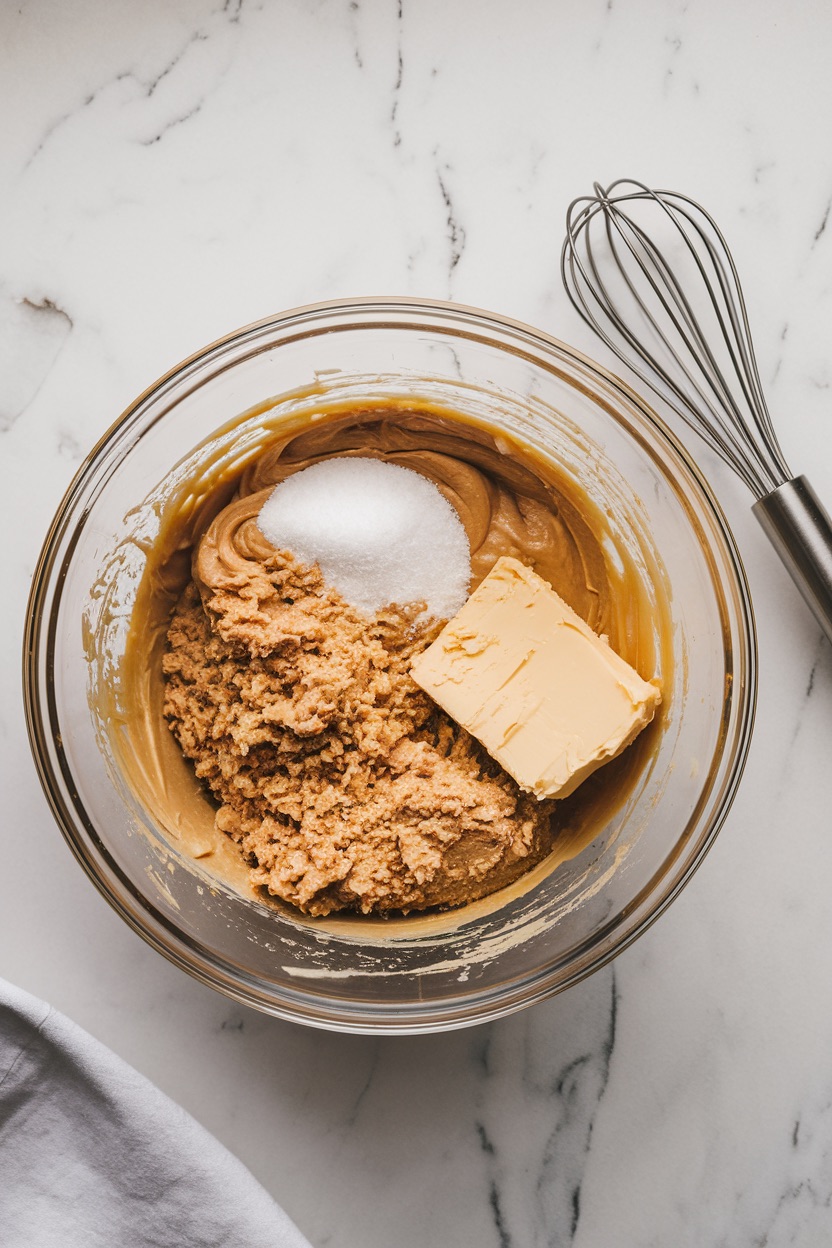
Start by creaming the peanut butter and softened butter together until you have a smooth, creamy base. This process is key to achieving a melt-in-your-mouth texture. Once the butters are well combined, add both types of sugar and beat until the mixture is fluffy—this step usually takes a couple of minutes. It’s worth the extra time because it incorporates air into the dough, making the cookies light and tender.
Then, it’s time to add the egg and vanilla extract. This will give the dough some structure and add depth to the flavor. Finally, in a separate bowl, whisk together the flour, baking soda, and salt, and gently incorporate this dry mixture into the wet ingredients. Adding the dry ingredients gradually helps keep the dough soft without over-mixing, which could make the cookies tough.
Shaping and Creating the Thumbprints
Once your dough is ready, scoop about a tablespoon at a time and roll each portion into a ball. Placing these dough balls on a baking sheet lined with parchment paper will ensure easy cleanup and prevent sticking.
Here comes the fun part: pressing the thumbprint! Using your thumb or the back of a teaspoon, gently press down into each dough ball to create a small indentation in the center. This little dip will become the perfect spot for holding your jam once the cookies are baked.
Baking to Golden Perfection
Bake the cookies in a preheated oven at 350°F (175°C) for around 10-12 minutes. Keep an eye on them—you’re looking for a light golden color around the edges, which means they’re ready. They may still be soft in the center when you first take them out, but they’ll continue to firm up as they cool.
Adding the Jelly Filling
While the cookies are still warm, use a spoon to add a small dollop (about half a teaspoon) of your chosen jelly or jam into each thumbprint. The warmth of the cookies allows the jam to settle and spread just slightly, creating that signature thumbprint look. Let them cool on the baking sheet for a few minutes before transferring to a wire rack.
The Ultimate Combination of Childhood Memories and Cookie Bliss
Peanut butter and jelly thumbprint cookies simply scream ‘lunchbox treats’. Yes, they really capture in sweet, bite-sized morsels an image of a favorite childhood sandwich. Ecstasy, such that, now comes alive with these cookies.
These thumbprint cookies bring freshness to the classic creamy peanut butter/fruity jelly pairing. Soft and a great base for a sweet jelly dollop, these cookies are surely to be loved by kids and adults alike with this retro dessert.
These cookies transport us back to simpler times with each bite. They remind us of carefree days and comforting flavors from our youth. The enduring popularity of this flavor duo showcases its timeless appeal.
From being just in sandwiches to now in cookies, peanut butter and jelly have totally moved. This cool combination still manages to grasp the hearts and tongues of every generation. Of course, that is how strong the nostalgic flavors are.
Your Bonus Tips
The playing around with the cookies makes them so cool-tasting. Swap out the peanut butter for almond or cashew nut butter for a nutty variation. These changes give great flavors without compromising the integrity of a classic PB&J.
Other fantastic ways to make jelly flavors innovative: You could substitute grape jelly with strawberry, raspberry, or apricot preserves. Put chocolate chips in the dough or on top with melted chocolate after baking for a more-than-indulgent cookie.
Very flexible recipe for any kind of diet. Gluten-free cookies: just use gluten-free flour instead of normal; vegan-friendly-use plant-based butter and egg replacer.
Couple that with new flavor combinations, staying in keeping with using ratios that will continue to provide great texture and flavor. Happy baking!
Choosing the Right Jelly or Jam for Your Cookies
The perfect spread really levels up your thumbprint cookies. Raspberry jam has that tangy sweetness and such a beautiful, bright red hue against the golden cookie background.
Strawberry jelly is far milder and works nice against the richness of the peanut butter. Blueberry jam is slightly heavier in flavor and deep in purple hue. Grape jelly is still a favorite, especially among kids, for its very recognizable taste.
That is, playing with jams yields perfect surprises. Make different flavors all in one batch so each person can have their favorite jelly.
It’s really a matter of your favorite cookie. Try different jams or jellies until you find the one that you really enjoy.
How to Store and Serve Your Peanut Butter and Jelly Thumbprint Cookies
When the cookies are done baking, let them cool on a wire rack because this will keep the texture intact and stay away from accumulation of moisture inside. Store them in an airtight container after cooling.
These will keep at room temperature up to five days. For longer storage, refrigerate them in the airtight container. To serve, let come back to room temperature for optimal flavor and texture. The PB&J thumbprint cookies are great for either snacking or dessert.
They are perfect with cold milk or even hot coffee.
These will be great for a lunchbox snack, afternoon tea, or even after dinner. These cookies are also super nice to give as a gift. On any occasion, toss into a cute box or tin to make a person’s day-be it someone’s birthday, holiday, or just because.
Now It’s Your Turn in the Kitchen
The fun in reworking the classic snack into the PB&J Thumbprint Cookies lies in adding your flair. One can have a little fun with the nut butters, add the jam, or throw on some extra toppings; there is just so much you can do to these cookies to make them all your own. Play around with flavor combinations and make a new adventure in baking every time!
What’s your favorite combination? Throw it in the comments! Pin this recipe on your board for when that sweet tooth needs an easy fix next.
I can’t wait until we see what you are working on-just give me a shout in comments if you give them a go! Happy baking!
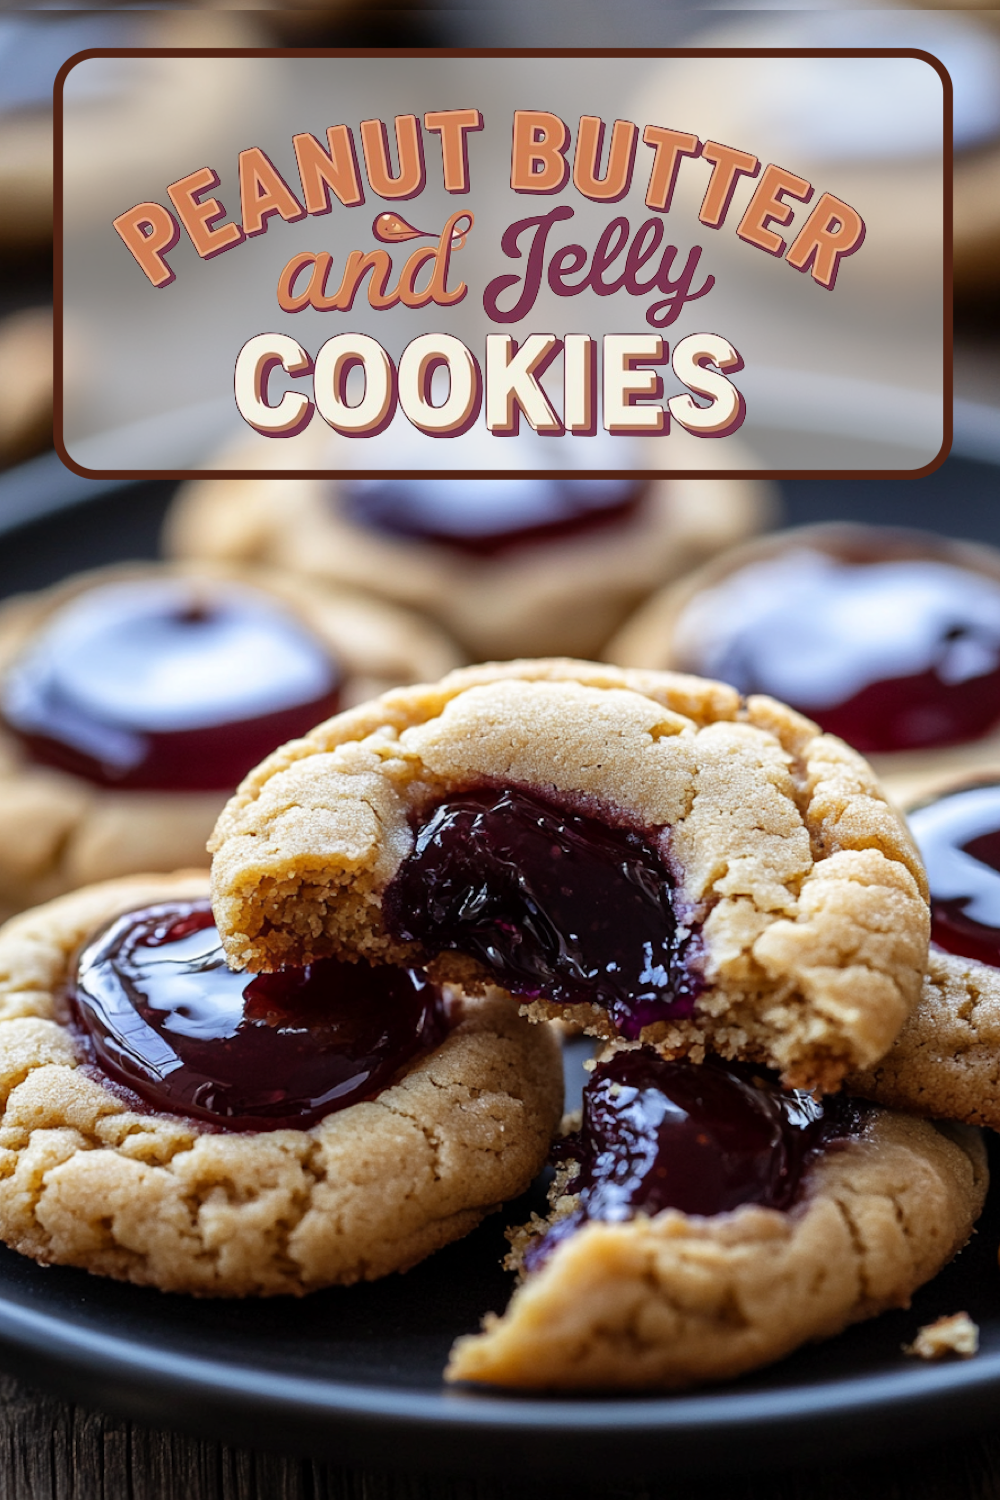
Peanut Butter and Jelly Thumbprint Cookies – PB & J Cookies Recipe
Course: Cake Ideas24
servings30
minutes30
minutes150
kcalIngredients
1 cup (240g) creamy peanut butter (use natural or your preferred kind)
1/2 cup (115g) unsalted butter, softened
1/2 cup (100g) granulated sugar
1/2 cup (100g) brown sugar, packed
1 large egg
1 tsp vanilla extract
1 1/4 cups (150g) all-purpose flour
1/2 tsp baking soda
1/4 tsp salt
1/3 cup of your favorite jam or jelly (grape, raspberry, or strawberry work great)
Steps
- Step 1: Prepare the Dough
- Preheat your oven to 350°F (175°C) and line a baking sheet with parchment paper.
- In a large mixing bowl, beat together the peanut butter and softened butter until smooth and creamy.
- Add the granulated sugar and brown sugar, and beat until the mixture is fluffy, about 2-3 minutes.
- Mix in the egg and vanilla extract, ensuring everything is fully incorporated.
- In a separate bowl, whisk together the flour, baking soda, and salt. Slowly add this dry mixture into the wet ingredients, mixing until a soft dough forms.
- Step 2: Shape and Bake the Cookies
- Scoop out about 1 tablespoon of dough and roll it into a ball. Place it onto the prepared baking sheet, spacing the cookies about 2 inches apart.
- Using your thumb (or the back of a teaspoon), press a small indentation in the center of each cookie ball to create a space for the jam.
- Bake the cookies for 10-12 minutes or until they are lightly golden around the edges.
- Step 3: Add the Jelly
- As soon as the cookies come out of the oven, gently re-press the thumbprint indentations if they’ve puffed up during baking.
- Spoon about 1/2 teaspoon of jelly or jam into each thumbprint while the cookies are still warm.
- Let the cookies cool on the baking sheet for 5 minutes before transferring them to a wire rack to cool completely.