
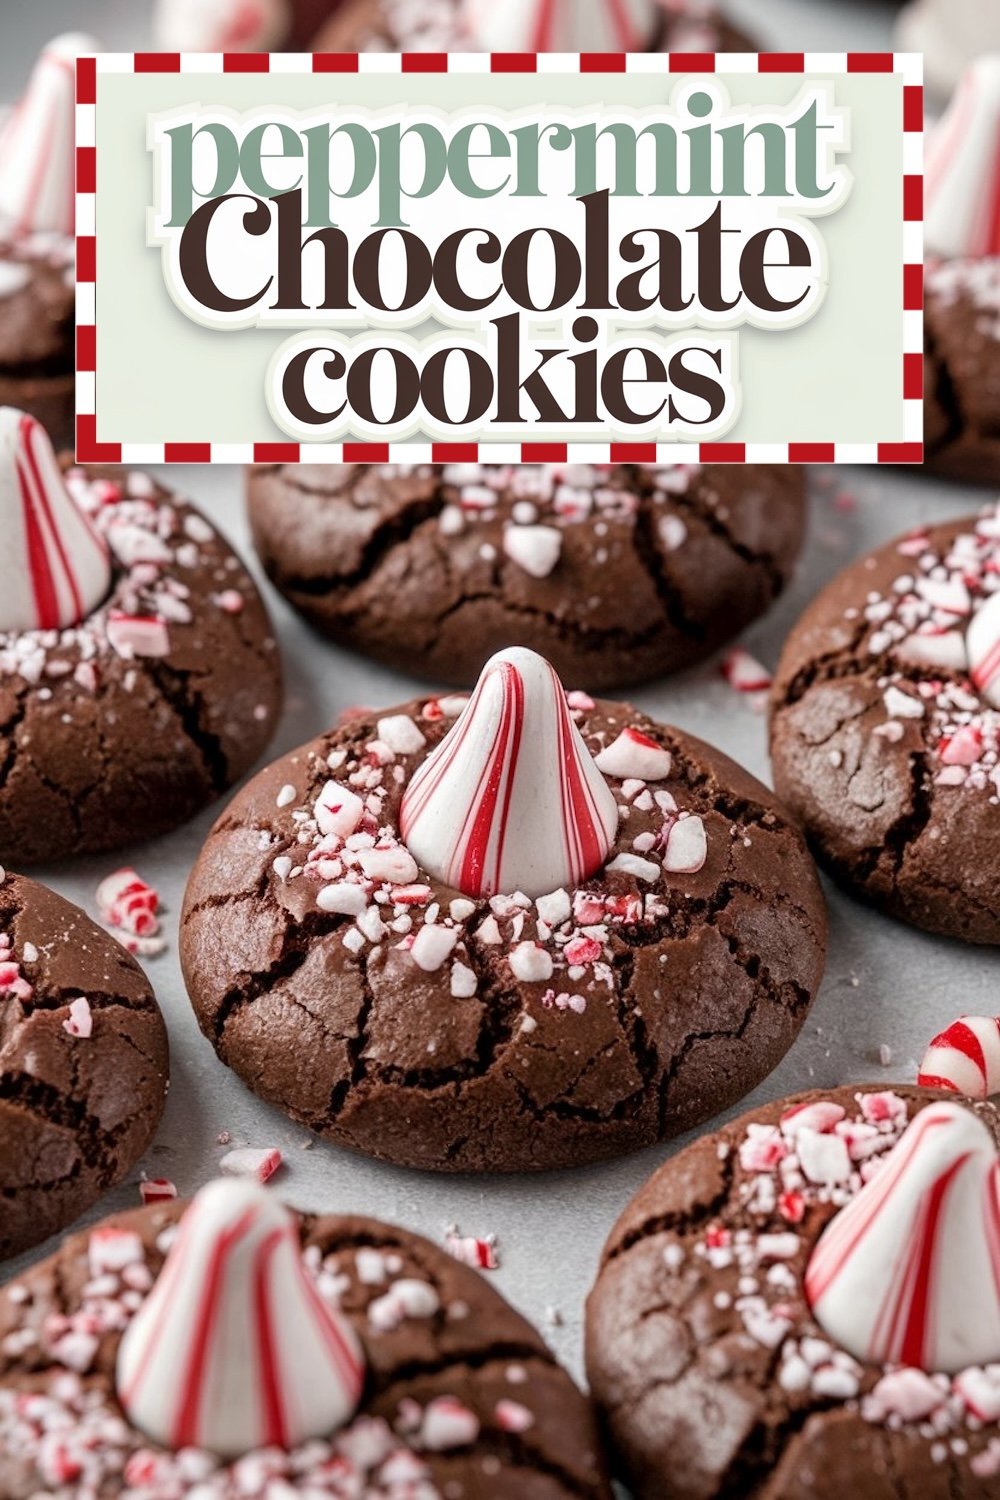
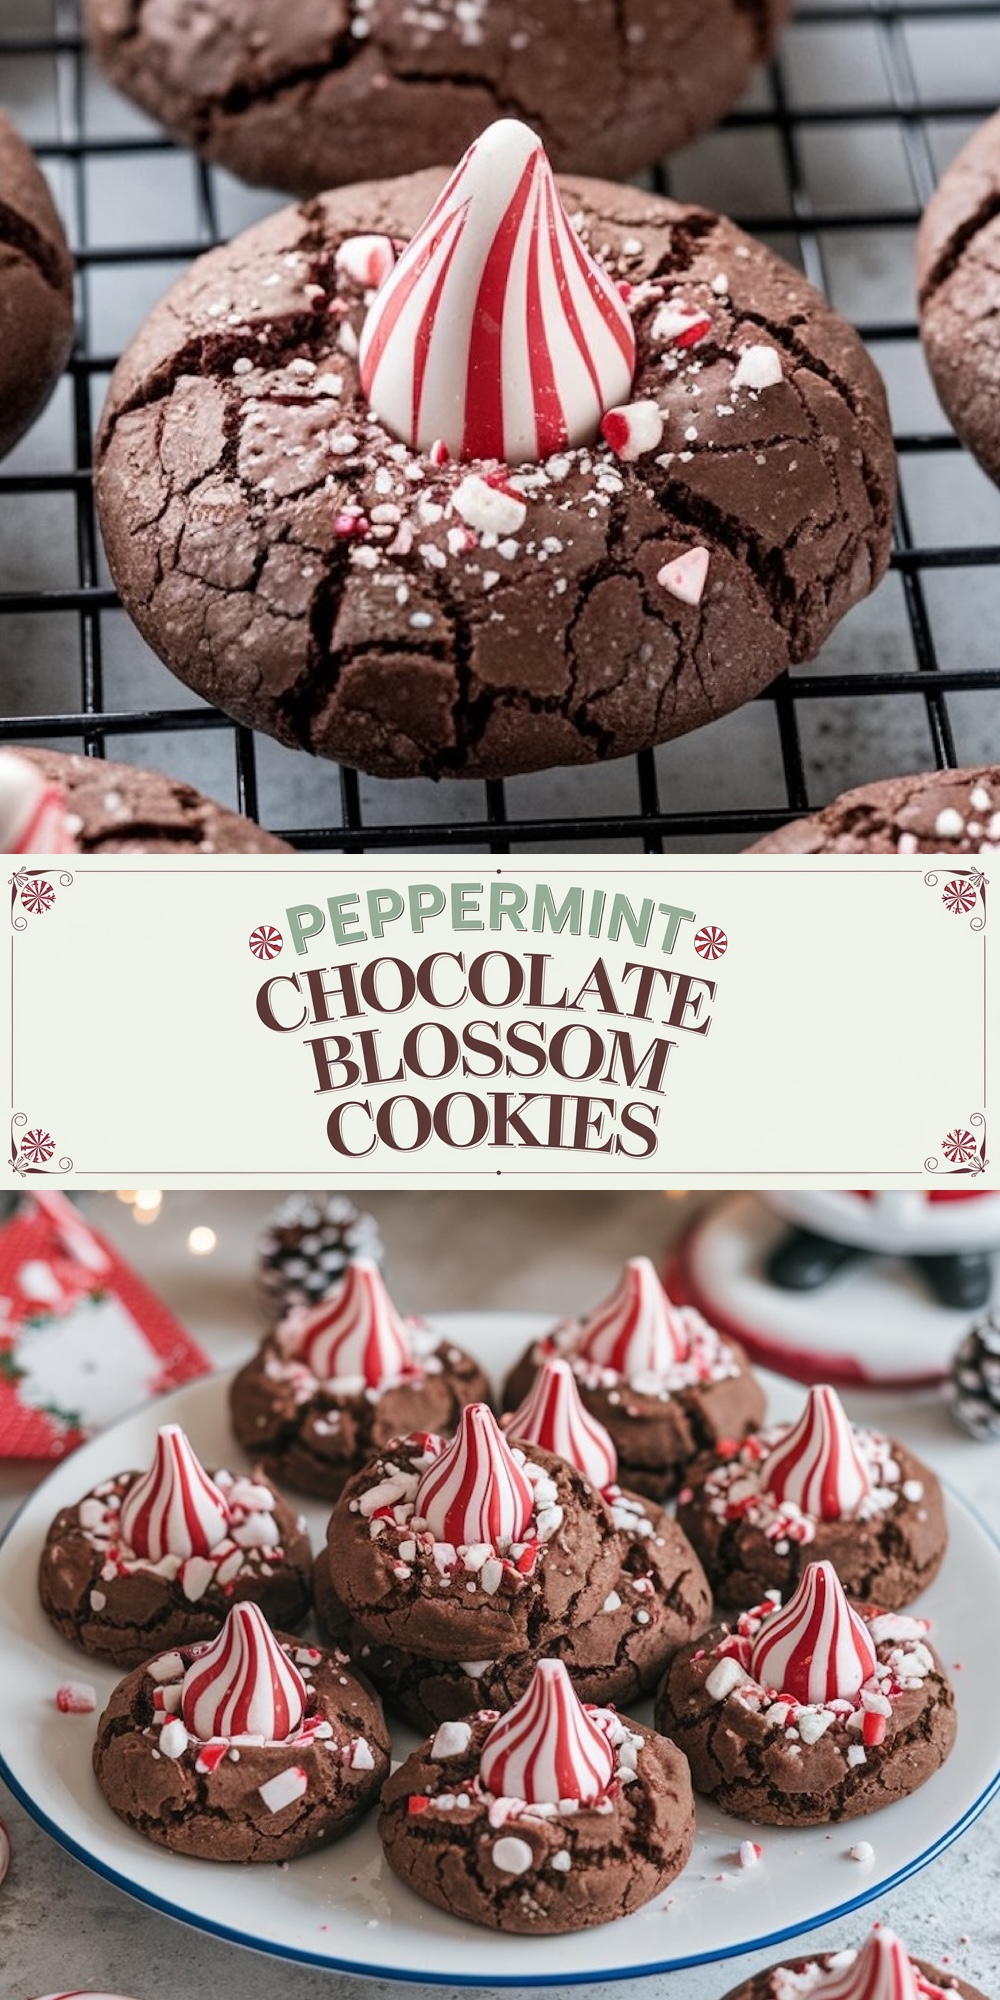
Nothing says holidays like a kitchen smelling of peppermint and chocolate. These Peppermint Chocolate Blossom Cookies are a fun twist on the classic blossom cookie, rich in cocoa flavor and refreshing from the peppermint.
The cookies are just as pretty as they are delicious, whether for cookie exchanges, a holiday party, or just plain snuggling up by the fire with a hot drink. In this post, I am going to guide you through preparing them-from ingredients to the tips of getting that perfect soft with a pepperminty pop.
A Holiday Tradition with a Peppermint Twist
I like making a variety of holiday cookies each year at Christmas, but there is just a little something more that makes blossom cookies special with a seasonal twist. The feel of chocolate and peppermint just feels so classic. Every batch brings me back to the holiday seasons filled with baking with family, listening to holiday tunes, and compiling cookie trays to hand out to dear ones.
This has become a new favorite in my kitchen. It’s got a deep chocolate cookie base with crushed peppermint candies and a peppermint-striped chocolate kiss right in the middle, giving a festive flair to the classic blossom shape.
Following a special diet?
Every recipe on this site can be converted to gluten-free, vegan, dairy-free, keto, nut-free or egg-free with adjusted ratios so nothing falls flat.
Try the Recipe Converter →What You’ll Need for Peppermint Chocolate Blossom Cookies
This recipe uses simple pantry ingredients to create a flavor-packed cookie with a luxurious chocolate-peppermint taste. Here’s what you’ll need:
- Dry Ingredients: Flour, cocoa powder, baking soda, and a pinch of salt create the chocolatey, balanced base. The cocoa powder brings that rich, deep flavor, and baking soda helps give the cookies a slight lift, ensuring a soft and tender texture.
- Butter and Sugars: Using both granulated and brown sugars adds the perfect balance of sweetness and chew. Brown sugar also gives the cookies a subtle molasses hint, which pairs well with the chocolate and peppermint.
- Flavor Additions: Vanilla extract enhances the cookie’s flavor profile, and a hint of milk helps to moisten the dough, ensuring a smooth, scoopable texture.
- Chocolate Chips (Optional): If you want extra decadence, mini chocolate chips add pockets of gooey chocolate to each bite. While optional, I highly recommend them for chocolate lovers.
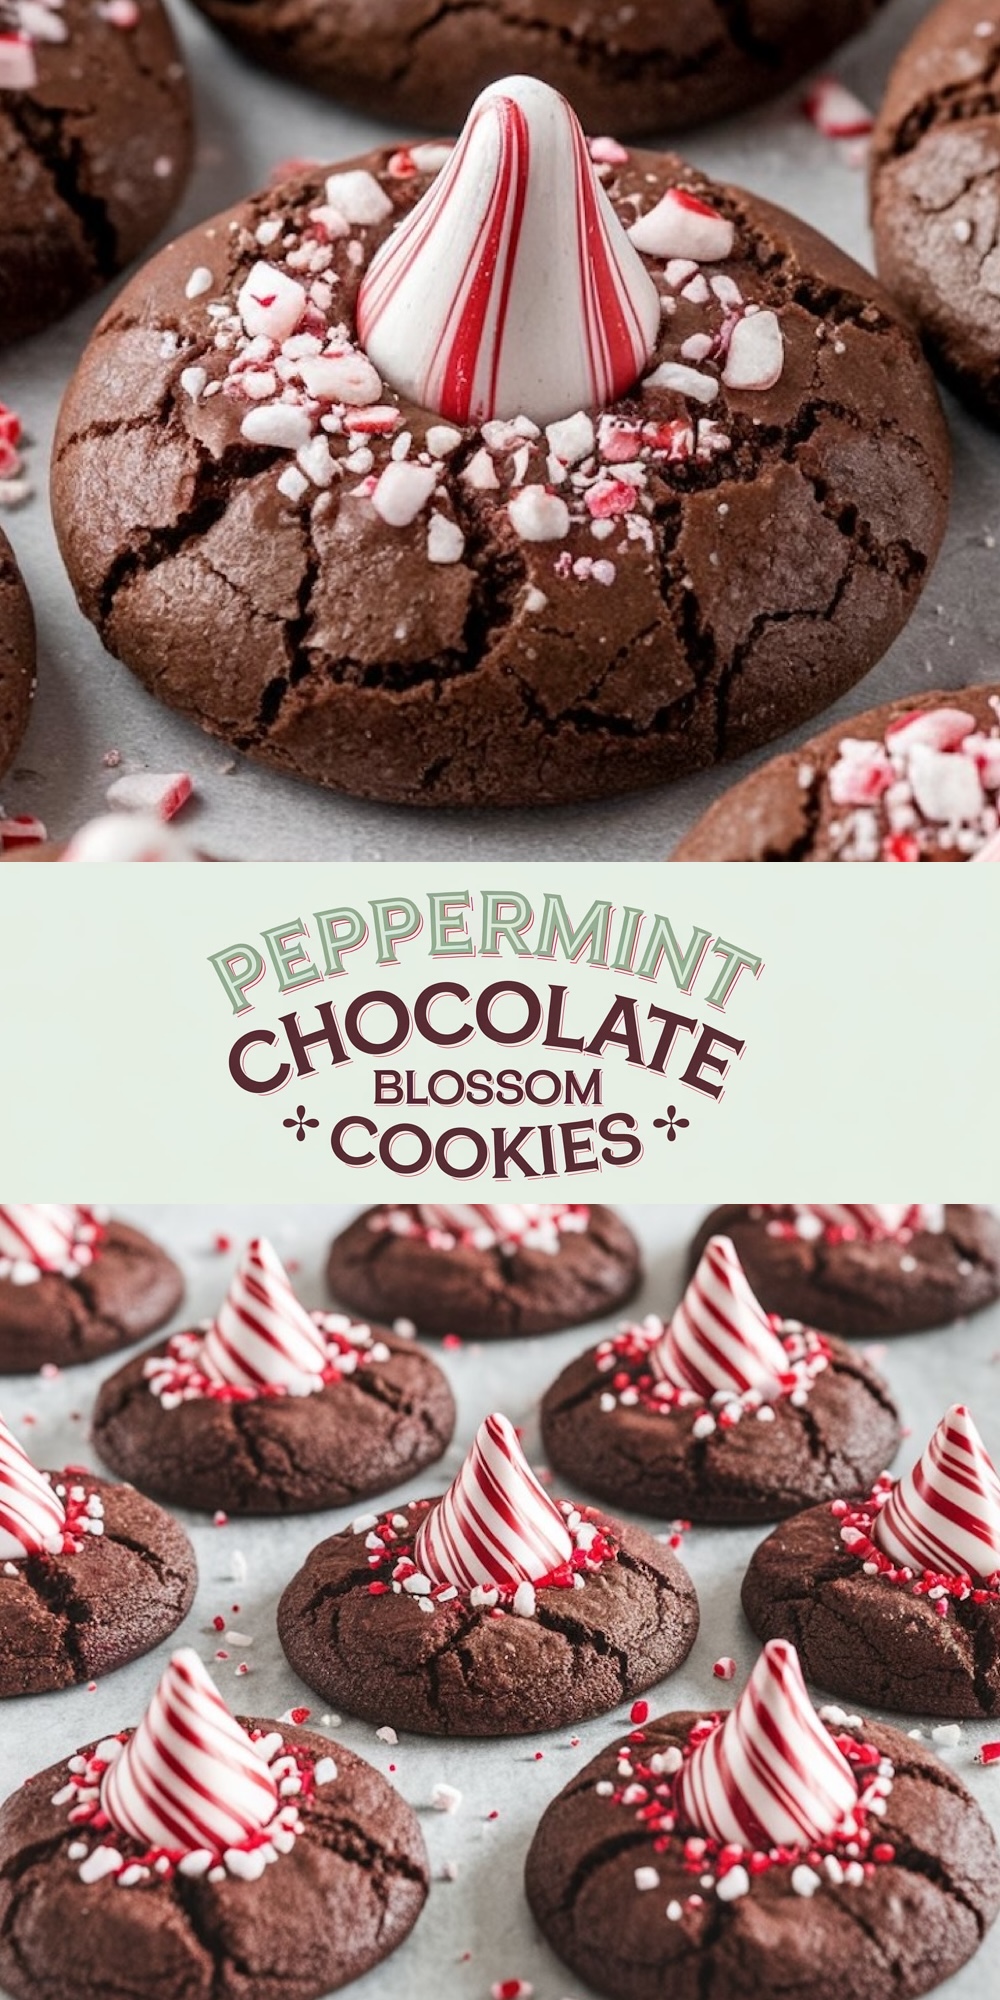
- Peppermint Topping: Crushed peppermint candies add a festive look and a delightful crunch. For that classic peppermint blossom look, you’ll need peppermint-striped chocolate kisses, which are pressed into each cookie for that classic blossom appearance.
Step-by-Step Guide to Perfect Peppermint Blossoms
Making these Peppermint Chocolate Blossom Cookies is simple but does involve a few important steps to achieve the perfect texture and presentation.
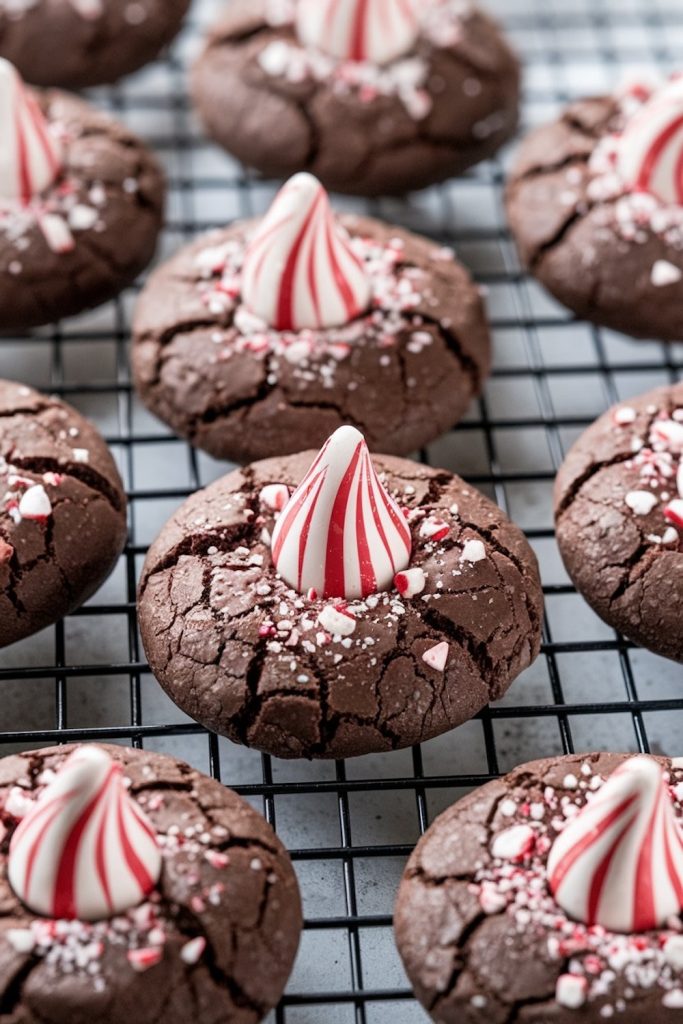
Cooling for Perfection: Allow the cookies to cool on the baking sheet for about 5 minutes before moving them to a wire rack. The chocolate kisses will be slightly melty at first but will firm up as the cookies cool, giving each cookie a beautiful, polished look.
Prepare Your Baking Sheets and Preheat the Oven: Line two baking sheets with parchment paper and preheat your oven to 350°F (175°C). This allows for even baking and helps prevent the cookies from spreading too much.
Mixing the Dough: Begin by whisking together the flour, cocoa powder, baking soda, and salt in a medium bowl. Creaming the butter with both types of sugar is essential here; aim for about 2-3 minutes of mixing until the butter and sugars are light and fluffy. This process creates air pockets, giving the cookies their soft and tender crumb.
Combining Wet and Dry Ingredients: After creaming the butter and sugars, add the egg, vanilla extract, and milk, then gradually incorporate the dry ingredients until a smooth dough forms. At this stage, fold in mini chocolate chips if you’d like an extra-chocolatey cookie.
Shaping the Cookies: Scoop or roll the dough into 1-inch balls, placing them about 2 inches apart on the baking sheets. The dough will spread a little as it bakes, so spacing them ensures they won’t merge.
Baking and Adding the Peppermint Kisses: Bake for 8-10 minutes. The edges should be set, while the centers stay soft. Remove them from the oven and immediately press a peppermint-striped chocolate kiss into the center of each cookie. They may crack slightly around the edges, creating that iconic blossom look.
Adding Crushed Peppermint: While the cookies are still warm, sprinkle each one with crushed peppermint candies. The candies stick best when the cookies are warm, adding a burst of festive color and flavor.
- Serving Information
- Servings: Makes approximately 24 cookies
- Prep Time: 8-10 minutes
- Cook Time: 30-35 minutes (in batches)
- Calories: Approximately 120 per cookie
Tips for the Perfect Peppermint Chocolate Blossoms
- Choose Good Quality Cocoa: For a richer flavor, consider using Dutch-process cocoa. It’s smoother and darker, enhancing the chocolate taste beautifully.
- Avoid Overbaking: These cookies should stay soft, so be careful not to leave them in the oven too long. They will continue to bake on the sheet once removed from the oven.
- Press the Kisses with Care: When placing the peppermint kiss on each cookie, press gently. Pressing too firmly may cause the cookie to crack or flatten too much.
- Customize the Peppermint Crunch: If you’re not a fan of large peppermint pieces, sift the crushed candy to remove larger chunks. For a finer sprinkle, try crushing the candy canes in a food processor.
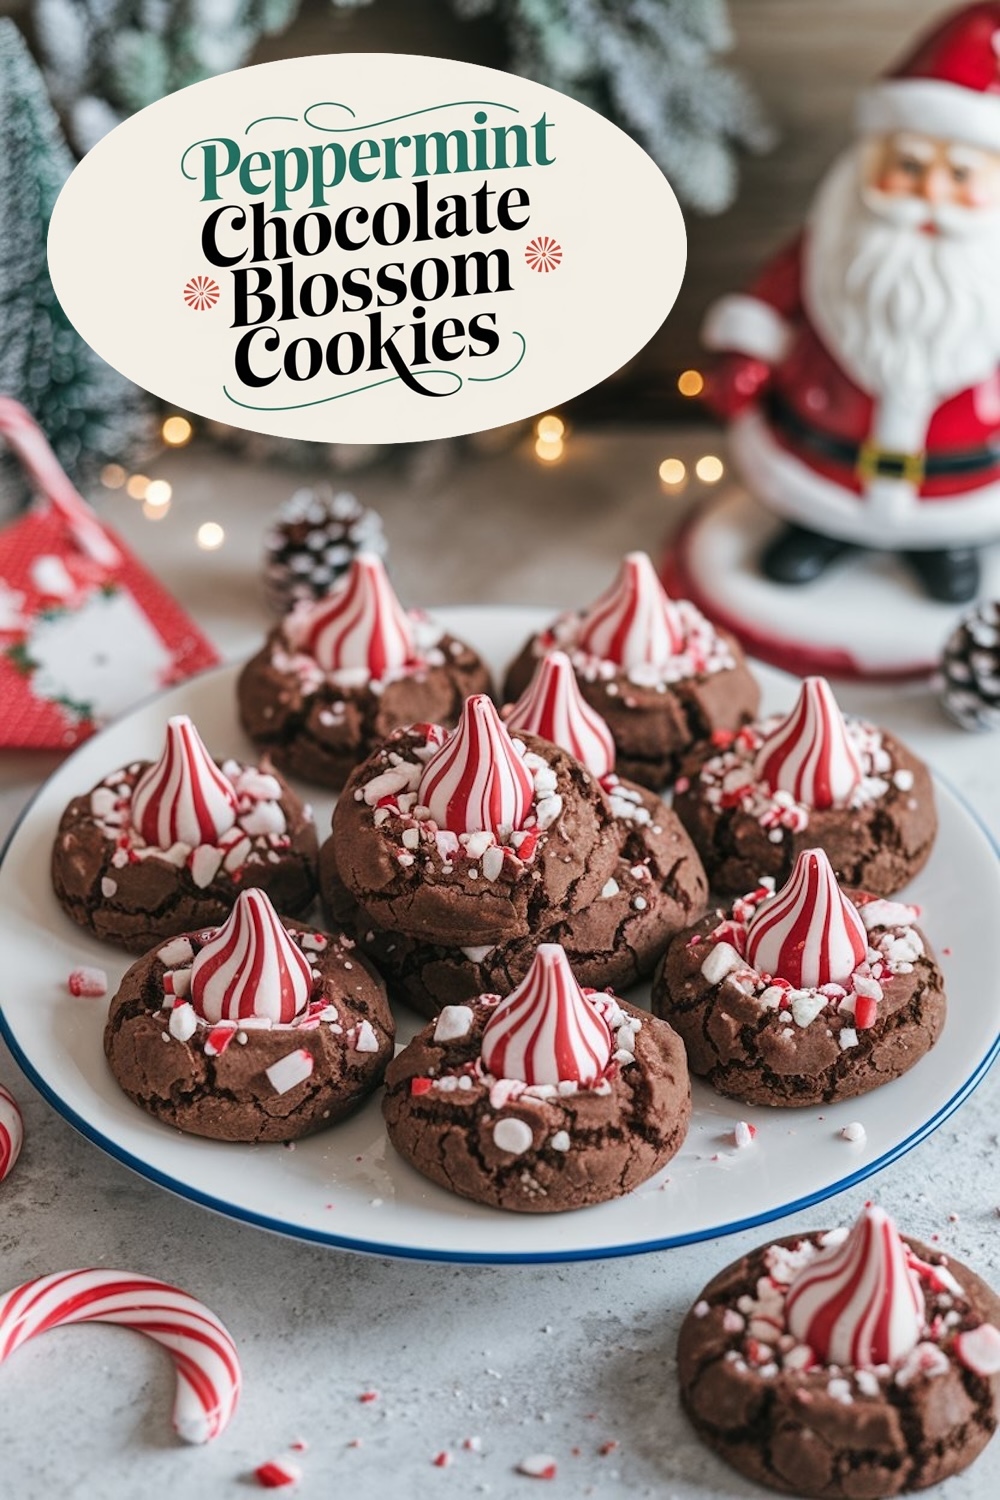
Festive Serving Suggestions
These are great on a holiday platter with other types of festive treats, such as gingerbread, sugar cookies, and shortbread. Serve these with a hot cup of cocoa or peppermint tea. They are great in tins for holiday gifts or put on cookie exchange trays to impress your family and friends.
Ready to Give It a Go?
Anybody who is in love with the great taste of peppermint and chocolate combined will simply adore these Peppermint Chocolate Blossom Cookies. The nice blossom shape, with a soft chocolate base and festive peppermint topping, just makes them sure to be an instant hit at any holiday gathering. Try them out this season and add a little extra magic to the holiday dessert table!
Love this recipe? Don’t forget to pin it for your holiday baking! Have you made these cookies, or do you have any twists you’d like to share? Leave a comment below; I’d love to hear from you!
Peppermint Chocolate Blossom Cookies Recipe
Ingredients
- FOR THE COOKIES
- 1 cup all-purpose flour
- 1/2 cup unsweetened cocoa powder
- 1 tsp baking soda
- 1/4 tsp salt
- 1/2 cup unsalted butter, softened but still slightly firm
- 3/4 cup granulated sugar
- 1/4 cup packed brown sugar
- 1 large egg
- 1 tsp vanilla extract
- 2 tbsp milk
- 1/2 cup mini chocolate chips (optional, for extra richness)
- FOR THE TOPPING
- 1/2 cup crushed peppermint candies or candy canes
- 24 peppermint-striped chocolate kisses
Instructions
- PREHEAT THE OVEN: Set the oven to 350°F (175°C) and line two baking sheets with parchment paper. Use an oven thermometer if available to confirm the temperature is accurate.
- COMBINE DRY INGREDIENTS: In a medium bowl, whisk together the flour, cocoa powder, baking soda, and salt until evenly mixed. Set aside.
- CREAM BUTTER AND SUGARS: In a separate large bowl, use an electric mixer to beat the butter, which should be softened but still slightly firm, with the granulated sugar and brown sugar. Mix until light and fluffy, about 2 to 3 minutes.
- ADD WET INGREDIENTS: Beat in the egg, vanilla extract, and milk until the mixture is smooth and fully combined.
- MIX IN DRY INGREDIENTS: Gradually add the dry mixture to the wet ingredients, stirring just until a dough forms. Fold in the mini chocolate chips if using.
- CHILL THE DOUGH: Cover and chill the dough in the refrigerator for about 30 minutes to help the cookies hold their shape during baking.
- SHAPE THE DOUGH: After chilling, scoop the dough using a small cookie scoop or roll into 1-inch balls. Place them on the prepared baking sheets, spacing them about 2 inches apart.
- BAKE THE COOKIES: Bake for 8 to 10 minutes, or until the edges are set and the centers are slightly puffed but still soft. Avoid overbaking; cookies will continue to firm up as they cool.
- PREPARE THE KISSES: While the cookies are in the oven, unwrap the peppermint-striped chocolate kisses and set aside.
- ADD THE KISSES: Immediately after removing the cookies from the oven, press a chocolate kiss into the center of each cookie. Press gently to prevent cracking.
- ADD PEPPERMINT TOPPING: While the cookies are still warm, sprinkle the tops with crushed peppermint candies so the pieces stick to the soft surface.
- COOL THE COOKIES: Allow the cookies to cool on the baking sheet for 5 minutes, then transfer to a wire rack to cool completely. The kisses will soften from the heat but will firm up as the cookies cool.
Notes
Ensure the butter is softened but not too soft—it should still have some firmness to it. Chilling the dough helps control spreading during baking and improves texture. An oven thermometer is helpful for confirming your oven is holding a consistent 350°F temperature. Store cooled cookies in an airtight container at room temperature for up to 5 days.
Nutrition Information
Yield
24Serving Size
1Amount Per Serving Calories 190Total Fat 7gSaturated Fat 4gUnsaturated Fat 3gCholesterol 19mgSodium 97mgCarbohydrates 30gFiber 2gSugar 17gProtein 3g
Made these today they flatten out, what do you think I did wrong?
Hi Pam! I’m sorry to hear that the cookies flattened out a bit, but let’s get them perfect for you! Here are a few things that could help:
Butter Texture – Make sure the butter is softened but not too soft. It should be a bit firm to the touch, which helps keep the cookies from spreading too much.
Chilling the Dough – Try chilling the dough for about 20–30 minutes before baking. This can really help control the spread, especially if the kitchen is warm.
Oven Temperature – If you have an oven thermometer, double-check that your oven is exactly at 350°F. Sometimes even a small temperature difference can cause more spreading.
Let me know if you give these a try! Can’t wait for you to get the perfect batch of peppermint chocolate blossoms. 😊
Can I substitute the flour with something else? Thank you. Mandy
Hi Mandy,
Thank you for reaching out with your question! Yes, you can substitute the all-purpose flour in this recipe with a few alternatives. Here are some suggestions:
1. Almond Flour (Low-Carb)
Substitute with almond flour at a 1:1 ratio, but note that the cookies might spread a little more and have a slightly nuttier flavor. You may want to chill the dough for 15-20 minutes before baking to help it hold its shape.
2. Whole Wheat Flour
If you’re looking for a slightly healthier option, you can use whole wheat flour instead of all-purpose flour. The cookies will be a bit denser but still delicious. Consider using white whole wheat flour for a milder flavor.
3. Oat Flour
You can also use oat flour for a slightly chewier texture. If you don’t have oat flour on hand, grind oats in a food processor until they reach a fine, flour-like consistency. Replace the all-purpose flour with an equal amount.
Tips for Flour Substitutions:
Let me know if you try one of these substitutions—I’d love to hear how your cookies turn out!
Happy baking,
Emma 🎄
Cookies were too flat. I wanted that blossom look. Can I use Crisco instead of butter. Will it affect the taste?
Hi Susan,
I hear you—nothing’s more frustrating than cookies that come out flat when you’re aiming for that lovely blossom shape. Don’t worry, we can fix this! Switching to Crisco instead of butter is definitely an option, and it might be just what you need. Let me break it down for you.
Crisco and butter behave a little differently in baking. Butter is about 80% fat, with water and milk solids making up the rest. That water can cause the cookies to spread more in the oven, which might be why yours turned out flat. Crisco, on the other hand, is pure fat, so it helps cookies hold their shape better. If you want your blossoms to stay puffy, Crisco is a good choice!
That said, Crisco doesn’t have the same rich flavor as butter. If you make the swap, you might notice the taste is a little less buttery. To make up for it, you could add an extra splash of vanilla or a pinch of salt to enhance the flavor.
If you’d prefer to stick with butter but still want puffy cookies, there are a few tricks to try. Chilling the dough for 30 minutes before baking helps slow down spreading. Also, make sure you’re not over-creaming the butter and sugar—too much air in the dough can cause the cookies to collapse. Don’t forget to double-check your flour measurements. Too little flour can make the dough too soft, causing it to spread more than it should.
Whether you go with butter or Crisco, I’m sure your next batch will turn out beautifully. Let me know how they go—I’d love to hear!
Made these today and let the dough chill for about an hour, based on other comments I made and these turned out great! They did not flatten at all
Hi Sarah,
I’m so happy to hear they turned out great for you! Chilling the dough for an hour was a perfect adjustment—it makes such a difference in keeping them from flattening. Thank you for sharing your experience! 😊
Warmly,
Emma
I found that freezing my chocolate kisses while the cookies bake keep them from melting so much when placed on the hot cookie.
Hi Kelly,
That’s such a great tip—thank you for sharing! Freezing the chocolate kisses is a clever way to keep them from melting too much on the hot cookies. I’ll definitely recommend this to others who try the recipe. Happy baking, and thank you again for the helpful insight! 😊
My daughter and I made a triple recipe of these last night for a holiday cookie sale. I’m sure wishing I had read the comments before that! Ours all turned out very flat. They still look pretty and I’m sure they taste good, but I wish I had chilled the dough. Next time!
Hi Kelly! That sounds like such a fun baking nightt, even if the cookies didn’t turn out exactly how you hoped. Chilling the dough really does make a difference with this recipe, it helps them hold their shape and gives you that nice soft center with less spreading. I’ve definitely had a few rushed batches flatten more than I wanted too.
That said, if they still look pretty and taste great, they’ll absolutely be a hit at the sale. You might even find that some people love the thinner version. Next time, even a 30–60 minute chill in the fridge can help. Thanks for sharing how it went. it’s always helpful to others baking in big batches too.
Wish I had read comments first. Didn’t see anywhere that you should chill the dough first. Ruined an entire batch. ☹️
Hi Deb! You’re right that chilling the dough helps these hold their shape, and I’ve now added that step to the recipe so it’s clearer going forward.