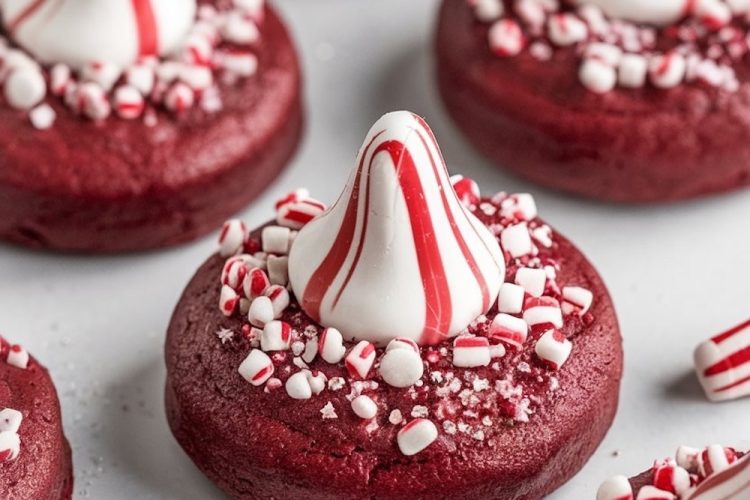
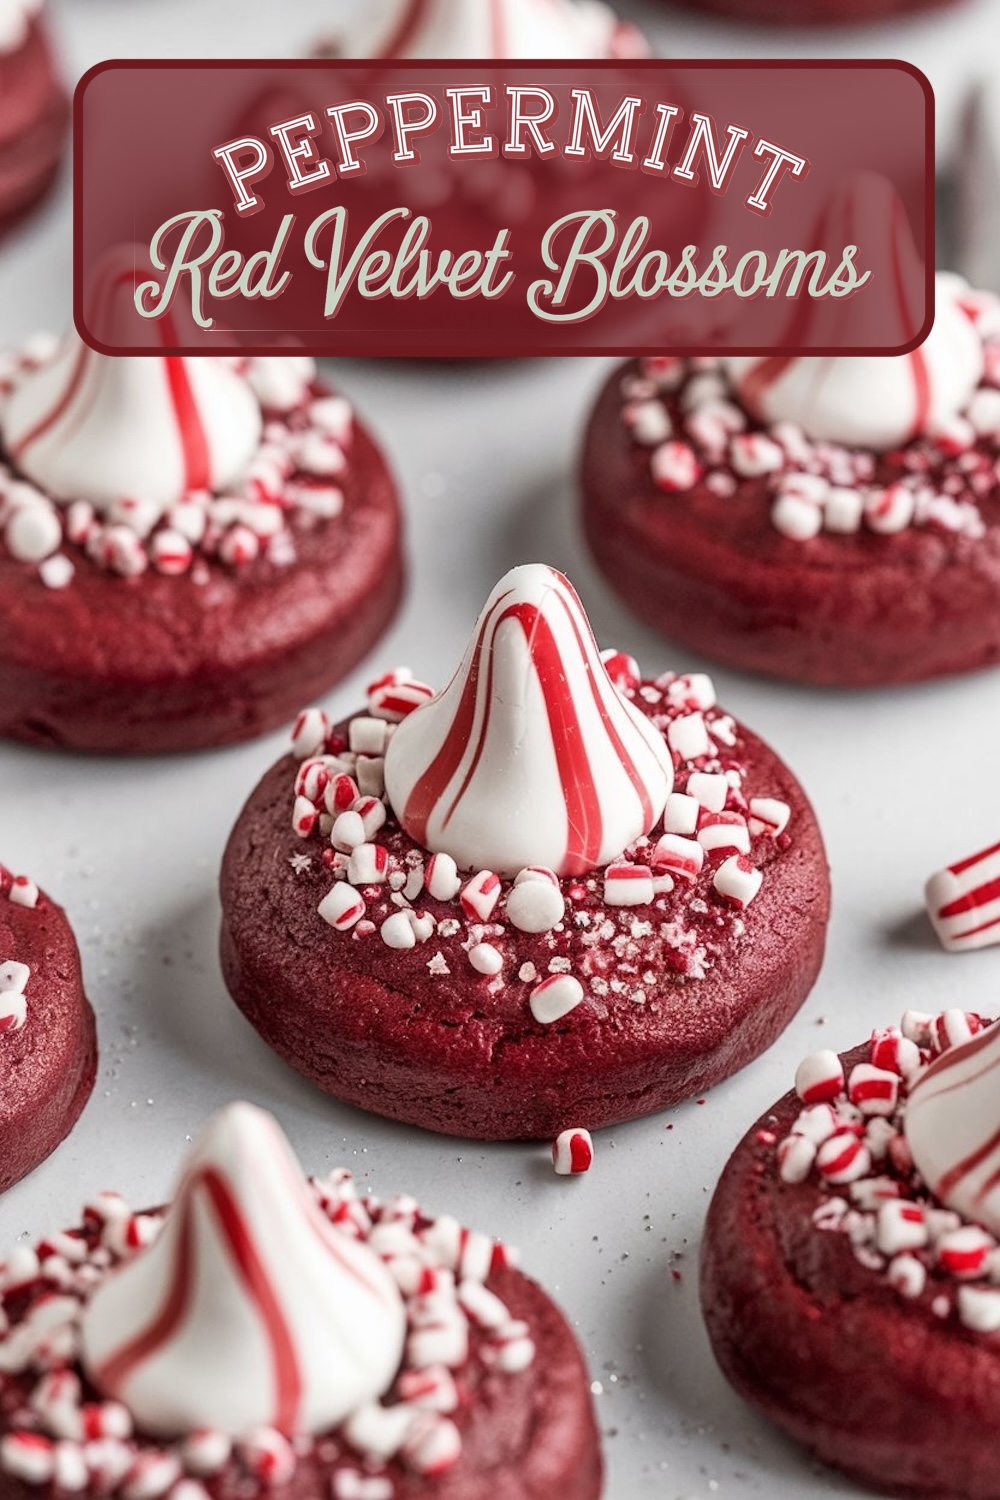
There’s something purely magical about holiday baking, and nothing captures this magic better than the perfect blend of festive colors and flavors. Today, we’re diving into a recipe that’s bound to bring a burst of joy to any holiday gathering—Peppermint Red Velvet Blossoms! With their vibrant red hue, rich cocoa flavor, and a cool kiss of peppermint, these cookies are the perfect holiday indulgence.
A Story of Holiday Baking Traditions
Holiday baking was always a season of drooling expectations at least in the case of a child. My grandmother allowed me to sit on the kitchen counter, stirring, mixing, and tasting while she would explain the secret ingredients in every family recipe. The holiday kitchen was magic: dusts of flour flew through the air, a whiff of aromatic vanilla scented the house, and trays of cookies sat cooling on the counter.
Making these Peppermint Red Velvet Blossoms always takes me back to my childhood. The taste of red velvet is fresh, very new to a very classic taste, while the peppermint kiss in the middle brings in the holiday feel with freshness. Each single bite screams holidays: soft, chocolatey, with a hint of mint, and all of those things with a nice festive crunch.
Following a special diet?
Every recipe on this site can be converted to gluten-free, vegan, dairy-free, keto, nut-free or egg-free with adjusted ratios so nothing falls flat.
Try the Recipe Converter →Ingredients for Peppermint Red Velvet Blossoms
To bring these festive cookies to life, you’ll need a handful of holiday essentials. Here’s what goes into these crowd-pleasing blossoms:
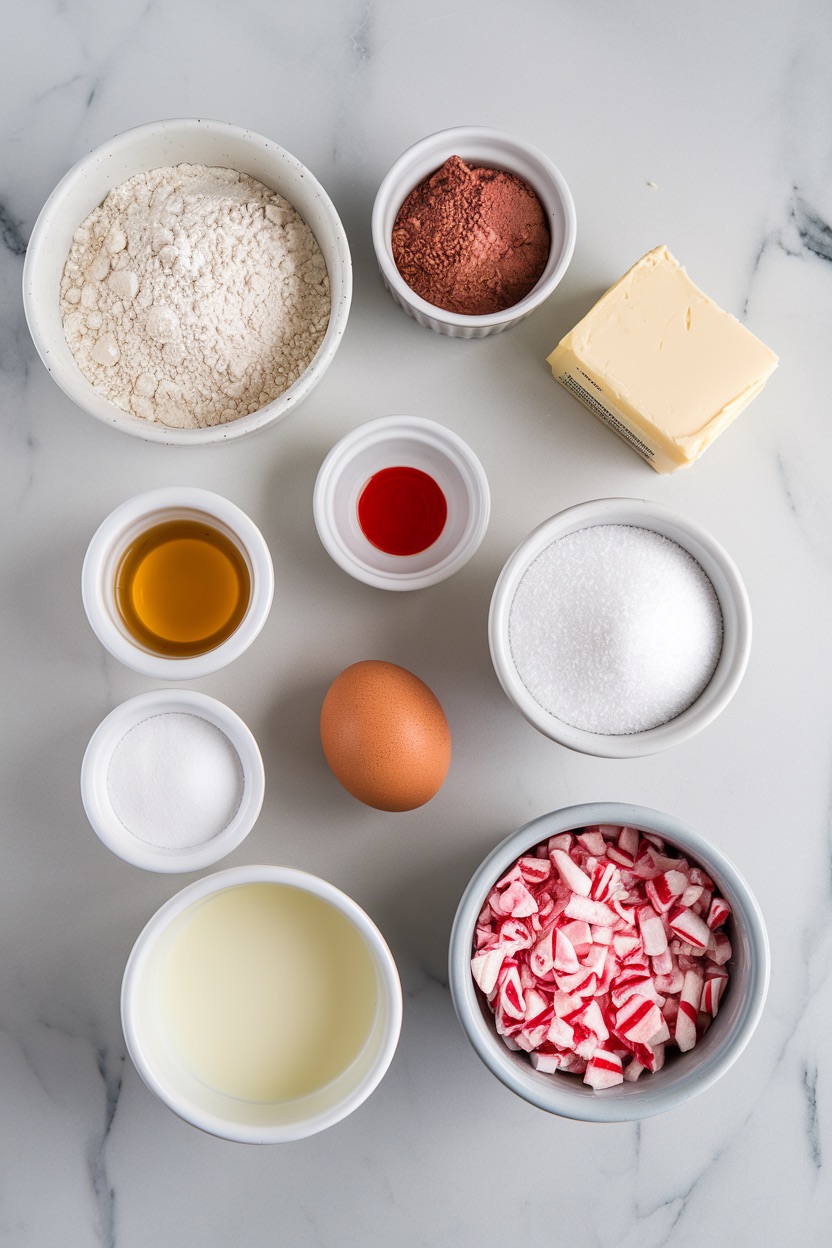
- Dry Ingredients: All-purpose flour, unsweetened cocoa powder, baking powder, baking soda, and salt make up the foundation for the dough, giving it structure, flavor, and a touch of chewiness.
- Wet Ingredients: Softened butter, granulated sugar, one egg, and vanilla extract add richness, sweetness, and flavor. Together, they create a velvety smooth base for the cookies.
- Red Velvet Essentials: Red food coloring and buttermilk are essential for the red velvet flair. The food coloring adds that vibrant red hue, while the buttermilk helps balance the flavors.
- Peppermint Candy Kisses and Crushed Peppermint: These create the festive finish—pressing the peppermint kiss into each cookie as soon as it’s baked adds the iconic “blossom” look, while the crushed peppermint candies give a decorative, flavorful touch.
How to Make Peppermint Red Velvet Blossoms
Simple outline for making these peppermint-flavored desserts for the holidays.
1. Mix the Dry Ingredients
These dry ingredients are the backbone of your cookies, carrying in them the special flavor of chocolate red velvet. For that, sift all-purpose flour, cocoa powder, baking powder, baking soda, and salt, then set this bowl aside for now.
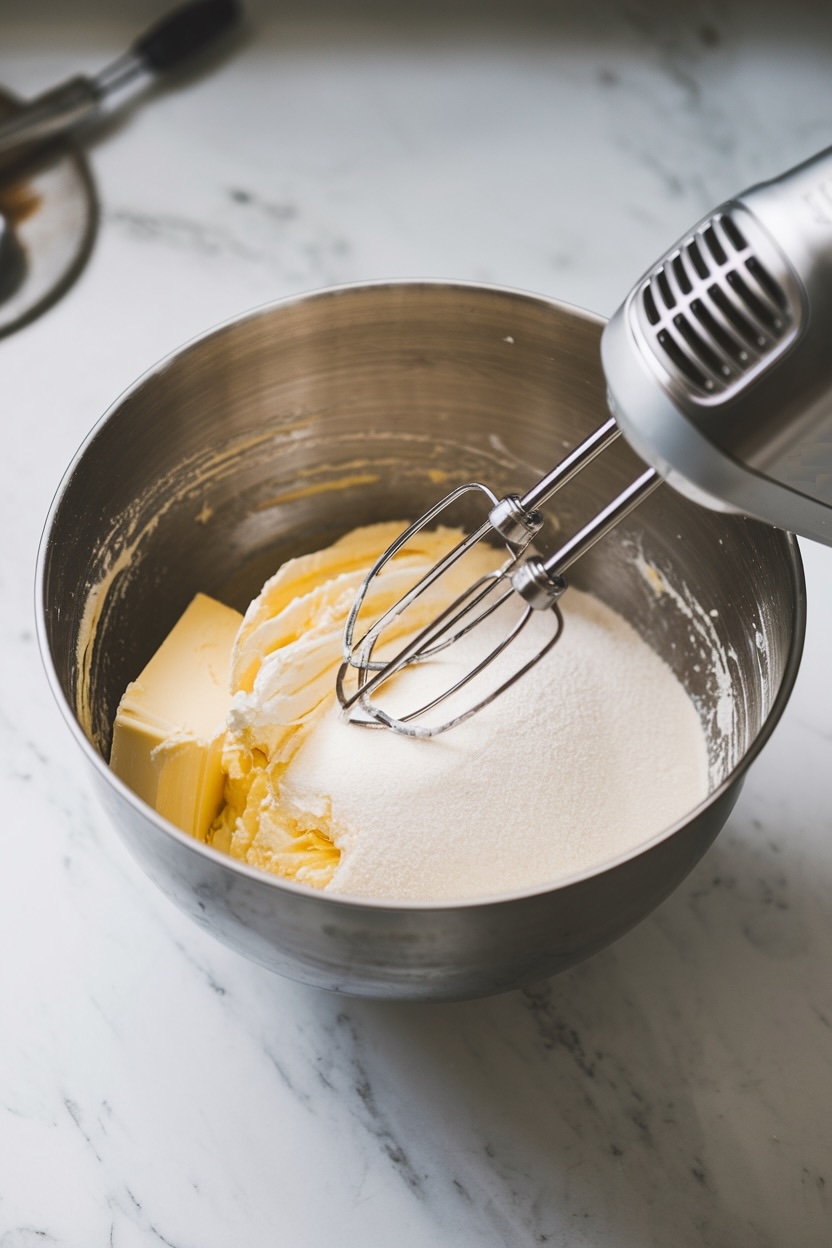
2. Cream Butter and Sugar
Mix the butter and the sugar until air enters the dough, and the cookies start to become moist and almost a bit crumbly. Mix these in a bowl at medium-high speed about 2-3 minutes until light and fluffy. Add the egg and vanilla until well incorporated.
3. Add Red Velvet Magic
The secrets to red velvet are the addition of red food coloring and buttermilk. Mix those together at low speed just until you get the deep, red color. Add dry ingredients slowly, just till they incorporate; do not overmix-dough should be soft, but a little sticky.
4. Chill the Dough
This is a very critical step in the process of dough chilling, so that it gives a good shape after baking. First, wrap the dough tightly with plastic wrapping and refrigerate for at least 30 minutes. The ground will replace to not be able to spread while baking, and it keeps the roundness of cookies.
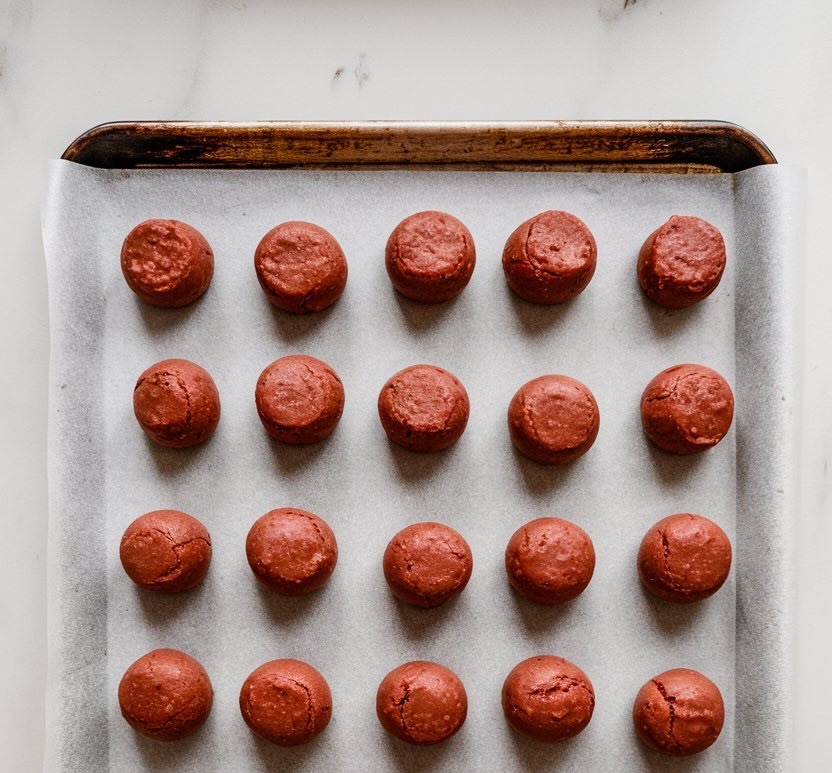
5. Shape and Bake

Once chilled, shape into 1-inch balls and place them on a parchment-lined baking sheet with 2 inches between each ball. Flatten the ball with your hands. Bake for 10-12 minutes or until lightly browned at 350°F or 175°C; the center should be soft and the edges set.
6. Add the Peppermint Kiss
Immediately place an unwrapped peppermint candy kiss in the center of each cookie after removing the cookies from the oven. If the cookies are still a little warm, sprinkle some crushed peppermint candies around the top of the kiss to adhere to the cookie and for added flavor and a pretty holiday presentation.
7. Cool Completely
That will let the peppermint kisses stay erected on top while cooling without melting. Let the cookies be on the baking sheet about 5 minutes before moving them to a wire rack to cool entirely. That lets the kisses firm up and look nice and pretty for serving.
Serving Information
- Servings: 18-20 cookies
- Prep Time: 45 minutes (including 30 minutes of chilling)
- Cooking Time: 10-12 minutes
- Calories: Approximately 300 kcal per cookie
Tips for Perfect Peppermint Red Velvet Blossoms
- Choose Gel Food Coloring: Gel food coloring works best to achieve a rich, vibrant red hue without altering the dough’s consistency.
- Chill Time: Don’t skip the chilling time! This step ensures the cookies keep their shape and don’t overspread while baking.
- Handle with Care: Be gentle when pressing the peppermint kisses into the warm cookies to avoid cracking. The kisses will soften from the heat, but they’ll firm up once fully cooled.
- Alternative Toppings: If you’d like, you can use white chocolate kisses or dark chocolate peppermint pieces for a slightly different flavor twist.
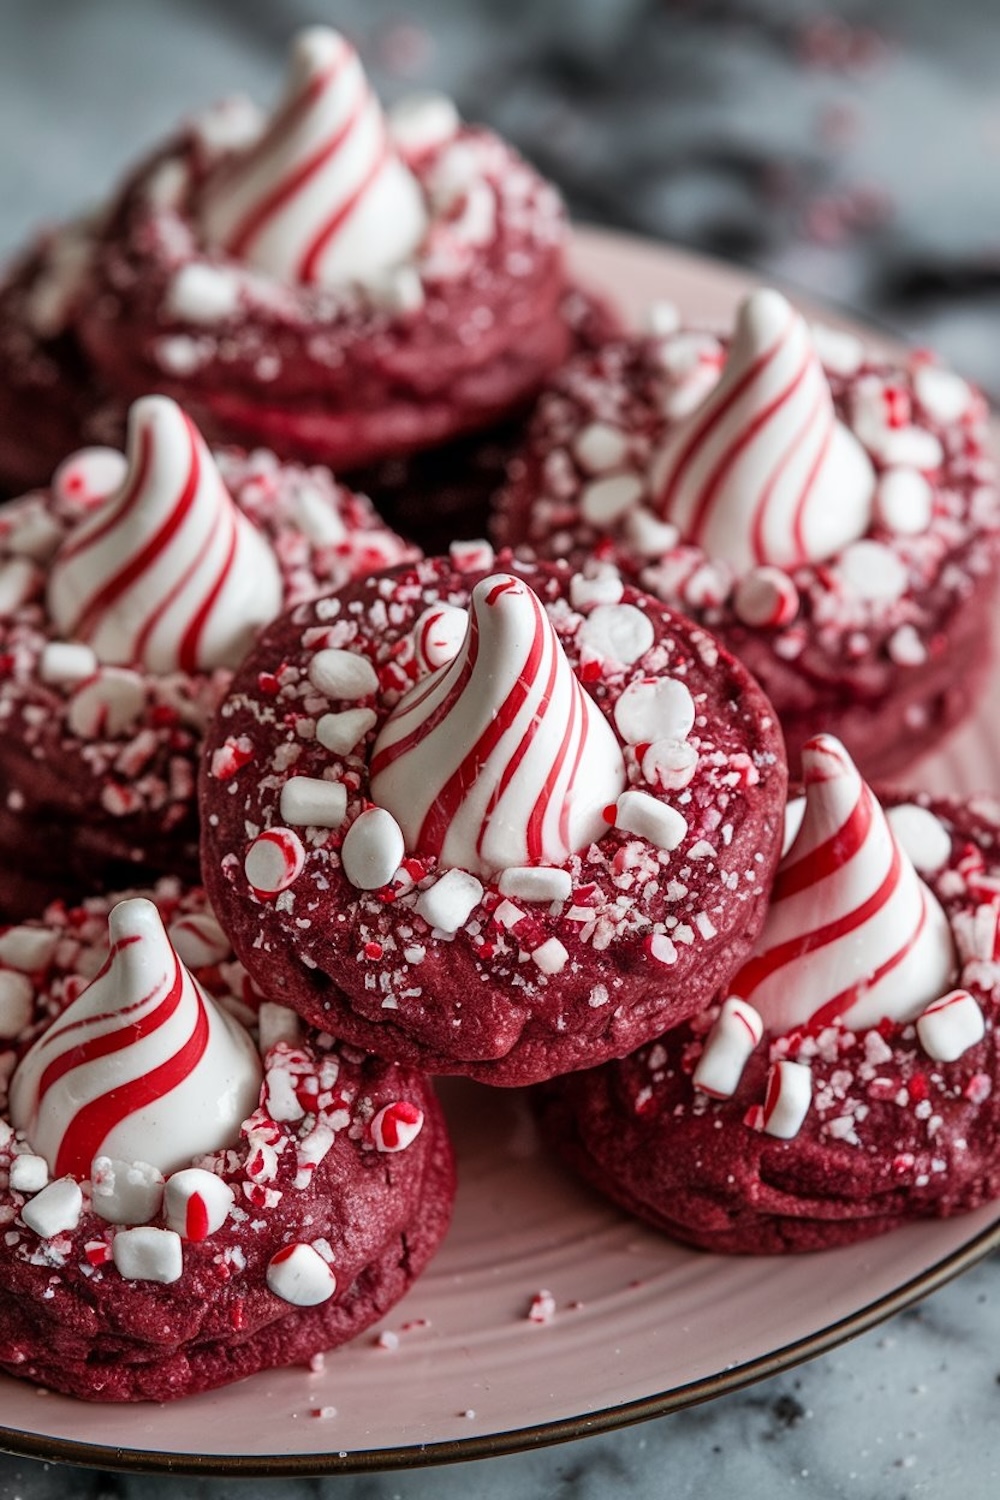
Serving Suggestions
These are great on your dessert table for the holiday, next to your cup of hot cocoa. A pretty gift idea is to place them in a festive tin-always add a little personal note. They look even better arranged around a holiday greenery centerpiece, or as a bright color on a cookie exchange tray.
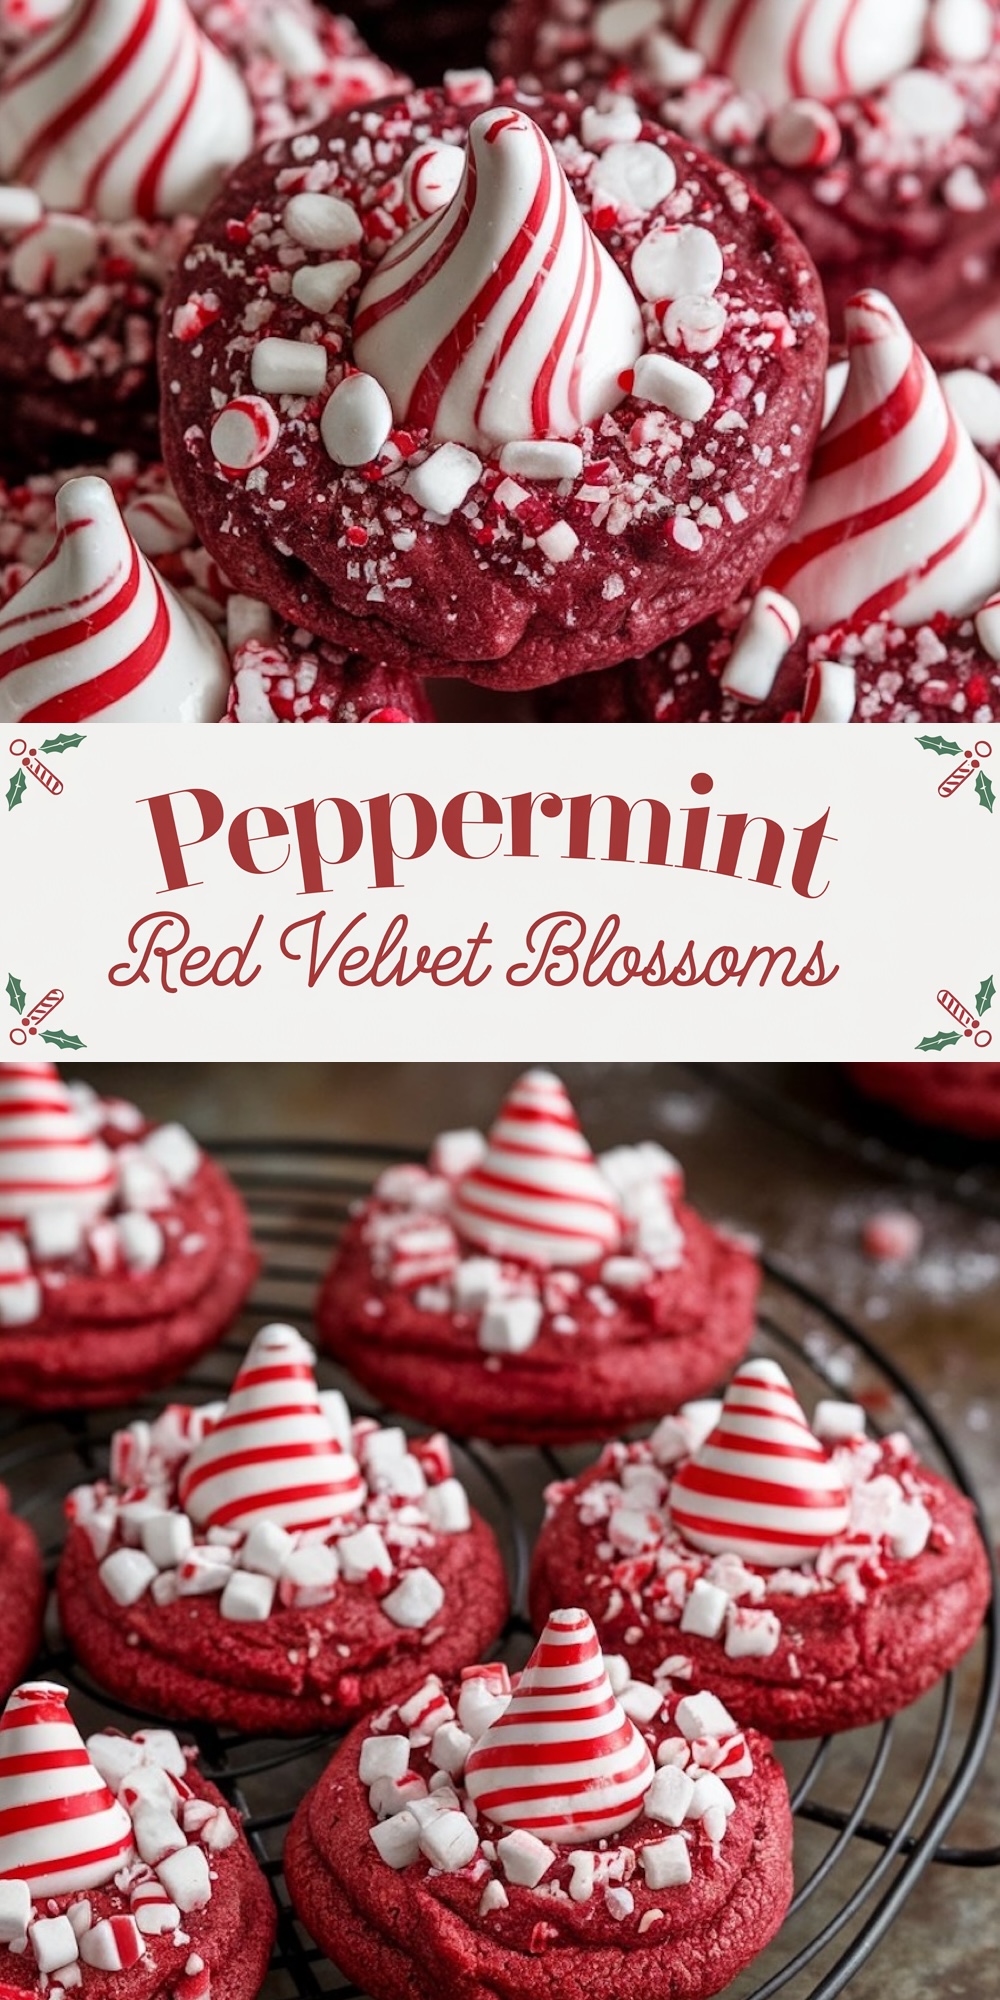
Peppermint Red Velvet Blossoms
Ingredients
- FOR THE COOKIES:
- 1¼ cups all-purpose flour
- ¼ cup unsweetened cocoa powder
- 1 teaspoon baking powder
- ½ teaspoon baking soda
- ¼ teaspoon salt
- ½ cup unsalted butter, softened
- ¾ cup granulated sugar
- 1 large egg
- 1 teaspoon vanilla extract
- 1 tablespoon red food coloring (gel preferred)
- 1 tablespoon buttermilk
- 18–20 peppermint candy kisses, unwrapped
- crushed candy canes or peppermint candies for garnish
Instructions
- WHISK DRY INGREDIENTS: In a medium bowl, whisk together the flour, cocoa powder, baking powder, baking soda, and salt until evenly blended.
- CREAM BUTTER AND SUGAR: In a large mixing bowl, beat the softened butter and granulated sugar for 2–3 minutes until light and fluffy. Add the egg and vanilla extract and mix until smooth.
- ADD COLOR AND BUTTERMILK: Mix in the red food coloring and buttermilk on low speed. Gradually add the dry ingredients, mixing just until a soft, slightly sticky dough forms.
- CHILL THE DOUGH: Cover the dough tightly with plastic wrap and refrigerate for at least 30 minutes to help the cookies hold their shape during baking.
- PREHEAT THE OVEN: Set the oven to 350°F (175°C) and line two baking sheets with parchment paper.
- SHAPE AND BAKE: Roll the chilled dough into 1‑inch balls and place them 2 inches apart on the prepared baking sheets. Lightly flatten each ball with your palm. Bake for 10–12 minutes or until the edges are set while the centers remain soft.
- ADD PEPPERMINT KISSES: Press a peppermint kiss gently into the center of each warm cookie immediately after baking. Sprinkle crushed peppermint around the base while the cookies are still warm so the pieces adhere.
- COOL COMPLETELY: Let the cookies cool on the baking sheet for 5 minutes, then transfer to a wire rack to cool fully. The peppermint kisses will soften from the heat but will firm as the cookies cool.
Notes
For deeper red color, adjust the amount of food coloring as needed. If dough becomes too soft while shaping, refrigerate briefly before continuing. Store cookies in a single layer in an airtight container to protect the peppermint topping.
Nutrition Information
Yield
20Serving Size
1Amount Per Serving Calories 157Total Fat 6gSaturated Fat 3gUnsaturated Fat 2gCholesterol 23mgSodium 103mgCarbohydrates 23gFiber 1gSugar 9gProtein 3g
Conclusion
These Peppermint Red Velvet Blossoms are the ultimate holiday treats, combining the deep cocoa flavor of red velvet with the refreshing, cool explosion of peppermint.
Whether one bakes these for a holiday party, a family gathering, or to use as sweet homemade gifts, they are certain to be a real showstopper. If you love this recipe, save it to your favorite holiday board. Do let me know in the comments how it turns out! I’d also like to hear what holiday baking means to you.