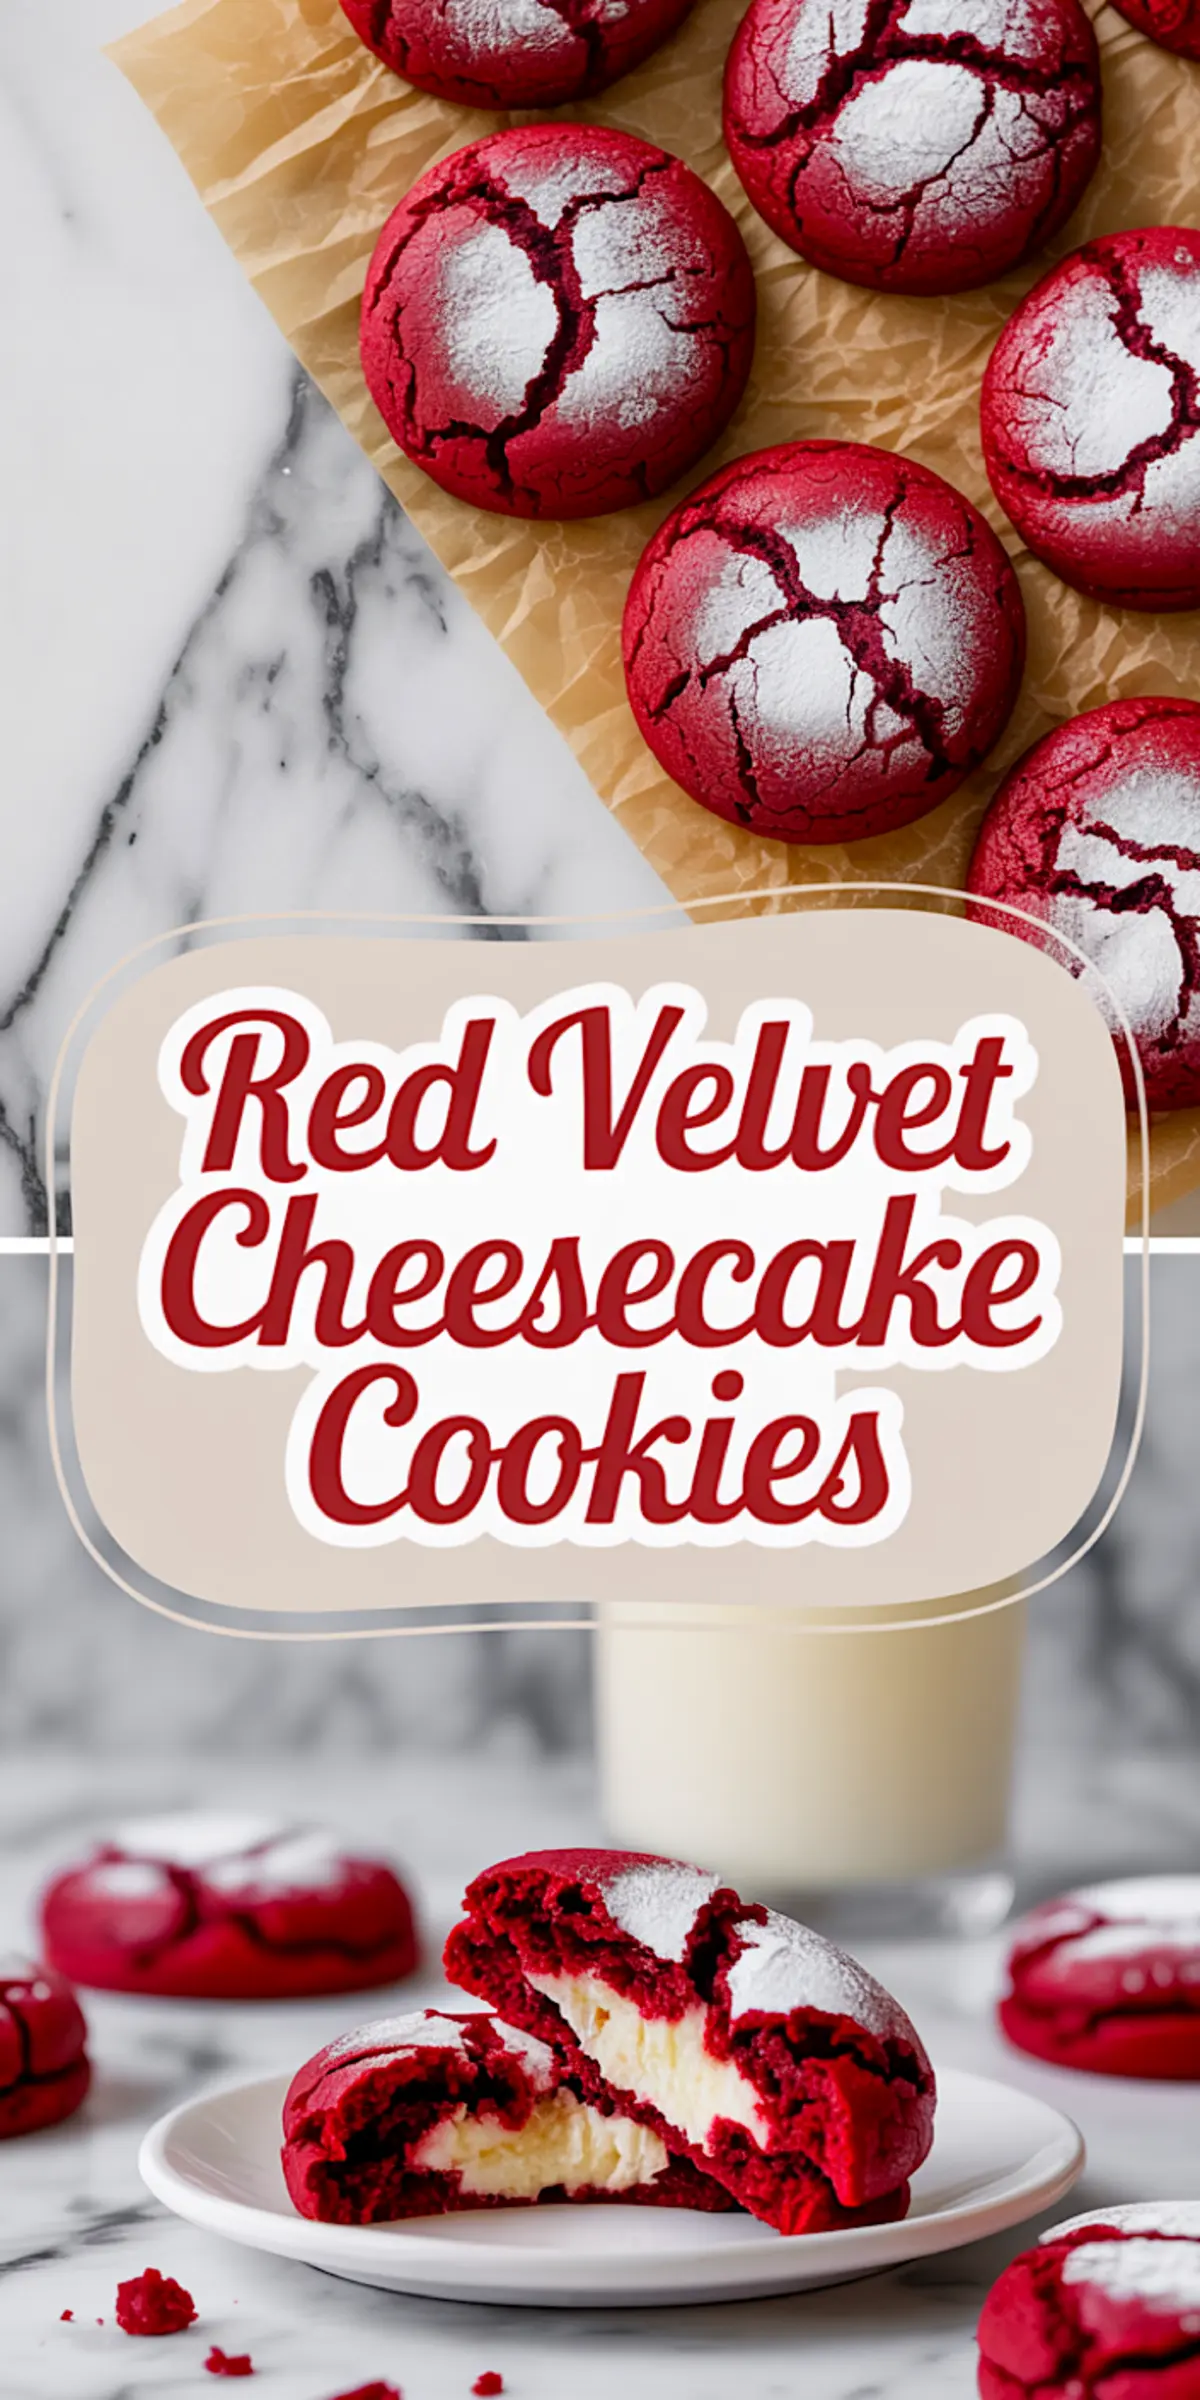
There’s something quietly confident about a cookie that hides a surprise. These Red Velvet Cheesecake Cookies are soft on the outside, creamy on the inside, and brightly unapologetic in color. You get the classic red velvet flavor subtle cocoa, a hint of tang, rich warmth folded around a cold spoonful of cheesecake that melts right into the center as it bakes.
The contrast is what makes it work. Soft cookie meets chilled cream cheese. Sweet meets tart. This is one of those red velvet desserts you’ll want to repeat, and maybe even stash in the freezer for emergencies.
You’ll learn how to build that center without mess, keep the dough tender but firm, and bring out that signature red hue without overdoing the dye. I’ll even share the quiet ingredient that pulls everything together.
Let’s build some confidence with the base before we surprise them with the center.

Following a special diet?
Every recipe on this site can be converted to gluten-free, vegan, dairy-free, keto, nut-free or egg-free with adjusted ratios so nothing falls flat.
Try the Recipe Converter →Cream Cheese Filling That Doesn’t Disappear
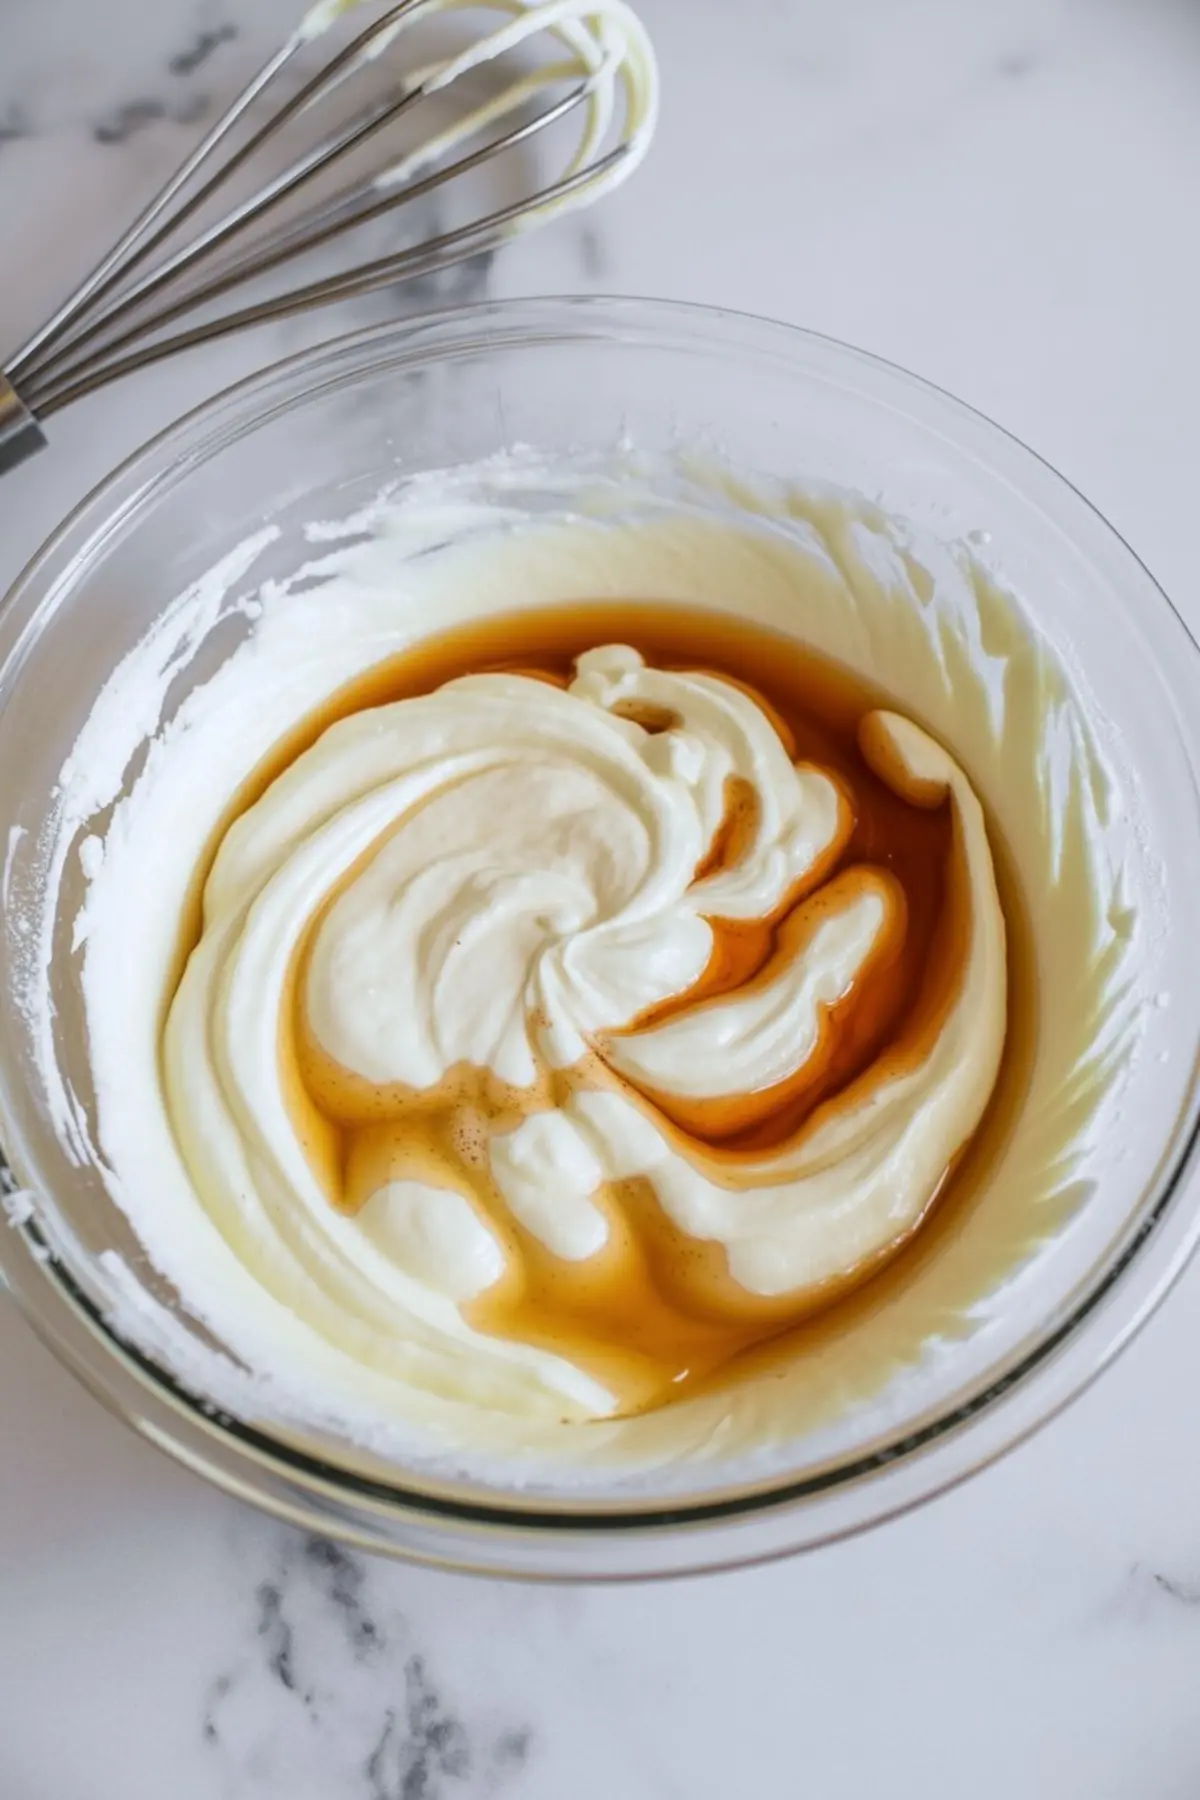
You’ll want the cream cheese cold before it ever meets the dough. It starts with full-fat cream cheese—not whipped, not reduced fat. That’s non-negotiable here. I’ve tested it with the spreadable kind, and the result was disappointing. It bakes flat, leaks, and disappears into the cookie.
Granulated sugar is what sweetens the filling, but don’t be tempted to add more. Too much sugar will cause the filling to thin out under heat. And vanilla extract, just a touch, rounds it out.
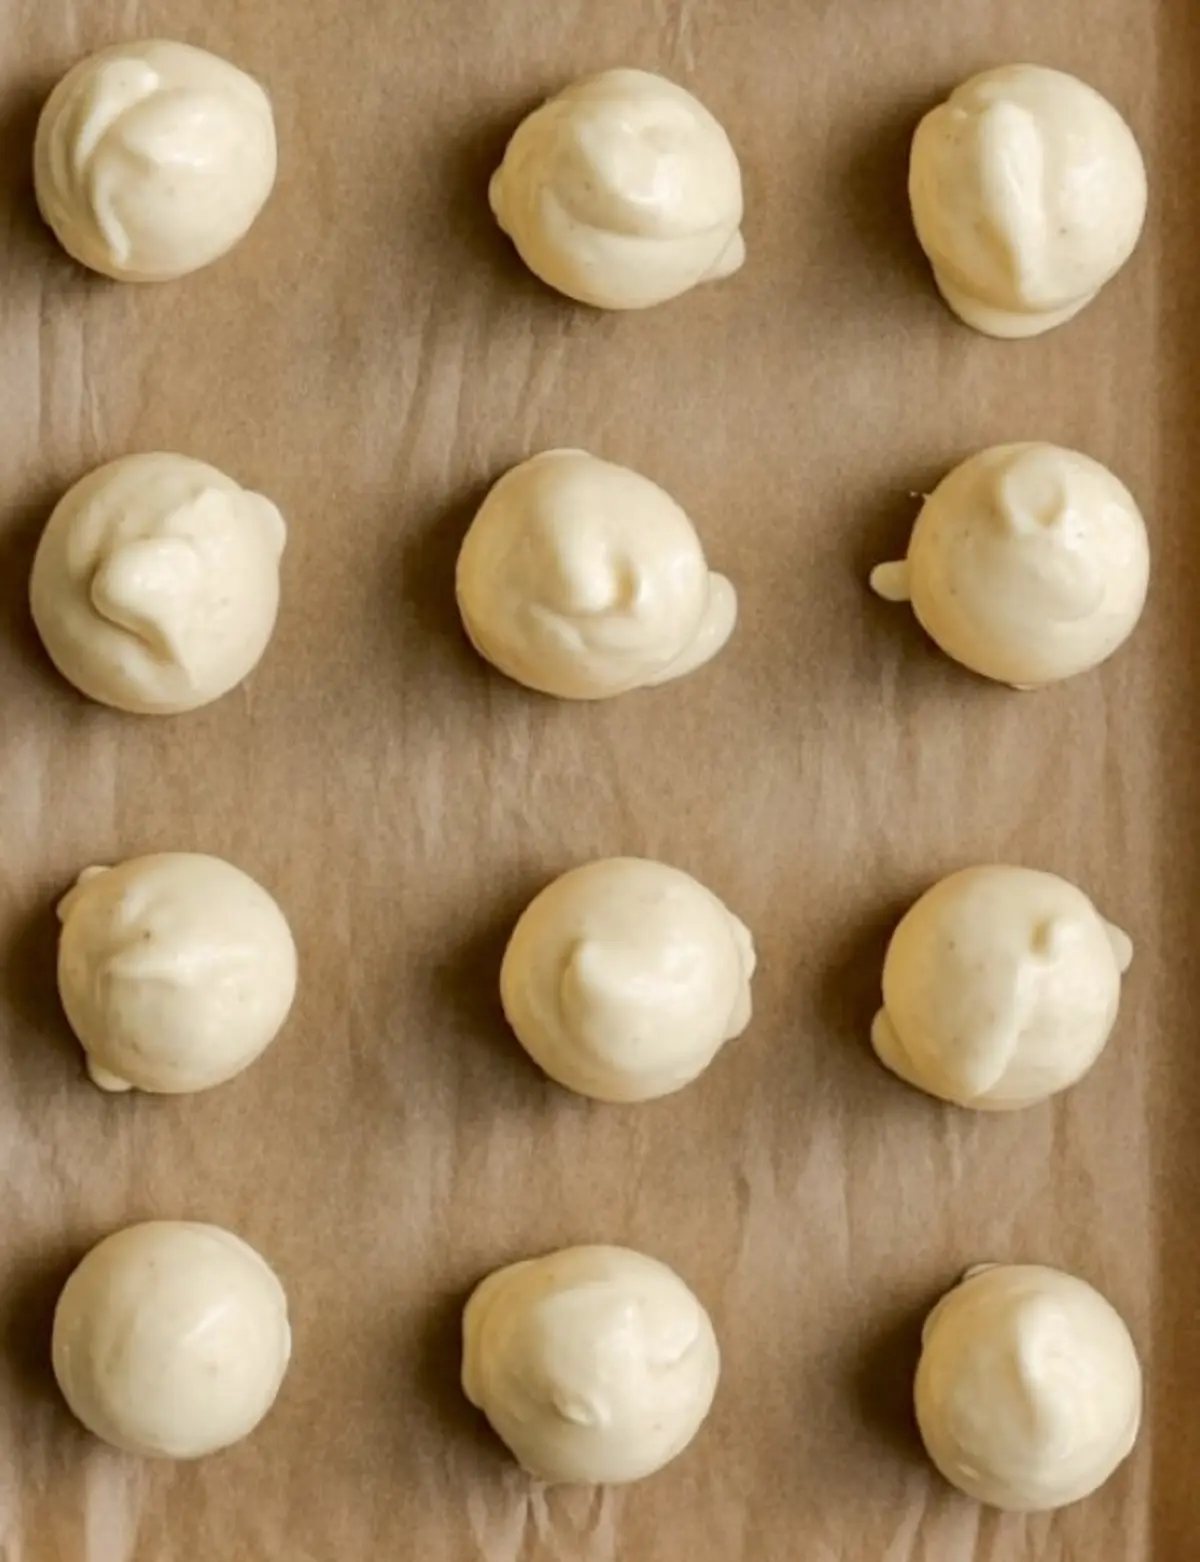
I freeze the scooped filling before anything else. This one step gives you control during shaping. Skip it and the filling will ooze too early. That’s no fun to clean up.
I’ve seen versions where bakers mix in cornstarch or even flour here, but the texture always feels pasty. Cream cheese, sugar, vanilla, and patience. That’s all you need.
Building the Red Velvet Cookie Base
Let’s talk about what makes red velvet different from just chocolate. The key is restraint. You’re using cocoa powder, but only enough to hint not shout. I use unsweetened natural cocoa powder. Dutch-processed tastes too smooth for what I want here. That little edge from the natural kind complements the tang of the filling.
Brown sugar brings softness and a little molasses note. It’s the kind of detail that disappears when it’s not there, but you’d miss it. The granulated sugar adds structure and helps with that delicate exterior shell.
For coloring, gel or liquid works. I reach for gel if I want the cookies deeply red without thinning the dough. Liquid gives a more muted result unless you use a full tablespoon. Either way, mix the color into the wet ingredients early, not after the flour. This gives a more even tone.
If you’re looking for another cookie recipe that combines beauty and softness, my Red Velvet Crinkle Cookie is a great one to pair with this.
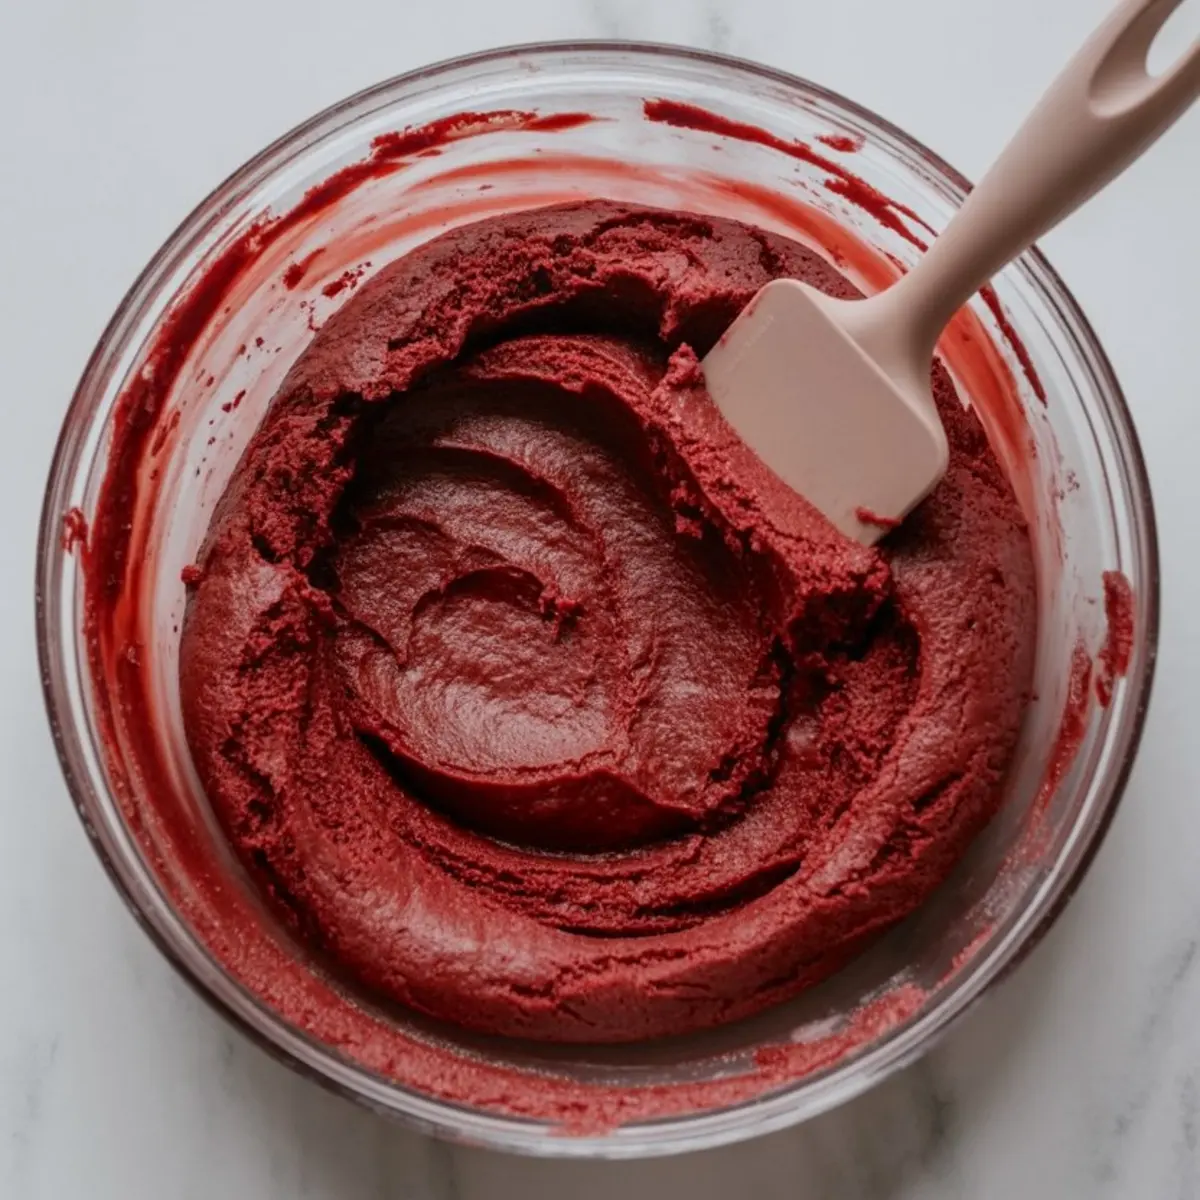
Mixing Dry and Wet: Getting That Dough Texture Right
Flour, cocoa powder, baking soda, and salt get whisked together first. This avoids any streaks or clumps when you fold it into the wet mix.
You want the dough to feel soft but not sticky. If it clings to your fingers too much, refrigerate it longer. If it crumbles when you try to shape it, add a teaspoon of milk and gently work it back to life. Small adjustments matter here.
In my early tests, I tried replacing some butter with oil. It created a chewier edge, but the center lacked depth. Butter, especially when creamed with sugar, adds structure and richness that oil can’t replicate. For these cookies, butter wins.
Shaping and Stuffing Without a Mess
Chilled dough is easier to work with, so don’t skip the rest. I flatten about 1.5 tablespoons of dough in my palm, place a frozen cream cheese dollop in the middle, and wrap the dough around it. You don’t need perfection here, but do make sure there are no seams or cracks. If you see one, pinch and smooth it shut.
These are generous cookies. They need space on the baking sheet. At least 2 inches. No crowding. It affects how the heat moves around them.
If you’re craving more showstopping single-serve treats, these Red Velvet Dessert Cups play with texture in a completely different way.
Baking Until the Edges Just Set
They bake quickly. Too long and the centers dry out. I pull them at 12 minutes if the tops look dry and the edges feel firm. Don’t wait for browning. These don’t brown like chocolate chip cookies. They stay red.
Once out, they’ll look slightly puffed. Let them rest on the tray. The centers continue to set as they cool, and that filling softens into a creamy pocket.
Now. About that unexpected element I mentioned.
A dash of milk in the dough makes a quiet but necessary difference. It helps the dough relax just enough to wrap smoothly around the filling, especially after chilling. I’ve skipped it before—don’t. The dough tears more easily and doesn’t spread evenly.
If you’re leaning into more classic red velvet flavors, my Red Velvet Cake offers a completely different structure but follows the same principle: tang, cocoa, and balance.
Serving, Storing, and Freezing Like a Pro
Serve them slightly warm if you want that soft filling to shine. I warm mine for 5 seconds in the microwave the next day. Not more. Just enough to soften the center again.
Store them in an airtight container at room temperature for up to 3 days. The cheesecake filling holds up surprisingly well. If you want to freeze them, I recommend freezing them baked, not raw. Let them cool completely, then stack between parchment and seal tightly.
Bring them to room temperature or give them a quick warm-up before serving. It wakes everything back up.
Pin Now, Bake Later – And Let Me Know
If you’re saving recipes for your next baking session, don’t forget to pin this one.
Add it to your red velvet board, cookie exchange folder, or wherever you keep your festive baking ideas.
And once you’ve tried it, leave a comment. Did your filling stay in place? Did you go for gel or liquid color? I’d love to know. We’re building better bakes together, one cookie at a time.
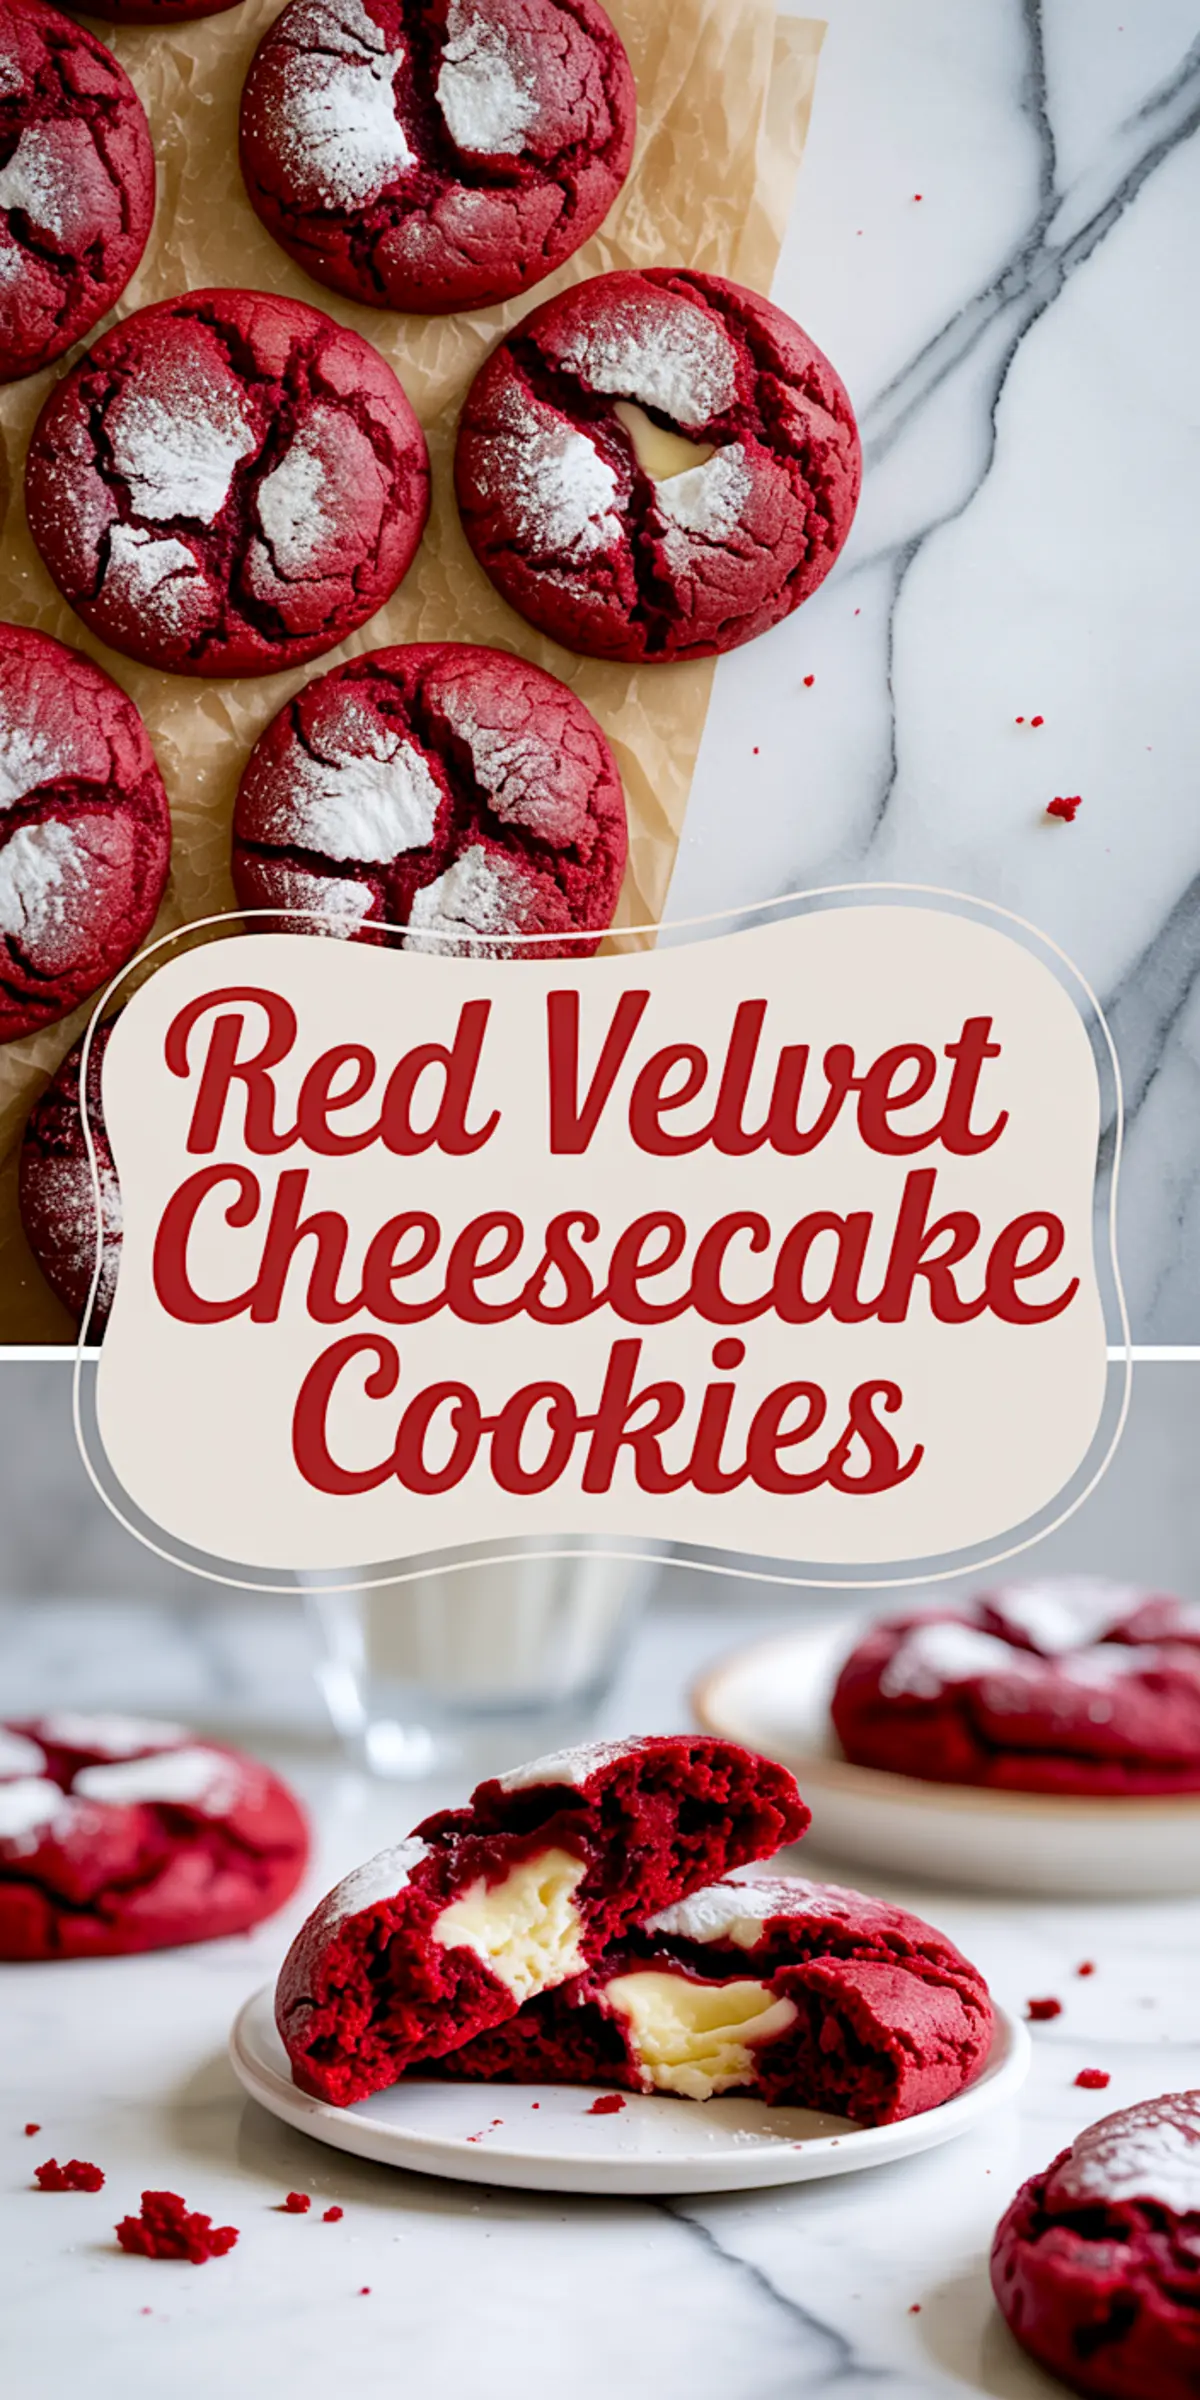
Red Velvet Cheesecake Cookies

These soft and chewy Red Velvet Cheesecake Cookies are stuffed with a creamy cheesecake filling and packed with classic red velvet flavor in every bite. This indulgent red velvet cookie recipe is perfect for festive gatherings, cookie exchanges, or simply satisfying your dessert cravings. Whether you’re hunting for easy baking recipes desserts or a stunning holiday treat, these cookies deliver on taste and visual appeal. Their rich color and creamy centers make them one of the most irresistible red velvet desserts you’ll ever bake. Pin this red velvet cookies recipe for your next baking day or special celebration — they’re simple, striking, and a guaranteed crowd-pleaser.
Ingredients
- FOR THE CHEESECAKE FILLING
- 8 oz (225g) cream cheese, softened
- 1/3 cup granulated sugar
- 1/2 tsp vanilla extract
- FOR THE RED VELVET COOKIE DOUGH
- 1/2 cup (115g) unsalted butter, softened
- 3/4 cup brown sugar, packed
- 1/4 cup granulated sugar
- 1 large egg
- 1 tsp vanilla extract
- 1 tbsp milk
- 1 tbsp red food coloring (liquid or gel)
- 1 1/2 cups all-purpose flour
- 1/4 cup unsweetened cocoa powder
- 1/2 tsp baking soda
- 1/4 tsp salt
Instructions
- MAKE THE CHEESECAKE FILLING: In a medium bowl, beat the softened cream cheese, granulated sugar, and vanilla extract together until smooth and fluffy. Scoop heaping teaspoons of the mixture onto a parchment-lined baking sheet. Freeze for 30 to 45 minutes or until firm to the touch.
- MAKE THE COOKIE DOUGH: In a large bowl, cream together the softened butter, brown sugar, and granulated sugar until smooth and light, about 2 to 3 minutes. Add the egg, vanilla extract, milk, and red food coloring, mixing until evenly combined and the color is uniform.
- COMBINE DRY INGREDIENTS: In a separate bowl, whisk together the all-purpose flour, cocoa powder, baking soda, and salt. Gradually add the dry ingredients to the wet mixture, stirring just until the dough forms and no streaks of flour remain. The dough should be soft but not sticky.
- CHILL THE DOUGH: Cover the cookie dough and refrigerate for at least 30 minutes. Chilling helps firm the dough and reduces spreading during baking.
- ASSEMBLE THE COOKIES: Preheat the oven to 350°F (175°C) and line two baking sheets with parchment paper. Scoop about 1.5 tablespoons of chilled dough and flatten it in your palm. Place a frozen cheesecake filling ball in the center, then fold the dough around the filling, sealing it completely. Gently roll into a smooth ball.
- BAKE THE COOKIES: Arrange the stuffed cookie dough balls on the prepared baking sheets, spacing them at least 2 inches apart. Bake for 12 to 14 minutes, or until the edges are set and the tops appear dry but the centers remain soft. Let the cookies cool on the baking sheet for 5 minutes before transferring to a wire rack.
Notes
Freeze any leftover cookies in an airtight container for up to 2 months. For best results, bring to room temperature or rewarm briefly before serving.
Nutrition Information
Yield
16Serving Size
1Amount Per Serving Calories 249Total Fat 13gSaturated Fat 8gTrans Fat 0gUnsaturated Fat 5gCholesterol 46mgSodium 169mgCarbohydrates 29gFiber 1gSugar 19gProtein 3g