There’s something utterly enchanting about red velvet desserts. Their vivid color, their delicate cocoa flavor, and the perfect balance of sweetness and tang. But have you ever thought about translating that charm from a classic red velvet cake into cookie form? Imagine soft, rich, crinkled cookies that carry all the beloved flavors of red velvet in a beautifully bite-sized form.
Today, we’re diving into the world of red velvet cookies, a simple but visually stunning dessert that will leave everyone craving more. Whether it’s for a cozy afternoon treat or a festive gathering, these cookies are sure to be the talk of the table.
Following a special diet?
Every recipe on this site can be converted to gluten-free, vegan, dairy-free, keto, nut-free or egg-free with adjusted ratios so nothing falls flat.
Try the Recipe Converter →The Inspiration Behind Red Velvet Cookies
Growing up, I remember the delight I felt when I first tried red velvet cake at a family gathering. It wasn’t just a dessert; it was a showstopper. From that moment, red velvet became a cherished favorite for special occasions. But as much as I loved it, the idea of making a whole cake often felt too ambitious for quick treats. That’s when I started experimenting with turning that iconic cake into cookies. Over the years, these red velvet cookies have become my secret weapon. Not only do they bring the same vibrant color and rich cocoa flavor, but they’re also so much easier to share—and they look absolutely beautiful in any dessert spread.Ingredients You’ll Need
To make these delicious red velvet cookies, you’ll need a few simple pantry staples and a splash of red food coloring for that eye-catching hue. The ingredients you’ll be gathering are very similar to those in traditional red velvet cake, but adapted to create a chewy, delightful cookie.
- All-purpose flour and cocoa powder: These give structure and flavor to the cookies, with the cocoa adding that classic hint of chocolate.
- Baking powder and salt: Essential for a perfect rise and balance of flavor.
- Butter and sugar: The combination of softened butter and sugar makes the cookies moist and chewy.
- Eggs and vanilla extract: Together, these create a smooth, luscious dough with an aromatic hint of vanilla.
- Red food coloring: This is what gives the cookies their signature color. I recommend using gel food coloring for a more vibrant hue.
- Powdered sugar: The final roll in powdered sugar is what creates the iconic “crinkled” look, adding a subtle sweetness and a charming touch.
How to Bring This Recipe to Life
Once you have all the ingredients ready, making these cookies is a straightforward process. Here’s what the journey looks like, step-by-step:
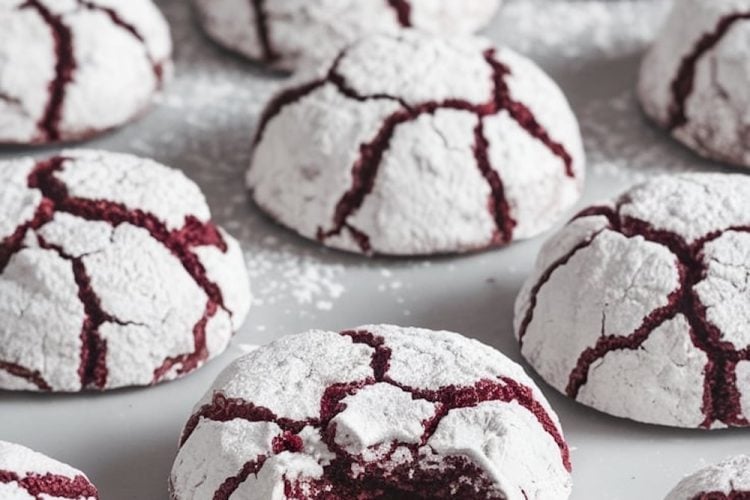
Bake to Perfection: Place the cookies on a lined baking sheet and bake until set but still soft in the center. When done, the cookies should have a lovely crackled top with that deep red color peeking through the powdered sugar. Let them cool for a few minutes on the baking sheet before transferring to a wire rack.
Prepare the Dry and Wet Ingredients Separately: Start by mixing your flour, cocoa powder, baking powder, and salt. This dry mixture forms the base of the dough, giving structure and flavor. In a separate, larger bowl, beat together your softened butter and sugar until you get a light and fluffy texture—this is key for creating the perfect cookie crumb.
Add Color and Flavor: With the butter and sugar mixture ready, add the eggs, one at a time, and follow with vanilla extract for that delicious aroma. Then comes the fun part: adding red food coloring. It’s best to start with a tablespoon and adjust until you reach your desired level of vibrancy.
Combine and Chill the Dough: Gently mix the dry ingredients into the wet, being careful not to over-mix. This will help keep the cookies tender. Since the dough will be a bit sticky, refrigerating it for at least 30 minutes will make it easier to handle and prevent the cookies from spreading too much while baking.
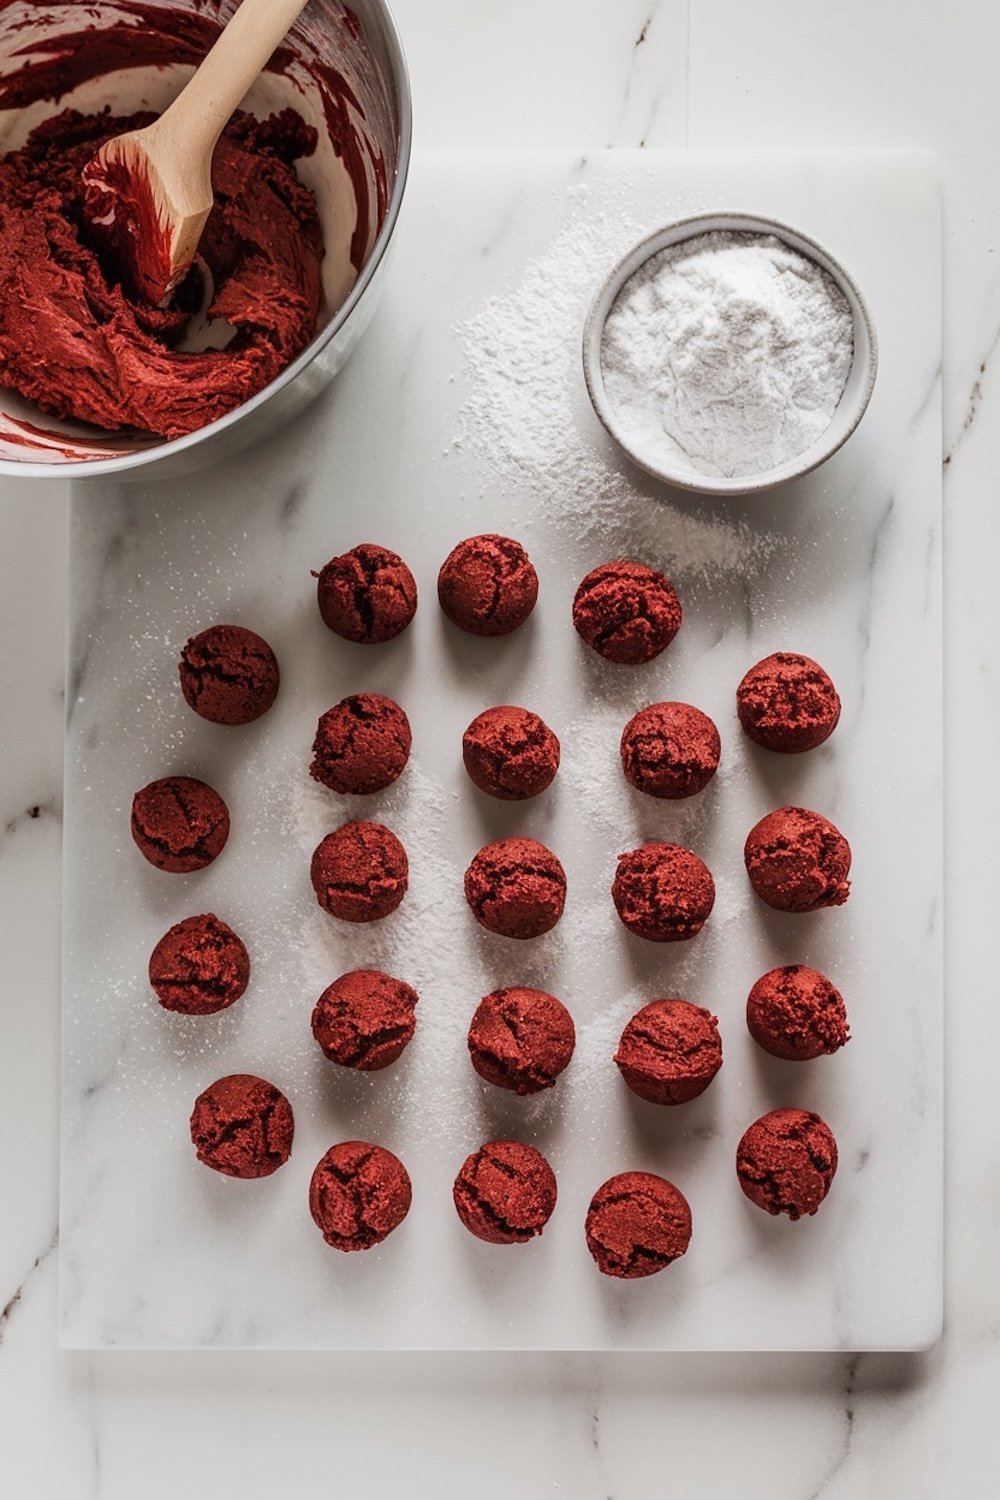
Shape and Coat the Cookies: After the dough is chilled, scoop it into small, even-sized balls. Roll each ball in powdered sugar to fully coat it; this is what creates the beautiful crinkled appearance as the cookies bake.
Tips for Making Perfect Red Velvet Cookies
1. Choose the Right Cocoa
Using unsweetened cocoa powder is key to achieving that delicate, slightly chocolatey red velvet flavor. Be sure to use regular cocoa powder rather than Dutch-processed cocoa, which could alter the flavor and color.
2. Use Gel Food Coloring for Vibrancy
Gel food coloring is more concentrated than liquid coloring, so a small amount will provide a richer, more vibrant color. Plus, it won’t add extra liquid to your dough, which can sometimes alter the consistency.
3. Don’t Skip the Chill Time
Chilling the dough helps prevent the cookies from spreading too much as they bake, and it also gives you a sturdier dough that’s easier to shape and roll.
4. Roll Generously in Powdered Sugar
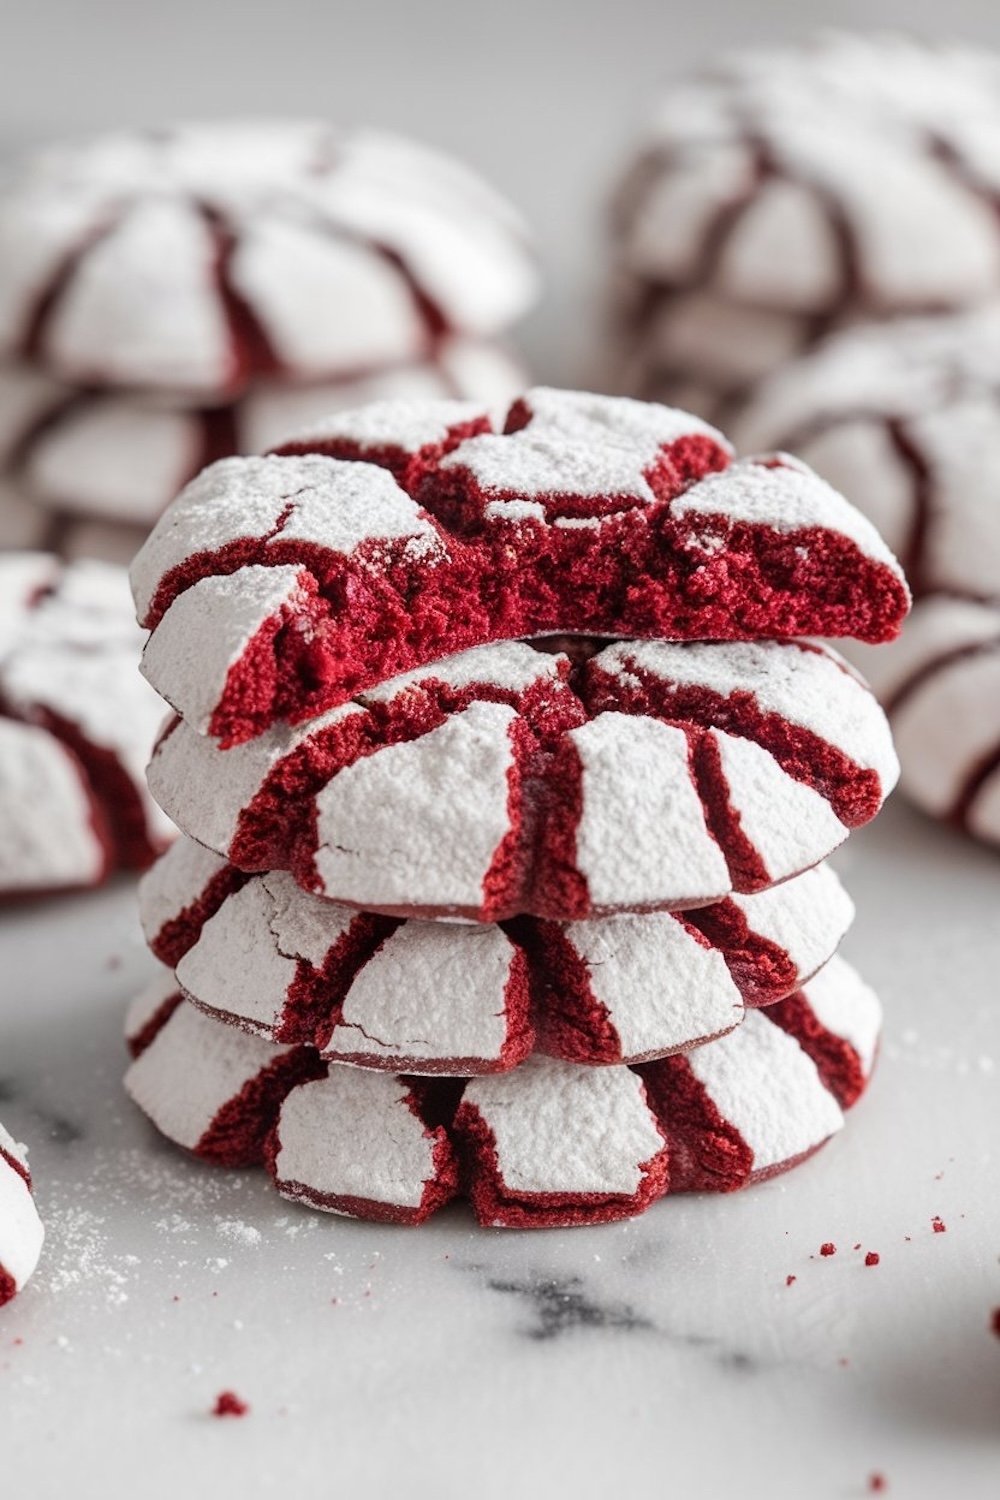
A thick coating of powdered sugar creates a beautiful crackled effect as the cookies bake and expand. If you roll them too lightly, you won’t get that distinctive red and white contrast that makes these cookies so eye-catching.
Serving Suggestions
Red velvet cookies are incredibly versatile when it comes to serving. Here are a few ideas for enjoying them:
- With Cream Cheese Frosting Dip: Serve with a side of cream cheese frosting for a little extra indulgence.
- Gift-Wrapped Goodies: Place them in a clear bag with a red ribbon for a thoughtful homemade gift.
- Afternoon Tea Treat: Enjoy them with a warm cup of tea or coffee for a cozy break.
- Holiday Platters: Arrange them with other festive cookies on a holiday dessert platter for a pop of color.
Serving Information
- Servings: Approximately 24 cookies
- Preparation Time: 15 minutes
- Chill Time: 30 minutes
- Baking Time: 10-12 minutes per batch
- Total Time: About 1 hour
Enjoy Every Bite
There you have it—a simple yet elegant recipe for red velvet cookies that bring a touch of whimsy to any occasion. With their deep red color, gentle cocoa flavor, and perfect sweetness, these cookies are as delightful to look at as they are to eat. If you try this recipe, please let me know how it turns out in the comments below! And if you loved this recipe, don’t forget to pin it to your favorite holiday cookie board to keep it handy for festive gatherings.
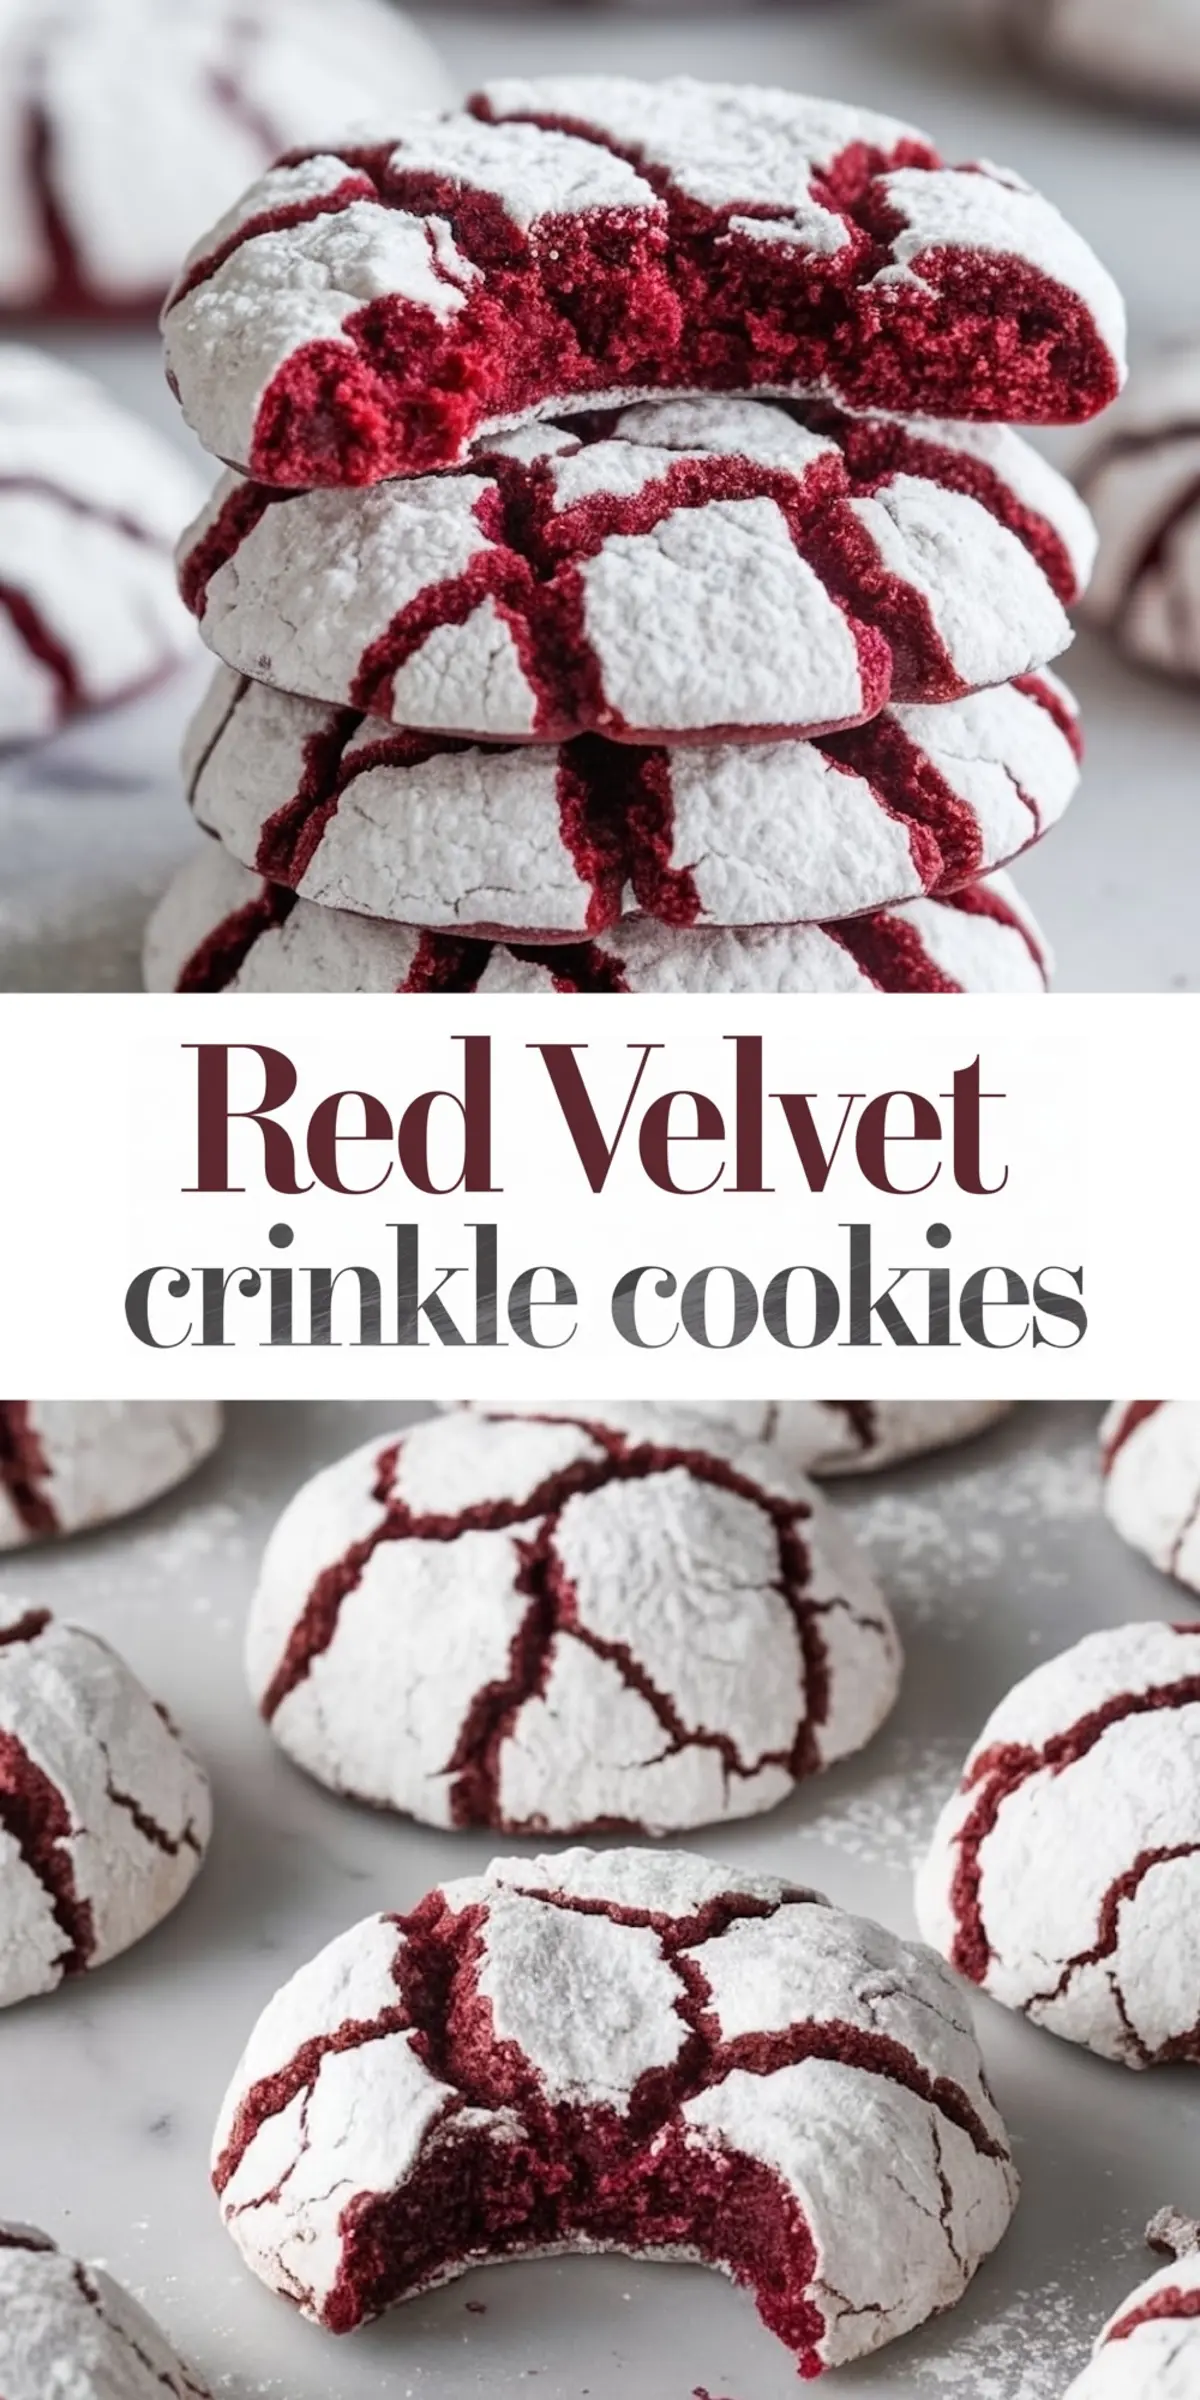
Red Velvet Crinkle Cookies
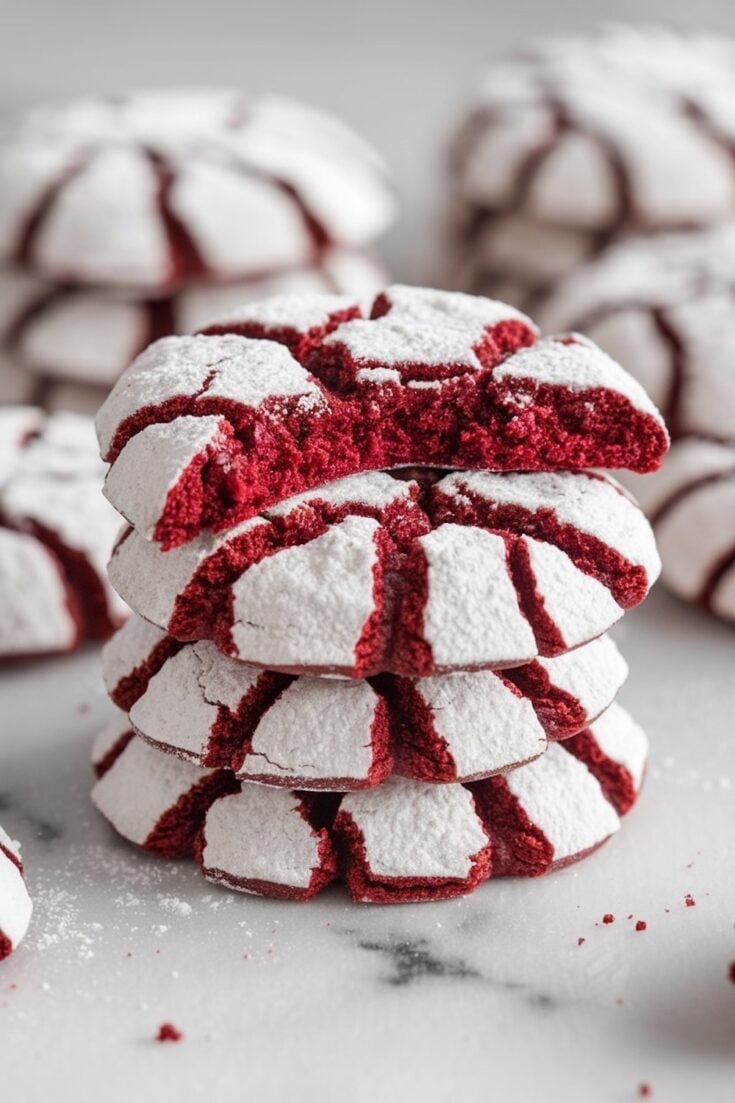
These Red Velvet Crinkle Cookies are soft, chewy, and coated in powdered sugar for that signature crinkle finish. A festive favorite from Emma’s Cake Studio, this recipe brings together classic red velvet recipes and traditional crinkle cookies in one eye-catching holiday treat. Perfect for gifting or adding to your Christmas cookies platter. The contrast of the deep red cookie and snowy sugar coating makes them ideal for any December celebration. Try this easy red velvet cookie version for a simple yet impressive bake that stands out on the dessert table.
Ingredients
- 1 1/2 cups all-purpose flour
- 1/2 cup unsweetened cocoa powder
- 1 tsp baking powder
- 1/4 tsp salt
- 1/2 cup unsalted butter, softened
- 1 cup granulated sugar
- 2 large eggs
- 1 tsp vanilla extract
- 1 tbsp red food coloring
- 1/2 cup powdered sugar, for rolling
Instructions
- PREHEAT THE OVEN: Set the oven to 350°F (175°C) and line two baking sheets with parchment paper. Set aside.
- MIX DRY INGREDIENTS: In a medium bowl, whisk together the flour, cocoa powder, baking powder, and salt until well combined.
- CREAM BUTTER AND SUGAR: In a large bowl, beat the softened butter and granulated sugar together for 2 to 3 minutes until the mixture is light and fluffy.
- ADD EGGS AND COLORING: Add the eggs one at a time, beating well after each. Stir in the vanilla extract and red food coloring until the batter is evenly tinted.
- COMBINE MIXTURES: Gradually add the dry ingredients to the wet mixture, stirring just until no streaks of flour remain. The dough will be soft and sticky.
- CHILL THE DOUGH: Cover the bowl with plastic wrap and refrigerate for at least 30 minutes to firm up the dough and make it easier to handle.
- FORM AND COAT DOUGH BALLS: Once chilled, scoop out tablespoon-sized portions and roll them into 1-inch balls. Roll each ball generously in powdered sugar until fully coated.
- BAKE: Place the coated dough balls on the prepared baking sheets, spacing them about 2 inches apart. Bake for 10 to 12 minutes, or until the cookies are set on the edges but still soft in the center.
- COOL: Let the cookies rest on the baking sheets for 3 to 5 minutes, then transfer them to a wire rack to cool completely.
Notes
For deeper color, use gel food coloring instead of liquid. Chilling the dough is important for the signature crinkle effect and helps prevent spreading. These cookies can be stored in an airtight container at room temperature for up to 4 days. For longer storage, freeze the baked cookies for up to 2 months.
Nutrition Information
Yield
24Serving Size
1Amount Per Serving Calories 179Total Fat 6gSaturated Fat 3gUnsaturated Fat 3gCholesterol 29mgSodium 116mgCarbohydrates 28gFiber 2gSugar 11gProtein 4g
Hello, could you freeze these cookies in place of preparation for Valentine’s Day. If so, at what point would you freeze?
Hi Lakiya,
Yes, you can absolutely freeze these cookies to get ahead for Valentine’s Day! You have two options, depending on what works best for your schedule:
1. Freeze the Dough Balls (Preferred Method): After chilling the dough and rolling it into balls, freeze the uncoated dough balls on a baking sheet until solid. Once frozen, transfer them to an airtight container or freezer bag. When ready to bake, thaw them in the fridge for about 1-2 hours, roll in powdered sugar, and bake as directed.
2. Freeze Baked Cookies: You can also bake the cookies first, let them cool completely, and then freeze them in layers separated by parchment paper in an airtight container. Thaw them at room temperature when ready to serve.
Freezing the dough ensures fresh-baked cookies on the day of, but both methods work beautifully! Let me know how it goes or if you have any other questions! 😊
Hi Emma. If using gel food coloring do you still use 1 TBL?
Hi! If you’re using gel food coloring, you won’t need the full table spoon. Gel is much more concentrated than liquid, so I’d start with about 1 tea spoon and adjust from there depending on the brand and the color intensity you want. I usually add a bit at a time and mix it in before deciding if it needs more. Just keep in mind that the cocoa powder can mute the color slightly once baked, so it’s okay if the dough looks a little more vibrant than you expect 🙂
Is it okay to make the batches of dough and let it sit in the fridge until ready to bake? I’d say a day or two?
Yes, Kat, chilling the dough for a day or two works well with this recipr. I’ve made it ahead before, and the cookies actually turn out a bit more flavorful with that extra rest time. Just be sure to wrap the dough tightly or keep it in an airtight container so it doesn’t dry out. If it’s too firm straight from the fridge, let it soften slightly at room temp before rolling in powdered sugar. Should bake up beautifully