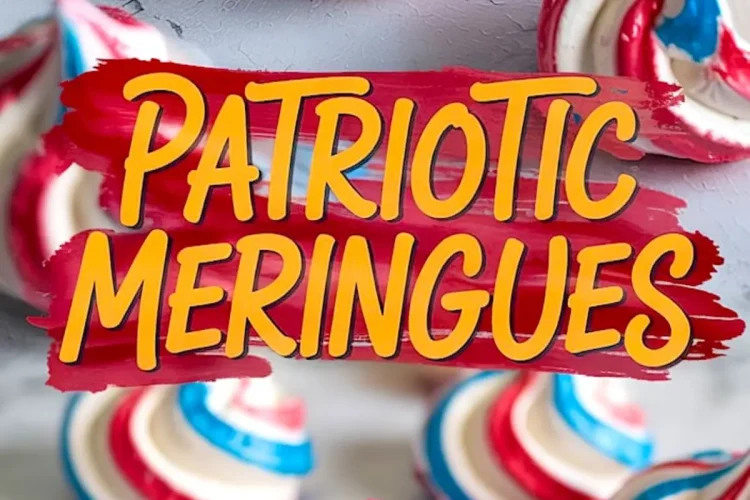
Fourth of July desserts usually lean heavy—layers of cake, heaps of frosting, big bold statements. That’s why these Red, White and Blue Meringue Kisses always stand out. They look striking, they weigh almost nothing, and they melt before you can blink. If you’ve been hesitant about working with meringue, this recipe is where I suggest you begin. It teaches you control, rhythm, and patience. And the payoff is undeniable.
This post will show you how to make meringue kisses that hold their shape, keep their crunch, and carry color beautifully. You’ll learn how to pipe crisp, defined stars with clean color swirls that don’t bleed or fade. We’ll also talk storage, serving ideas, and one key method difference that affects the entire texture.
I’ve made these meringues for everything from July 4th picnics to New Year’s Eve trays with gold dust instead of food coloring. But this red, white, and blue version? It gets the biggest smiles.
Following a special diet?
Every recipe on this site can be converted to gluten-free, vegan, dairy-free, keto, nut-free or egg-free with adjusted ratios so nothing falls flat.
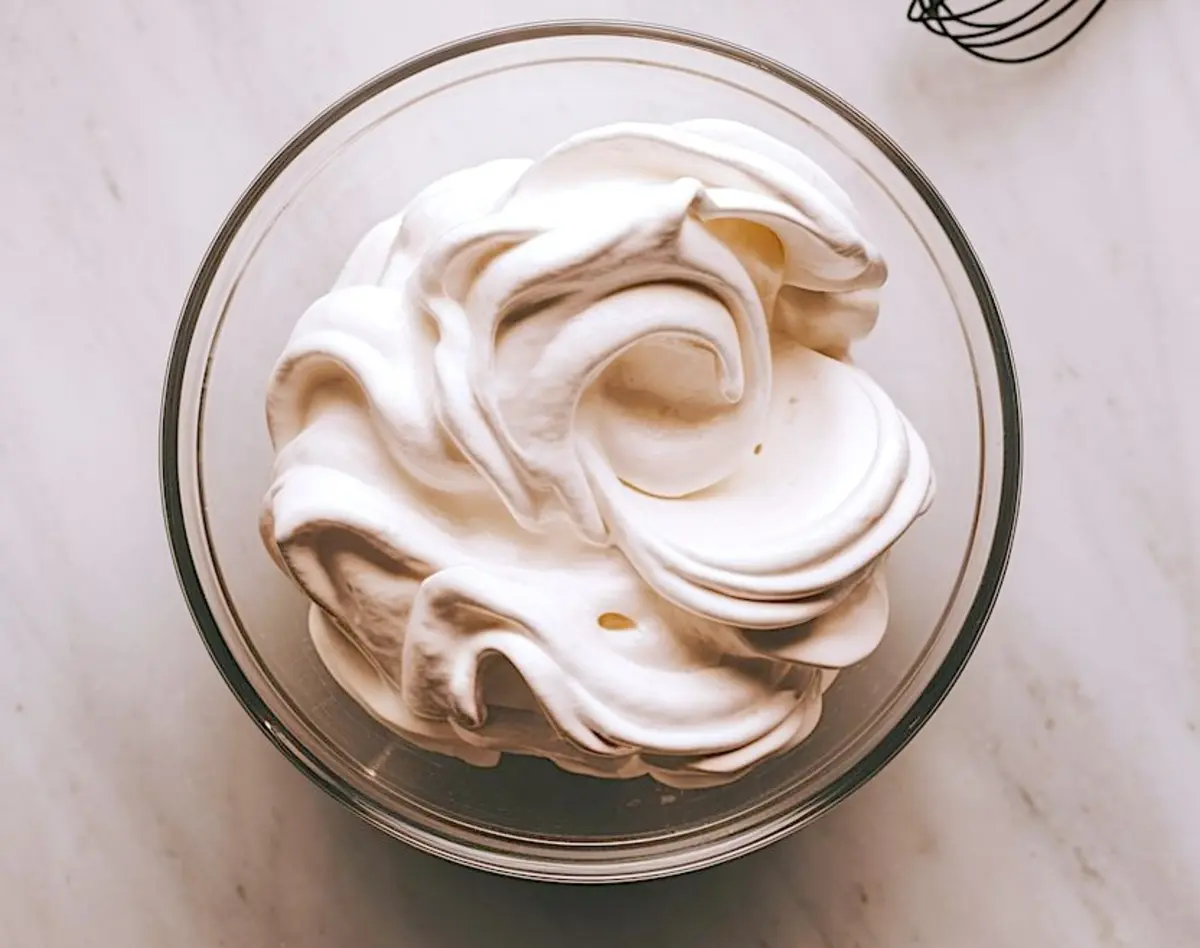
Try the Recipe Converter →How to Get Stiff Peaks and a Glossy Finish Every Time
Egg whites at room temperature whip faster and more evenly. Cold ones will take longer and risk overmixing before they form stiff peaks.
Start with a clean, dry bowl—any trace of grease can ruin the meringue structure. I always give my bowl and beaters a quick wipe with vinegar before starting, just to be safe.
Once the whites turn foamy, add cream of tartar. It stabilizes the proteins and helps your meringue hold its shape longer, especially in humid climates.
Add sugar gradually, one spoon at a time, letting it dissolve fully before adding more. Rushing this step leads to grainy meringue. You’re looking for glossy peaks that stand tall when you lift the whisk.
I’ve tested adding the vanilla early versus late. Late wins. It preserves the structure and keeps the peaks from softening too soon.

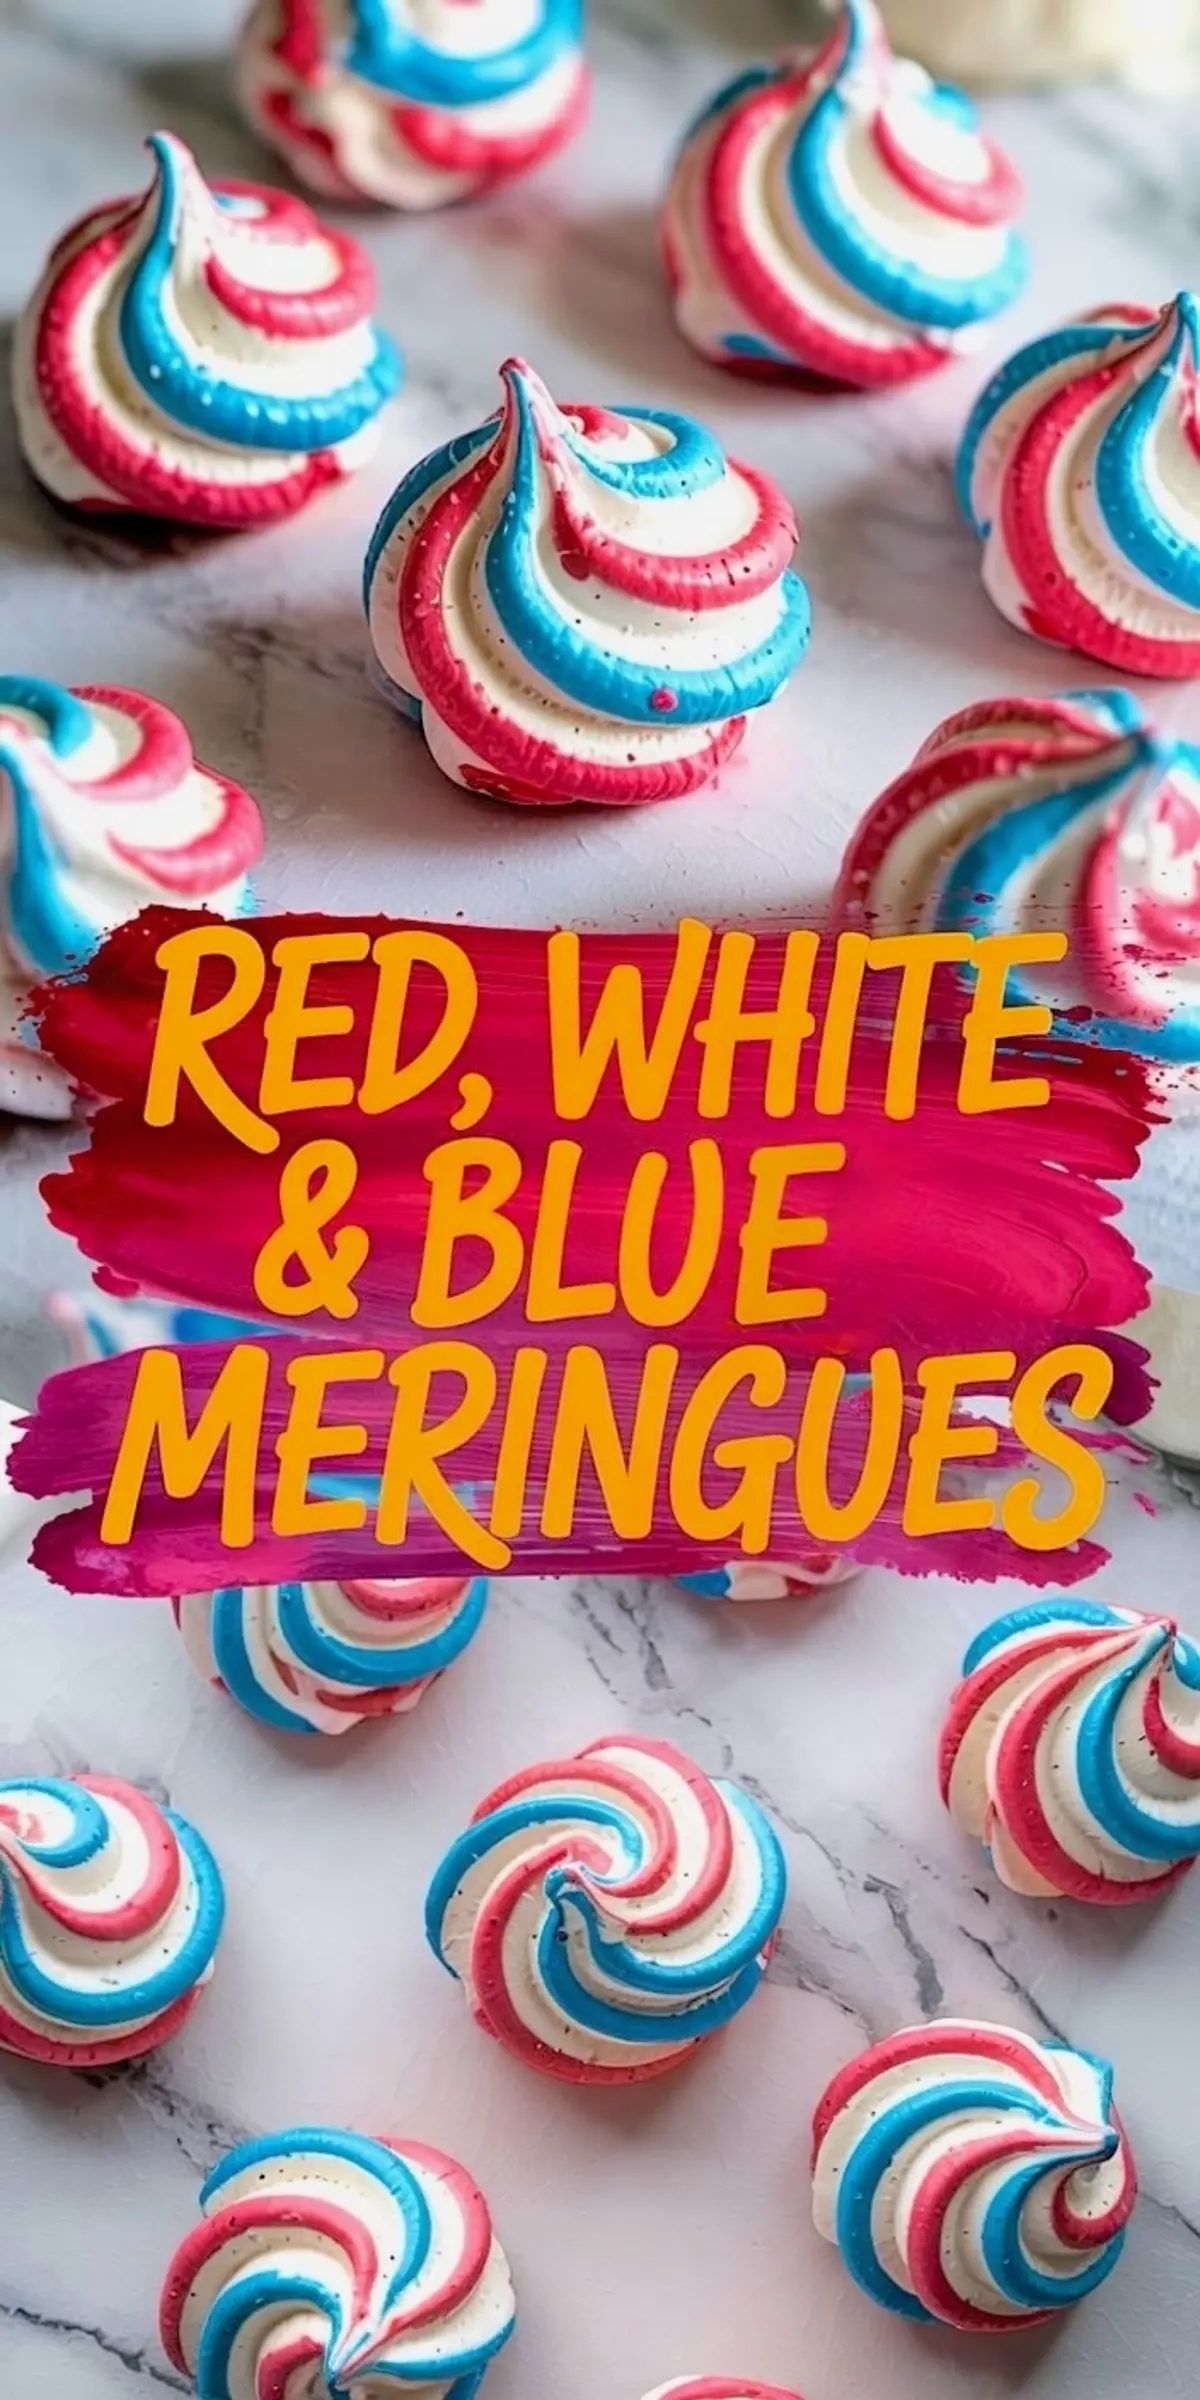
Color Striping That Pops Without Bleeding
Gel coloring gives stronger results than liquid and doesn’t loosen the meringue. I paint stripes inside the piping bag before adding the meringue. This gives clean streaks on the outside without coloring the whole batch.
You can use a small clean paintbrush or a wooden skewer. Red and blue are bold, so space the lines evenly and don’t overload them. Too much gel, and you risk dragging down the structure.
The trick is to load the meringue gently. Spoon it into the bag slowly, aiming for the center. Let the stripes stay put. If they smear, you’ll end up with a marbled look instead of defined color ribbons.
I’ve tried mixing the color into the meringue itself, but that method tends to collapse the structure faster and looks muddy once baked. Painted bags win on precision.
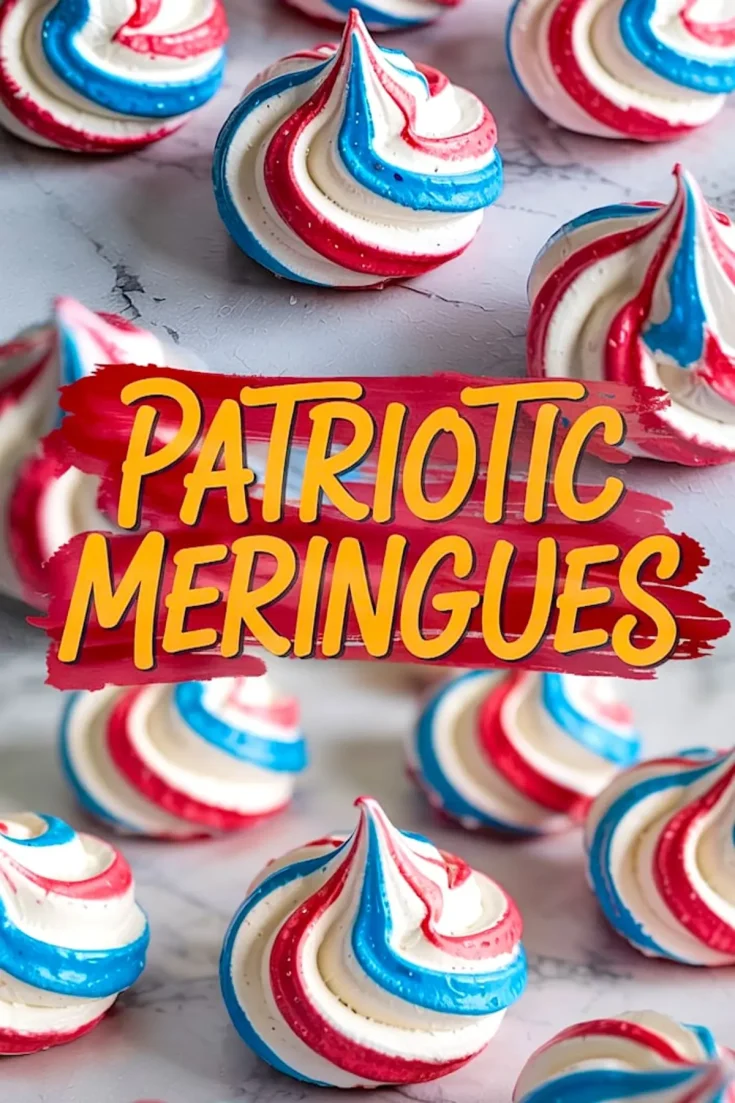
How Oven Temperature and Resting Time Affect Crunch
Bake low and slow—200°F is ideal. It sets the meringue without browning it. Once the hour is up, switch off the oven and let them sit inside for another hour. Don’t open the door.
This slow drying prevents cracks and keeps them crisp on the outside while staying just slightly soft in the middle.
If your oven runs hot or has uneven spots, rotate the trays halfway through—but only if absolutely needed. Every open-door moment risks introducing moisture, which meringues hate.
Serving Ideas That Make These Shine on a Holiday Table
Pair them with other red, white, and blue treats to create a cohesive dessert spread. I love placing these meringue kisses around a central centerpiece like this Patriotic Poke Cake or scattering them around a tray of Triple Berry Patriotic Cheesecake.
They also look stunning next to small bites like Firework Painted Macarons or bright-colored Patriotic Cake Pops. If you’re doing a large party, add a batch of Confetti Fudge to the mix for a color and texture contrast.
For a simple but elegant look, I sometimes fill a glass jar with these kisses and tie it with a ribbon—makes a beautiful gift or takeaway.
Storage Tips That Keep Meringue Kisses from Going Soft
Humidity is your biggest enemy. Keep these in an airtight container at room temperature and away from any steam, open windows, or dishwasher heat. I like to tuck a few dry rice grains or a silica packet in the corner to absorb extra moisture.
They’ll hold for five days easily, but texture starts to decline after the third day if your kitchen runs humid. Don’t refrigerate. That’ll make them weep.
If you do need to revive slightly soft meringues, pop them back in a 200°F oven for 10 to 15 minutes and let them dry out again. Don’t skip the resting time inside the oven afterward.
Save, Bake, and Share with Your Community
Pin this recipe so you don’t lose it before your next party. These are the kind of treats that sneak into your regular rotation once you’ve seen how reliable they are.
If you’ve baked a batch, I’d love to hear how they turned out. Did you go for small kisses or larger stars? Any color combos you tried? Leave a comment below and let’s swap ideas.
These meringues may be light, but they leave a strong impression.
Red, White and Blue Meringues Recipe
4 large egg whites (room temperature)
1 cup (200g) granulated sugar
½ tsp cream of tartar
1 tsp vanilla extract
Red gel food coloring
Blue gel food coloring
Ingredients
- 4 large egg whites (room temperature)
- 1 cup (200g) granulated sugar
- ½ tsp cream of tartar
- 1 tsp vanilla extract
- Red gel food coloring
- Blue gel food coloring
Instructions
- PREHEAT AND PREP: Preheat oven to 200°F (95°C). Line two baking sheets with parchment paper or silicone baking mats and set aside.
- WHIP THE MERINGUE: In a clean, grease-free mixing bowl, beat the egg whites on medium speed with an electric mixer until foamy. Add the cream of tartar and continue mixing. Gradually add the sugar, one tablespoon at a time, letting it dissolve completely before adding more. After all the sugar is added, increase to high speed and beat until stiff peaks form and the meringue looks glossy. Mix in the vanilla extract just until combined.
- PREPARE THE PIPING BAG: Fit a large piping bag with a star or round tip (such as Wilton 1M or 2A). Fold the top of the bag outward over a glass to keep it stable. Use a clean food-safe paintbrush or wooden skewer to paint two vertical red gel coloring stripes inside the bag, opposite each other. Then paint two blue stripes between the red ones. Carefully spoon the meringue into the bag, avoiding smearing the stripes.
- PIPE AND BAKE: Pipe small meringue kisses onto the prepared baking sheets, spacing them about an inch apart. Bake for 1 hour, then turn off the oven and leave the meringues inside for another hour to dry completely without opening the door.
Notes
Store meringue kisses in an airtight container at room temperature for up to 5 days. Avoid humidity, which can cause them to soften.
Nutrition Information
Yield
25Serving Size
1Amount Per Serving Calories 40Total Fat 0gSaturated Fat 0gTrans Fat 0gUnsaturated Fat 0gCholesterol 0mgSodium 9mgCarbohydrates 0gFiber 0gSugar 0gProtein 1g