
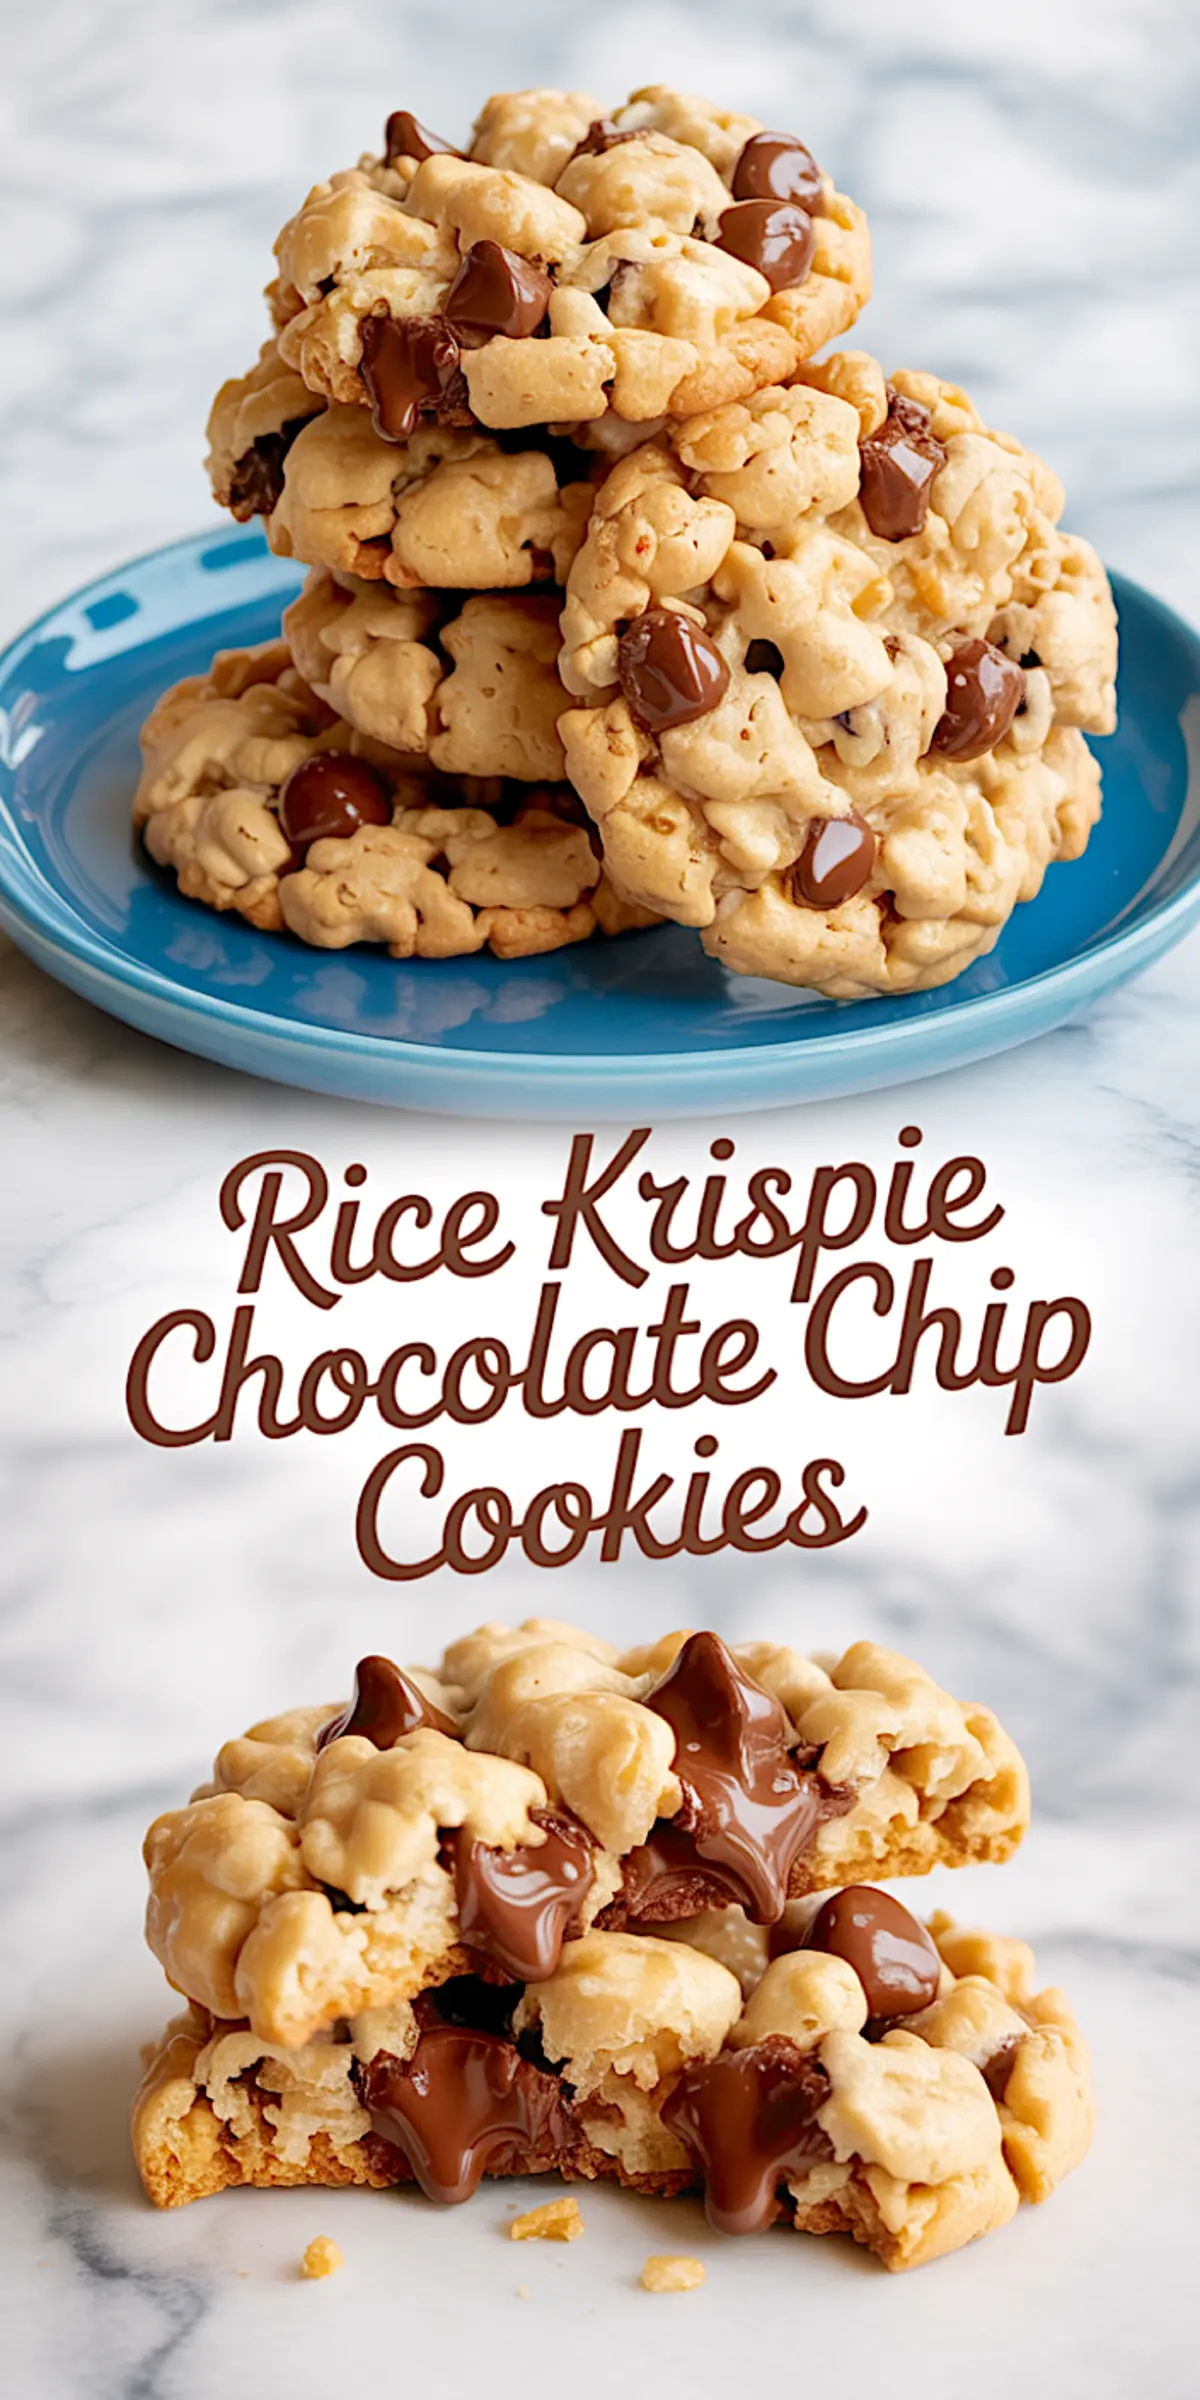
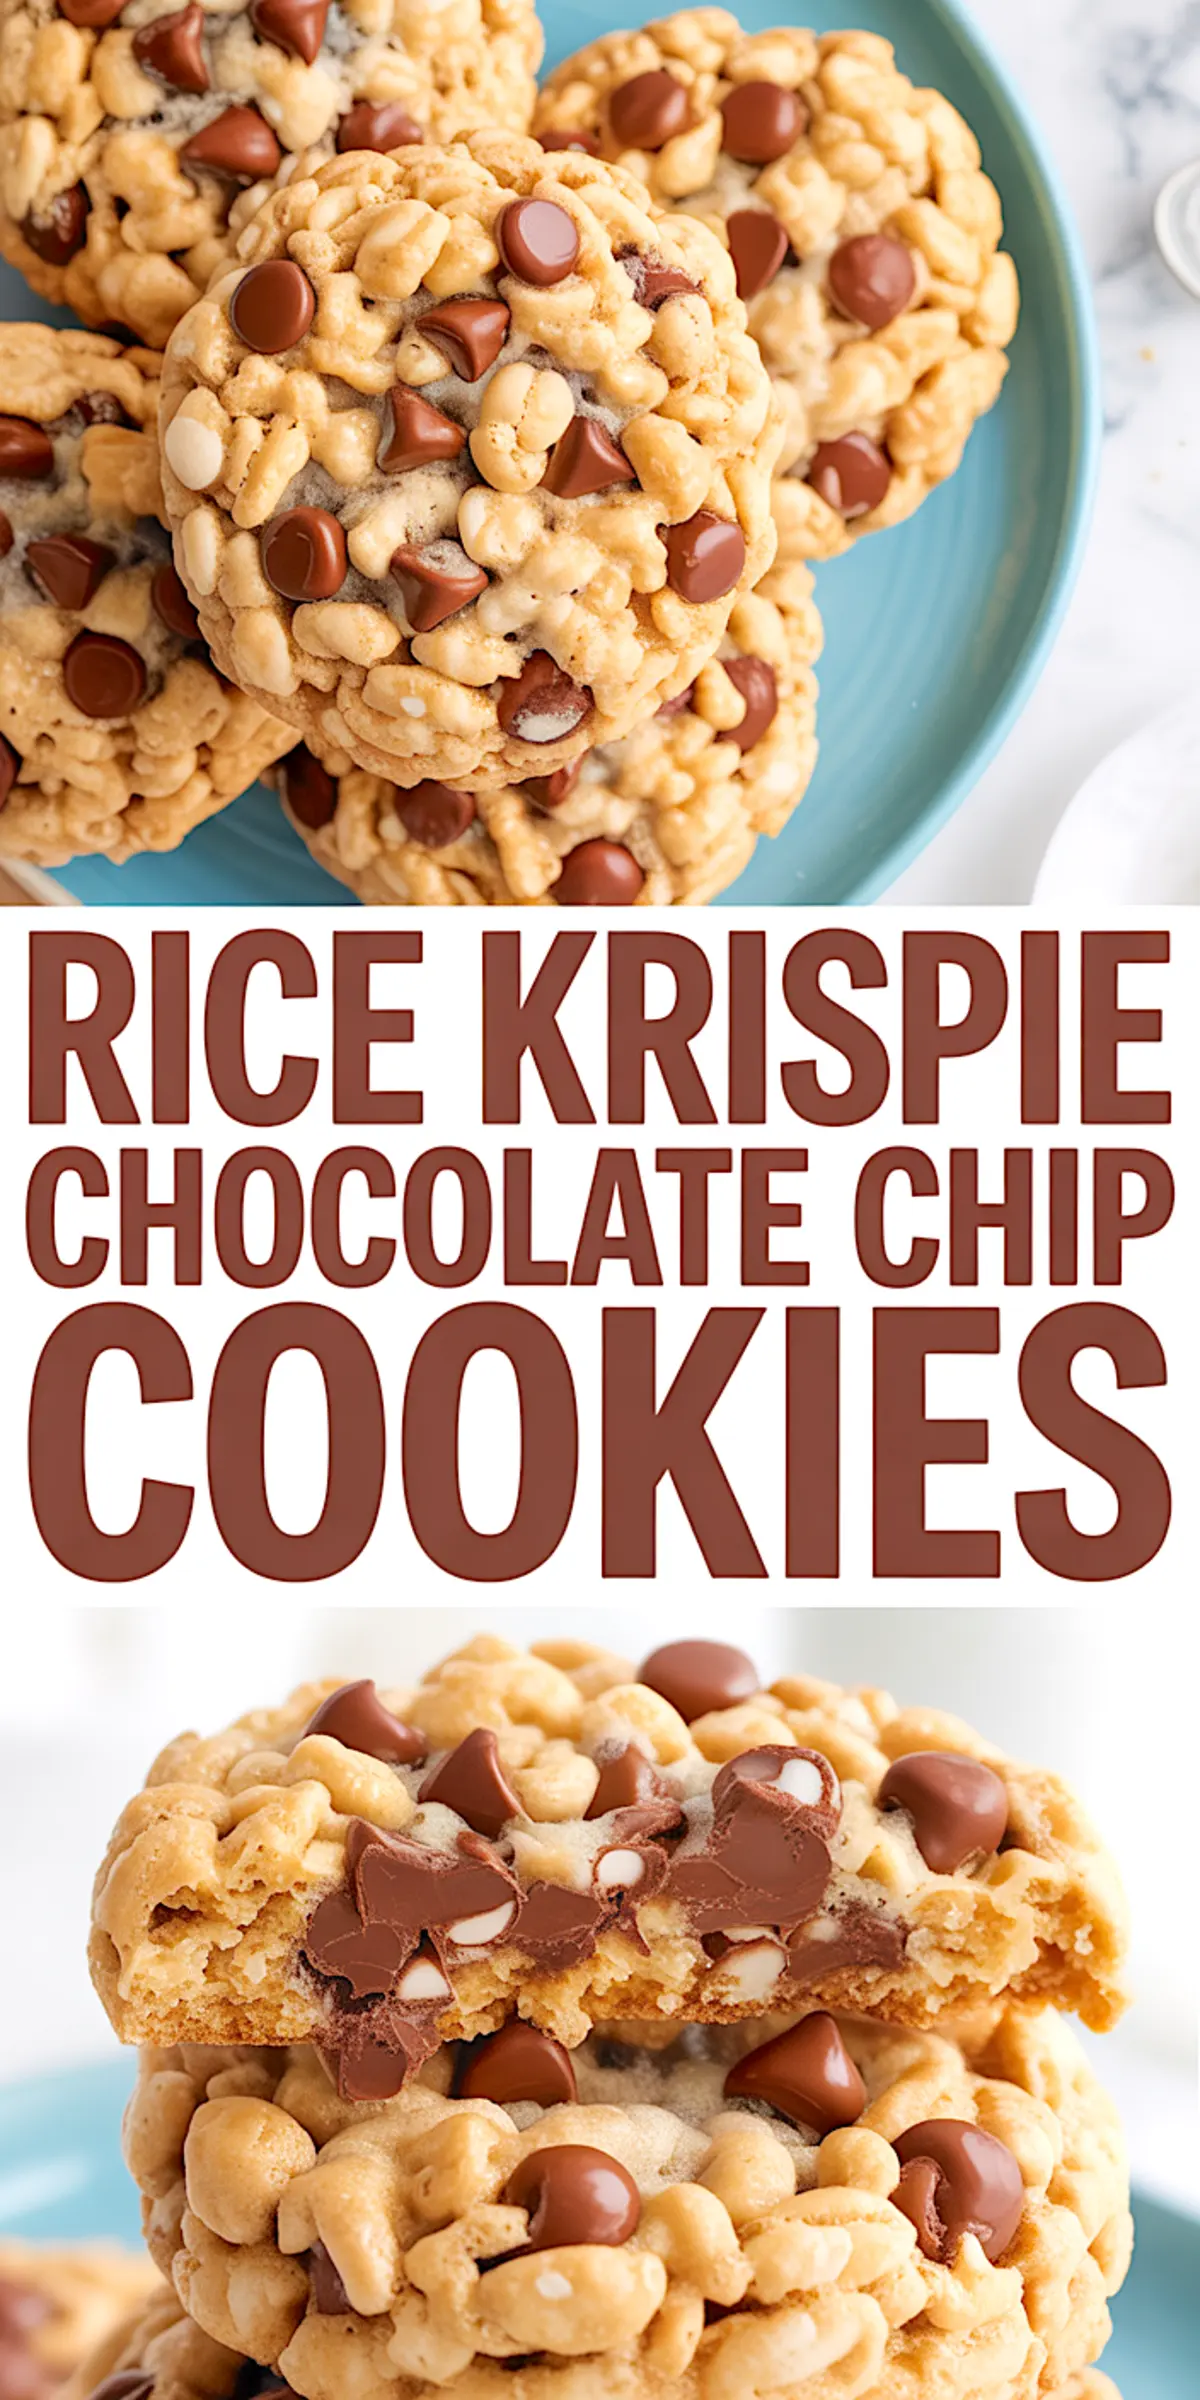
There’s a certain kind of cookie that surprises you, because it’s so straightforward and still manages to stand out. That’s what I’ve found in these Rice Krispie Chocolate Chip Cookies. They’re a cross between your go-to chewy chocolate chip and the snap of a cereal treat. You get crunch, chew, and buttery depth all in one bite.
This recipe meets you where you are. You likely already have everything in your kitchen, yet the result feels like something new. You’ll learn how to bake cookies that stay soft in the center but finish with a light crisp edge. And you’ll know how to fold in cereal without it turning to powder.
Following a special diet?
Every recipe on this site can be converted to gluten-free, vegan, dairy-free, keto, nut-free or egg-free with adjusted ratios so nothing falls flat.
Try the Recipe Converter →What Makes This Cookie Different
The Rice Krispies don’t just bulk up the dough, they give the cookies a lift. Instead of melting into the dough, they stay crisp. That lightness balances the richness of the butter and the weight of the chocolate. I’ve tested them with and without the cereal, and every time, the batch with the added crunch disappeared faster.
I’ve also made these as part of a cookie bar tray, and guests always pick them first—maybe because they look familiar but feel fresh. The snap from the Rice Krispies catches the light and makes the cookies look textured and homemade in the best way.
Creamed Butter and Sugar Builds the Base
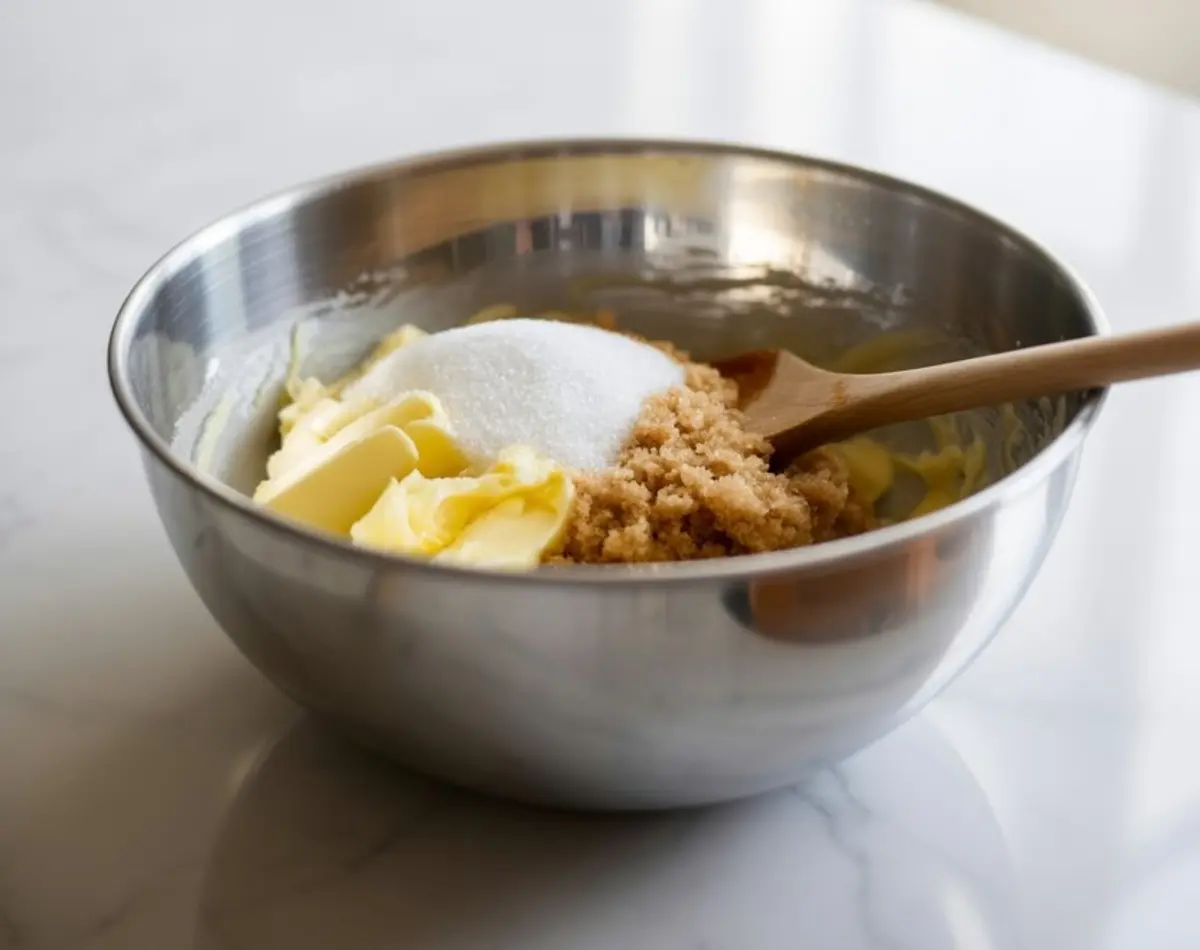
The creaming step sets the structure here. Beat the butter with both brown and white sugar until it turns pale and smooth. This traps enough air to support the cereal later without losing softness.
For best flavor, I use unsalted butter at room temperature and take my time here. Two to three minutes with a hand mixer works well. Rushing this step often leads to cookies that spread too thin. You can always refer to my Peanut Butter Chocolate Chip Cookies for a similar creaming technique.
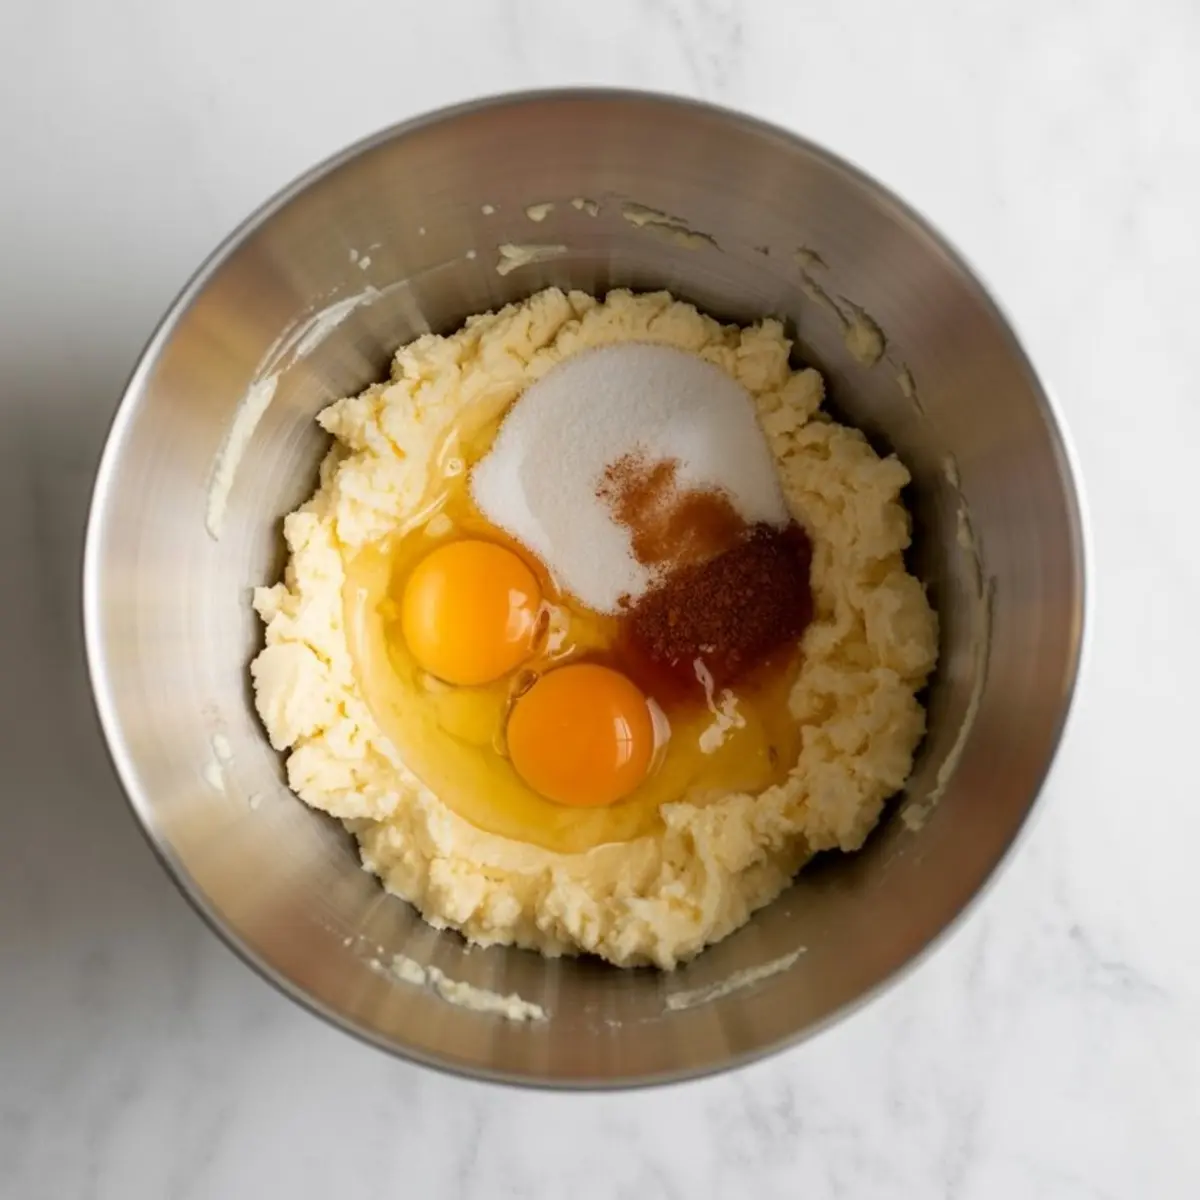
Eggs and Vanilla Bring Moisture and Flavor
The two eggs and tablespoon of vanilla soften the structure and round out the sweetness. I’ve tried this with one egg, but the dough came out too dry. With two, you get a moist interior that balances the crisp outer shell.
This is especially important in recipes that use dry mix-ins like cereal. Without enough moisture from the start, the cookie risks becoming brittle after cooling.
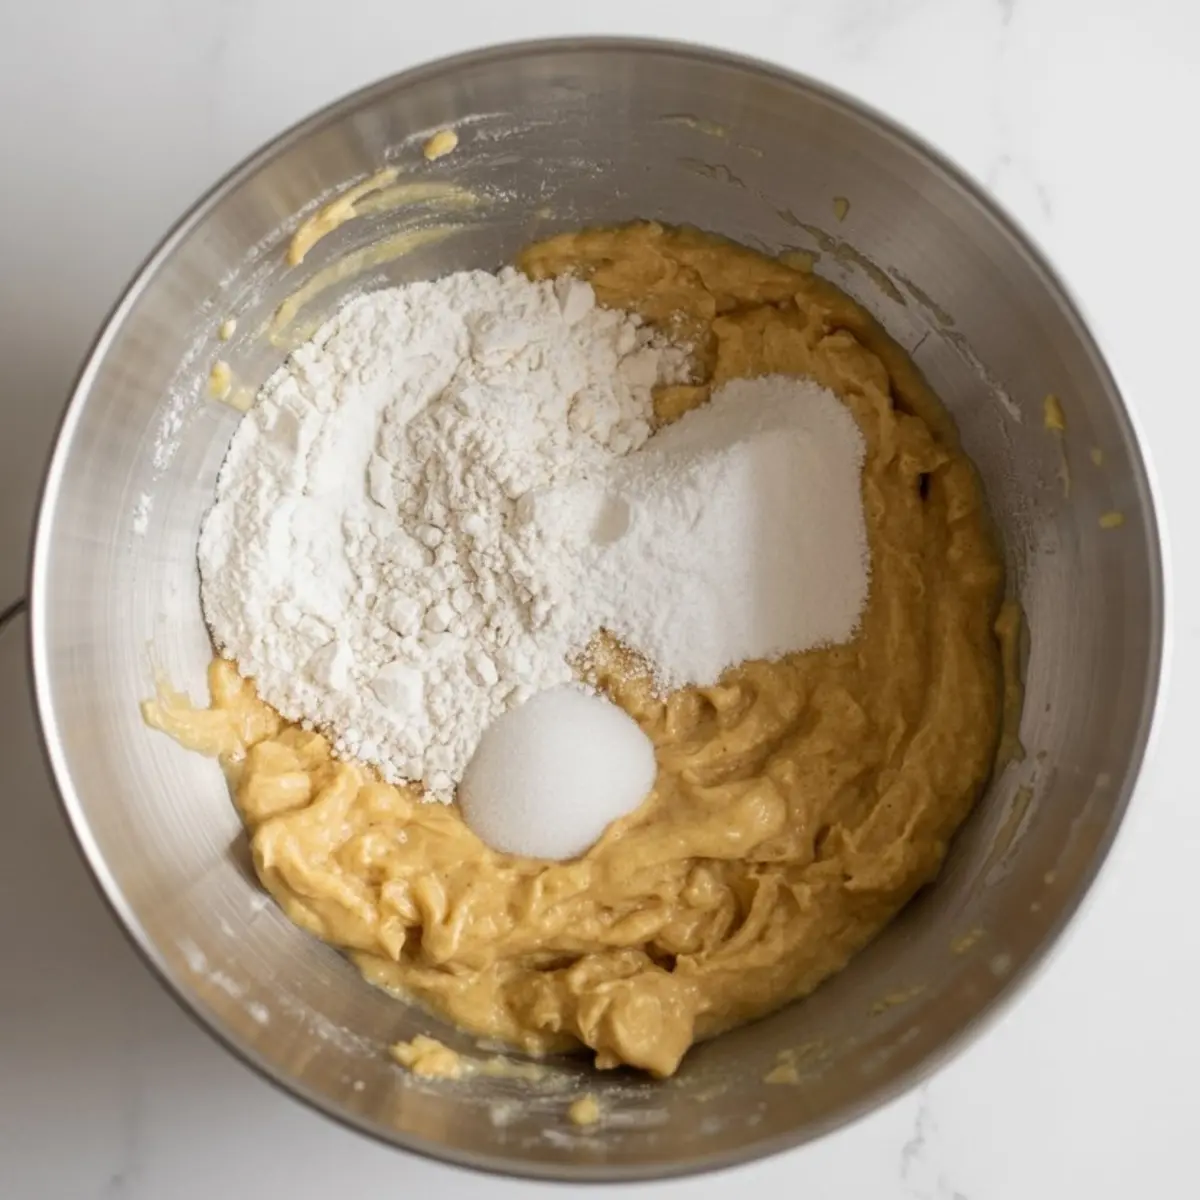
Flour and Leavening: Keep It Simple, Keep It Balanced
A standard mix of all-purpose flour, baking soda, and baking powder keeps these cookies from going flat. Too much baking soda gives an unpleasant tang, so I use a measured teaspoon alongside half a teaspoon of baking powder to create lift without excess spread.
For those who like a visual comparison: the lift here resembles the structure of my Brown Butter Chocolate Chip Cookies, but with a lighter, crunchier feel.
How Rice Krispies Change the Texture
I’ve folded cereal into cookie doughs before, and timing makes all the difference. Add the Rice Krispies and chocolate chips after mixing the dry and wet ingredients. Stir gently, just until the mix-ins are spread evenly.
Fresh cereal matters here. If your Rice Krispies have been sitting open for weeks, they’ll go soft during baking. I’ve learned this the hard way. For the best texture, always use a fresh box.
Compared to oats, which soften with moisture, Rice Krispies retain a light crispness even after baking. That makes them stand apart from Pistachio Chocolate Chip Cookies, which have more density and chew but less airiness.
Baking Time and Cookie Size Matter
I always use a medium cookie scoop, about two tablespoons per mound. This helps the cookies bake evenly and avoids underdone centers.
Ten to twelve minutes in a 350°F oven gets them just right. The edges turn golden while the centers remain slightly soft. Don’t wait until the whole cookie is golden—by then, they’ve gone too far. Letting them rest on the baking sheet for five minutes gives them time to firm without overbaking.
Butter Choice: Salted vs Unsalted
I’ve tested this dough with both. Unsalted butter gives more control over the final flavor. If you only have salted on hand, reduce the added salt slightly. The cookie will still hold up, but the flavor balance shifts.
In my notes, I’ve marked unsalted as the winner for precision, especially with the two types of sugar and the semisweet chocolate chips.
How to Serve These Cookies
These cookies shine on a mixed dessert tray or as an after-school snack. I like to serve them slightly warm, with the chocolate still soft. For something different, pair them with a scoop of vanilla bean ice cream. The cereal gives a crunch that mimics a cone.
They also make a great addition to a bake sale, since they hold their shape well and offer something different than classic Rice Krispie desserts.
You might also enjoy my Peanut Butter Rice Krispie Treats if you’re leaning into cereal-based recipes this week.
Storage and Freezing Advice
Cool the cookies completely before storing. Use an airtight container at room temperature for up to four days. They stay soft in the center and crisp at the edges for about two days, then gradually soften.
If you want to bake later, freeze pre-scooped dough on a tray. Once firm, store in a zip-top bag. You can bake them straight from the freezer—just add one to two minutes to the oven time. I do this with most of my doughs, and it works especially well for cookies like these that don’t need chilling first.
Bake, Save, and Share
You can save this Rice Krispie Chocolate Chip Cookies recipe to your dessert boards on Pinterest for quick access. It’s a practical recipe that brings something fresh to the cookie jar without fuss.
Let me know in the comments how your batch turned out or if you made any tweaks. I’m always curious to hear how others put their spin on it.
Related Recipes You Might Like
- Peanut Butter Rice Krispie Treats
- Brown Butter Chocolate Chip Cookies
- Pistachio Chocolate Chip Cookies
Rice Krispie Chocolate Chip Cookies
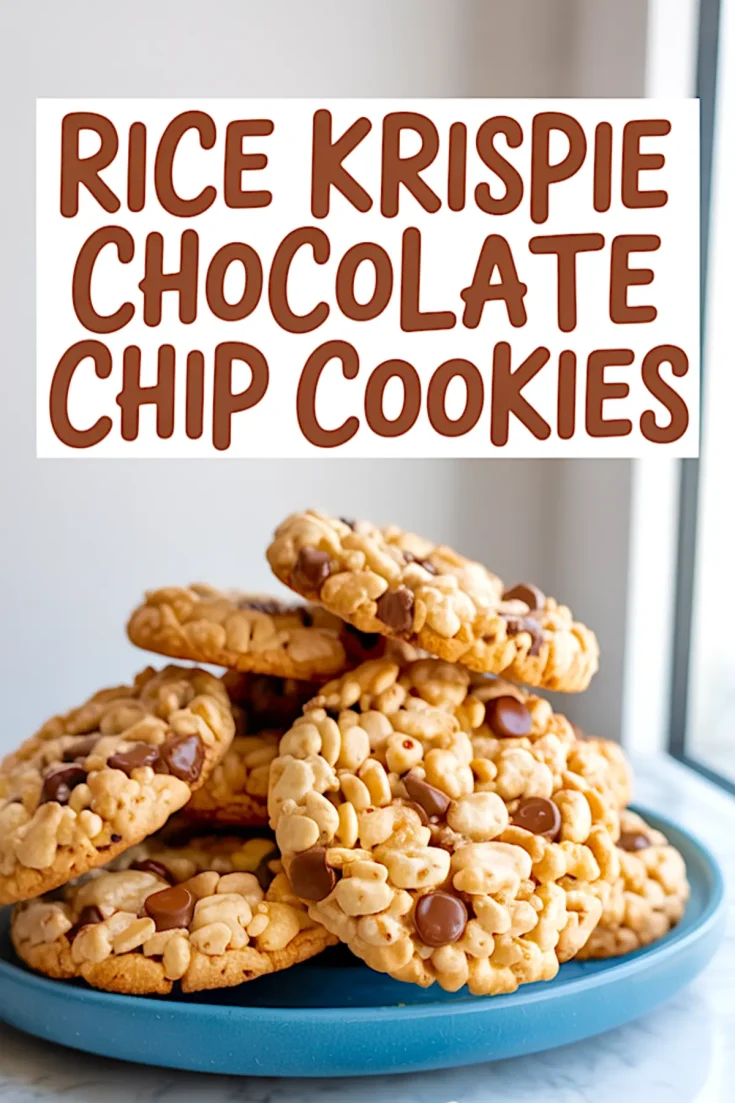
Rice Krispie Chocolate Chip Cookies combine the crisp texture of toasted rice cereal with the buttery softness of classic chocolate chip cookies. Each bite delivers a chewy center, golden edges, and a light, crunchy snap from the cereal. These cookies are simple to make and bring a fun twist to a familiar favorite.
Ingredients
- 1 cup (226g) unsalted butter, softened
- 1 cup (200g) brown sugar, packed
- ½ cup (100g) granulated sugar
- 2 large eggs
- 1 tbsp vanilla extract
- 2 ¼ cups (280g) all-purpose flour
- 1 tsp baking soda
- ½ tsp baking powder
- ½ tsp salt
- 2 ½ cups (65g) Rice Krispies cereal
- 1 ½ cups (270g) chocolate chips (semisweet or milk chocolate, or a mix)
Instructions
- PREHEAT THE OVEN: Set the oven to 350°F (175°C) and line two baking sheets with parchment paper to prevent sticking and promote even baking.
- CREAM THE BUTTER AND SUGARS: In a large mixing bowl, use an electric mixer on medium speed to cream together the softened butter, brown sugar, and granulated sugar until the mixture is light in color and fluffy in texture, about 2 to 3 minutes.
- ADD EGGS AND VANILLA: Add the eggs and vanilla extract to the creamed butter mixture. Beat until the eggs are fully incorporated and the mixture looks smooth.
- COMBINE DRY INGREDIENTS: In a separate bowl, whisk together the flour, baking soda, baking powder, and salt to evenly distribute the leavening agents and salt throughout the flour.
- ADD DRY INGREDIENTS TO WET: Gradually add the dry mixture to the wet ingredients, mixing on low speed or by hand just until no dry streaks remain. Avoid overmixing to maintain a tender texture.
- FOLD IN CEREAL AND CHOCOLATE: Gently fold in the Rice Krispies and chocolate chips using a spatula or wooden spoon, mixing only until evenly dispersed. The dough will be chunky and textured.
- SCOOP DOUGH: Use a medium cookie scoop (about 2 tablespoons) to portion the dough and place the mounds at least 2 inches apart on the prepared baking sheets to allow for spreading.
- BAKE COOKIES: Bake for 10 to 12 minutes, or until the edges are lightly golden and the centers look just set. Do not overbake, as the cookies will continue to firm up while cooling.
- COOL BEFORE SERVING: Let the cookies cool on the baking sheet for 5 minutes, then transfer them to a wire rack to cool completely for best texture and flavor.
Notes
For best results, use fresh Rice Krispies cereal to maintain crunch. Cookies can be stored in an airtight container at room temperature for up to 4 days. Dough can be frozen in pre-portioned scoops and baked directly from frozen—add 1–2 minutes to the bake time.
These are sooooooo good! My favorite cookie!
Hi Carrie! It’s great to hear they’re your favorite cookie 😊 Thank you for letting me know you enjoyed them 🍪
I kept putting off making these because I thought it would be a lot of work— I was wrong! Easy and soooo good! Thanks for sharing!
Hi Lee Froberg! I love hearing that. They really do come together quicker than expected, right? I had the same hesitation the first time I made them, but now they’re one of my go-to cookies when I want something different without the extra effort. Glad you gave them a try and liked them 😊
I followed your directions exactly and instead of 24 “puffier” cookies, I got 36 flat cookies. (I used the middle size Pampered Chef cookie scoop). They taste ok, but unfortunately they do not look very presentable to put on a plate to give someone. I will try again!
Hi Debbie! Thanks for giving the recipe a try and for sharing your experience. I know how disappointing it can be when cookies don’t bake up the way you expected. I’ve had batches turn out flat too, especially if the butter gets too soft or the dough doesn’t chill long enough. For this one, even a quick 30-minute rest in the fridge can really help the cookies hold their shape. The scoop size could be part of it too—if it’s a bit smaller than the one I used, that might explain why you ended up with more cookies and a different texture. I really appreciate you sticking with it and hope the next round turns out closer to what you had in mind
Hello I also followed the exact recipe as posted and got flat cookies nowhere in the directions did it tell me to chill the dough I was very disappointed. Will definitely make sure to chill the dough next time. Thanks
Thank you for taking the time to share your experience. I’m really sorry the cookies spread more than expected. Factors like butter temperature, kitchen warmth, and even the brand of cereal can affect how much they spread. Chilling the dough for 30 to 60 minutes can definitely help create a thicker cookie, especially if the dough feels soft.