
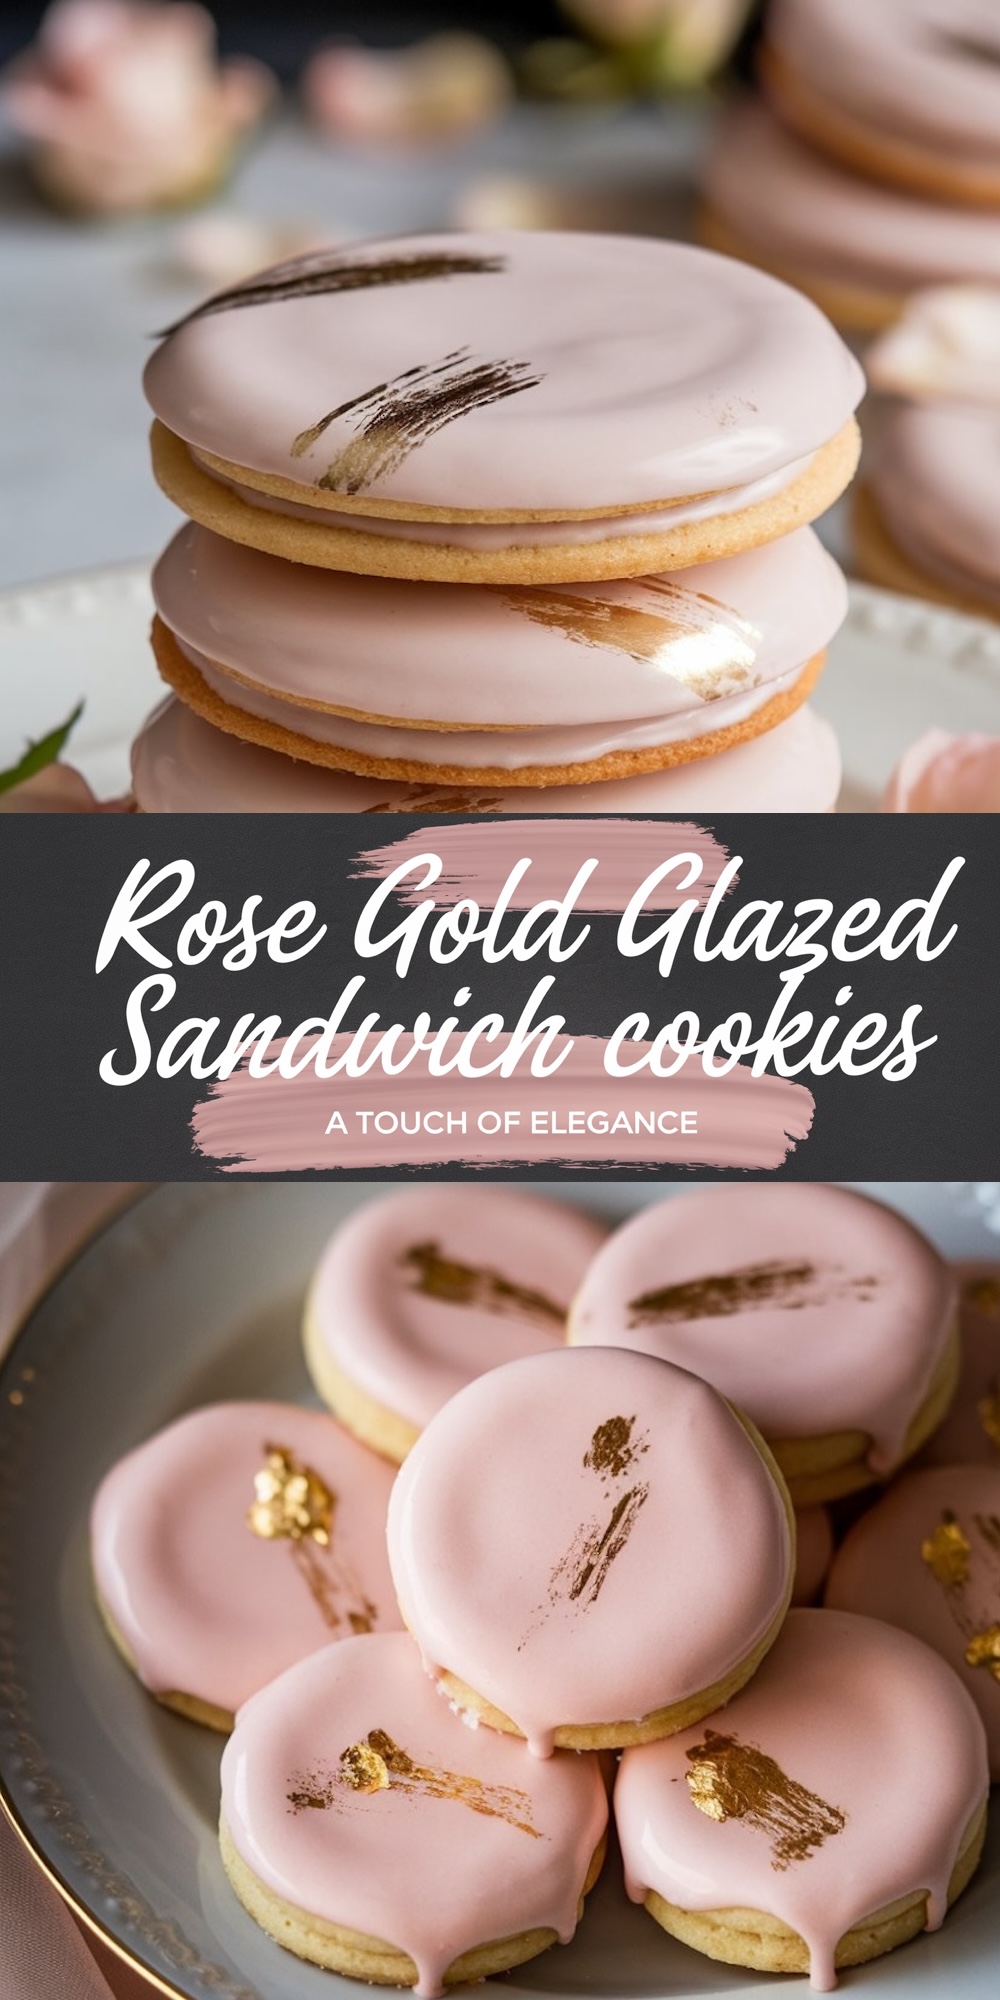
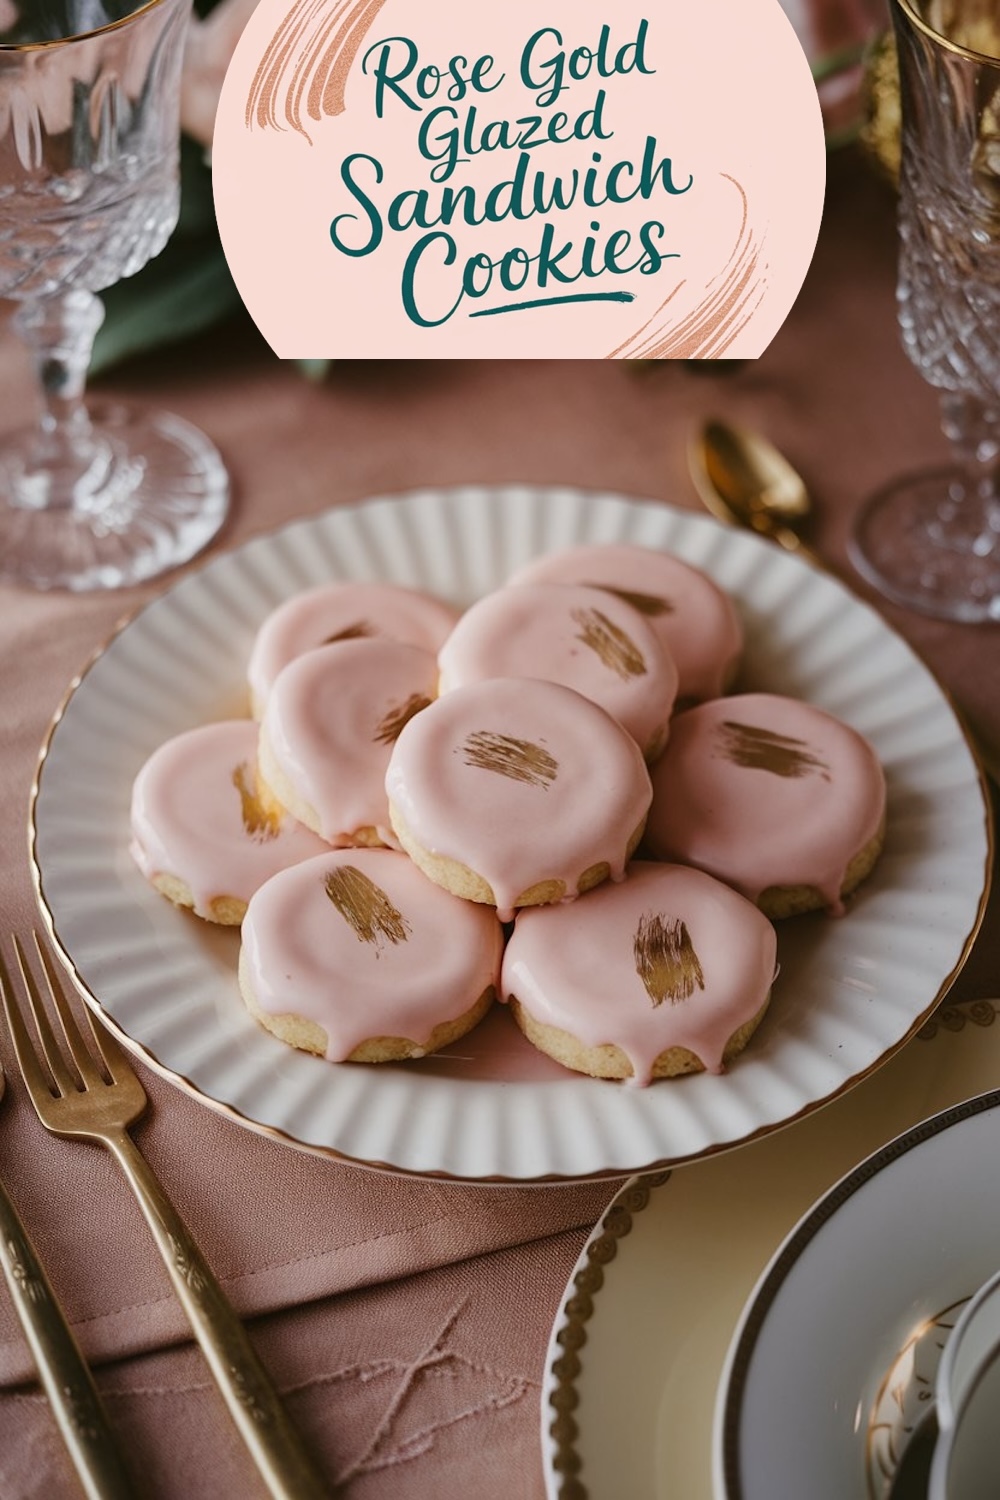
There is, of course, a wee touch of magic in making a few humble ingredients into a dessert almost too pretty to eat. Those would be the Rose Gold Glazed Sandwich Cookies. Rich in buttery, melt-in-your-mouth cookies and sweet glaze, these cookies will be just as rich in taste as in their look. Perfectly accented with a blush pink glaze and edible gold detail, these cookies add in a little luxury to each occurrence.
Following a special diet?
Every recipe on this site can be converted to gluten-free, vegan, dairy-free, keto, nut-free or egg-free with adjusted ratios so nothing falls flat.
Try the Recipe Converter →In this post, I will take you through the elaborate process of how to bake this awesome cookie without over-elaborating on anything. Let’s elaborate on the story, the art, and, finally, how to make these cookies.
A Story of Love and Elegance
It was for the anniversary party of some good friends, but they did ask for something “a little extra, so I knew I needed to make something special for dessert. After a little brainstorming and testing, the Rose Gold Sandwich Cookies were born.
Those cookies stole the show among the guests the moment they were placed on the table. I couldn’t help but be so proud when at those shiny gold stripes and soft pink icing, the guests oohed.
Yet, it wasn’t only the question of how they looked; after all, the reaction upon a bite was something else. The soft, buttery layers reveal a sweet creamy filling to make a taste both familiar and classy.
Nowadays, every time I bake those cookies, it is the memory of that evening-the laughing, the love, the joy of sharing nice things.
The Artistry Behind the Cookies
These rose gold glazed sandwich cookies are all about the journey and the destination-from mixing the dough to adding those shiny gold details, it is one fun way of being creative with food. Here is what makes these cookies special.
The Perfect Cookie Base
The dough itself is pretty basic, but the addition of a little vanilla and almond extracts perks up the flavor. Softer cookies come because of butter, while sugar is put in a quantity that would give a nice sweetness. Make sure the dough is rolled out to a similar thickness-about ¼ inch-so the cookies bake evenly.
Blush Pink Glaze
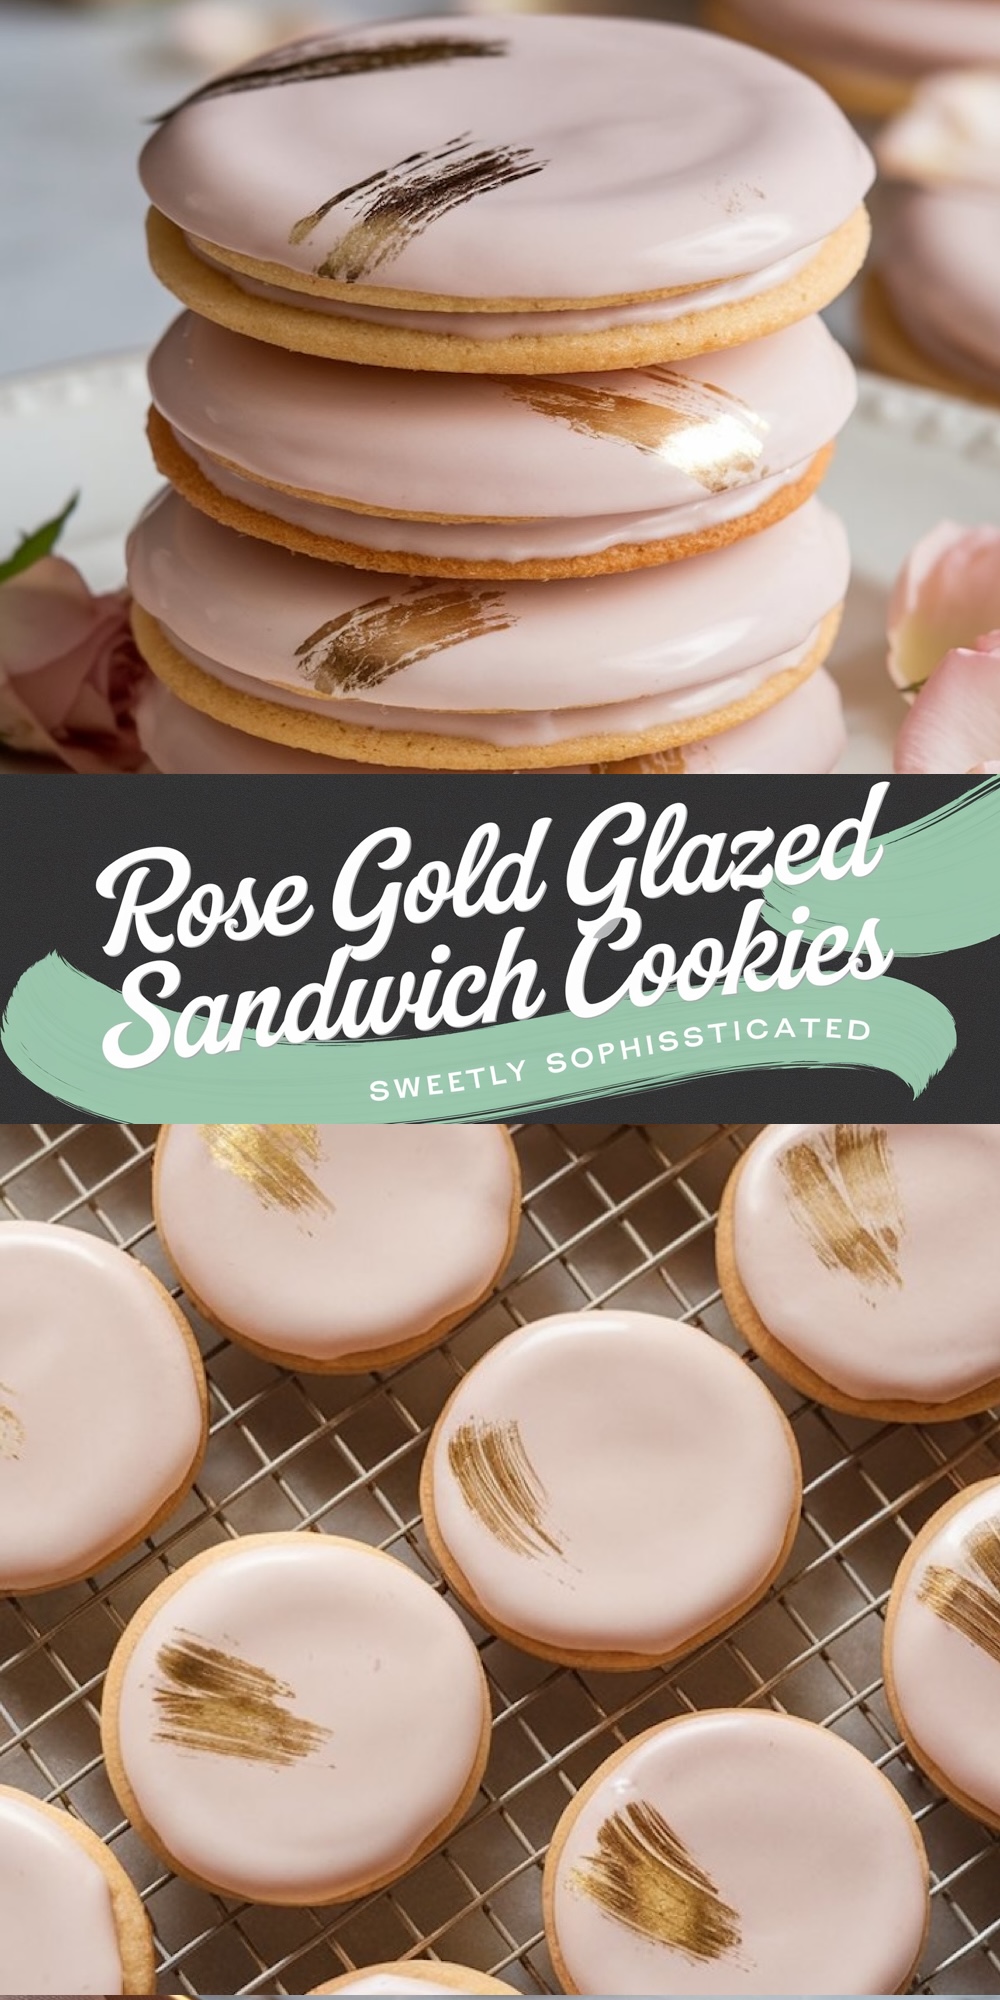
The magic is in the glaze. One or two drops of gel food coloring will color the glaze to blush pink perfection. This gloss, slightly fluid glaze makes for a great filling but also provides a smooth surface for decoration.
Edible Gold Detailing
The golden touch gives golden details. Special designs can include abstract lines, small dots, or playful swirls, using edible gold paint or shiny dust. For some, this may be the daunting part, but it’s actually not that hard with just a food-safe brush.
Key Steps in the Process
Creating these cookies is straightforward, though it requires a little patience and a love for detail. Here’s an overview of how it all comes together:
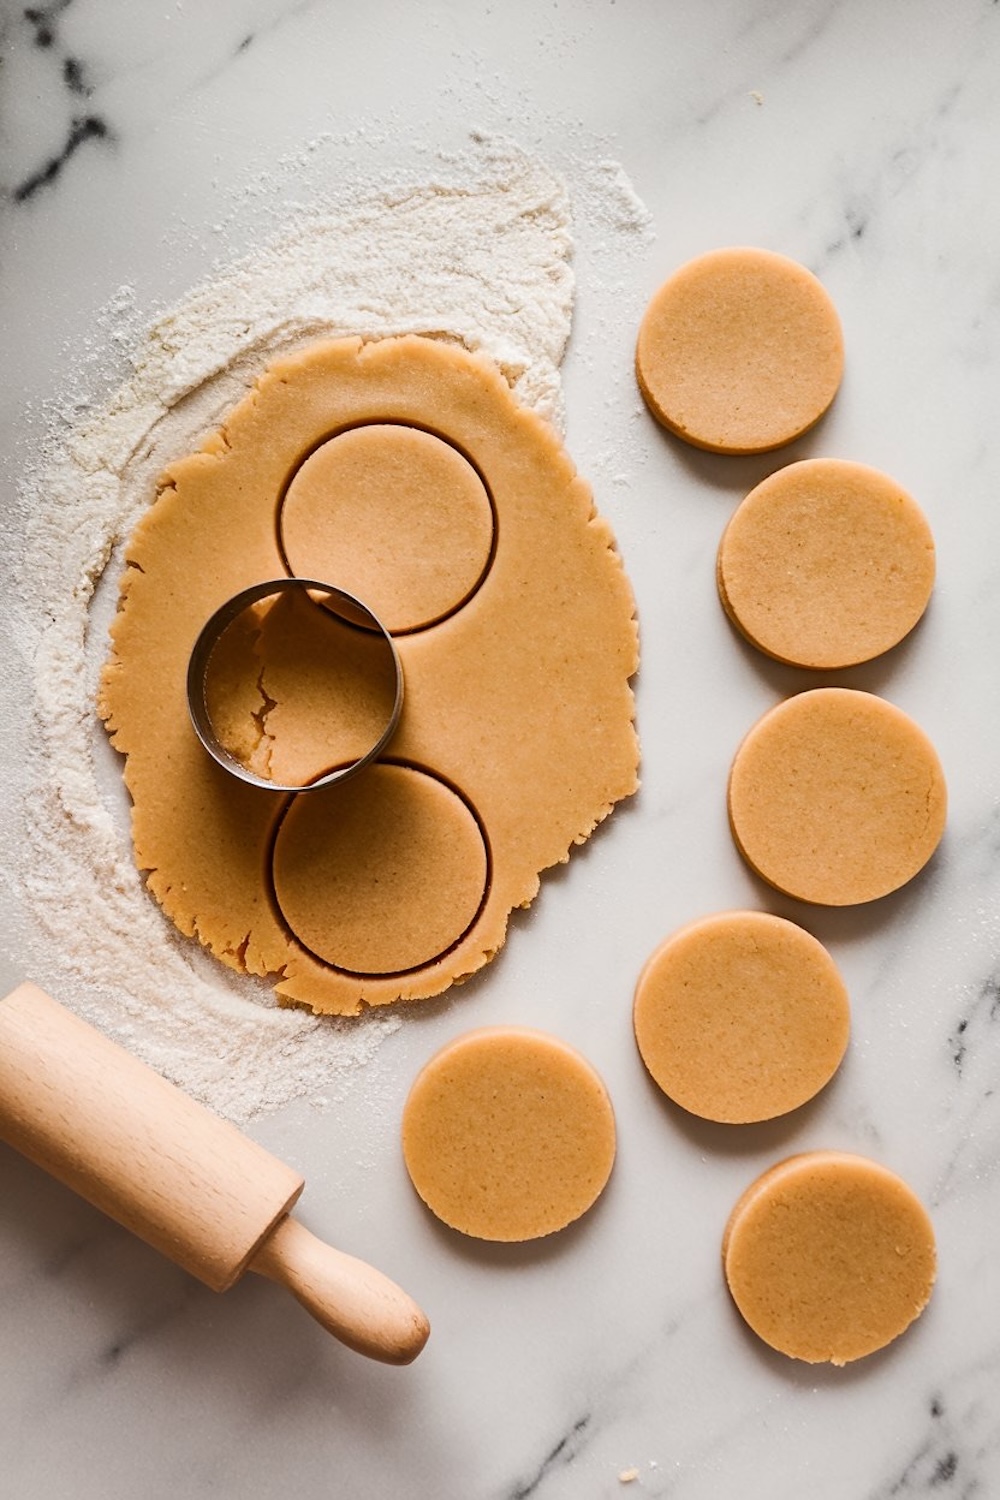
- Crafting the Dough: Begin by mixing a buttery dough and chilling it to firm up the texture, making it easier to roll out.
- Shaping and Baking: Roll the dough evenly and cut it into rounds using a cookie cutter. Bake until just golden at the edges for that perfect tenderness.
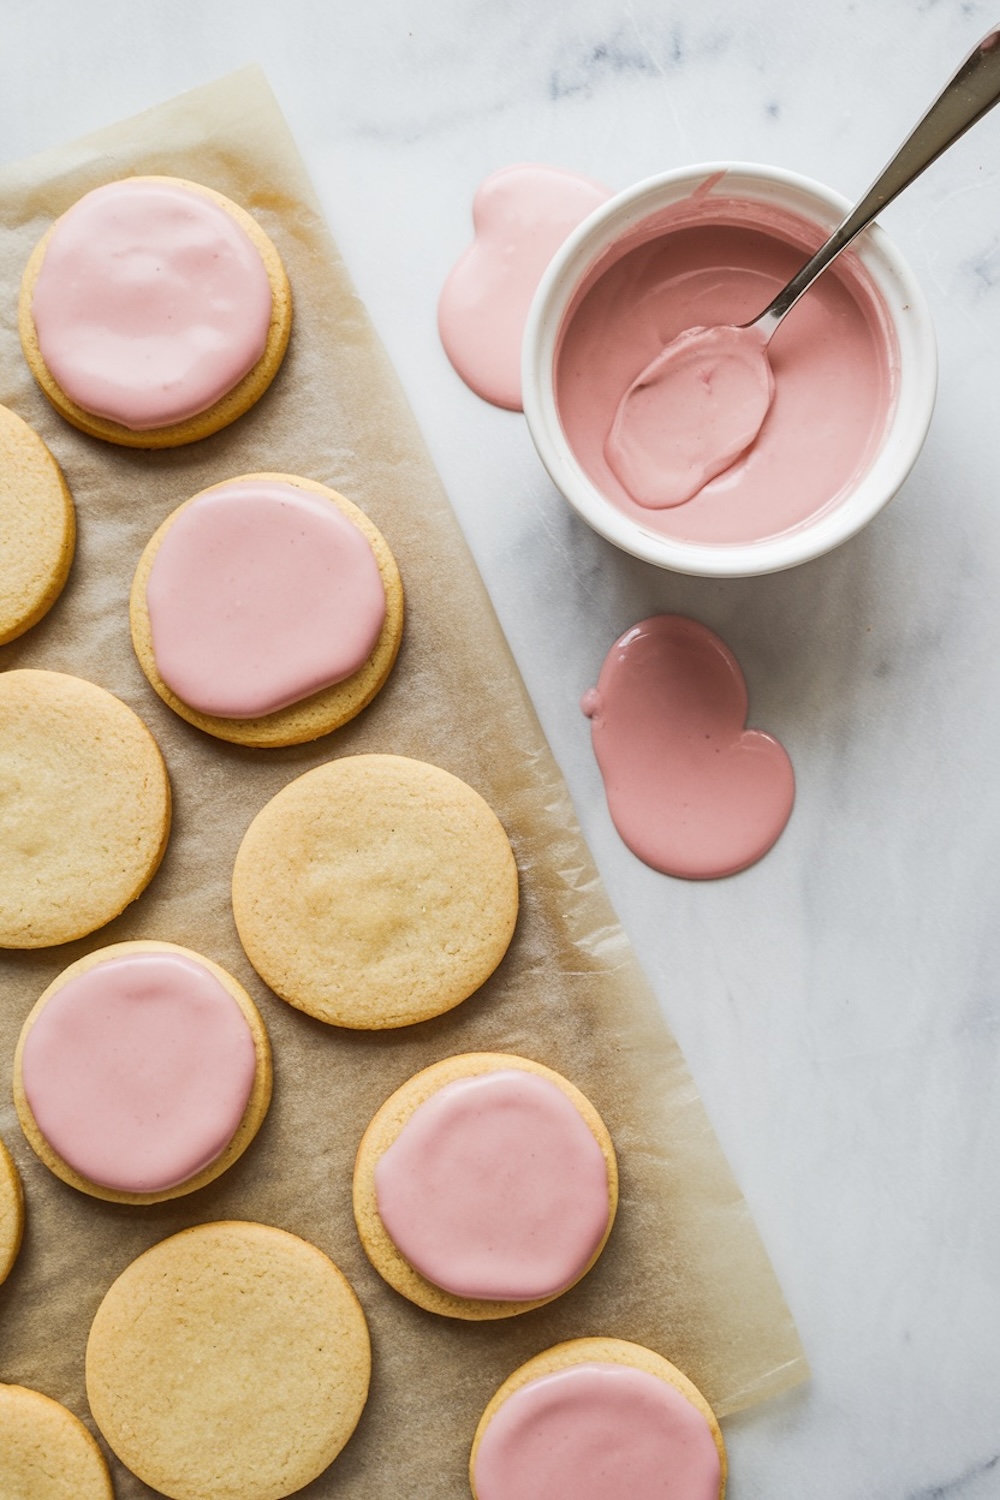
- Preparing the Glaze: Whisk together powdered sugar, milk, and vanilla extract until smooth, then tint with pink food coloring.
- Decorating the Tops: Glaze half of the cookies, letting the glaze drip elegantly over the edges. Allow them to set completely.
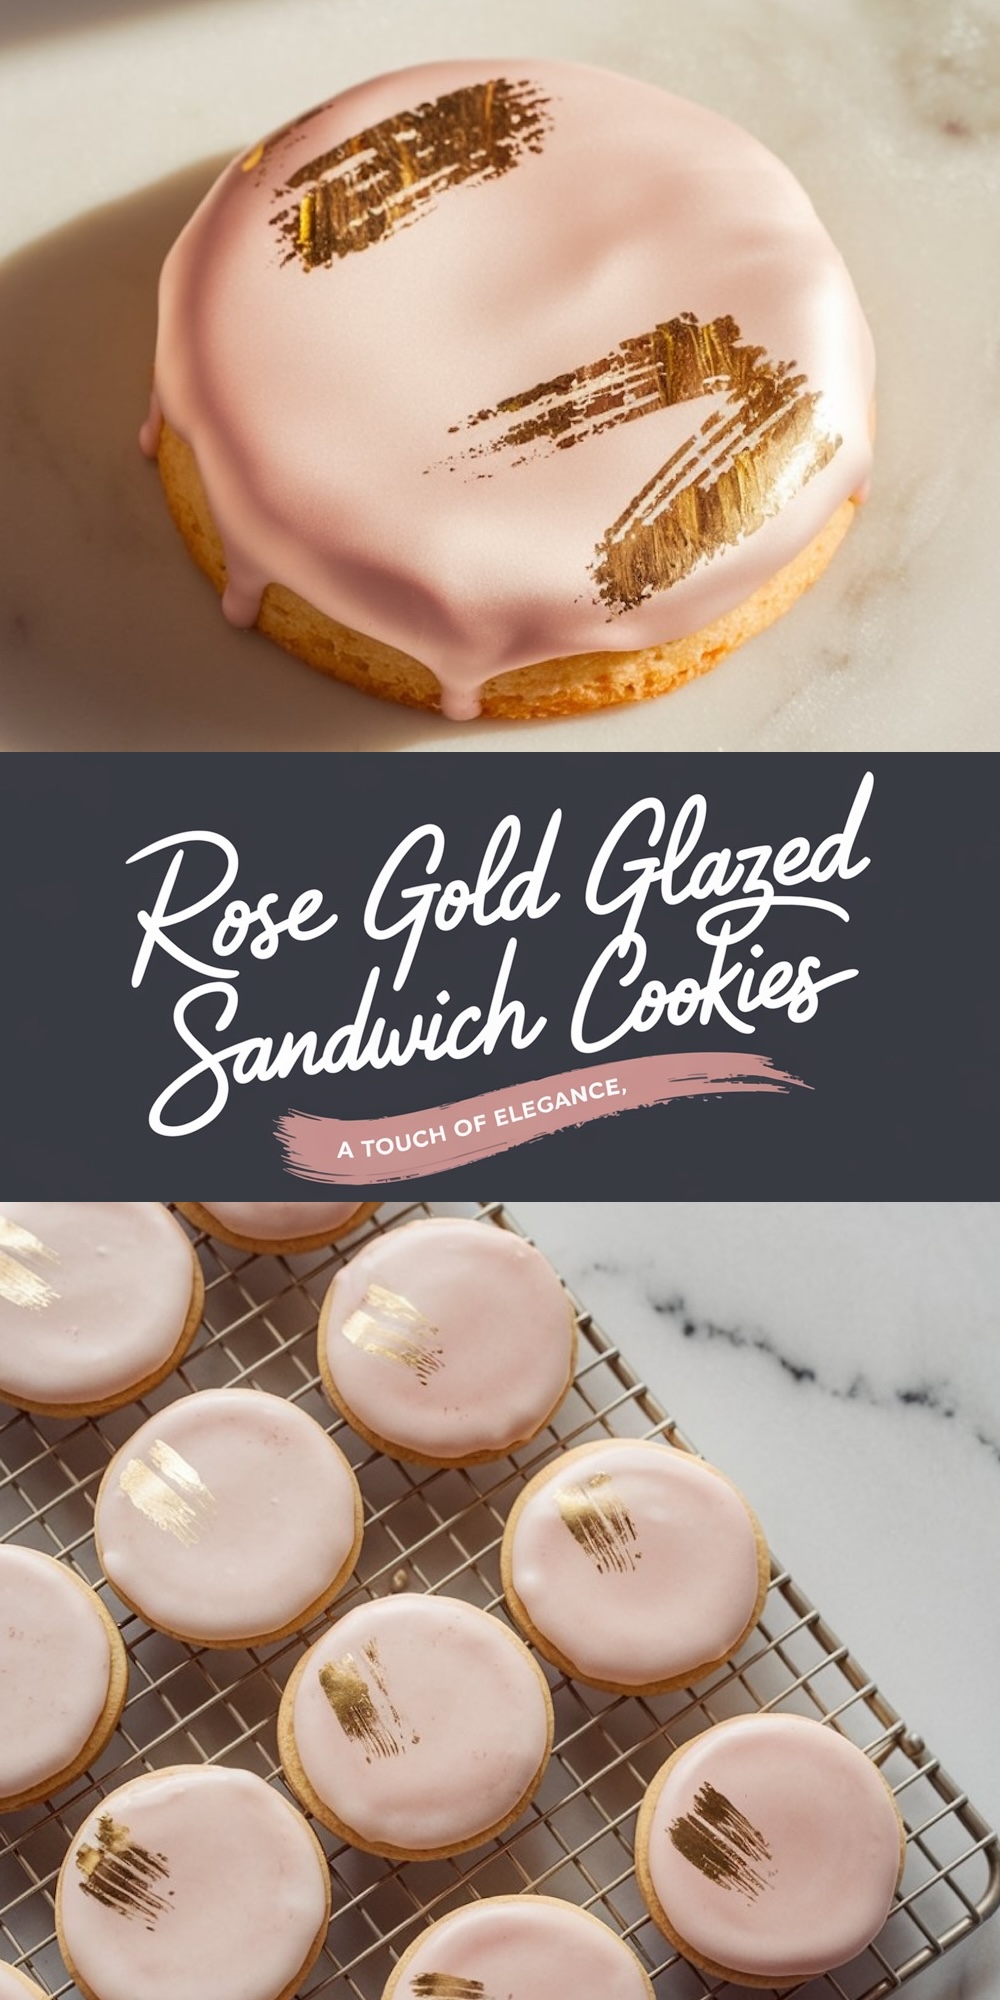
- Adding Gold Details: Use a food-safe brush to apply edible gold accents to the glazed cookies. This step adds the wow factor.
- Assembling the Sandwiches: Spread glaze onto the unglazed cookie halves and press the glazed tops on gently. The glaze serves as both filling and adhesive.
Why You’ll Love Making These Cookies
A Creative Outlet
Decorating these cookies is more than a baking task—it’s a creative escape. Whether you’re a seasoned baker or new to the world of edible artistry, this recipe provides the perfect canvas for self-expression.
Great for every occasion
These cookies are great for weddings, baby showers, holiday parties, or just a nice afternoon tea cookie. These look nice and will be great for gifts or a beautiful dessert table addition.
Customizable Design
Undoubtedly stylish, the blush pink and gold look is stunning, but by all means, swap the colors for one that fits your theme. Switch out the pink for pastel blue or lavender and replace metallic details with silver for a cool tone.
Tips for Success
- Chill the Dough: This step is crucial for easy rolling and prevents the cookies from spreading during baking.
- Master the Glaze Consistency: A thinner glaze drips beautifully but can be tricky to control. Test a small amount before glazing all the cookies.
- Take Your Time with Gold: The edible gold paint or luster dust requires a light hand. Let your artistic instincts guide you, and don’t worry about perfection—abstract designs often look best.
How to Serve These Cookies
- Elegant Dessert Table: Arrange these cookies on a tiered stand alongside other pastel-toned desserts for a sophisticated presentation.
- Paired with Tea or Champagne: Their delicate sweetness pairs beautifully with a cup of Earl Grey or a glass of bubbly.
- Packaged as Gifts: Wrap them individually in clear bags with ribbons for party favors or holiday gifts.
Let the Sweetness Begin
These Rose Gold Glazed Sandwich Cookies represent a real labor of love, combining timeless flavors with modern elegance. They are simply that perfect bake for any occasion-from one with a special event to one in the quiet of your home.
What’s more, their making is as much fun as sharing them with loved ones. Have you made this recipe or your own variation? I’d love to see what you’re making! Share your photos, stories, and variations in the comments, or tag me on social media. Keep those cookie ideas rolling!

Rose Gold Glazed Sandwich Cookies
Course: Cake Ideas12
servings20
minutes10
minutes200
kcalIngredients
- For the Cookies
2 ½ cups (315 g) all-purpose flour
1 tsp baking powder
½ tsp salt
1 cup (225 g) unsalted butter, softened
1 cup (200 g) granulated sugar
1 large egg
1 tsp vanilla extract
½ tsp almond extract (optional)
- For the Glaze (for topping and filling)
2 cups (250 g) powdered sugar, sifted
3-4 tbsp milk (add more if needed for consistency)
1 tsp vanilla extract
A few drops of pink gel food coloring
- For the Gold Detailing
Edible gold paint or gold luster dust mixed with vodka/lemon extrac
A small food-safe brush
Steps
- Step 1: Prepare the Cookie Dough
- In a medium bowl, whisk together the flour, baking powder, and salt. Set aside.
- In a large bowl, cream together the butter and sugar until light and fluffy, about 2-3 minutes.
- Add the egg, vanilla extract, and almond extract (if using), mixing until well combined.
- Gradually add the dry ingredients to the wet ingredients, mixing just until the dough comes together. Avoid overmixing.
- Divide the dough in half, flatten into discs, and wrap in plastic wrap. Chill in the refrigerator for at least 1 hour or until firm.
- Step 2: Bake the Cookies
- Preheat your oven to 350°F (175°C). Line baking sheets with parchment paper.
- Roll out the chilled dough on a lightly floured surface to about ¼-inch thickness. Use a round cookie cutter (3–3.5 inches in diameter) to cut out cookies.
- Place cookies about 1 inch apart on the prepared baking sheets.
- Bake for 9-11 minutes, or until the edges are just beginning to turn golden. Allow the cookies to cool on the baking sheet for 5 minutes, then transfer to a wire rack to cool completely.
- Step 3: Make the Glaze
- In a bowl, whisk together the powdered sugar, milk, and vanilla extract until smooth. Adjust the consistency by adding more milk (a few drops at a time) for a thinner glaze or more powdered sugar for a thicker glaze.
- Add a drop or two of pink gel food coloring and mix until you achieve your desired blush pink shade.
- Step 4: Decorate the Cookie Tops
- Take half of the cookies and spread or drizzle the pink glaze over the top surface. Let the glaze drip slightly over the edges for an elegant look.
- Place the glazed cookies on a wire rack to set for at least 1-2 hours, or until the glaze is firm to the touch.
- Step 5: Add Gold Details
- Once the glaze has set, use a small, food-safe brush to apply edible gold paint or a mixture of gold luster dust and vodka/lemon extract.
- Create abstract strokes, dots, or lines for a unique, hand-painted effect. Allow the gold paint to dry completely.
- Step 6: Assemble the Sandwich Cookies
- Take the unglazed cookies and spread a layer of the remaining glaze onto their flat sides.
- Gently press a glazed cookie on top, creating a sandwich with the glaze acting as the filling.
- Repeat with the remaining cookies. Allow the filling to set for 30 minutes before serving or stacking.