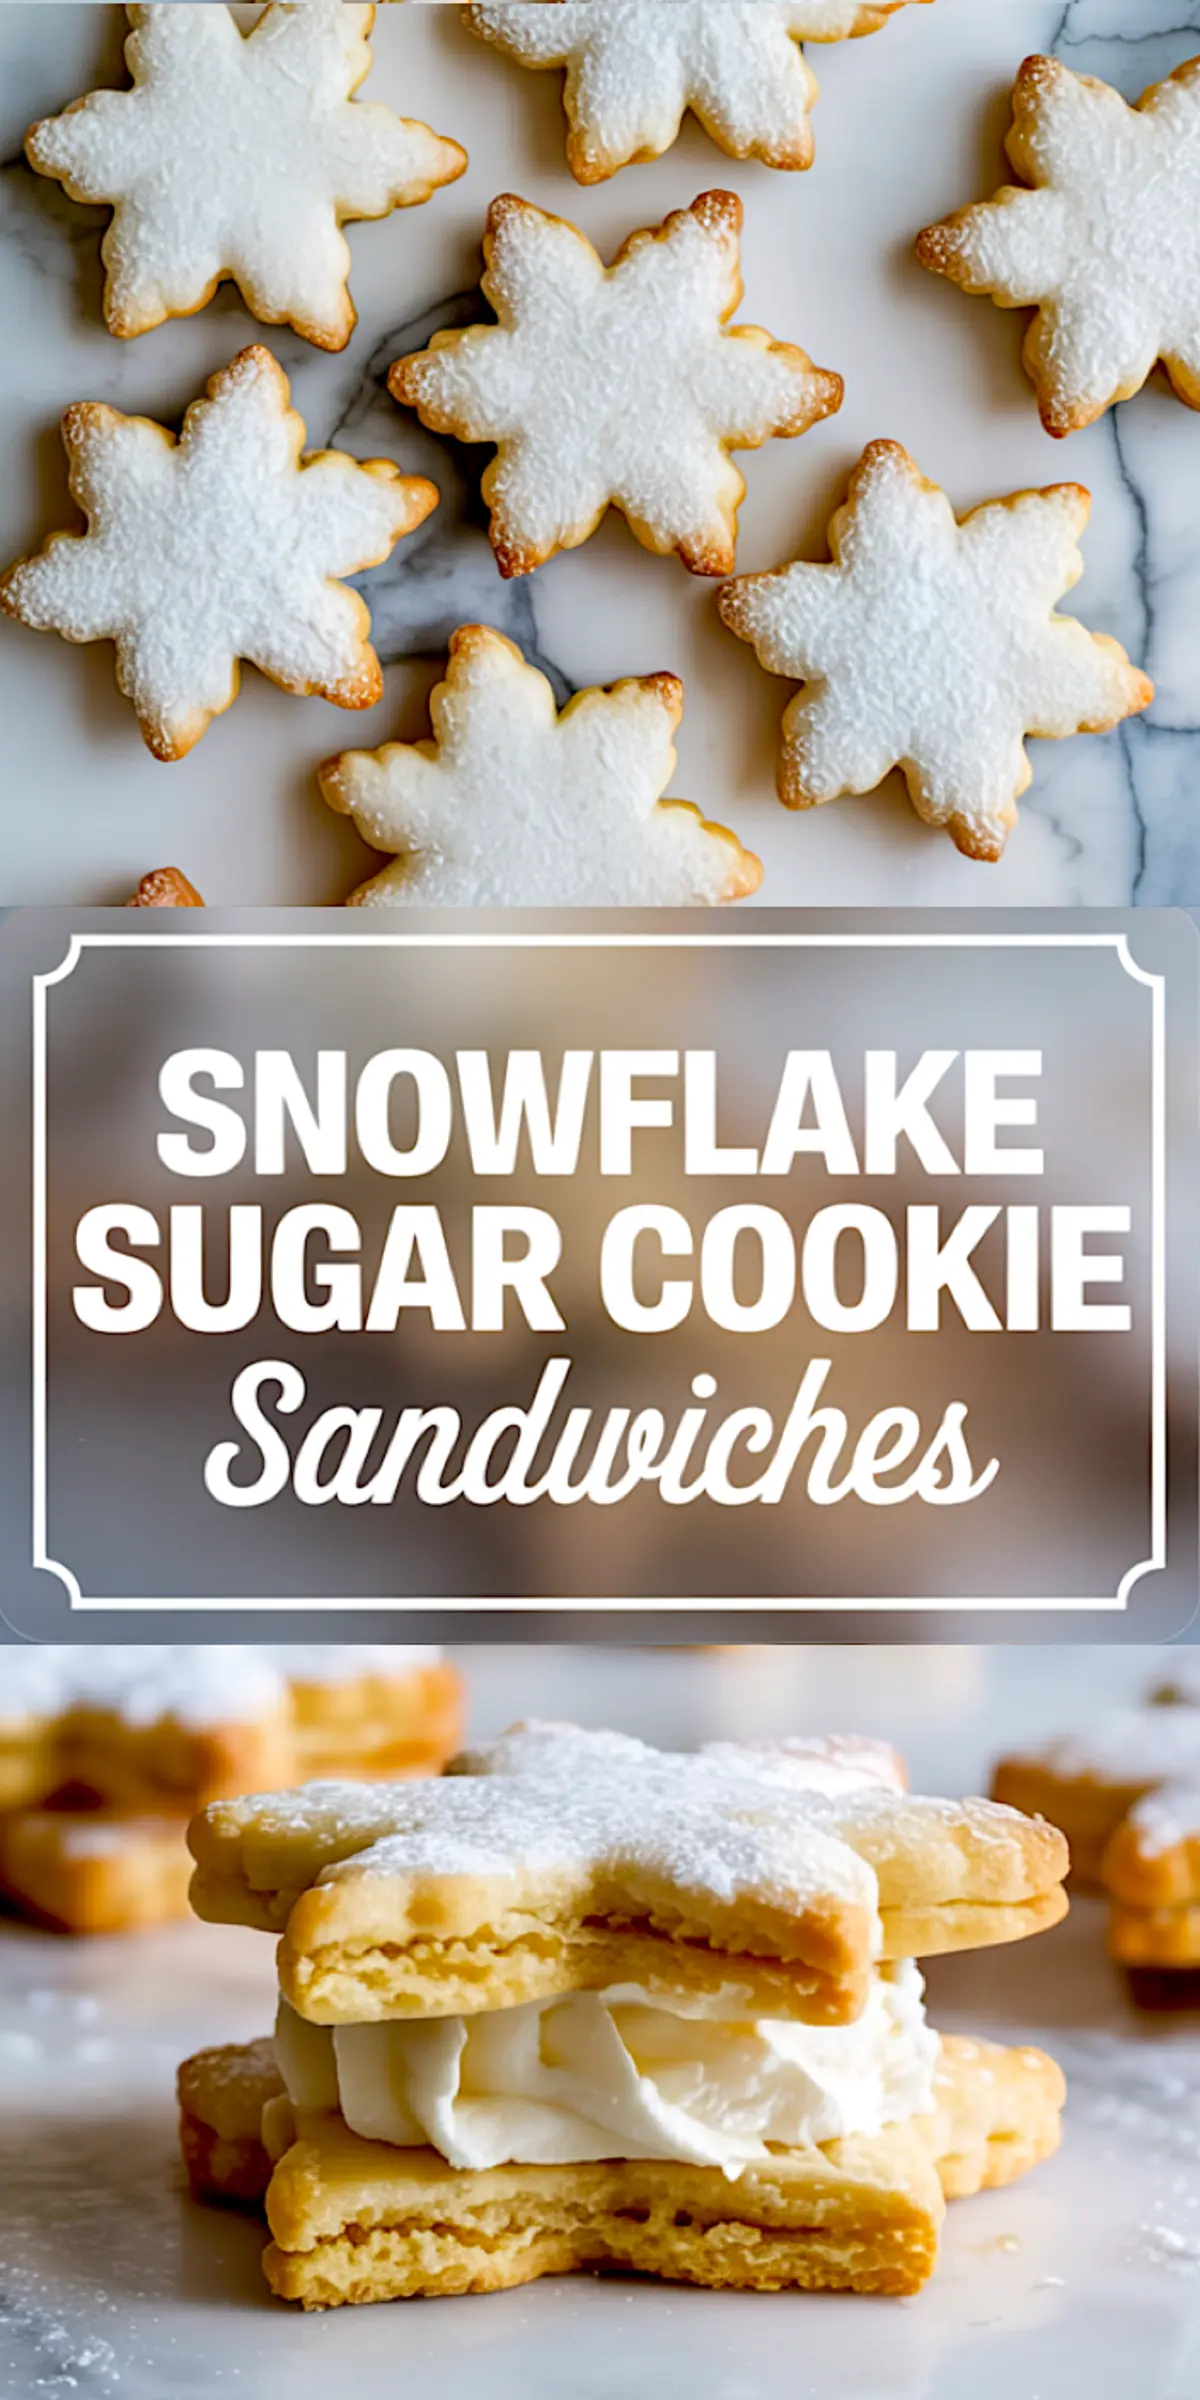
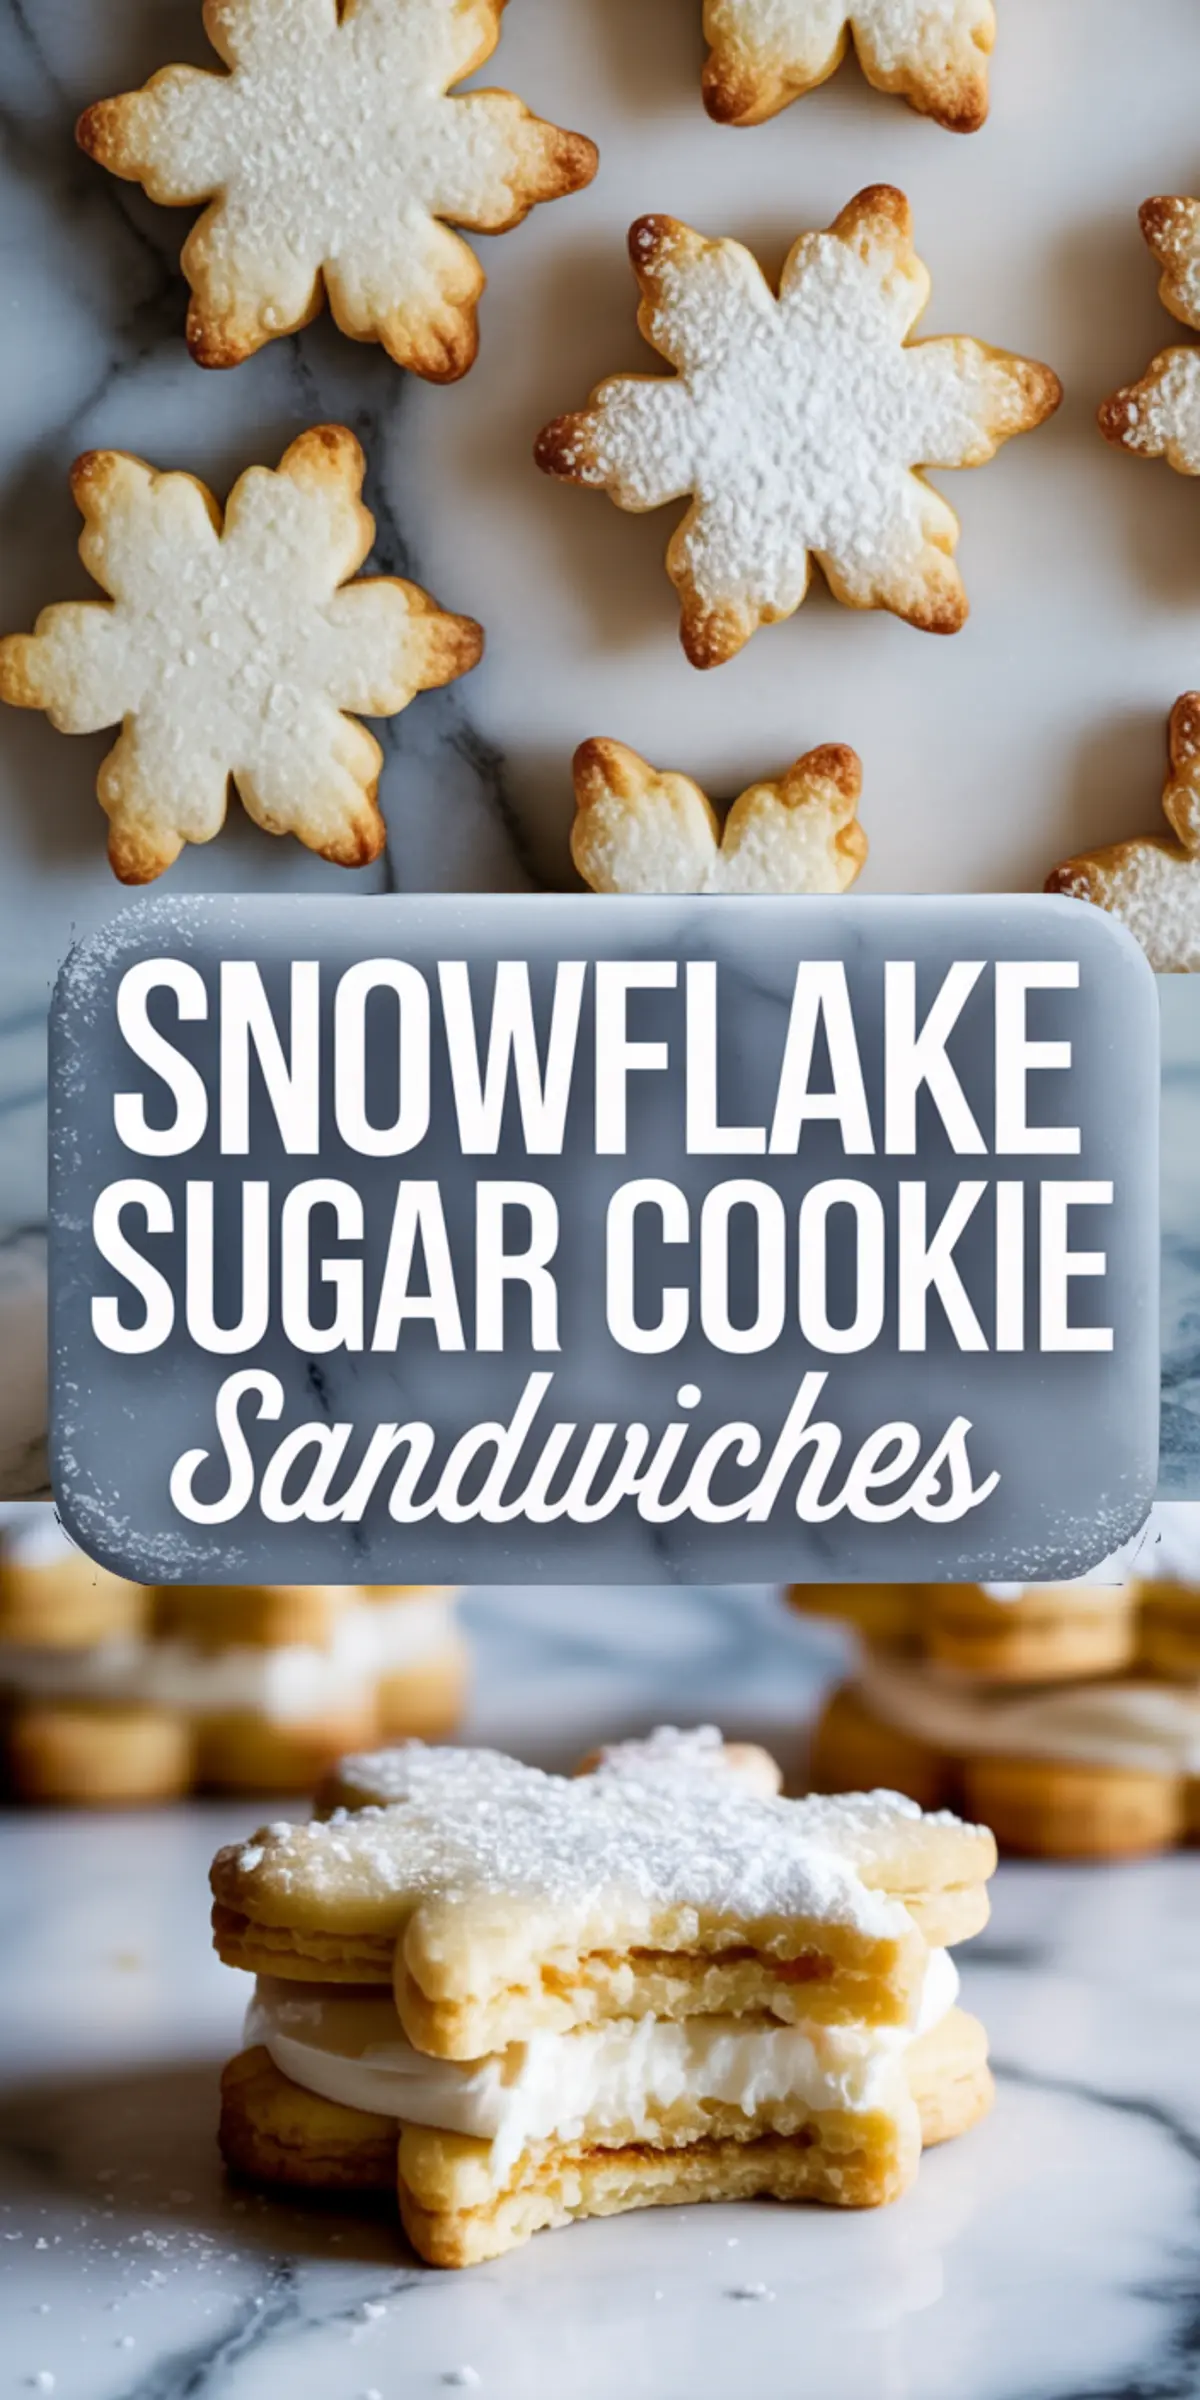
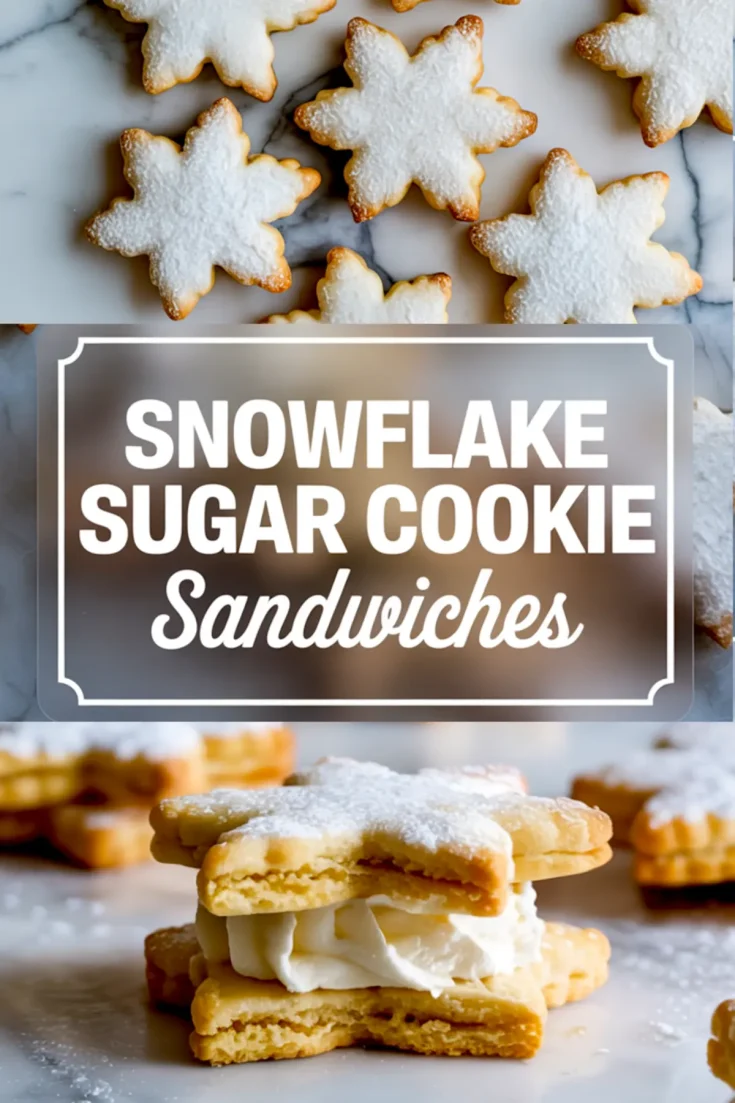
Snowflake Sugar Cookie Sandwiches are delicate, buttery cookies paired in twos with a rich vanilla buttercream filling. These Xmas cookies balance structure with softness. You’ll learn how to shape, chill, and fill snowflake cookies that hold their form yet melt as you bite.
This recipe works for winter cookie trays, cookie exchanges, or cozy Christmas cooking with kids. You’ll learn about how flour affects structure, why chilling the dough matters, and how buttercream behaves when sandwiched between sugar cookie cutouts.
That confidence in the kitchen doesn’t come from a fancy technique. It comes from understanding the basics and trusting them to do the work.
Following a special diet?
Every recipe on this site can be converted to gluten-free, vegan, dairy-free, keto, nut-free or egg-free with adjusted ratios so nothing falls flat.
Try the Recipe Converter →Why Snowflake Sugar Holds Its Shape While Staying Tender
The flour blend here uses 2 ¾ cups of all-purpose flour with a pinch of baking powder. That amount gives you enough protein to keep the edges sharp, while still softening with the butter and egg. All-purpose flour is more forgiving than cake flour in winter cookie recipes like these.
I’ve tested this with pastry flour once, and the cookies puffed unpredictably. That softer flour didn’t support the delicate snowflake shapes. For defined edges that still bite softly, all-purpose holds its own.
Baking powder adds lift but doesn’t overdo it. You want slight rise for a clean mouthfeel, not a pillow.
Salt keeps the sweet balanced. Just a pinch will do.
Related recipe to try: German Cinnamon Stars. It uses a different texture style that complements these.
What Makes This Butter Base the Right Choice
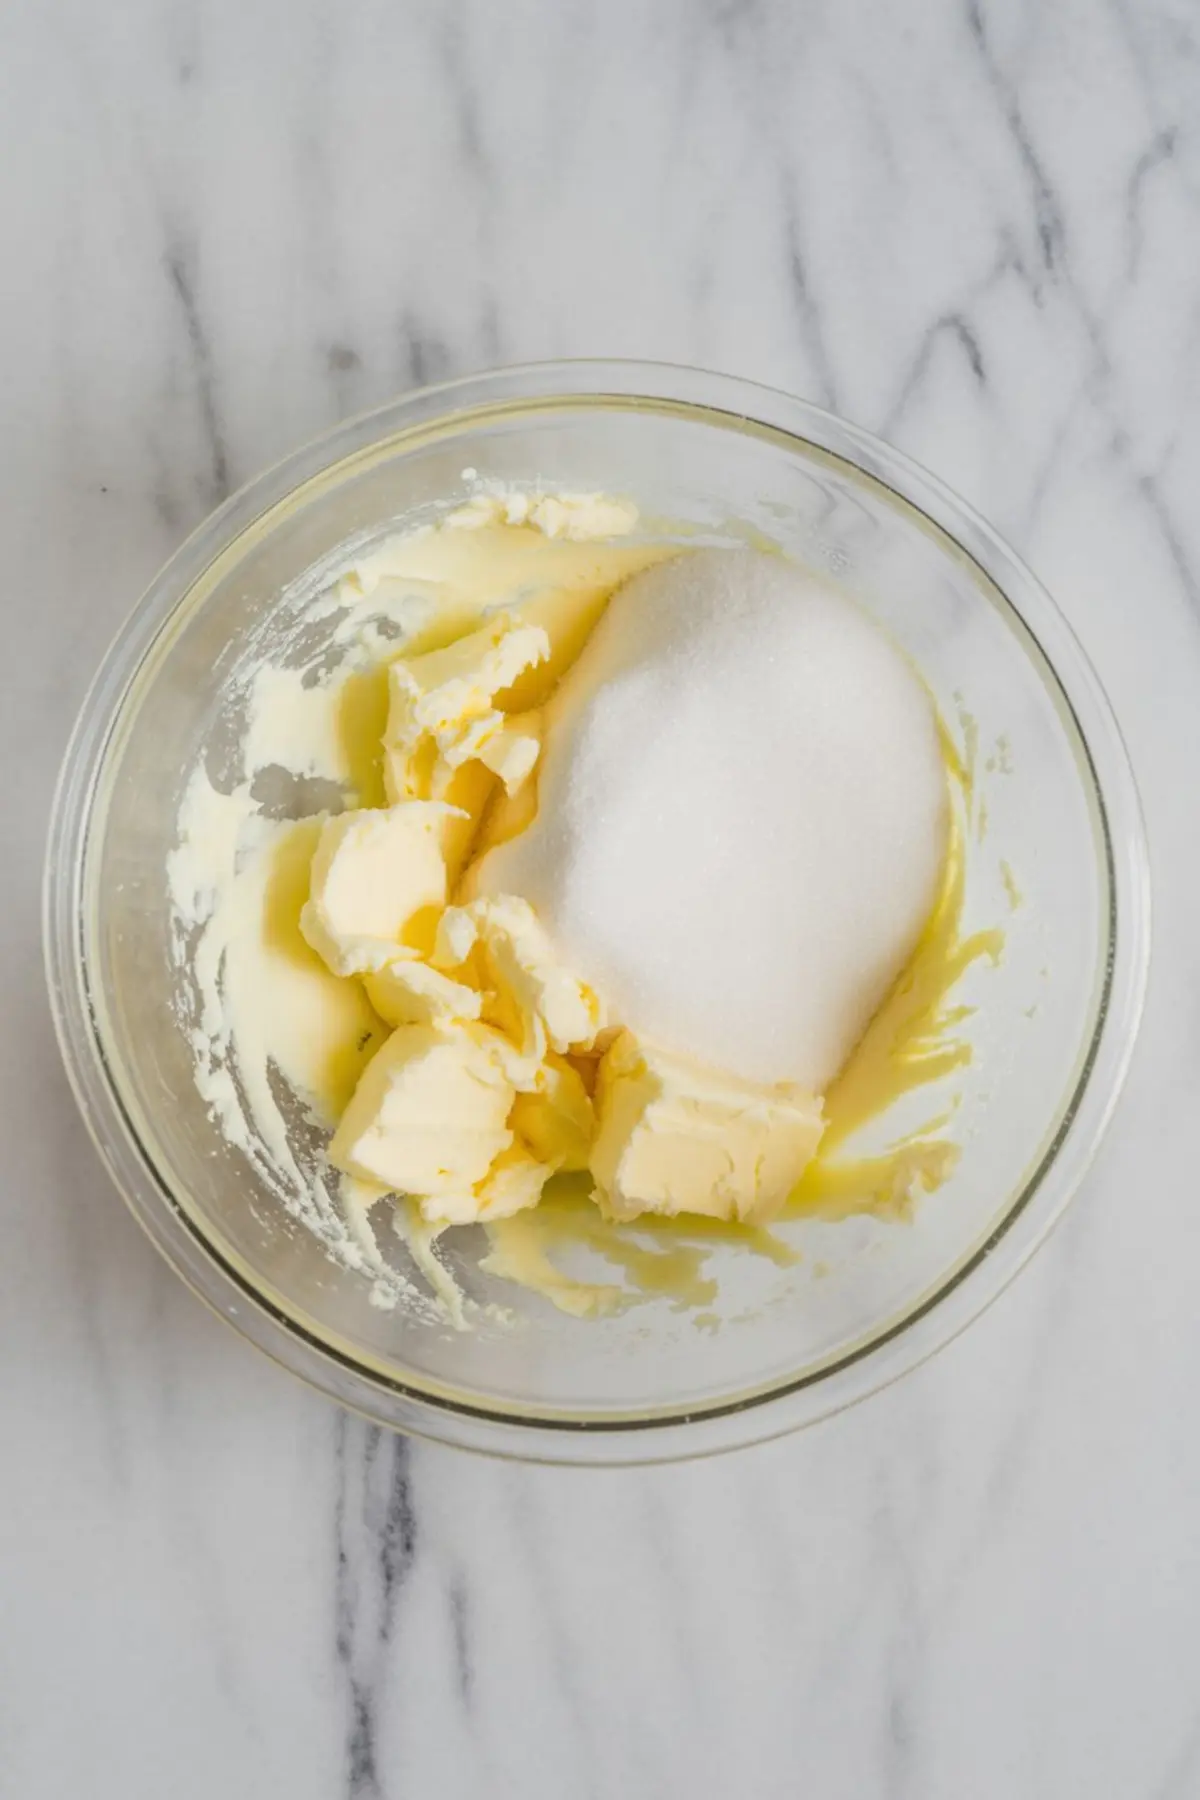
Room temperature unsalted butter helps the sugar cream evenly. One full cup gives the dough its texture and slight chew after baking. I’ve learned that under-creaming leads to cookies that spread unevenly. You’ll want to beat it until it lightens in color. Not just until it mixes.
The sugar matters too. Granulated sugar brings crispness, which pairs well with the soft vanilla buttercream filling later. Brown sugar adds moisture but can dull the snowflake definition. For clean shapes, I stick with white sugar here.
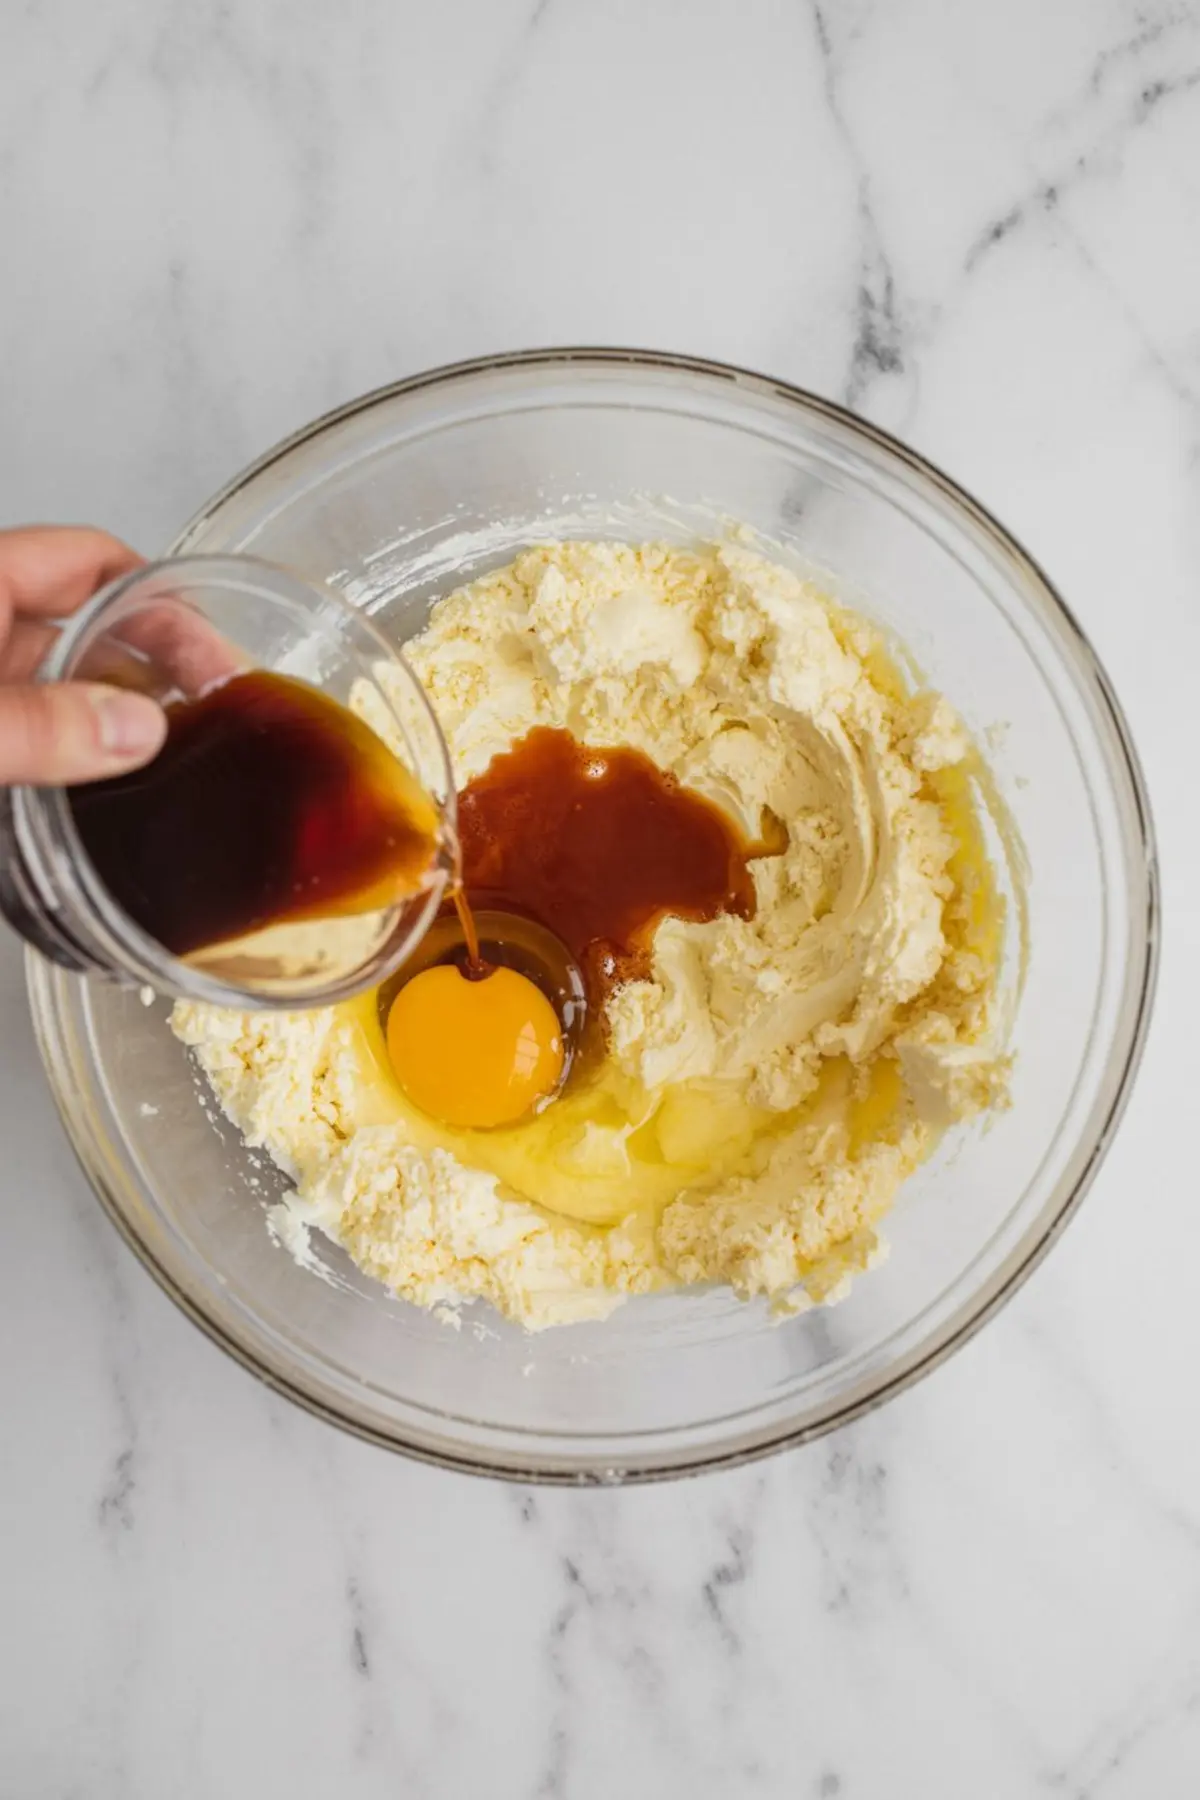
One large egg holds it all together. It helps the dough relax as it chills, keeping the bake consistent from center to edge.
And the vanilla. Use a real extract. Two teaspoons may seem generous, but in a simple sugar cookie, it’s the backbone of the flavor.
You may also enjoy: Christmas Tree Sugar Cookies. That recipe plays with colored sugars and has its own take on vanilla flavor layering.
Chilling the Dough Isn’t Optional, It’s Strategic
Dividing and chilling the dough for an hour helps the flour hydrate. This isn’t just about preventing spread. It also strengthens the flavor and allows the dough to roll cleaner without sticking or tearing.
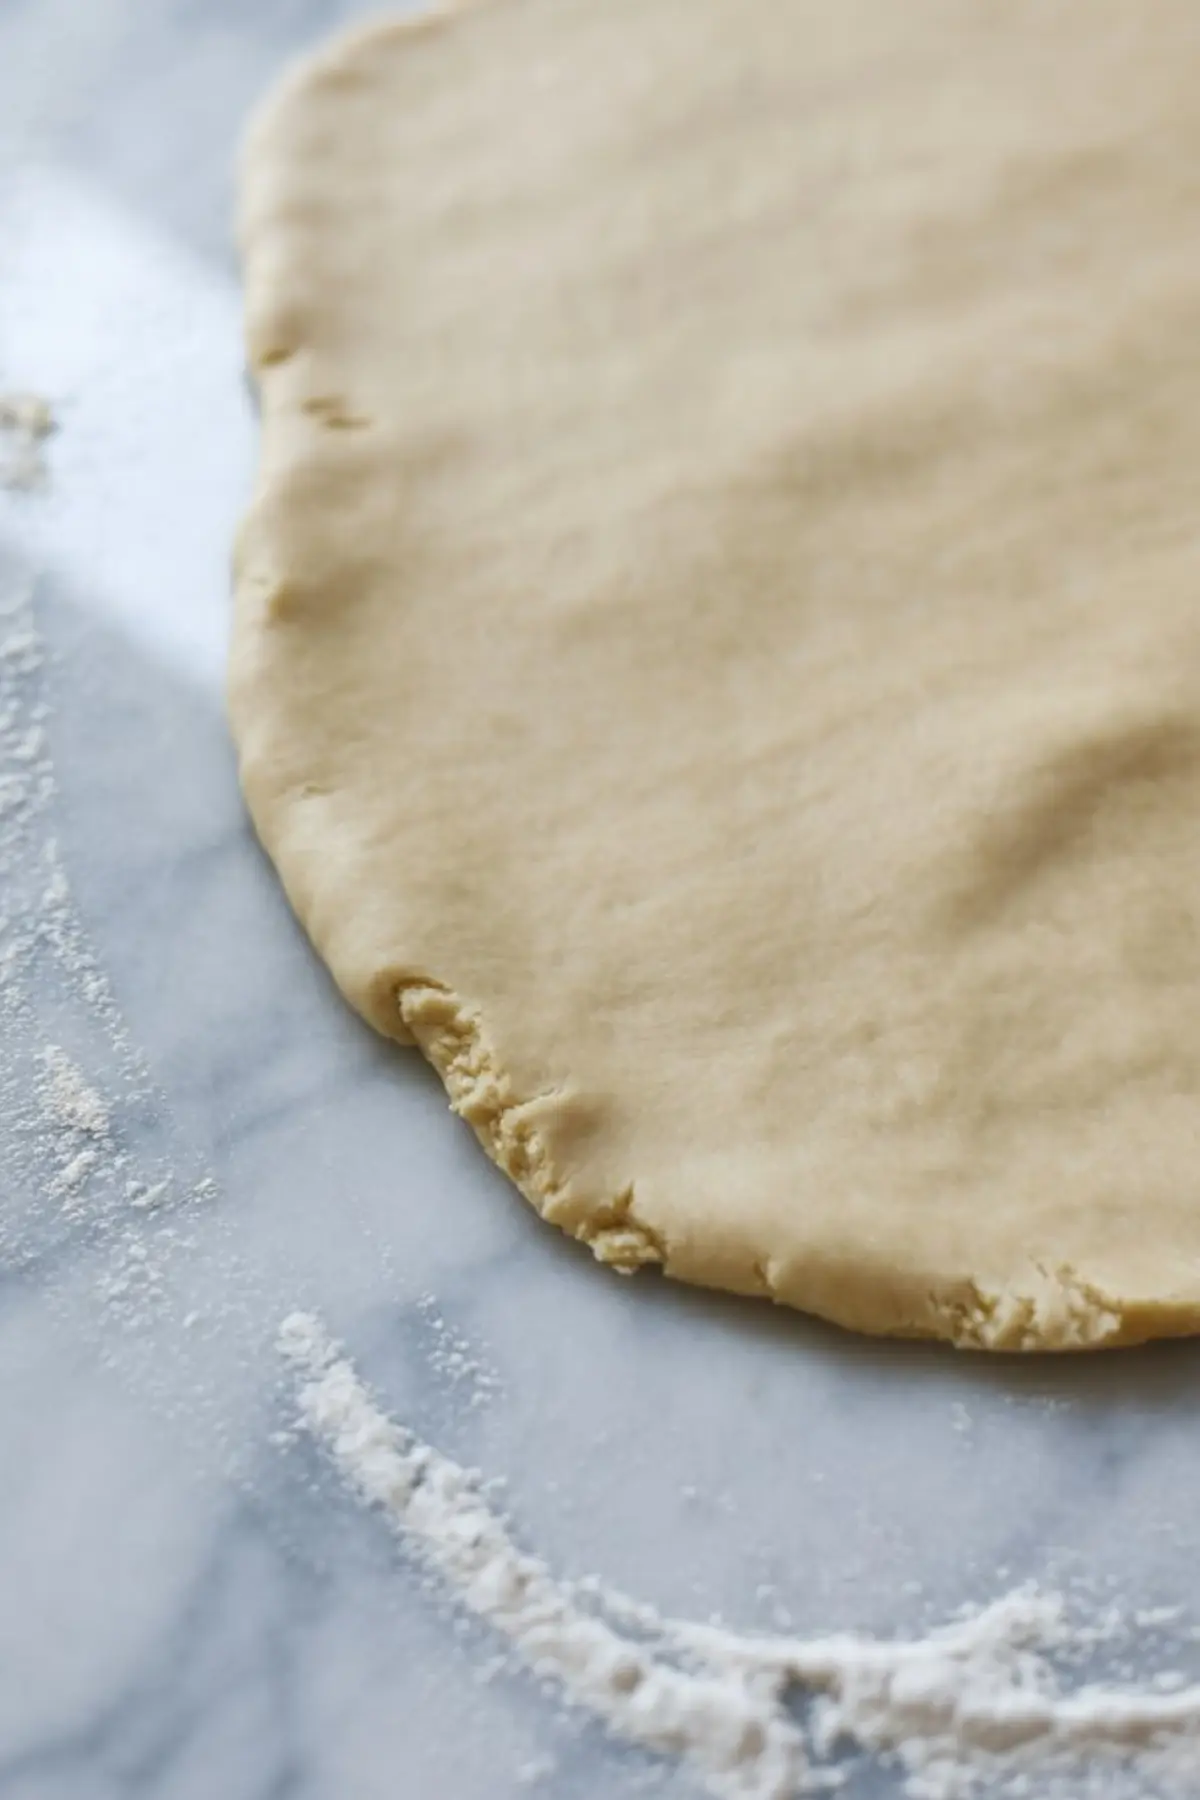
I used to rush this part, thinking I could work faster. But warm dough softens too quickly and loses its shape when cut. After chilling, roll it gently and use a lightly floured surface.
When using snowflake cookie cutters, I press evenly and lift cleanly. The dough gives just enough resistance. If it’s sticking, it needs more chill.
You can revisit this technique in Vanilla Buttercream Frosting, where cold ingredients play a different role.
Comparison: Vanilla Buttercream vs. Cream Cheese Filling
You might wonder if cream cheese frosting could swap in for the buttercream here. I’ve tried both. Buttercream gives a smooth, spreadable texture that firms up just enough to hold the sandwich together without leaking.
Cream cheese frosting brings tang but tends to stay soft. It can make the cookies feel wetter after a day or two, especially if stored at room temperature.
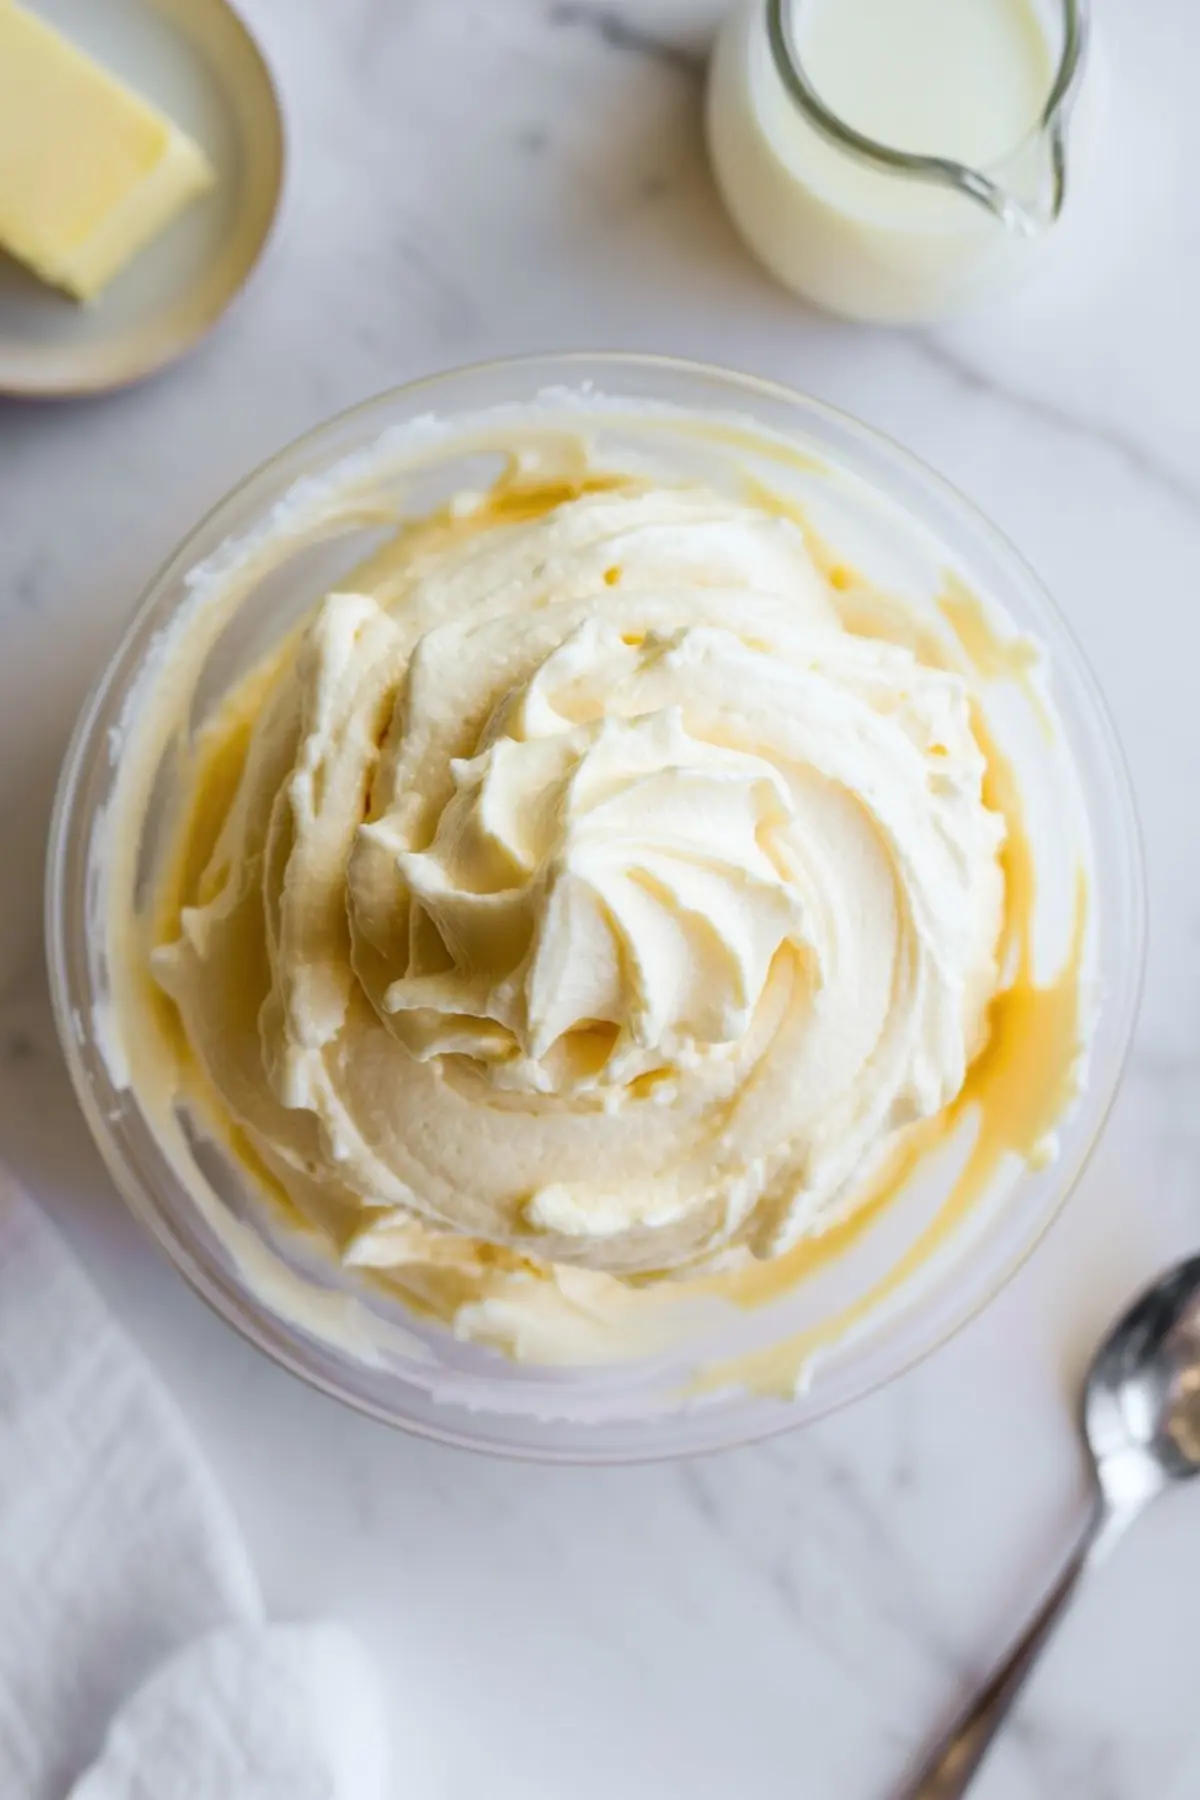
For cookie sandwiches that stack cleanly and last longer, buttercream wins. I use one and a half cups of sifted powdered sugar to prevent grit, and I beat the butter until pale and fluffy before adding anything else. The cream at the end helps you control the thickness.
If you’re looking for a twist, try peppermint extract or almond in place of vanilla, but use a light hand.
Related read: Sugar Cookie Frosting Recipe. It explores consistency adjustments for cookie decorating.
Sandwiching and Finishing With Intention
Pairing the cookies by size keeps the sandwiches even. I match shapes that mirror each other as closely as possible. A piping bag makes assembly faster, but a spoon and offset spatula work fine.
The powdered sugar dusting on top adds winter charm. I tap a fine-mesh sieve lightly over each one. That extra layer of softness plays against the crunch of the cookie edge.
This is a good time to involve kids too. They can press the top cookie gently into the buttercream, and watch it spread just to the edges.
Also explore: Christmas Sugar Cookies. Those use similar shaping principles with different colorwork.
How to Serve and Store Without Losing Texture
Serve these cookies within 48 hours for the best bite. The buttercream keeps the center soft while the edges stay crisp. I recommend storing them in a single layer in an airtight tin lined with parchment.
They last up to 3 days at room temperature. Refrigeration extends that, but it will slightly firm the cookie. You can freeze unfilled cookies for up to a month, then fill after thawing.
If you’re stacking for transport, place parchment between layers to avoid smudging the powdered sugar top.
Bring the Magic to Your Cookie Tray
These snowflake sugar cookies combine design and flavor. They’re shaped with care, filled with purpose, and finished with elegance. You’ll end up with a tray of winter cookies that doesn’t just look beautiful but tells a story with every bite.
I’ve made these during quiet afternoons with the radio on and the kitchen window fogged. It’s not just about how they taste. It’s how they feel in your hands.
Save this recipe to your Christmas cookie Pinterest board so it’s ready when you are. And if you make a batch, I’d love to hear how it went. Leave a comment below with your questions or tips. Let’s bake and learn together.
Snowflake Sugar Cookie Sandwiches
These delicate Snowflake Sugar Cookies are transformed into dreamy sandwich treats with a rich buttercream recipe filling. Featuring crisp yet soft snowflake cookies with festive cutouts and elegant shapes, they’re perfect for Christmas cooking or your winter cookie tray. The homemade sugar cookie buttercream frosting adds a luscious touch to each bite, making them more than just pretty—these Xmas cookies taste as good as they look. Whether you’re hosting a cookie exchange or decorating with loved ones, these snowflake cookies decorating ideas will inspire your next batch of Christmas sugar cookies. A winter wonderland in every bite!
Ingredients
- FOR THE SUGAR COOKIES
- 2 ¾ cups (345g) all-purpose flour
- ½ teaspoon baking powder
- ¼ teaspoon salt
- 1 cup (226g) unsalted butter, room temperature
- ¾ cup (150g) granulated sugar
- 1 large egg
- 2 teaspoons pure vanilla extract
- FOR THE VANILLA BUTTERCREAM FILLING
- ½ cup (113g) unsalted butter, room temperature
- 1 ½ cups (180g) powdered sugar, sifted
- 1 teaspoon vanilla extract
- 1 to 2 tablespoons heavy cream or milk, as needed for consistency
- FOR FINISHING
- Powdered sugar, for dusting
Instructions
- MAKE THE COOKIE DOUGH: In a medium bowl, whisk together the flour, baking powder, and salt. Set aside.
- CREAM THE BUTTER AND SUGAR: In a large mixing bowl, beat the butter and sugar together until light and fluffy, about 2 to 3 minutes.
- ADD EGG AND VANILLA: Add the egg and vanilla extract to the creamed mixture and mix until fully incorporated.
- COMBINE DRY AND WET INGREDIENTS: Gradually add the dry ingredients to the wet mixture, mixing on low speed until a soft dough forms.
- CHILL THE DOUGH: Divide the dough into two equal portions. Flatten each into a disk, wrap tightly in plastic wrap, and refrigerate for at least 1 hour or up to 2 days.
- PREPARE FOR BAKING: Preheat the oven to 350°F (175°C). Line two baking sheets with parchment paper.
- ROLL AND CUT: On a lightly floured surface, roll out one disk of chilled dough to ¼-inch thickness. Use a snowflake-shaped cookie cutter to cut out cookies and transfer them to the prepared baking sheets.
- REUSE AND BAKE: Gather dough scraps, reroll as needed, and continue cutting cookies. Bake each batch for 9 to 11 minutes, or until the edges just begin to turn golden.
- COOL COOKIES: Let the baked cookies rest on the sheet for 5 minutes, then transfer them to a wire rack to cool completely before filling.
- MAKE THE BUTTERCREAM: In a medium bowl, beat the butter until smooth. Gradually add the sifted powdered sugar and mix on low until mostly combined.
- ADD VANILLA AND CREAM: Add the vanilla extract and 1 tablespoon of cream or milk. Beat until the mixture becomes fluffy and smooth, adding more cream as needed for a spreadable texture.
- PAIR COOKIES: Once cooled, match up cookies in pairs of similar size and shape to prepare for assembly.
- FILL AND SANDWICH: Pipe or spread a generous amount of buttercream onto the bottom of one cookie. Gently press the matching cookie on top to create a sandwich.
- DUST WITH POWDERED SUGAR: Lightly dust the tops of the sandwich cookies with powdered sugar to create a snow-dusted effect.
Notes
Store cookies in an airtight container at room temperature for up to 3 days, or refrigerate for longer freshness. Unfilled cookies can be made ahead and frozen for up to 1 month.
Nutrition Information
Yield
18Serving Size
1Amount Per Serving Calories 334Total Fat 17gSaturated Fat 11gTrans Fat 0gUnsaturated Fat 6gCholesterol 56mgSodium 63mgCarbohydrates 42gFiber 1gSugar 26gProtein 3g