
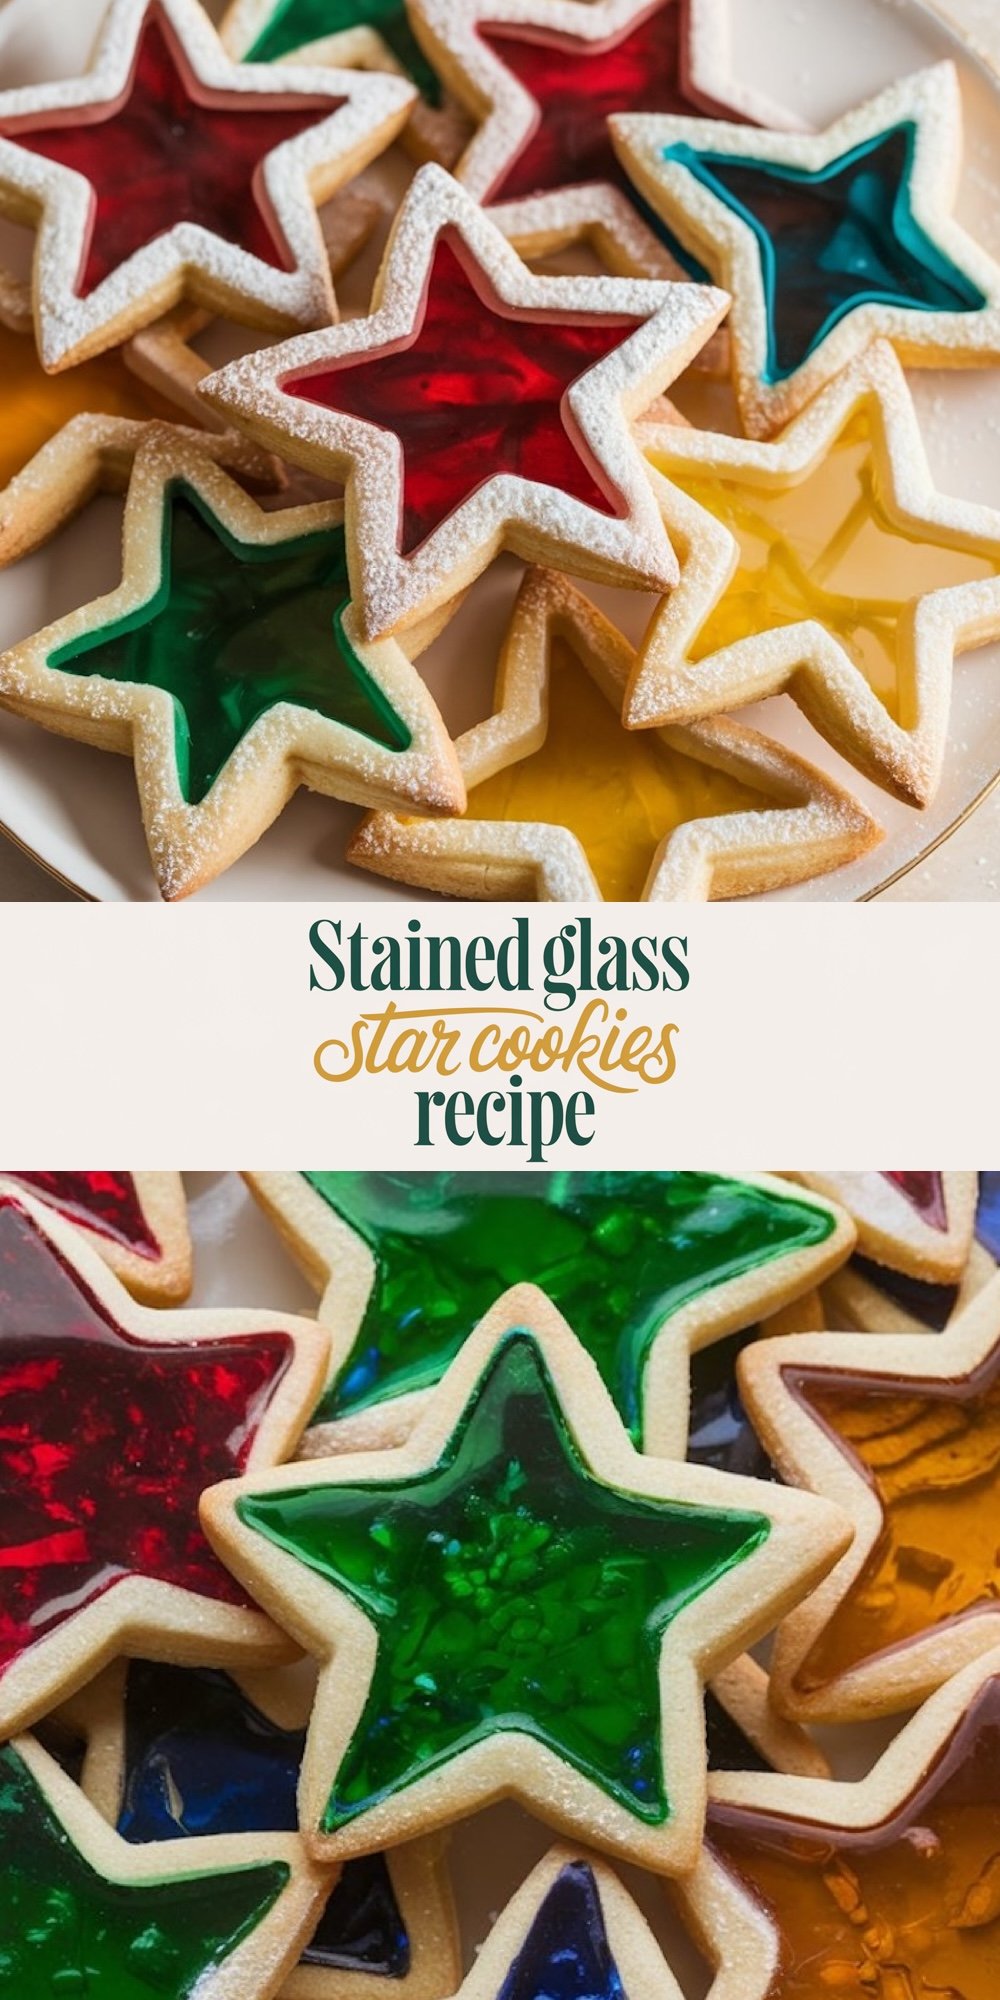
Stained glass cookies are visually striking and versatile, offering a beautiful mix of vibrant colors and intricate patterns, perfect for holidays or special occasions. The key feature of these cookies is the translucent candy center, which mimics the appearance of stained glass. Here’s how to create these cookies, along with some variations and tips for success.

Following a special diet?
Every recipe on this site can be converted to gluten-free, vegan, dairy-free, keto, nut-free or egg-free with adjusted ratios so nothing falls flat.
Try the Recipe Converter →Ingredients Overview
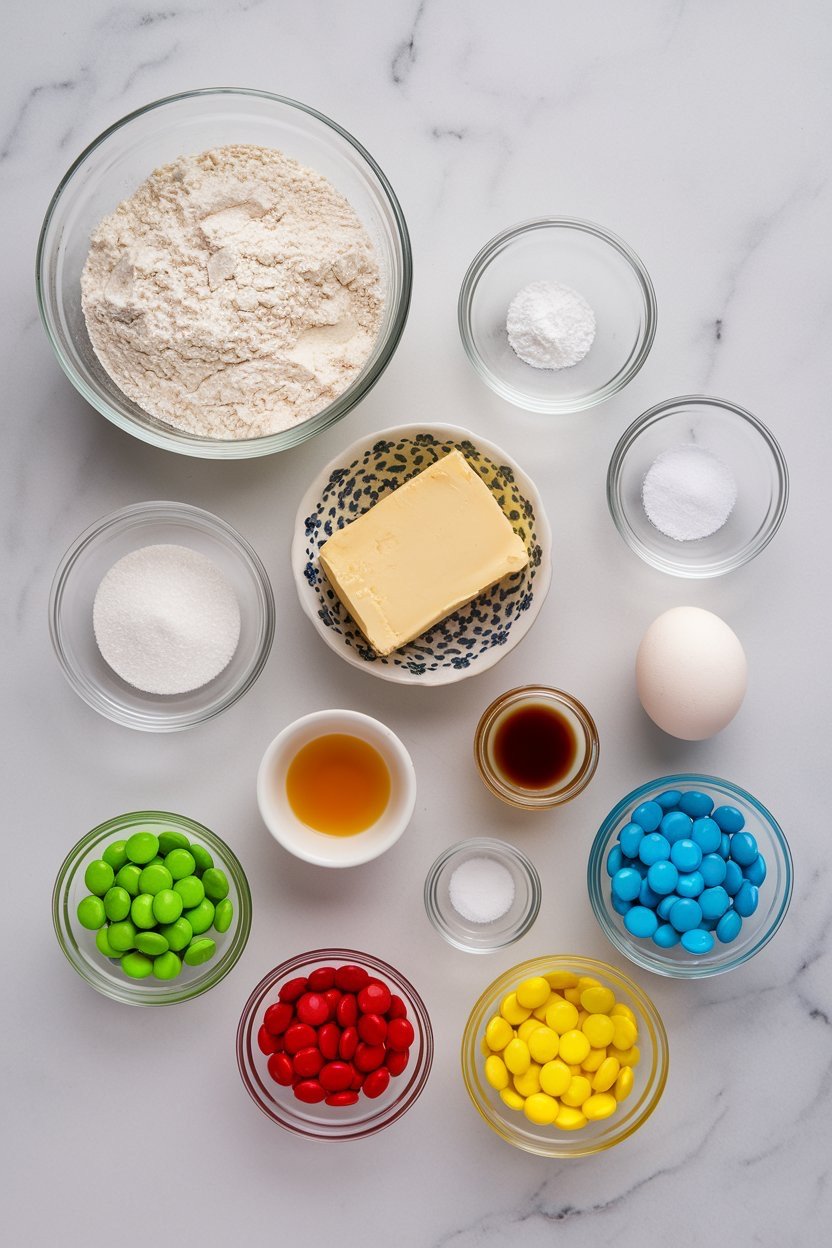
- Cookie Dough: The base of these cookies is a simple sugar cookie dough. You’ll need basic pantry ingredients such as flour, butter, sugar, eggs, and vanilla extract. Almond extract is optional but adds a distinct flavor twist for those who prefer a slightly nuttier aroma.
- Candy Filling: The “stained glass” effect comes from using hard candies like Jolly Ranchers or Life Savers, which melt into vibrant pools of color. You’ll need to crush these candies and separate them by color to ensure a clear, glass-like appearance.
- Decorating Options: These cookies can be decorated in various ways. A light dusting of powdered sugar enhances their appearance, while adding a hole at the top allows them to be strung and hung as edible ornaments.
Preparation and Techniques
Preparing the Cookie Dough
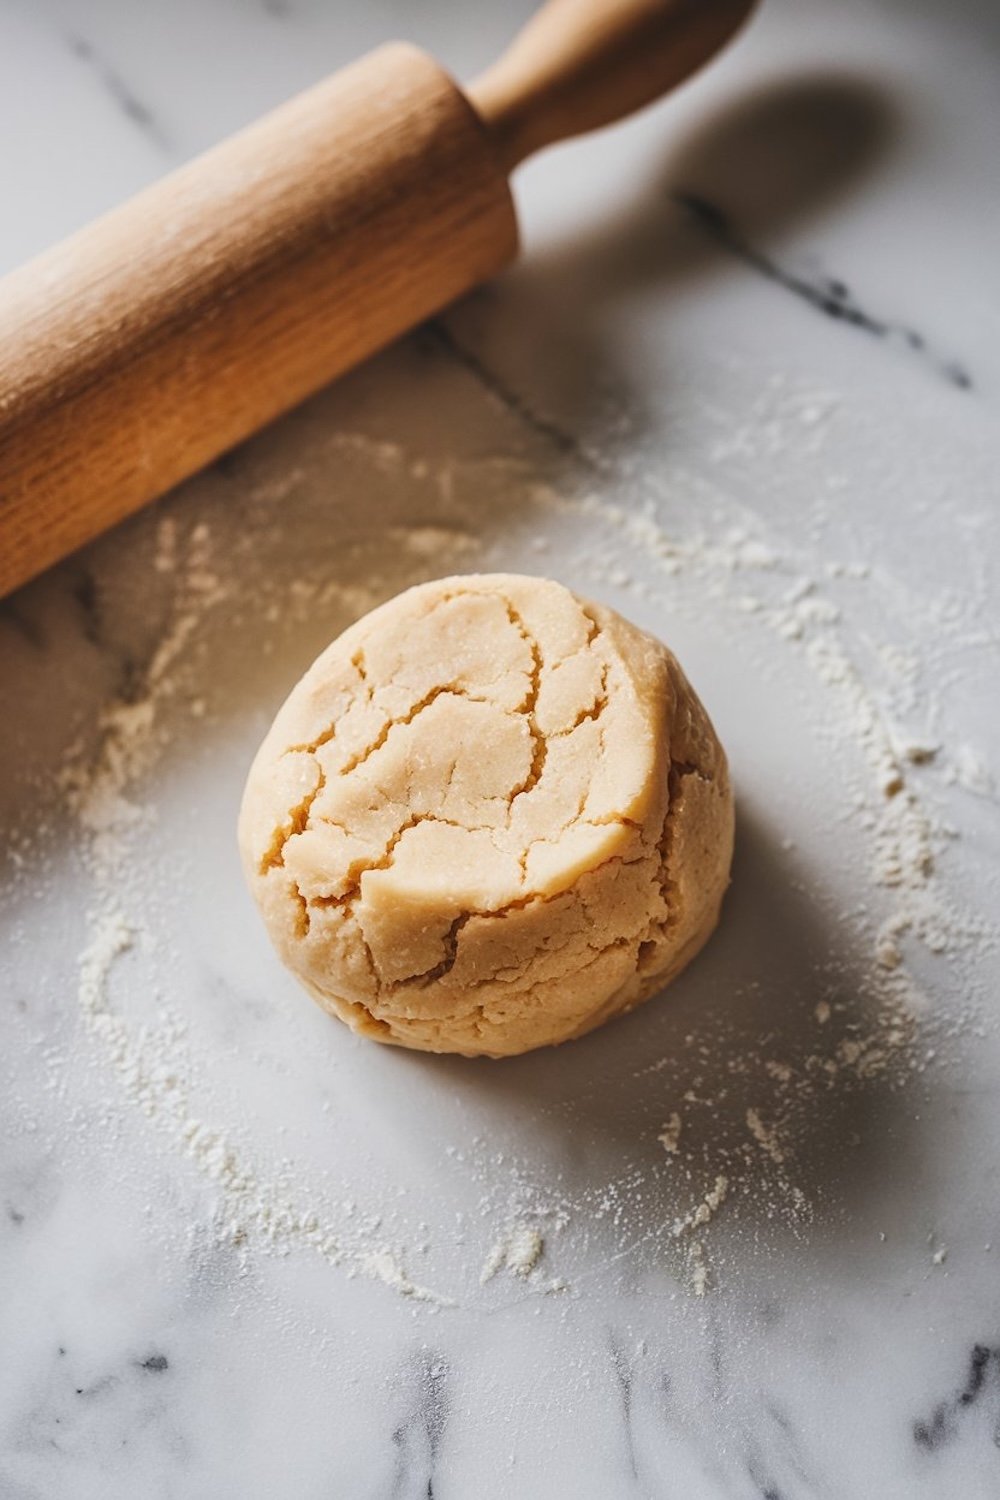
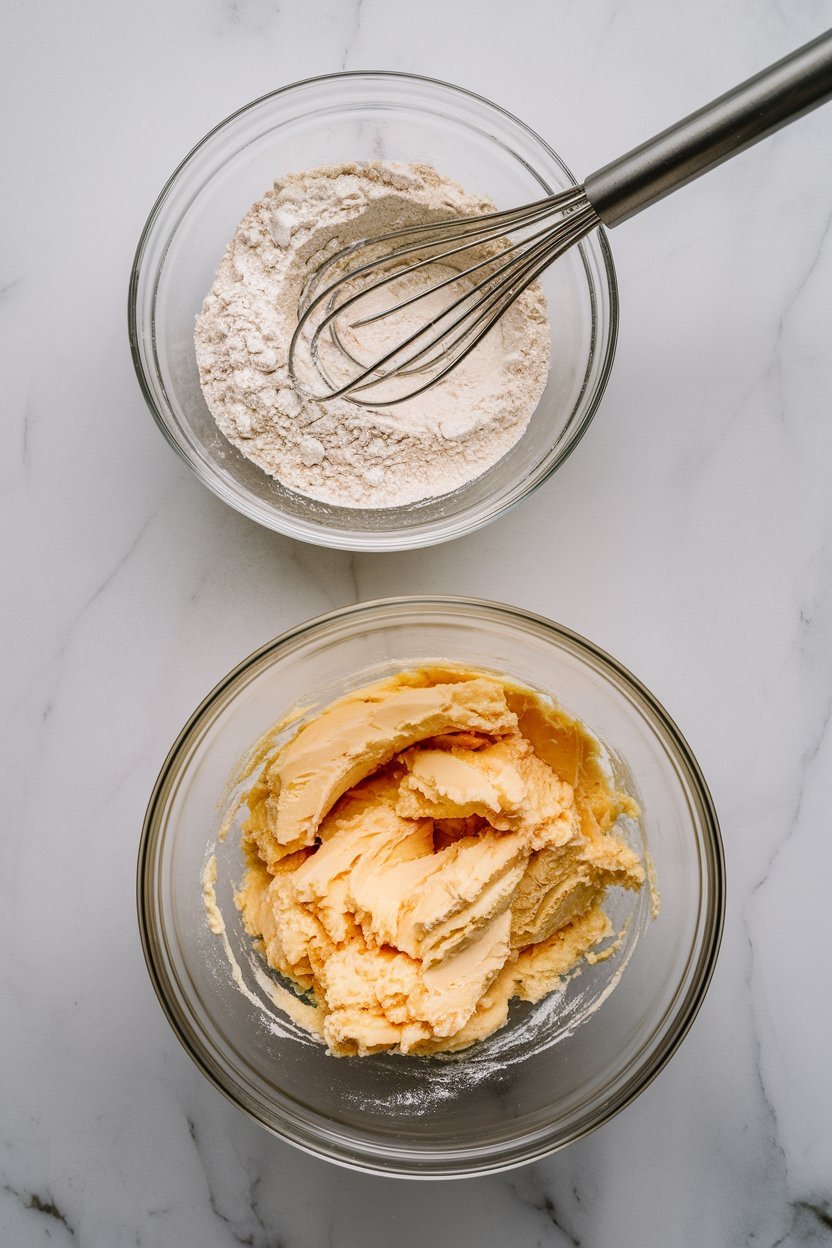
The dough serves as the sturdy frame for the stained glass center. It’s essential to cream the butter and sugar well to ensure the cookies have a light, yet structured texture. When mixing the dough, avoid overworking it, as this can lead to tough cookies. After forming the dough, chilling is critical to help the cookies retain their shape during baking.
A standard sugar cookie dough is ideal for stained glass cookies because it holds its form well and provides a neutral base to showcase the colorful candy centers. If you prefer an extra flavor dimension, almond extract can be incorporated into the dough, which pairs nicely with the sweetness of the candy.
Crafting the Candy “Glass”
The star of the recipe is the stained glass center, created using crushed hard candies. The process of separating and crushing the candies is straightforward but requires attention to ensure an even melt. Crushing the candies too finely can cause them to burn or melt unevenly, while leaving them too chunky might prevent them from filling the cookie centers smoothly.
To crush the candies, a rolling pin or meat mallet works best. It’s important to keep each color separate to maintain a clear, bright look for the glass effect.
Cutting and Shaping the Cookies
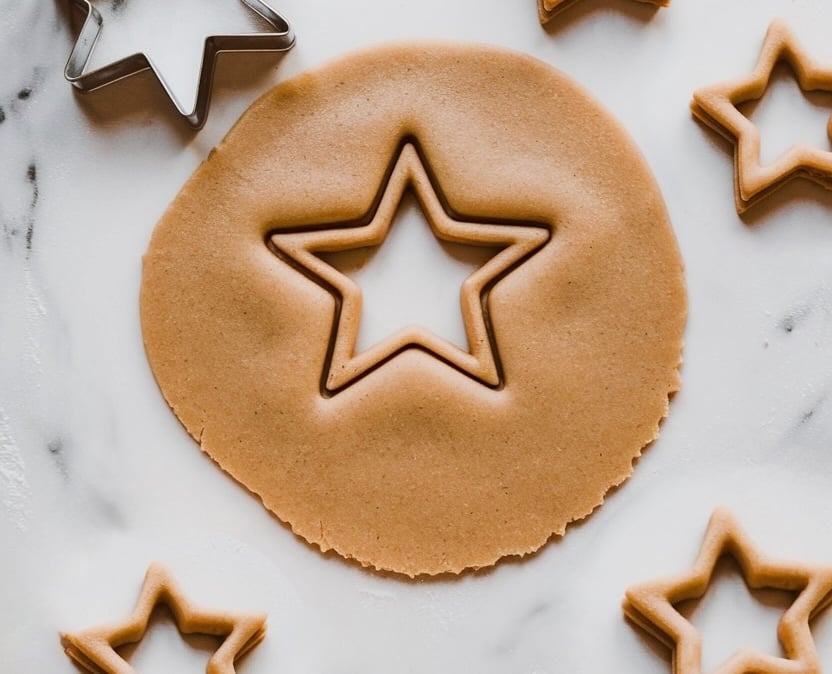
Once the dough is properly chilled, roll it out to an even thickness. This ensures even baking and prevents the cookies from becoming too thin or thick. Using two cookie cutters—a larger one for the outer shape and a smaller one to cut out the center—creates the frame that will hold the candy. Any shape will work, though stars, hearts, or holiday-specific shapes tend to look most festive.
Carefully transfer the cut dough to a baking sheet lined with parchment paper, which will prevent sticking and make cleanup easier. Spoon the crushed candy into the center, ensuring not to overfill, as the candy will spread and fill the space as it melts.
Baking and Decorating
The key to successful stained glass cookies is closely monitoring the baking process. The cookies should bake until their edges are golden, but not overly brown, while the candy centers should melt completely. Overbaking can cause the candy to bubble or caramelize, leading to a cloudy or uneven texture in the “glass.”
After baking, it’s crucial to let the cookies cool on the baking sheet for a few minutes before transferring them. The candy centers need time to harden and stabilize before being moved. If you plan to hang the cookies as ornaments, make sure to poke holes at the top while they’re still warm, as the dough will be too hard to work with once it’s fully cooled.
For a finishing touch, a dusting of powdered sugar around the edges of the cookies adds a wintery, festive look. You can also tie ribbon or string through the pre-made holes to turn them into hanging ornaments, perfect for decorating a Christmas tree or gifting.
Variations and Tips
- Flavor Variations: While the standard recipe uses vanilla or almond extract, you can experiment with other flavors like lemon or orange zest for a citrusy twist. This can be particularly appealing if you want to add a refreshing contrast to the sweetness of the candy.
- Candy Options: In addition to Jolly Ranchers or Life Savers, other clear hard candies can be used. Just be mindful of the candy’s melting point and color clarity. Avoid soft or gummy candies, as they won’t create the desired stained glass effect.
- Shapes and Themes: For different occasions, consider using themed cookie cutters. Hearts work well for Valentine’s Day, stars for Christmas, and leaves for autumn celebrations. The color of the candy filling can also be coordinated with the holiday or event theme.
- Storage and Shelf Life: Stained glass cookies can be stored in an airtight container for up to a week. However, if they’re hung as ornaments, they should be kept in a cool, dry place to prevent the candy centers from becoming sticky.
How to store the cookies
Storing Stained Glass Cookies properly is crucial to maintaining their appearance and texture. After baking and cooling completely, the cookies should be handled with care to preserve the integrity of the delicate, candy-filled centers. The best storage solution is to place them in a single layer inside an airtight container. If you need to stack them, ensure each layer is separated by parchment paper or wax paper to prevent the cookies from sticking to each other and to avoid damaging the stained glass effect.
The container should then be kept in a cool, dry place to prevent the candy from becoming sticky or the cookies from softening. Avoiding humid environments is key, as excess moisture can cause the hard candy centers to dissolve or become tacky, which can ruin the aesthetic and texture of the cookies.
For those who wish to keep the cookies fresh longer, freezing is an option. To freeze Stained Glass Cookies, place them on a baking sheet in a single layer and freeze until solid. Once hardened, transfer the cookies to a freezer-safe container, again layering with parchment paper. This method can keep the cookies fresh for up to three months.
When ready to enjoy, the cookies should be thawed at room temperature while still in their container to prevent condensation from forming on the candy. This step ensures that the stained glass centers remain clear and vibrant, just as they were on the day they were baked.
Add This to Your Recipe Collection
Stained glass cookies offer both aesthetic appeal and a fun baking project for the holidays. The combination of a crisp sugar cookie and a vibrant candy center creates a show-stopping treat that can also double as a decoration. Whether making them for gifts, parties, or just to enjoy at home, these cookies are sure to impress with their beauty and taste.
Stained Glass Cookies Recipe
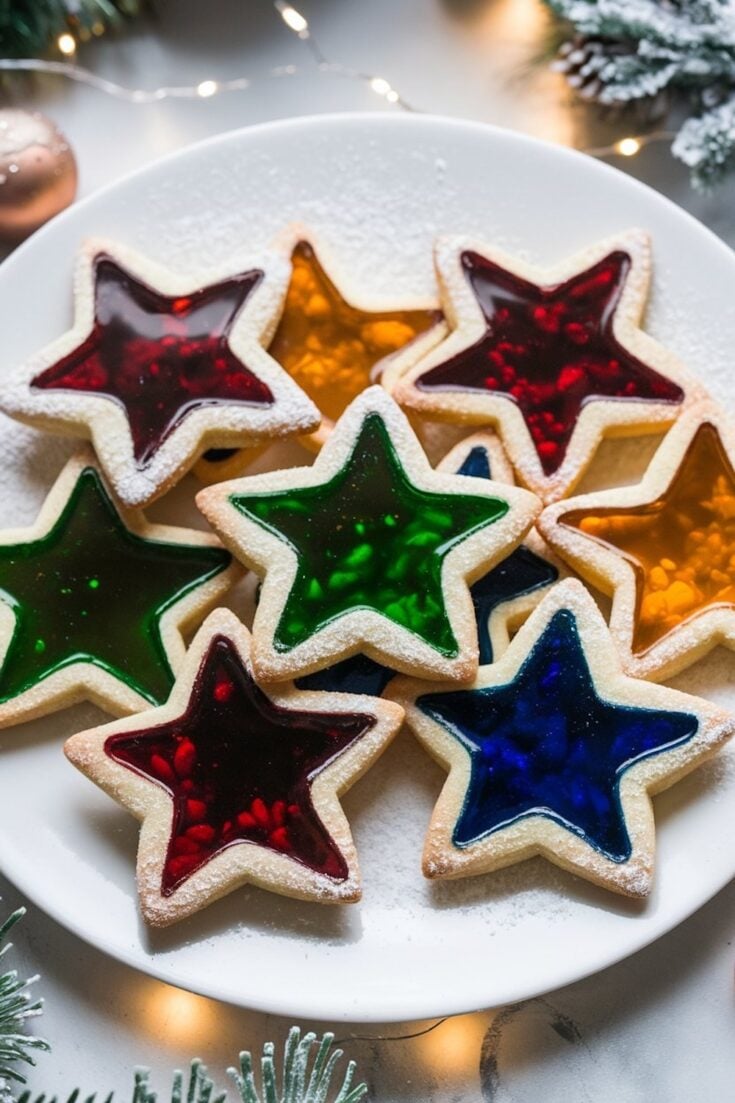
These beautiful stained glass cookies are as festive as they are delicious. Made from a rich buttery sugar cookie base with crushed candy centers, these treats create a stunning “window” effect that catches the light. Ideal for holiday baking, stained glass Christmas cookies are perfect for cookie exchanges, decorating, or gifting. Follow this easy stained glass cookies recipe to make crisp-edged, colorful glass cookies Christmas celebrations will remember. Add them to your favorite stained glass sugar cookies collection or hang them as edible ornaments.
Ingredients
- FOR THE COOKIES
- 2 ¾ cups all-purpose flour
- 1 teaspoon baking powder
- ¼ teaspoon salt
- 1 cup (2 sticks) unsalted butter, softened
- 1 cup granulated sugar
- 1 large egg
- 1 teaspoon vanilla extract
- ½ teaspoon almond extract (optional)
- FOR THE STAINED GLASS
- Assorted hard candies (such as Jolly Ranchers or Life Savers), separated by color and crushed
- FOR DECORATING
- Powdered sugar (for dusting)
- Ribbon or string (if hanging as ornaments)
Instructions
- PREPARE THE DOUGH: In a medium bowl, whisk together the flour, baking powder, and salt. In a separate large mixing bowl, cream the softened butter and granulated sugar with an electric mixer on medium speed until light and fluffy, about 2–3 minutes. Beat in the egg, vanilla extract, and almond extract if using, scraping down the sides of the bowl as needed. Gradually add the dry ingredients to the wet mixture, mixing just until combined. Form the dough into a disk, wrap tightly in plastic wrap, and refrigerate for at least 1 hour or up to 2 days.
- PREPARE THE CANDIES: While the dough chills, place separated hard candies into zip-top bags by color. Use a rolling pin or meat mallet to crush the candies into small pieces, ensuring they are not too fine or too coarse. Set the crushed candy aside in bowls by color.
- SHAPE THE COOKIES: Preheat the oven to 350°F (175°C) and line two baking sheets with parchment paper. On a lightly floured surface, roll out the chilled dough to about ¼-inch thickness. Use large cookie cutters to cut out shapes, then use a smaller cutter of the same shape to cut out the centers. Transfer the cookies to prepared baking sheets and spoon crushed candy into the center of each cookie, spreading it evenly to fill the cut-out space.
- BAKE AND COOL: Bake the cookies for 8–10 minutes, or until the edges are just turning golden and the candy centers have melted. Allow the cookies to cool on the baking sheets for 5–10 minutes so the centers can firm up. Carefully transfer to wire racks to cool completely.
- DUST AND DECORATE: Once the cookies are completely cool, dust the outer edges with powdered sugar if desired. For ornament cookies, use a straw to poke a small hole at the top of each cookie while still warm, then thread with ribbon or string after cooling fully.
Notes
To prevent sticking, roll the dough with a light dusting of flour and chill again briefly if it becomes too soft to work with. Crushed candy may bubble slightly while baking; avoid overfilling centers to maintain clean edges. Store cookies in a single layer in an airtight container for up to 1 week.
Nutrition Information
Yield
20Serving Size
1Amount Per Serving Calories 189Total Fat 10gSaturated Fat 6gUnsaturated Fat 4gCholesterol 36mgSodium 142mgCarbohydrates 22gFiber 0gSugar 13gProtein 2g