
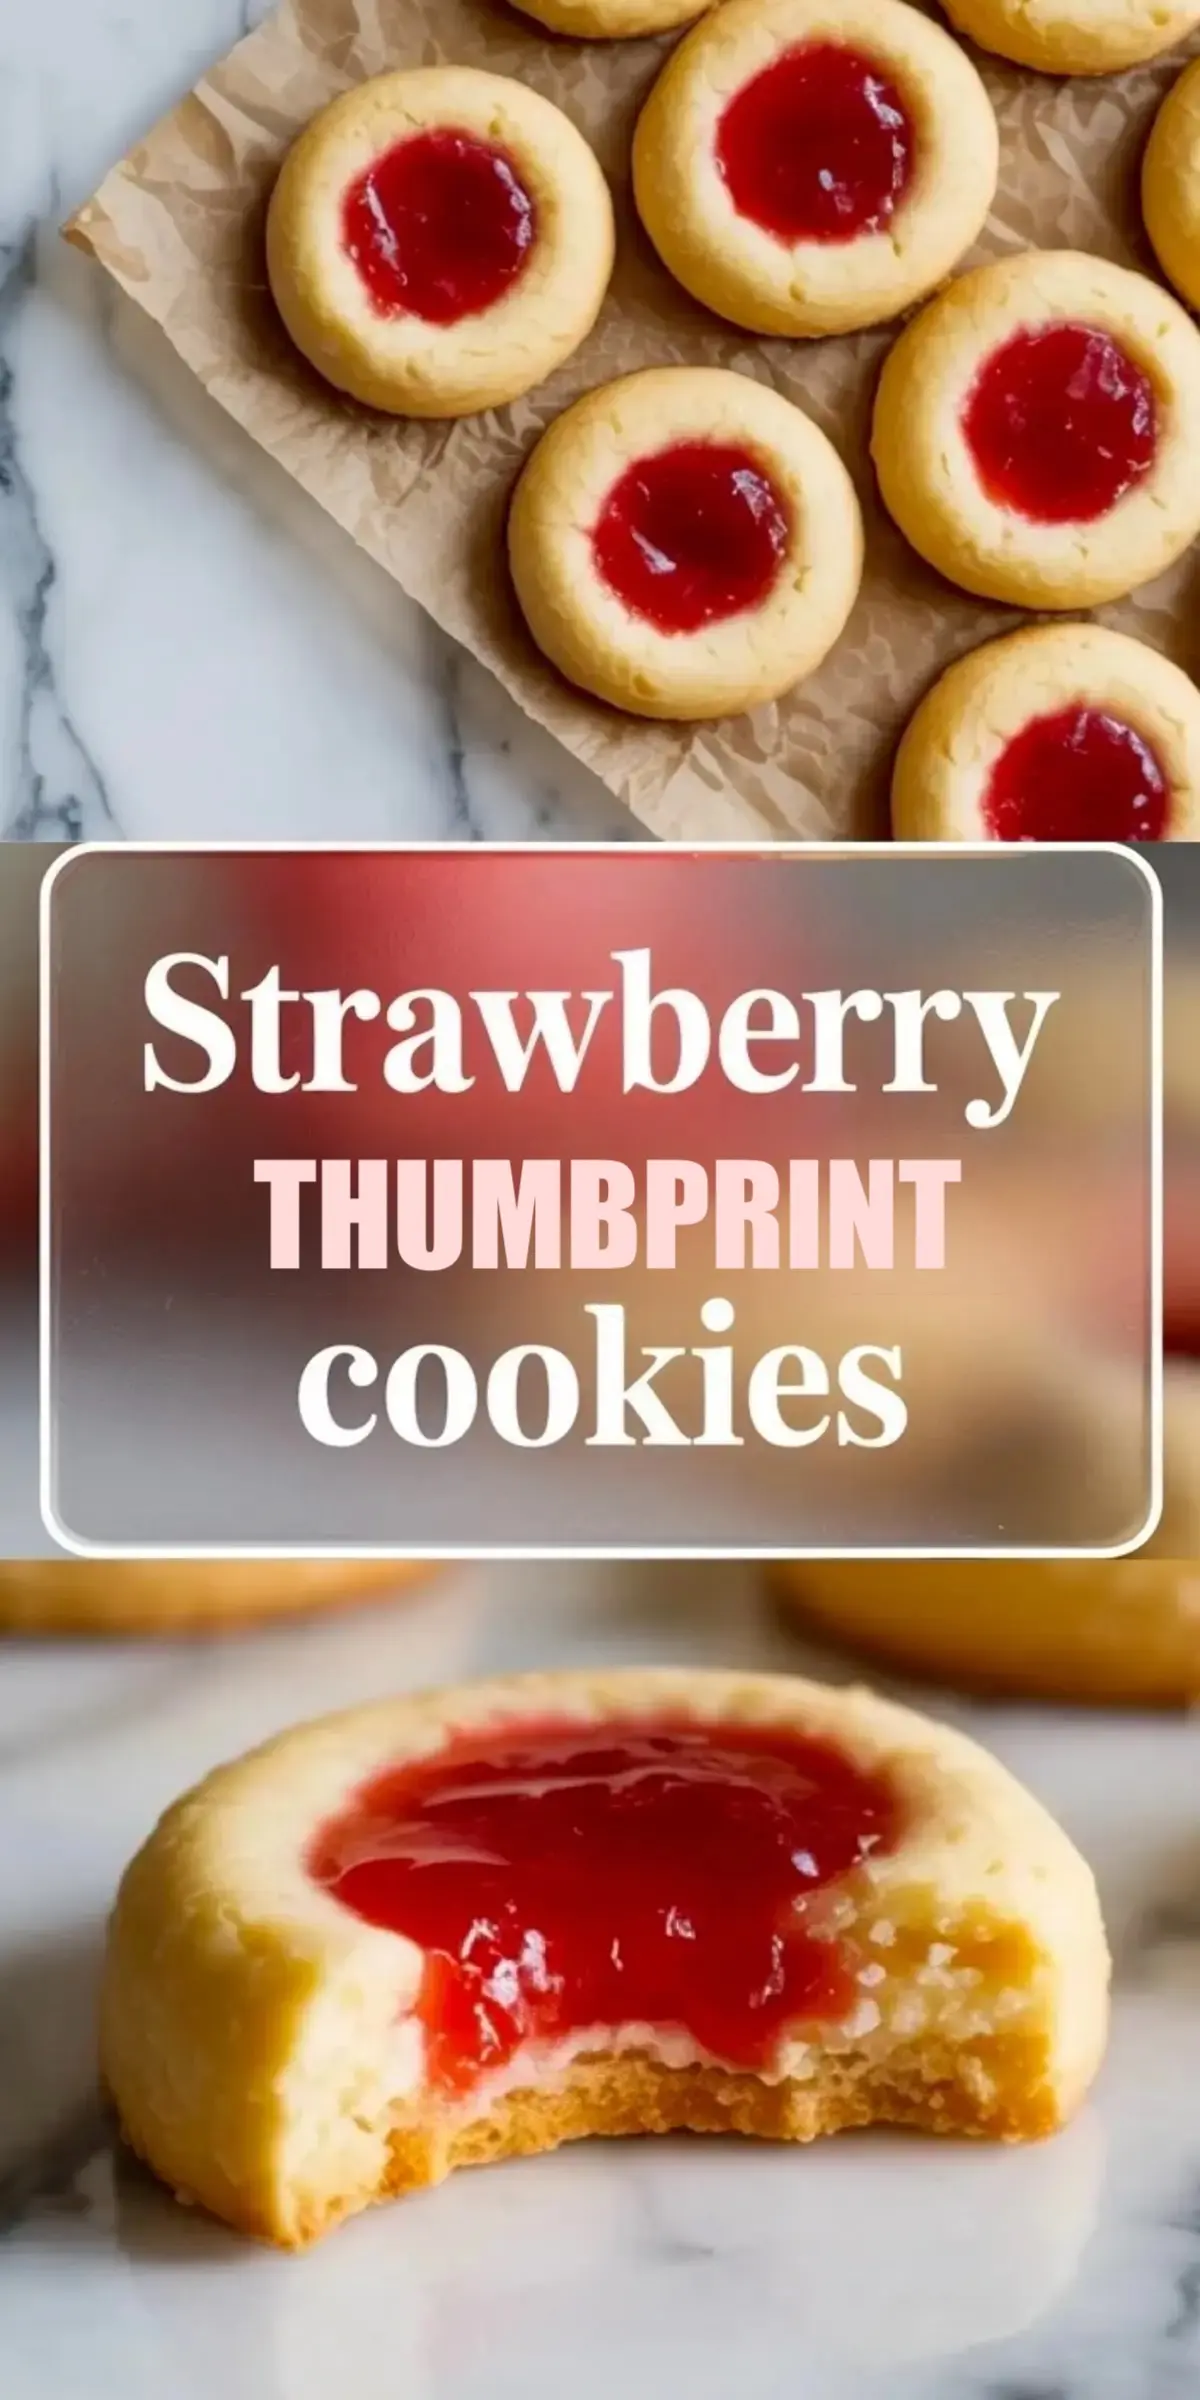
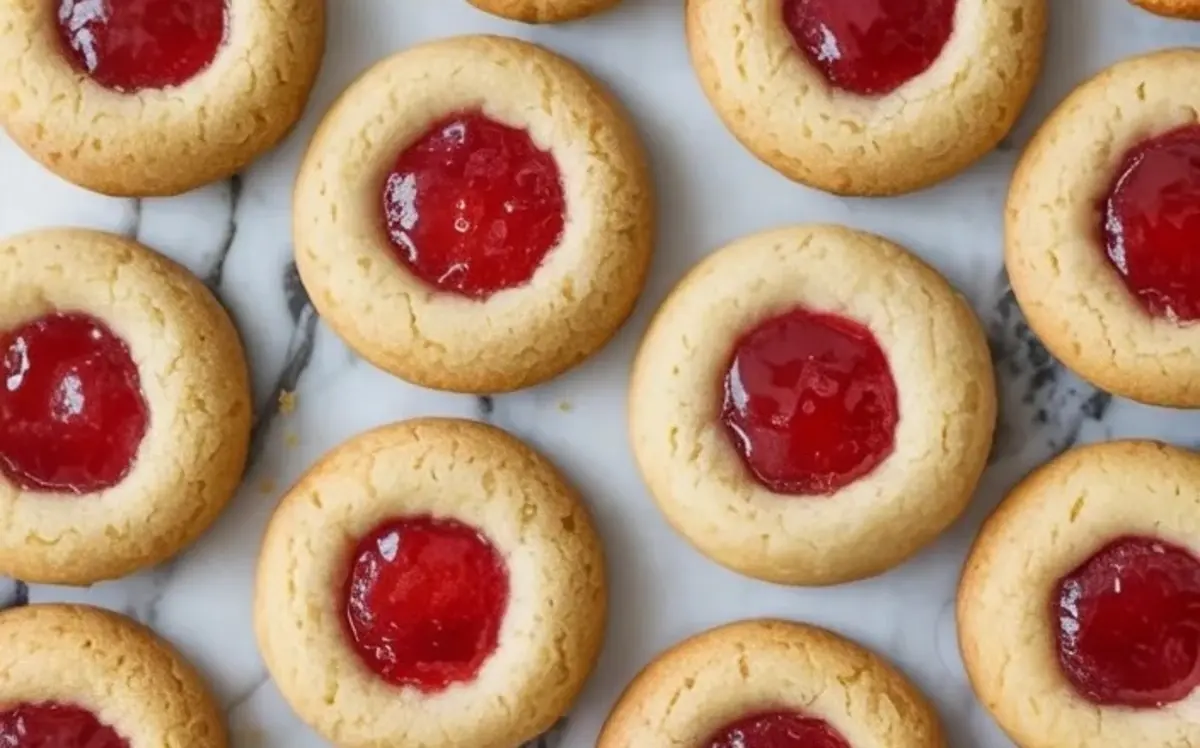
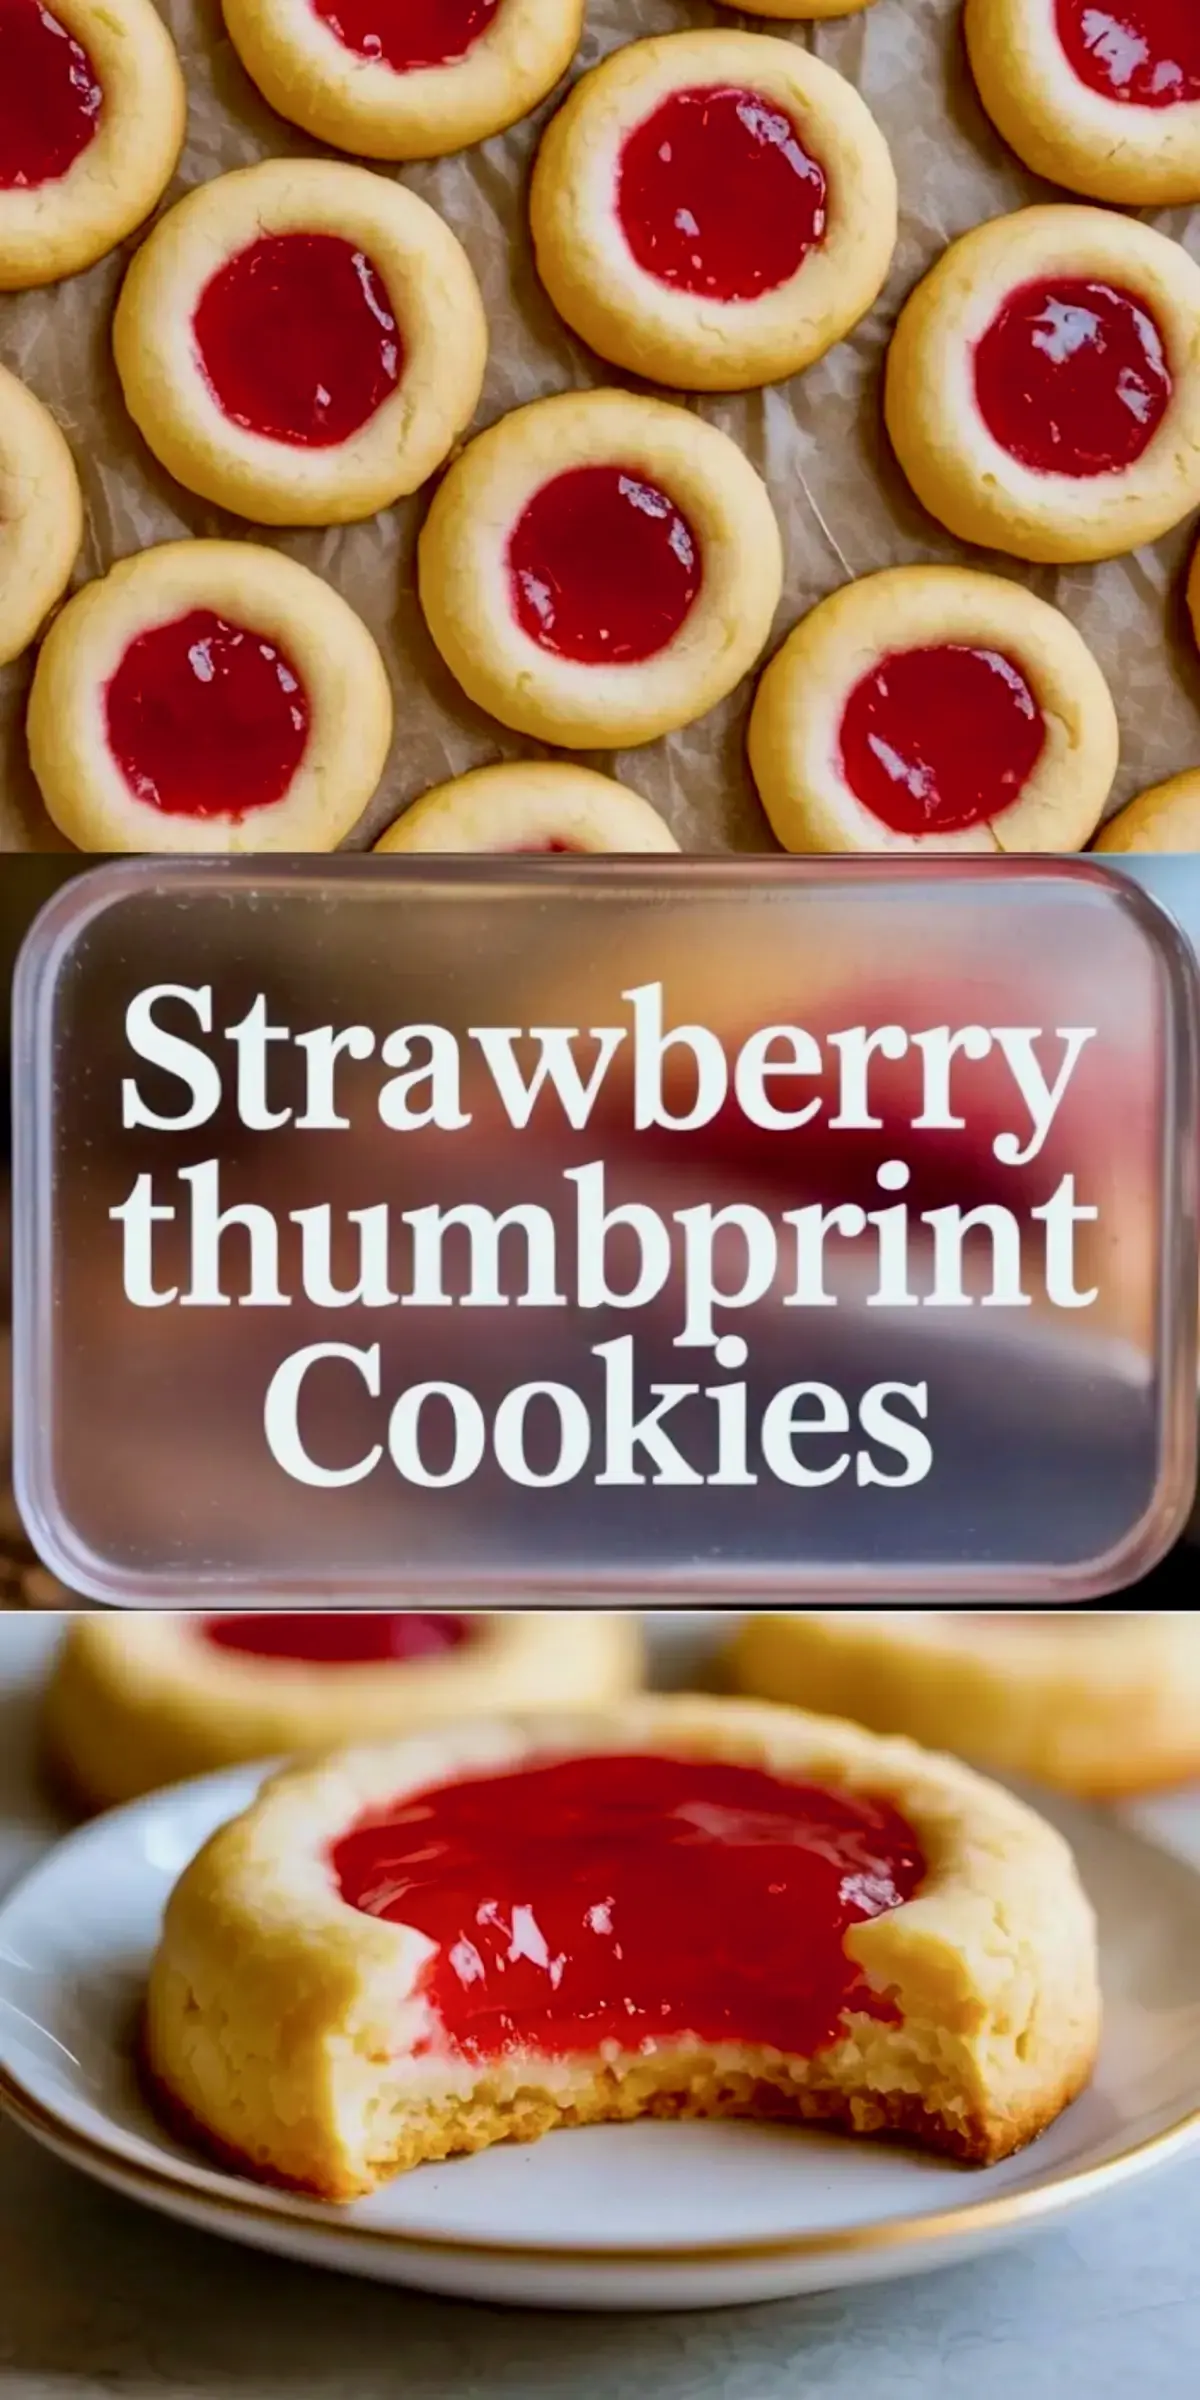
This strawberry thumbprint cookies recipe creates soft, buttery cookies filled with bright strawberry jam and baked until lightly golden at the edges. It is a classic thumbprint cookies recipe that highlights thumbprint cookies strawberry style, ideal for jam thumbprint cookies, recipes with strawberry preserves, and even strawberry pie cookies lovers searching for cookie recipes fruit and cookie recipes summer options.
The balance in this dough matters more than people think. I use one cup butter to two cups flour, which creates a tender crumb that holds a deep well of strawberry jam without spreading flat. I tested smaller flour amounts, and the centers collapsed. That extra structure keeps the jam exactly where it belongs.
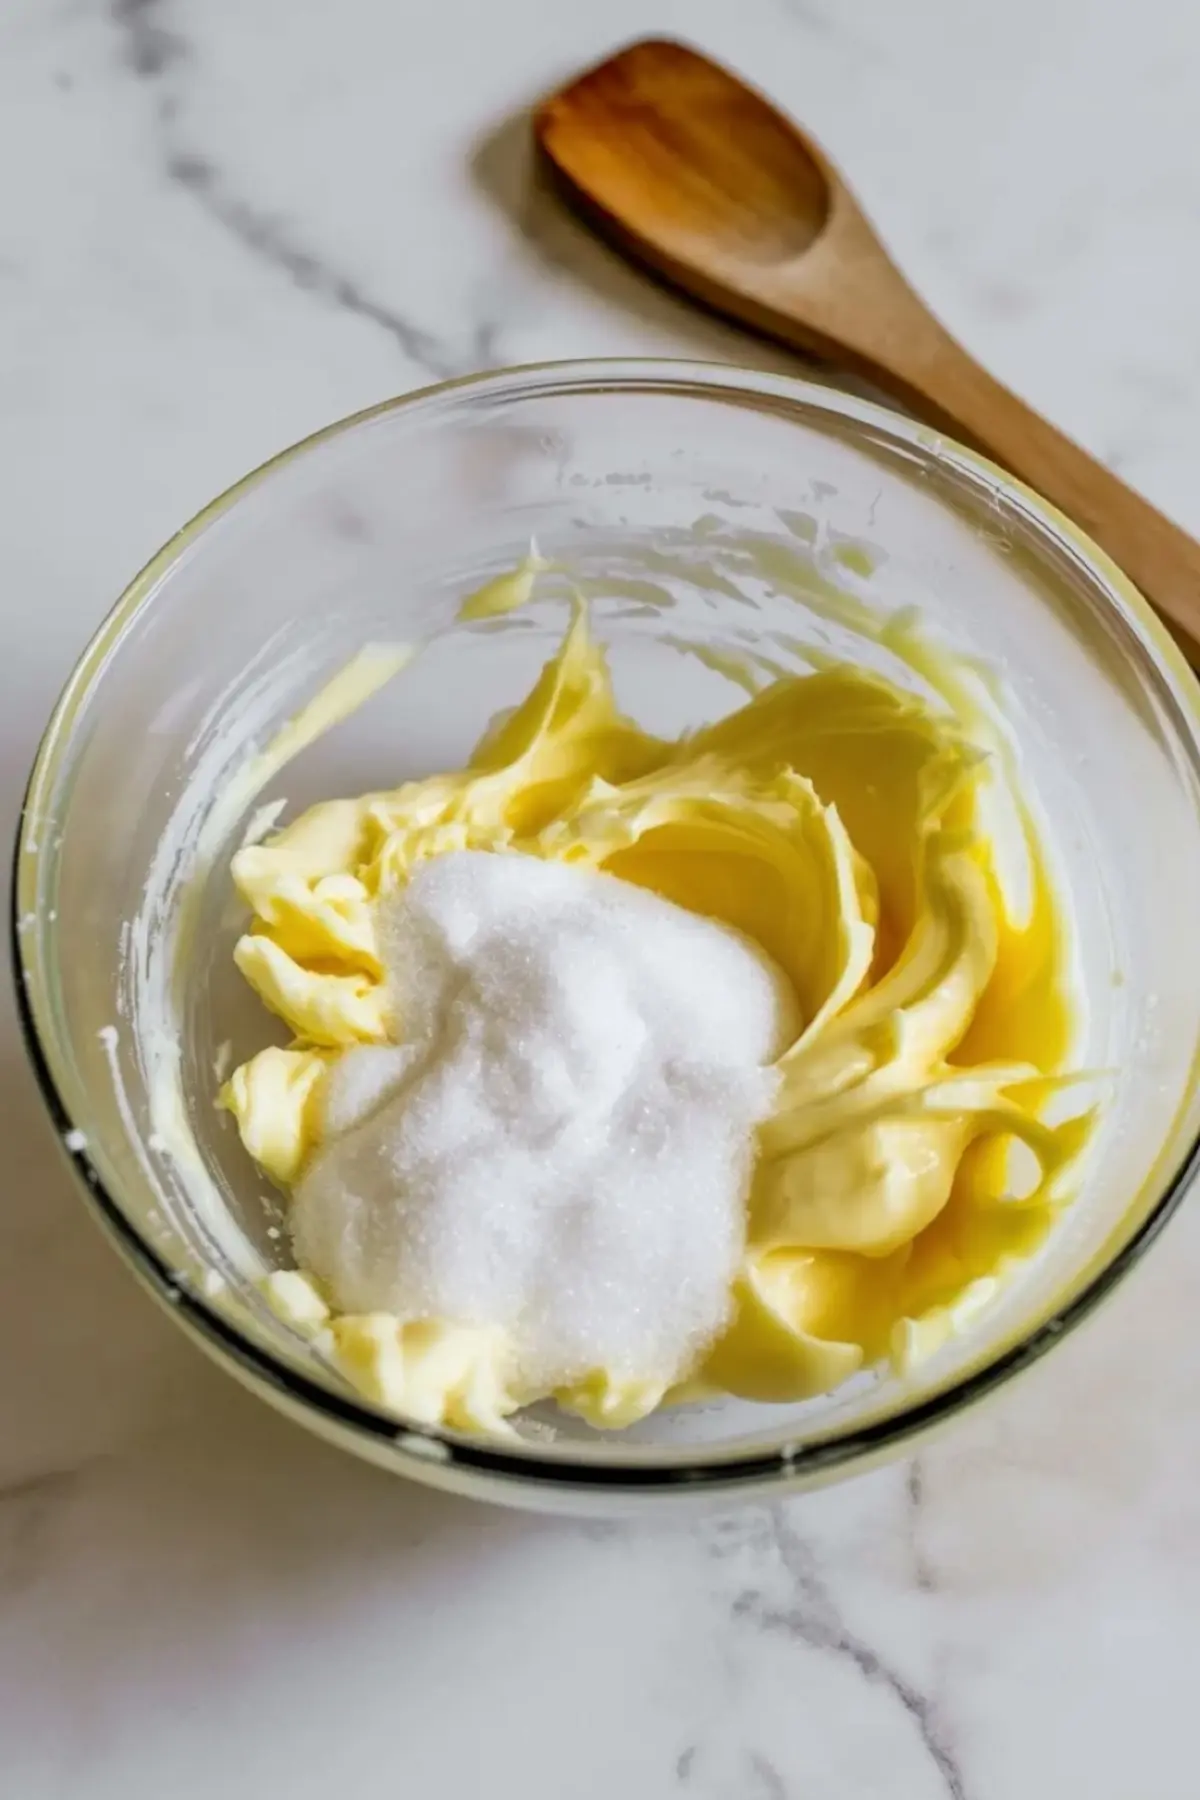
The creaming step sets the tone. I beat butter and sugar for a full two to three minutes until pale and airy. That trapped air gives lift without baking powder. I follow the same approach in my Twix Thumbprint Cookies, and the texture stays consistent every time.
What You Need and Why I Chose It
Unsalted butter gives full control over flavor. I choose real butter because it melts evenly and creates a rich base that supports sweet strawberry jam. Margarine changes the spread and dulls the taste. Softened butter should press easily under your finger yet still hold shape.
Granulated sugar keeps the cookie edges crisp and light. Brown sugar would darken the dough and shift the flavor away from clean fruit. I keep this base simple so the jam shines. If you want extra fruit focus, my Simple Frozen Strawberry Jam Recipe gives you a bright filling option.
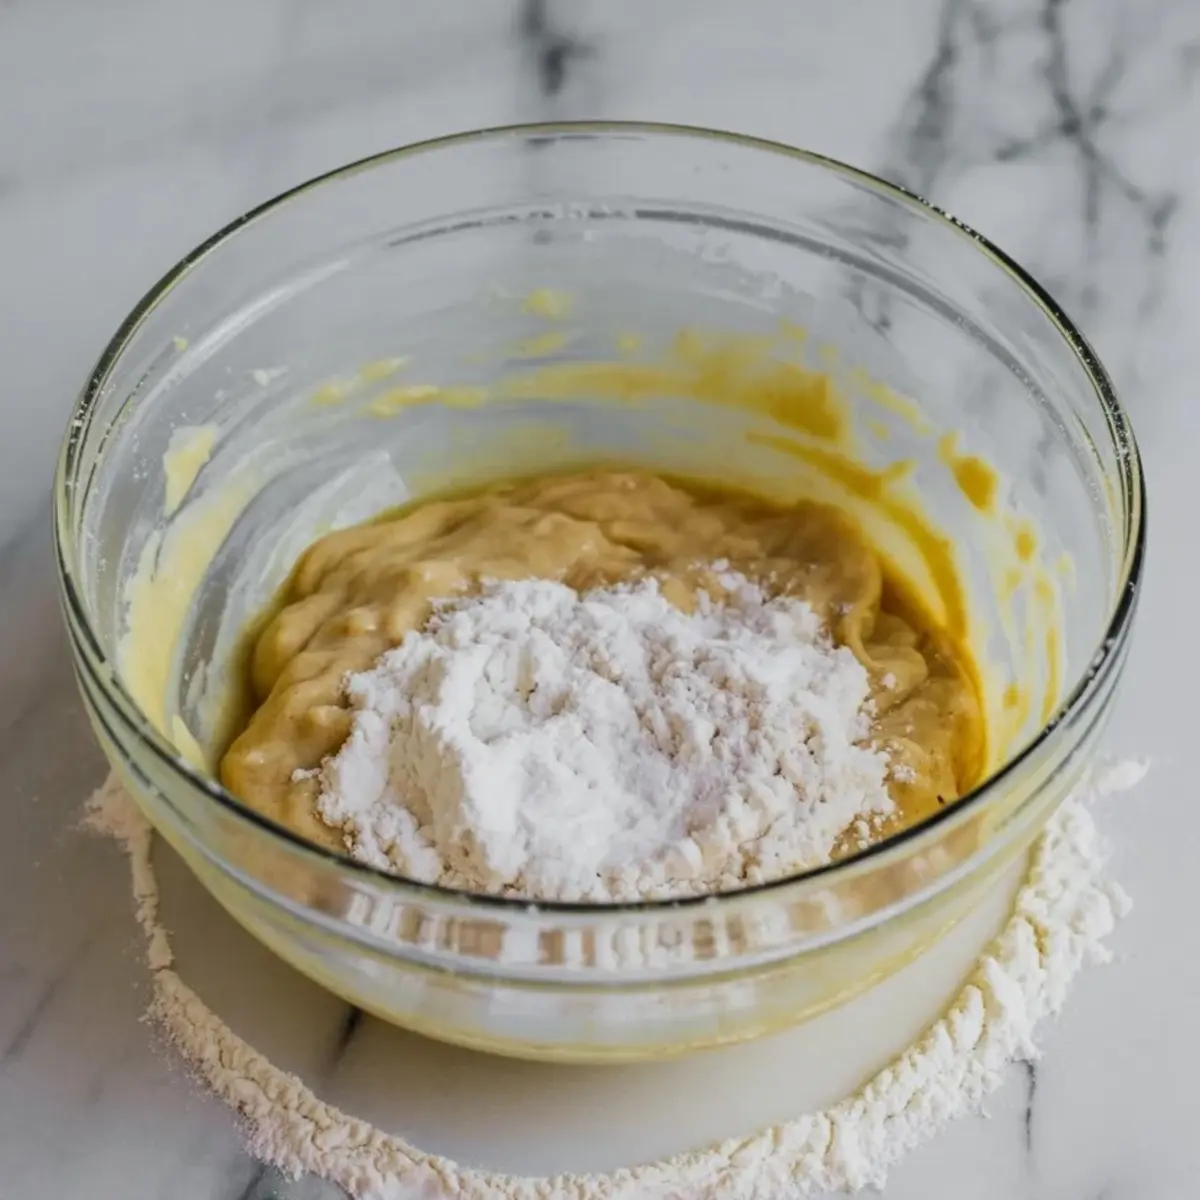
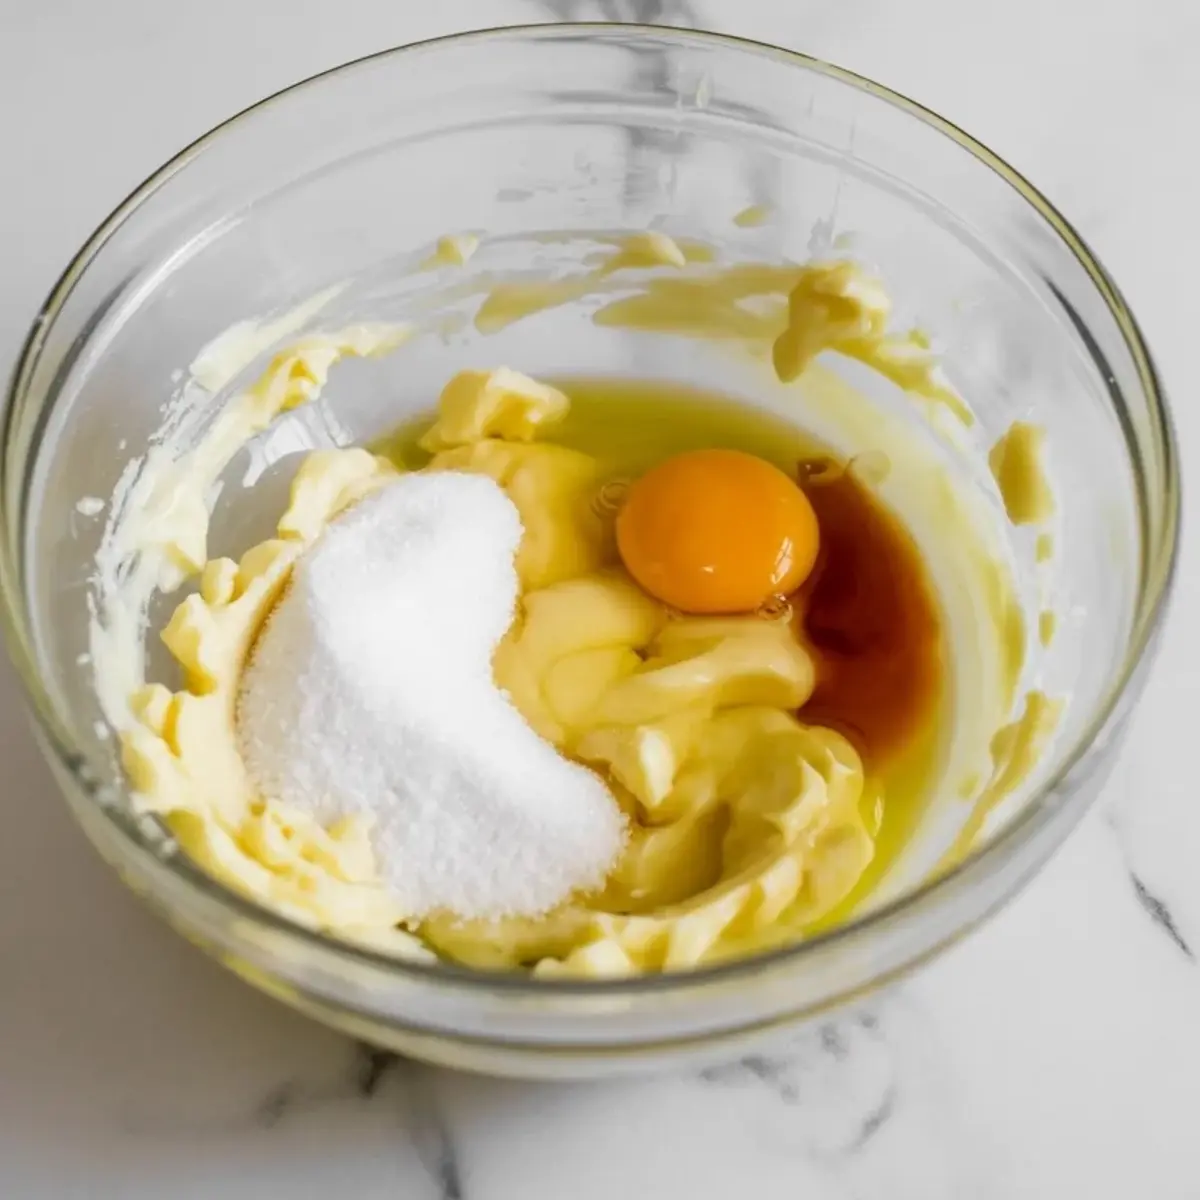
All purpose flour provides structure without heaviness. I spoon and level it to avoid dense cookies. A small amount of salt sharpens the sweetness and makes the strawberry jam taste fuller. I add vanilla for warmth. It sits quietly in the background but ties everything together.
Strawberry Jam Spotlight
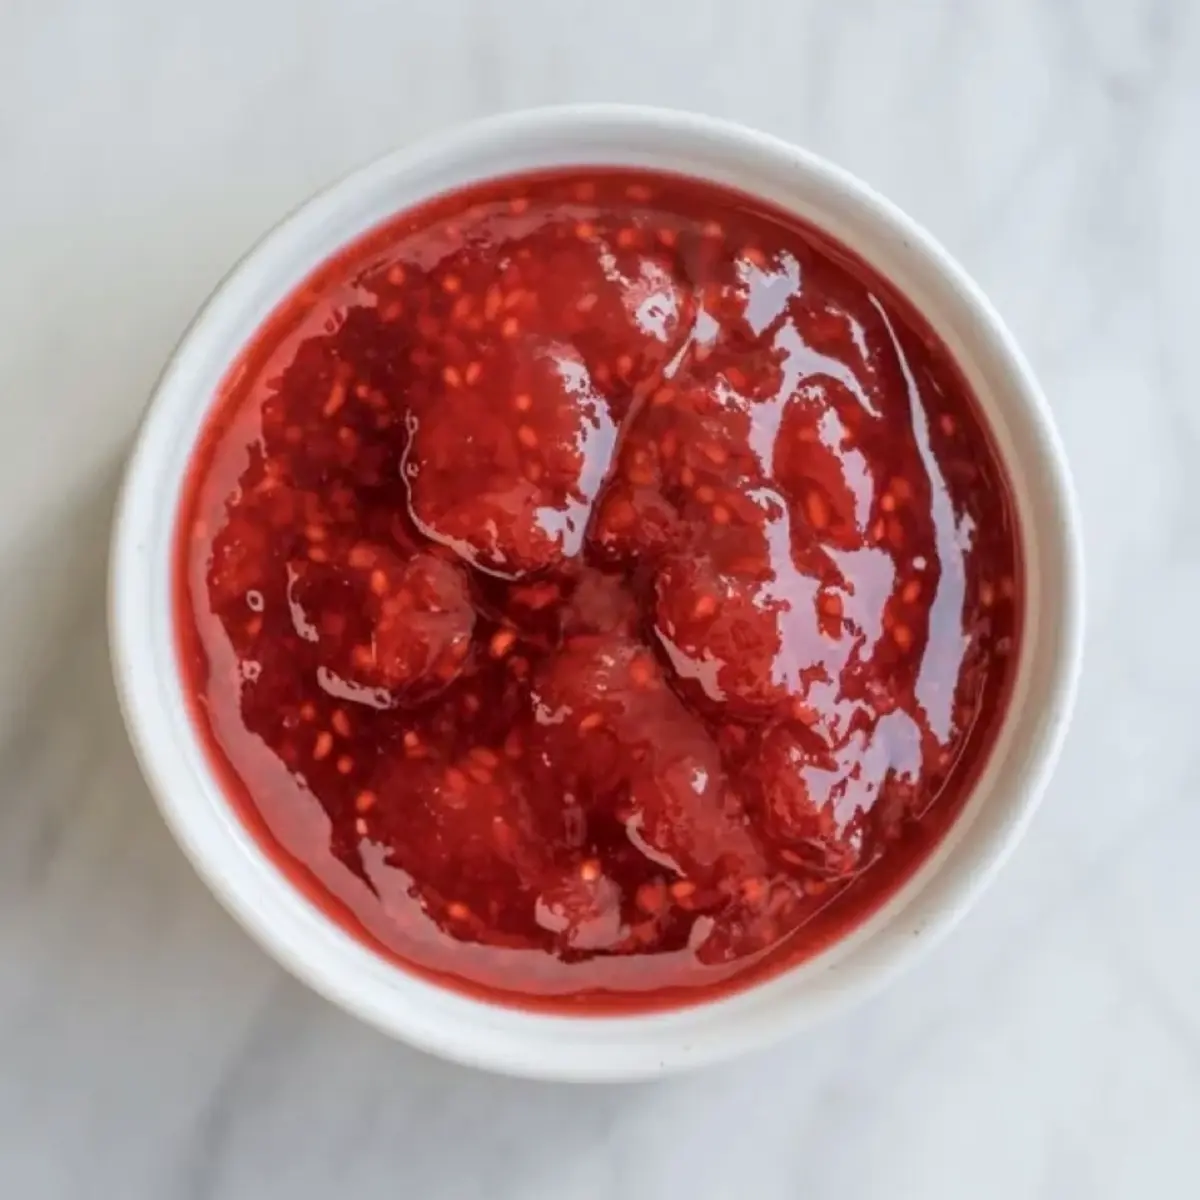
The jam defines these jam thumbprint cookies. I prefer smooth, seedless strawberry preserves because they sit neatly in the center and bake into a glossy pool. Chunky jam can bubble over. If your jam feels thick, warm and stir it until smooth.
Quality strawberry jam should smell fresh and bright. The color should look vibrant, not dull. If you need a thicker filling for layer cakes, my Easy Strawberry Cake Filling shows another way to concentrate flavor.
How to Make Them
Preheat the oven to 350°F and line baking sheets with parchment. Cream butter and sugar until light and fluffy. The mixture should look pale and soft. That visual cue tells you enough air has formed.

Add vanilla, then mix flour and salt on low speed until a soft dough forms. The dough should feel smooth and slightly tacky. Stop mixing as soon as it comes together. Overmixing tightens the crumb.
Roll tablespoon portions into smooth balls and space them two inches apart. Press a shallow well into each center using your thumb or a rounded spoon. The indentation should hold jam without reaching the base. I share deeper shaping tips inside my Thumbprint Cookie Masterclass Collection for anyone who loves this style.
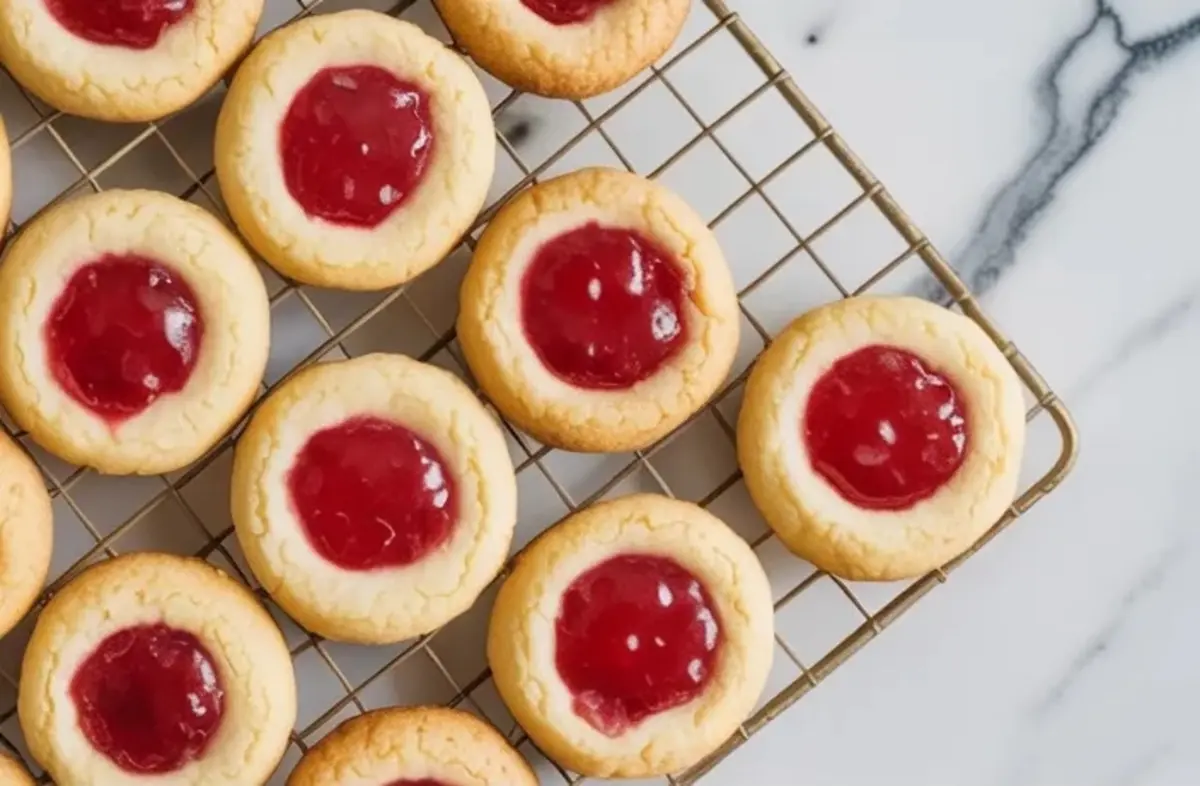
Fill each well with about half a teaspoon strawberry jam. Bake for twelve to fourteen minutes. The edges should turn lightly golden while the centers remain pale and soft.
How to Tell They Are Done
The edges provide the clearest signal. They should show light golden color and feel set when touched. The centers will look soft but should not appear wet. Trust the edges more than the clock.
Troubleshooting
If cookies spread too much, the butter likely felt too warm. Chill the shaped dough for fifteen minutes before baking. If the jam spills over, reduce the amount slightly. If the centers crack, press the indent gently again while warm.
Ways to Change It & Storage
Swap strawberry jam for raspberry or apricot for a new fruit note. Add lemon zest to the dough for brightness. Roll dough balls in fine sugar before pressing for extra sparkle. For a pie inspired version, increase jam slightly and dust with powdered sugar for strawberry pie cookies style.
Store cookies in an airtight container at room temperature for up to four days. Refrigerate for up to one week if your kitchen runs warm. Freeze baked cookies in a single layer, then transfer to a sealed bag for up to two months. Thaw at room temperature.
Practical Tips from My Kitchen
Use a small cookie scoop for even sizing. Wipe your thumb between presses to keep edges clean. Stir jam before each spoonful. Let cookies cool five minutes on the tray so the base sets properly. These small habits shape consistent results.
Arrange them on a simple white plate for afternoon coffee. Stack them in a gift box lined with parchment. Pair them with fresh berries for a summer dessert board. I often add them to my cookie recipes summer tray alongside other cookie recipes fruit options.
Save This Recipe
Save this strawberry thumbprint cookies recipe to your cookie recipes summer board so you can bake it anytime strawberry jam calls your name. Share in the comments how your thumbprint cookies strawberry version turned out or what fruit you used. I read every note and I always answer.
Strawberry Thumbprint Cookies Recipe
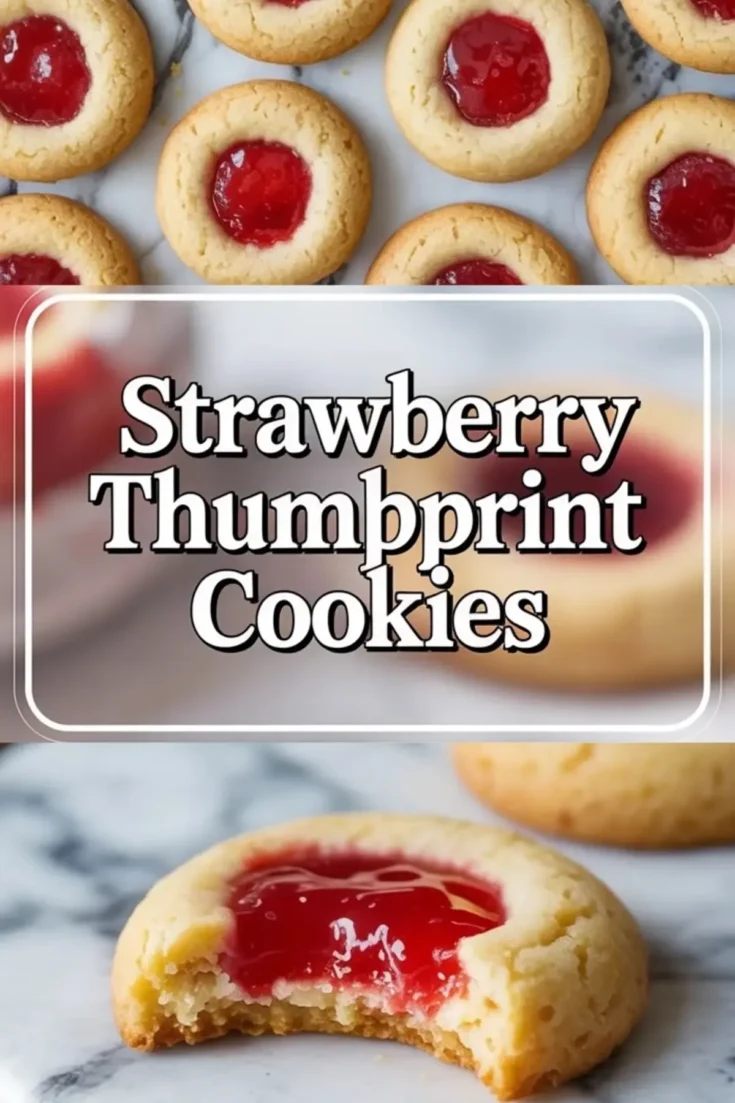
This soft and buttery Strawberry Thumbprint Cookies Recipe features tender cookies filled with sweet Strawberry Jam for a classic bakery style treat. Each bite highlights the charm of traditional Jam Thumbprint Cookies with a bright fruit center.
Use this easy Thumbprint Cookies Recipe to create beautiful Thumbprint Cookies Strawberry filled and golden at the edges. It is one of those reliable Cookie Recipes Fruit lovers enjoy during warmer months.
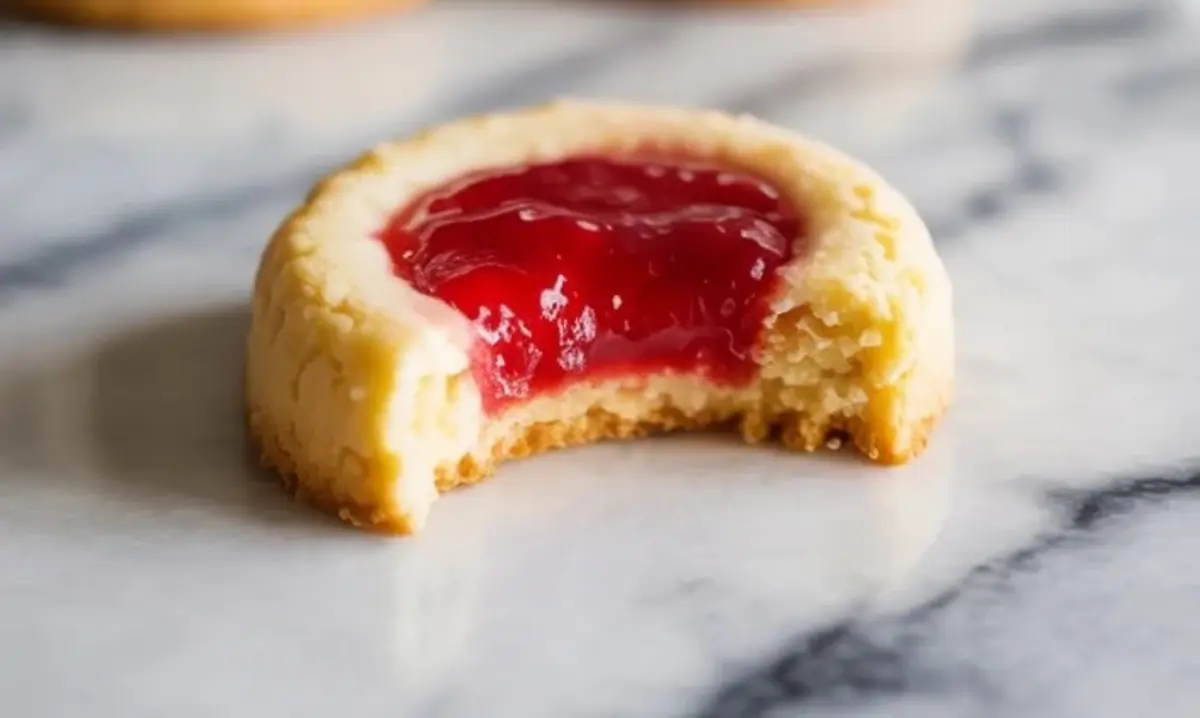
Perfect for using up extra jam or Recipes With Strawberry Preserves, these cookies also resemble mini Strawberry Pie Cookies with their glossy centers. Add them to your favorite Cookie Recipes Summer collection for a fresh and colorful dessert option.
Ingredients
- 1 cup (227g) unsalted butter, softened
- 2/3 cup (135g) granulated sugar
- 1/2 teaspoon vanilla extract
- 2 cups (240g) all-purpose flour
- 1/4 teaspoon salt
- 1/2 cup strawberry jam or preserves (smooth, seedless preferred)
- Optional: powdered sugar for dusting after baking
Instructions
- PREHEAT THE OVEN: Set your oven to 350°F (175°C) and line two baking sheets with parchment paper to prevent sticking.
- CREAM THE BUTTER AND SUGAR: In a large mixing bowl, beat the softened butter and granulated sugar together until light and fluffy, about 2 to 3 minutes. Use either a hand mixer or a stand mixer with the paddle attachment.
- ADD VANILLA: Mix in the vanilla extract until it is fully combined with the creamed mixture.
- MIX IN THE DRY INGREDIENTS: Add the all-purpose flour and salt to the bowl. Mix on low speed just until a soft dough forms. Avoid overmixing to keep the cookies tender.
- SHAPE THE COOKIES: Scoop tablespoon-sized portions of dough and roll them into smooth balls. Place them 2 inches apart on the prepared baking sheets to allow for slight spreading.
- CREATE THE THUMBPRINT: Use your thumb or the back of a rounded teaspoon to press a shallow well into the center of each dough ball. The indent should be deep enough to hold the jam, but not go through the bottom.
- ADD THE JAM: Fill each indentation with about 1/2 teaspoon of strawberry jam. Be careful not to overfill, as excess jam may bubble over while baking.
- BAKE: Bake the cookies for 12 to 14 minutes, or until the edges are lightly golden. The centers should remain pale and soft.
- COOL: Let the cookies cool on the baking sheet for 5 minutes, then transfer them to a wire rack to cool completely. This helps them set without becoming too firm.
- OPTIONAL FINISH: Once the cookies are fully cooled, lightly dust them with powdered sugar for a classic finishing touch.
Notes
If your jam is thick or chunky, warm it slightly and stir before using to make it easier to spoon into the cookies. These cookies store well in an airtight container at room temperature for up to 4 days.
Nutrition Information
Yield
24Serving Size
1Amount Per Serving Calories 194Total Fat 9gSaturated Fat 5gUnsaturated Fat 3gCholesterol 22mgSodium 26mgCarbohydrates 27gFiber 1gSugar 10gProtein 2g