These kawaii cupcakes are soft vanilla mini cakes topped with pastel frosting swirls, fondant hearts, and sweet little faces. The base is moist but sturdy enough to hold the detail-heavy frosting. This recipe suits Hello Kitty birthday party ideas, pretty dessert tables, and anyone who loves cute food or themed kawaii desserts. It’s an easy way to make a cake mini that feels both playful and clean. The result is a pretty dessert that tastes as good as it looks.
Following a special diet?
Every recipe on this site can be converted to gluten-free, vegan, dairy-free, keto, nut-free or egg-free with adjusted ratios so nothing falls flat.
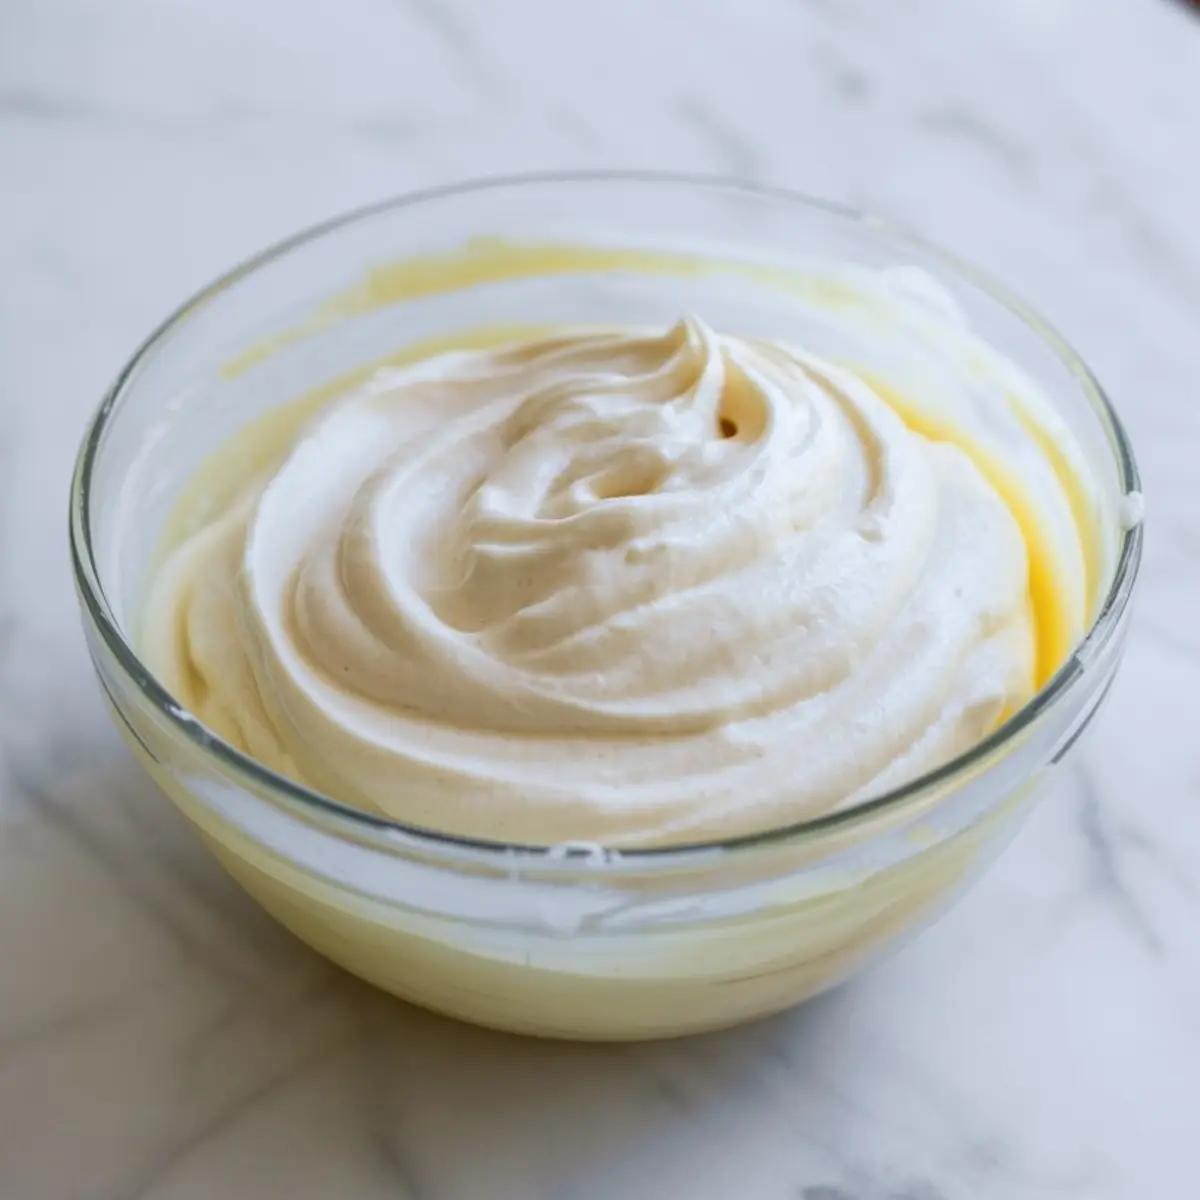
Try the Recipe Converter →The ratio of sour cream to milk in the vanilla batter creates moisture without making the crumb too loose. That’s what helps these cupcakes hold their shape while staying light. I’ve tested full milk and full sour cream batters before. Neither balanced quite right. Half-and-half keeps the structure intact while giving the texture that soft, bakery feel.
This is important when you’re piping frosting into a tall swirl. The cake needs to support the weight without collapsing or sinking in the center. That’s why these cupcakes cool level and remain soft, even under generous frosting.
What You Need and Why It Matters
All-purpose flour gives the right density without tightening the crumb. I don’t use cake flour here. It’s too delicate for this kind of presentation. Granulated sugar sweetens cleanly, letting the vanilla shine.
Sour cream adds tenderness and helps control browning. I prefer full-fat. If you swap for yogurt, use Greek style, and don’t skip the milk. The butter and eggs bind everything together. Room temperature helps them blend smoothly, so the batter doesn’t split.
Vanilla extract deepens the sweetness and makes the flavor feel finished. Go with pure extract. I avoid artificial vanilla here. For the frosting, the butter must be soft but not melty. Powdered sugar smooths the texture, and the cream helps it whip to volume.
One of my favorite parts is coloring the frosting. Gel food coloring gives the most vibrant pastels without thinning the texture. I used pink, blue, and a bit of white. You could also try purple or mint. I used these for the frosting in my Strawberry Matcha Cupcakes Recipe, and they looked lovely.
Frosting Texture and Piping Swirl Tips
The swirl defines the personality here. It’s what makes them read as Hello Kitty cupcakes instead of plain vanilla cupcakes with eyes. Your frosting should be fluffy but not loose. If it’s sliding, add a little more sugar. If it’s stiff, a touch more cream helps.
Swirl from the center upward, keeping the motion tight and clean. I use a large round tip like Wilton 1A. You could also use it in Gold Star Cupcakes for a sleek finish.
Getting the swirl height right makes room for the face. If the swirl is too short, the eyes sit awkwardly. If it’s too tall, the topper tips off. Practice one or two cupcakes before committing to the whole batch. Sometimes I pipe a test swirl on a plate just to check the flow.
Cupcake Assembly Walkthrough
Start with fully cooled cupcakes. The frosting won’t hold on warm cake. Tint each batch of frosting in a small bowl, stir until smooth, and load up separate piping bags. I like to fill the bags no more than two-thirds so I can keep control.
Pipe the swirl straight up. Use a steady hand and don’t rush. These aren’t meant to look wild or messy. They should be neat and soft, like a cartoon cloud.
Add the edible eyes next. I prefer premade, but you can pipe dots of black icing instead. For the cheeks, I use a dry brush and pink luster dust, but food coloring works too.
Then the fondant hearts go on top. You can make your own with a small cutter, or buy them. Let them dry a bit before adding, so they stand upright. I’ve also used them on Minecraft Birthday Cupcakes for a softer look.
Common Mistakes and Quick Fixes
If the frosting looks greasy or separates, the butter was too warm. Start again with cooler butter next time. If the cupcakes are flat or dense, the batter was likely overmixed. Mix just until combined.
For faces that slide off or melt, check the frosting texture. It needs to be cool and firm, not soft from warm hands or environment. And if the cheeks bleed color, use less moisture. Powder gives more control than gel for blush.
Cute Variations You Can Try
Add a drop of almond extract in the batter for a nutty undertone. Switch the pastel colors to match a different character theme. Lavender and mint work nicely for spring. You could also fill the cupcakes with jam before frosting.
Mini sprinkles around the base of the swirl give a birthday confetti effect. Or swap the heart topper for a small bow shape, if you’re leaning into Hello Kitty cupcakes ideas more literally. The piping style fits a lot of cute food designs.
Storage and Freshness Tips
Store cupcakes in a covered container at room temperature for 1 day. Beyond that, move them to the fridge. They’ll hold well for 3 to 4 days chilled. Let them come to room temperature before serving to soften the frosting.
You can freeze the unfrosted cupcakes for up to 2 months. Wrap tightly and thaw overnight. I don’t recommend freezing fully decorated ones. The color and texture don’t hold.
Test Notes and Time Savers
Let the cupcakes cool completely before frosting or the buttercream will slide. Use a cookie scoop for even batter portions.
Always sift powdered sugar. Unsifted sugar gives a gritty texture and clogs the piping tip. I keep my gel colors organized by shade to speed things up when tinting.
If the swirl seems uneven, try a turntable or rotate the cupcake slightly while piping. That helped me get more consistent height in the batch I made last week.
Serving Ideas for Kawaii Cupcakes
Serve on a tiered pastel stand for birthdays. Add mini name flags for a kids’ party. Arrange them around a main Hello Kitty cake centerpiece.
Wrap each in a clear bag for party favors. Line them up in rainbow rows for a dessert table. Or just eat one quietly with tea and enjoy the moment. That’s what I do.
Save This Recipe and Share Your Thoughts
Pin these kawaii cupcakes to your board so you can find them when it’s birthday planning time.
And if you try them, I’d love to hear how they turned out or how you personalized the decorations. Drop your comments below!
Kawaii Cupcakes Recipe
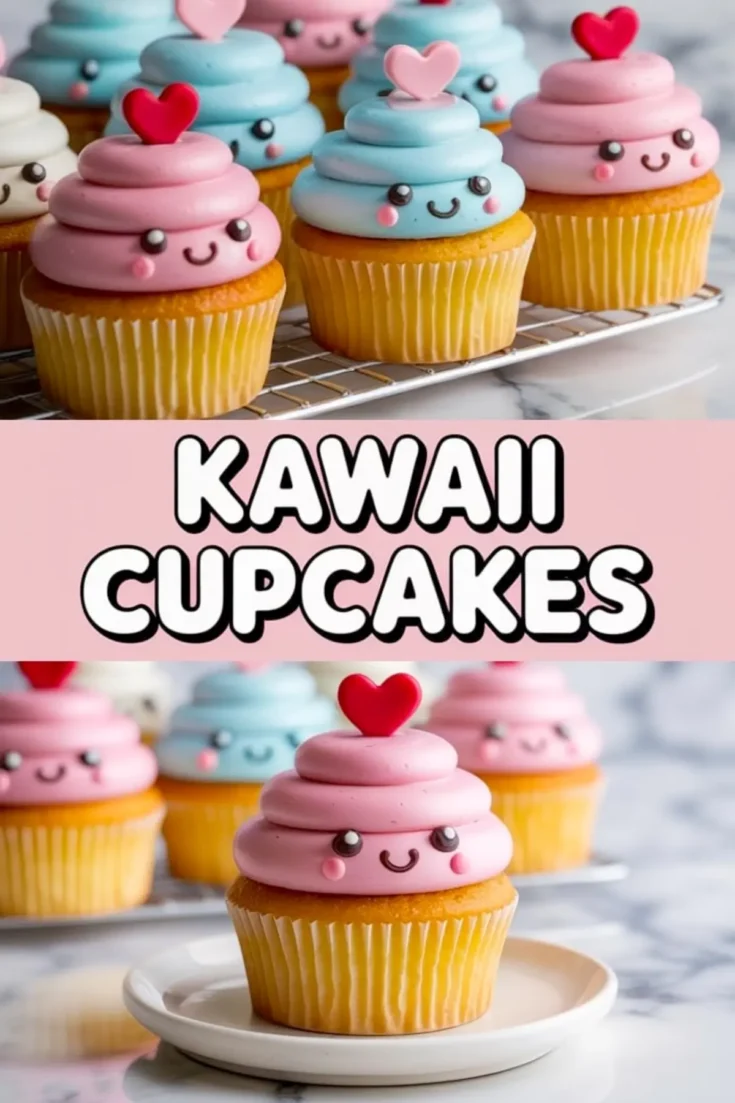
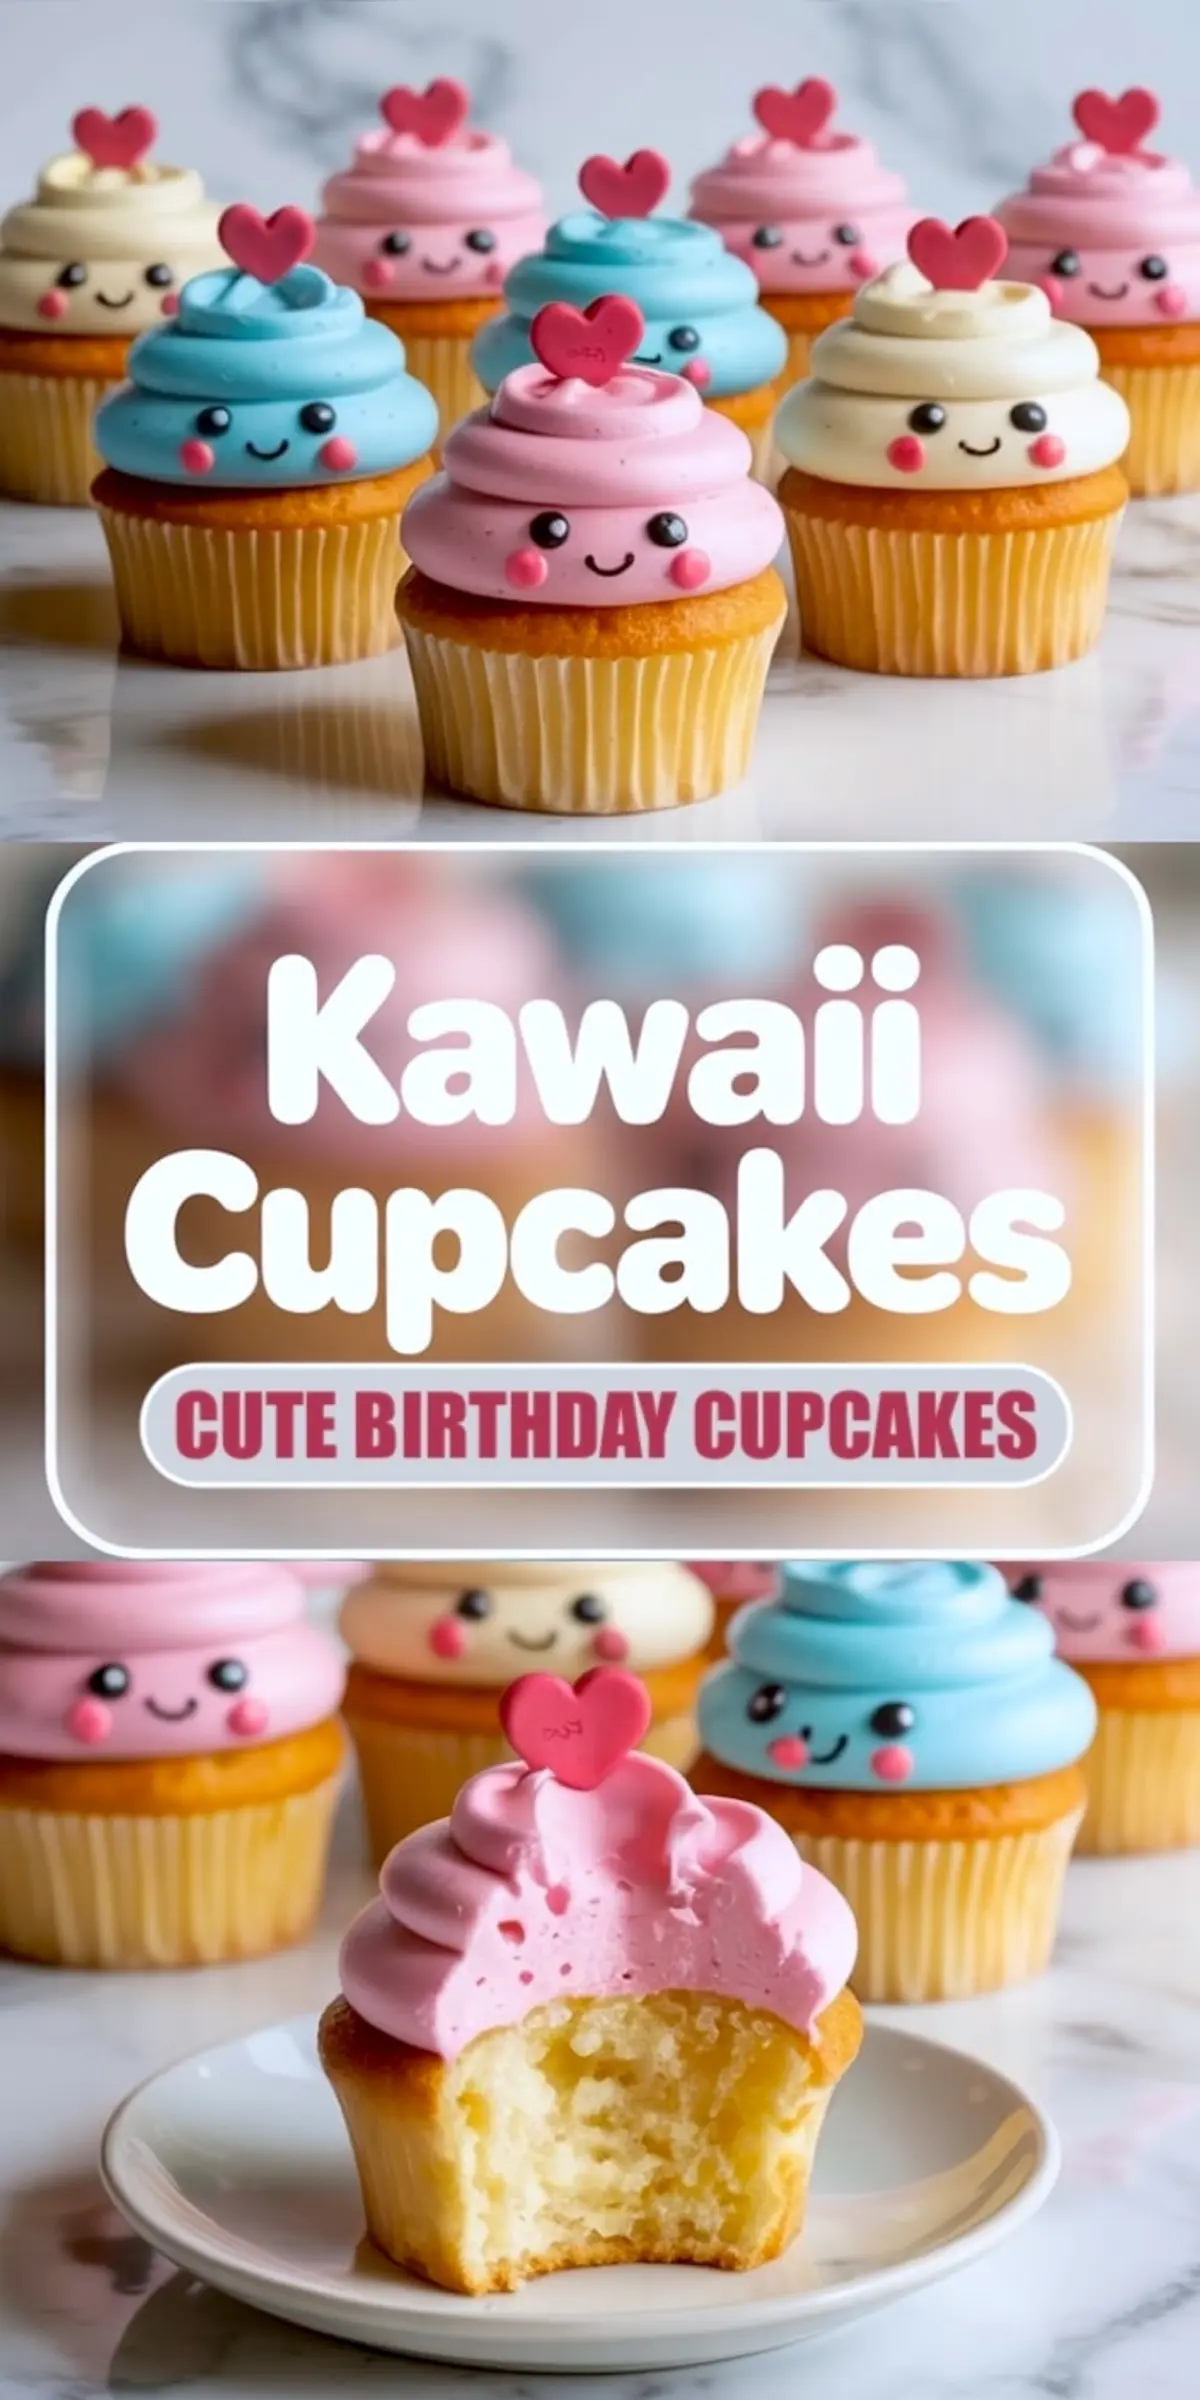
These Hello Kitty cupcakes are the ultimate kawaii dessert for a themed birthday celebration. Perfectly sweet and irresistibly cute, each mini cake is decorated with pastel colors and charming details. Whether you’re planning a full Hello Kitty birthday party or just need adorable Hello Kitty cake ideas, these treats are a fun addition. Ideal for fans of cute food, kawaii food, and pretty desserts, they bring playful personality to any table.
Ingredients
- FOR THE CUPCAKES (VANILLA BASE):
- 1 ½ cups (190g) all-purpose flour
- 1 ½ tsp baking powder
- ¼ tsp salt
- ½ cup (115g) unsalted butter, softened
- 1 cup (200g) granulated sugar
- 2 large eggs
- 2 tsp vanilla extract
- ½ cup (120ml) whole milk
- ¼ cup (60ml) sour cream
- FOR THE FROSTING:
- 1 cup (230g) unsalted butter, room temperature
- 3 ½ cups (440g) powdered sugar, sifted
- 2 tbsp heavy cream
- 1 tsp vanilla extract
- Gel food coloring in pastel shades (pink, blue, white)
- Black edible marker or royal icing for eyes
- Pink luster dust or pink food coloring for cheeks
- FOR DECORATION:
- Heart-shaped fondant toppers (store-bought or homemade)
- Edible eyes (pre-made or piped)
- Piping bags with large round tips (e.g., Wilton 1A)
- Small food-safe paintbrush
Instructions
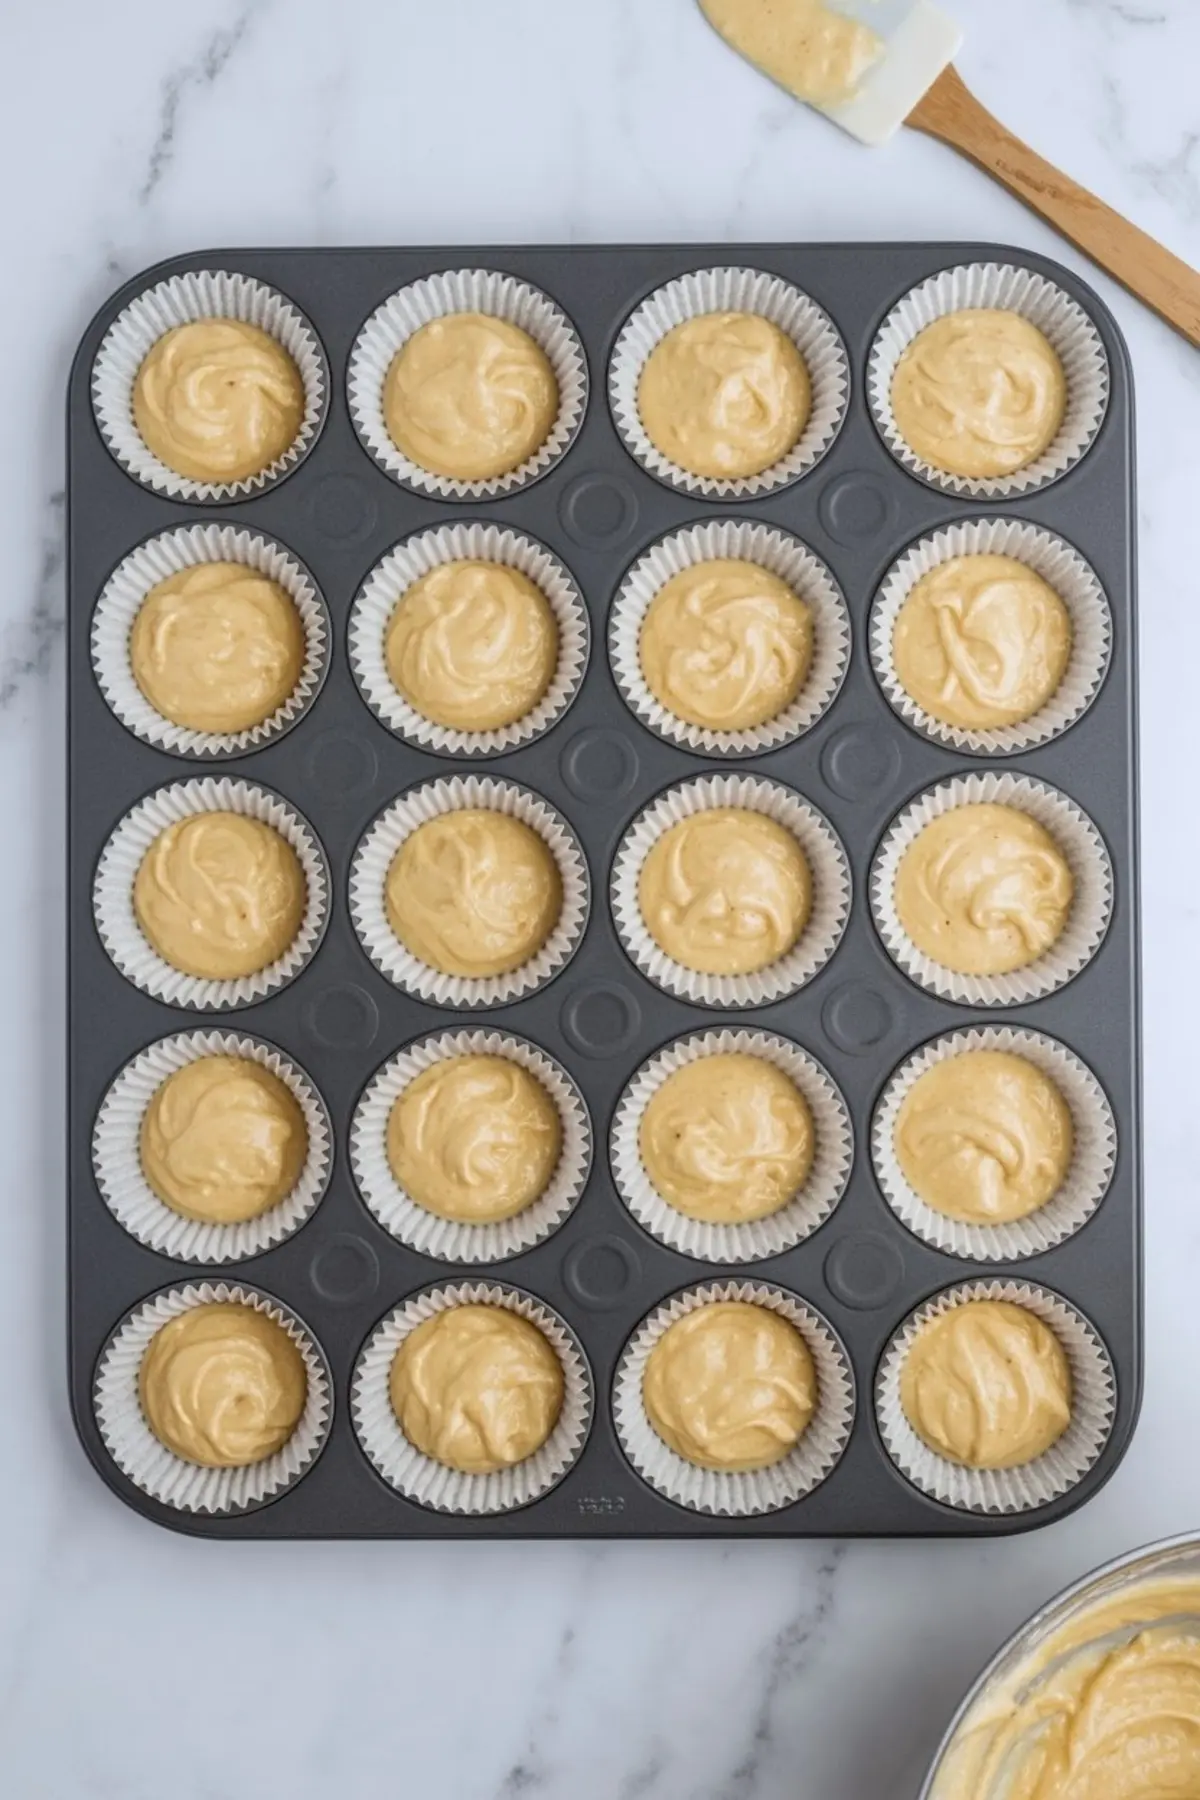
- PREHEAT AND PREPARE: Preheat the oven to 350°F (175°C) and line a standard 12-cup muffin tray with cupcake liners.
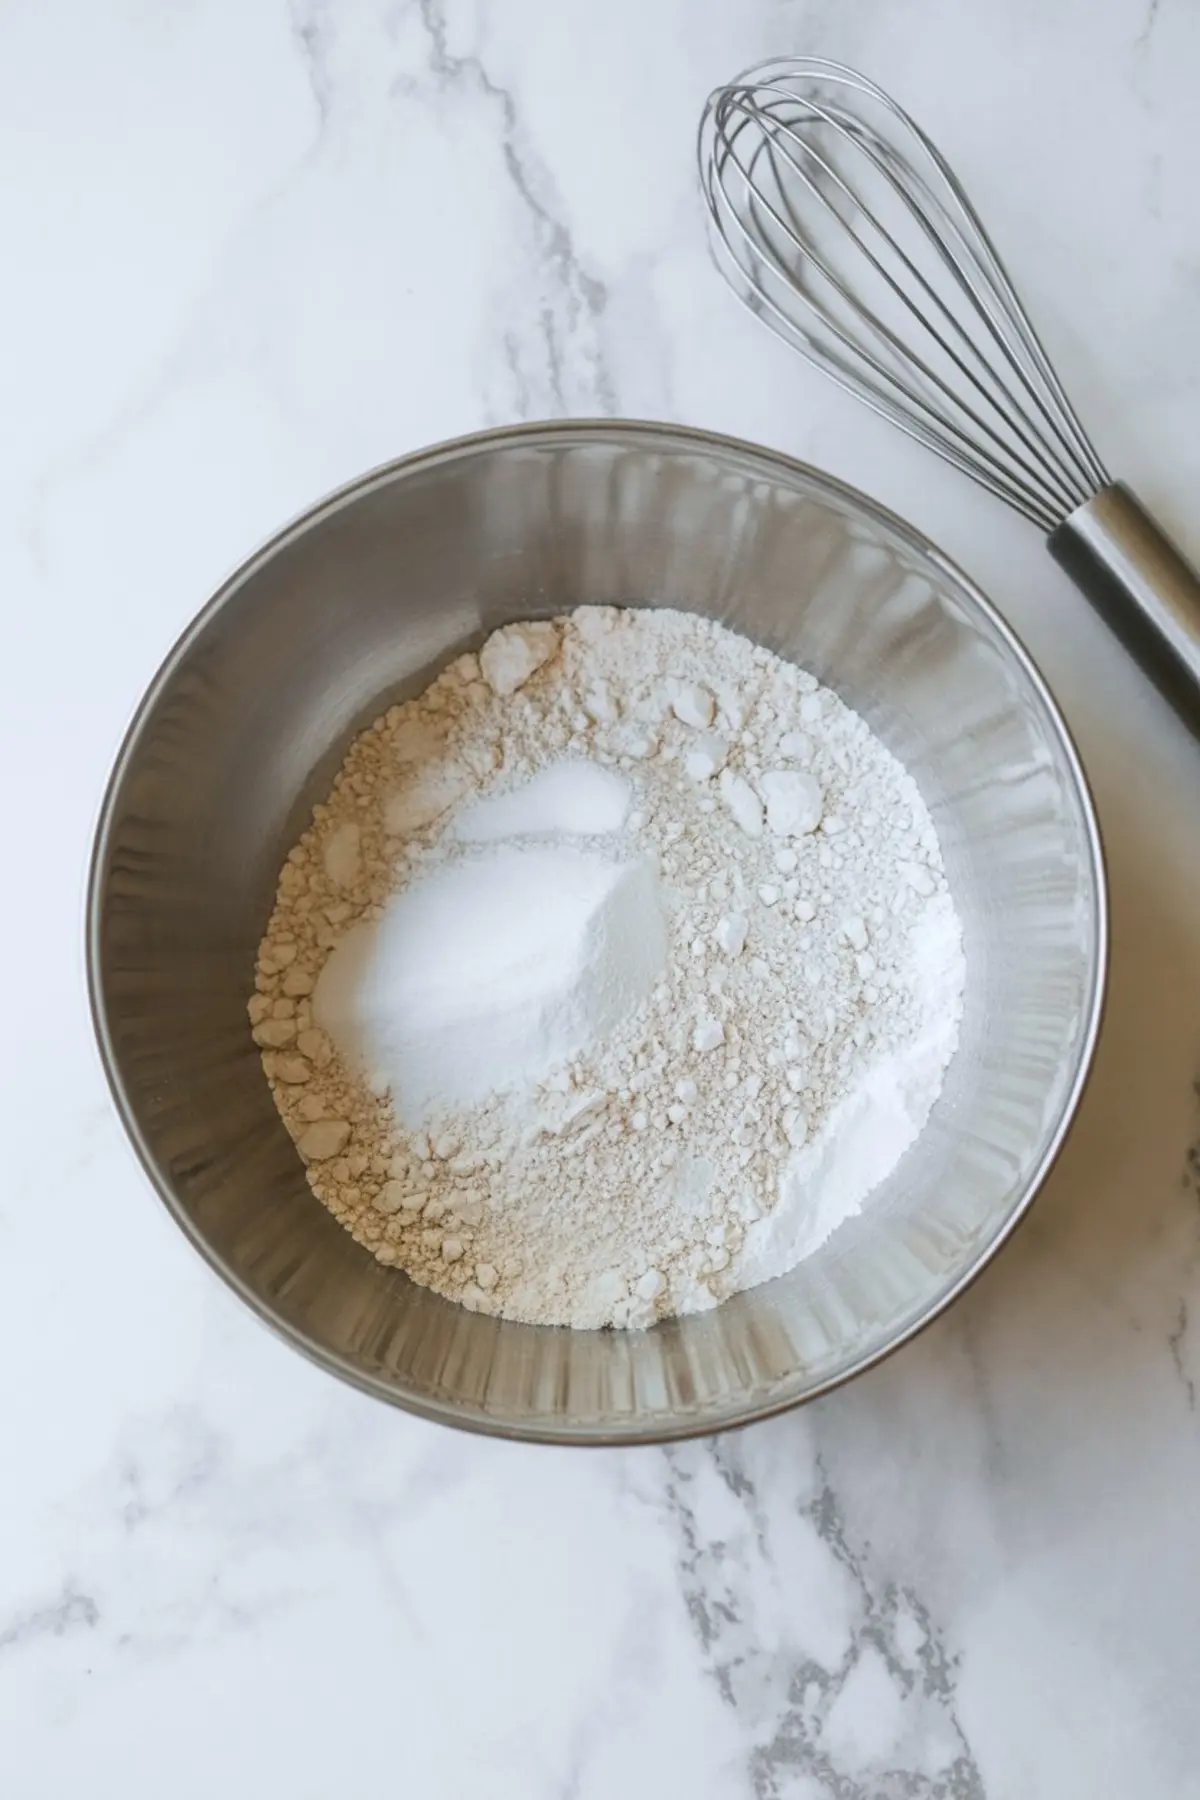
- MIX DRY INGREDIENTS: In a medium bowl, whisk together the flour, baking powder, and salt. Set aside.
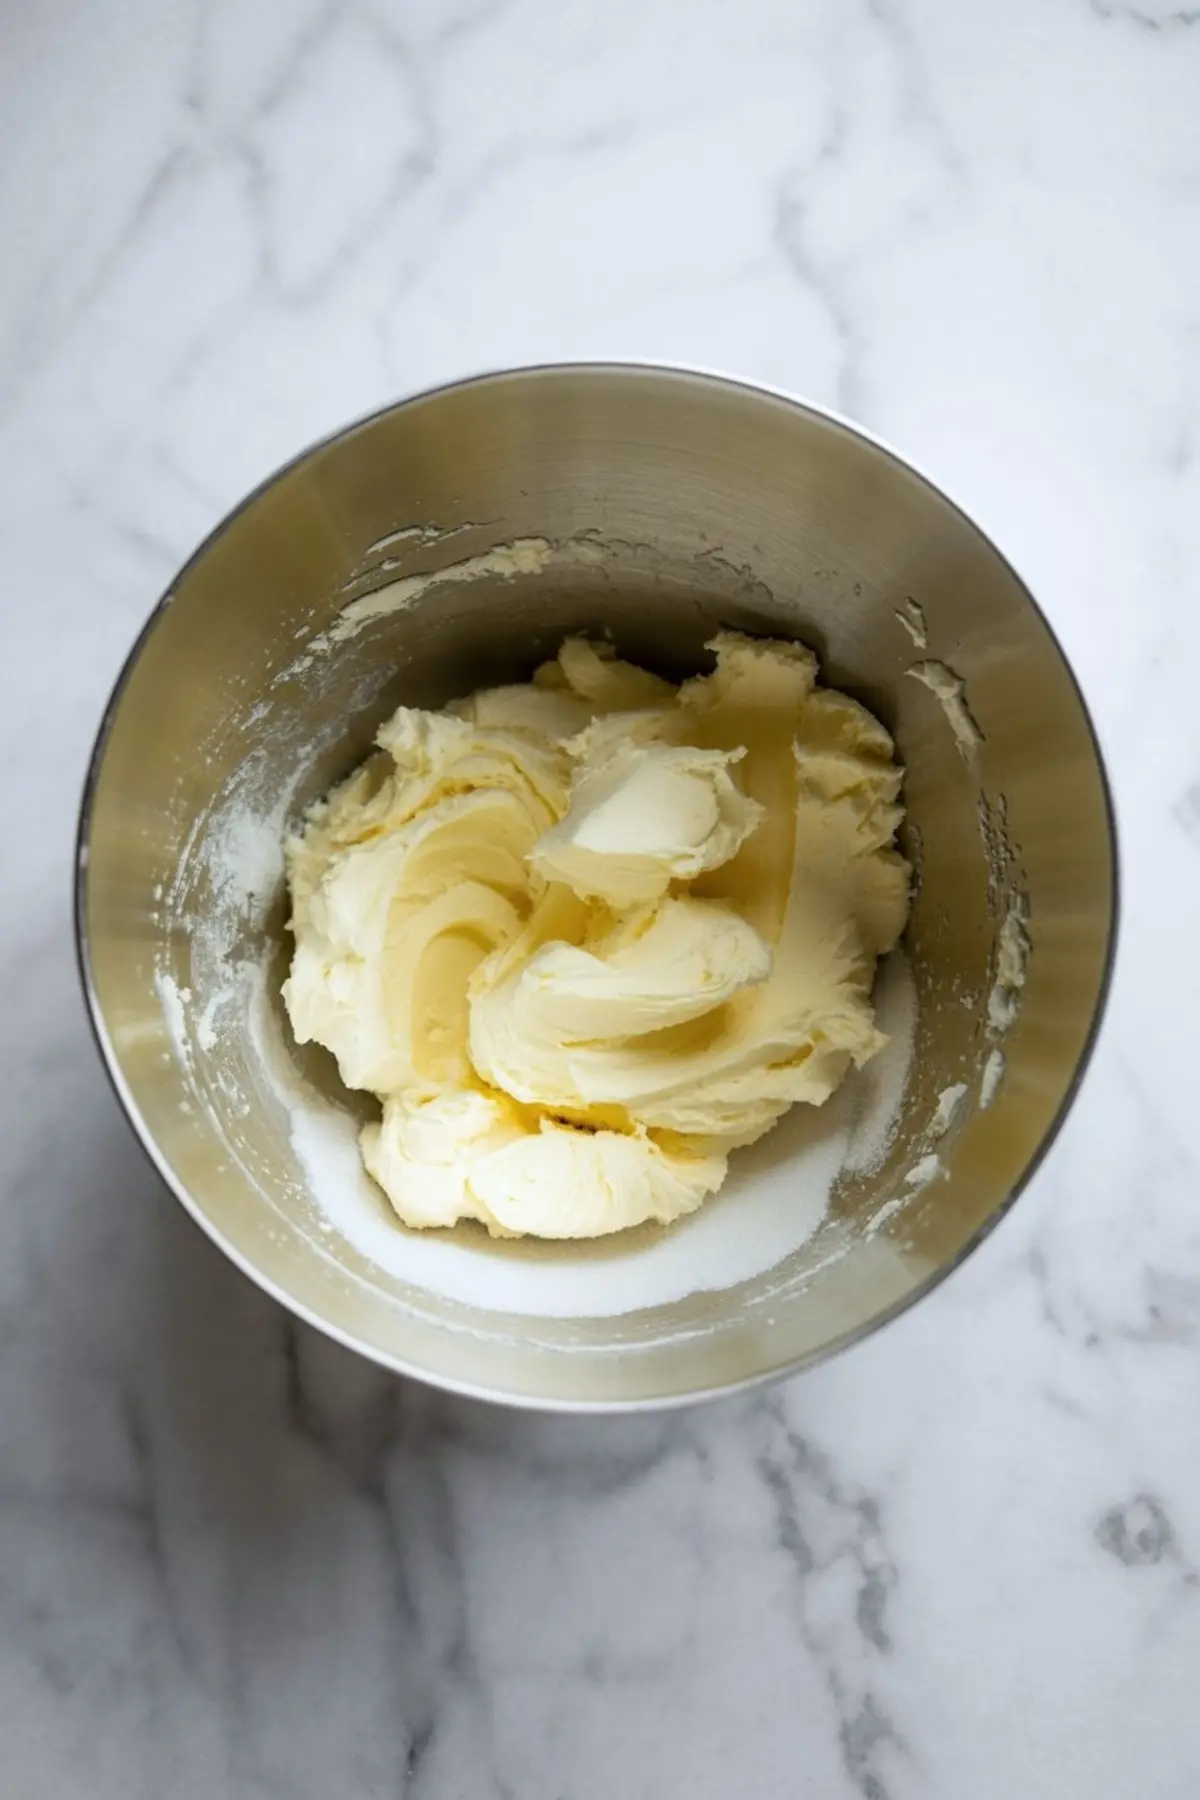
- CREAM BUTTER AND SUGAR: In a large mixing bowl, beat the softened butter and granulated sugar together until light and fluffy, about 2 to 3 minutes using a hand or stand mixer.
- ADD EGGS AND VANILLA: Beat in the eggs one at a time, mixing well after each addition, then add the vanilla extract.
- COMBINE WET AND DRY: Add half of the dry ingredients to the batter and mix on low speed. Then add the milk and sour cream, mix briefly, and finish with the remaining dry ingredients. Mix until just combined; do not overmix.
- BAKE CUPCAKES: Divide the batter evenly among the 12 cupcake liners, filling each about two-thirds full. Bake for 18 to 20 minutes or until a toothpick inserted into the center comes out clean. Let cupcakes cool completely on a wire rack before decorating.
- MAKE THE FROSTING: In a large bowl, beat the butter on medium speed until creamy and pale. Gradually add sifted powdered sugar while mixing on low speed to prevent a sugar cloud.
- FINISH THE FROSTING: Add the vanilla extract and heavy cream. Increase the mixer speed to medium-high and beat for 3 to 5 minutes until the frosting is smooth, fluffy, and light in texture.
- TINT FROSTING: Divide the frosting evenly into separate bowls and tint each one with a small amount of pastel gel food coloring. Stir well to distribute the color evenly.
- FILL PIPING BAGS: Transfer each colored frosting into a separate piping bag fitted with a large round tip (such as Wilton 1A) and set aside.
- PIPE THE SWIRL: Hold the piping bag vertically above the center of a cooled cupcake. Apply even pressure to pipe a swirl starting in the center and moving upward in three tight circular layers to resemble a soft-serve swirl.
- SMOOTH AND SHAPE: Use a steady hand and even motion to keep the swirl neat and defined. Repeat with each cupcake and desired frosting color.
- ADD THE EYES: Place edible eyes gently on the front of the frosting swirl. If piping your own eyes, use black royal icing or a black edible marker to dot two small circles.
- DRAW SMILES: Use a fine food-safe brush or toothpick dipped in black icing or edible marker to draw a small curved smile just below the eyes.
- BLUSH THE CHEEKS: Using a dry food-safe brush, lightly apply pink luster dust on either side of the face. Alternatively, dot tiny circles of pink gel food coloring to create blush.
- ADD THE HEART TOPPER: Gently press a fondant heart or sugar topper into the top of the swirl. You can use store-bought hearts or make your own by cutting out fondant with a mini heart cutter and letting them dry for 1 to 2 hours before using.
Notes
You can prepare the fondant toppers a day in advance to ensure they dry properly. If making edible eyes or smiles by hand, allow piped royal icing to set before applying. For a multi-color swirl, add spoonfuls of different tinted frostings into one piping bag side-by-side for a marbled effect.
Nutrition Information
Yield
12Serving Size
1Amount Per Serving Calories 505Total Fat 28gSaturated Fat 17gUnsaturated Fat 11gCholesterol 105mgSodium 109mgCarbohydrates 59gFiber 0gSugar 51gProtein 3g