
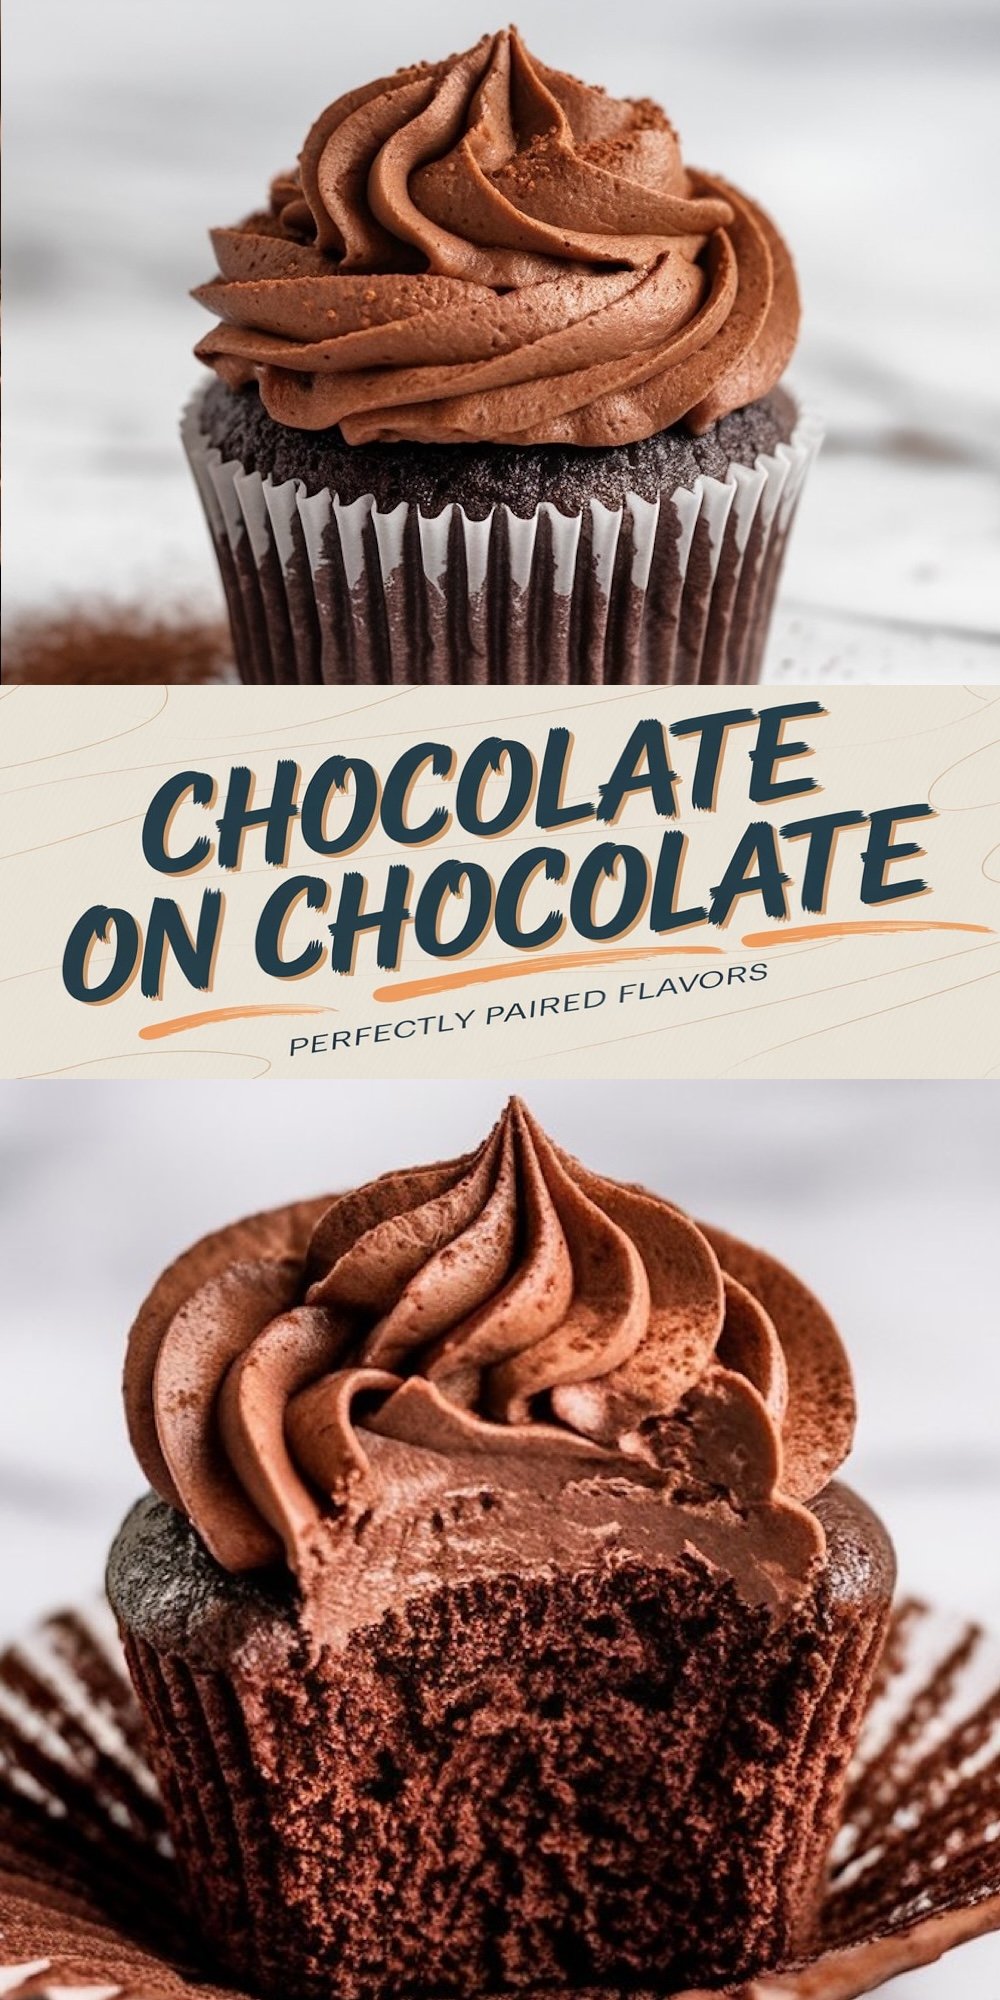
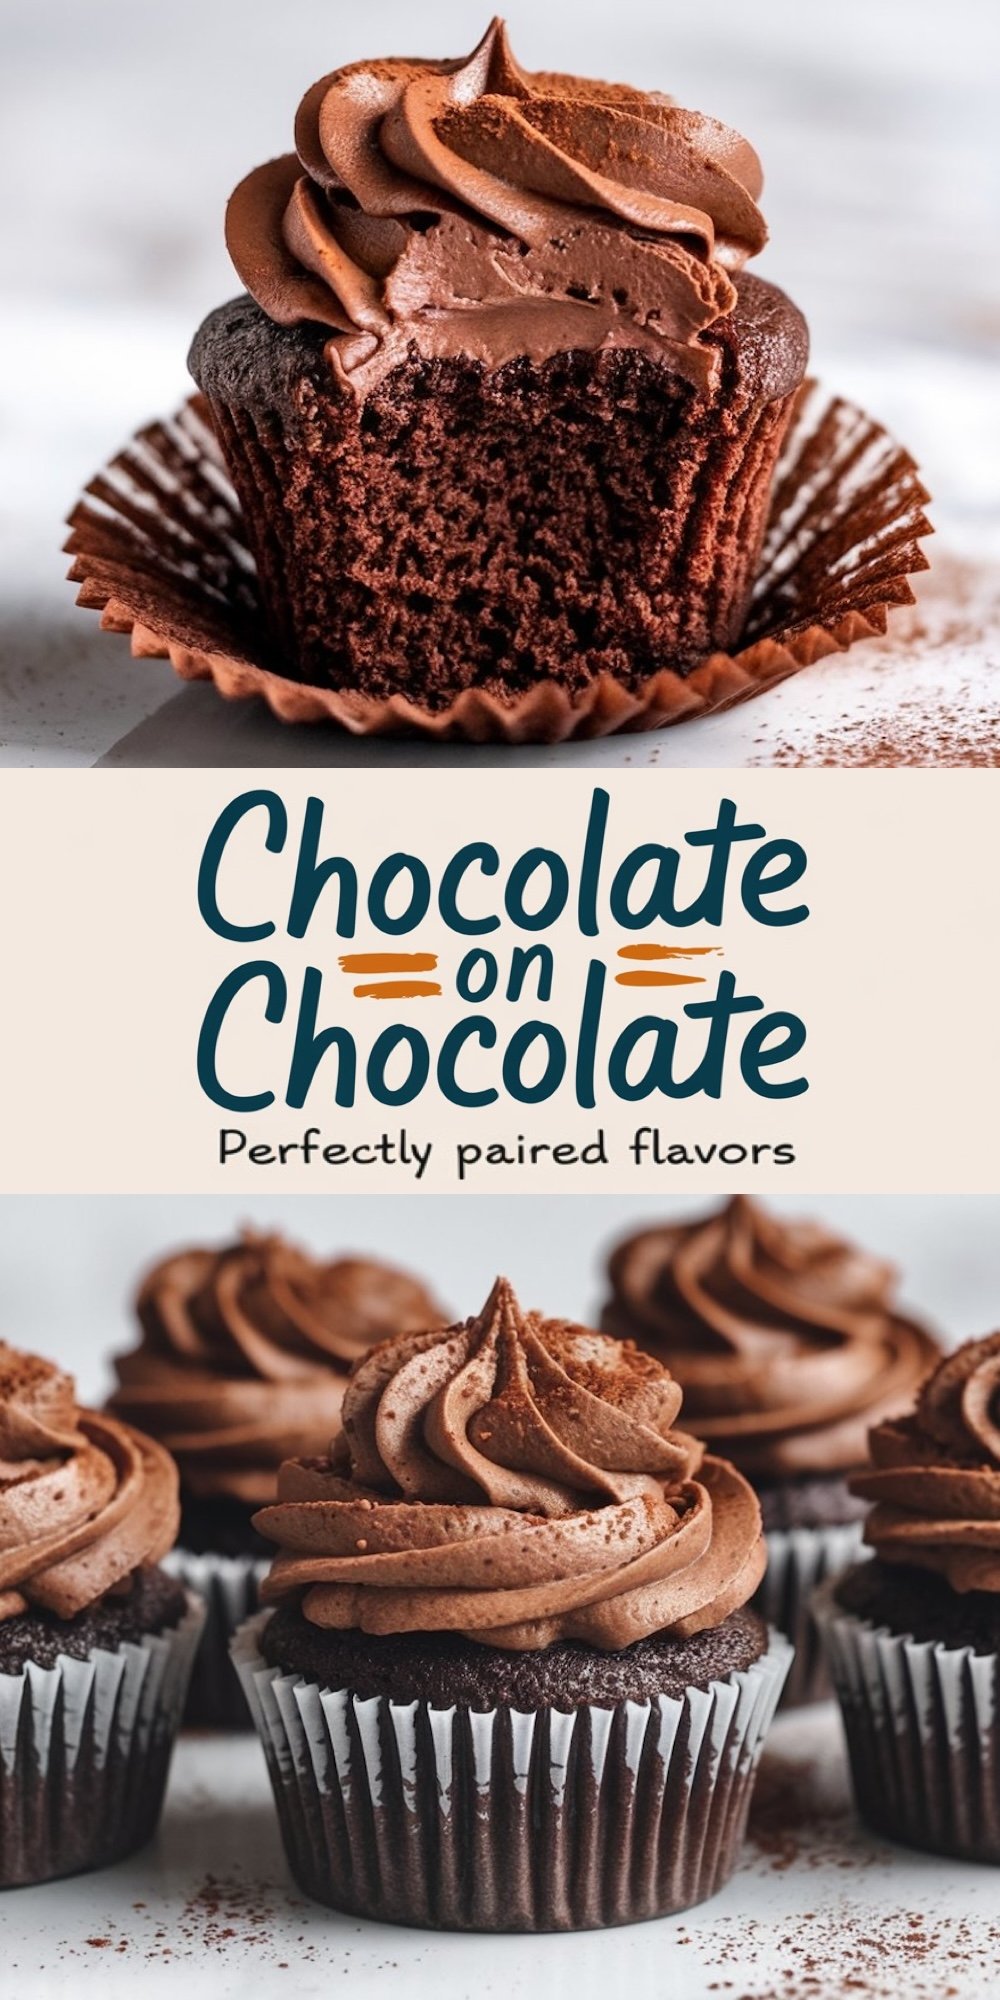
I feel a rush of warmth whenever I prepare a batch of chocolate cupcakes in my kitchen. Chocolate has always called me by name, ever since I took my first bite of a cocoa-laden treat as a child. This recipe promises a moist crumb, a strong cocoa taste, and a frosting so creamy that you may find yourself swiping a spoon across the mixing bowl. These cupcakes have become a highlight in my home, and I hope you will enjoy them just as much.
Following a special diet?
Every recipe on this site can be converted to gluten-free, vegan, dairy-free, keto, nut-free or egg-free with adjusted ratios so nothing falls flat.
Try the Recipe Converter →Word spreads fast among chocolate lovers, and many folks search for the simplest path to a luscious batch of cupcakes. My aim is to offer an easy guide with a personal twist, ensuring confidence at every stage of this baking process. Keywords like “homemade chocolate cupcakes,” “chocolate buttercream frosting,” “moist cupcakes,” and “best chocolate cupcake recipe” can help others find this guidance quickly online.
1. Essential Ingredients for Homemade Chocolate Cupcakes
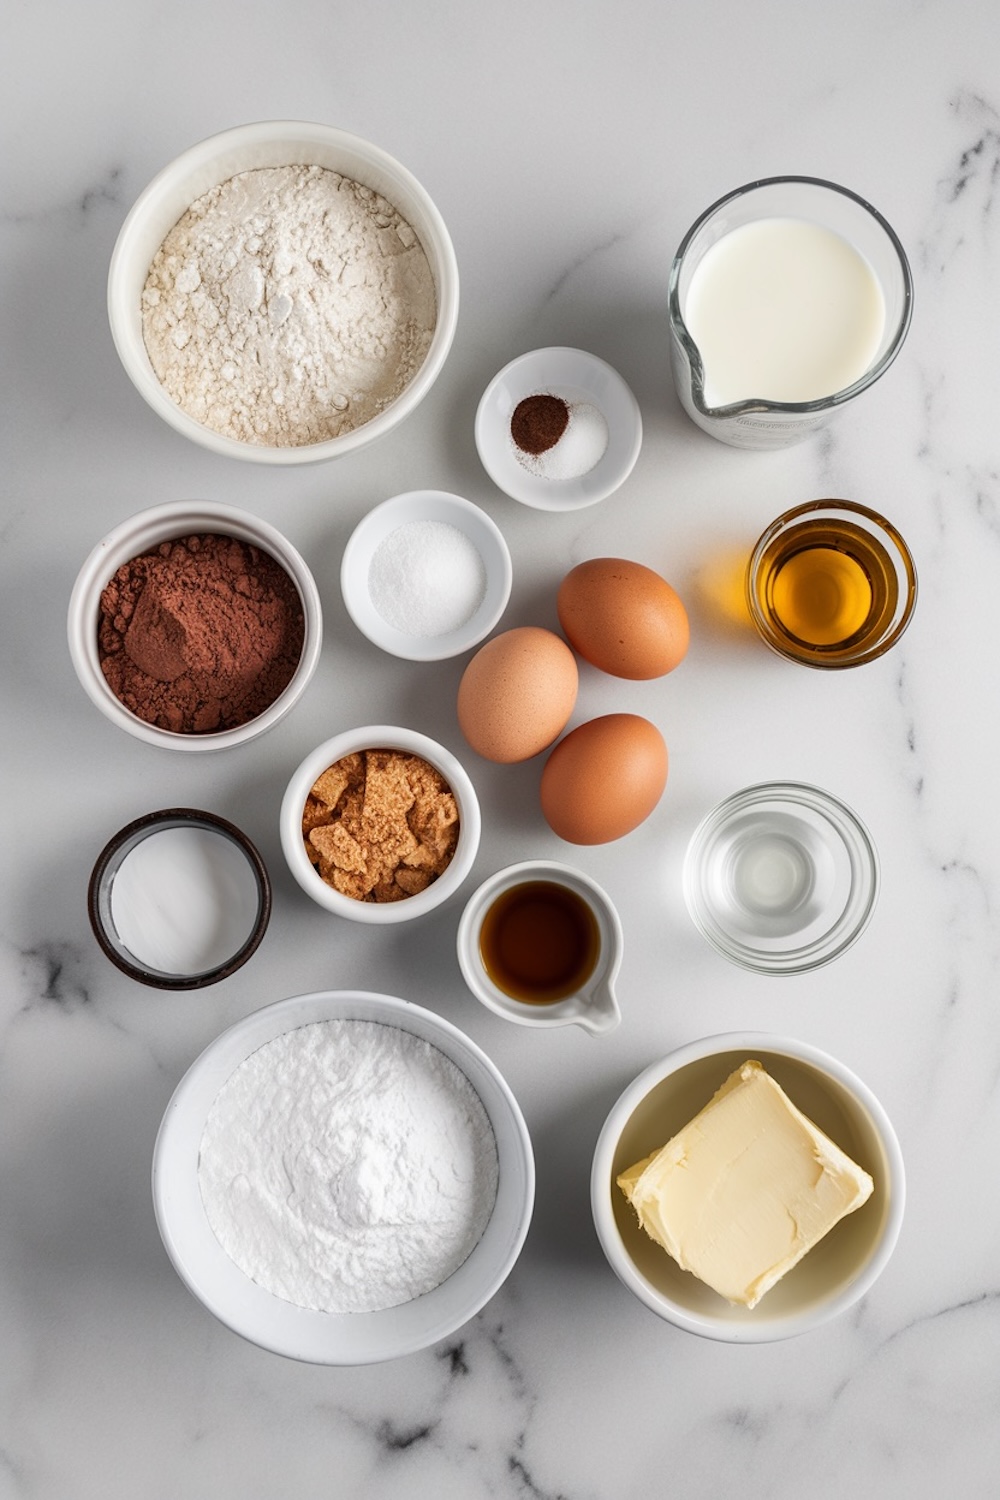
I lean toward straightforward, tried-and-true items when I bake. All-purpose flour, unsweetened cocoa powder, sugar, baking soda, baking powder, salt, eggs, vegetable oil, and buttermilk form the basis of this recipe. Hot water or freshly brewed coffee gives the chocolate an extra boost, but I assure you that your cupcakes won’t taste like a mug of java. Coffee highlights chocolate flavors without overpowering them.
Brown sugar provides moisture and a pleasant hint of molasses, while granulated sugar adds clear sweetness. Oil acts as the lifeblood of these cupcakes, delivering softness that often stays intact for days. Buttermilk keeps the crumb tender by offering slight acidity. These ingredients work together to produce cupcakes that vanish from dessert tables in record time.
I remember the first time I tried buttermilk in cake batter. My curiosity led me to some interesting kitchen experiments, and I discovered that a bit of acidity can go a long way in intensifying chocolate’s flavor. I’ve never looked back since.
2. Preparing the Cupcake Batter with Ease
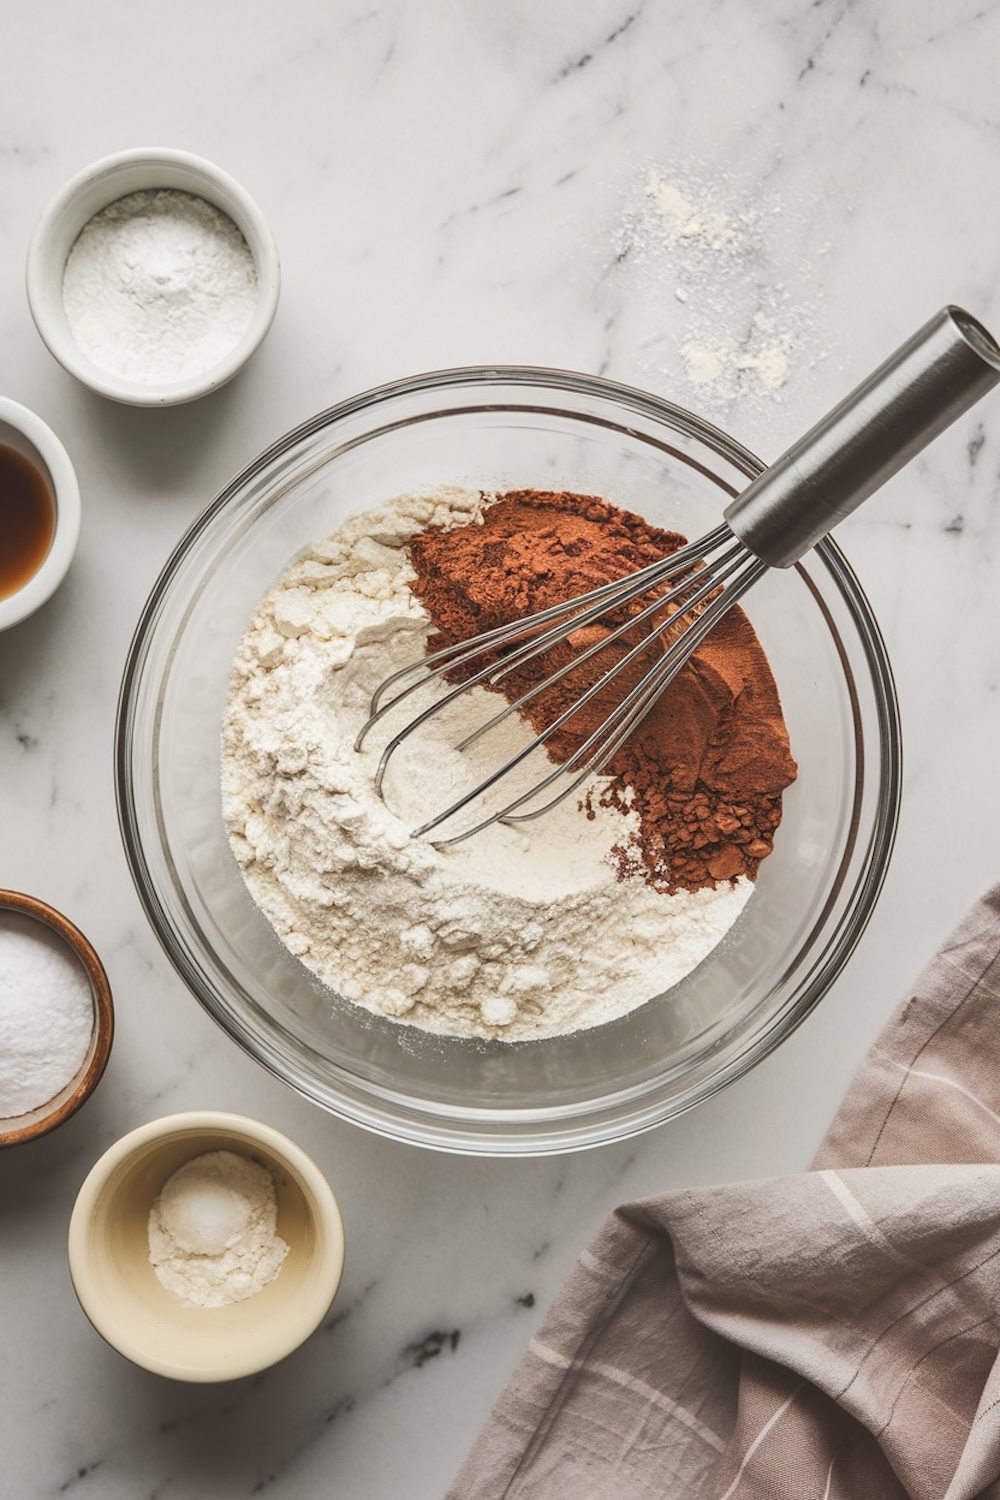
I often start by gathering two bowls: one for dry ingredients and one for wet. In the dry bowl, I combine flour, cocoa powder, baking soda, baking powder, and salt. A whisk helps break up any clumps and aerates the mix. In the wet bowl, I whisk together eggs, granulated sugar, brown sugar, vegetable oil, and vanilla extract. Buttermilk joins that party, followed by a steady pour of hot water or coffee.
Mixing these groups of ingredients together is the moment that defines the texture. I learned that overmixing can lead to a dense crumb, so I stir only until all the flour streaks disappear. My heart has leapt more than once when I found lumps in the batter, but a few lumps will usually bake out just fine.
That final splash of hot water or coffee tends to create a thinner consistency than you might expect. I once worried the batter was too runny, but I discovered it gives cupcakes a tender bite that nearly melts on the tongue.
3. Baking Your Cupcakes: Time and Temperature Tips
I preheat my oven to 350°F (175°C). While the heat builds, I line my muffin tin with paper liners. Filling each cup to about two-thirds capacity leaves enough space for a gentle rise. An overfilled cup can lead to a muffin-like dome or overflow, so keeping a bit of wiggle room proves helpful.
Eighteen to twenty minutes in the oven is my usual range. A toothpick test (inserted in the center of a cupcake) reveals whether they’re ready. A clean toothpick or one with slightly moist crumbs signals success. Giving them a quick rest in the pan lets them set, and then I move them to a wire rack to cool fully. I’ve rushed this step in the past, only to watch my frosting slip straight off warm cupcakes.
4. Mixing a Creamy Chocolate Buttercream Frosting
Softened butter stands at the heart of a velvety frosting. I place it in a large mixing bowl and whip it until it’s smooth. My kitchen once became a cloud of powdered sugar because I switched the mixer speed to high too soon. Easing the sugar in at a lower speed helps avoid that sweet dust storm.
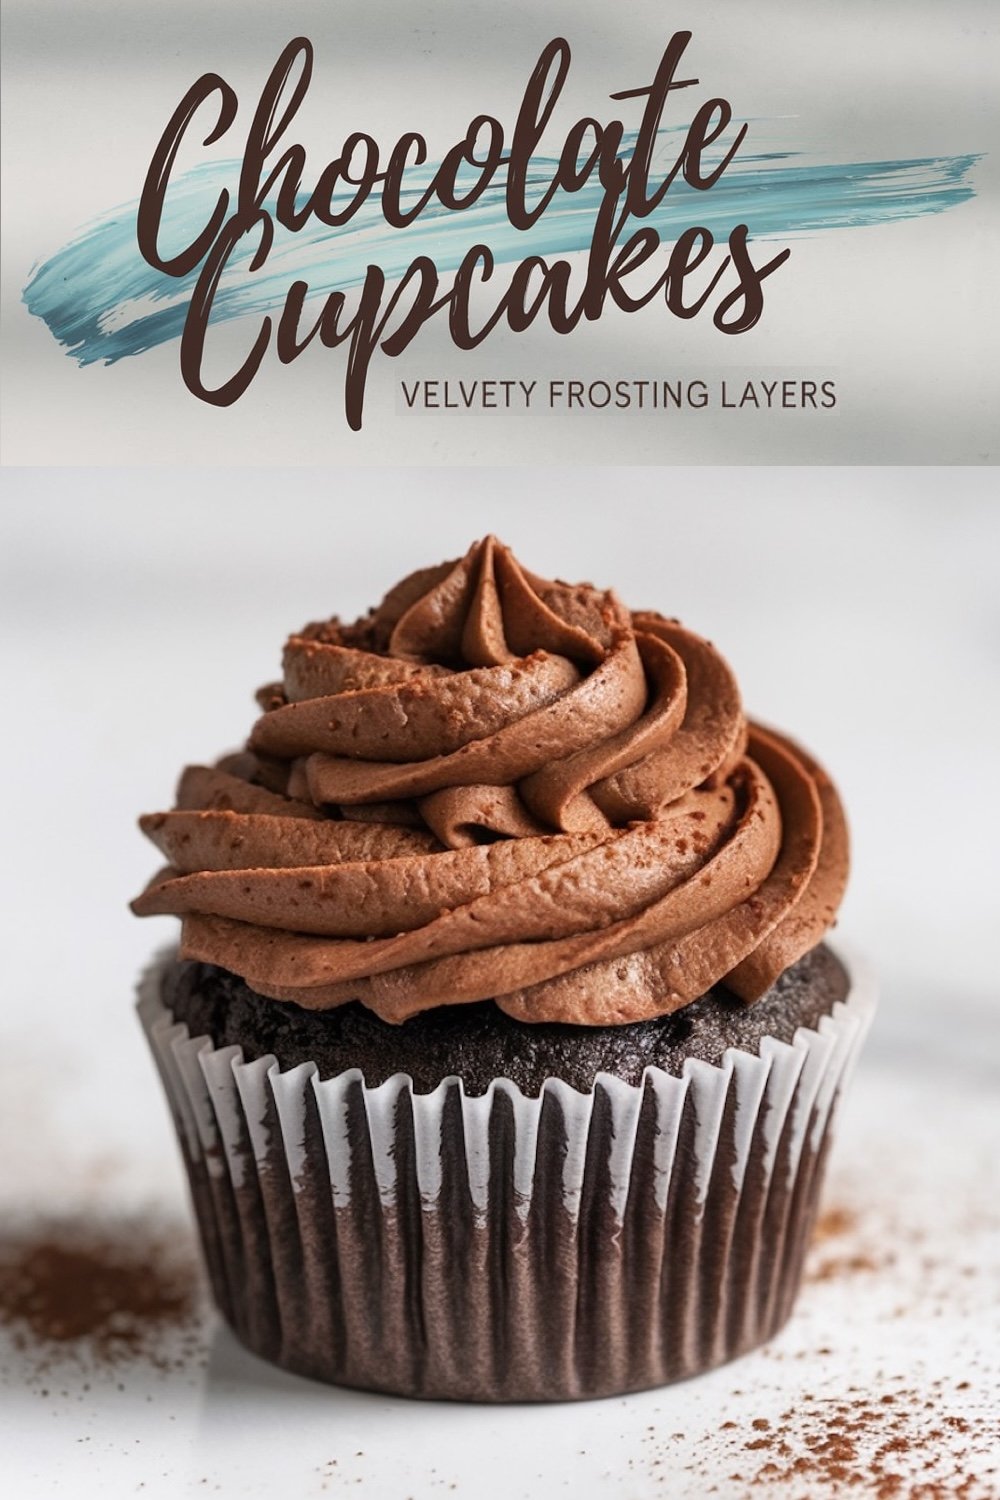
Powdered sugar, cocoa powder, a dash of salt, and a bit of vanilla extract provide flavor. A few tablespoons of heavy cream or milk adjust the thickness, giving you a spreadable or pipeable swirl. Whipping it on a higher setting for a minute or two helps transform the frosting into a lighter and fluffier form. I often taste-test it during this stage. My sweet tooth sometimes nudges me to add more sugar, but personal preference should guide this.
5. Decorating: Personalizing Every Cupcake
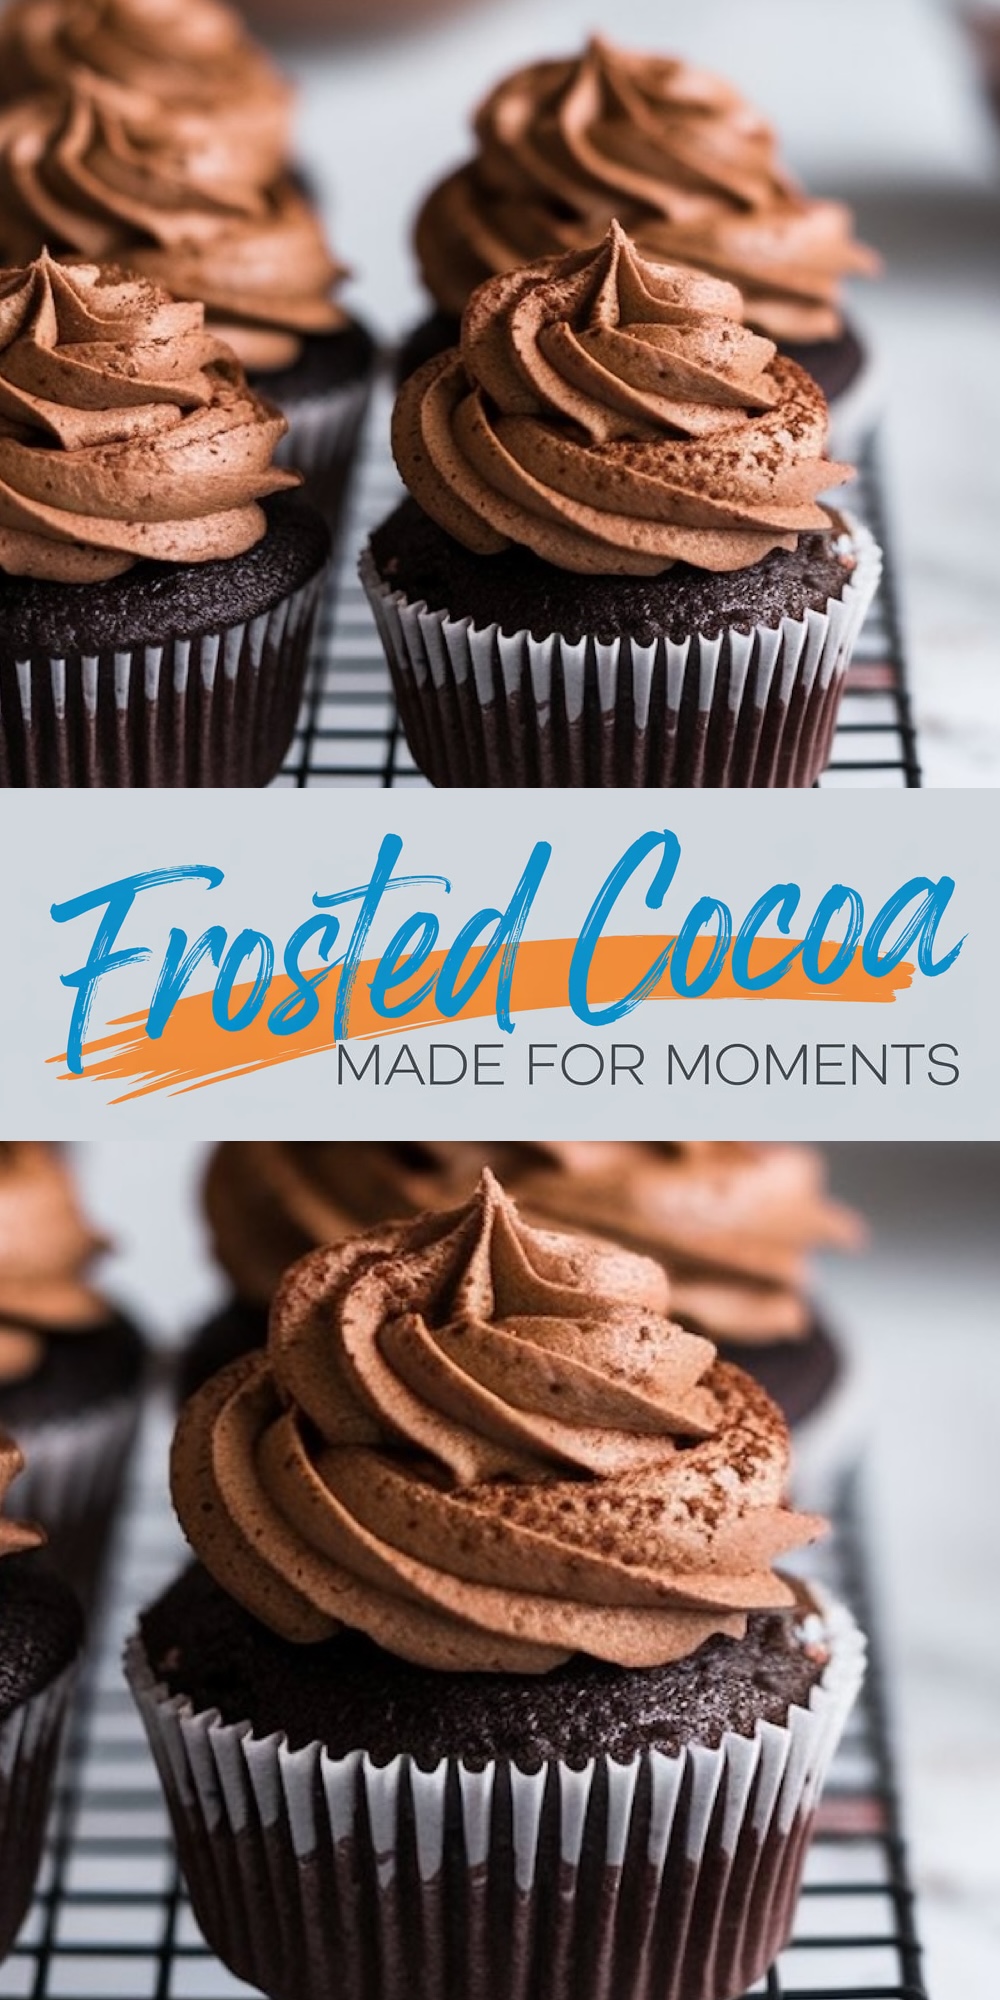
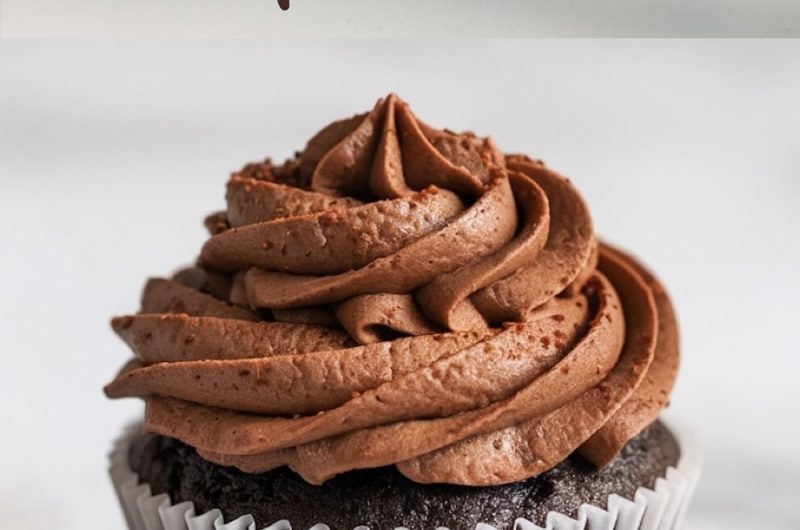
I love seeing a plate of beautifully frosted treats. I enjoy using a piping bag fitted with a star tip, starting from the cupcake’s edge and swirling inward. That technique brings a bakery finish to your kitchen table. Chocolate sprinkles, cocoa powder dust, shaved chocolate, or even a single fresh berry can make them extra special.
My family members have different ideas of how a cupcake should look. One nephew insists on burying half a cookie in the frosting, while a friend might prefer a drizzle of salted caramel. I find it fun to watch everyone turn these cupcakes into a reflection of their preferences.
6. Storing and Serving Chocolate Cupcakes
I advise serving them at room temperature because cold frosting can feel stiff on the palate. A day or two at room temperature in an airtight container does the trick if you plan to eat them fairly soon. Longer storage calls for refrigeration, though it can slightly firm up the cake. I’ve happily stretched their lifespan to about five days in a fridge. The flavor still feels fresh, and a quick rest at room temperature revives the soft texture.
Crowds often gather around a tray of homemade desserts, and these cupcakes steal hearts without fail. I recall an office party where I volunteered to bake, and these cupcakes became the star in the break room. Nearly everyone asked for the recipe, and I was delighted to provide it.
7. Personal Reflections: My Chocolate Cupcake Journey
I remember my earliest attempts at baking with my grandmother, who often made me whisk the dry ingredients by hand. She joked that my scrawny arms needed a bit of exercise, and I giggled as cocoa powder floated in the air. Those moments forged a bond between me and the artistry of baking. The smell of cocoa never fails to transport me back to her cozy kitchen, and each batch of cupcakes feels like a tribute to her style.
Years later, I ventured off to college and used chocolate cupcakes to combat my homesickness. My dorm friends teased me about the steady smells of sugar and cocoa, but they lined up to taste the results. Baking became an expression of warmth for me, and I still welcome others into my home by offering them a freshly made treat.
8. Flavor Variations and Fun Twists
Some days call for a dash of cinnamon or a pinch of chili powder in the batter. Other times, I sprinkle crushed peppermint candies on the frosting. I enjoy stirring peanut butter into half the frosting batch and swirling it on top for a marble effect. My sister once experimented by adding a fruit jam center before baking, which introduced an unexpected burst of sweetness.
Friends have also shared quirky experiments like adding a thin swirl of raspberry jam right after piping the frosting. A neighbor used flavored syrups in the frosting to produce a subtle hazelnut taste. I love seeing how imaginative folks become after mastering the basic recipe.
9. Frequently Asked Questions and Quick Tips
Q: Can I use butter instead of oil in the batter?
A: Melted butter adds a solid flavor but may result in a slightly denser crumb. I find vegetable oil more reliable in delivering softness, so I usually stick with that.
Q: Is hot water necessary?
A: Warm liquids help dissolve cocoa powder. Hot water or coffee intensifies the chocolate in a way that cooler liquids cannot match.
Q: How can I fix runny frosting?
A: Extra powdered sugar thickens frosting. Add small amounts, testing as you go. Overdoing the sugar can make frosting heavy and overly sweet, so gradual additions work best.
Q: What’s the best way to store leftover frosting?
A: A sealed container in the fridge works well. I often let it stand at room temperature before re-whipping, which brings back the airy structure.
Q: Can I freeze the cupcakes?
A: Yes. I place unfrosted cupcakes in a freezer-safe bag, removing as much air as possible, and thaw them on the counter when I want a quick treat. Frosting them after thawing keeps everything fresh.
10. Memories and Connection Through Baking
I believe baking brings a sense of comfort that goes beyond the act of measuring cups of flour or sugar. Each bowl of cocoa-laced batter offers me a peaceful break from the outside noise. I’ve bonded with loved ones over the swirl of a whisk and learned that a sweet treat can mend a rough day.
Chocolate cupcakes, topped with a whipped swirl of cocoa-infused frosting, provide an easy way to share joy. A thoughtful blend of essential ingredients, a patient approach to mixing, and a pinch of creativity work wonders. I still remember times when a friend dropped by unexpectedly, and I handed over a small package of these cupcakes. Gratitude lit up their face, and the day’s worries seemed to fade, at least for a moment.
Children, spouses, relatives, and neighbors all want a taste, and that universal desire for something sweet unites us. My own experiences taught me that a recipe can carry warmth and love to any table. I keep a stash of my favorite baking supplies on hand because I never know when the craving might strike or when a friend might knock on the door in need of a sweet slice of kindness.
Final Thoughts on Your Chocolate Cupcake Adventure
My hope is that this step-by-step guide speaks directly to you, providing information and encouragement for your next baking session. I have learned, through my grandmother’s wise words and my own triumphs and stumbles, that a little knowledge and a lot of heart shape the tastiest creations. These cupcakes show how basic pantry items can unite to form something worth remembering.
Chocolate flavors bring delight to nearly any occasion. A carefully baked cupcake, topped with a swirl of chocolate buttercream frosting, represents more than a dessert. It stands for the simple joy of turning everyday ingredients into something remarkable. My best advice is to embrace the process, enjoy each mixing step, savor every taste test, and share the final product with those around you. A single batch can lead to lasting memories, strengthen friendships, and spark conversations that linger long after the final crumb disappears.
Chocolate Cupcakes with Chocolate Buttercream Frosting
Course: Cake Ideas4
servings30
minutes40
minutes300
kcalIngredients
- For the Cupcakes:
1 cup all-purpose flour (120g)
1/2 cup unsweetened cocoa powder (50g)
3/4 teaspoon baking powder
1/2 teaspoon baking soda
1/4 teaspoon salt
1/2 cup granulated sugar (100g)
1/2 cup packed brown sugar (100g)
1/3 cup vegetable oil (80ml)
2 large eggs, at room temperature
1 teaspoon vanilla extract
1/2 cup buttermilk (120ml), at room temperature
1/2 cup hot water (120ml) or brewed coffee (enhances chocolate flavor)
- For the Chocolate Buttercream Frosting:
1 cup unsalted butter (226g), softened
3 cups powdered sugar (360g), sifted
1/2 cup unsweetened cocoa powder (50g), sifted
1/4 teaspoon salt
2 teaspoons vanilla extract
4–6 tablespoons heavy cream or milk (adjust for consistency)
Steps
- Bake the Cupcakes:
- Preheat your oven to 350°F (175°C) and line a 12-cup muffin tin with paper liners.
- In a medium bowl, whisk together the flour, cocoa powder, baking powder, baking soda, and salt.
- In a separate large bowl, combine granulated sugar, brown sugar, and vegetable oil. Beat in the eggs, one at a time, then mix in the vanilla extract.
- Gradually add the dry ingredients to the wet mixture, alternating with the buttermilk. Mix until just combined.
- Pour in the hot water (or coffee) and stir gently. The batter will be thin – this is normal.
- Fill the cupcake liners about 2/3 full with the batter.
- Bake for 18–20 minutes, or until a toothpick inserted into the center comes out clean.
- Let the cupcakes cool in the pan for 5 minutes, then transfer them to a wire rack to cool completely.
- Prepare the Chocolate Buttercream Frosting:
- In a large mixing bowl, beat the softened butter on medium speed for 2–3 minutes until creamy and smooth.
- Add the sifted powdered sugar, cocoa powder, and salt. Mix on low speed to avoid a powder explosion.
- Once incorporated, increase to medium speed and beat for about 2 minutes.
- Add the vanilla extract and 4 tablespoons of heavy cream. Beat until fluffy. If the frosting is too thick, add more cream 1 tablespoon at a time until you reach the desired consistency.
- Taste and adjust with a pinch more salt if needed.
- Frost the Cupcakes:
- Transfer the buttercream to a piping bag fitted with a star tip (like Wilton 1M) or your preferred nozzle.
- Pipe generous swirls of frosting onto each cooled cupcake.
- Lightly dust with cocoa powder for a finishing touch.