
I fell in love with matcha and pound cake at different stages in my life. My first sip of matcha happened in my early teens, when a friend offered me a warm bowl of tea at her family’s small gathering. The scent felt unusual, but I appreciated its gentle bitterness and deep green color. Years later, I found comfort in pound cake while visiting a local bakery. That slice was dense, buttery, and perfect for a rainy afternoon. I soon wondered how matcha and pound cake would taste together. My curiosity sparked a baking adventure that changed my approach to quick loaves forever.
Following a special diet?
Every recipe on this site can be converted to gluten-free, vegan, dairy-free, keto, nut-free or egg-free with adjusted ratios so nothing falls flat.
Try the Recipe Converter →That first attempt looked decent, but the taste lacked balance. I used low-quality matcha and overworked the batter. My second attempt tasted better, and I noticed how subtle changes in the process made a difference. Since then, I’ve refined this recipe, and I’m thrilled to share my experiences and tips. You’ll learn about choosing the right matcha, preparing the batter, baking times, and how to keep the green color vibrant.
Why Matcha Matters: Choosing the Right Powder
High-quality matcha gives color and taste. I tried budget-friendly powders that tasted flat and lacked that intense green hue. A good culinary-grade matcha features bright green tones without extreme bitterness. That kind of powder works well in baking because it holds its color through heat. I avoid lower-tier, dull matcha, which dulls the cake and leaves a muddy flavor.
I store my matcha in a sealed container away from direct light. My kitchen can get humid, so I often tuck the container inside a bigger jar with a desiccant pack. This extra step keeps the powder fresh and vivid.
Essential Tools and Ingredients
Tools
- 9×5-inch loaf pan: Reliable for even baking.
- Parchment paper: Eases the release of the loaf.
- Mixing bowls (one large, one medium): Helps organize wet and dry ingredients.
- Electric mixer (hand or stand): Ideal for creaming butter and sugar.
- Whisk and spatula: Useful for blending dry ingredients and smoothing the batter.
Dry Ingredients

- All-purpose flour: Main structure for the cake.
- Baking powder: Helps the loaf rise.
- Salt: Balances sweetness.
- Matcha powder: Provides flavor, color, and aroma.
Wet Ingredients
- Unsalted butter (softened): Adds richness.
- Granulated sugar and light brown sugar: Creates sweetness and depth.
- Large eggs: Binds and adds moisture.
- Whole milk: Helps create a tender crumb.
- Vanilla extract: Complements matcha with a mild, sweet undertone.
Optional Finishing Touches
- Powdered sugar: Light dusting for visual contrast.
- Whipped cream or vanilla ice cream: Extra indulgence.
- Fresh berries or white chocolate drizzle: Brightens or sweetens each slice.
My Baking Ritual: Setting the Oven and Prepping Ingredients
I always start by preheating my oven to 350°F (175°C). This step affects the final texture, so consistent heat is key. My loaf pan gets a light coating of butter, followed by a parchment paper liner. That combination lets the loaf pop right out without leaving half the crust stuck to the edges.
Room-temperature ingredients remain a priority for me. Butter, eggs, and milk blend smoothly when they share the same warmth. Cold items can cause curdling, which leads to uneven crumb. The moment I forget this step, I risk a dense, flat loaf.
Sifting the Dry Ingredients: Avoiding Lumps for a Smoother Batter

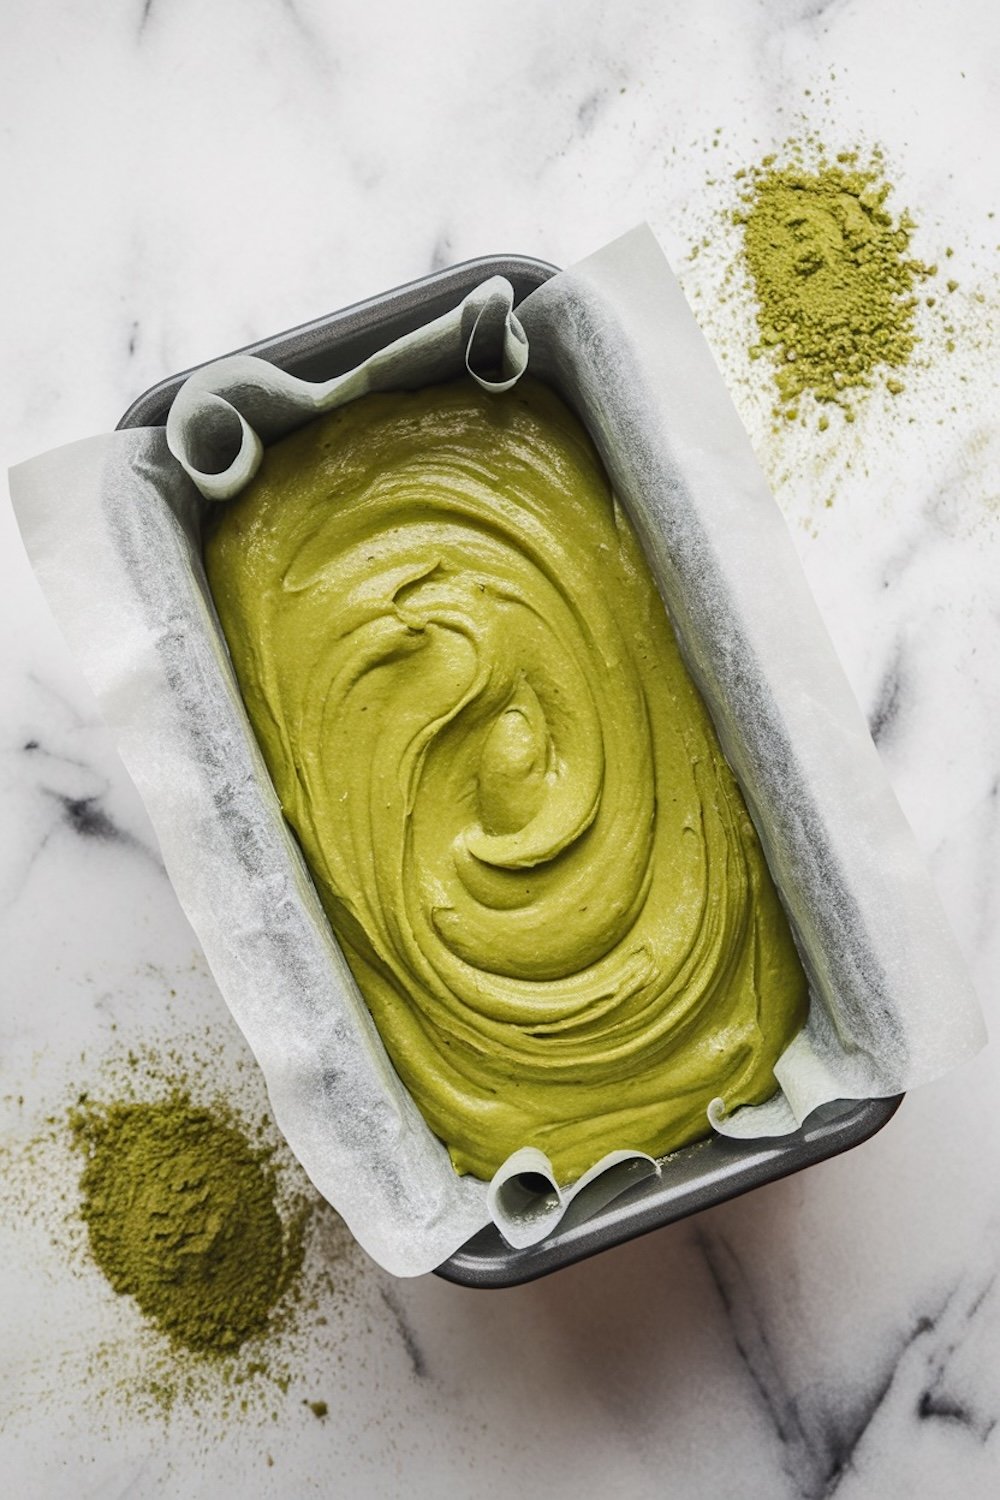
Flour, matcha powder, baking powder, and salt go into a medium bowl. I sift them to remove small lumps and to evenly distribute the bright green matcha. My whisk stirs them together until the mixture shows an even color. I enjoy watching the green powder merge with the flour. That gentle swirl reminds me of mixing paint, and it sets the stage for a vibrant cake.
Creaming the Butter and Sugar: A Key to Softness
Butter and both sugars head into a large mixing bowl. I cream them with my electric mixer set on medium speed. This step adds air, creating a lighter cake. After about three minutes, the mixture looks pale and fluffy. I scrape the sides to gather anything that’s clinging to the bowl.
I recall the very first time I learned about creaming. My grandma explained that the mixture would look like white icing before I added eggs. She tested me by asking if I could see any sugar crystals. If the texture felt gritty, I had to keep beating. That small detail became a life lesson in patience, and I still think about it every time I bake.
Eggs and Vanilla: Bringing the Batter Together
Each egg goes into the creamed mixture one by one. I beat well after each addition, watching the batter turn glossy and smooth. One forgotten egg can throw off the recipe, so I keep count. I then add the vanilla extract, which rounds out the grassiness of the matcha. The fragrance that drifts up from the bowl makes me smile, reminding me that sweet and green flavors do blend nicely with the right balance.
Alternating Dry Mix and Milk: Achieving the Ideal Texture
I add about a third of the dry mixture, then a bit of the milk, then more dry mix, and so on. This method keeps the batter uniform. I focus on mixing gently. Aggressive stirring can encourage too much gluten, giving the final loaf a tough bite. My spatula helps me combine everything, which prevents lumps without overworking the batter.
I learned this method through trial and error. My earlier attempts had me dumping all the flour at once. That quick move created pockets of matcha lumps. Now I take my time, and I see how each addition disappears into the wet base.
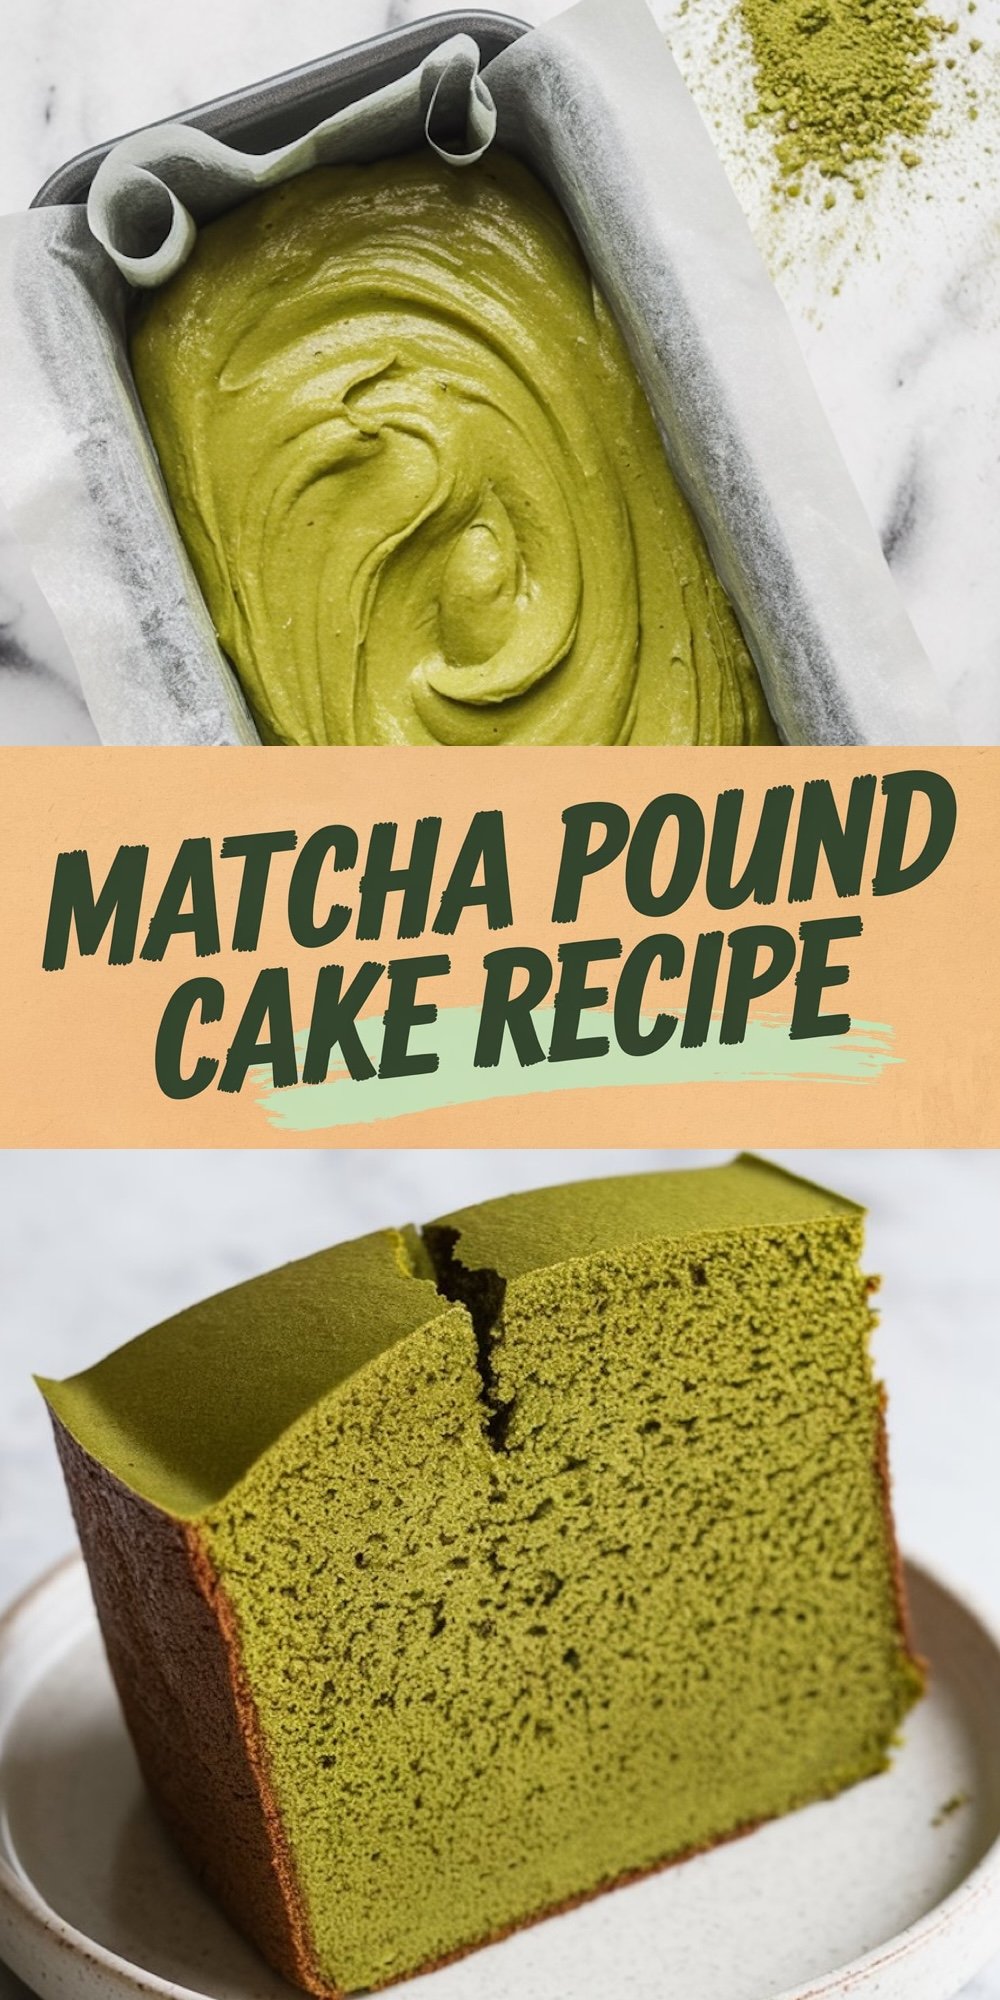
Pouring, Tapping, and Baking: Watching the Transformation
The finished batter goes into the loaf pan. I use my spatula to smooth the top and remove any big air bubbles. A gentle tap on the counter helps settle the batter. My oven stays at the correct temperature, so I slide the pan onto the center rack.
This loaf needs about 50–60 minutes in the oven. At the 50-minute mark, I test it with a toothpick. If it comes out clean, the loaf is ready. The edges should have a gentle golden tint, though the middle retains its lively green tone. If the top browns too fast, I cover it with foil to protect that green aesthetic.
Cooling and Slicing: Letting the Flavors Meld
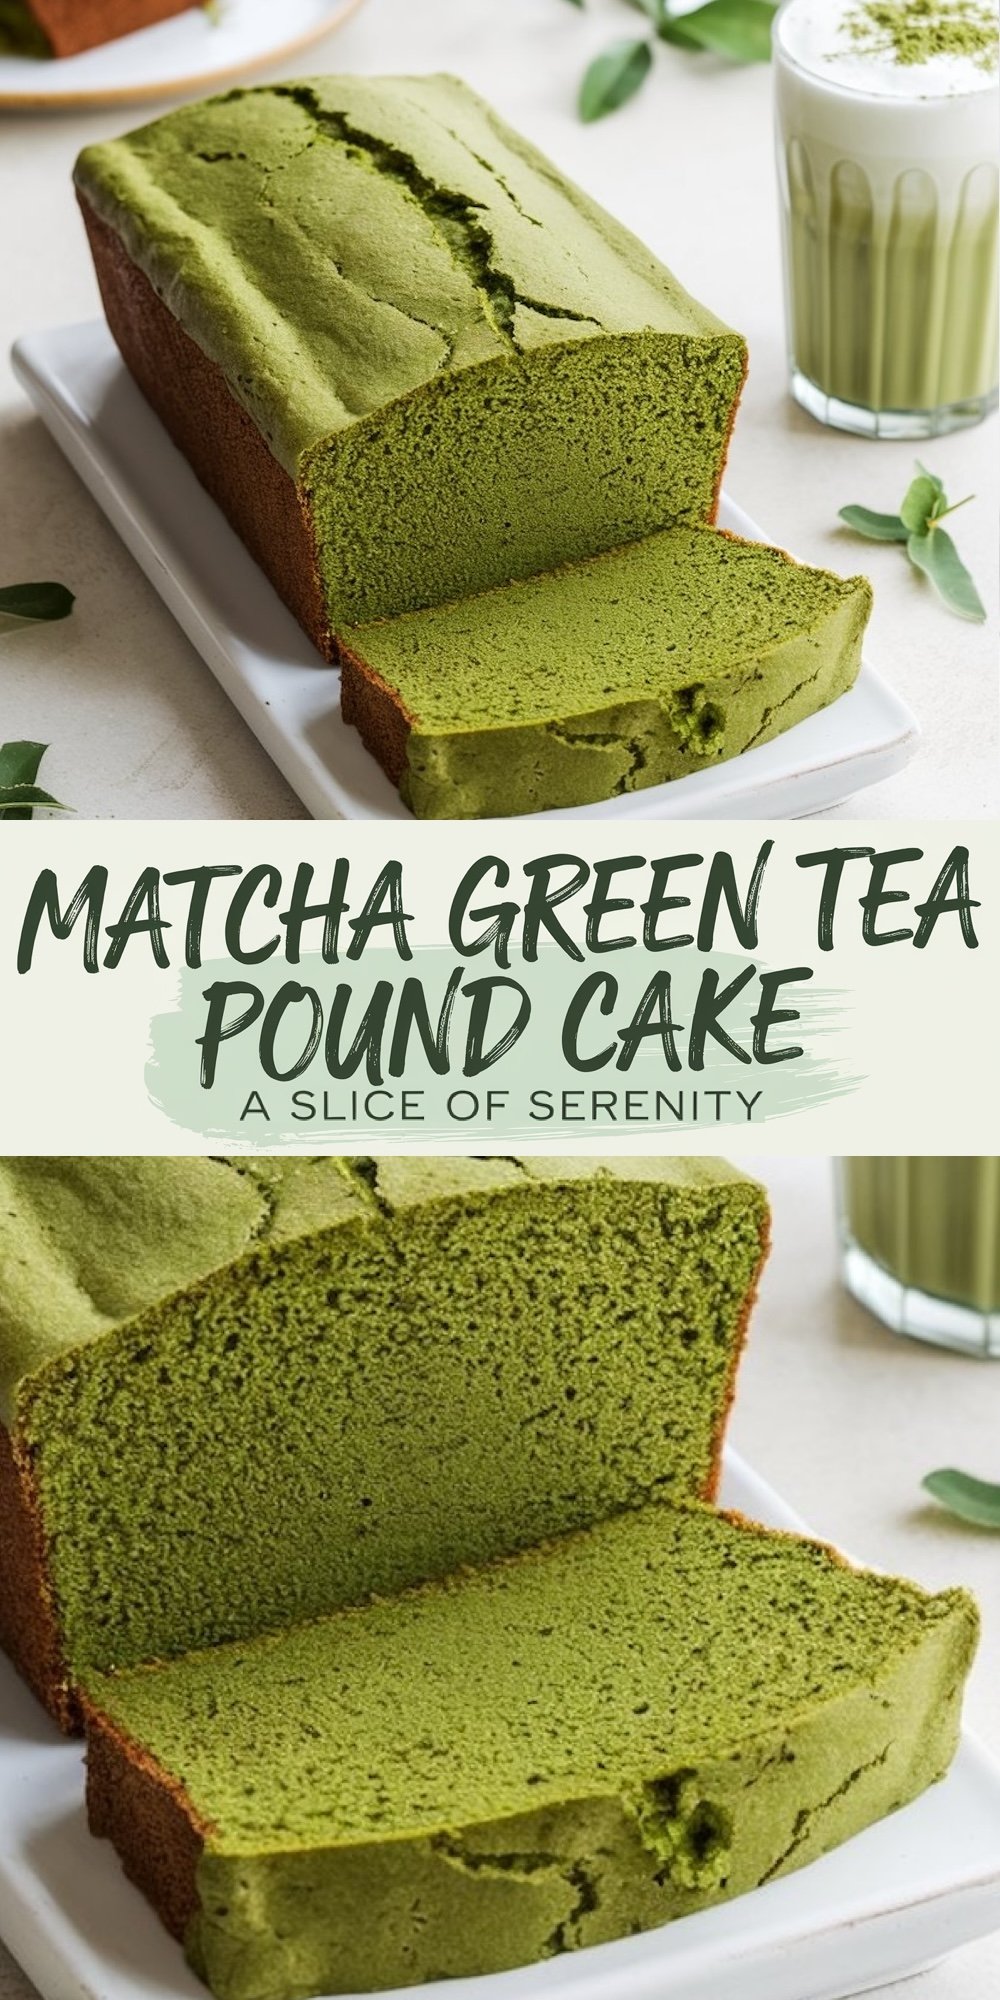
I give the loaf 10 minutes in the pan after baking. The kitchen smells sweet and earthy, and that aroma feels soothing. After I move the cake onto a wire rack, I wait another hour or so before slicing. A warm loaf can crumble easily, so my patience pays off. Each slice shows a vivid green interior surrounded by a thin golden crust.
Serving Suggestions and Possible Tweaks
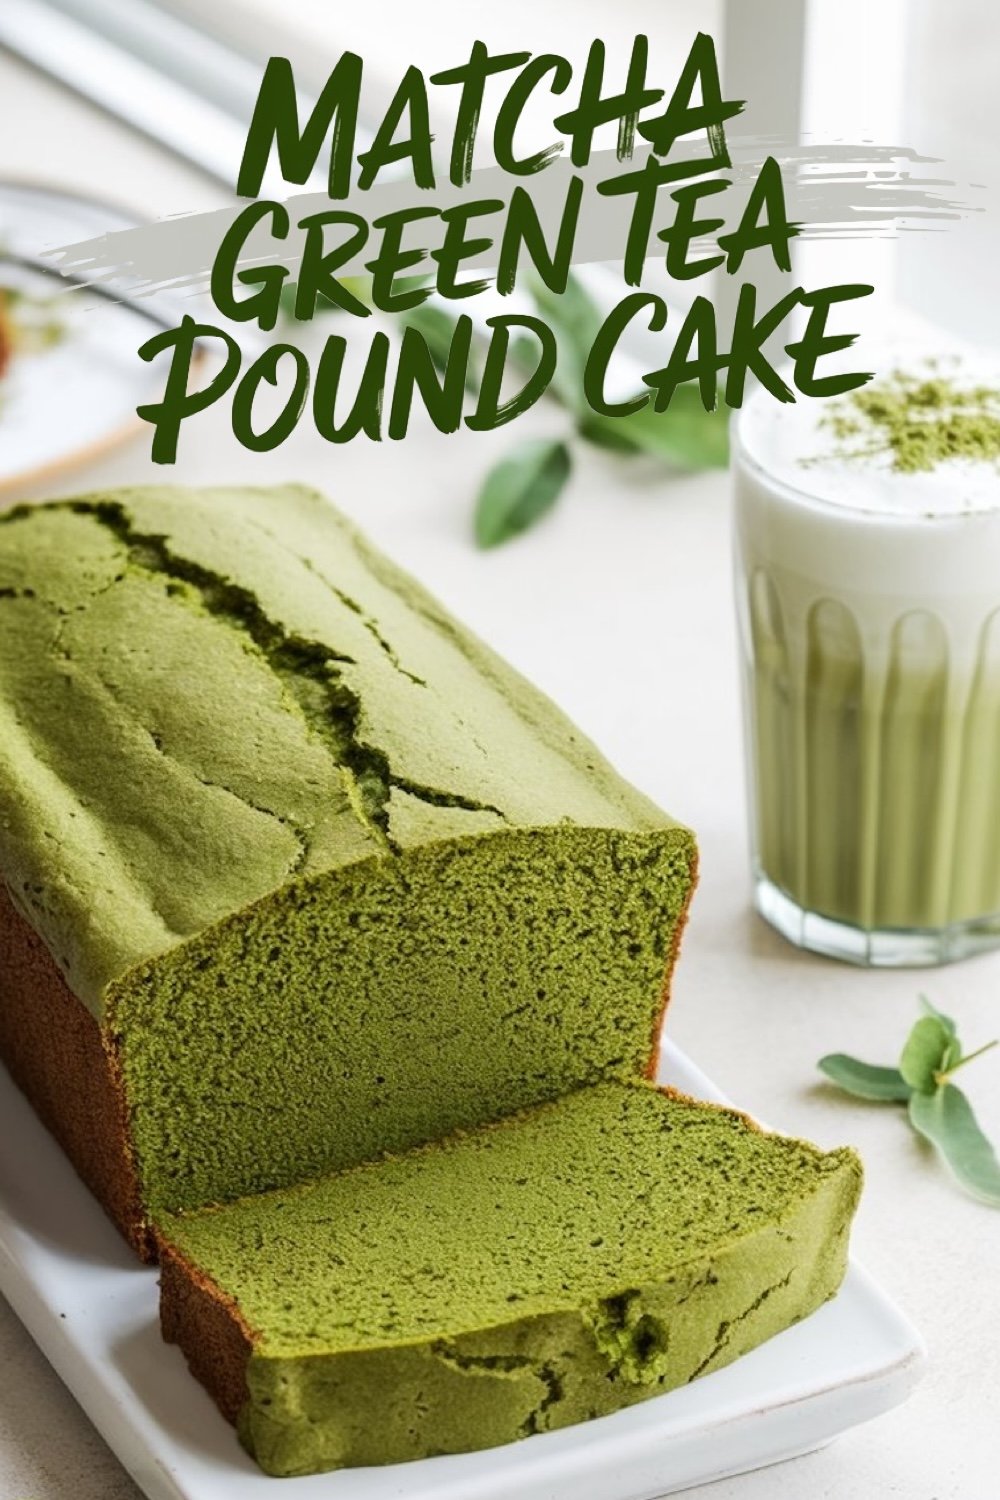
I often enjoy a slice with tea in the afternoon. A dusting of powdered sugar adds a simple visual pop. My kids prefer a scoop of vanilla ice cream on top, which balances the subtle bitterness of matcha. Fresh strawberries or raspberries bring tart notes that pair well with the sweet loaf. White chocolate drizzle can be fun if you want something richer.
Some folks stir in chopped walnuts or chocolate chips. I tried chopped pistachios once, and that variation felt interesting. Pistachios added more green color and a crunchy texture that contrasted the soft crumb.
My Troubleshooting Tales
A few mistakes taught me valuable lessons:
- Dense Loaf: I overmixed the batter a few times, and the texture turned heavy. Gentle folding fixes that issue.
- Bland Color: Low-grade matcha and lengthy exposure to light can dull the green hue. A reliable, sealed container keeps the powder bright.
- Soggy Middle: I removed the cake too early once. My toothpick had moist crumbs, but I misread the signs. Letting it bake for five more minutes would have helped.
Extended Shelf Life: Storing Your Matcha Pound Cake
I wrap leftovers in plastic or place them in an airtight container. This approach locks in moisture. My family usually finishes the loaf within three days, but it can stay fresh for up to four or five days if stored well. Refrigeration extends shelf life slightly, though I prefer it at room temperature for the best texture.
I freeze slices individually for longer storage. This trick helps if you want a quick dessert later. I thaw slices on the counter, and they taste almost as fresh as the day I baked them.
My Personal Tip: Pairing Matcha Pound Cake with Favorites
I often serve this loaf during casual coffee breaks with friends. A pot of green tea completes the theme, but I’ve also found that iced lattes bring a creamy contrast. Some folks like honey or fruit jams on top, though I find the loaf sweet enough on its own. My friend tried it with an Earl Grey tea spread, and she said the floral notes played well with the grassy matcha.
Summary and Final Thoughts
My matcha pound cake recipe reflects years of baking experiences, small wins, and a few mishaps. Each component, from the quality of matcha to the sequence of mixing, affects the final outcome. A simple shift, like using room-temperature ingredients, gives a better crumb. This knowledge grows over time, and I hope you enjoy each step.
I still recall my skepticism when I first combined green tea powder and buttery batter. That risk rewarded me with a loaf that surprises people with its natural color. Some say it tastes exotic, but I think it’s just a gentle, earthy twist on an old favorite. You might discover your own spins on this recipe, and I encourage experimentation.
Feel free to serve it at brunches or after-dinner gatherings. Friends often ask about the vibrant hue. I share my story of how matcha came into my life and changed my baking. A slice of this loaf can open a conversation about flavor, culture, and experimentation in the kitchen.
Share Your Matcha Creations
I love seeing how other home bakers present this matcha pound cake. Snap a photo of your loaf and post it on social media. Let me know about any variations you try, such as chocolate chips or seasonal fruits. Your twist could inspire someone else to start their own baking journey.
Pin It on Pinterest: Save this recipe for easy reference. Many folks search for “Matcha Pound Cake,” “Green Tea Loaf,” and “Easy Matcha Desserts” on Google and Pinterest, so pinning helps others find this recipe as well.
Comment Below: Feel free to leave a note if you run into any baking hurdles. I’m always happy to offer suggestions.
Parting Words
I believe each slice of matcha pound cake offers a reminder that good things come from simple ingredients and mindful techniques. This loaf brings sweetness, color, and a mild earthy note to the table. It’s warm and homey, yet it carries a subtle elegance that draws attention at parties. My matcha journey evolved over time, and I hope this recipe sparks your own baking adventures.
Enjoy every bite! Your kitchen can feel like a little haven when the smell of matcha pound cake drifts through the air. Let that gentle aroma remind you that true comfort emerges from mixing new flavors into familiar classics.
Matcha Pound Cake Recipe
Course: Cake Ideas10
servings15
minutes55
minutes300
kcalIngredients
- Dry Ingredients:
1 ¾ cups (220g) all-purpose flour
1 ½ tablespoons matcha powder (culinary grade or higher for best flavor)
1 teaspoon baking powder
½ teaspoon salt
- Wet Ingredients:
1 cup (226g) unsalted butter (softened to room temperature)
1 cup (200g) granulated sugar
½ cup (100g) light brown sugar
4 large eggs (at room temperature)
1 teaspoon vanilla extract
½ cup (120ml) whole milk (at room temperature)
- Optional:
Powdered sugar for dusting
Whipped cream or vanilla ice cream for serving
Steps
- Step 1: Preheat and Prepare
- Preheat your oven to 350°F (175°C).
- Grease a 9×5-inch loaf pan and line it with parchment paper for easy removal.
- Step 2: Mix Dry Ingredients
- In a medium bowl, sift together the flour, matcha powder, baking powder, and salt.
- Whisk to combine evenly, ensuring no lumps remain from the matcha powder.
- Step 3: Cream Butter and Sugars
- In a large mixing bowl, use a hand mixer or stand mixer to cream the butter, granulated sugar, and brown sugar together until light and fluffy (about 3–4 minutes).
- Scrape down the sides of the bowl as needed to ensure everything is well incorporated.
- Step 4: Add Eggs and Vanilla
- Beat in the eggs, one at a time, ensuring each egg is fully mixed before adding the next.
- Add the vanilla extract and mix until smooth.
- Step 5: Alternate Wet and Dry Ingredients
- Gradually add the dry ingredients to the wet mixture in three parts, alternating with the milk. Begin and end with the dry ingredients.
- Mix on low speed or fold gently with a spatula to avoid overmixing.
- Step 6: Bake
- Pour the batter into the prepared loaf pan and smooth the top with a spatula.
- Bake for 50–60 minutes, or until a toothpick inserted into the center comes out clean.
- If the top starts browning too quickly, tent the loaf with foil during the last 10–15 minutes of baking.
- Step 7: Cool and Serve
- Let the cake cool in the pan for 10 minutes, then transfer it to a wire rack to cool completely.
- Slice and serve as is, or dust with powdered sugar for a touch of sweetness.
What brand of matcha do you used for your baking?
Hi Sabrina! For baking, I usually go with Jade Leaf’s Culinary Grade Matcha. It holds up well in the oven and gives that nice earthy green you see in my pound cake. I’ve also used AIYA’s cooking grade and Encha’s latte grade when I want a slightly brighter color. 🍵💚
This looks so good! What a great combination of flavors!
Thanks for sharing! Does it keep long?
Hello emmascakestudio.com Recipes write copy name Matcha Pound Cake Recipes cook Good for me my email DorothyHerman75@gmail.com Easter nice day prayer faith GodBless thank you smile
Hi Dorothy, thank you for reaching out and for your kind words. I don’t send recipes by email, but you can find all my recipes, including a Matcha Pound Cake, right here on my website. Wishing you a wonderful day 🌷
hi
Hey there 😊 Let me know if you had a question or needed help with one of the recipes.
Hi,
This looks yummy. Would I be able to use oatmilk instead of whole milk?
Hi Sue! Yes, you can use oat milk instead of whole milk here. It will likely change the texture slightly, just make sure it’s unsweetened so it doesn’t throw off the flavor. Let me know how it turns out if you try it! 💚
I was searching for a dessert to make for Christmas and your recipe popped up. I’m so excited because the color is perfect to make a “Grinch” like dessert. Now Im trying to figure out how to insert a small red heart that can be seen all the way through once a slice is cut.
That idea is adorable and the matcha color really does lean into that Grinch look 😊
You can do this by baking a small batch of red pound cake first, then cutting out heart shapes once it cools. After that, line the hearts up in the center of your loaf pan, pour the matcha batter around and over them, and bake the full loaf. 😊
I am still waiting for the pound cake to come out of the oven. The batter is delicious. Mine though isn’t the green I see in the image. Either way, my daughter will love her birthday cake. Thank you for sharing.
Thank you for sharing this, Maria. The color can vary quite a bit, so your batter still sounds completely right. The shade in the photos comes from a touch of gel food coloring, so the cake stays neutral without it. Your daughter will enjoy it either way, and I hope the bake comes out beautifully.
Hi Emma,
Thank you for sharing this recipe. Would it be possible to add a lavender extract or some other complementing flavor extract and get the same results. Thank you
Hi! You absolutely can add a bit of lavender extract to this recipe. I’d suggest starting with a small amount—about 1/4 teaspoon—since it can get overpowering pretty quickly. It pairs really well with vanilla or lemon if you’re looking to layer flavors. Just make sure not to add too much liquid overall, so the texture stays the same. Let me know how it turns out if you give it a try