
I have a soft spot for pear dump cake. This dessert brings sweet comfort whenever I crave a quick treat. My grandma introduced me to this recipe in her cheery kitchen years ago, and I still recall the aroma that drifted through the house. I was small then, but I felt so grown-up pouring the ingredients into that pan. My mother would guide me with a watchful eye, and I took pride in each bubbling creation. Pear dump cake became part of my family’s story, so I’m excited to share it with you.
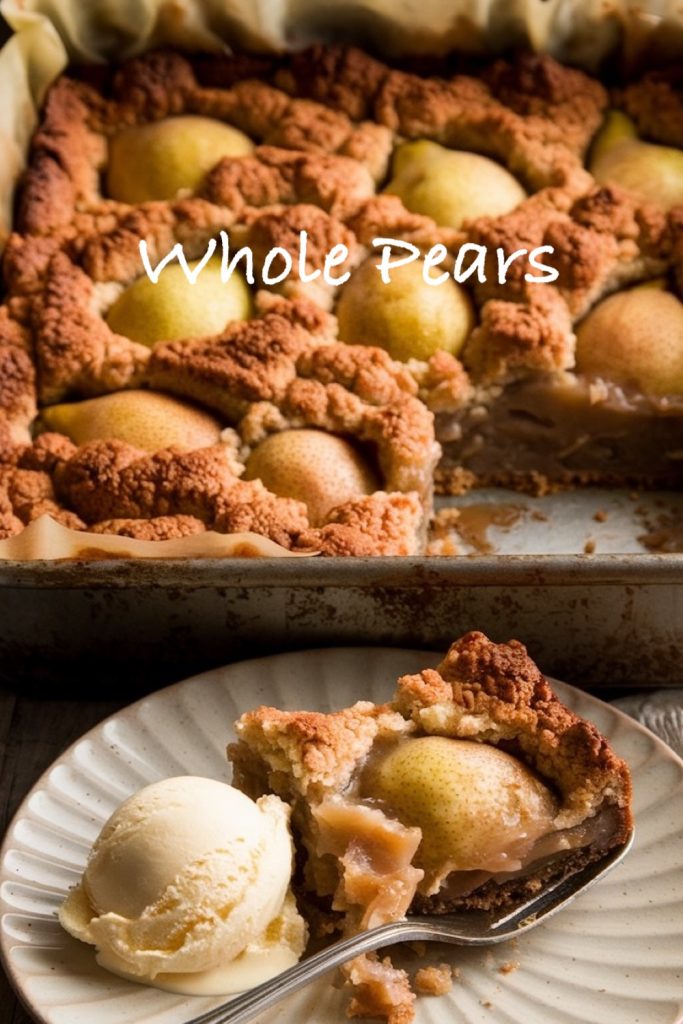
I have made this recipe both ways-with whole pears and with sliced pears. The first time, honestly they were good in their way.

What Makes Pear Dump Cake Special
The appeal rests on simple steps and minimal ingredients. I grew up with limited time between school events and family dinners, so I learned to appreciate recipes that fit into life’s busy flow. You can make this cake with fresh pears or canned pears, and each path leads to a slightly different taste. That flexibility means you can whip up dessert even if fresh produce isn’t in season.
Cake mix and butter form a crumbly topping that tastes a bit like a cobbler and a cake all at once. This contrast of textures sets pear dump cake apart. The pears become soft and slightly caramelized as they bake, and the top stays golden, crisp, and buttery. I often close my eyes for a moment when I take the first bite. My memory snaps back to my grandma’s voice, telling me to wait just a few more minutes for the cake to set.
Essentials for a Successful Pear Dump Cake
A 9×13-inch baking dish provides an even surface for layering. I prefer glass or ceramic because it holds steady heat. Canned pears work well if you’re in a pinch, and I do that often when I’m short on fresh fruit. Draining the pears first keeps the cake from turning soggy. Fresh pears, when in season, bring a sweet aroma, especially if they’re on the ripe side. Peel and slice them to remove any tough skin or seeds.
A box of vanilla or spice cake mix is the usual choice, and I love both. Some folks prefer yellow cake mix, which brings a light, buttery note. Cold butter slices rest on top, and that’s one of the keys to getting a crumbly crust. I keep the slices evenly spaced to help distribute the richness. That approach creates distinct pockets of flavor once the cake begins to bake.
Step-by-Step Approach with No Fuss
I start by heating the oven to around 350°F (175°C). My pears go right into the baking dish as the base layer. When I use canned pears, I pat them dry to reduce extra moisture. After that, I sprinkle the cake mix across the fruit. It feels a bit odd not to stir, but that’s part of the fun. Then I place slices of cold butter on top of the dry mix. Some folks melt their butter and drizzle it, which also works. I prefer solid slices because it gives that crumbly finish.
The dish goes into the oven for about 45 minutes, but I check it at the 30-minute mark to see if the top browns too quickly. A piece of foil placed on top helps avoid over-browning if needed. That’s all it takes. This cake doesn’t require extra bowls or fancy gadgets. The baking dish is your single station for magic. Once it’s out of the oven, I set it on a wire rack to cool for about 10 or 15 minutes. My taste buds usually scream for a slice right away, but that short wait keeps my tongue from getting scorched.
Fresh Pears or Canned Pears?
My preference depends on my pantry. Fresh pears add a floral sweetness, and I find them softer than many other fruits. Slicing them releases a soft juice that feels almost syrupy. This moisture blends with the cake mix, which forms a delightful sauce. Canned pears still deliver a delicious treat. They also keep well in the cupboard, so they save me a trip to the store. Draining those canned pears fully is essential. I once left too much liquid in the pan and ended up with a wet base. It still tasted good, but it lacked that crisp top I wanted.
Flavor Hints to Elevate the Cake
A dusting of cinnamon or nutmeg on top of the pears can give the dessert extra warmth. I sometimes add a pinch of cardamom too, which highlights the natural sweetness of pears. If I’m feeling adventurous, I drizzle caramel sauce on the baked cake. That swirl of sweetness and slight bitterness from caramel merges with the fruit, and the combination makes me grin. Chopped nuts, such as walnuts or pecans, provide a pleasant crunch. I scatter them on top of the cake mix if I’m serving guests who like a bit of texture.
Serving Suggestions for a Memorable Feast
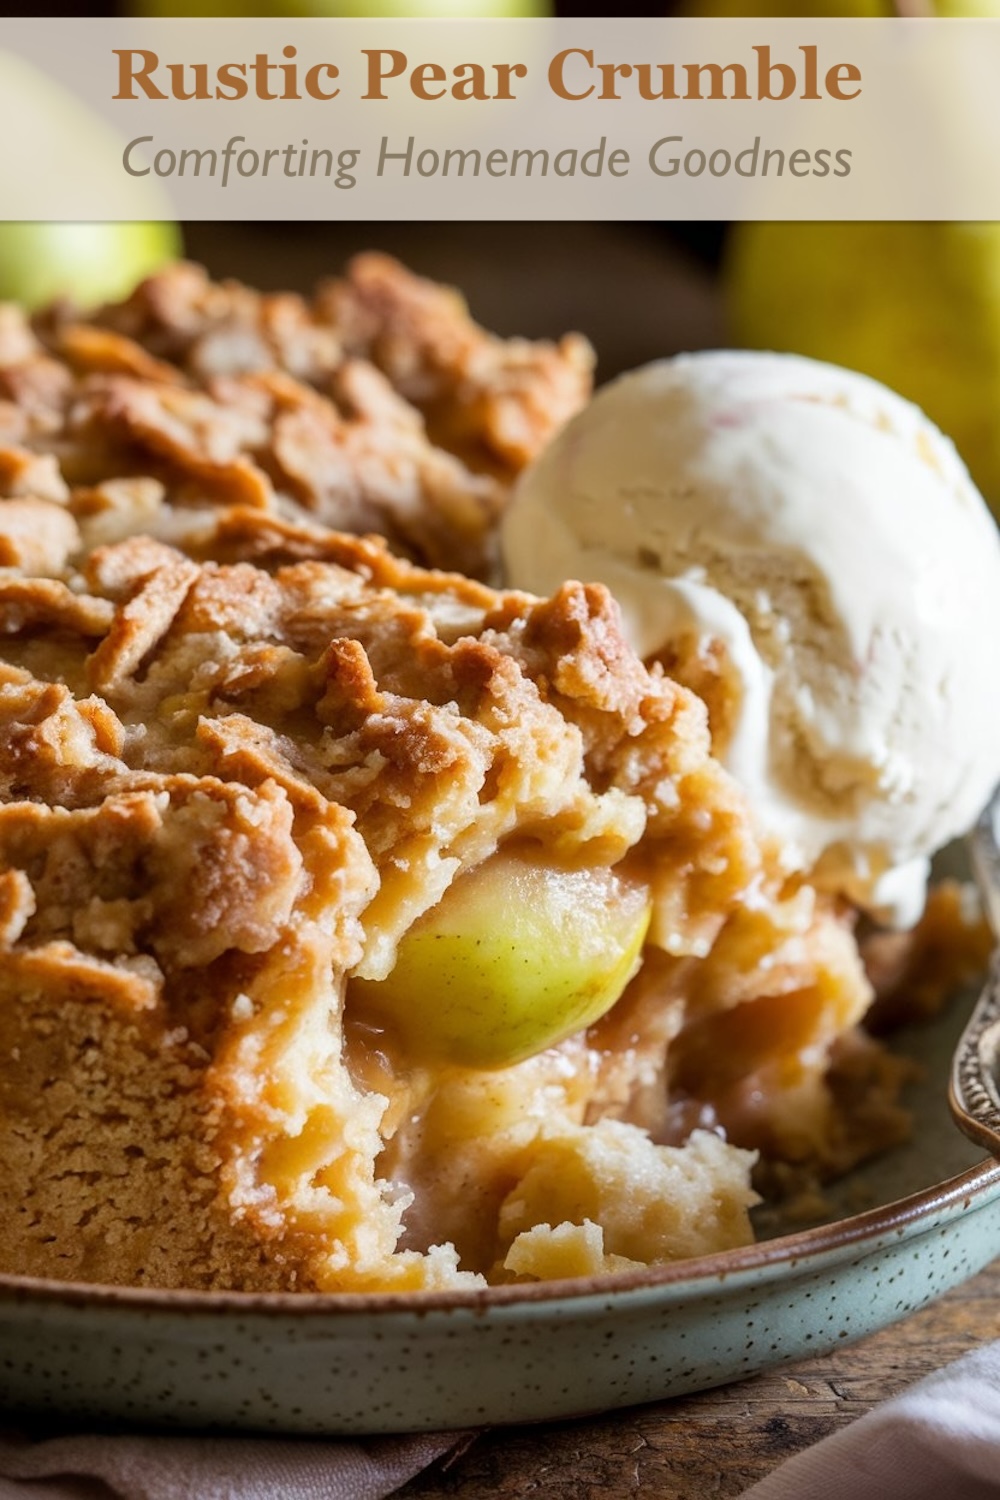
A scoop of vanilla ice cream on top of warm pear dump cake leads to that irresistible hot-cold blend. The cake’s warmth softens the ice cream, and each bite has a silky feel. Whipped cream is another option if ice cream feels too rich. My friend once added a swirl of whipped topping with a drizzle of chocolate sauce. That felt a bit like a sundae, but I must admit, it was quite tasty.
Serving this cake right out of the dish is common in my house. My family scoops it while it’s still warm, and we chat around the table, praising the easy comfort of a fruit-based dessert. If company comes over, I have served pear dump cake in small ramekins. That arrangement adds a personal touch to the meal. A garnish of thin pear slices, arranged on top, looks appealing for more formal occasions. The colors vary slightly from greenish-yellow to golden-brown, so the contrast stands out.
Nutritional Notes
A typical slice from a 9×13-inch dish contains around 350 to 400 calories. That number depends on the cake mix brand, butter amount, and sweeteners involved. Pears and cake mix have sugar, so moderation is wise. I don’t shy away from enjoying a small square every so often, and I pair it with a lighter meal later in the day. That approach keeps me feeling balanced. Wheat in the cake mix and dairy in the butter mean there are common allergens. Gluten-free or vegan cake mix can substitute if you want a different approach.
My Personal Joy in Making Pear Dump Cake
This dessert never fails to remind me of lazy afternoons at home with my family. I remember the way my grandma called me her “little kitchen helper,” and that pride still warms me. I continue to bake this treat because it offers speed without sacrificing flavor. I once taught my nephew to make this cake, and he was proud of the result. A recipe with such simple steps can spark a sense of accomplishment in budding cooks.
My husband says he smells the butter and pears before he tastes it, and he always steals a spoonful as soon as I open the oven. I can’t blame him for sneaking a taste. My own sense of patience often falters when the scent drifts through the house.
Fruit Dump Cakes to Try Next
My obsession with quick desserts doesn’t stop here. You might enjoy my dump cake collection if you like a variety of fruit flavors.
Each option takes the same idea and applies it to different fruits. Peach Dump Cake tastes bright and summery. Strawberry Dump Cake provides a sweet berry burst. Cherry Dump Cake offers a sharp tang. I cycle through these recipes when I feel playful with flavors, and each one follows a similar format. If you want to experience more fruit-filled options, those are ready and waiting.
Save This Pear Dump Cake on Pinterest for Later
Pin this recipe now, and keep it close for your next sweet fix. I do that with all my favorite recipes because it’s easy to find them whenever my dessert cravings strike. My family used to write them on index cards, but digital boards keep things tidy. A quick click brings the recipe straight to my screen, and I can start baking before I change my mind. I hope you’ll pin this too, then share your thoughts after you take your first bite.
How to Make a Pear Dump Cake?
Course: Cake Ideas12
servings15
minutes50
minutes320
kcalIngredients
- For the Cake:
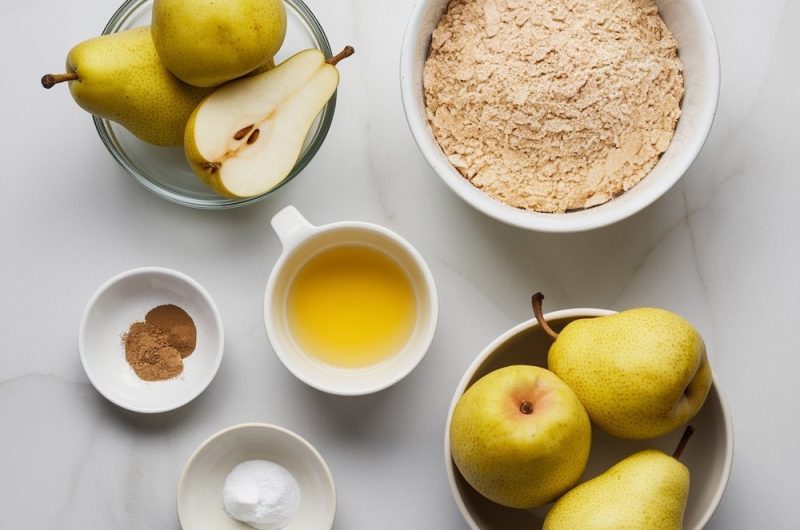
6-8 ripe pears (or 2-3 cans of pears, drained)
1 box yellow or spice cake mix, divided
1 cup unsalted butter, melted
1 teaspoon ground cinnamon
1 teaspoon ground nutmeg (optional)
1/2 cup brown sugar
1 tablespoon vanilla extract
1 fresh pear, thinly sliced (for topping)
- Optional Toppings:
Whipped cream or vanilla ice cream
Caramel sauce drizzle
Steps
- Preheat the Oven: Preheat your oven to 350°F (175°C). Grease a 9×13-inch baking dish or a similar deep baking tray, just like the one in the photo.
- Prepare the Pears:
If using fresh pears: Peel, core, and slice them into medium chunks.
If using canned pears: Drain them thoroughly to avoid excess moisture in the cake.
For a mix: Combine fresh and canned pears for a variety of textures. - Layer the Bottom: Sprinkle half of the dry cake mix evenly on the bottom of the prepared baking dish. This will form a delicious golden base as it bakes.
- Add the Pears: Arrange the pear slices evenly over the cake mix layer. Toss the pears with cinnamon, nutmeg (if using), and vanilla extract to give them a warm, spiced flavor.
- Top with the Remaining Cake Mix: Sprinkle the remaining half of the cake mix evenly over the pears. Again, do not stir! This layered effect is what makes a dump cake so unique.
- Butter and Brown Sugar: Pour the melted butter over the top of the cake mix, covering as much of the surface as possible. Then, sprinkle the brown sugar on top for a caramel-like finish as it bakes.
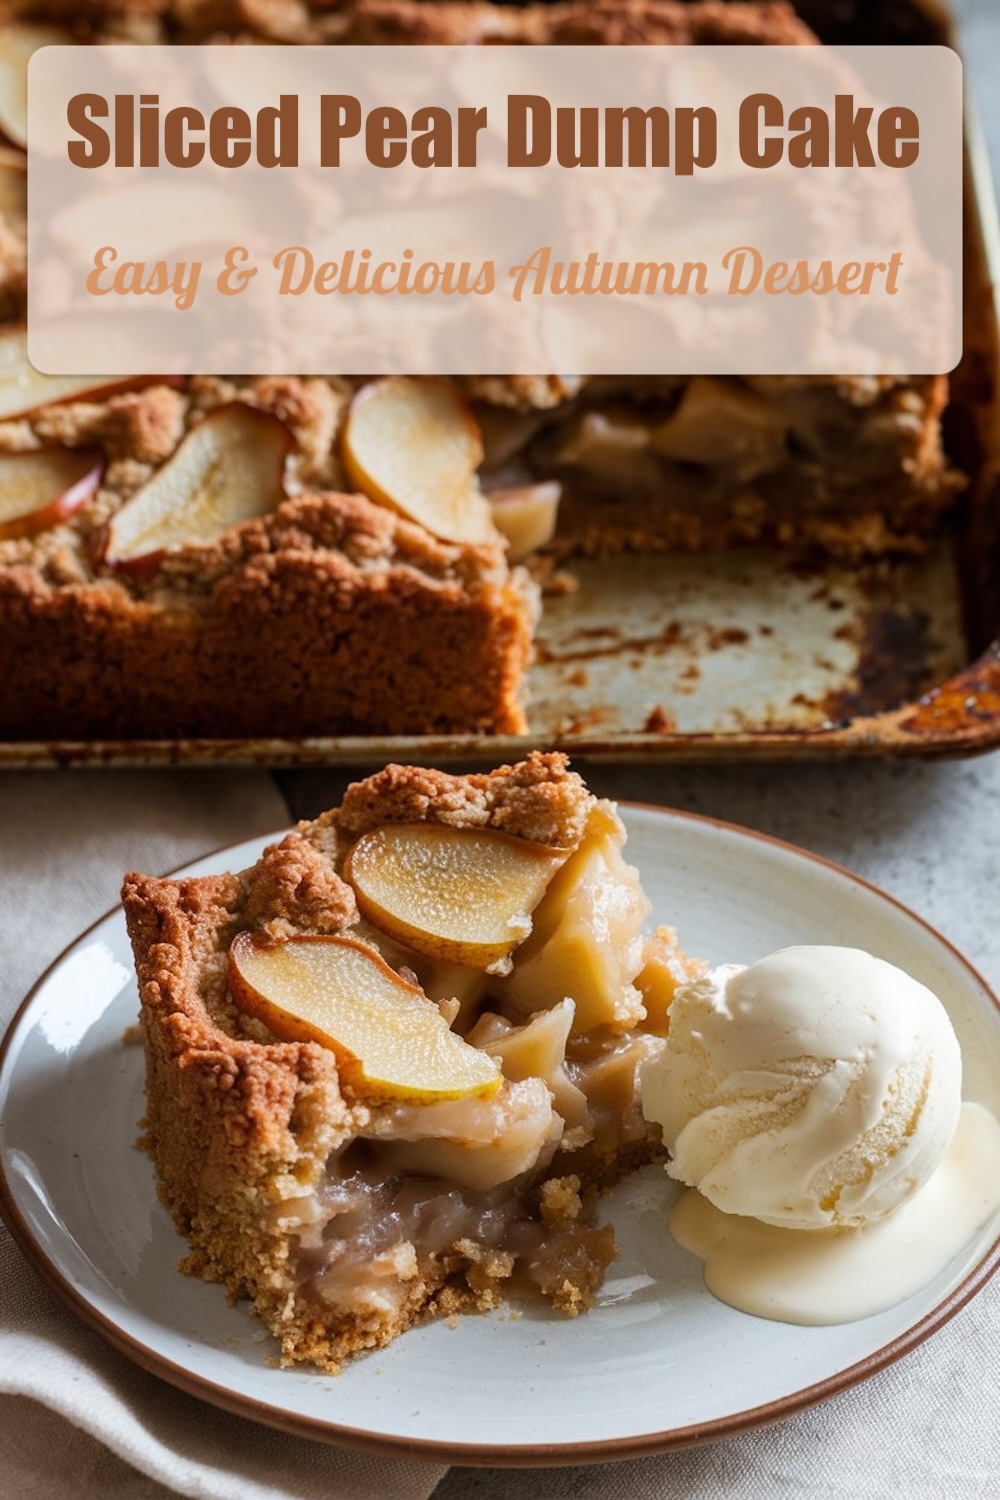
- Pear Slices for Topping (Optional): For an elegant touch (and extra pear flavor), lay the thinly sliced pear pieces on top of the cake, just like the picture. These slices will bake into the cake, creating a visually appealing, golden-brown topping.
- Bake: Bake the cake for 45-55 minutes, or until the top is golden and crispy, and the pears are tender and bubbling around the edges.
- Cool and Serve: Let the cake cool for about 10 minutes before serving. This gives the juices time to settle, making it easier to cut. Top with vanilla ice cream or whipped cream for an indulgent treat.
I’ve made a lot of dump cakes, but this is the first time adding brown sugar on top! Wow! It takes it to a new level. My second for the week is baking right now. I added walnuts this time.
Adding brown sugar really does change the game, doesn’t it? That little caramel note makes the topping extra special. Walnuts sound like the perfect crunch. I’ll have to try that next time. Can’t wait to hear how your second one turns out.