
I first tasted a dessert like this many years ago when I visited my aunt in a small Midwest town. She served a warm pear cake with a sweetness that reminded me of laughter around her old wooden table. I fell in love with its gentle aroma and decided to adapt the recipe in my own kitchen.
I enjoy the mild spice in this recipe, which traces its heritage to classic American fall desserts. Pears lend an elegant taste, and the spiced cake topping adds a fragrant bite. I cherish this dessert for its simple steps and comforting flavors.
I often prepare it to celebrate the changing colors of the season. The combination of tender fruit and buttery topping makes each bite satisfying. My husband says it reminds him of Sunday family gatherings from his childhood, and that memory warms my heart.
Following a special diet?
Every recipe on this site can be converted to gluten-free, vegan, dairy-free, keto, nut-free or egg-free with adjusted ratios so nothing falls flat.
Try the Recipe Converter →Why Spiced Pear Walnut Dump Cake Captivates Taste Buds
Spiced pear walnut dump cake highlights natural sweetness with a gentle hint of brown sugar. Cinnamon and nutmeg join forces to create a soothing balance. This pairing helps pears shine and grants the dish a rustic appeal.
I see it as a convenient favorite that pleases friends at potlucks. Many appreciate the simple layering technique, which avoids too much fuss in the kitchen. Each component stands out while blending seamlessly on the plate.
I keep the steps straightforward so you can assemble it quickly. Sometimes I swap the pears for another juicy fruit, but the spiced pear version remains my top choice. It pairs nicely with ice cream or whipped cream if you crave a creamy finish.
Key Ingredients That Bring Depth
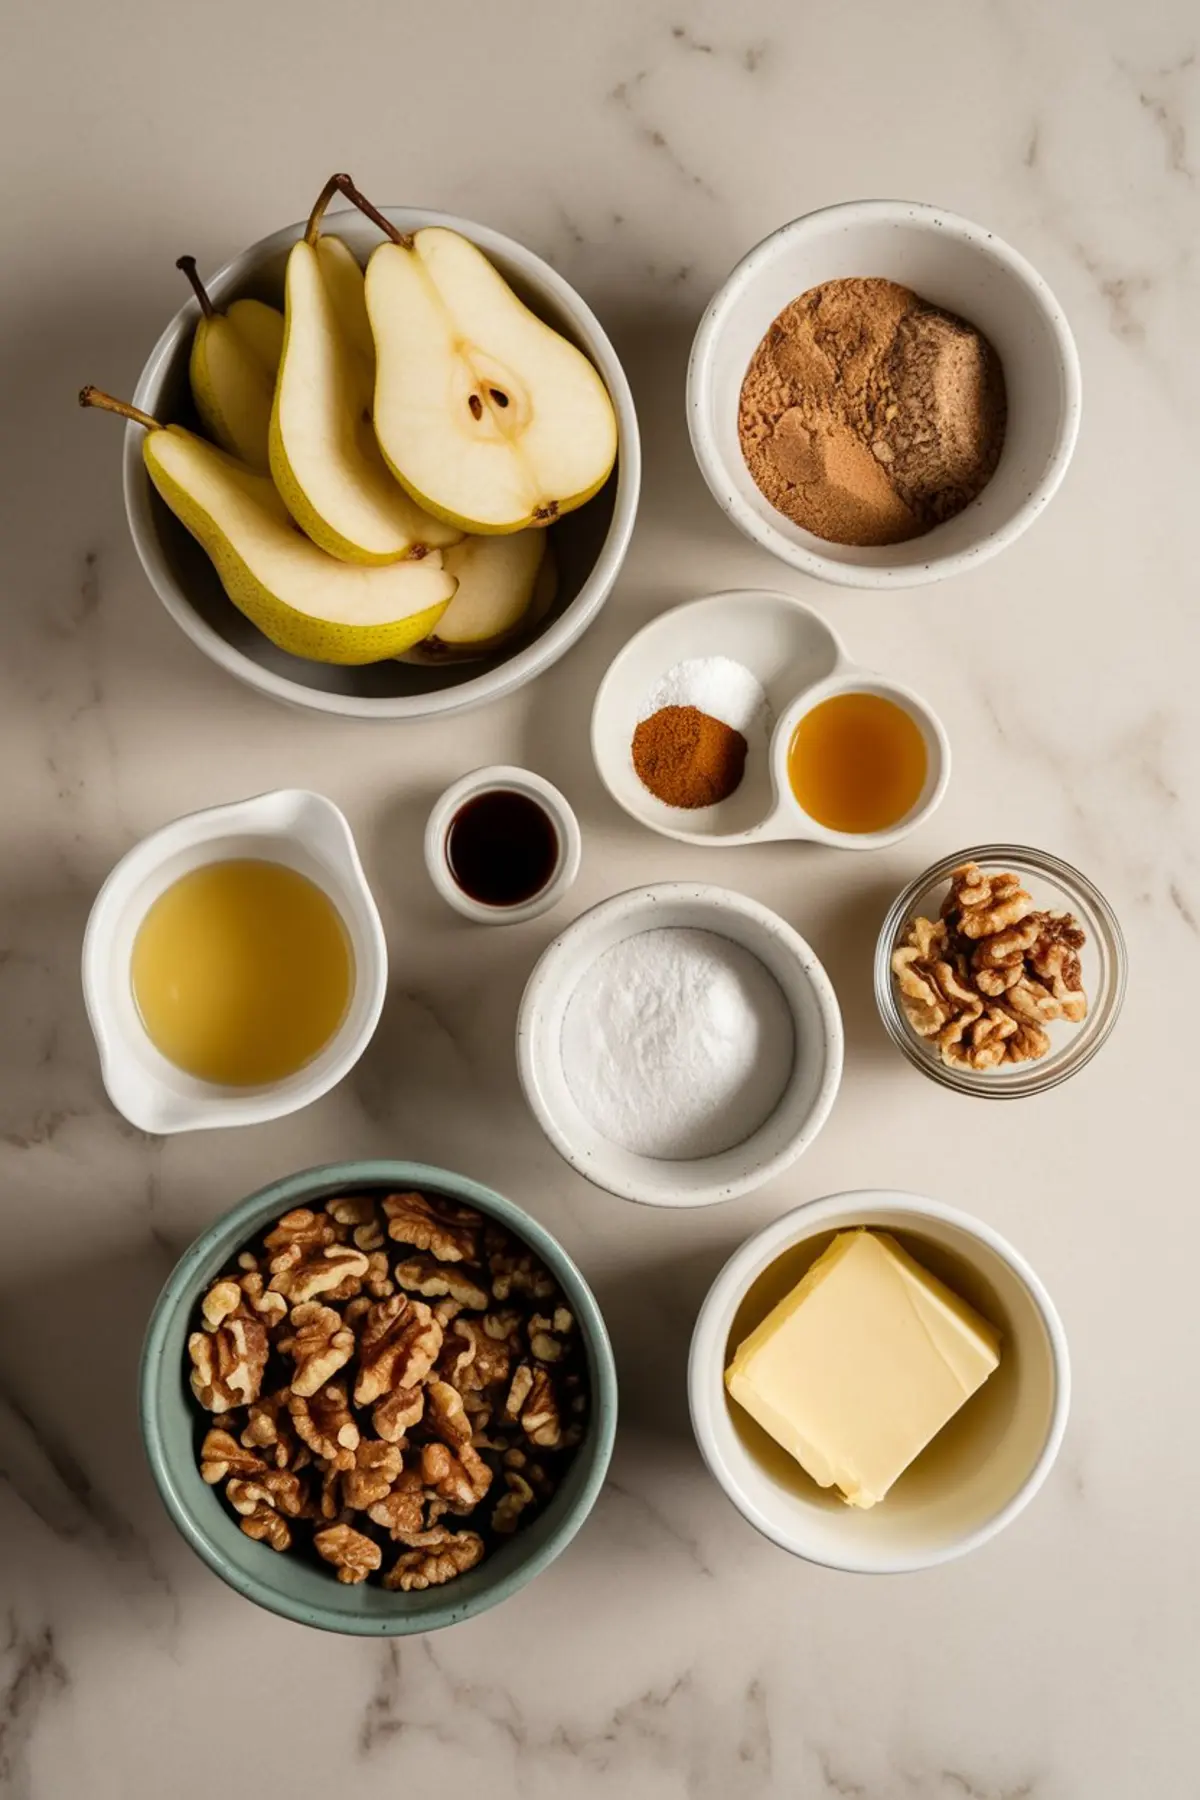
Pears form the foundation of this dessert. They offer soft texture and release sweet juices during baking, especially when combined with brown sugar. Cinnamon and nutmeg spark warmth, and a dash of vanilla extract smooths out the taste.
Spice cake mix adds a comforting backdrop, while melted butter infuses moisture into the topping. Walnuts contribute a crunchy element that contrasts the tender fruit. Lemon juice brightens the filling, and cornstarch thickens the juices as they bubble in the oven.
I try different variations on occasion. You can replicate a similar approach with apples or peaches, but pears have a unique charm. My sister once subbed in apples, which worked well, yet she still prefers pears for the softer bite.
How to Prepare the Spiced Pear Filling
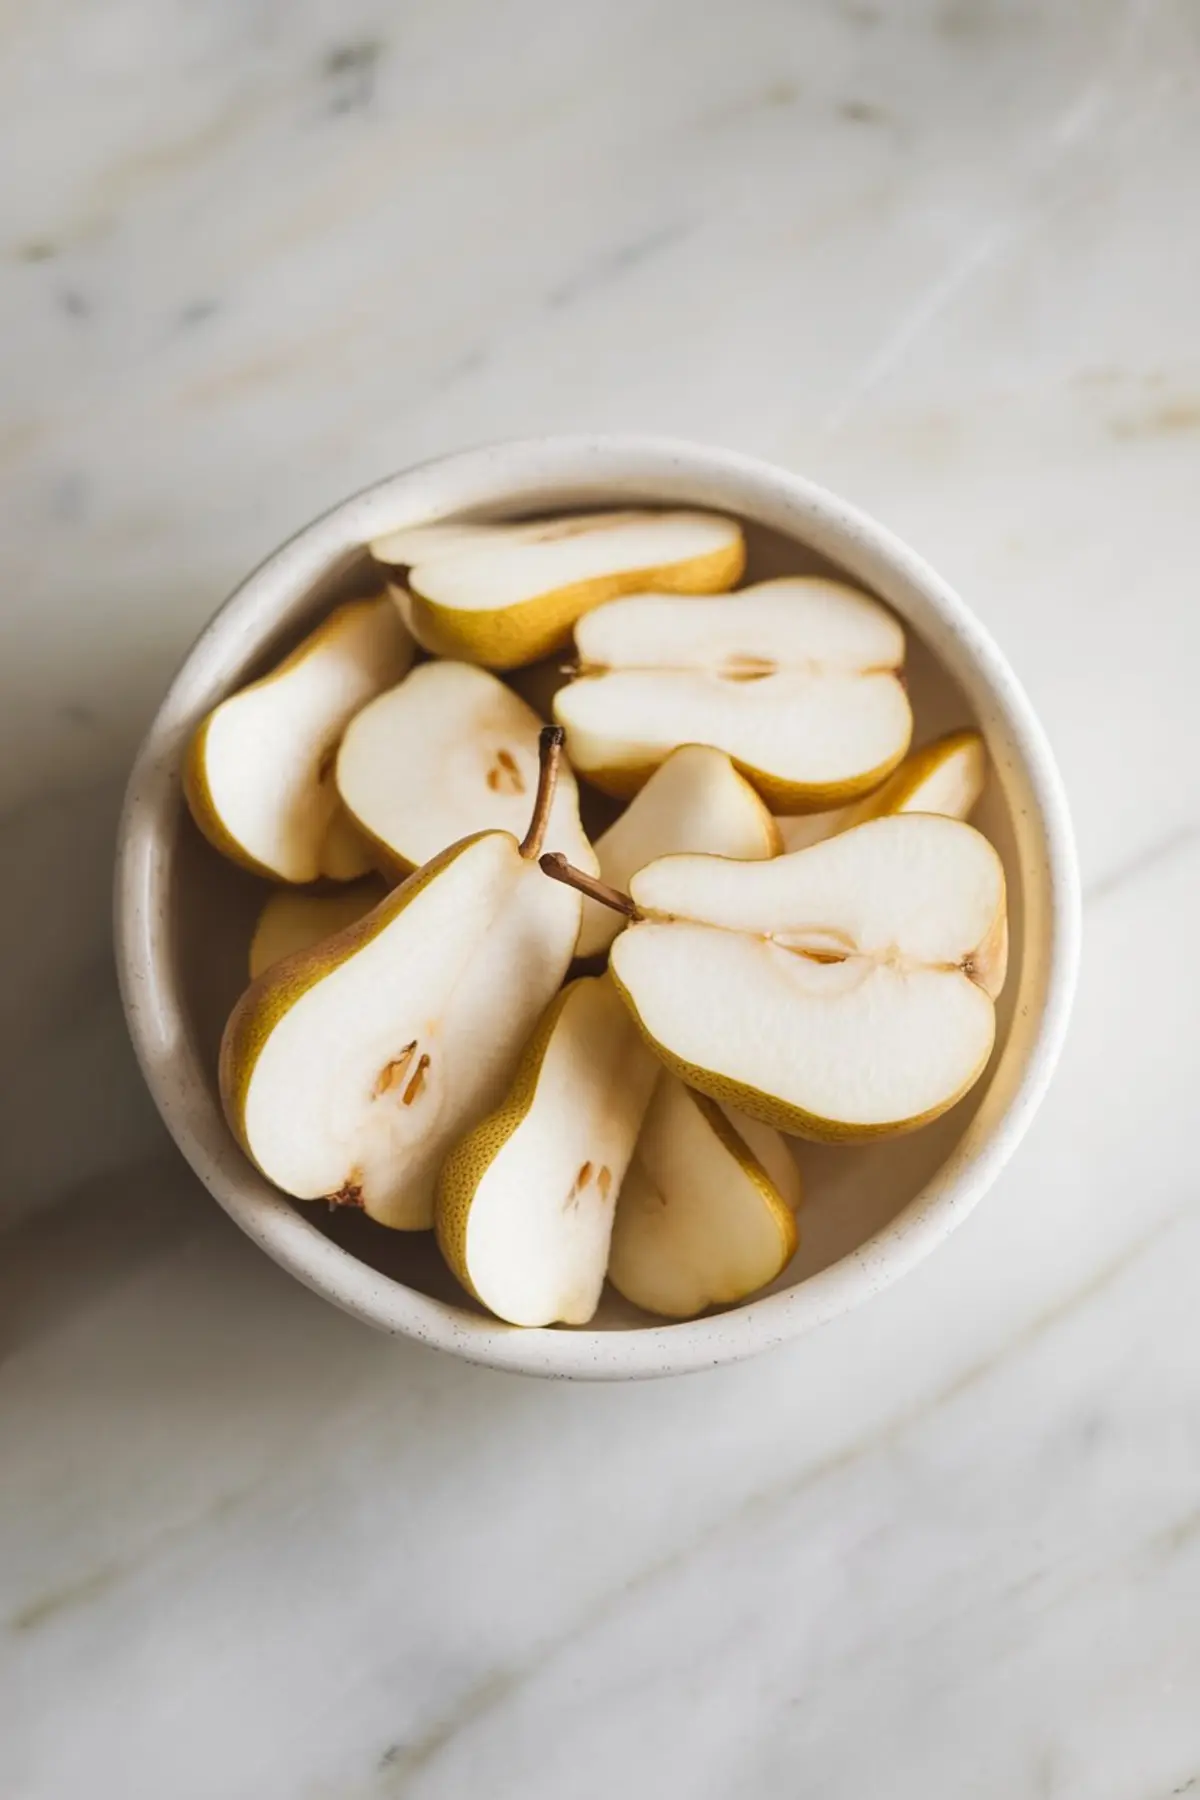
You begin by slicing five cups of ripe pears. I peel and core them before cutting to ensure even cooking and a smoother texture. I place them in a bowl, then add brown sugar, cinnamon, nutmeg, vanilla extract, lemon juice, and cornstarch.
I stir this gently, making sure the fruit is coated. The mixture starts to smell like a cozy kitchen on a crisp afternoon. This step allows the spices and sugar to form a comforting syrup once baked.
Set the bowl aside while you ready the baking dish. A 9×13-inch dish works well, and I like to grease it with butter for extra flavor. This arrangement keeps the pears from sticking and makes cleanup easier.
Layering the Topping for a Pleasing Crunch
Spread the pear filling evenly in the greased dish. Shake the spice cake mix on top, creating an even layer of dry mix across the fruit. Drizzle melted butter carefully over the cake mix to moisten every spot.
Scatter walnuts across the surface. A light sprinkle of extra cinnamon can enhance the topping. This layout is uncomplicated yet delivers a homey, pleasant outcome.
I smile whenever I see how quickly it comes together. There is no mixing bowl needed for the topping, which saves extra effort. The simplicity encourages me to bake it often.
Simple Steps for Baking and Timing
Preheat your oven to 350°F, place the dish inside, and let the magic happen for 40 to 45 minutes. The golden hue on top signals that the pears underneath have softened. Pear juices bubble around the edges, showing that the filling is done.
That visual cue means dessert time is near. I usually check the topping around the 30-minute mark to see if any dry areas remain. A little extra melted butter can fix dryness.
I love the smell that emerges from the oven. Spice cake mix, pears, and butter create a sweet fragrance that floats through the house. It feels like a comforting hug that reminds me of simpler days.
Serving and Storage Tips
Give the cake a 10-minute rest to let the filling set. Serve it warm with a scoop of vanilla ice cream. That cool addition balances the subtle warmth beneath.
Store leftovers in an airtight container in the fridge for up to three days. A quick spin in the microwave revives the softness. The flavors can deepen over time, so it often tastes even better the next day.
I find that a drizzle of caramel sauce works nicely on top. My friend once tried whipped cream with a sprinkle of cinnamon. Both options taste delightful, so choose what you like best.
More Fruit-Focused Desserts to Explore
Some fruit fans enjoy the Cherry Dump Cake with vibrant color that livens the table. Others crave the tropical flair of Papaya Dump Cake or the nostalgic charm of Banana Split Dump Cake. I suggest trying the Pineapple Coconut Layered Dump Cake Recipe if you adore a breezy summer essence.
You can also experiment with tangy flavors in a Pickle Dump Cake for a unique twist. A mixed fruit option like Triple Berry Dump Cakemight appeal if you enjoy a bright burst of combined berries. Lemon Blueberry Dump Cake offers a zesty contrast, while Banana Foster Dump Cake indulges fans of caramelized fruit.
I like sampling different fruit combinations because each recipe gives a fresh experience. These dishes call for minimal effort yet yield comforting treats. My extended family appreciates that variety, so I keep a few options ready whenever they visit.
Please Pin and Share Your Comments

I invite you to pin this recipe on your Pinterest board to keep it handy. Your feedback means a lot, so please leave a comment if you try this at home. Let me know how it turns out or if you have any questions.
I value the sense of community that grows from sharing cooking ideas. That connection reminds me of how we pass traditions through family recipes. You and I can keep these flavors alive for many future gatherings.
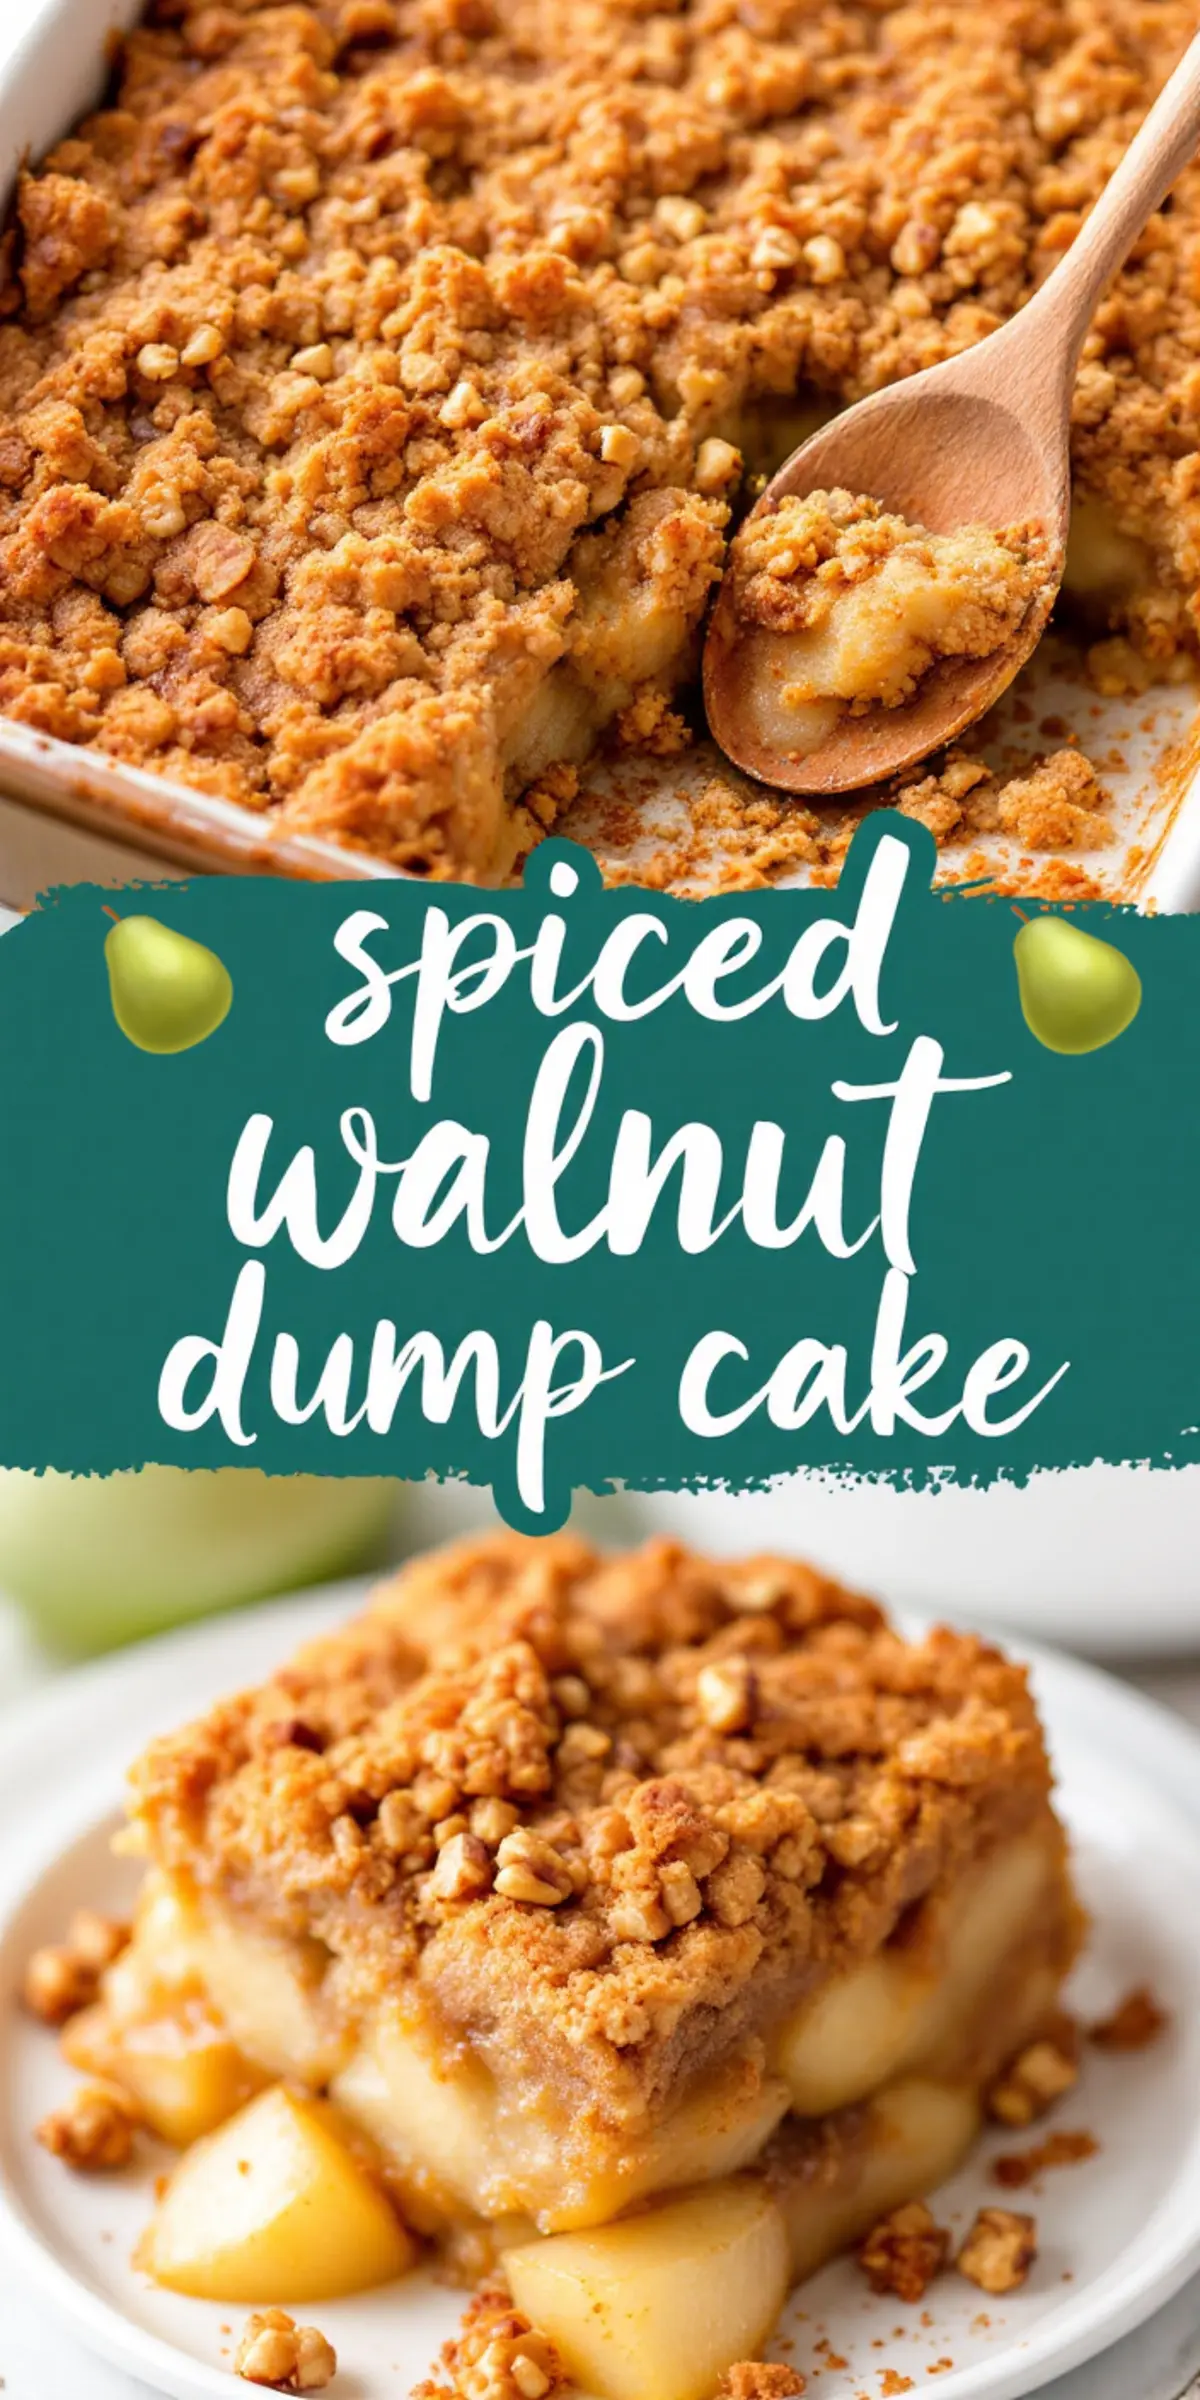
Spiced Pear Walnut Dump Cake Recipe

A warm and simple dessert featuring spiced pears, a buttery cake topping, and crunchy walnuts. This easy dump cake requires minimal effort and delivers a cozy flavor perfect for fall or any time of year.
Ingredients
- FOR THE PEAR FILLING:
- 5 cups ripe pears, peeled, cored, and sliced (about 4-5 large pears)
- ½ cup brown sugar
- 1 teaspoon cinnamon
- ½ teaspoon nutmeg
- 1 teaspoon vanilla extract
- 1 tablespoon lemon juice
- 1 tablespoon cornstarch
- FOR THE TOPPING:
- 1 box (15.25 oz) spice cake mix
- ½ cup unsalted butter, melted
- ½ cup chopped walnuts
- ½ teaspoon cinnamon (optional)
Instructions
- PREHEAT THE OVEN: Preheat the oven to 350°F (175°C). Grease a 9x13-inch baking dish with butter or non-stick spray.
- PREPARE THE PEAR FILLING: In a large mixing bowl, combine the sliced pears, brown sugar, cinnamon, nutmeg, vanilla extract, lemon juice, and cornstarch. Stir until the pears are evenly coated and the mixture is well combined.
- ASSEMBLE THE DUMP CAKE: Spread the pear mixture evenly in the greased baking dish. Sprinkle the spice cake mix evenly over the top without stirring. Drizzle the melted butter over the cake mix, ensuring all dry spots are moistened. Sprinkle the chopped walnuts on top, along with an optional ½ teaspoon of cinnamon for extra flavor.
- BAKE: Place the baking dish in the preheated oven and bake for 40-45 minutes, or until the topping is golden brown and the pear filling is bubbling around the edges.
- COOL AND SERVE: Let the cake cool for about 10 minutes before serving. The filling will thicken slightly as it cools. Serve warm with vanilla ice cream, whipped cream, or caramel sauce.
Notes
For a firmer texture, use slightly underripe pears, as they will hold their shape better during baking. If the topping appears dry after 30 minutes of baking, drizzle an additional 2 tablespoons of melted butter over any dry spots and continue baking. For a nut-free version, omit the walnuts or replace them with rolled oats for added texture. Store leftovers in an airtight container in the refrigerator for up to 3 days. Reheat individual servings in the microwave for 20-30 seconds before serving.
Nutrition Information
Yield
12Serving Size
1Amount Per Serving Calories 342Total Fat 13gSaturated Fat 6gTrans Fat 0gUnsaturated Fat 6gCholesterol 20mgSodium 322mgCarbohydrates 57gFiber 3gSugar 34gProtein 3g