I remember the first time I tasted Chocolate Egg Nest Meringues. The delicate crunch, the sweet swirl, and the playful chocolate drizzle drew me in. I fell in love with this dessert because it combined simple ingredients with childlike joy.
I made these for a family gathering once and watched everyone grin as they cracked into each airy bite. My aunt even asked if I had a secret technique for that extra crispy shell. I told her I just followed the steps faithfully, then let the meringues rest, which seemed to amaze her.
I still appreciate the texture and lightness each time I whip up a batch. The aroma of egg whites turning stiff and glossy reminds me of home, and the final look always makes me proud.
Following a special diet?
Every recipe on this site can be converted to gluten-free, vegan, dairy-free, keto, nut-free or egg-free with adjusted ratios so nothing falls flat.
Try the Recipe Converter →Why These Chocolate Egg Nest Meringues Bring A Smile
Chocolate Egg Nest Meringues start with egg whites, sugar, and a hint of cream of tartar. The process feels soothing, especially when I see the mixture transition from frothy to full peaks. This dessert always signals springtime in my kitchen, thanks to the candy eggs sitting on top.
I see them as a symbol of renewal and sweet possibilities. The crisp structure of each nest supports the melted chocolate, giving a twiggish effect that pleases the eye. The candy eggs provide a gentle crunch, which contrasts with the airy meringue below.
I often use dark chocolate for that rich depth, but milk chocolate works well too. Each option adds its own personality to the drizzle and complements the sugary shell.
My Tips For Crisp Meringue Nests
I start by letting my egg whites warm to room temperature. My experience shows that they whip more evenly that way. I also introduce sugar gradually, which supports the steady rise to stiff peaks.
I keep the mixing bowl free of grease or moisture because even a drop of water can spoil the structure. I watch the egg whites carefully, then add cream of tartar to fortify their stability. Vanilla extract finishes the mixture with a warm aroma that emerges in every bite.
I aim for stiff peaks that hold their shape when I lift the beater. My grandmother taught me to turn the bowl upside down for a quick test. If nothing moves, then I know the meringue is ready for piping.
How To Shape And Decorate These Meringue Treats
I transfer the meringue into a piping bag with a large star tip. I pipe a firm circle on the parchment-lined sheet, then circle around to build the edges. That approach creates the nest shape that cradles the candy eggs later.
I bake them slowly at a low temperature, then turn off the oven and allow them to cool inside. That extra rest helps prevent cracks and keeps the centers dry enough to hold the chocolate drizzle. I melt the chocolate in short bursts in the microwave, stirring in between so it stays silky.
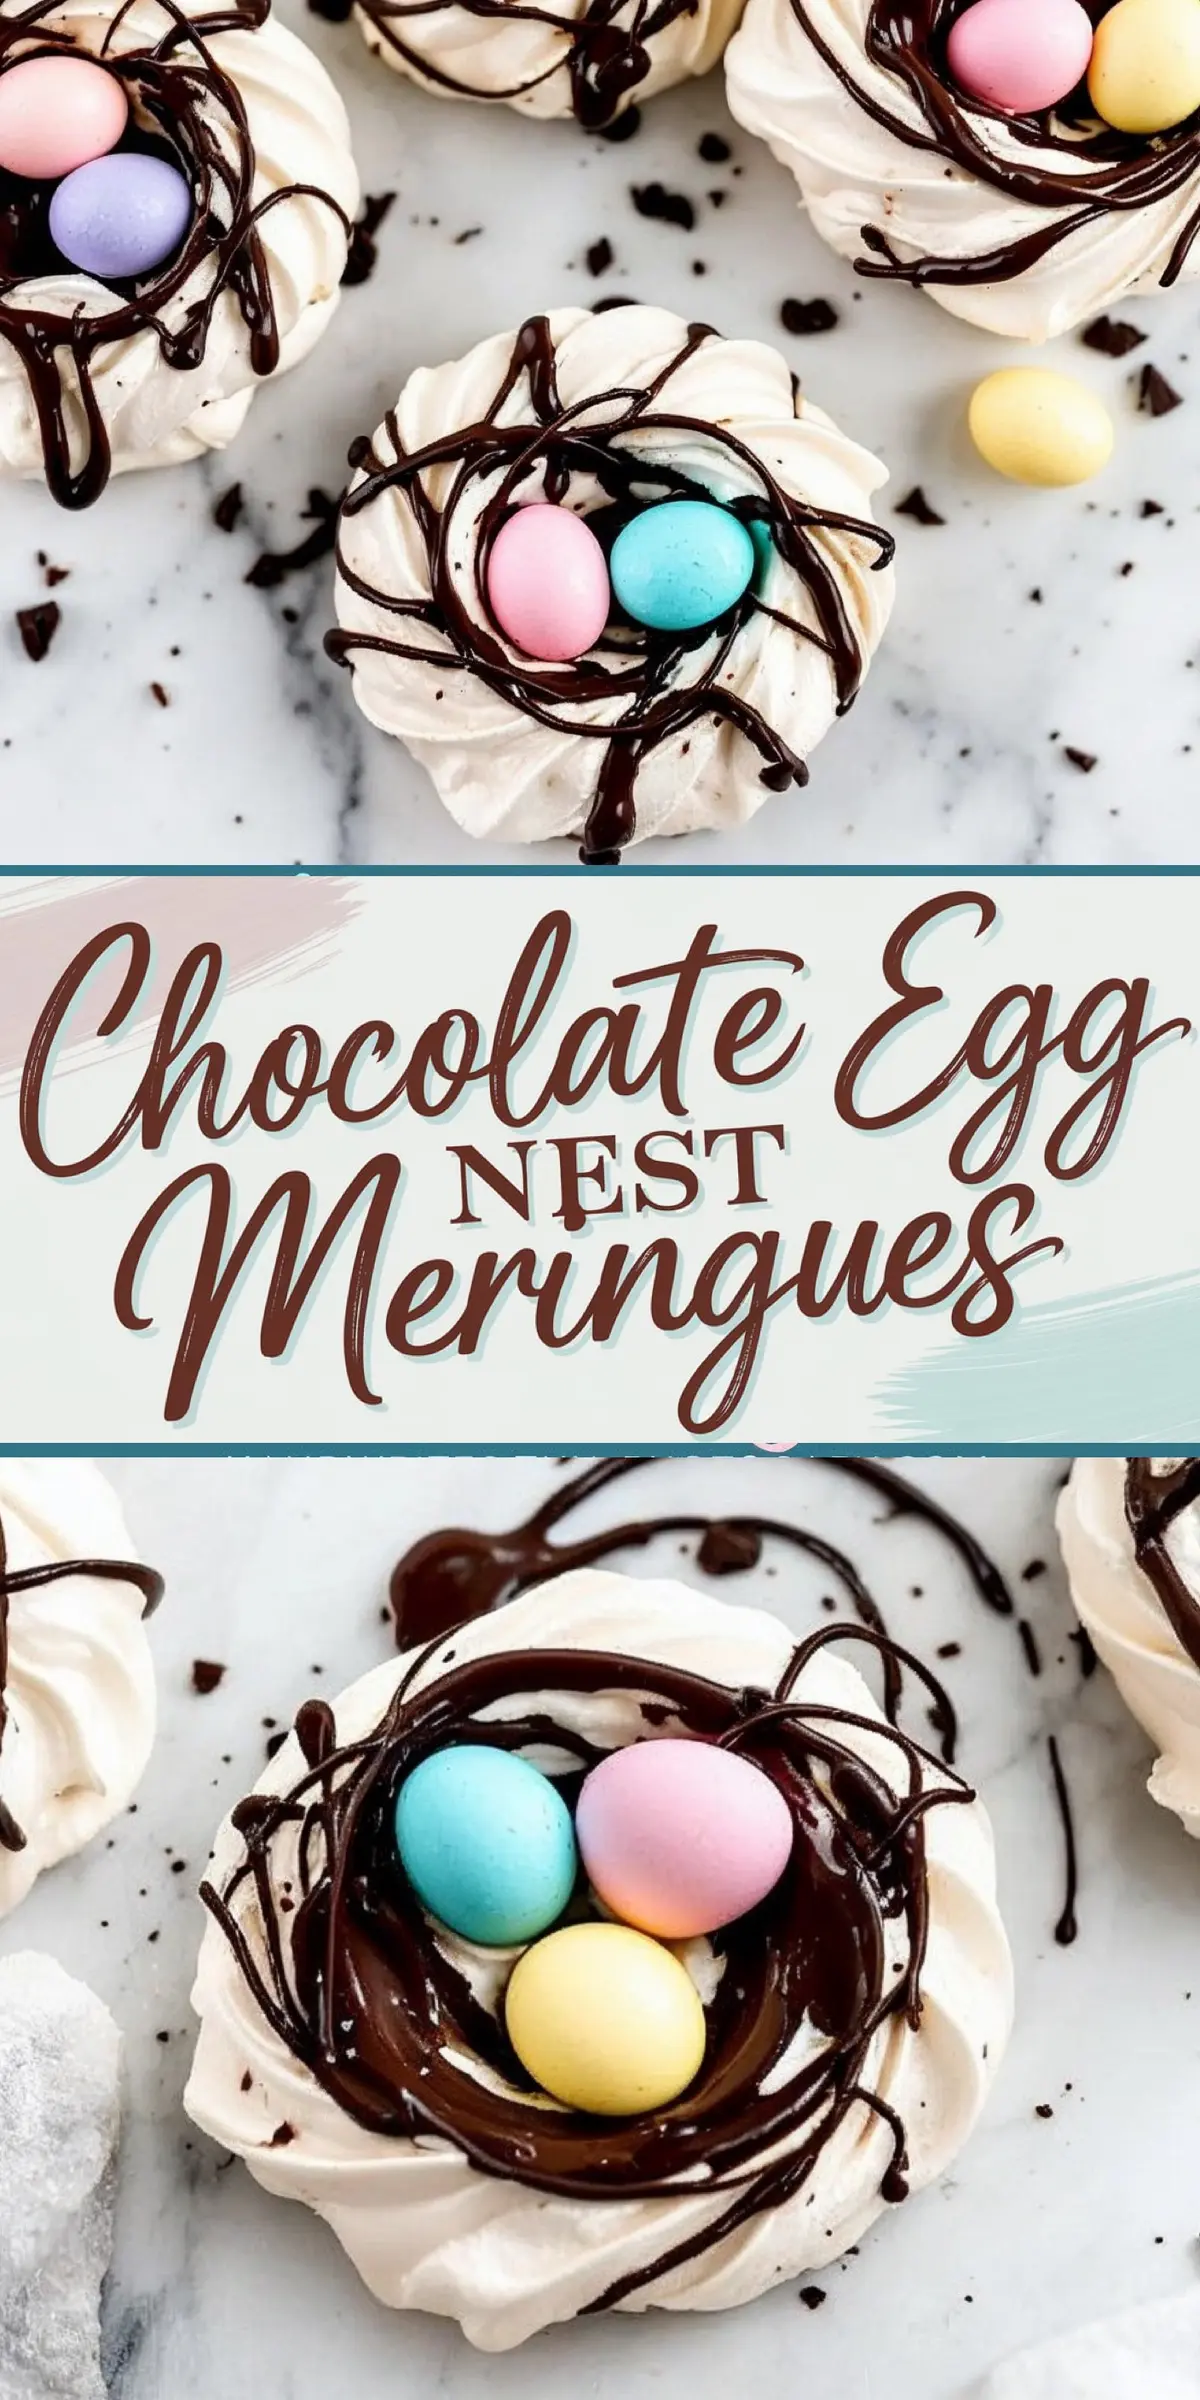
I then drizzle the chocolate in a crisscross motion for a twig-like pattern. I place the candy eggs while the chocolate is slightly warm. The small bright eggs pop against the white shell, inviting you to take a sweet bite.
Serving And Storing Suggestions
I like to serve these nests on a pretty cake stand, which highlights their airy charm. The crunchy outside and the melt-in-your-mouth inside always dazzle guests. You can add a small scoop of whipped cream in the center if you want an extra creamy texture.
I store leftovers in an airtight container at room temperature. I keep them away from humidity, since moisture can soften that crisp shell. If they lose a bit of their crunch over time, a quick stay in a low oven can help restore it.
I share these tips with friends who sometimes worry about fragile meringues. Properly sealed containers can preserve the flavor for a couple of days, although I rarely see them last beyond one afternoon in my house.
More Spring And Easter Dessert Ideas
I sometimes mix up my meringue game with Raspberry Meringue Cookies. That variation involves a swirl of fruit flavor that adds a tangy contrast to the sweet base. My family enjoys them during weekend gatherings because they pair well with tea or coffee.
I also recommend the Easter Egg Nest Cake if you want a chocolate cake that extends this nest concept. I made it for a friend’s spring potluck, and the chocolate layers truly impressed everyone. That cake stands as a showstopper at any festive event.
I see these recipes as part of a sunny tradition. They belong together on a table that welcomes bright pastels, fresh flowers, and cheerful energy.
Personal Experience With This Nostalgic Treat
I learned this recipe from a family cookbook that had notes scribbled in the margins. I kept trying it until I found the exact oven temperature and timing that worked in my kitchen. My first attempt had me worried because the tops started to brown, but I lowered the temperature and found my sweet spot.
I even tried adding cocoa powder once, but the plain white appearance looked prettier with the chocolate drizzle. My nieces like to help with the final step, placing the candy eggs on top and creating playful patterns. It feels good to share that small tradition, passing it down to younger ones.
I also learned that patience is key here. A slow bake and a careful cool-down keep the meringues pristine. I love seeing them lined up on the tray, waiting for the last flourish of melted chocolate.
Adapting The Flavor And Presentation
I sometimes try different candy toppings. Mini chocolate bites bring more chocolate flavor, while pastel-colored candy looks extra bright. I even sprinkled toasted coconut once for a bit of crunch, though I still prefer the classic version with candy eggs.
I might mix in a drop of lemon extract for a light zing. That subtle citrus undertone can complement the sugary base without overpowering it. You can also vary the chocolate choice, swapping between dark, milk, or white chocolate.
I want these meringue nests to be your canvas for sweet creativity. You can shape them larger or smaller depending on your style. Each nest can adapt easily to personal taste, which is why I love them so much.
Why This Recipe Matters To Me
I value how these meringues unify simple elements into a dessert that people remember. My mother showed me the magic of egg whites as a child. She had me stand on a stool so I could watch the mixer whip them into a glossy swirl.
I smile at how that memory keeps me company each time I prepare this treat. It’s more than a dessert for special events. It also represents memories I hold close, reminding me of laughter and learning in the kitchen.
I see it as a bridge between past and present. Each swirl of the mixer reconnects me to childhood delight, while each drizzle of chocolate keeps me excited for the next gathering.
Save This Dessert As A Pin And Share Your Thoughts
I encourage you to save this recipe on your Pinterest board for easy reference later. Pinning helps you come back when you feel inspired to create a charming spring dessert. You can pass this along to friends or family who crave sweet bites during the sunny season.
I invite you to tell me in the comments how your Chocolate Egg Nest Meringues turned out. You can share any tips or creative twists you discovered along the way. Your ideas build a friendly kitchen community where everyone learns and grows together.
I enjoy reading your experiences, so feel free to ask questions if you need extra guidance. This dessert always sparks fun conversations about technique, flavor, and presentation. I look forward to hearing about your success and helping you refine any details for your next batch.
Chocolate Egg Nest Meringues Recipe
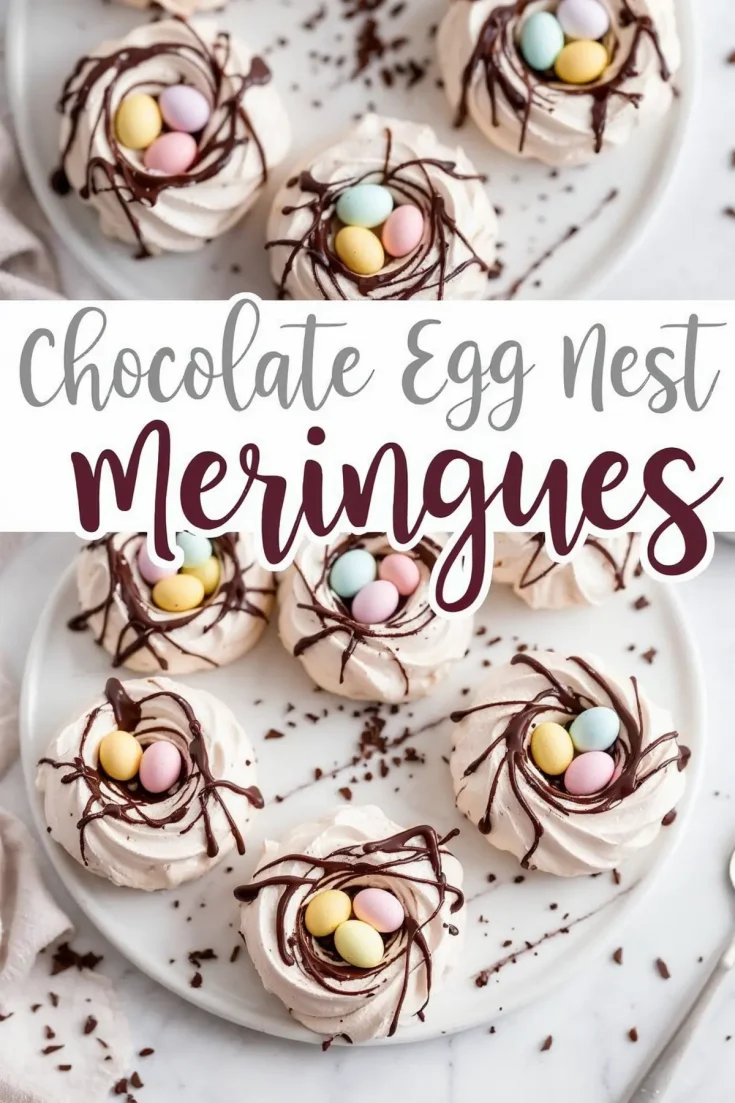
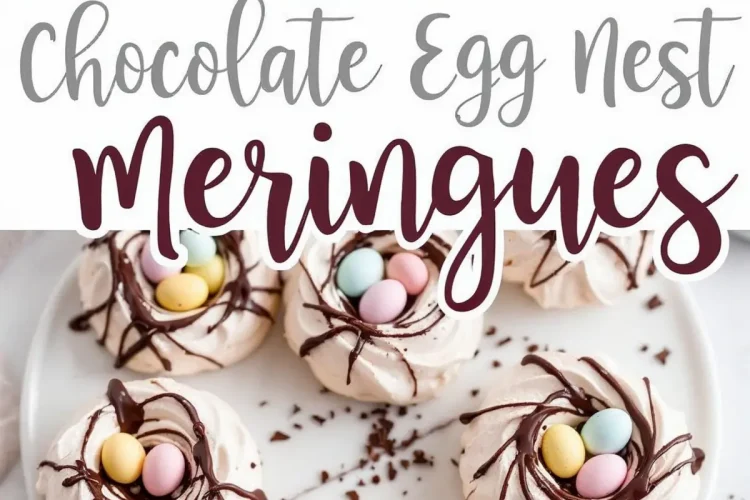
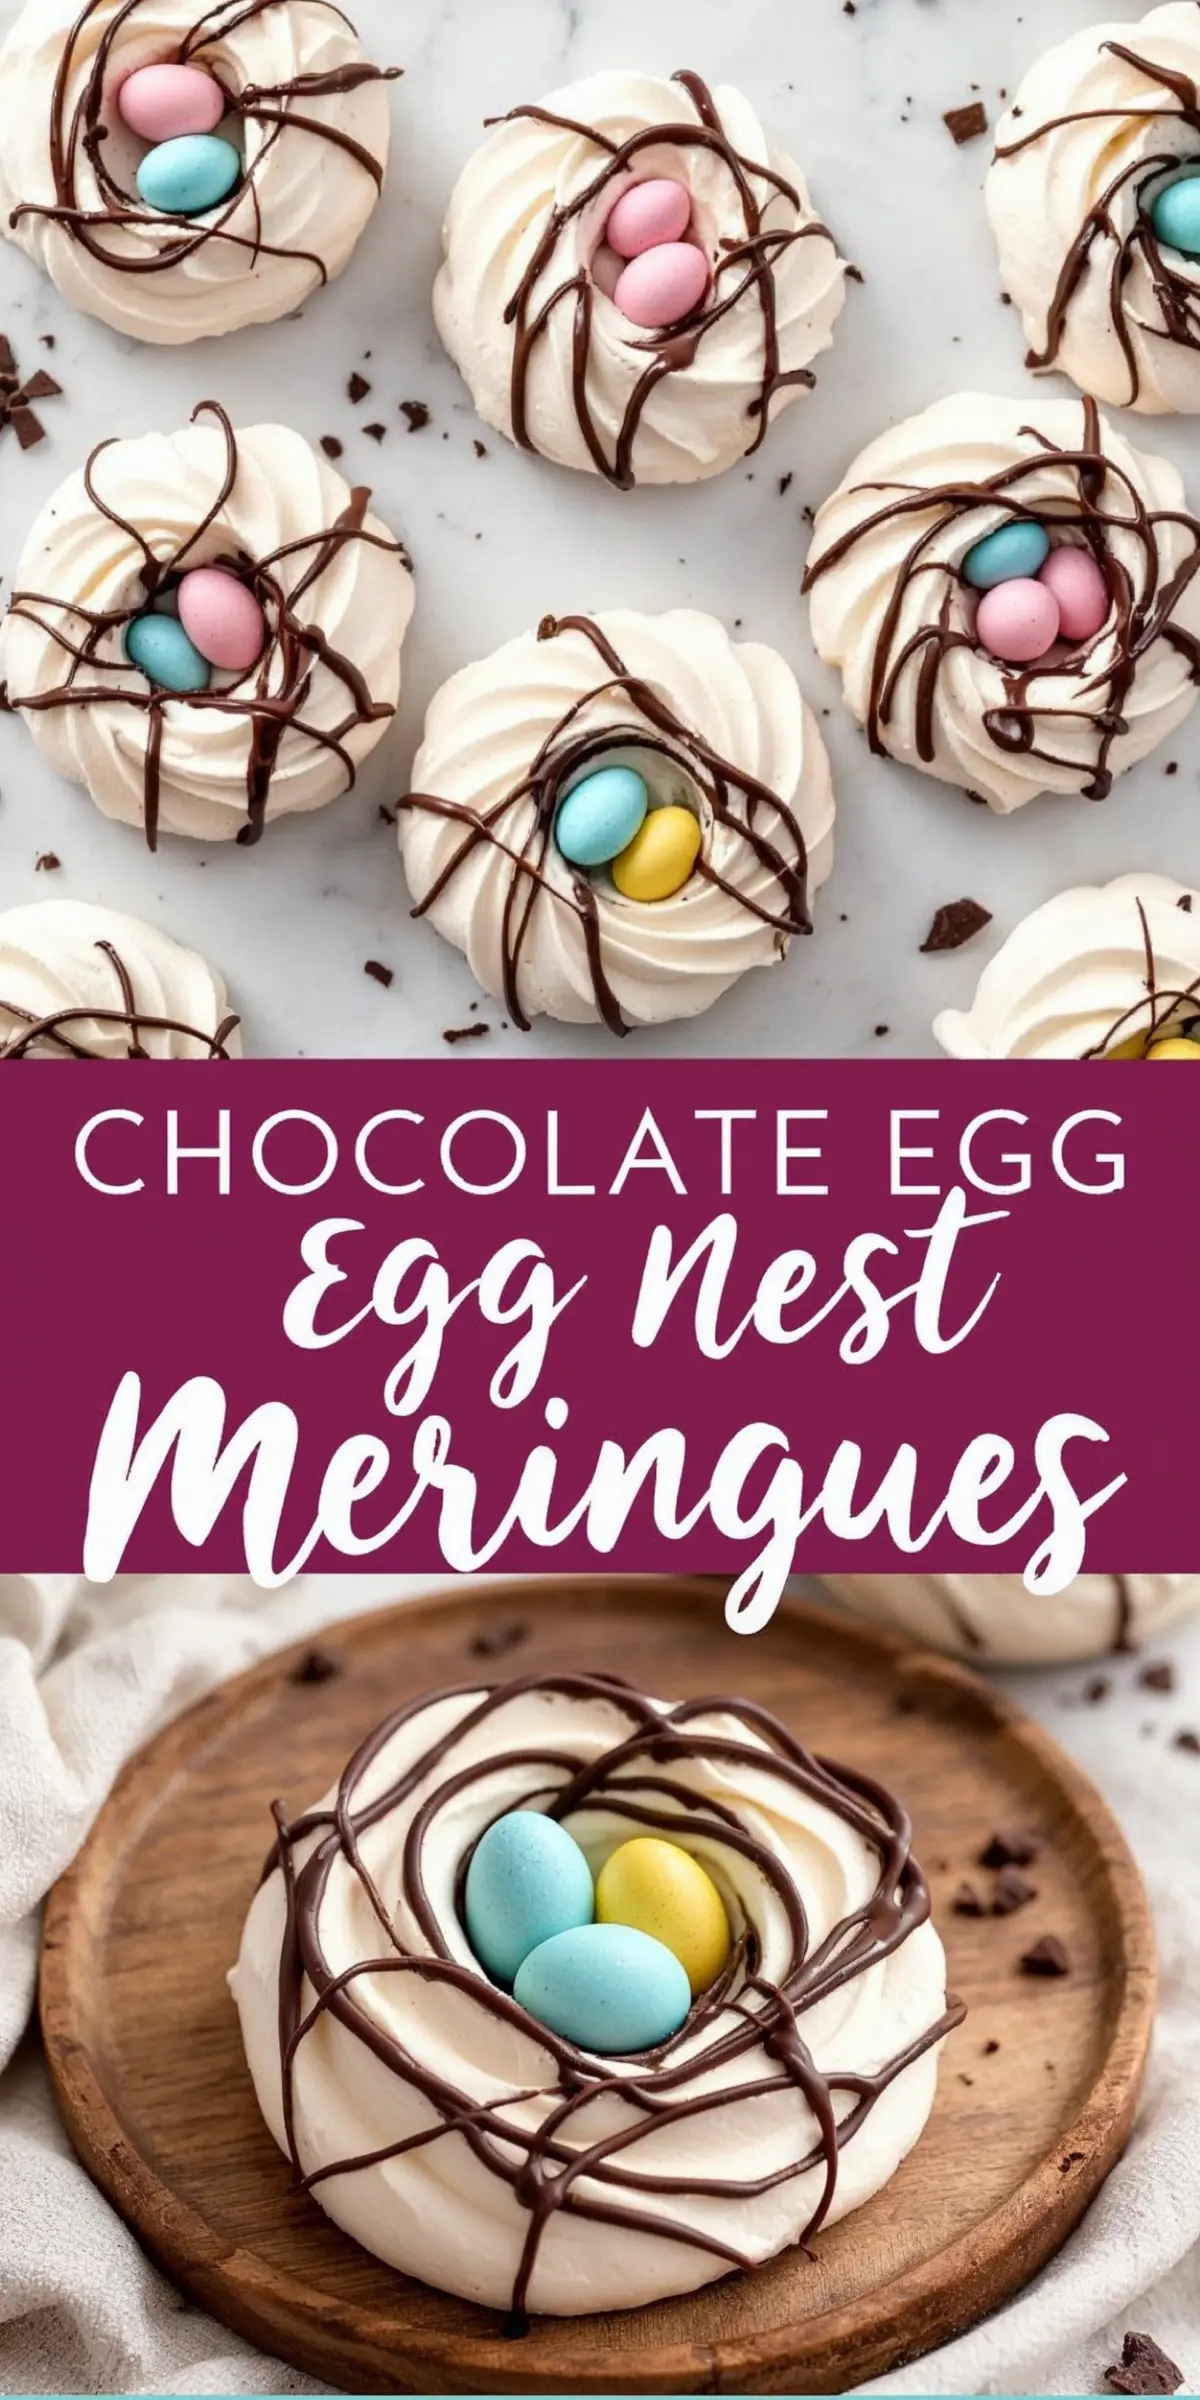
Light and crisp meringue nests are shaped like bird nests, drizzled with chocolate, and topped with candy eggs. These festive treats are perfect for spring celebrations.
Ingredients
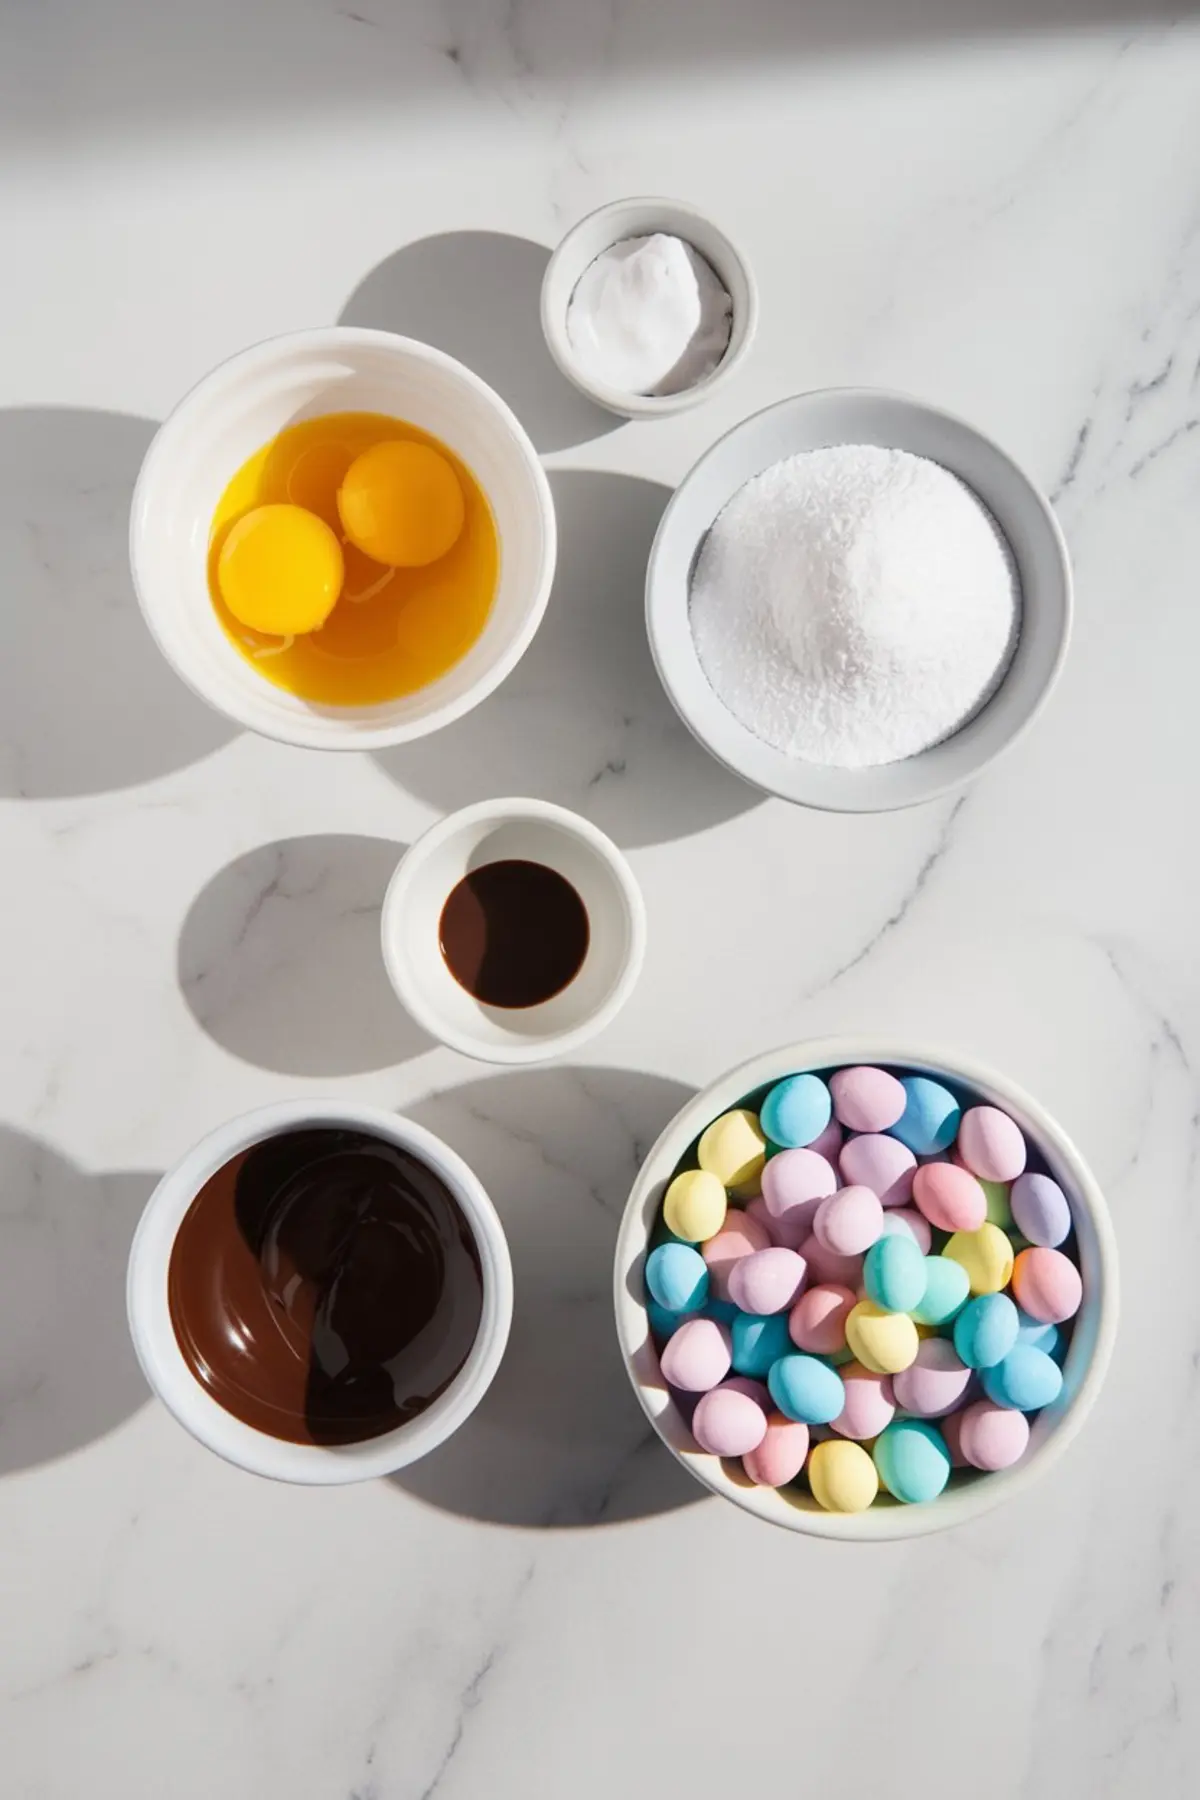
- FOR THE MERINGUES:
- 4 large egg whites (room temperature)
- 1 cup (200g) granulated sugar
- ½ teaspoon cream of tartar
- 1 teaspoon vanilla extract
- FOR THE DECORATION:
- ½ cup (90g) dark or milk chocolate, melted
- Candy-coated chocolate eggs (such as Cadbury Mini Eggs)
Instructions
- PREPARE THE OVEN: Preheat the oven to 225°F (110°C). Line a baking sheet with parchment paper and set aside.
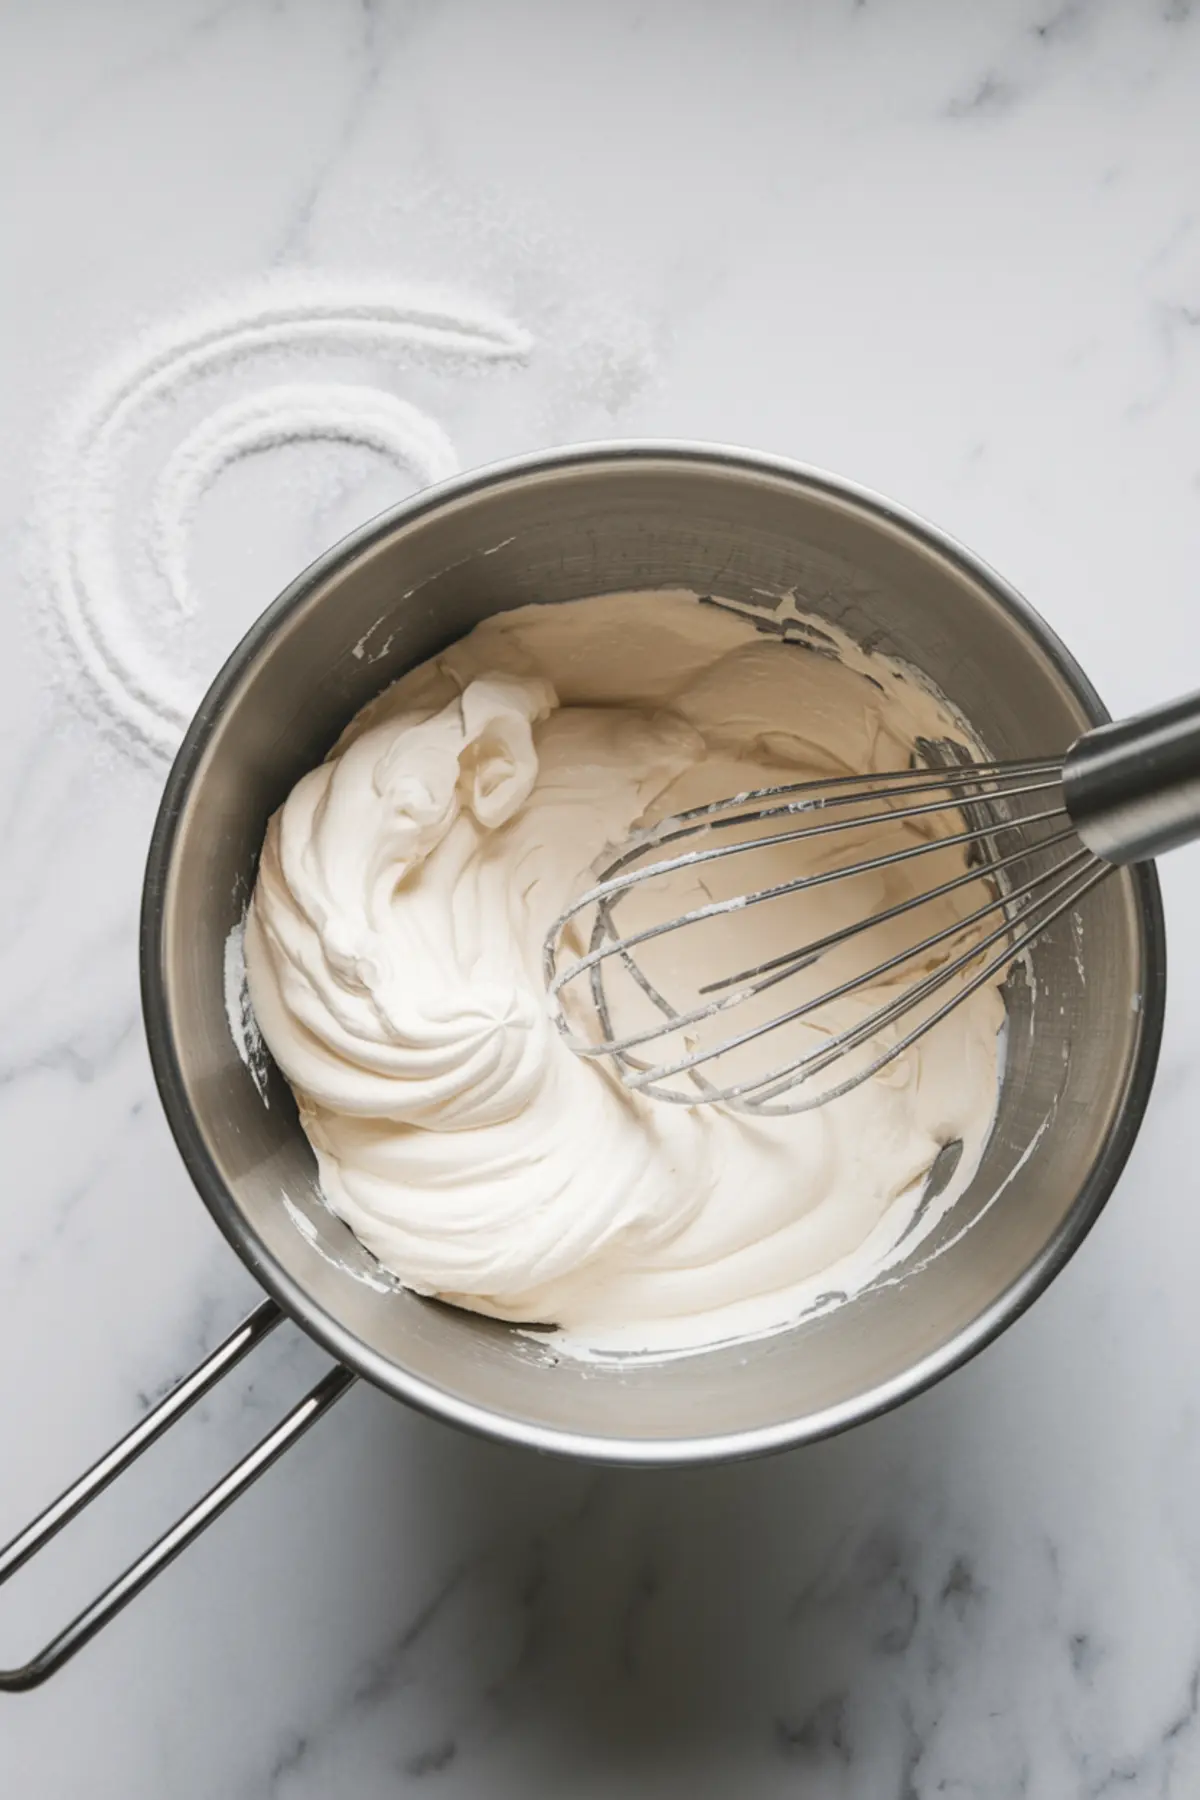
- MAKE THE MERINGUE: In a clean, dry bowl, beat the egg whites on medium speed until foamy. Add the cream of tartar and continue beating. Gradually add the sugar, one tablespoon at a time, while beating on high speed until the mixture is glossy and forms stiff peaks, about 6-8 minutes. Mix in the vanilla extract.
- PIPE THE NESTS: Transfer the meringue mixture into a piping bag fitted with a large star tip. Pipe circles onto the parchment paper, about 3 inches (7.5 cm) wide, then pipe a second layer around the edges to form a nest shape.
- BAKE AND COOL: Bake for 90 minutes. Turn off the oven and leave the meringues inside for another 30 minutes to cool slowly.
- MELT THE CHOCOLATE: Place the chocolate in a heatproof bowl and microwave in 20-second intervals, stirring between each, until smooth.
- DECORATE THE NESTS: Using a spoon or piping bag, drizzle the melted chocolate over the meringue nests in a crisscross pattern to resemble twigs. While the chocolate is still slightly warm, gently place 1, 2, or 3 candy eggs in the center of each nest.
Notes
For well-shaped nests, start by piping a solid base, then pipe around the edges twice to build up the sides, leaving a shallow center for the chocolate eggs. Let the meringues cool completely in the oven to prevent cracking. Store in an airtight container at room temperature for up to 3 days. Avoid refrigerating, as moisture can soften the meringues. If needed, re-crisp them in a 200°F (95°C) oven for 10 minutes.
Nutrition Information
Yield
12Serving Size
1Amount Per Serving Calories 29Total Fat 1gSaturated Fat 1gTrans Fat 0gUnsaturated Fat 0gCholesterol 16mgSodium 26mgCarbohydrates 3gFiber 0gSugar 2gProtein 2g