
I remember my first attempt at this dessert during a sunny weekend with my best friends. We gathered in my cramped kitchen, laughing at the pastel chaos swirling on the counter. My friend Mia teased me for my chocolate-smeared apron, yet she licked the spoon with an excited grin.
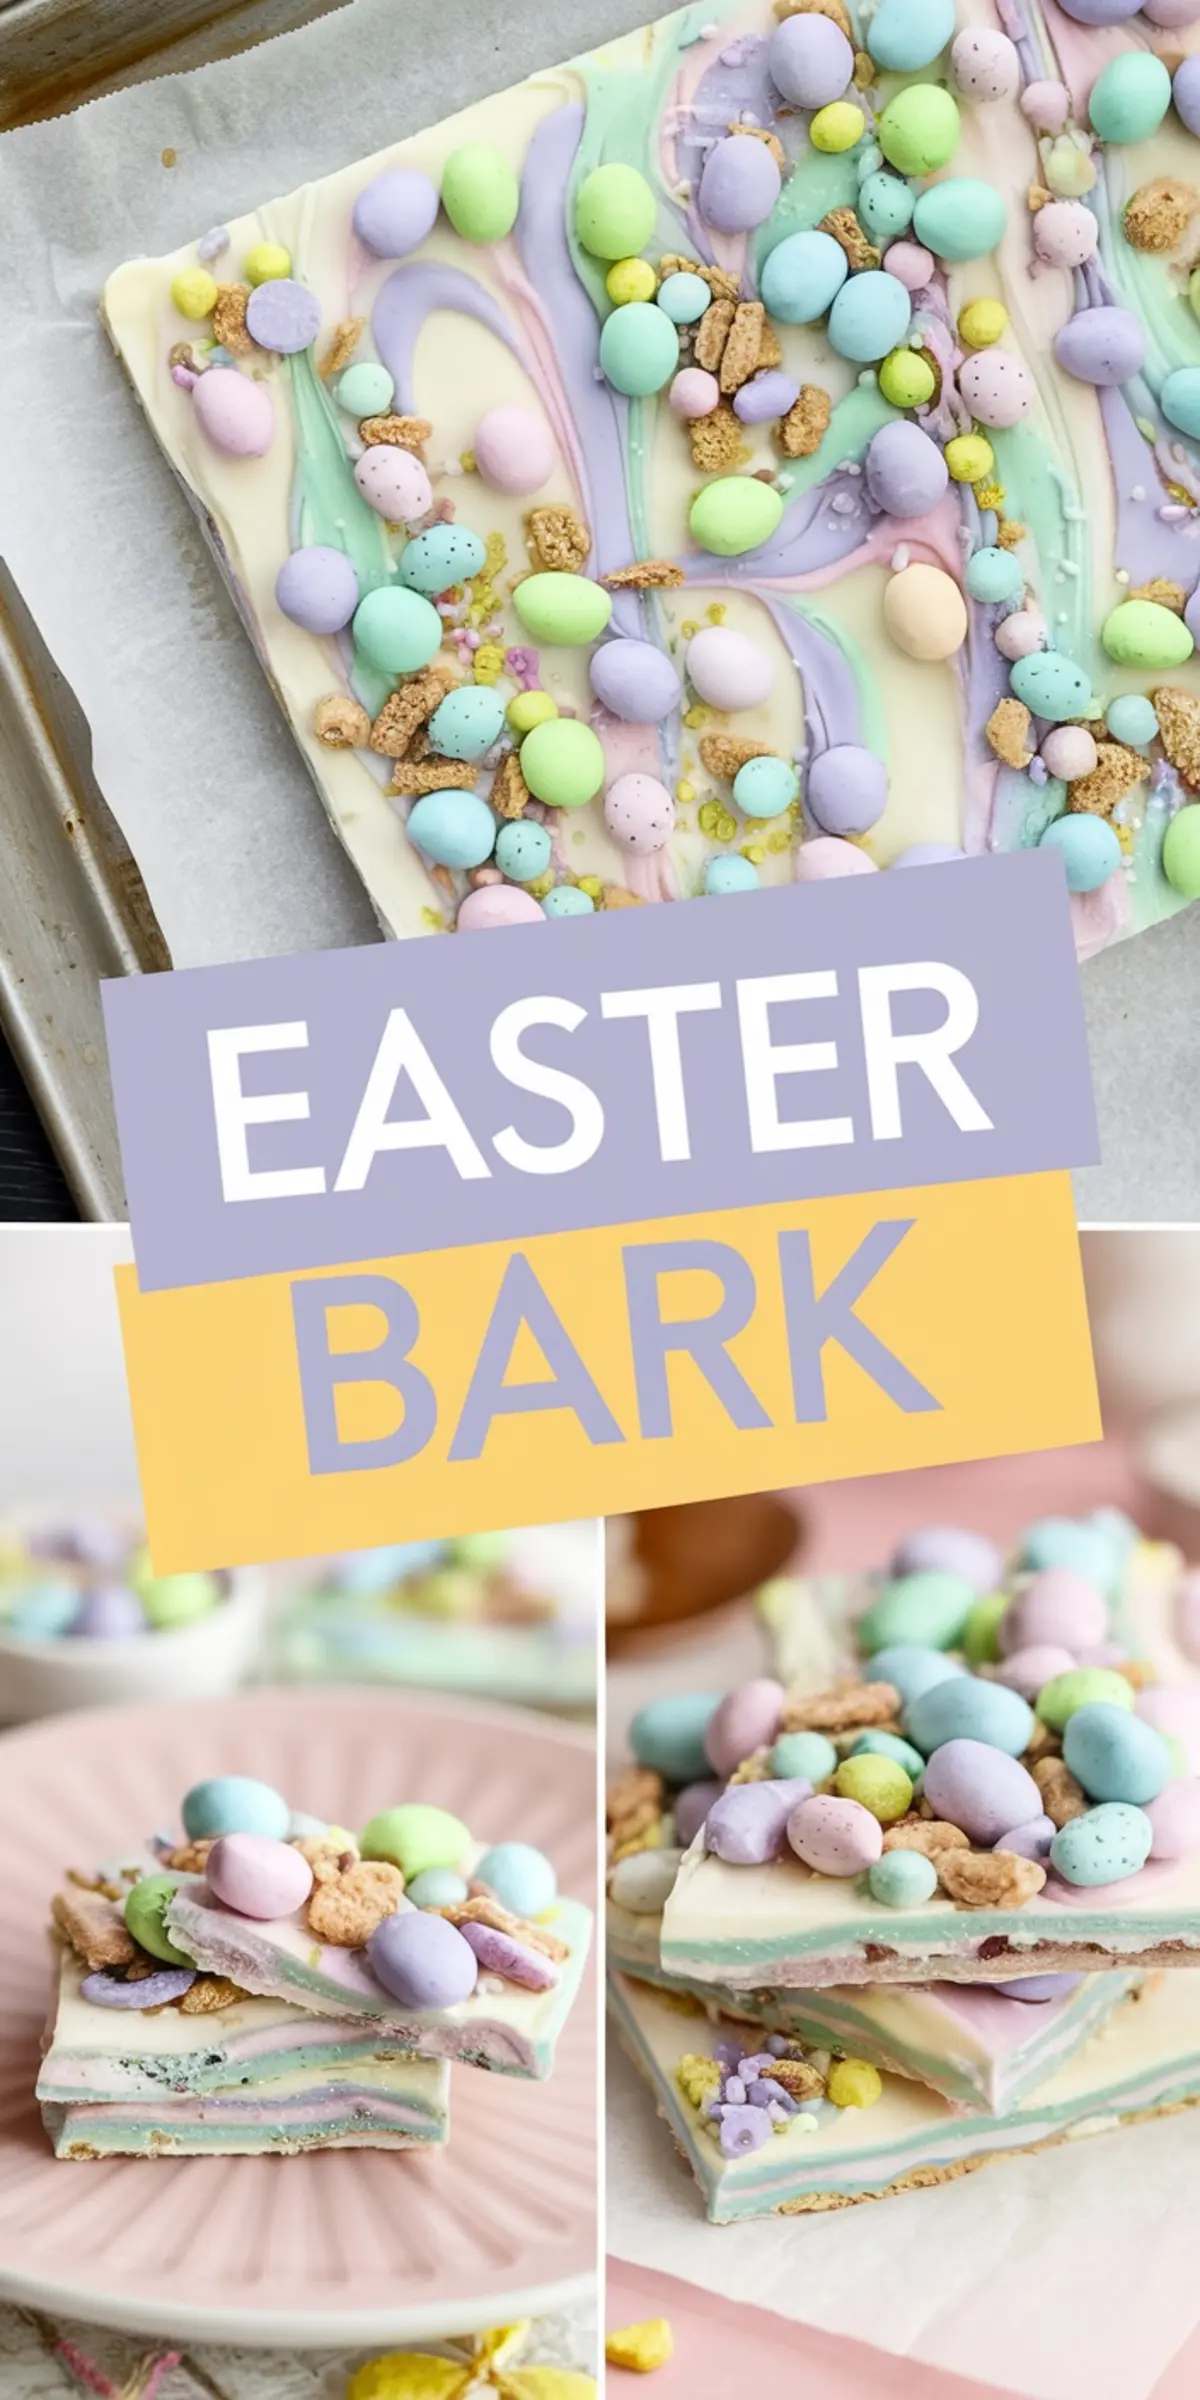
I still recall the swirl of colors that gave our creation a warm, nostalgic glow. We broke the sheets into random pieces, and each one had a personal flair. I fell in love with the sweet taste paired with the crunch of cookie pieces, which made this recipe my go-to Easter bark candy.
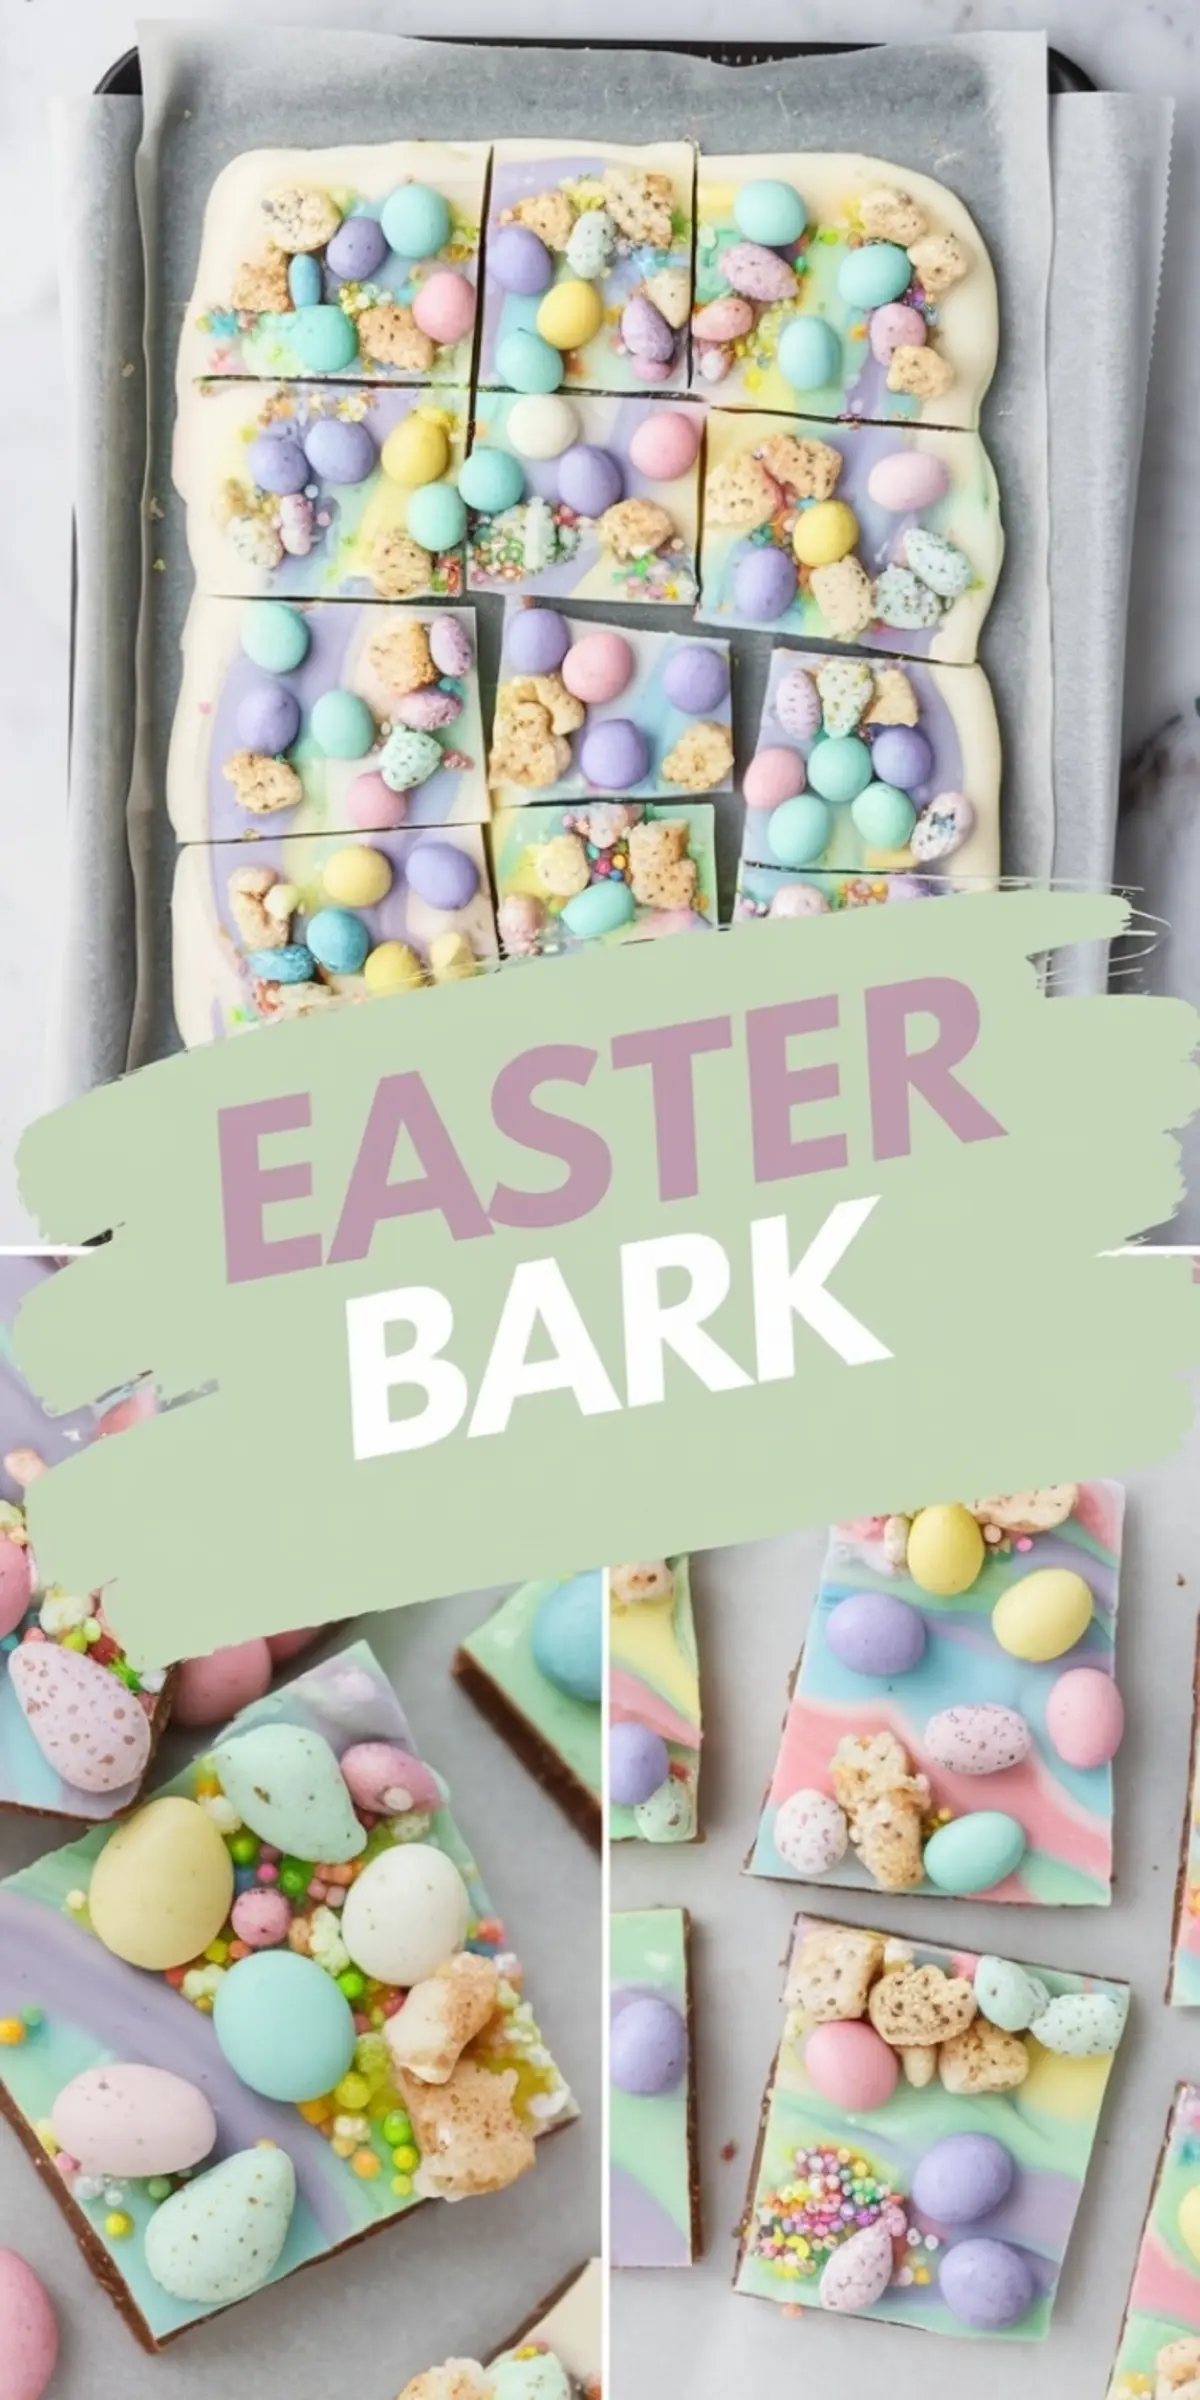
This Easter bark recipe stands out because of its playful pastel swirls and its simple preparation. You can add a buttery cookie crust if you enjoy extra crunch. You can skip the crust if you need a quicker version, and the bark still tastes incredible.
My mom first suggested using crushed cookies as a base. I tested that idea after rummaging through my pantry for something to add a crisp layer. I found leftover Biscoff cookies, which worked well, though graham crackers do a fine job, too.
Those cookies mix easily with melted butter, forming a thin crust that chills in the refrigerator while you handle the chocolate. I advise making that step first, so you can press the mixture into a lined baking sheet. I remember gently patting it down and wondering if it would hold up under layers of melted candy.
Following a special diet?
Every recipe on this site can be converted to gluten-free, vegan, dairy-free, keto, nut-free or egg-free with adjusted ratios so nothing falls flat.
Try the Recipe Converter →Easter Bark Ingredients for a Bright Finish
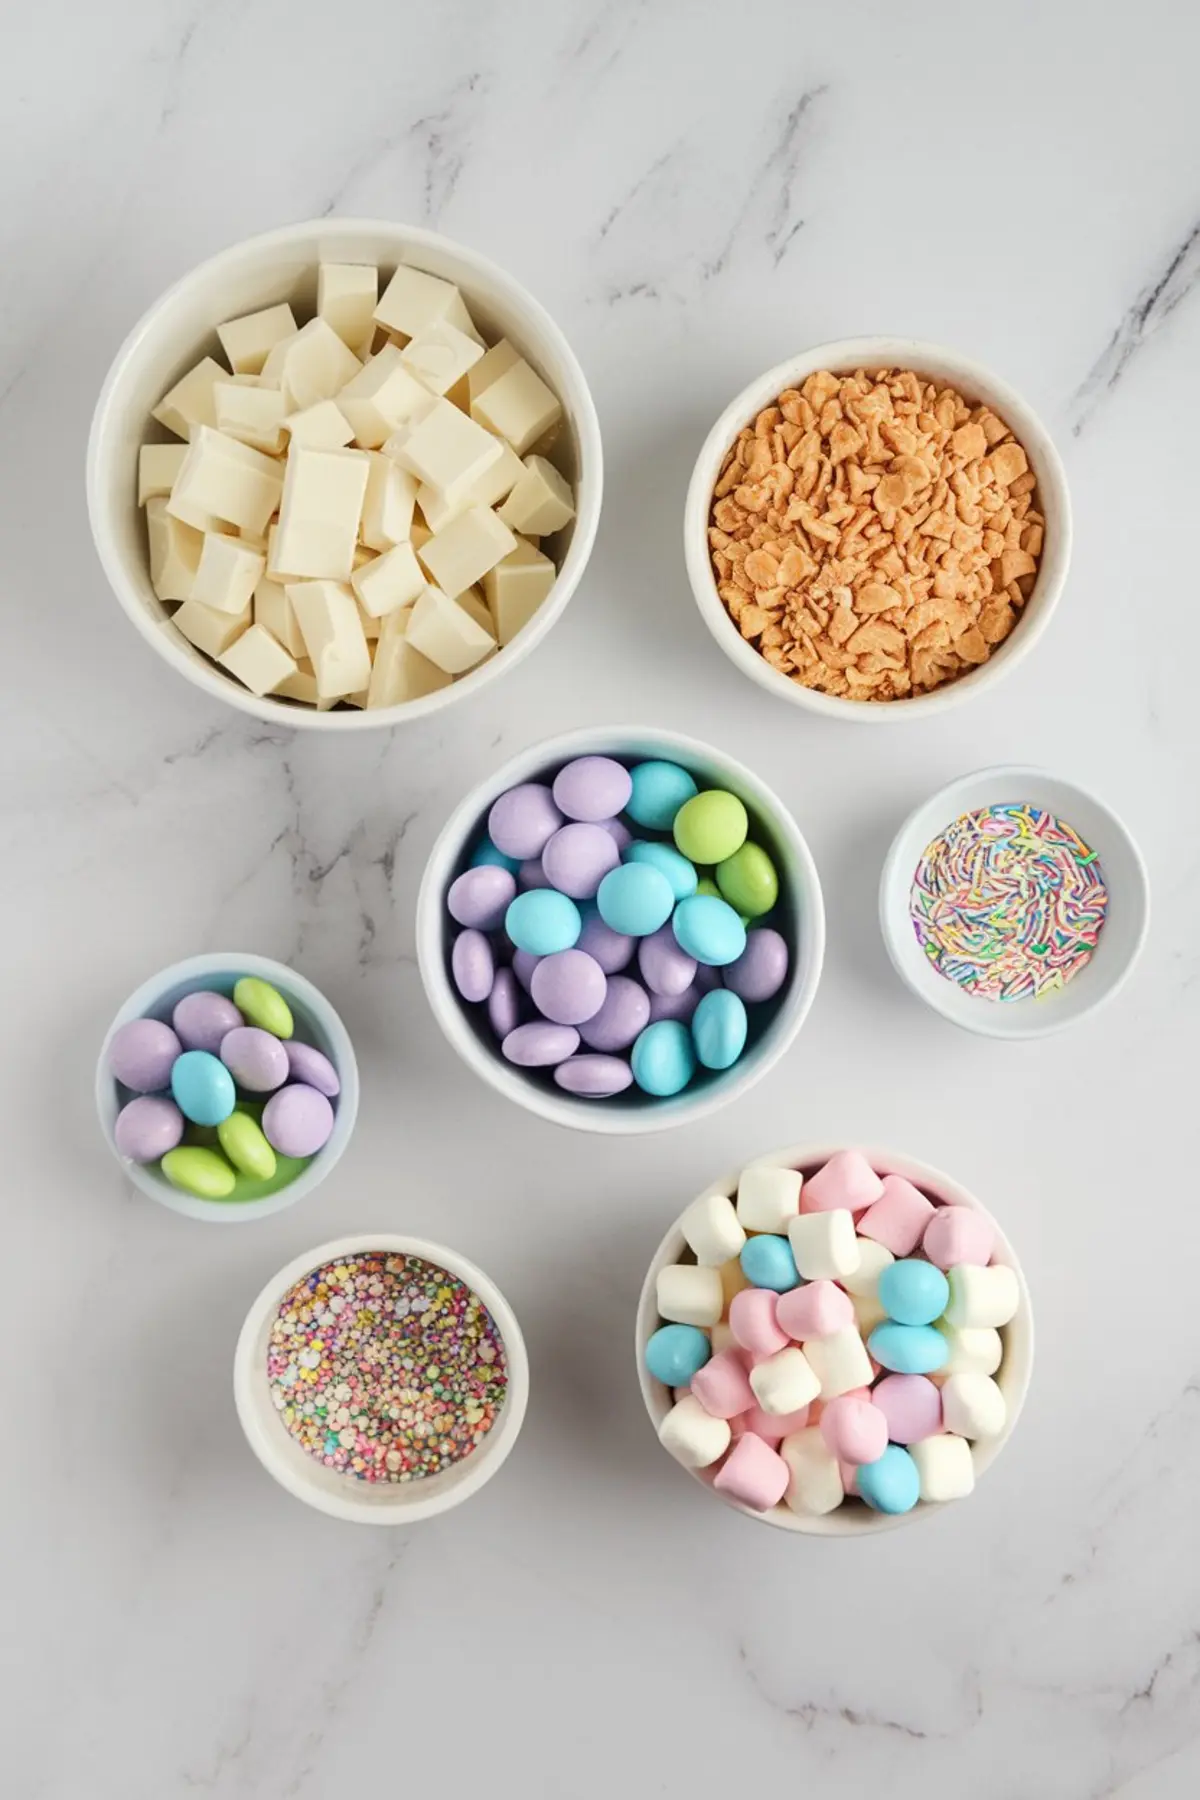
My basket of essentials often includes white chocolate or candy melts, plus a few colored candy melts for that extra flair. Pink, blue, purple, or green shades look fun, especially if you swirl them across the white chocolate. Mini chocolate eggs, crushed cookies, pastel sprinkles, and mini marshmallows add finishing touches.
I like to prepare about twelve ounces of white chocolate and four ounces of colorful melts. Each color melts smoothly in the microwave if I use short intervals. I prefer thirty-second bursts, stirring in between, to keep the chocolate from scorching.
Placing the cookie crust into the fridge helps everything set before the chocolate arrives. My first trial taught me that a warm crust can collide with the melted chocolate, forming messy lumps. Chilling the crust for about ten minutes creates a cool bed for that glossy swirl.
Easter Bark Steps for a Radiant Creation
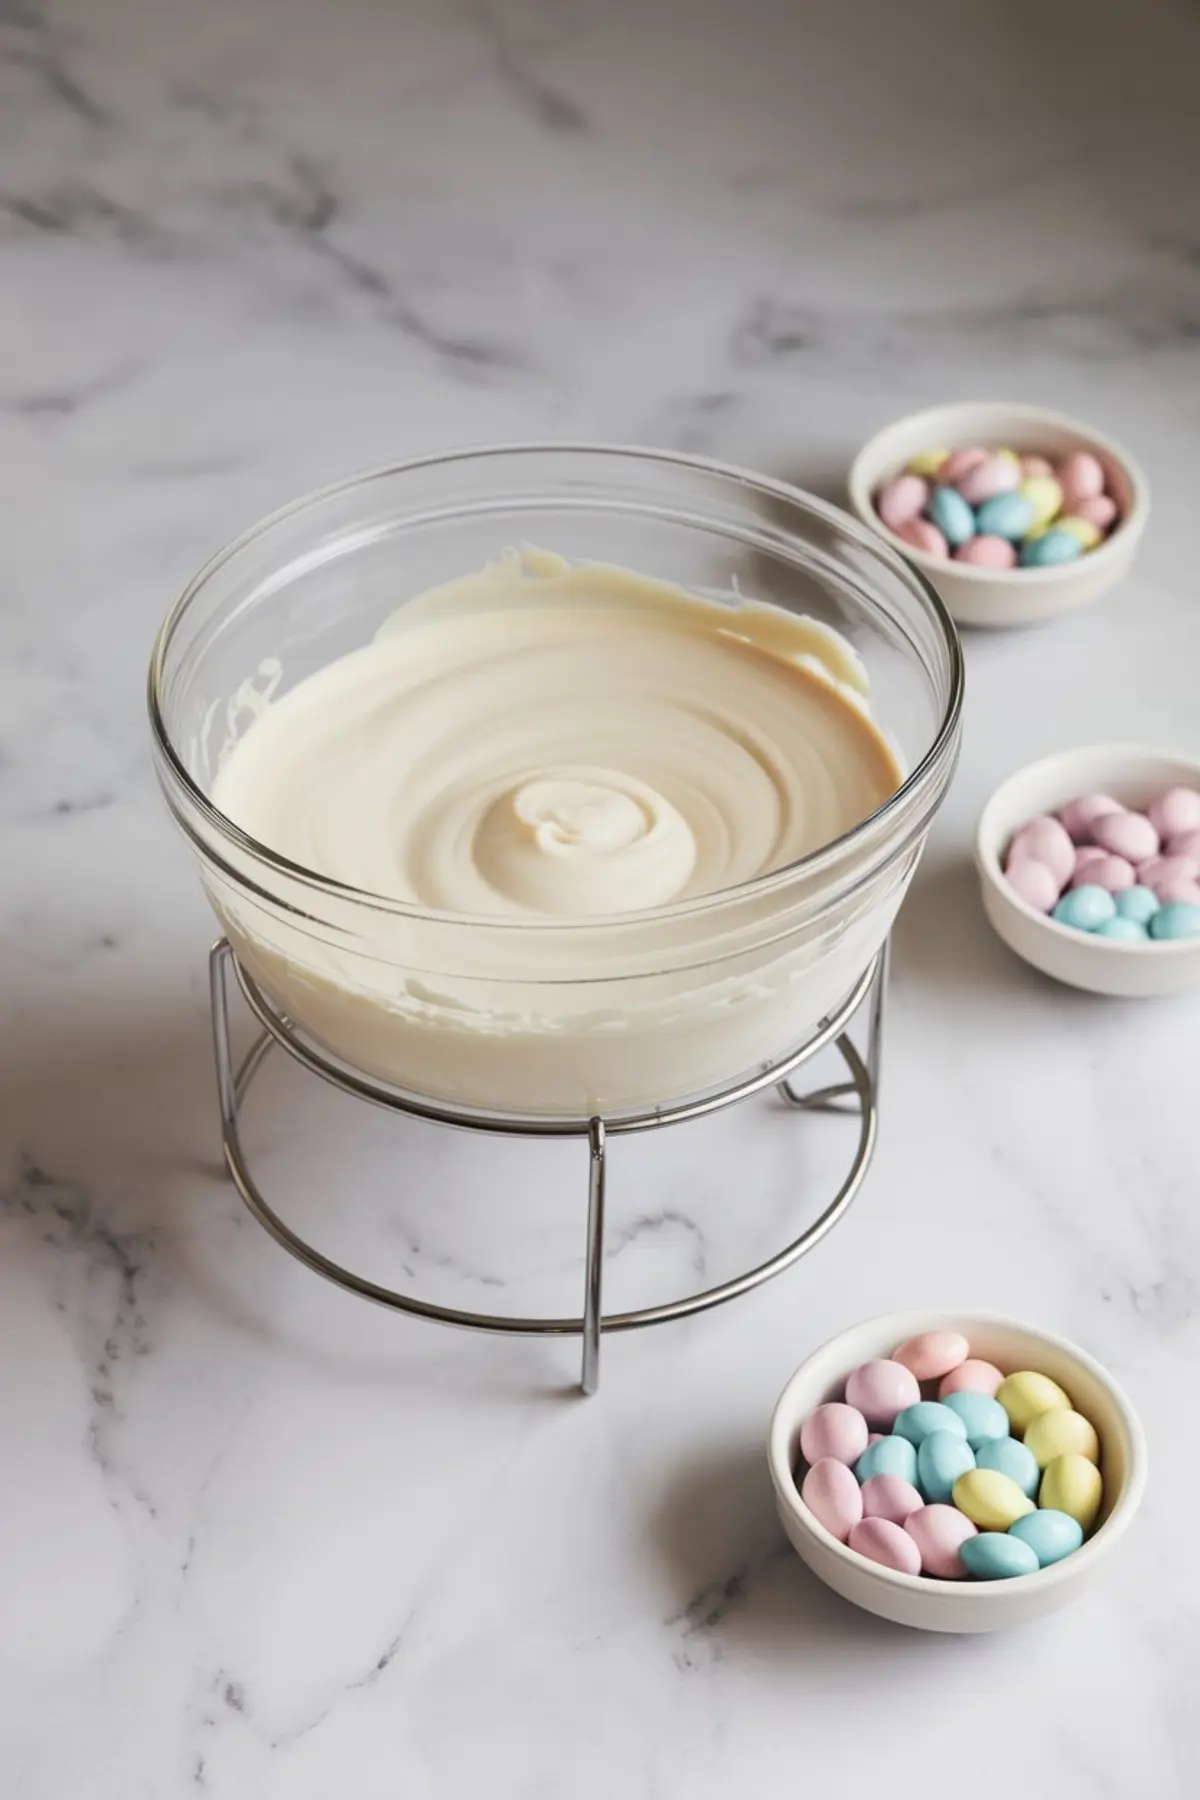
I break the white chocolate into small pieces and heat them carefully. Stirring at each pause is key, which keeps the chocolate smooth. A double boiler works, too, especially if you enjoy a slower, gentler melt.
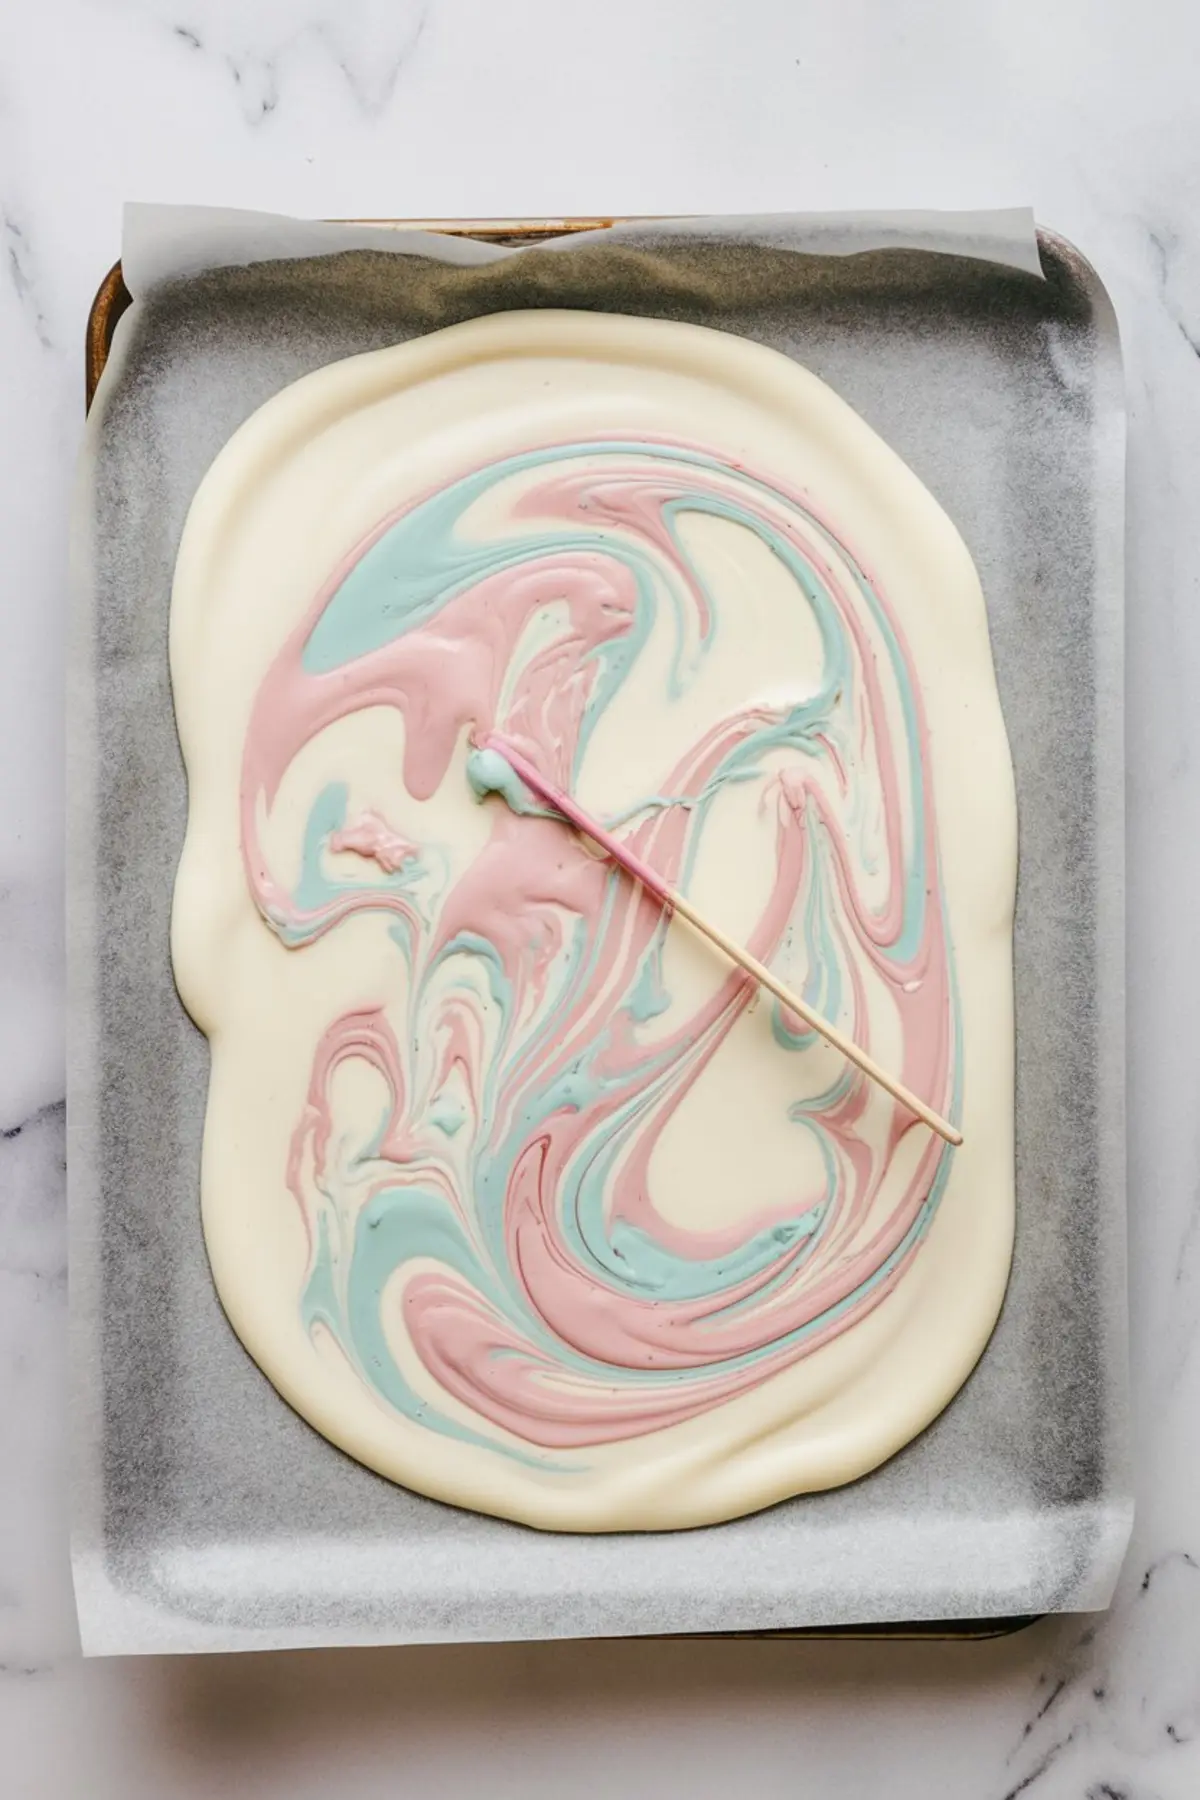
Once the chocolate is melted, I do the same with my colored candy melts in separate bowls. I drizzle the pink, blue, or purple ribbons across the white base. I use a toothpick to swirl them together, enjoying the marbled look that appears with little effort.
I spread this vibrant mixture over the chilled cookie layer if I choose the crust route. Without the crust, I pour the chocolate onto a lined baking sheet, letting it settle. Then I add mini eggs, crushed cookies, pastel sprinkles, and perhaps a few marshmallows.
Pressing those toppings into the warm chocolate ensures they stick. I learned this lesson when I once forgot to tap them in, and many fell off after cooling. A gentle press keeps them snug while the bark sets in the refrigerator.
I set the tray in the fridge for about thirty minutes. That gives the chocolate time to harden fully. I know the bark has set well when it lifts cleanly off the parchment.
Breaking the bark into pieces feels both satisfying and slightly silly. My family likes larger shards, while my neighbor prefers smaller, bite-size squares. I go with a mix, snapping it along those colorful lines.
I store leftover pieces in an airtight container on the counter. They last about a week if left at room temperature. I keep them in the fridge for longer storage, though the chocolate can pick up fridge odors if not sealed properly.
Enjoying and Sharing Easter Bark Candy
Serving these pieces on a bright platter brings excitement to any spring gathering. Each pastel swirl invites friends and family to grab a treat. My cousin once called them tiny works of art, then promptly devoured three in a row.
I suggest baking fans explore related treats if they crave an entire dessert table. I have a soft spot for Easter Egg Cookie Dough Bites, which bring a doughy texture and a dash of whimsy. My sister raves about hot cross buns, especially when served warm with a pat of butter.
Kids love to craft Bunny Oreo Pops during a family afternoon, pairing them with sweet pastel bark. I keep an eye on them to prevent chocolate-covered chaos, but the fun is worth it. Laughter and sugar can fill a kitchen faster than you might expect.
Personal Touch and Simple Twists
I sometimes stir a bit of coconut oil into the chocolate if it’s too thick. That trick keeps the texture silky. High-quality chocolate melts more evenly, so I invest in a decent brand for better flavor.
Leftover candy from Easter baskets can also come in handy here. Extra colored candy melts or random sprinkles add variety to each batch. My nephew once tossed in chopped candy bars, which gave the bark a slightly crunchy bite.
I enjoy the tradition of making Easter bark recipe variations with close friends. Each year, we pick new color combos or sweet toppings. I plan to try dried fruit in a future batch, hoping it adds a tangy contrast.
Closing Thoughts: Pin It and Chat Below
I appreciate you joining me on this Easter chocolate bark journey. I invite you to save this recipe as a pin on your favorite board for quick access next time you have a craving. I also hope you drop a comment if you have questions, or share how your version turned out.
Easter Bark Recipe
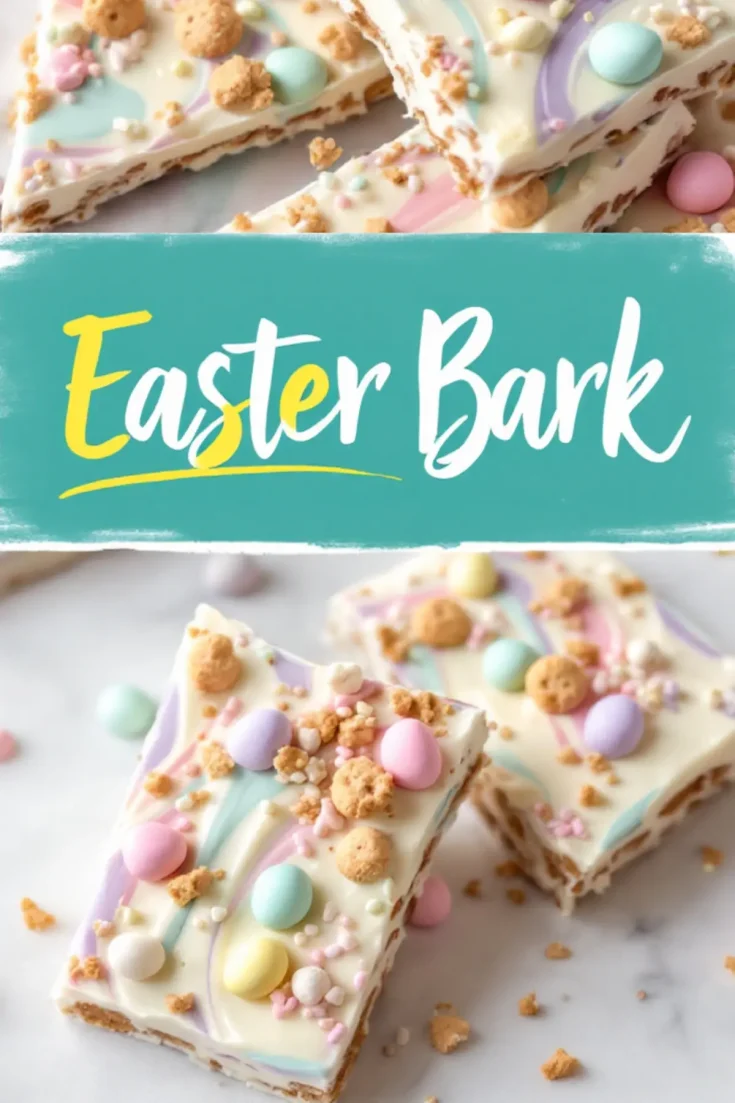
White chocolate bark with pastel swirls and festive toppings makes a colorful Easter treat. A buttery cookie crust adds a crunchy base, but the bark can be made without it for a simpler version.
Ingredients
- FOR THE COOKIE CRUST (OPTIONAL)
- 1 ½ cups crushed Biscoff cookies or graham crackers
- ¼ cup melted butter
- FOR THE BARK
- 12 ounces (340g) white chocolate or candy melts
- 4 ounces (115g) colored candy melts (pink, blue, purple, or green)
- TOPPINGS
- ½ cup mini chocolate eggs (such as Cadbury Mini Eggs)
- ¼ cup crushed Biscoff cookies or graham crackers
- 2 tablespoons pastel sprinkles
- ¼ cup mini marshmallows (optional)
Instructions
- PREPARE THE BAKING TRAY: Line a baking sheet with parchment paper or wax paper. If making the cookie crust version, lightly grease the paper to help the crust stick.
- MAKE THE OPTIONAL COOKIE CRUST: In a bowl, mix the crushed cookies with the melted butter until evenly coated. Press the mixture firmly into the bottom of the lined baking sheet to create a thin, even layer. Chill in the refrigerator for about 10 minutes while preparing the chocolate.
- MELT THE WHITE CHOCOLATE: Break the white chocolate into small pieces and place it in a microwave-safe bowl. Microwave in 30-second intervals, stirring in between, until smooth. Alternatively, melt the chocolate using a double boiler by placing it in a heatproof bowl over simmering water and stirring until melted.
- ADD THE PASTEL SWIRLS: Melt the colored candy melts in separate bowls using the same method as the white chocolate. Once melted, drizzle the colors over the white chocolate and use a toothpick or skewer to swirl them together, creating a marbled effect.
- POUR OVER THE COOKIE CRUST (OPTIONAL): If using the cookie crust, pour the melted chocolate directly over the chilled cookie layer and spread evenly with a spatula. If skipping the crust, pour the chocolate onto the lined baking sheet and spread evenly.
- DECORATE WITH TOPPINGS: While the chocolate is still warm, sprinkle on the mini chocolate eggs, crushed cookies, sprinkles, and mini marshmallows. Press them in gently to ensure they stick as the chocolate sets.
- LET IT SET: Place the baking sheet in the refrigerator for about 30 minutes or until the chocolate is completely hardened.
- BREAK INTO PIECES: Once set, remove the bark from the parchment paper and break it into pieces. Adjust the size based on preference.
Notes
For best results, use high-quality white chocolate or candy melts to ensure smooth melting and a creamy texture. If the chocolate is too thick after melting, stir in a small amount of coconut oil or vegetable shortening to thin it out. Store the bark in an airtight container at room temperature for up to one week or in the refrigerator for up to two weeks. If making the cookie crust version, allow the bark to sit at room temperature for a few minutes before breaking it into pieces to prevent the crust from crumbling too much.
Nutrition Information
Yield
12Serving Size
1Amount Per Serving Calories 319Total Fat 17gSaturated Fat 8gTrans Fat 0gUnsaturated Fat 8gCholesterol 13mgSodium 169mgCarbohydrates 41gFiber 1gSugar 24gProtein 3g