
I remember a special bite of this cake at a gathering when I was a child. My grandmother had shaped a simple batter into the face of a playful bunny, and I loved how the sweet aroma filled every corner of her cozy kitchen. I use that memory as the spark for creating my own festive version now.
My fascination with this dessert grows each year. Friends often ask how it stands out from other springtime sweets, and I share that it brings happiness in every slice. I sense that nostalgic warmth each time I gather the bowls and start mixing.
Following a special diet?
Every recipe on this site can be converted to gluten-free, vegan, dairy-free, keto, nut-free or egg-free with adjusted ratios so nothing falls flat.
Try the Recipe Converter →Easter Bunny Cake Inspiration
I developed a strong affection for the bunny shape after noticing how it delighted young relatives. A basic round cake transforms into something whimsical with a bit of creativity, and that vision motivates me to keep experimenting. I trace this passion back to countless hours watching my grandmother’s careful hands turning flour, eggs, and sugar into joy.
My earliest attempts were full of trials, but those bumps taught me patience. Each recipe taught me to keep trying new tricks, and I eventually landed on an approach that balances sweetness and fluffiness. I like that it remains friendly for novice bakers who crave a fun, edible project.
My Essential Ingredients
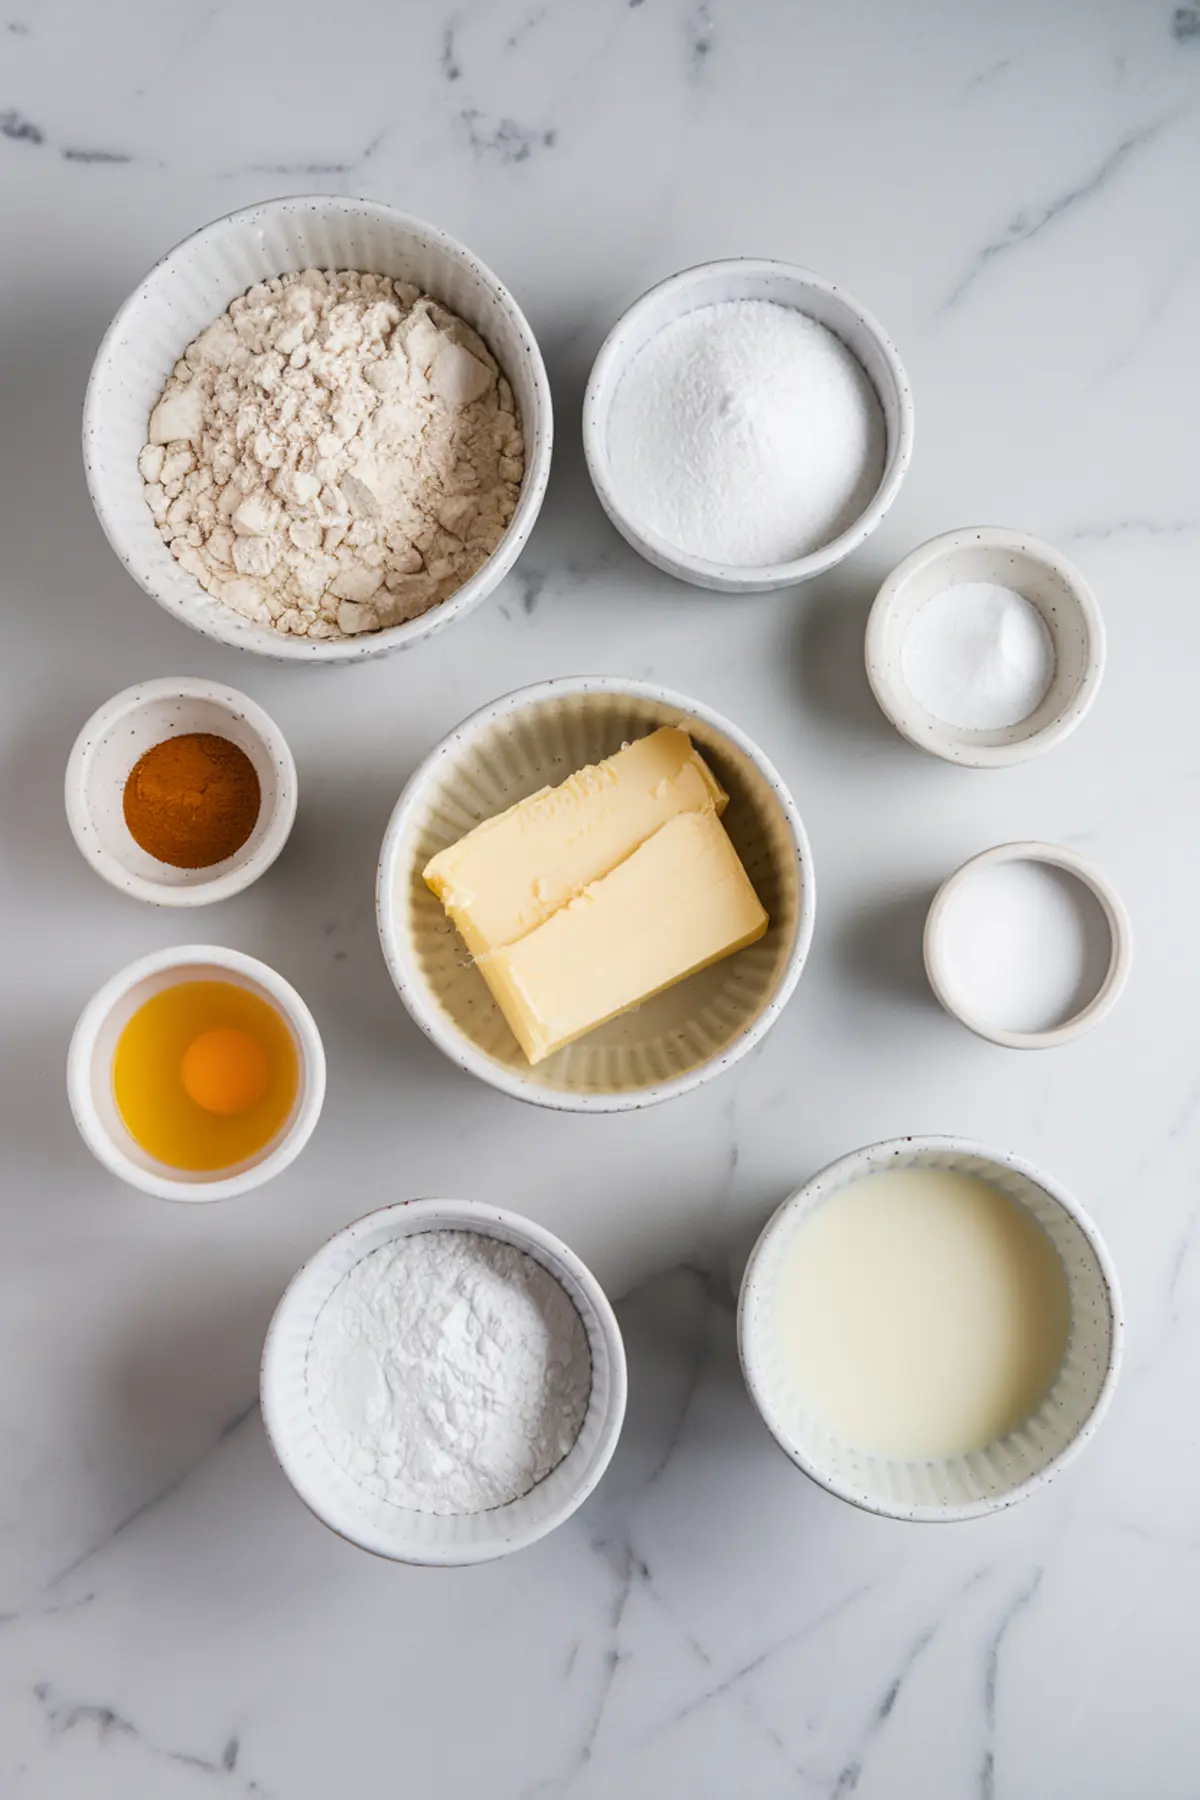
My approach involves pantry staples, though I always pick fresh, quality items. All-purpose flour, granulated sugar, eggs, and real butter create the base that I trust. A mild pinch of salt and a splash of vanilla extract round out the taste.
That pleasing flavor forms the core of my cake, so I never skip these key components. I tried substitutions in the past, but the final crumb never felt right. A balanced selection of ingredients gives a dependable result every time.
Flour, Butter, and Sugar
I sift the flour with baking powder and salt to help the batter stay light. The unsalted butter, at room temperature, mixes smoothly with the sugar to form a fluffy base. I find that three to five minutes of beating sets the right airy texture.
A strong foundation in the batter helps it rise well without turning dry. My best tips came from watching older family members test batter consistency with a simple spoon swipe. That simple method reassures me each time, because I see how the batter clings before folding back into itself.
Eggs and Milk
I crack in the eggs one by one and blend thoroughly. Room-temperature eggs incorporate better, and I see fewer lumps that way. Whole milk enters the mixture last, giving the batter a velvety finish.
My kitchen often bustles with kids chasing each other, but I pause to appreciate how each ingredient blends to create something greater. A gentle pour helps avoid overmixing, which might stiffen the cake. I rarely rush at this point because steady stirring makes my final crumb light and moist.
Building the Foundation
I divide the batter between three cake pans, each greased and lightly floured. The oven, preheated to 350°F, usually takes 25 to 30 minutes to deliver a golden top. A toothpick test in the center assures me the layers are done.
A short rest in the pan prevents breakage. I then move the layers to cool on wire racks, which helps maintain the soft texture. Those simple steps keep each layer intact and ready for decoration.
Creating a Fluffy Buttercream
Buttercream for this cake starts with softened butter beaten into a creamy base. I add powdered sugar in stages, then pour in heavy cream and vanilla extract. This method controls sweetness and consistency, resulting in a frosting that pipes easily.
My preference leans toward a medium consistency for spreading and piping. A stiffer form suits detailed work, though. I used to over-whip my buttercream, but now I monitor the texture so it holds shape without tasting stiff or grainy.
Assembling the Layers
I set the first cake layer on a serving plate, then spread a layer of frosting. The second layer goes on top, followed by another swipe of buttercream. I follow with the third layer, then apply a thin crumb coat over the whole cake.
That crumb coat helps lock in stray cake bits before the final decoration. A quick chill in the fridge, often just 20 minutes, gives a stable base for my piping bag. This process might sound basic, but it ensures that every bunny detail stays tidy.
Shaping the Bunny
I pick a star tip for the piping bag and cover the cake with small stars that look like fur. My kitchen brightens when I see the cake resemble a gentle animal. A casual swirl of frosting can capture a sense of softness, reminding me of a plush toy.
My daughter once added colorful sprinkles, and we agreed the bunny looked extra cheerful. A child’s spontaneity can spark creative twists that liven up the design. I encourage you to try fun variations with color or shape to reflect your style.
Fondant and Whisker Details
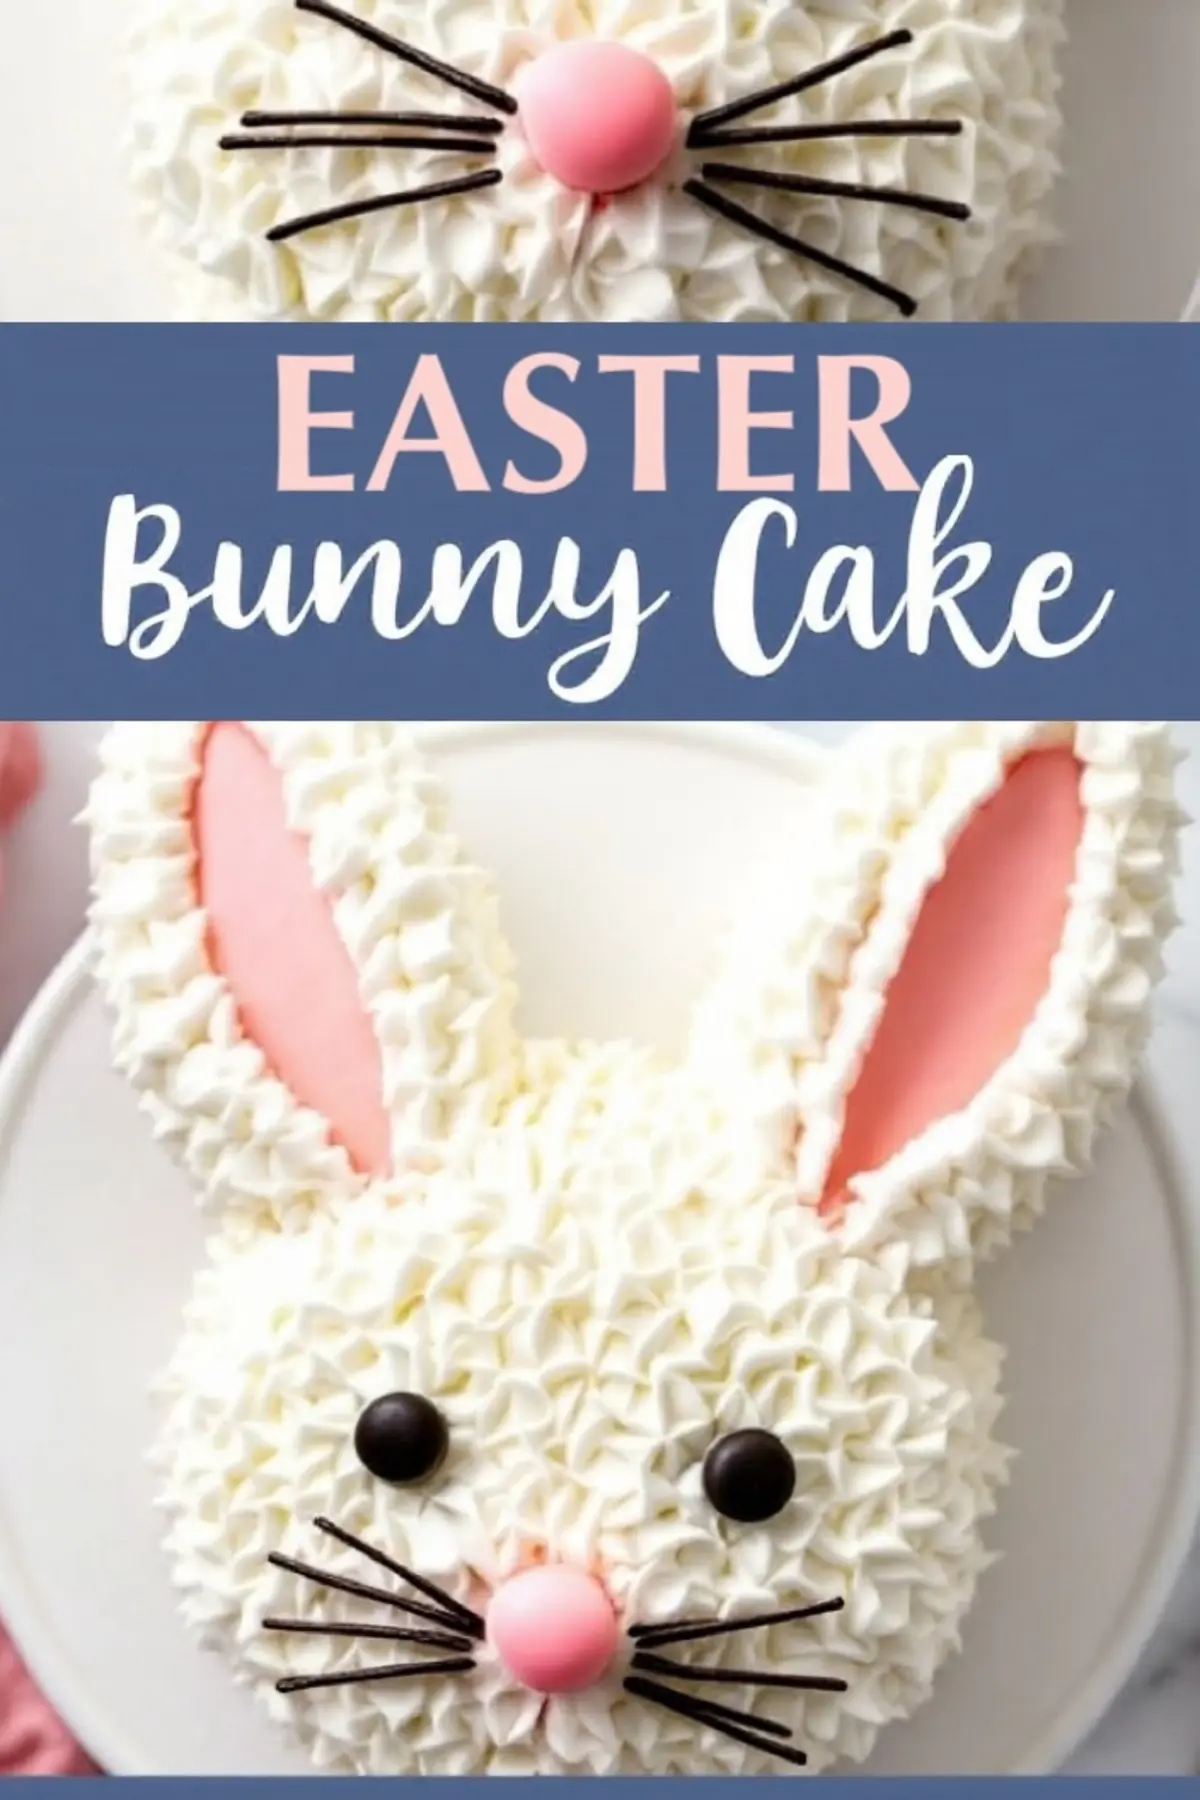
Pink fondant forms the inner ears and nose, while black fondant or chocolate buttons make sweet bunny eyes. Black licorice whiskers finish the face, fastened with a quick press into the frosting. Popsicle sticks or toothpicks support the fondant ears so they stand tall.
I let the ears set or chill for extra firmness. That step keeps them from drooping on the cake, especially if the kitchen is warm. I have seen shortcuts, but I trust a short drying period for the best result.
Practical Kitchen Tips
Room temperature ingredients mix faster and prevent uneven lumps in the batter. A smooth, uniform base ensures a reliable rise during baking. Careful planning also reduces stress, so I gather every tool before I start.
I also keep extra fondant on hand in case I need to patch or reshape an ear. A small offset spatula simplifies smoothing the frosting. These steps help me stay relaxed and focused on making each step count.
Flavor Variations
Some bakers add a hint of almond extract for a unique aftertaste. Others try citrus zest for a light, zippy punch. I sometimes swirl a few spoonfuls of cocoa powder into the batter to create a marble effect.
Adapting recipes broadens your baking experience, but I avoid extreme changes for first attempts. A small tweak or two often yields delightful surprises. My own experiments with flavored syrups have introduced interesting layers in each slice.
Additional Easter Treats
I often pair this centerpiece cake with other fun desserts from my collection. A batch of Chocolate Egg Nest Meringuesadds a crunchy chocolate fix. Easter Bunny Pancakes offer a cute breakfast treat, and Chocolate Easter Eggs bring classic sweetness to the table.
Friends appreciate a varied dessert spread, which keeps every palate happy. I also enjoy setting up a fun decorating station. A combination of multiple treats adds excitement to the holiday feast.
Serving Suggestions
A swift cut through the frosted layers reveals the soft interior. People usually gather around with eager smiles, and a light dusting of powdered sugar on the plate feels festive. The bunny shape begs for photos before anyone sneaks a slice.
I watch family members grin as they taste the moist crumbs under a pillow of buttercream. A sweet beverage or a mild coffee pairs well to balance the flavors. My mother swears by tea, while others pour milk for a comforting feel.
Personal Insights
My mother once joked that we could shape the cake into a cat or dog, but I stay loyal to bunny ears during Easter. That tradition makes me think of childhood, and I enjoy sharing it with my own kids. Each year, I refine the recipe a bit more, always learning.
Friends find it more than just a dessert, because it creates a moment of shared fun. The bright face, the whimsical ears, and the conversation that follows make it a memorable dish. I hope you feel the same closeness in your own kitchen.
Encouragement to Experiment
I like to see how others twist the recipe with their personal flavor choices. One friend added coconut flakes for a fuzzy effect, and I admired the result. Another used rainbow sprinkles instead of licorice whiskers to spark a dash of color.
I see each variation as a reflection of the baker’s spirit. A simple base recipe can blossom with little additions. I trust you will find joy in exploring new ideas once you grow comfortable with the main steps.
Closing Thoughts: Pin for Later
I would love for you to save this Easter Bunny Cake on your spring inspiration board. Sharing this recipe with friends encourages more people to try creative baking. Let’s keep the playful spirit of this bunny alive in our kitchens.
I invite you to post a comment about your own version, and I will be thrilled to answer questions. Your feedback might guide someone else who wants a friendly tip. This community is all about helping one another bake with confidence.
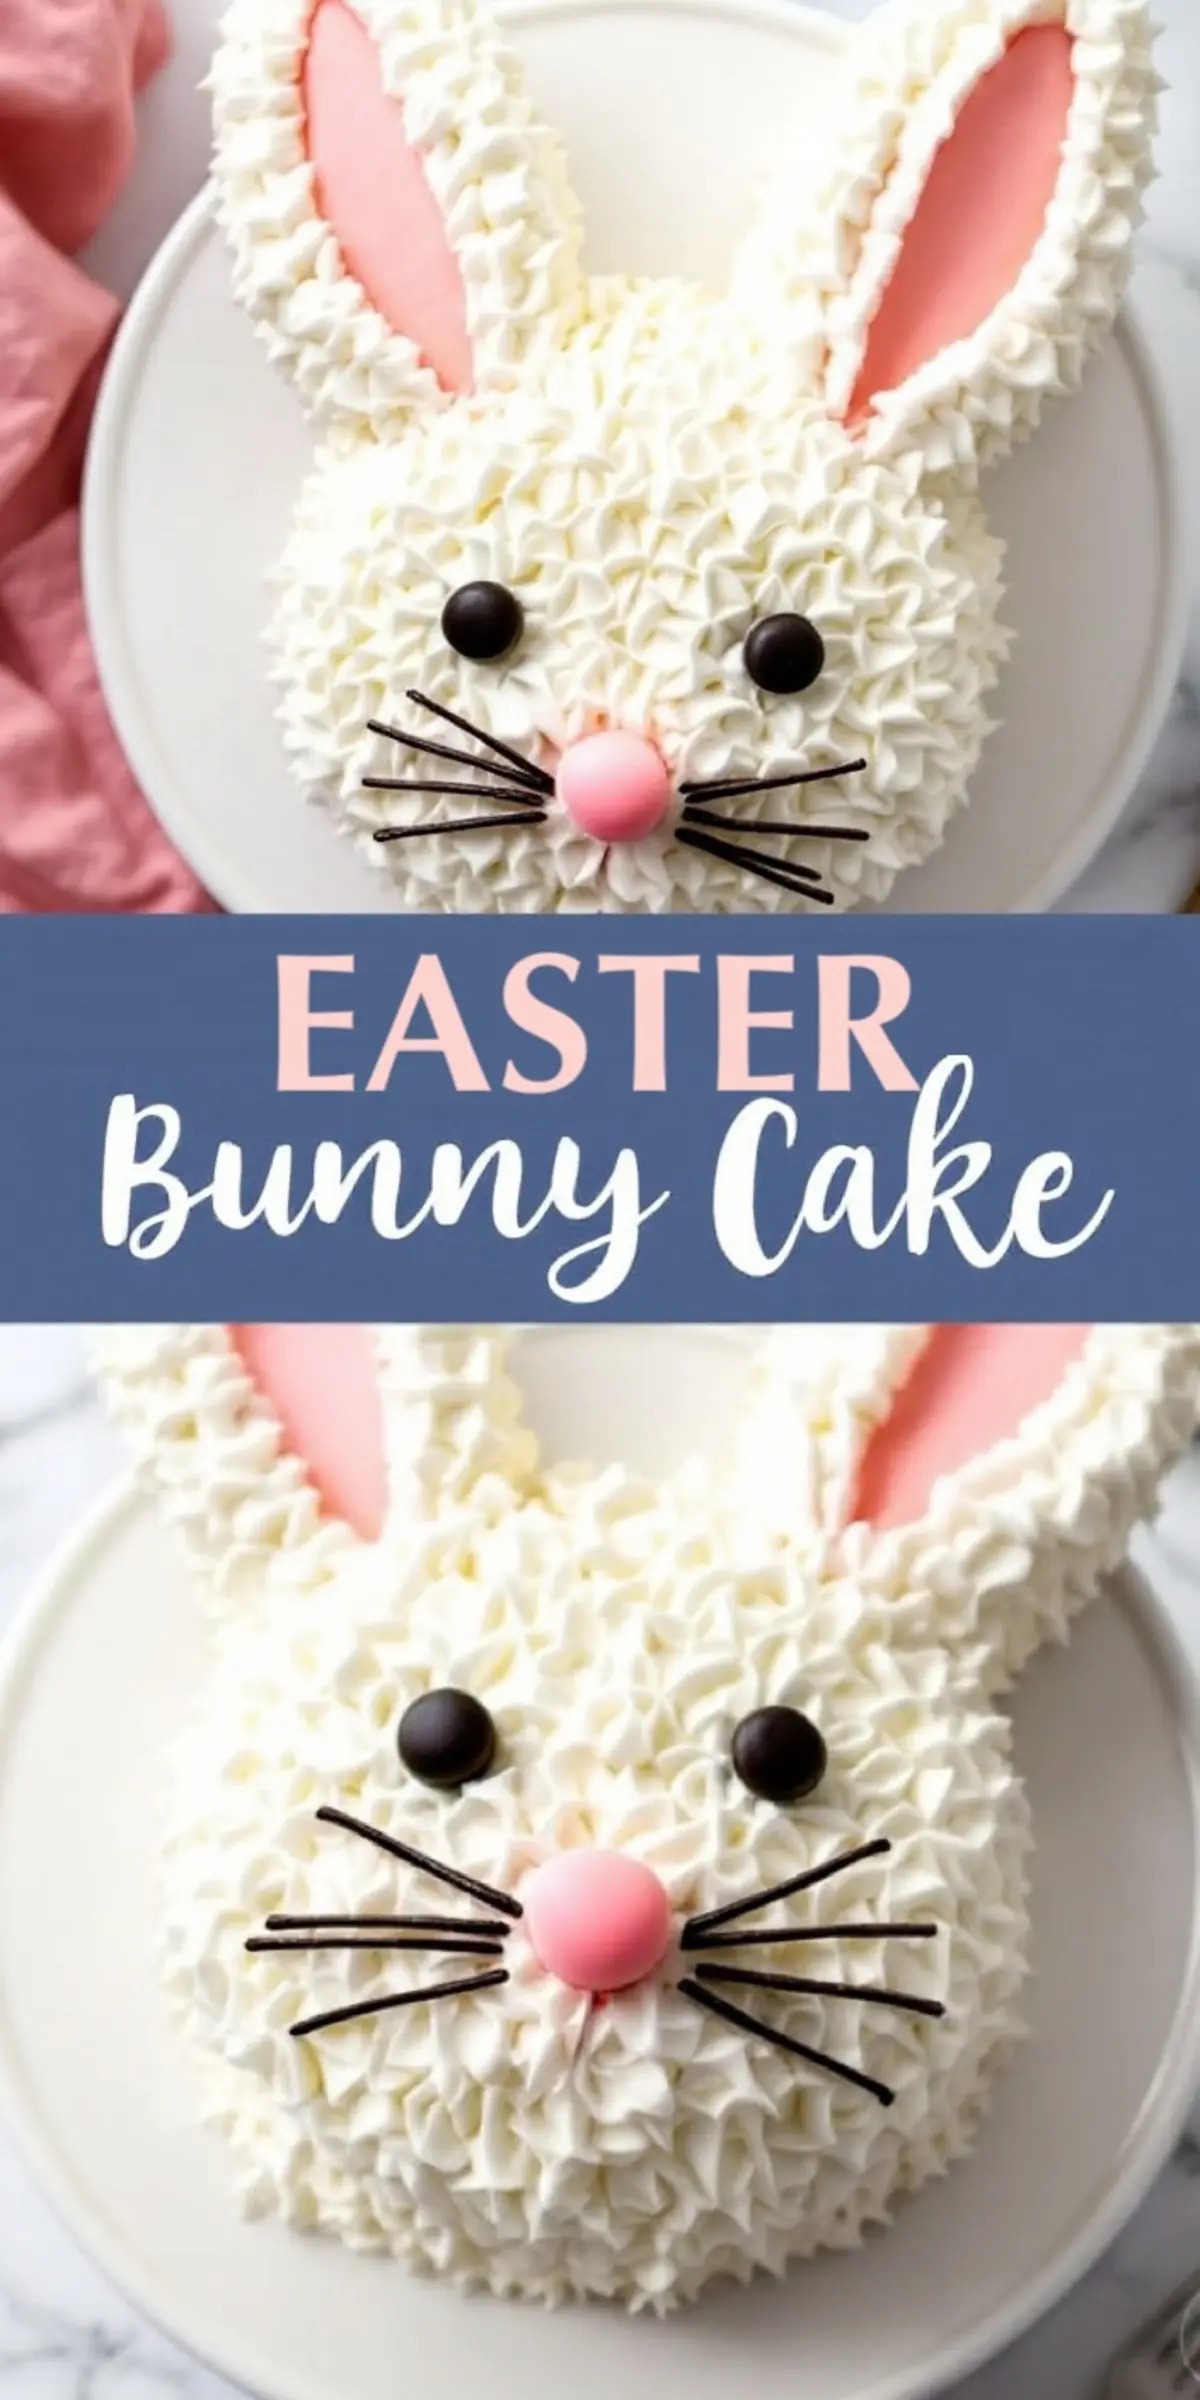
Adorable Easter Bunny Cake Recipe

A charming cake designed to bring joy to your spring celebration. This fluffy, moist cake is layered with creamy buttercream frosting and decorated to look like an adorable bunny face, complete with fondant ears and licorice whiskers.
Ingredients
- FOR THE CAKE:
- 2 ½ cups all-purpose flour
- 2 ½ tsp baking powder
- ½ tsp salt
- 1 cup unsalted butter, room temperature
- 1 ½ cups granulated sugar
- 4 large eggs, room temperature
- 1 tbsp vanilla extract
- 1 cup whole milk
- FOR THE BUTTERCREAM FROSTING:
- 1 ½ cups unsalted butter, room temperature
- 5 cups powdered sugar, sifted
- 2 tsp vanilla extract
- 4-6 tbsp heavy cream (for desired consistency)
- FOR DECORATION:
- Pink fondant (for inner ears and nose)
- Black fondant or chocolate buttons (for eyes)
- Black licorice strings (for whiskers)
- Toothpicks and popsicle sticks (for ear support)
Instructions
- PREPARE THE CAKE PANS AND OVEN: Preheat the oven to 350°F (175°C). Grease and flour three 8-inch round cake pans to prevent sticking.
- MIX DRY INGREDIENTS: In a medium bowl, whisk together the all-purpose flour, baking powder, and salt. Set aside.
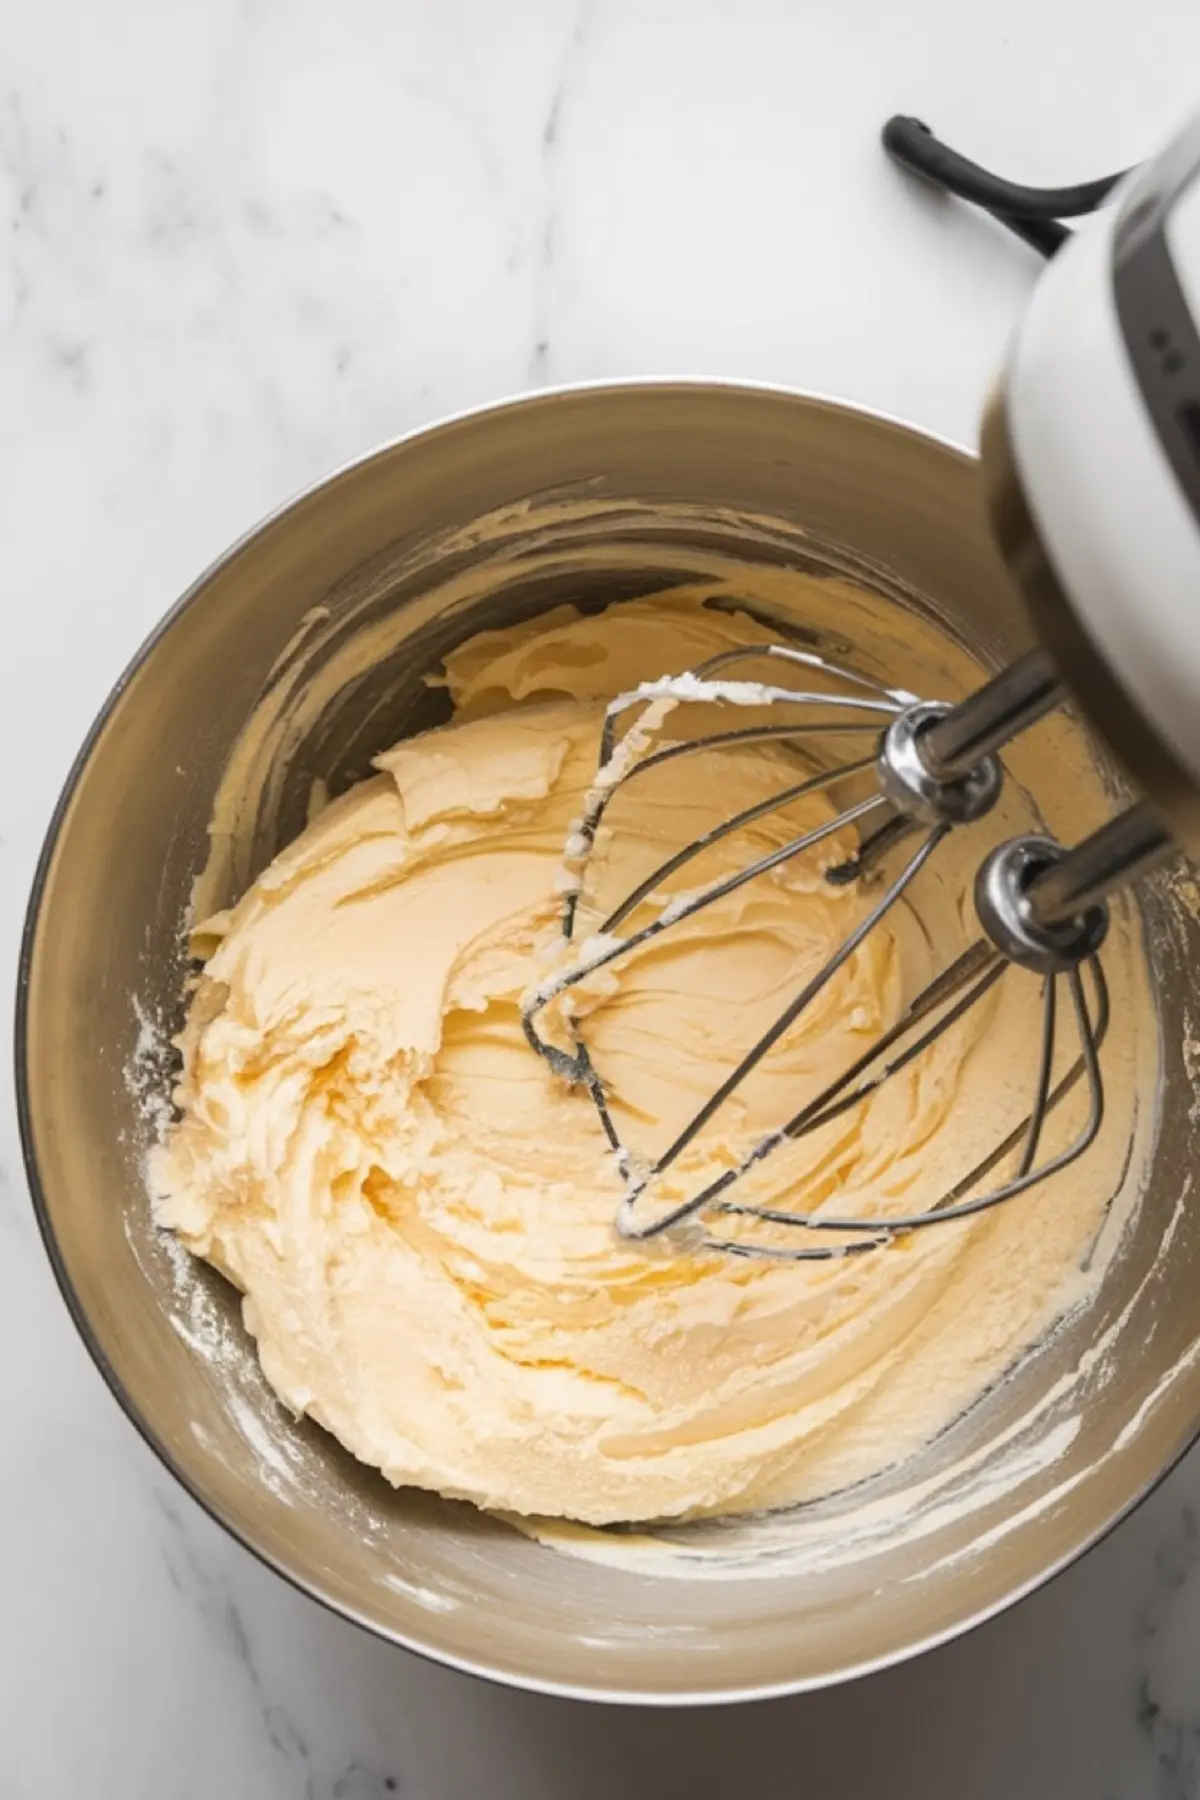
- CREAM BUTTER AND SUGAR: In a large mixing bowl, beat the room-temperature butter and granulated sugar until light and fluffy. This should take about 3-5 minutes using an electric mixer on medium speed.
- ADD EGGS AND VANILLA: Beat in the eggs one at a time, ensuring each is fully incorporated before adding the next. Mix in the vanilla extract.
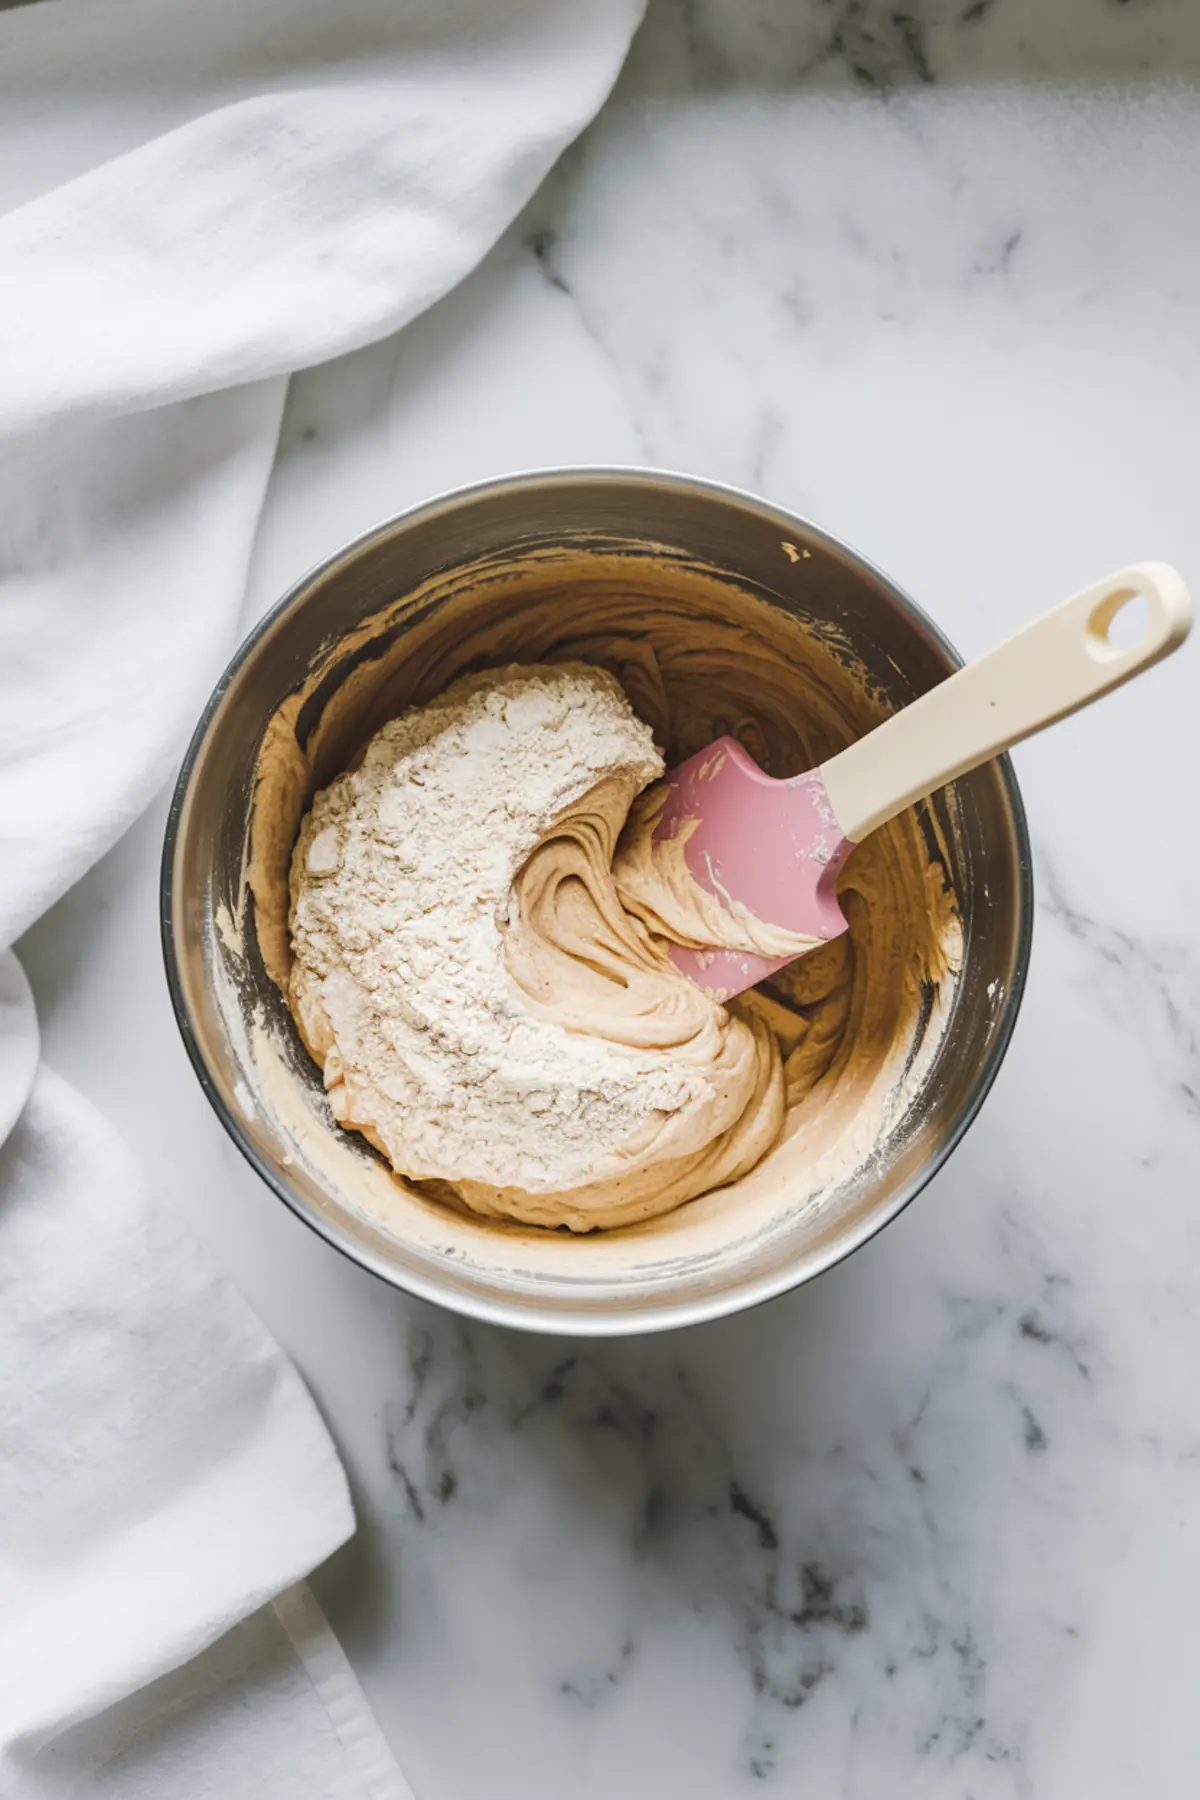
- COMBINE WET AND DRY INGREDIENTS: Gradually add the flour mixture and milk to the butter mixture, beginning and ending with the flour mixture. Mix on low speed until just combined to avoid overmixing.
- BAKE THE CAKES: Divide the batter evenly among the prepared pans. Smooth the tops with a spatula. Bake for 25-30 minutes or until a toothpick inserted into the center comes out clean.
- COOL THE CAKES: Allow the cakes to cool in the pans for 10 minutes. Then, transfer them to a wire rack to cool completely before frosting.
- MAKE THE BUTTERCREAM FROSTING: In a large bowl, beat the butter until smooth and creamy. Gradually add the sifted powdered sugar, mixing on low speed. Add the vanilla extract and 4 tablespoons of heavy cream. Continue beating, adding more cream as needed to reach a spreadable consistency.
- STACK AND FROST THE CAKE: Place one cake layer on a serving plate. Spread a layer of buttercream on top, then stack the next layer. Repeat until all layers are stacked. Apply a thin crumb coat over the entire cake and chill for 20 minutes.
- CREATE BUNNY FUR: Using a star tip on a piping bag, pipe small stars all over the cake to create the bunny’s fluffy fur texture.
- DECORATE THE BUNNY FACE:
- SHAPE THE BUNNY EARS: Roll out white fondant into two long ovals for the ears. Roll out pink fondant slightly smaller for the inner ear and attach it to the white base with a tiny dab of water.
- SUPPORT THE EARS: Press a popsicle stick along the back of each ear, securing it with more white fondant for stability. For extra support, place a toothpick at the bottom of each ear to help anchor them into the cake.
- DRY AND ATTACH THE EARS: Allow the ears to dry overnight for firmness. Once dry, insert them into the top of the cake, angling them slightly outward for a playful look. If short on time, chill the ears in the fridge for a few hours, ensuring they are on a flat surface.
Notes
Ensure all ingredients are at room temperature for the best texture.
If needed, adjust the buttercream consistency by adding more heavy cream, one tablespoon at a time.
For easier decorating, practice piping the fur on parchment paper before applying it to the cake.
Nutrition Information
Yield
12Serving Size
1Amount Per Serving Calories 892Total Fat 52gSaturated Fat 32gTrans Fat 0gUnsaturated Fat 17gCholesterol 201mgSodium 250mgCarbohydrates 101gFiber 1gSugar 79gProtein 7g