My first attempts at decorating sugar cookies for Easter were in my small apartment kitchen. I was a recent college grad craving a fun project that reminded me of family holidays. I still grin when I think about the pastel fondant strewn across my countertops and the sweet aroma of vanilla drifting through the air.
My mother’s laugh echoed through my phone while she guided me on how to shape little bows. That moment felt like a cheerful celebration of color, flavor, and tradition. Bright, egg-shaped cookies with soft fondant and playful bows remind me of those days. This recipe feels like a simple slice of joy that you can share with friends or keep on a pretty plate for guests who pop by for coffee.
Following a special diet?
Every recipe on this site can be converted to gluten-free, vegan, dairy-free, keto, nut-free or egg-free with adjusted ratios so nothing falls flat.
Try the Recipe Converter →Colorful Inspiration Behind These Easter Cookies
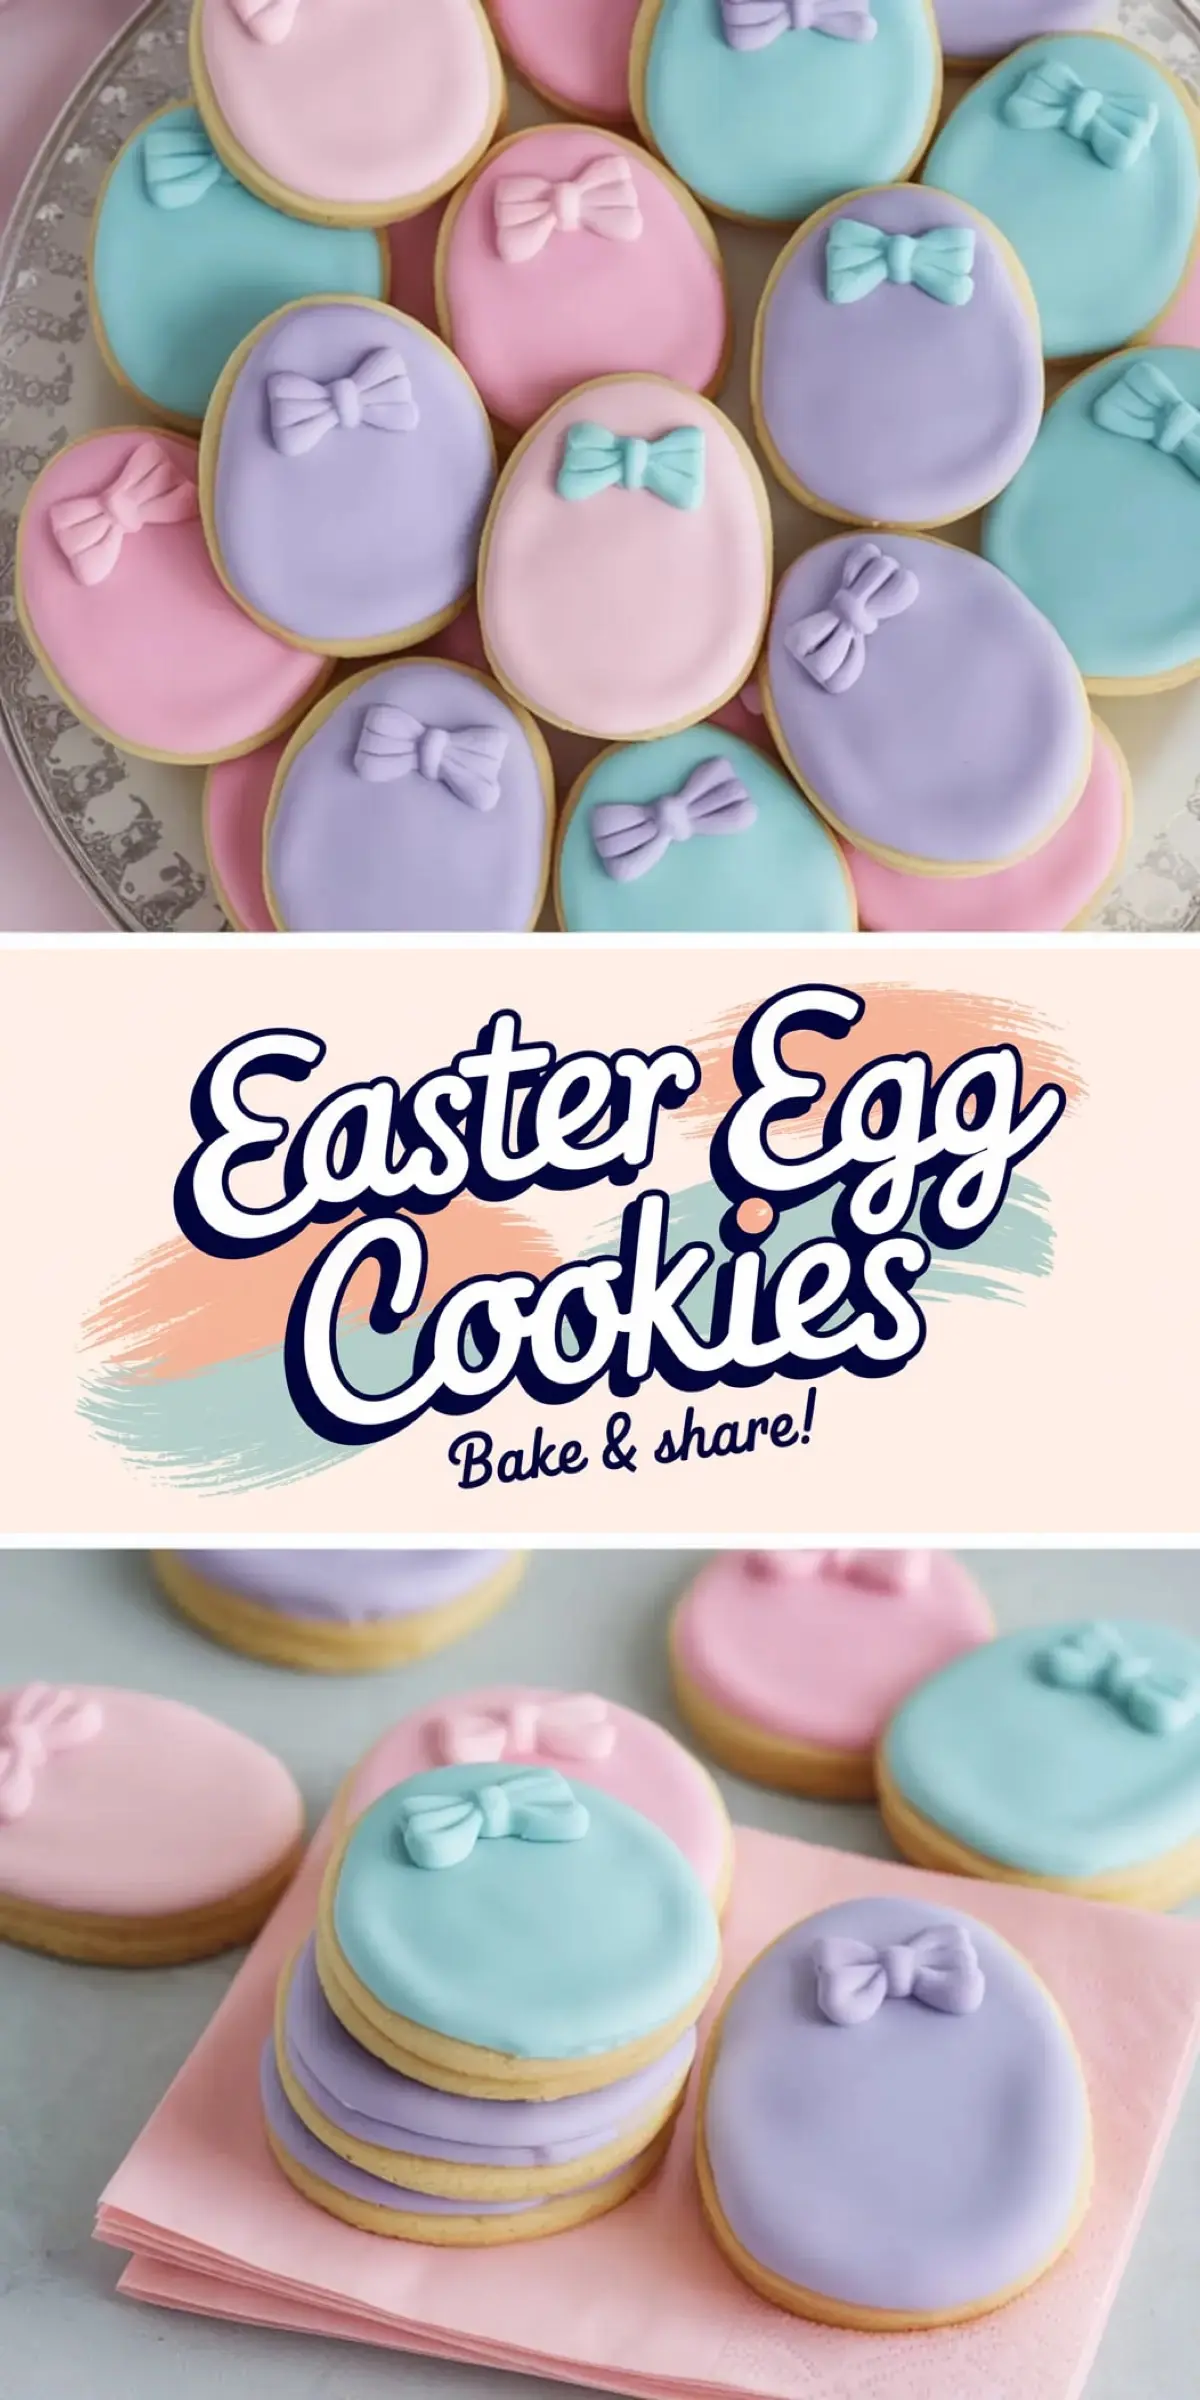
I see these cookies as a tribute to springtime pastels and whimsical shapes. Eggs suggest renewal, and bows bring out the playful side of holiday desserts. The gentle crunch of the sugar cookie base blends with a layer of tender fondant. Those sweet bows pop with color, drawing the eye and sparking a little excitement on any table.
My friend once joked that these cookies look like edible art, and I agreed with her because each one has its own personality. A batch can add a fresh spark to a Sunday brunch, a family gathering, or even a solo Netflix binge that needs a dash of sweetness.
Ingredients That Make A Soft Sugar Cookie Foundation
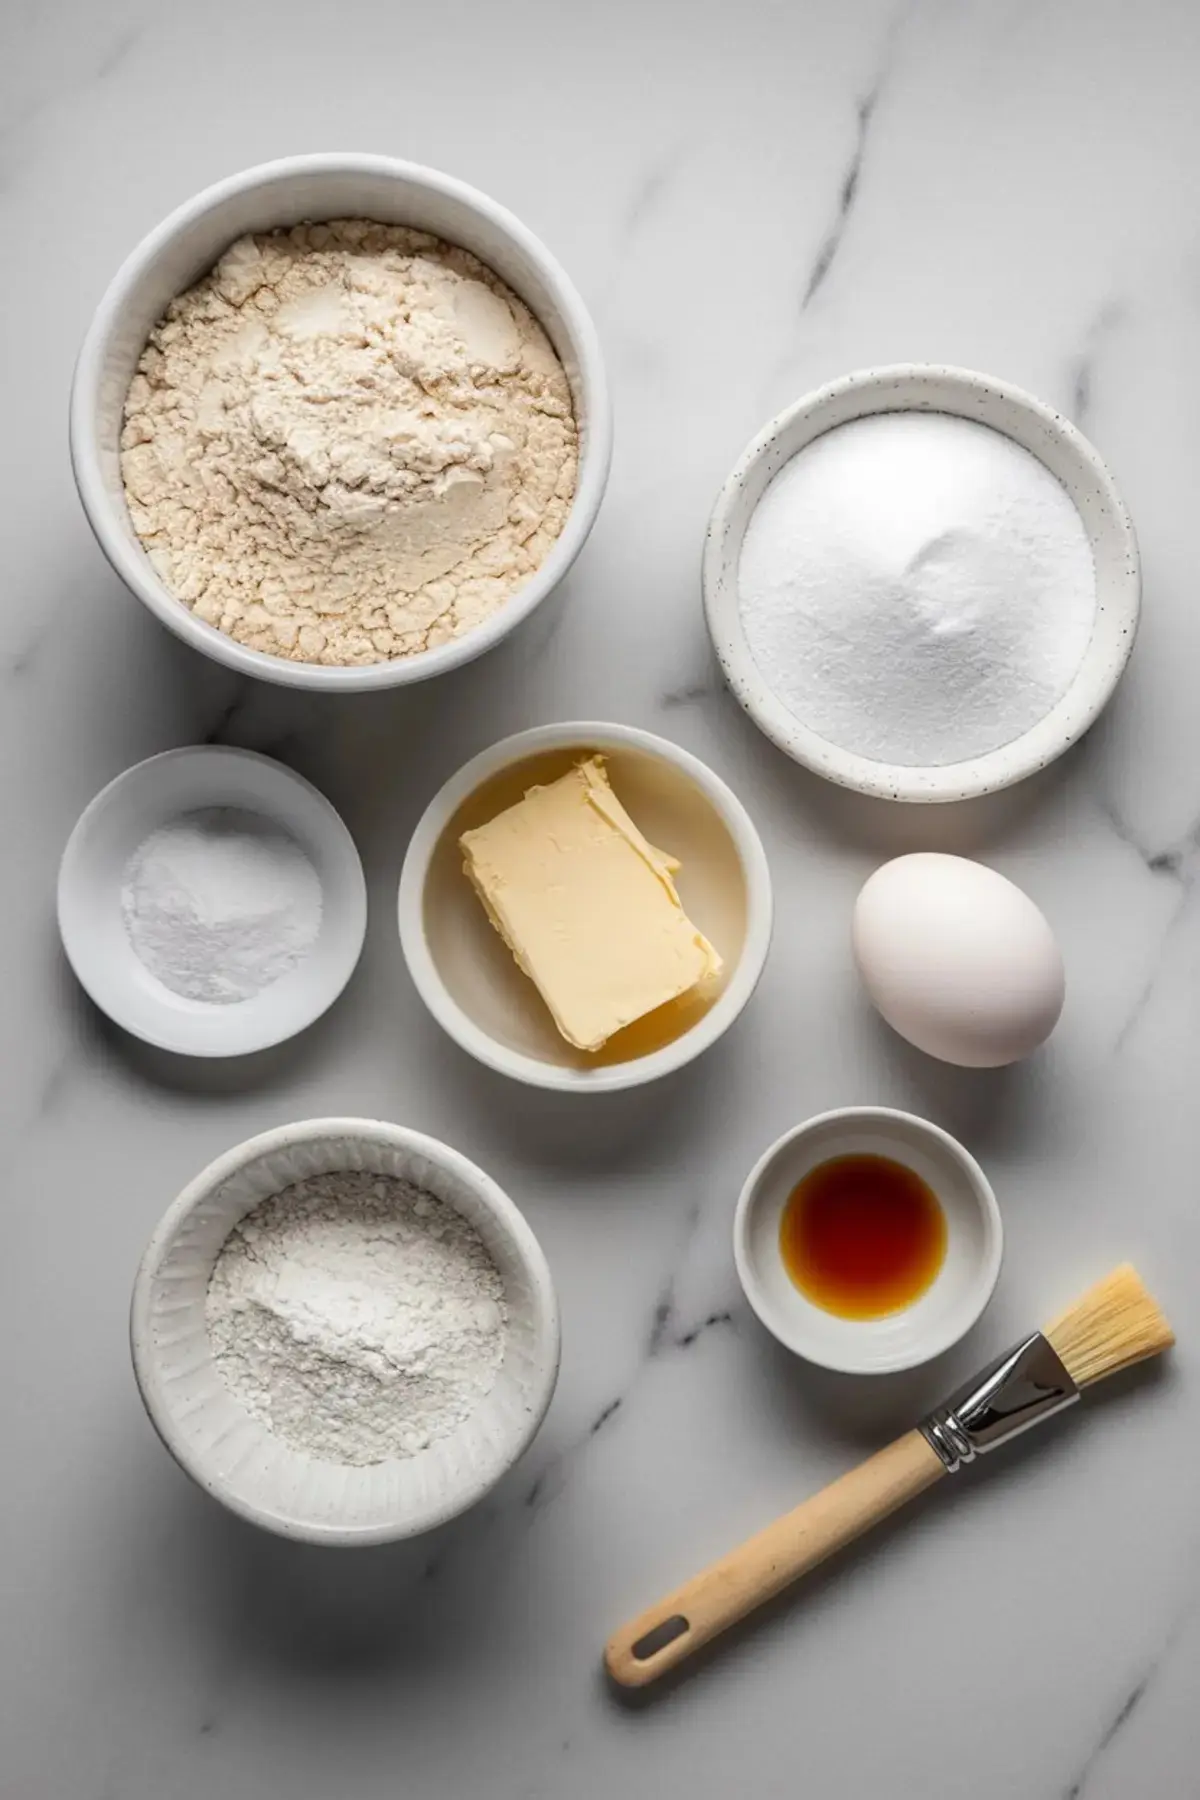
You will need standard pantry items for the cookie dough. Flour gives the cookies structure. Baking powder helps them puff slightly, producing a light bite. Salt balances the sugar, ensuring the dough stays flavorful instead of bland. Butter provides richness and a gentle softness, and I have found that unsalted butter keeps the taste consistent.
Sugar sweetens the dough and adds that crisp, golden finish during baking. An egg brings everything together, creating a dough that handles well. Vanilla extract adds a familiar warmth to each bite. Pastel fondant, edible glue or water, and a bit of cornstarch round out the essential decorating components, guaranteeing those bows and vibrant egg shapes stay in place.
My biggest tip is to use top-quality butter and real vanilla. Those small decisions create a rich taste that takes these cookies from average to memorable. People often ask me about substitutions, but I stick to the recommended ingredients because I enjoy the classic flavor. If you have never tried a basic sugar cookie recipe, this one offers an easy introduction.
Shaping And Baking The Cookies
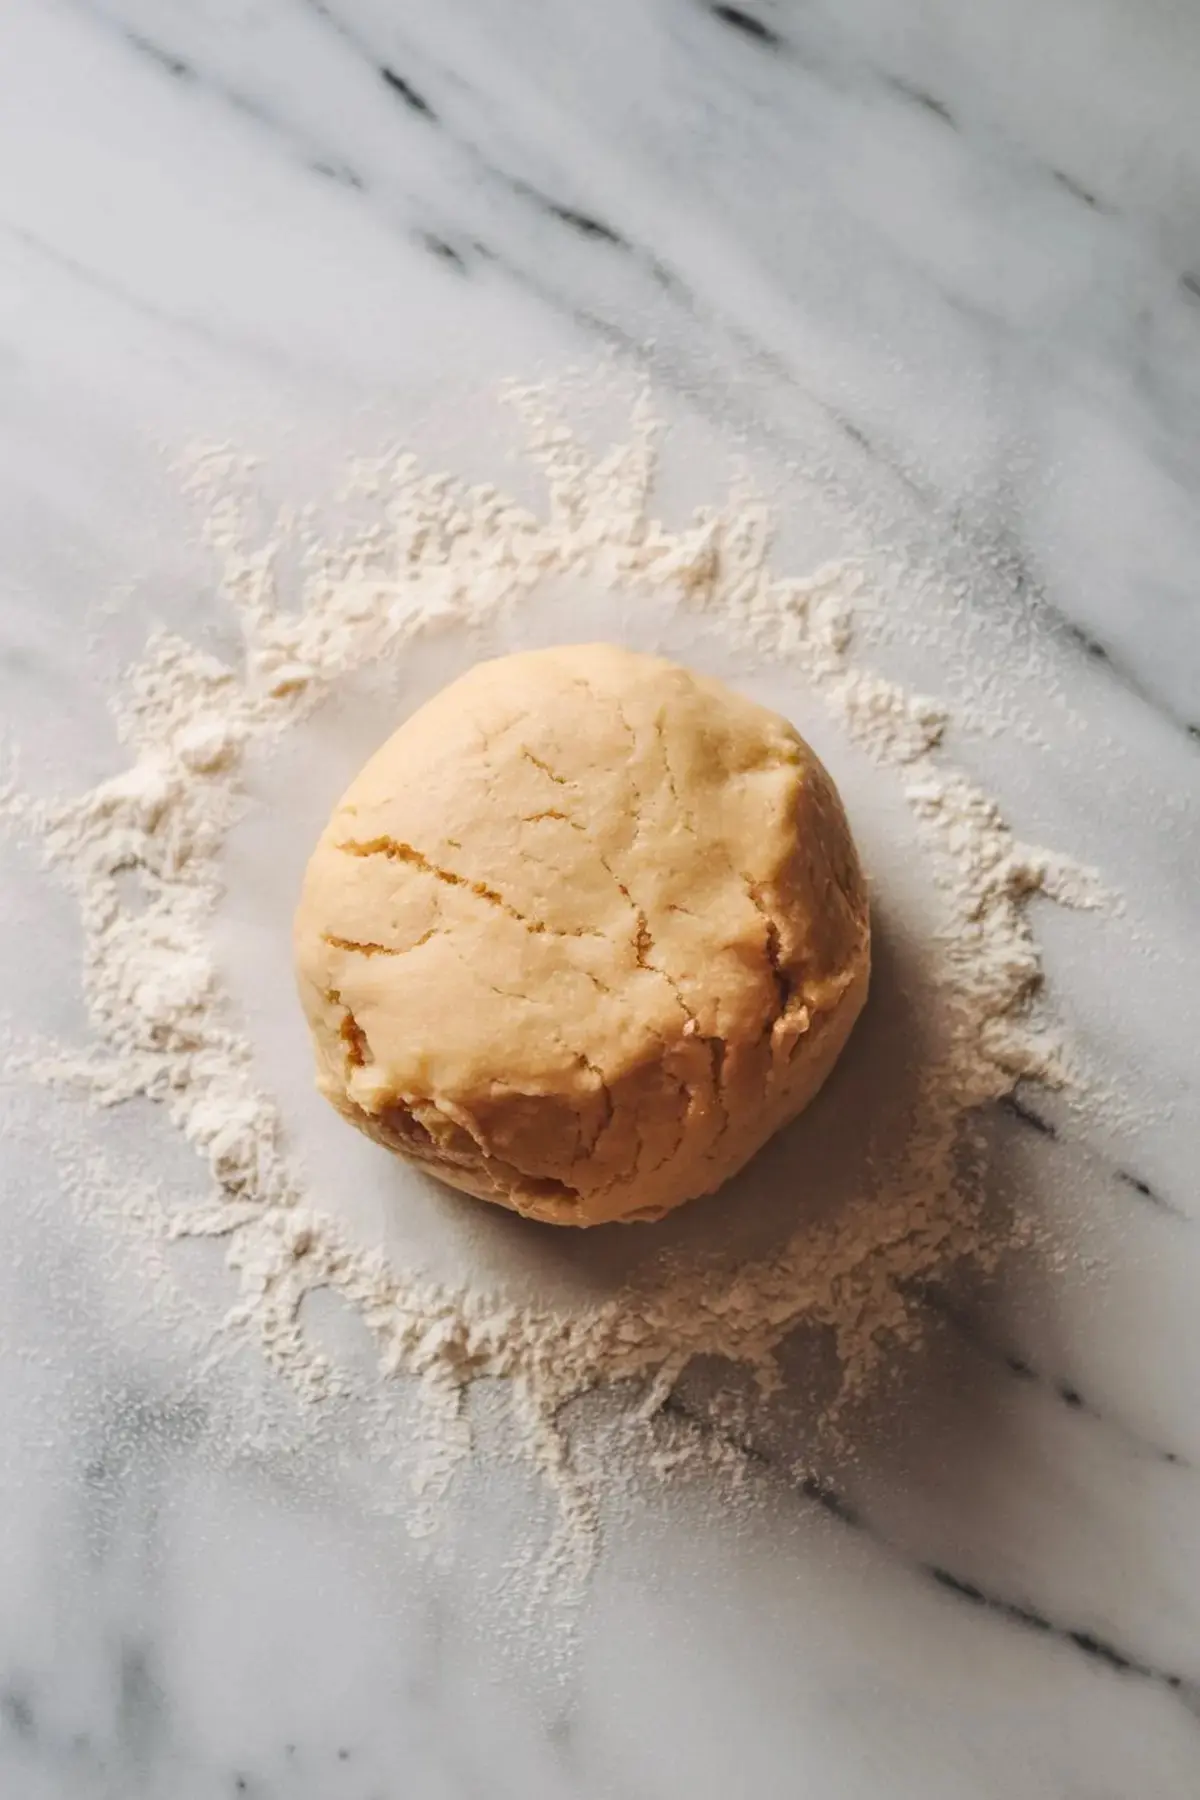
I start by whisking together the flour, baking powder, and salt in a medium bowl. That step ensures each cookie rises evenly. Next, I beat softened butter and sugar in a separate bowl, letting them become fluffy and pale. An egg goes in, along with a splash of vanilla. Then I bring the dry mix into the wet mix, little by little, until a workable dough forms.
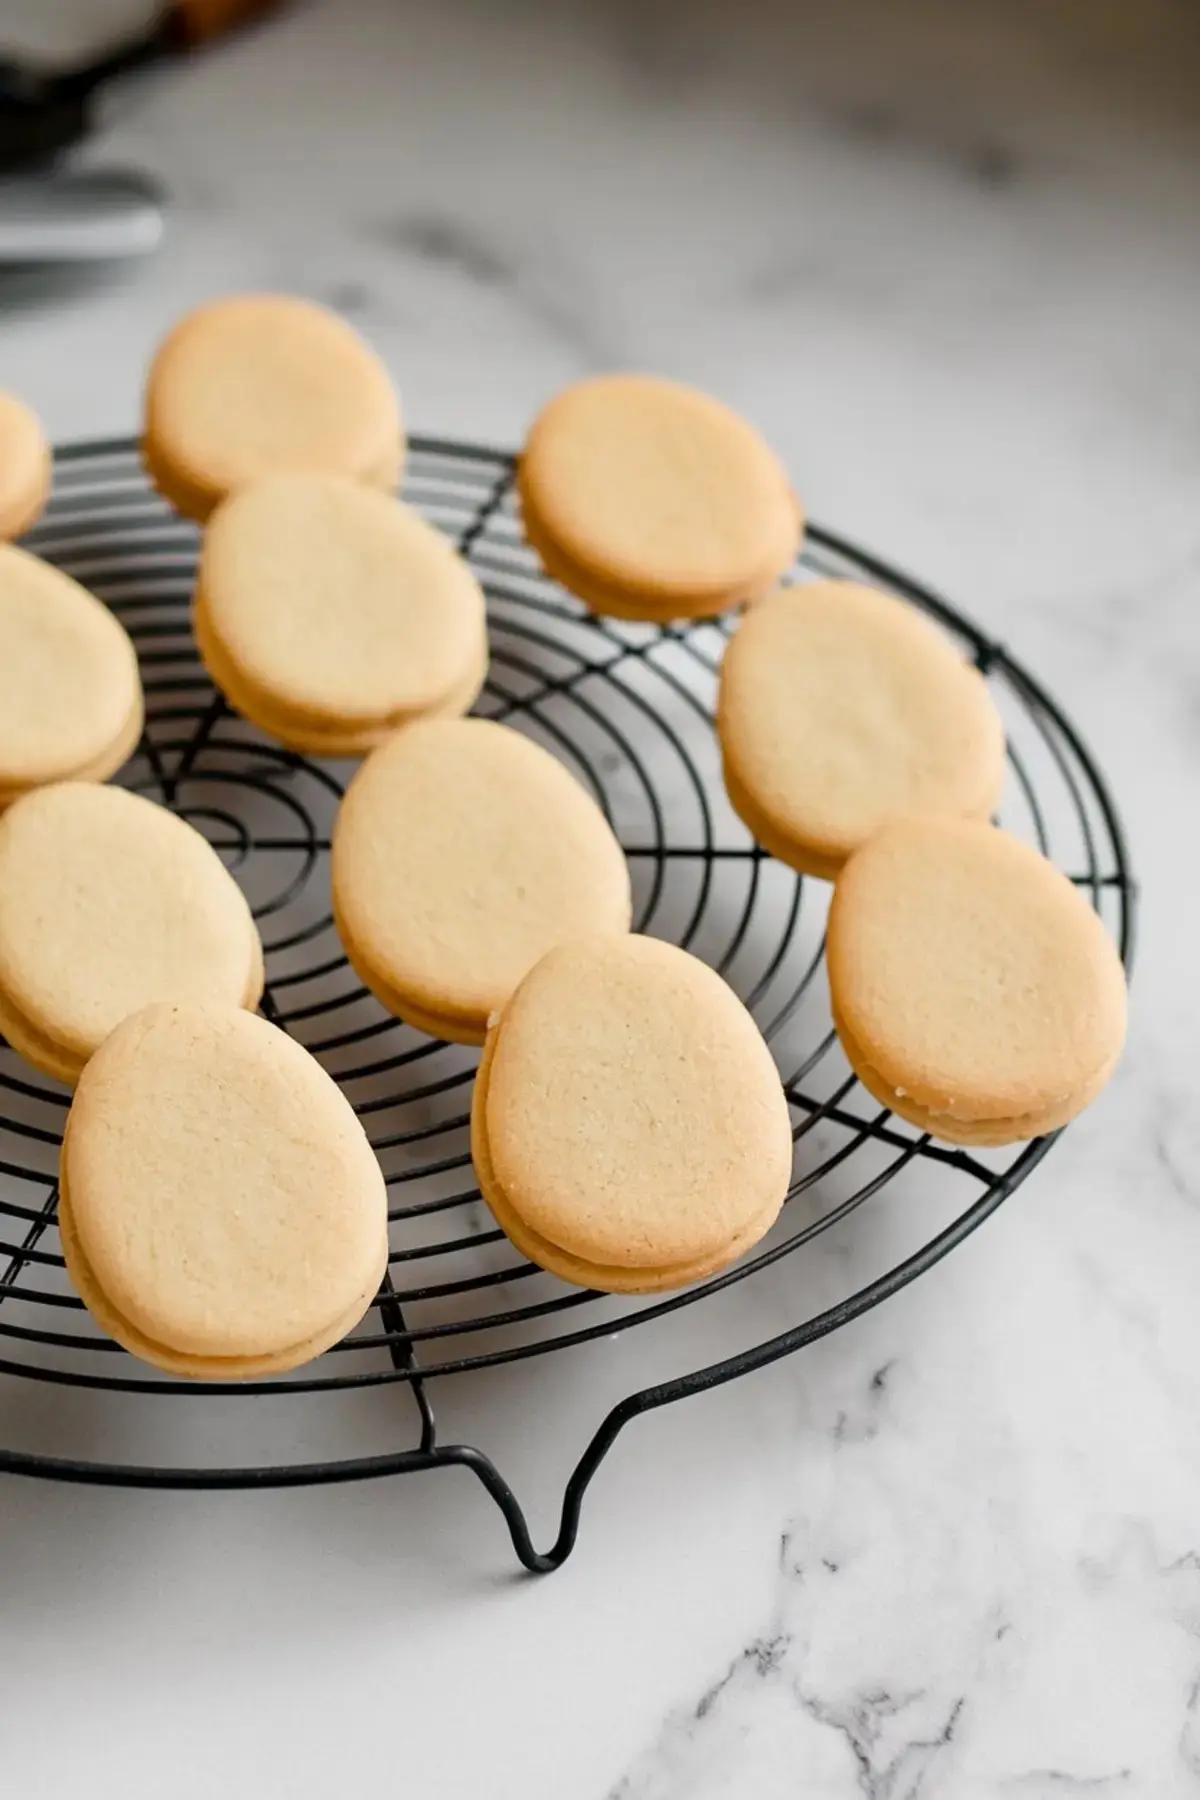
A floured surface helps me roll out this dough to about a quarter-inch thickness. An egg-shaped cutter transforms the dough into perfect Easter-themed pieces. Placing them on a lined baking sheet prevents sticking, and an oven preheated to 350°F bakes these delights in about eight to ten minutes. Edges turning lightly golden signals that they are ready. A few minutes to cool on a wire rack is wise before any fondant action.
I learned the hard way that fondant will slide right off if the cookies are still warm. Let them cool thoroughly. That wait also gives me time to roll out the fondant and gather my bow molds or shaping tools. Some folks like to get the kids involved, letting them sprinkle a bit of colored sugar or help place the bows. I have seen tiny hands come up with unique designs that look surprisingly cute.
Bringing Pastel Fondant And Bows To Life
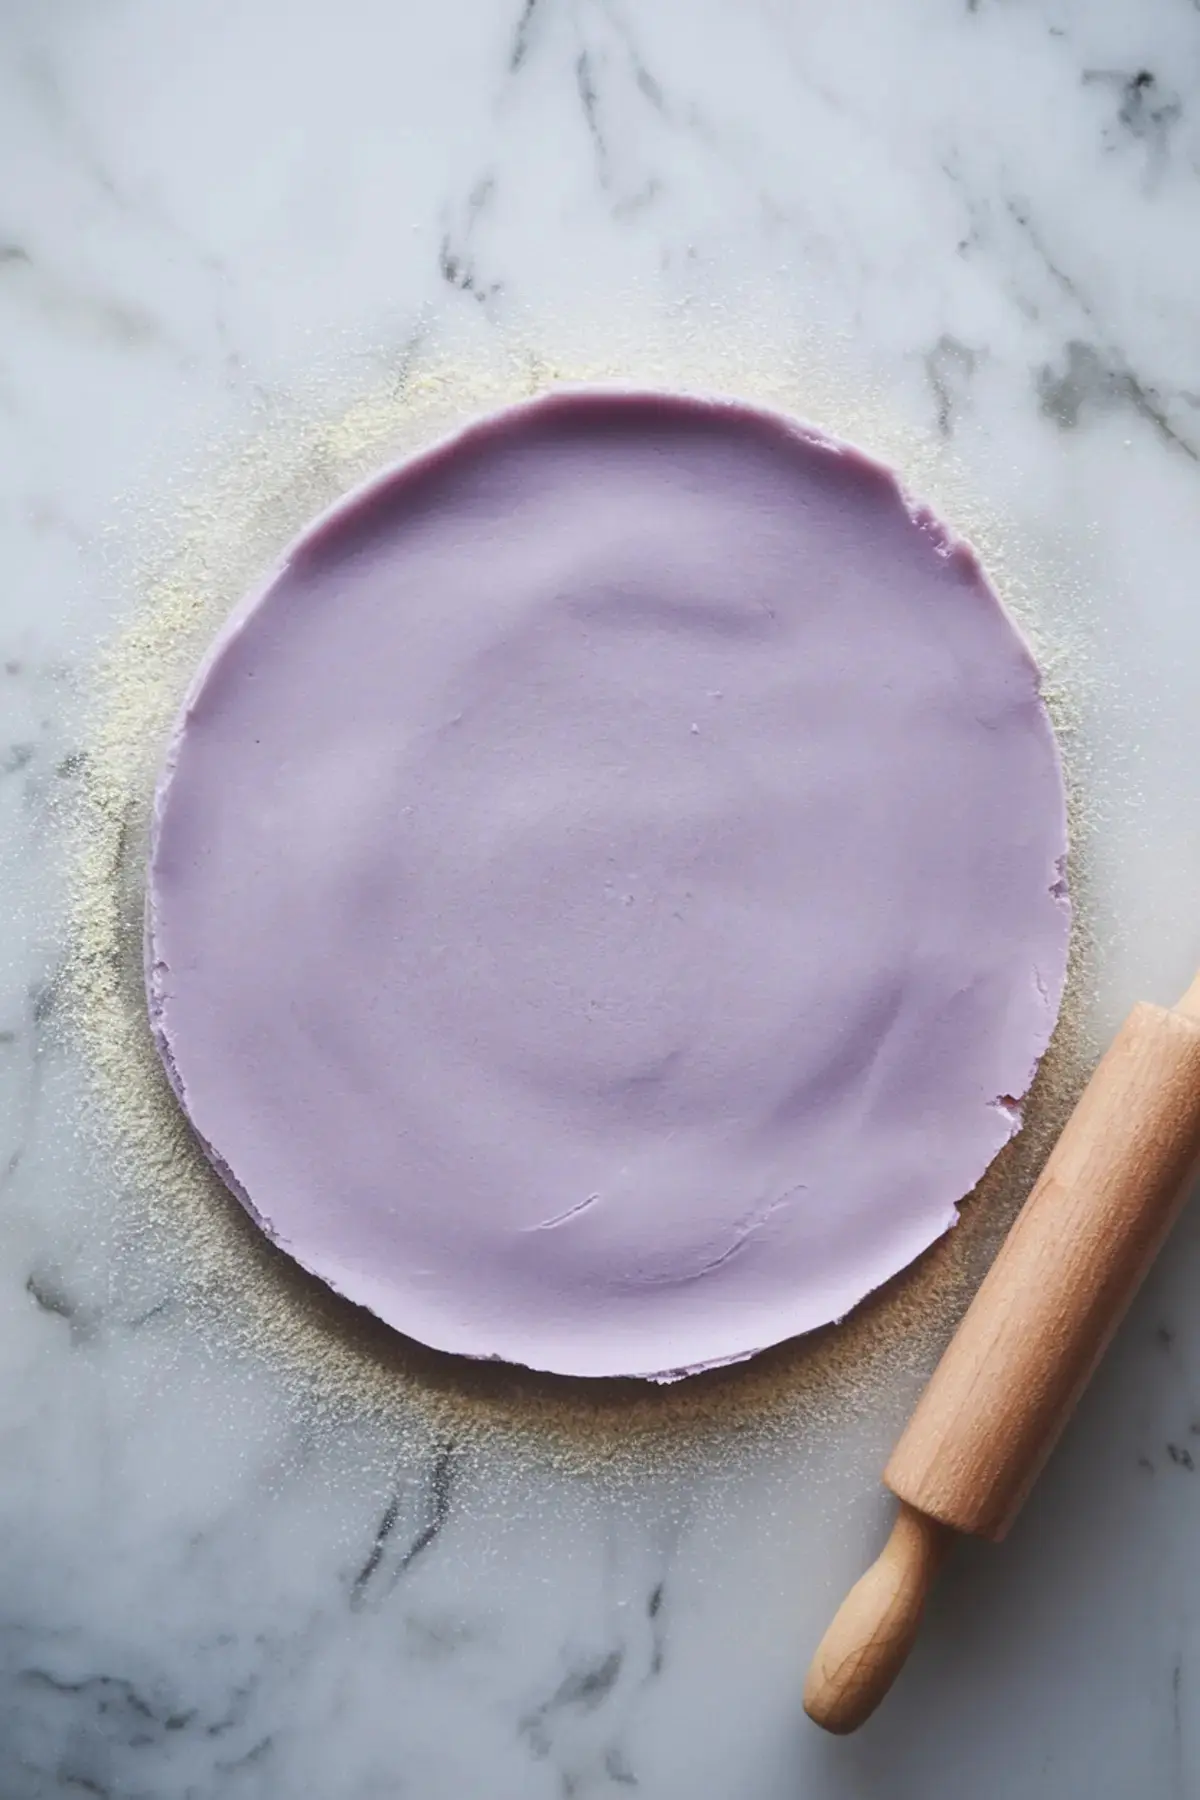
A bit of cornstarch on the countertop stops the fondant from sticking. Rolling each color to about one-eighth-inch thickness sets the stage for neat layering. I use the same egg-shaped cookie cutter on the fondant, which guarantees a perfect match. A small brush of edible glue or water helps the fondant adhere to the cooled cookie. A gentle press of the fingers molds the fondant to the cookie’s surface, smoothing any tiny wrinkles.
Little bows are easy to craft with a bow mold, but a freehand approach offers a more personal touch. A short rectangle of fondant pinched in the center creates that bow shape. A tiny strip wrapped around the middle completes the design. I place a dab of edible glue in the cookie’s center, then position the bow. Letting the decorations sit helps them stick. Each pastel color stands out in its own way, so the finished plate looks like a miniature art gallery.
Optional Flavor Twists And Tips
Some friends add a pinch of lemon zest or almond extract to the dough, giving the cookies extra depth. That works well if you want a subtle twist. Fondant can be flavored too. A drop of mint or strawberry essence can heighten the sweetness. Too many flavors can muddle the end result, though, so I like to keep it simple. A single accent is enough to give these cookies a distinct personality.
If you want a truly bright color palette, a few drops of gel coloring in the fondant can energize your designs. Pastel is a standard Easter theme, but vivid purple or electric pink bows might fit your style. It comes down to preference and your sense of fun. This recipe encourages creative expression, and that freedom keeps baking enjoyable.
Serving And Storage Suggestions
I always store these Easter Egg Cookies in a single layer inside a container, away from direct sunlight or heat. They can last about five days if kept sealed. That timeline might be wishful thinking because they tend to vanish quickly, especially if you have a sweet-toothed crowd at home. Set them out on a decorative platter, and watch your guests gravitate to them. Each cookie stands out like a tiny painted egg.
A second advantage of these cookies is how well they travel. A sturdy container with parchment between layers prevents smudges. I often take them to potlucks and family gatherings. If you plan to ship them, a bit of bubble wrap around each cookie helps preserve the bows. These treats make cheerful gifts in springtime baskets, especially for relatives who appreciate homemade goodies.
More Easter Desserts For Your Table
I love sharing other themed ideas for spring. Easter Bunny Egg Cupcakes bring a different style to your dessert spread, blending whimsical bunny shapes with moist cupcake centers. Cadbury Egg Cookies feature a burst of chocolate and that nostalgic Cadbury filling. Easter Egg Cheesecake sits proudly on any dessert table with its smooth, creamy interior. Each option captures the spirit of the holiday, pairing playful design with classic flavors that many of us remember from childhood.
A Tasty Way To Celebrate And Connect

I hope these decorated cookies add color and happiness to your gatherings. I enjoy sitting down with a cup of tea and admiring the detail on each cookie, especially after a busy week. You can keep the decorations simple or go bold with extra details.
Please consider saving this recipe on your Pinterest board so it’s easy to find again. Feel free to share your results in the comments section or ask any questions about the process. I love seeing different designs and hearing stories from readers who make these. Baking has a way of bringing us together, and these cookies carry that feeling in each pastel bite.
Easter Egg Cookies with Fondant Bows Recipe

Easter egg cookies with fondant bows are beautifully decorated treats that combine a tender sugar cookie base with pastel-colored fondant and dainty bow decorations. These cookies are perfect for springtime gatherings and festive celebrations.
Ingredients
- FOR THE COOKIES
- 2 ¾ cups (340g) all-purpose flour
- 1 teaspoon baking powder
- ½ teaspoon salt
- ¾ cup (170g) unsalted butter, softened
- ¾ cup (150g) granulated sugar
- 1 large egg
- 1 teaspoon pure vanilla extract
- FOR THE FONDANT DECORATION
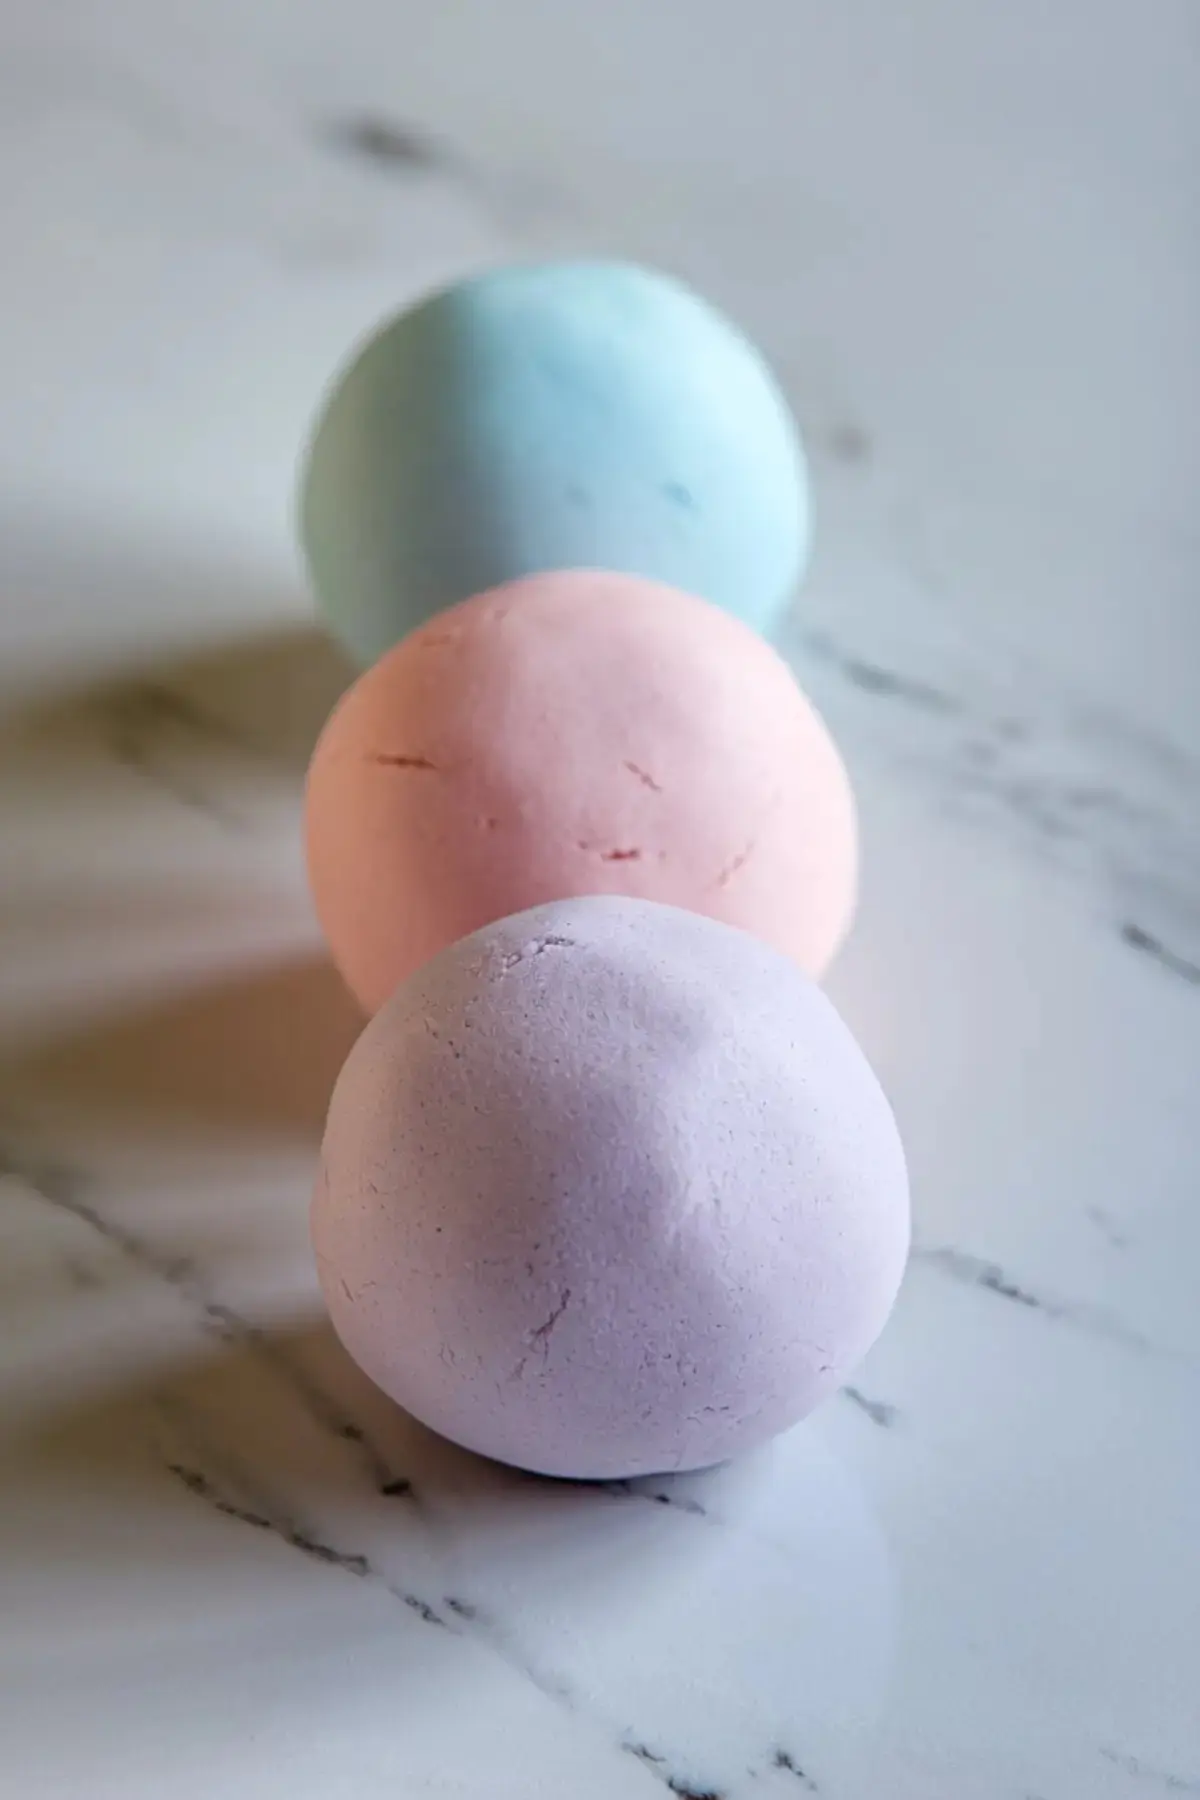
- Pastel-colored fondant (pink, blue, lavender, and mint green)
- Cornstarch (for dusting)
- A rolling pin
- Oval cookie cutter (egg-shaped)
- Bow mold or freehand bow-shaping tools
- Edible glue or water
Instructions
- MAKE THE COOKIES: Preheat the oven to 350°F (175°C) and line baking sheets with parchment paper. In a medium bowl, whisk together the flour, baking powder, and salt.
- CREAM THE BUTTER AND SUGAR: In a large mixing bowl, beat the softened butter and sugar until light and fluffy (about 2 minutes). Add the egg and vanilla, mixing until combined.
- COMBINE THE INGREDIENTS: Gradually add the dry ingredients to the wet ingredients, mixing until a dough forms. Roll out the dough on a lightly floured surface to about ¼-inch thickness. Use an egg-shaped cutter to cut out cookies.
- BAKE THE COOKIES: Transfer the cookies to the prepared baking sheets, leaving space between them. Bake for 8–10 minutes or until the edges are lightly golden. Let them cool completely before decorating.
- PREPARE THE FONDANT: Dust your surface with cornstarch to prevent sticking. Roll out each pastel-colored fondant to about ⅛-inch thickness. Using the same egg-shaped cutter, cut out fondant pieces to match the cookies.
- ATTACH THE FONDANT: Lightly brush the top of each cookie with edible glue or water, then carefully press a fondant egg shape onto it. Smooth it out with your fingers.
- CREATE THE BOWS: Use a bow mold for perfect shapes, or shape them by hand. To freehand, roll fondant into a small rectangle, pinch the center, and wrap a thin strip around it for a classic bow look.
- ADD THE BOWS: Place a small dab of edible glue on the top center of the fondant-covered cookie, then press the bow in place. Allow the decorations to set before serving or packaging.
Notes
For best results, work with small amounts of fondant at a time to prevent it from drying out. Store the cookies in an airtight container at room temperature for up to 5 days.
Nutrition Information
Yield
24Serving Size
1Amount Per Serving Calories 93Total Fat 2gSaturated Fat 1gTrans Fat 0gUnsaturated Fat 1gCholesterol 10mgSodium 93mgCarbohydrates 17gFiber 1gSugar 4gProtein 2g