
I love spring celebrations that feature bright colors and playful desserts. This Easter Egg Pink Cake Roll has charmed my table on many occasions, and it always surprises friends with its cheerful hue. The first time I made this recipe, I felt a wave of nostalgia because rolled cakes were common during my childhood get-togethers.
My family enjoyed watching these airy confections unravel on the table, revealing smooth layers of sweet filling. That fascination never left me, so I often recreate that experience at home now. My friends say they look forward to the moment I slice into a roll and show off its pastel interior.
Bakers with a range of experience levels can handle this recipe. Some folks might think rolling a cake is tricky, yet the key is in the method of shaping it when it’s still warm. I enjoy any steps that keep things simple, so I lay out a towel with powdered sugar and trust that the dough cooperates.

Following a special diet?
Every recipe on this site can be converted to gluten-free, vegan, dairy-free, keto, nut-free or egg-free with adjusted ratios so nothing falls flat.
Try the Recipe Converter →Easter Egg Pink Cake Roll Origins And Why I Love It
Stories from my grandmother’s kitchen always inspire me. She used to experiment with cake rolls because they served big families in a pretty way, and they stored well in the fridge. My version introduces pink gel food coloring, a playful nod to the soft pastel shades we often see at spring gatherings.
I connect this color choice with childhood Easter baskets full of bright candy and decorations. The moment I slice into this airy sponge, I feel a spark of nostalgia. The lightness of the cake evokes joy, and the swirl of whipped vanilla cream adds a comforting sweetness that never feels heavy.
This dessert creates a treat that looks festive with minimal fuss. Some folks prefer complicated decorations, but I keep it simple with powdered sugar and mini chocolate eggs on top. That contrast between pink sponge and pastel sweets elevates the dessert table.
Key Ingredients For A Fluffy Pink Sponge
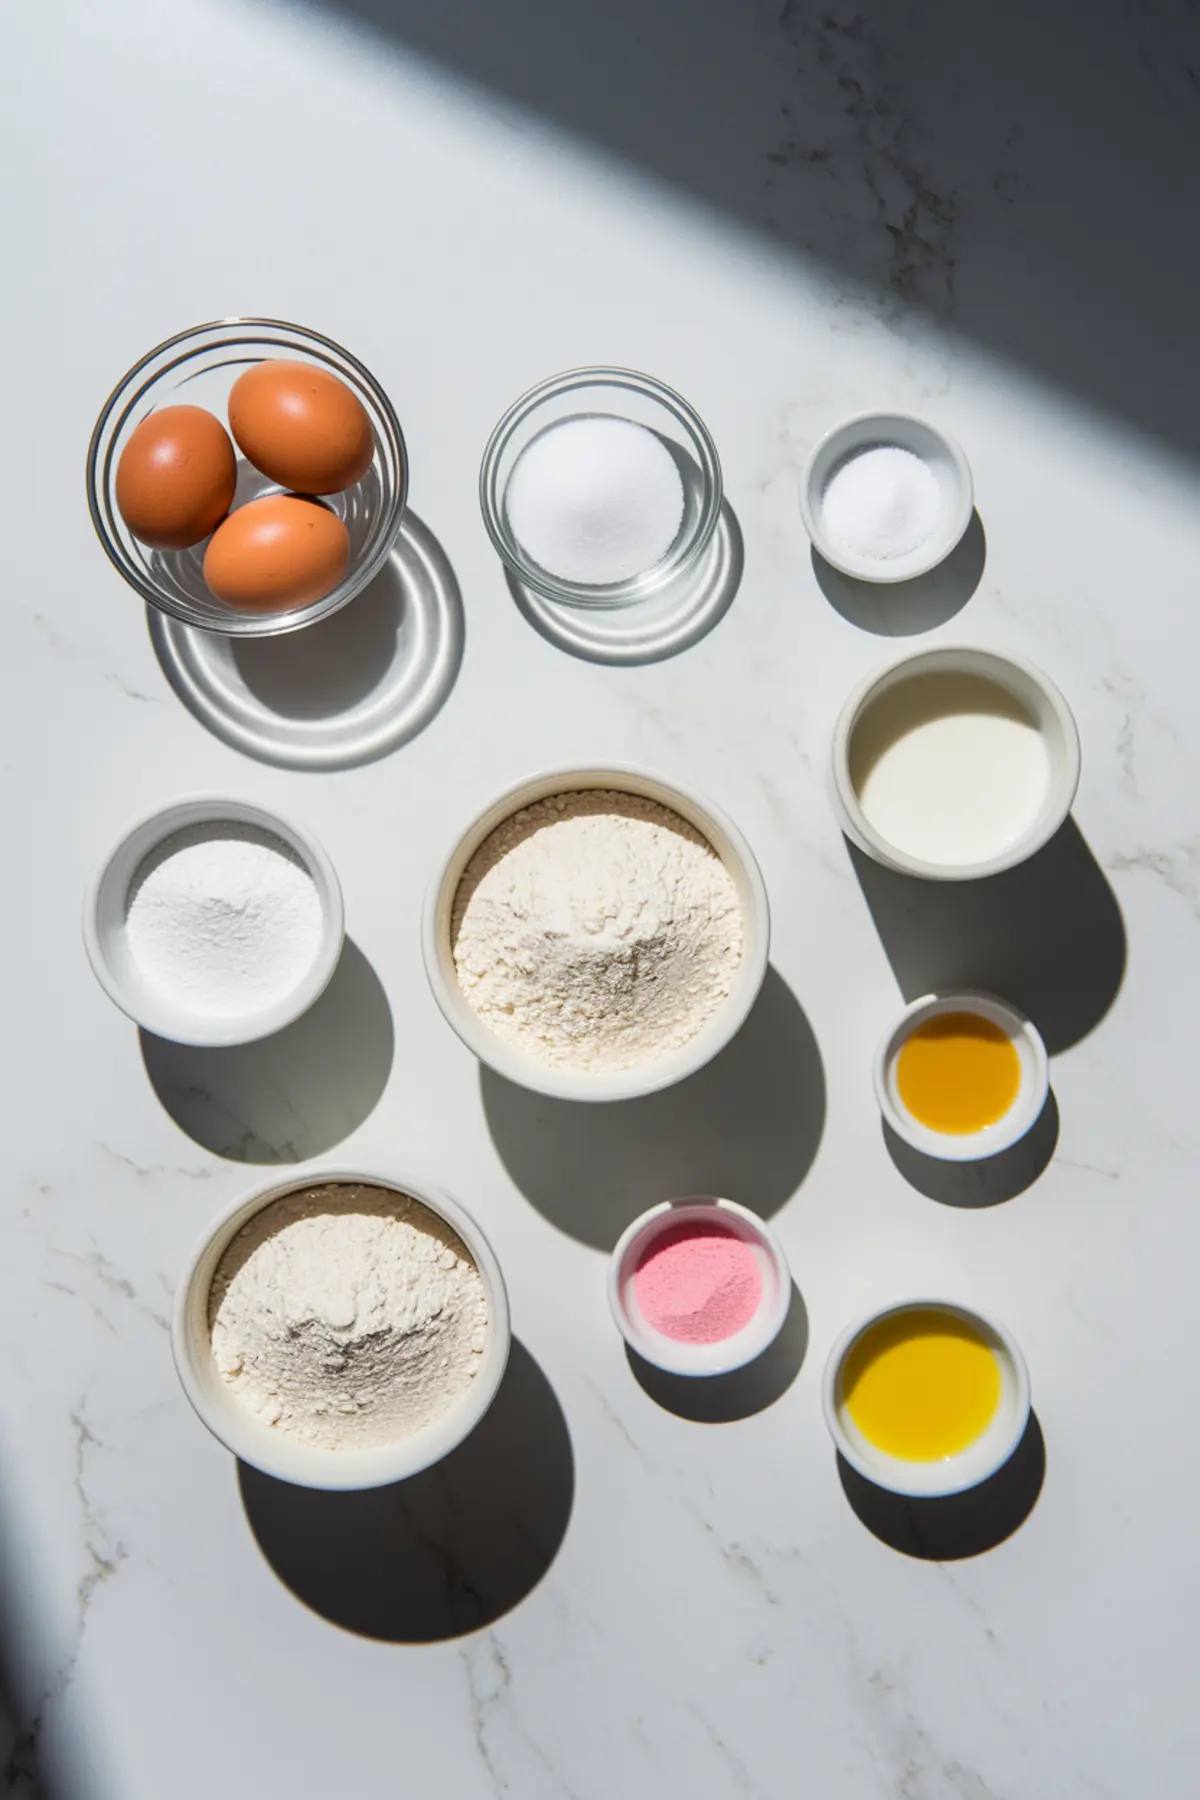
Eggs and sugar work together to create a stable base for the batter. The warm eggs whip into a pale mixture that invites air, forming a light foundation. Milk and vegetable oil then boost moisture levels, so the cake stays soft, even after rolling.
Cake flour delivers a delicate crumb that pairs well with spring gatherings. Some bakers reach for all-purpose flour, but sifting it ensures a lighter result. Pink gel food coloring blends nicely without adding extra liquid, granting a bright color with minimal effort.
Vanilla extract lends a gentle aroma that complements the pink hue. A bit of baking powder works with the whipped eggs to create an airy rise. A little salt balances the sweetness, so each slice tastes pleasantly sweet rather than overpowering.

Batter Preparation Without Filler Steps
I preheat the oven to 350°F (175°C) and line a 10×15-inch (25x38cm) jelly roll pan with parchment paper. My mixer combines eggs and sugar until they double in volume, forming a pale foam. Then I incorporate milk, oil, and vanilla extract, stirring gently to preserve that fluffy texture.
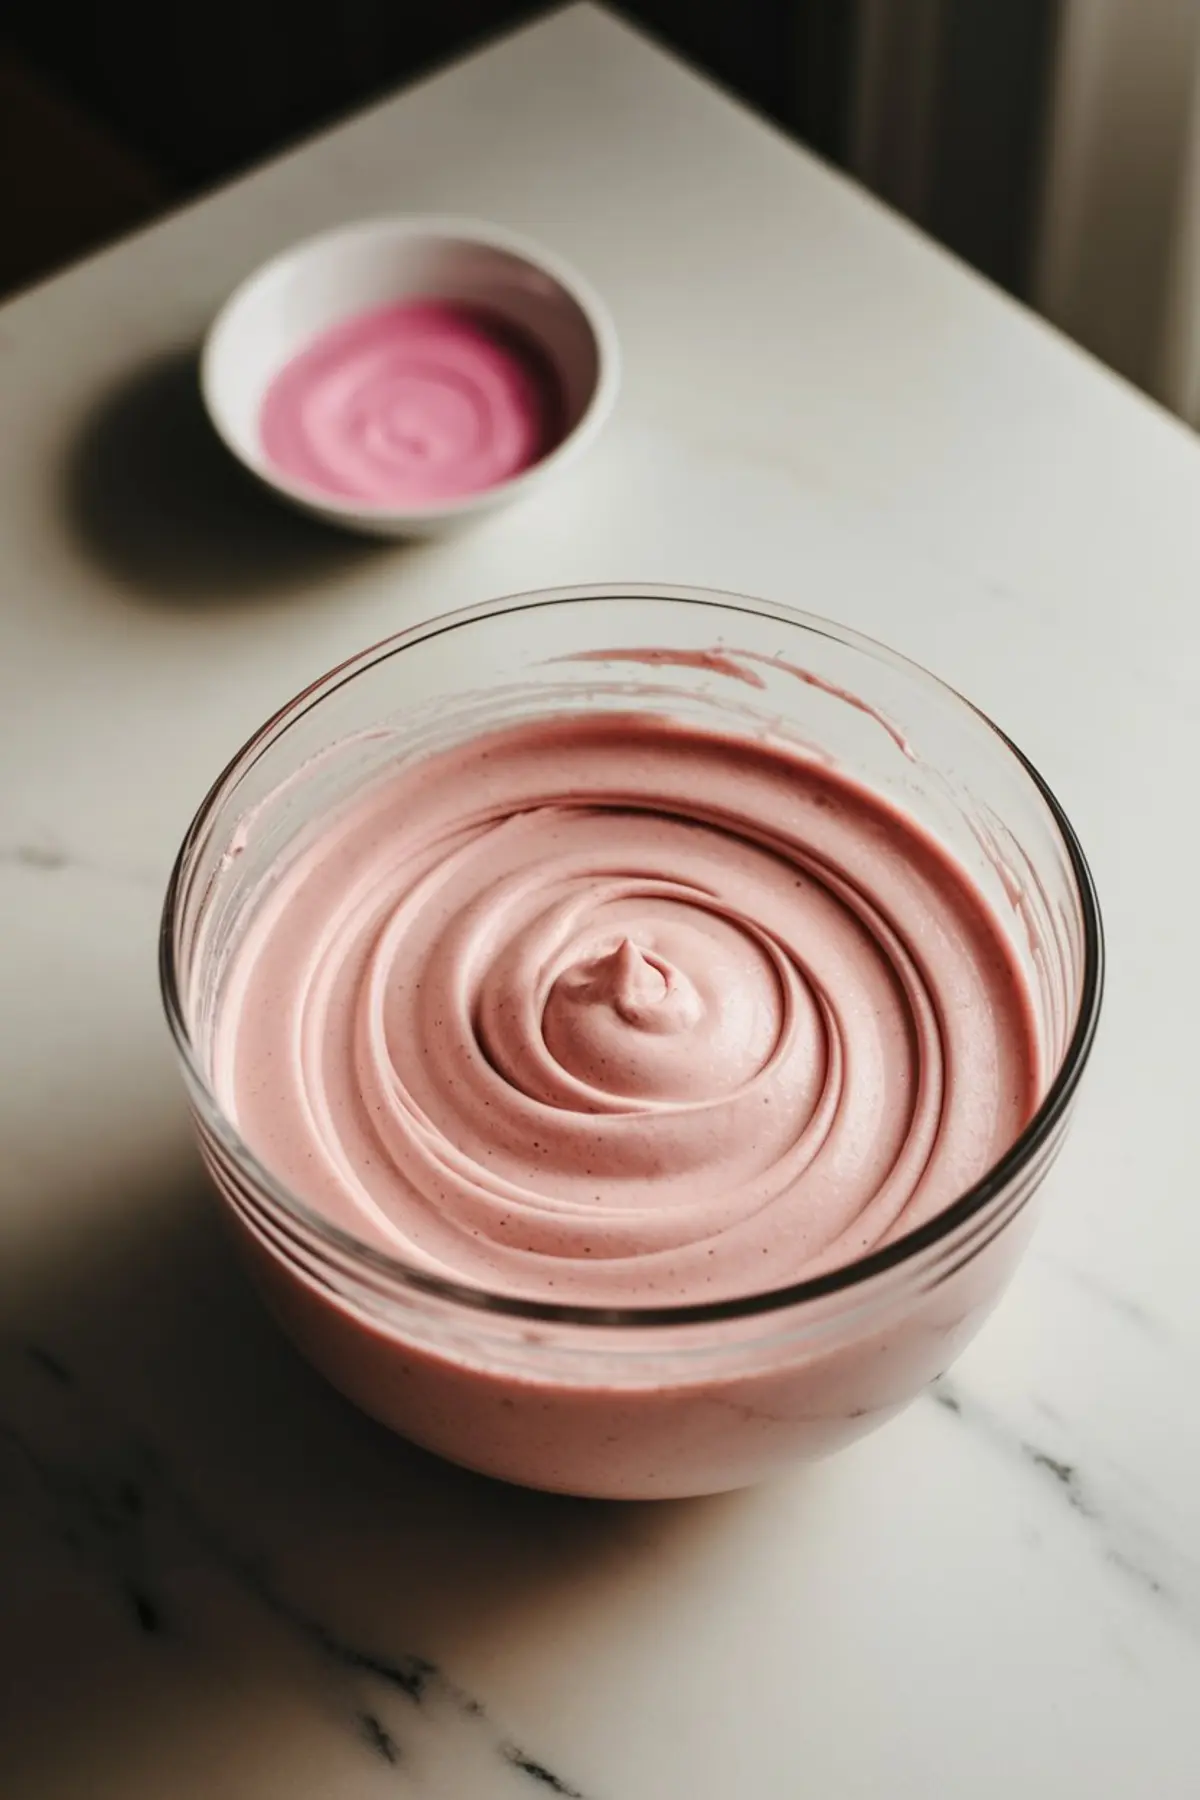
Flour, baking powder, and salt enter the bowl after a quick sift, followed by soft folds of the spatula. Maintaining that airy structure is crucial at this step. The pink gel food coloring goes in last, and I adjust the amount until the color brings me joy.
Any lumps must be handled carefully without deflating the batter. A few taps of the pan against the counter help eliminate extra bubbles. A quick transfer to the oven begins the transformation from liquid batter to a rose-hued sponge.
The Art Of Rolling The Cake
A short bake of about 10-12 minutes is enough. The surface should spring back when lightly touched, an indication that it’s fully baked yet still soft. That’s when the swift movement begins: lifting the cake out of the pan using parchment paper.
Then I flip it onto a kitchen towel dusted with powdered sugar, which keeps the surface from clinging to the fabric. The parchment backing peels right off, and I start rolling from the short end. The towel remains inside the roll, holding the spiral shape while it cools.
The cake sits rolled for about an hour, giving it time to set. That rest allows the sponge to remember its new shape. Once it’s cool, unrolling is smooth, and the cake feels pliable, ready to receive the filling.
Embracing The Vanilla Cream Filling
Heavy whipping cream and powdered sugar form a light, sweet cloud. I whisk them in a chilled bowl, adding a teaspoon of vanilla extract. Stiff peaks appear, which assures me that the texture will stay stable inside the cake roll.
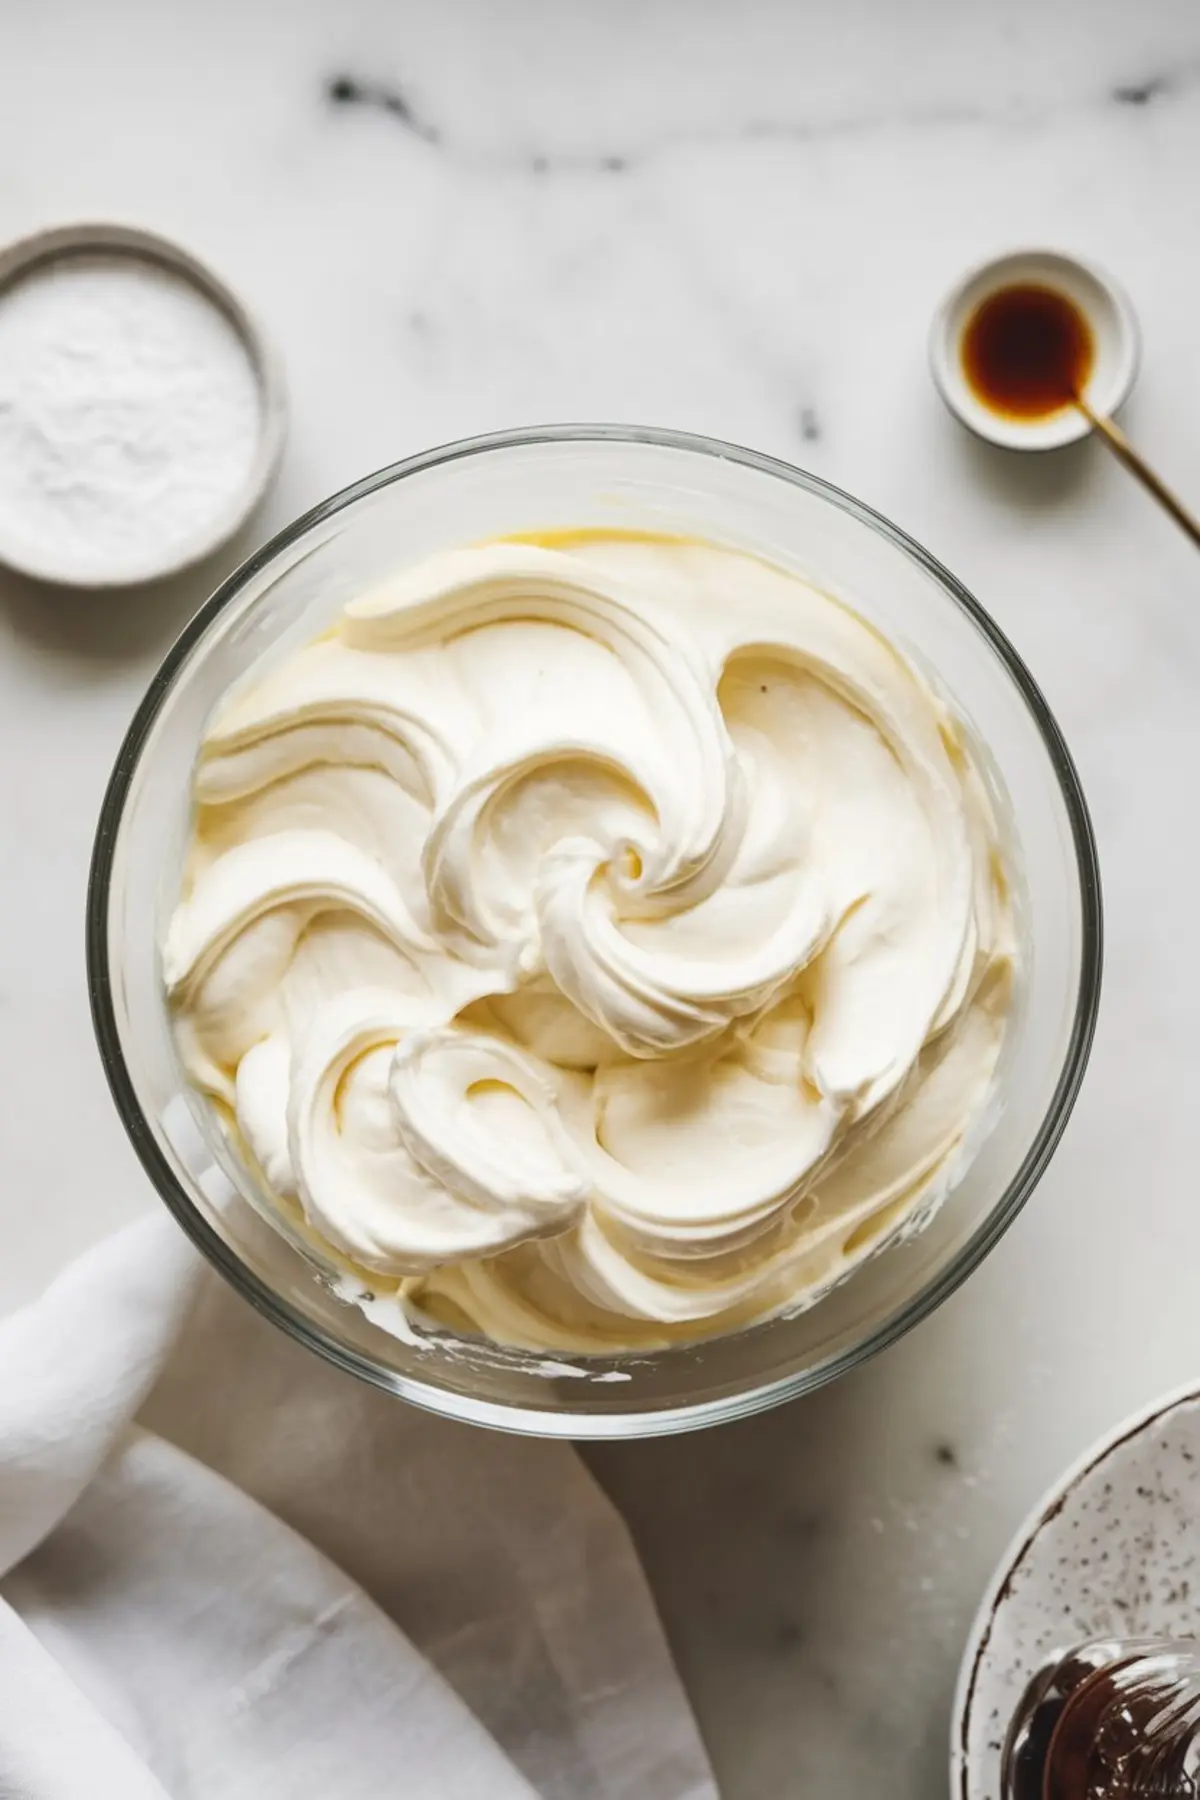
I sometimes imagine this process as a mini workout for my arm if I’m not using an electric mixer. Observing the cream transform is always mesmerizing. Each swirl soon becomes the luscious filling that complements the cake’s gentle crumb.
That whipped cream spreads easily, so a thin, even layer is all I need. A small border around the edges prevents overflow. Once I roll the cake back up, that filling stays put, and the spiral pattern remains neat.
Decoration With Pastel Mini Chocolate Eggs
Powdered sugar dusted on top contrasts nicely with the pink sponge. Adding bright mini chocolate eggs captures the spirit of spring holidays without fuss. I like how those candies create playful pops of color in each slice.
Some folks drizzle melted white chocolate for extra flair. My approach is more casual, with a light scattering of candies, so the pink roll stands out. Families adore this look at any Easter gathering, and kids often swipe the candies faster than I expect.
That final dusting of powdered sugar makes the roll look as if it’s wearing a little white coat. A basket of mini eggs next to the platter invites everyone to help themselves. A friendly table setting always encourages second servings.
Extra Easter Cake Inspiration
My love for creative baked goods doesn’t stop with pink rolls. I also enjoy bright cakes that fit with springtime celebrations. My Easter Polka Dot Cake project offers a fun pattern, showcasing colorful dots that appear in each slice.
Anyone seeking a different color gradient can explore the Easter Ombre Cake concept, layering shades of pastel batter. That approach thrills those who want a multi-toned effect. These cakes illustrate how playful ideas transform plain batter into memorable desserts.
Serving multiple choices on one table invites curiosity and conversation. Guests compare slices, admire the designs, and sometimes request instructions for creating these effects. Each dessert fosters a shared excitement over bright spring visuals.
Serving Suggestions And Personal Tips
I find that slicing the roll with a sharp knife, then wiping the blade between cuts, offers the neatest presentation. Each spiral looks intact, and the cream doesn’t smear across the cut. That technique works nicely during family gatherings, ensuring every slice arrives picture-ready.
Refrigeration for at least 30 minutes before serving helps the cake hold its shape. That chill sets the cream, so it won’t ooze out during slicing. Guests appreciate that tidy appearance, but they love the taste even more.
I sometimes serve it alongside fresh berries, though that’s optional. Adding a side dish with bright fruit mirrors the theme of spring freshness. My sister tries it with a drizzle of raspberry sauce, which adds a tangy complement.
My Rolling Mishaps And Lessons Learned
I once rushed the cooling process and unrolled the cake too early. The sponge stuck to the towel, leaving an uneven surface. That frustration taught me to let the cake cool for the full hour, preserving its shape and texture.
Another mishap occurred when I overbaked the sponge by a few minutes. The edges felt stiff, and small cracks formed while rolling. I salvaged it by topping with extra powdered sugar, but I learned that precise timing is key.
Experiences like that keep me humble in the kitchen. Each bake offers a lesson that refines my approach. Now I understand how small details, such as oven temperature and timing, play a huge role.
Freshness And Storage
I keep this cake roll covered in the refrigerator for up to three days. Letting it sit at room temperature for a few minutes before serving softens the cream slightly. That brief wait helps bring back the full, creamy mouthfeel.
Anyone looking for extended storage can freeze the cake roll. Tightly wrapping it in plastic and placing it in an airtight container protects the texture. Thawing overnight in the fridge readies it for slicing the next day without losing flavor.
I rarely have leftovers, but I appreciate that this dessert stores so well. Sometimes I cut slices ahead of time, wrap them individually, and freeze them for portioned treats. That convenience ensures that an afternoon snack is always near.
Hosting And Spring Celebration Ideas
Inviting friends for a spring get-together can be fun with a few easy desserts. I place this Easter Egg Pink Cake Roll on a table with other pastel-themed treats. That variety keeps guests coming back for seconds.
Some people bring fruit salads or light savory dishes, creating a balanced spread. I like to keep a bowl of candy nearby, including extra mini chocolate eggs. That colorfulness makes the gathering feel relaxed yet festive.
Relatives sometimes ask if they can try their hand at rolling the cake. I encourage them to step into the kitchen, whisk a bowl of cream, and see how simple it can be. Sharing these moments builds confidence in new bakers.
Encouraging Reader Creativity
I believe everyone can adapt this recipe to match personal tastes. Using a different food coloring can shift the look, transforming the roll to fit other events. A yellow hue could work for summer, while a pale blue might fit a baby shower.
The presence of mini eggs at Easter remains my favorite part, but other candies fit various holidays. Sprinkles, fresh fruit, or shaved chocolate can deliver unique flair. I admire how each baker adds a personal stamp.
My biggest advice is to have fun while preparing this dessert. The process involves whipping, folding, and rolling, all of which feel soothing in their own way. Let your creativity guide you, and share your results with friends.
Pin And Share
Feel free to pin this Easter Egg Pink Cake Roll recipe on your favorite Pinterest board. A quick save helps you find it later, especially when you want a cheerful dessert for spring gatherings. Let everyone in your circle discover a new way to bring color and sweetness to special occasions.
I appreciate comments from those who try this recipe. Let me know how it turned out, or ask questions if anything remains unclear. Helping each other learn and grow in the kitchen builds a warm sense of community.
I hope these tips spark a desire to pick up a whisk and gather ingredients. My memory of that first pink swirl keeps me motivated to improve each time. Now it’s your chance to create something bright that will delight your guests.
Easter Egg Pink Cake Roll Recipe

A light and fluffy pink sponge cake is rolled with a smooth vanilla cream filling, then decorated with powdered sugar and mini chocolate eggs for a festive Easter treat.
Ingredients
- FOR THE PINK SPONGE CAKE:
- 4 large eggs, room temperature
- 3/4 cup (150g) granulated sugar
- 1/4 cup (60ml) whole milk
- 1/4 cup (60ml) vegetable oil
- 1 teaspoon vanilla extract
- 1 cup (125g) cake flour (or sifted all-purpose flour)
- 1 teaspoon baking powder
- 1/4 teaspoon salt
- 1/2 teaspoon pink gel food coloring
- FOR THE VANILLA CREAM FILLING:
- 1 cup (240ml) heavy whipping cream, cold
- 1/4 cup (30g) powdered sugar
- 1 teaspoon vanilla extract
- FOR DECORATION:
- Powdered sugar for dusting
- Mini chocolate eggs
Instructions
- PREPARE THE CAKE BATTER: Preheat the oven to 350°F (175°C). Line a 10x15-inch (25x38cm) jelly roll pan with parchment paper, leaving some overhang for easy removal. In a large bowl, whisk the eggs and sugar together until the mixture is pale, thick, and doubles in volume, about 3-4 minutes with a hand mixer. Add the milk, vegetable oil, and vanilla extract, then mix until combined. Sift the flour, baking powder, and salt into the mixture and gently fold using a spatula until just incorporated. Stir in the pink food coloring, adjusting the amount for the desired shade.
- BAKE THE CAKE: Pour the batter into the prepared jelly roll pan and spread it evenly with a spatula. Tap the pan on the counter a few times to remove air bubbles. Bake for 10-12 minutes, or until the cake is lightly golden and springs back when touched. While the cake bakes, lay a clean kitchen towel on the counter and dust it generously with powdered sugar.
- ROLL THE CAKE WHILE WARM: As soon as the cake comes out of the oven, carefully lift it out of the pan using the parchment paper. Flip the cake onto the sugared towel, then gently peel off the parchment paper. Starting from the short end, roll the cake (with the towel inside) into a log shape. Let it cool completely on a wire rack for about 1 hour.
- MAKE THE VANILLA CREAM FILLING: In a chilled bowl, beat the heavy cream, powdered sugar, and vanilla extract together until stiff peaks form.
- ASSEMBLE THE CAKE ROLL: Once the cake has cooled, carefully unroll it. Spread an even layer of the vanilla cream filling over the surface, leaving a small border around the edges. Gently roll the cake back up, without the towel, using light pressure to keep it together. Wrap the cake roll in plastic wrap and refrigerate for at least 30 minutes to set.
- DECORATE AND SERVE: Dust the top with powdered sugar for a soft, snowy effect. Decorate with pastel-colored mini chocolate eggs for a festive Easter touch. Slice and serve.
Notes
Egg Temperature Matters: Using room-temperature eggs helps create a stable, airy batter. If the eggs are cold, place them in a bowl of warm water for about 5 minutes before using.
Mixing the Batter: Whipping the eggs and sugar until thick and pale is crucial for a light and spongy texture. Overmixing after adding the flour can deflate the batter, so fold gently to maintain the airiness.
Food Coloring Tips: Gel food coloring works best because it provides a vibrant hue without adding excess liquid to the batter. Start with a small amount and adjust as needed. Liquid food coloring can be used but may slightly alter the cake’s consistency.
Baking Time: Since sponge cakes are thin, they bake quickly. Keep a close eye on the cake, as overbaking can cause dryness, making it harder to roll. The cake should spring back when lightly pressed in the center.
Rolling the Cake: Rolling the cake while it’s still warm prevents cracks and makes shaping easier. The powdered sugar on the towel prevents sticking. Rolling with the towel inside helps set the shape and allows for an even roll once filled.
Cooling Completely: Allowing the cake to cool for at least an hour before filling prevents the cream from melting. Unrolling gently is important to avoid breakage.
Whipping the Cream: Using a chilled bowl and beaters helps the heavy cream whip faster and hold its shape longer. Stiff peaks ensure a stable filling that won’t leak out when rolling the cake.
Filling Tips: Spreading the cream evenly while leaving a small border around the edges prevents excess filling from squeezing out when rolling. If desired, a thin layer of fruit preserves can be spread before the cream for extra flavor.
Chilling Before Serving: Refrigerating the cake roll for at least 30 minutes helps it set, making slicing easier. For cleaner cuts, use a sharp knife and wipe it clean between slices.
Decorating Variations: The mini chocolate eggs add a festive Easter touch, but other decorations like sprinkles, fresh berries, or chocolate shavings can be used. Drizzling melted white chocolate over the top adds an elegant finish.
Storage: Store the cake roll in the refrigerator, covered, for up to 3 days. Let it sit at room temperature for about 10 minutes before serving for the best texture. Freezing is possible by wrapping the cake tightly in plastic wrap and placing it in an airtight container. Thaw overnight in the refrigerator before serving.
Nutrition Information
Yield
10Serving Size
1Amount Per Serving Calories 201Total Fat 6gSaturated Fat 2gTrans Fat 0gUnsaturated Fat 3gCholesterol 96mgSodium 217mgCarbohydrates 32gFiber 1gSugar 19gProtein 5g