
I have baked many cakes over the years, but this Easter Ombre Cake makes me smile every time. My fascination with pastel layers began during an afternoon with friends, who encouraged me to try new color combinations. Their request sparked an idea that led to these soft, vibrant slices.
A few springs ago, I brought an early version of this cake to a neighborhood gathering. I loved the bright expressions from children and adults, who marveled at the gentle pastel hues. My kitchen smelled of sweet vanilla that day, and I still recall the first slice that revealed a gentle gradient of color.
This dessert has an easygoing charm. The light texture and delicate colors also remind me of fresh blooms, which is fitting for the season. Some might say it captures everything I appreciate about spring: renewal, sweetness, and a dash of creativity.
Following a special diet?
Every recipe on this site can be converted to gluten-free, vegan, dairy-free, keto, nut-free or egg-free with adjusted ratios so nothing falls flat.
Try the Recipe Converter →The Cake Ingredients For A Splendid Pastel Base
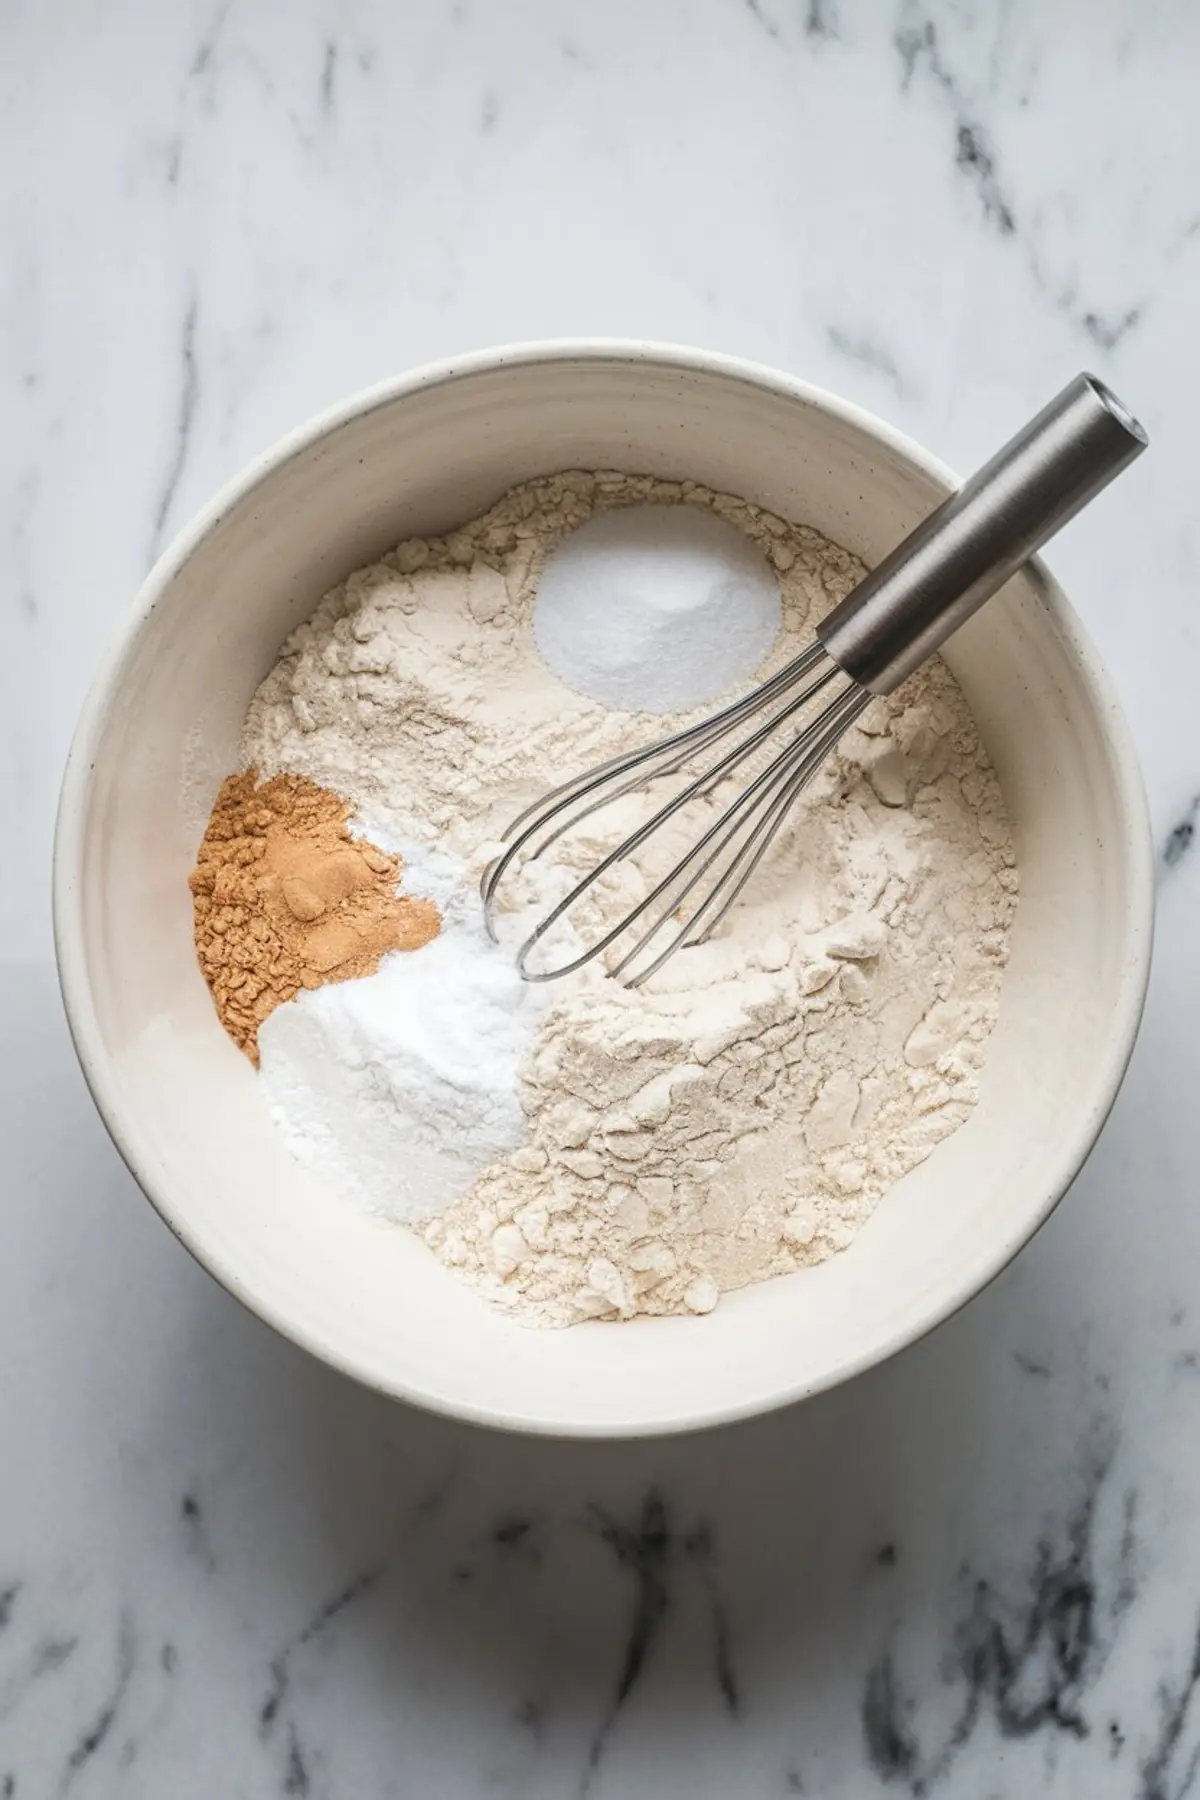
I begin by gathering all-purpose flour, baking powder, baking soda, and salt. These dry elements combine with softened unsalted butter and granulated sugar for a tender crumb. Each spoonful of buttermilk adds moisture to the batter, which brings a softness that every slice needs.
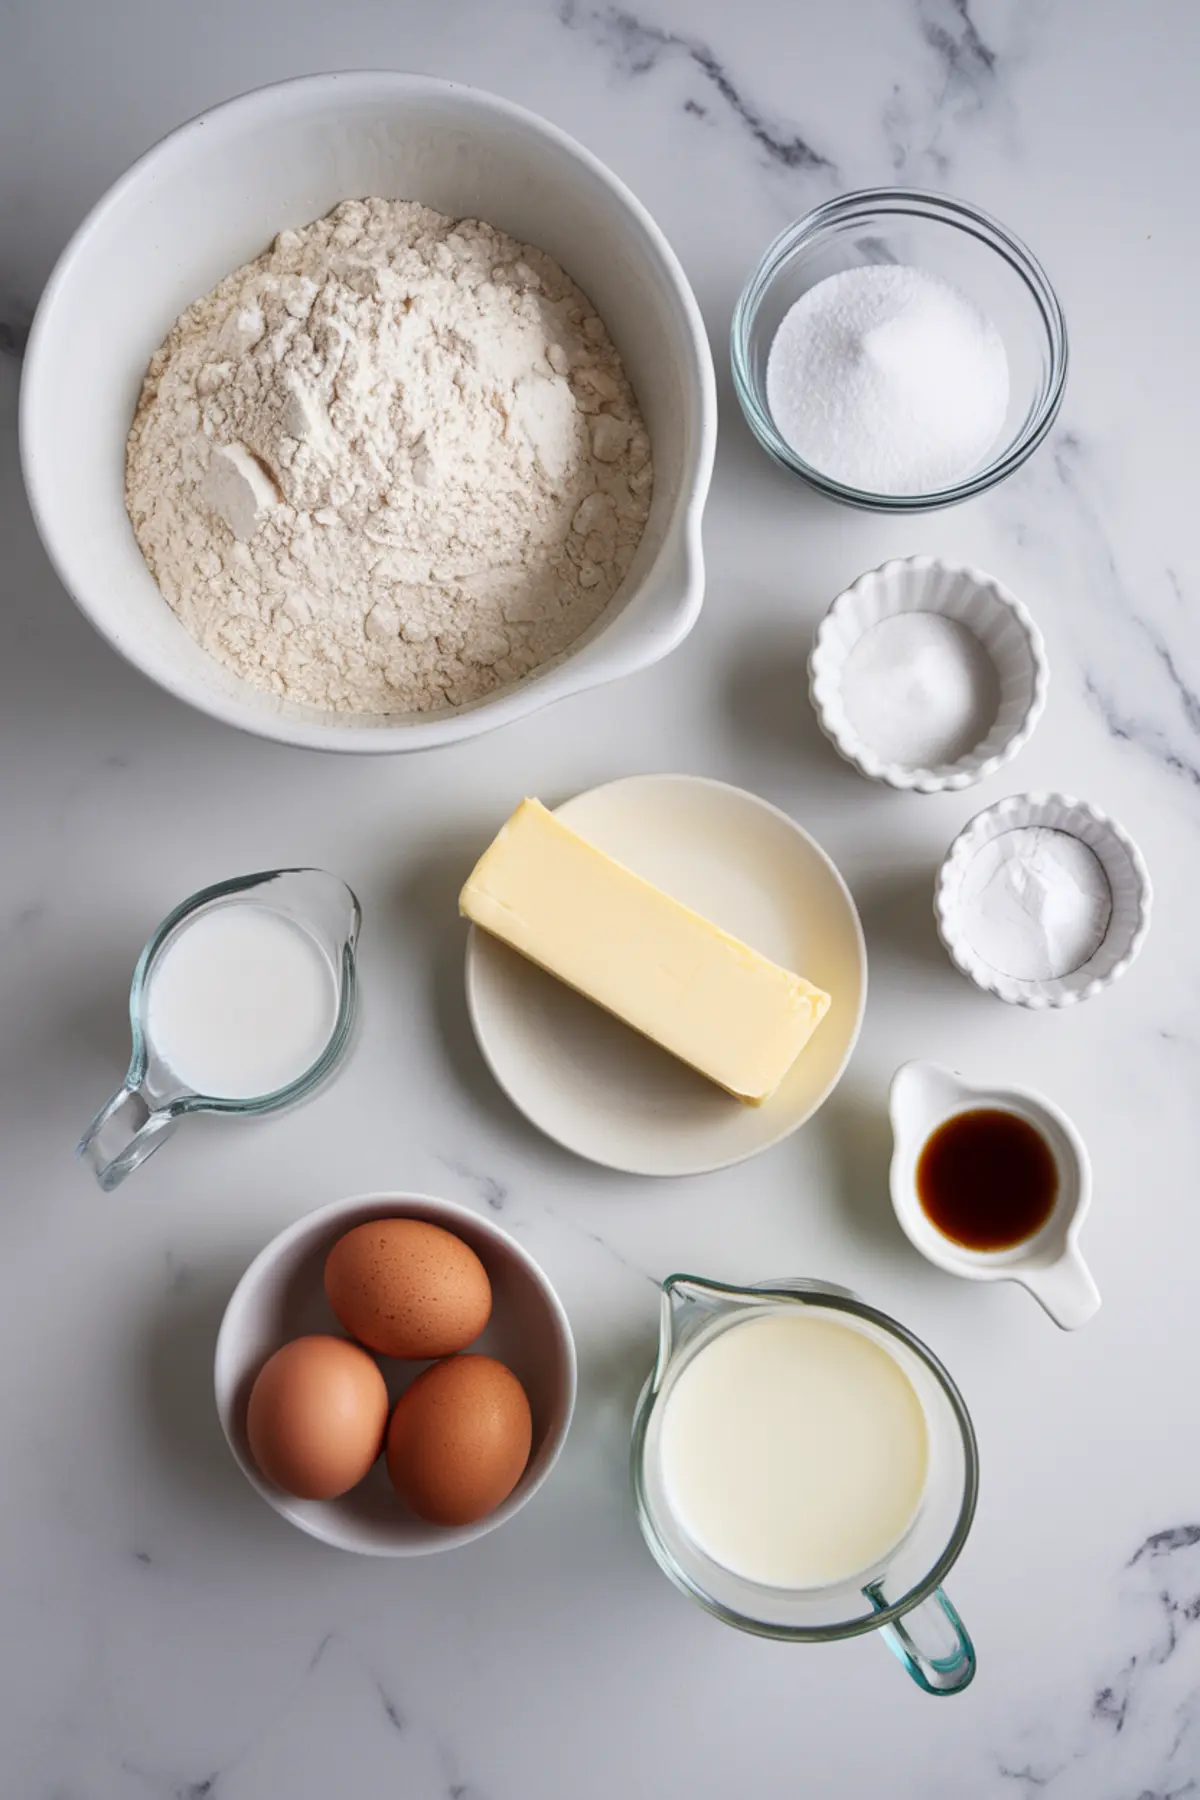
At this stage, I add fresh eggs and a little vanilla extract. The eggs bind the mixture and give structure. Their gentle lift helps the cake achieve that airy texture. The vanilla amplifies the sweetness without overshadowing the pastel color scheme.
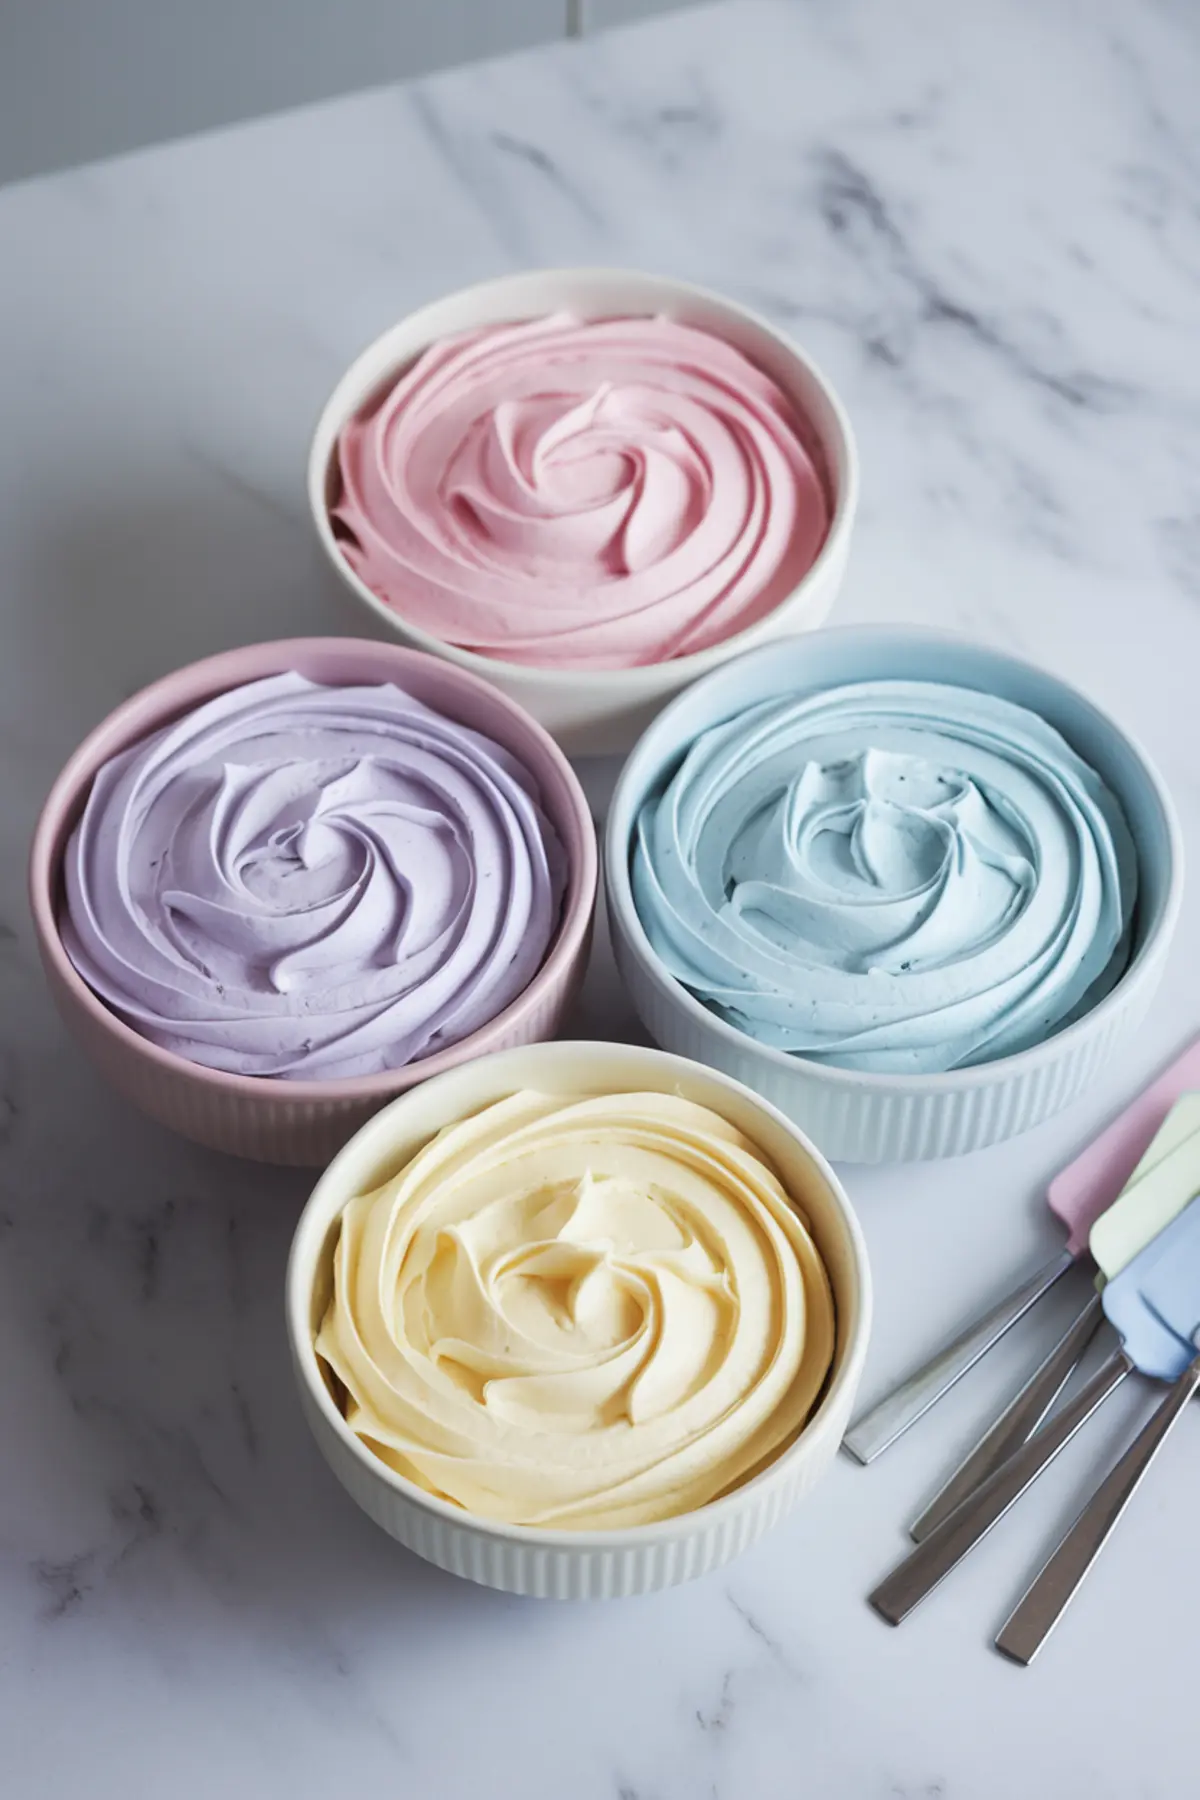
Splitting the batter into four bowls sets the stage for those soft shades of pink, purple, blue, and yellow. My kitchen countertop often resembles an artist’s palette at this point. Gel food colorings mix in easily, so each hue remains crisp without extra liquid diluting the batter.
Creating And Baking The Ombre Layers
Preheating the oven to a moderate temperature ensures a steady rise. I grease and line four cake pans to help those tinted batters bake evenly. Each pan receives its own swirl of colored batter, spread evenly with a spatula for a smooth finish.
In my experience, the sight of four pastel pans resting on the counter can uplift any mood. My family often peeks into the oven window to watch the layers transform from batter to cake. A toothpick test confirms they are finished, then I carefully transfer the layers to a wire rack.
The cooling step is key. Hot layers can melt frosting in an instant, so I wait until they reach room temperature. I leave them uncovered, allowing any extra moisture to evaporate. Patience here saves hassles later, and it rewards me with cake layers that are easy to trim or assemble.
Frosting And The Gentle Ombre Effect
A batch of buttercream is my favorite companion for these layers. Softened unsalted butter, powdered sugar, and vanilla create a sweet foundation. A little heavy cream or milk balances the consistency so the frosting stays spreadable.
Dividing that frosting into smaller bowls mirrors the cake batter approach. Tinted portions match each colored layer, and the transformation feels satisfying. I apply a crumb coat to lock in stray bits, then place the cake in the fridge briefly.
When I move to the final frosting stage, I add tinted buttercream around the sides in horizontal bands. The colors meet gently, blended with a bench scraper to achieve that gradient effect. I like to step back and admire the pastel stripes swirling together.
Why I Love This Easter Dessert
The four layers of pastel colors reflect spring gatherings and new beginnings. I remember my childhood Easters, with baskets of candy eggs and bright decorations on the dining table. An ombre cake channels that same excitement, and it can bring extra joy to any celebration.
Friends with young kids tell me this dessert makes a fun family project. Each child picks a color bowl to stir, and they wait eagerly for the final reveal. I appreciate how this cake can turn a simple afternoon into a memory shared by everyone.
The visual impact is strong, but the flavor remains a gentle vanilla balanced by a creamy butter frosting. This combination pairs beautifully with a cup of tea or a light fruit punch. I once served it alongside cookies for a friend’s bridal shower, and it remains a highlight in my mind.
Easter Cake Inspiration For More Fun Ideas
Baking Easter treats can feel like a joyous way to celebrate the season. My Baby Chick Cake uses bright decorations and playful designs. It’s a crowd favorite at outdoor picnics.
I also recommend trying my Easter Kit Kat Cake if you enjoy crunchy chocolate bars wrapped around a frosted centerpiece. That one offers a different style, but it still brings plenty of spring cheer.
Another choice is my Easter Polka Dot Cake. The candy polka dots and fluffy layers create a fun alternative for festive gatherings. Each recipe has its own personality, and I find joy in rotating them during springtime.
My Approach To Serving And Storing
I like to serve this Easter Ombre Cake on a raised stand for a striking effect. The pastel stripes show nicely, especially when you have a few pastel-themed napkins or tablecloth accents. A small bouquet of spring flowers on the table can complete the look.
For leftovers, I store the frosted cake in a covered container. Room temperature is fine if I plan to eat it within a day. Refrigeration keeps it fresh for a few days, though I recommend bringing it to room temperature before slicing again.
Friends sometimes ask if they can freeze it. Freezing the cake layers alone is a good strategy, as it keeps them fresh for up to three months. Then, once thawed, a quick frosting session on the day of serving makes life easier.
Closing Thoughts: Share And Pin For Later
I hope this Easter Ombre Cake brightens your festivities as much as it does mine. Please pin it on your Pinterest board if you’d like a reminder for later. Invite friends to bake along, and share in the comments if you have questions or wish to tell me how your cake turned out.
Every bake tells a story, and I love hearing yours. May this pastel treat fill your home with sweet scents and cheerful colors. Happy spring baking!
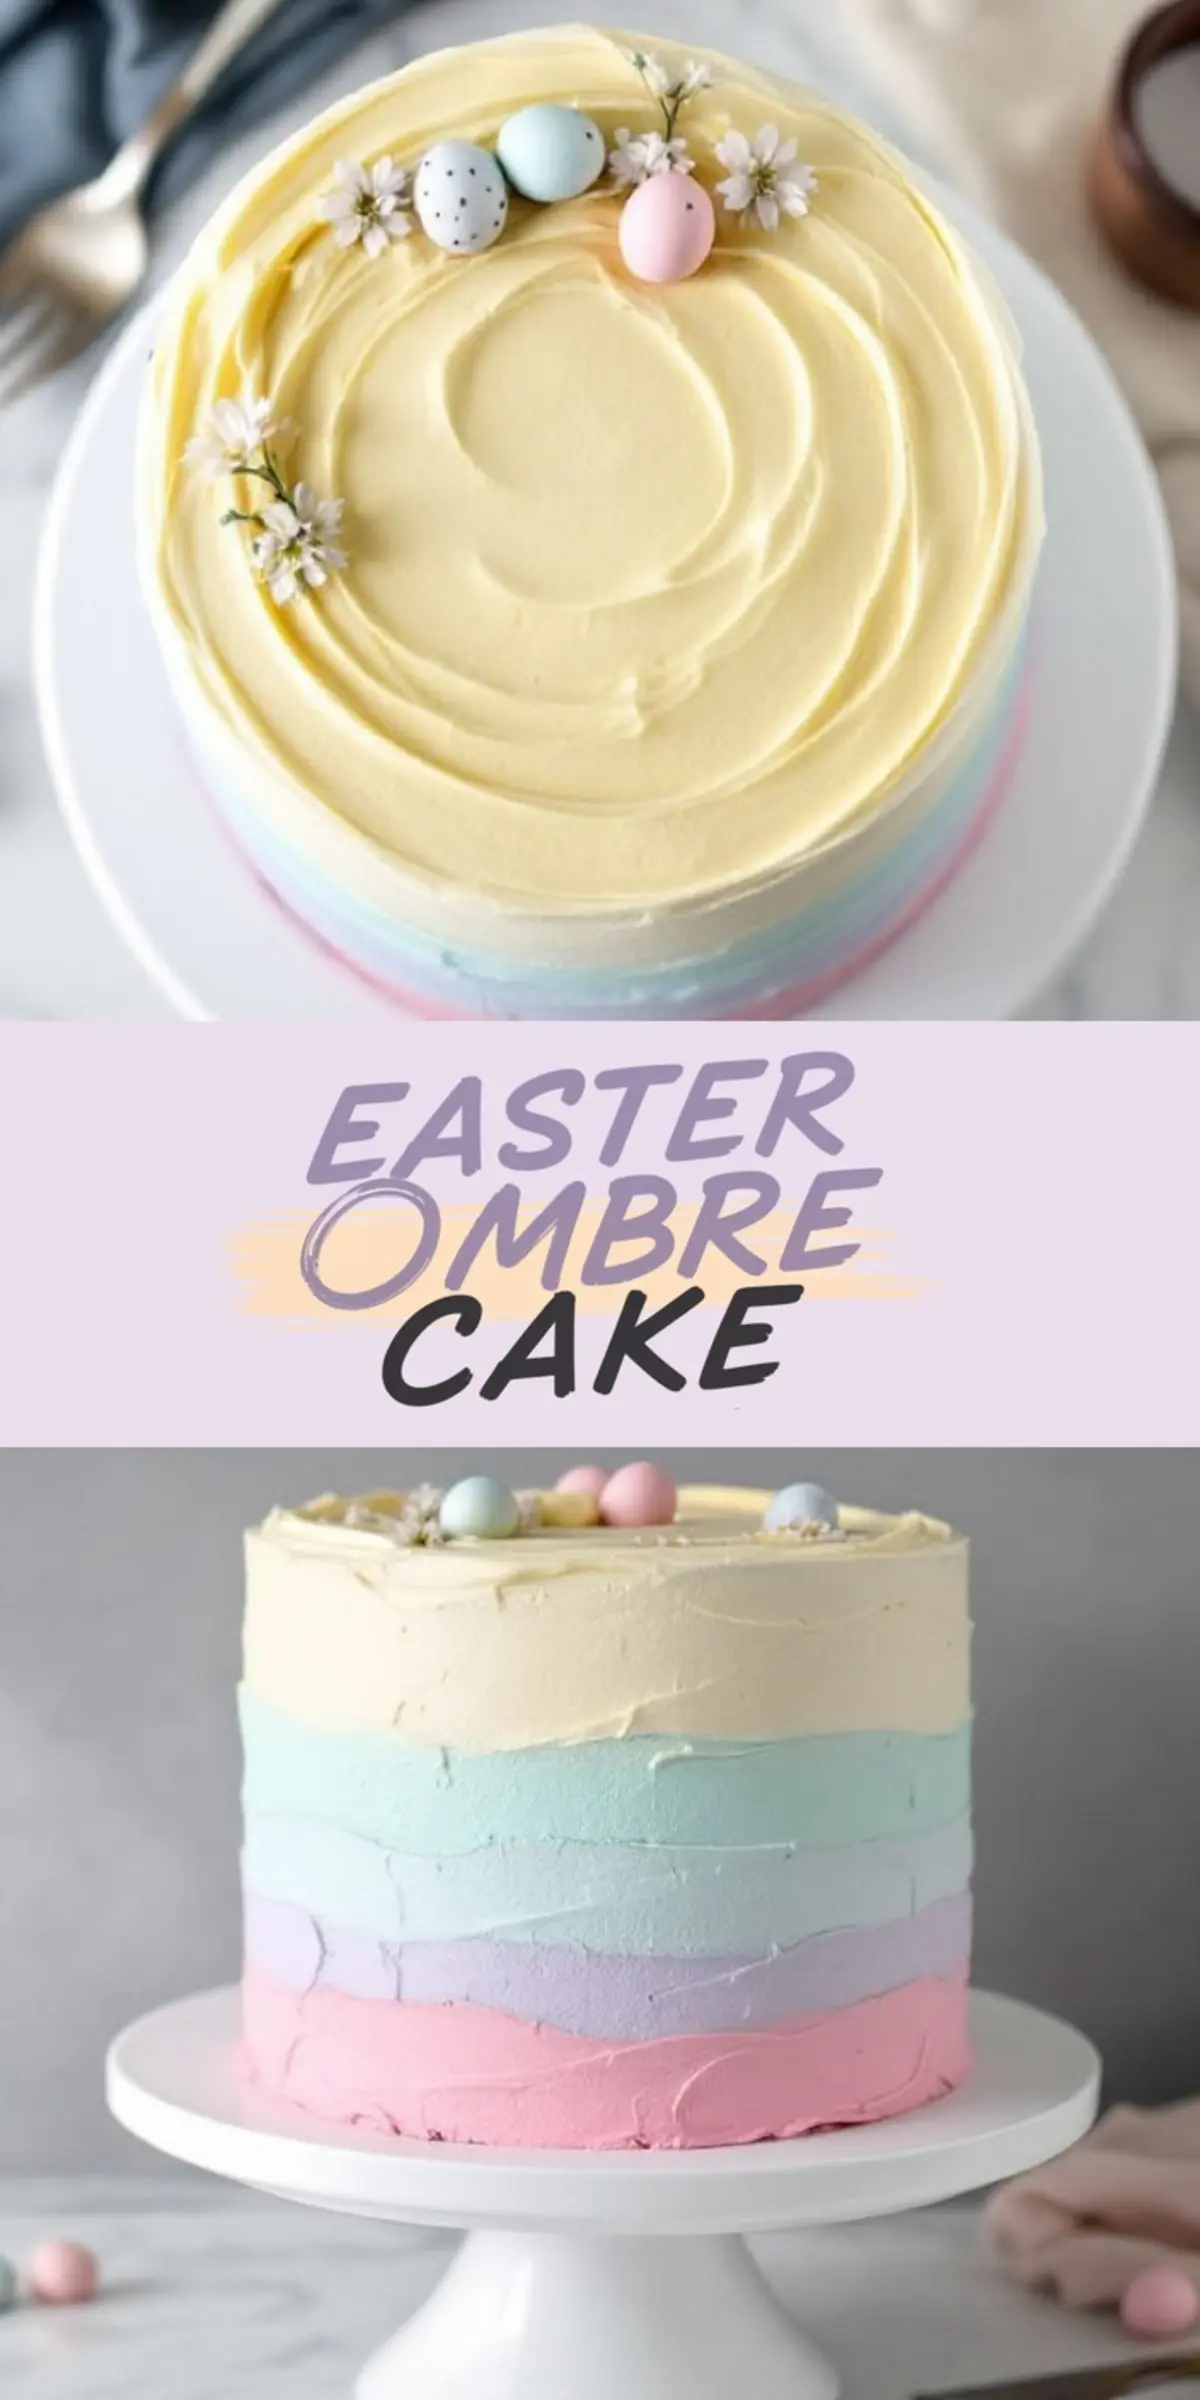
Easter Ombre Cake

A pastel-colored ombre cake with soft, fluffy layers and smooth buttercream frosting. Each slice reveals four vibrant cake layers, making it a festive choice for spring celebrations.
Ingredients
- FOR THE CAKE:
- 3 ½ cups (440g) all-purpose flour
- 1 tablespoon baking powder
- ½ teaspoon baking soda
- ½ teaspoon salt
- 1 cup (225g) unsalted butter, room temperature
- 2 cups (400g) granulated sugar
- 4 large eggs, room temperature
- 1 tablespoon vanilla extract
- 1 ½ cups (360ml) buttermilk, room temperature
- FOR THE BUTTERCREAM:
- 2 cups (450g) unsalted butter, room temperature
- 6 cups (720g) powdered sugar
- 2 teaspoons vanilla extract
- ¼ cup (60ml) heavy cream or milk
- Pinch of salt
- Gel food coloring (pink, purple, blue, yellow)
Instructions
- PREPARE THE CAKE BATTER: Preheat the oven to 350°F (175°C). Grease and line four 8-inch cake pans with parchment paper. In a medium bowl, whisk together the flour, baking powder, baking soda, and salt. In a large mixing bowl, beat the butter and sugar until light and fluffy, about 3-4 minutes. Add the eggs one at a time, mixing well after each addition. Stir in the vanilla extract. Alternate adding the dry ingredients and buttermilk to the butter mixture, beginning and ending with the dry ingredients. Mix until just combined.
- COLOR AND BAKE THE CAKE LAYERS: Divide the batter evenly into four bowls. Tint each portion with a different pastel shade using gel food coloring (pink, purple, blue, and yellow), stirring gently to blend. Pour each colored batter into a separate cake pan and smooth the tops. Bake for 22-25 minutes, or until a toothpick inserted in the center comes out clean. Let the cakes cool in the pans for 10 minutes, then transfer them to a wire rack to cool completely.
- MAKE THE BUTTERCREAM: Beat the butter in a large bowl until creamy, about 2 minutes. Gradually add powdered sugar, one cup at a time, mixing well after each addition. Stir in the vanilla extract, salt, and heavy cream. Beat on high speed for 2-3 minutes until fluffy. Divide the frosting into four bowls and tint each one with a pastel shade to match the cake layers. Leave one portion uncolored for the top.
- ASSEMBLE THE CAKE: Place the pink cake layer on a cake stand and spread a layer of pink buttercream on top. Repeat with the purple, blue, and yellow layers, using the corresponding frosting color in between. Apply a thin crumb coat of frosting over the entire cake and chill for 15 minutes.
- CREATE THE OMBRE EFFECT: Using an offset spatula, spread the pink frosting on the bottom third of the cake. Above it, add a layer of purple, then blue, and finally yellow at the top. Blend the colors by smoothing them together with a bench scraper for a soft ombre effect. Decorate the top with mini Easter eggs and small flowers.
Notes
For even cake layers, use a kitchen scale to divide the batter equally among the four bowls before adding food coloring. Gel food coloring is recommended over liquid food coloring since it provides concentrated color without affecting the batter's consistency. Start with a small amount and gradually add more until the desired pastel shade is reached.
When mixing the cake batter, avoid overmixing once the dry ingredients are added, as this can lead to a dense texture. Mix until just combined to maintain a light and fluffy crumb. If using cake strips, soak them in water and wrap them around the pans before baking to promote even baking and flat tops.
Cooling the cakes completely before frosting is essential to prevent the buttercream from melting. If the cake layers are slightly domed, use a serrated knife to trim the tops for an even stack. Chilling the crumb-coated cake for at least 15 minutes before applying the final layer of frosting helps lock in crumbs and makes smoothing easier.
For the ombre effect, use an offset spatula to apply each color in horizontal sections, then blend the edges with a bench scraper. Holding the scraper against the cake while rotating the cake stand creates a smooth gradient. Wiping the scraper clean between passes ensures clean transitions between colors.
If making the cake ahead, store unfrosted cake layers wrapped in plastic wrap at room temperature for up to 24 hours or freeze for up to three months. Frosted cakes can be stored in the refrigerator for up to three days; let them sit at room temperature for about 30 minutes before serving for the best texture.
Nutrition Information
Yield
12Serving Size
1Amount Per Serving Calories 211Total Fat 5gSaturated Fat 3gTrans Fat 0gUnsaturated Fat 2gCholesterol 72mgSodium 331mgCarbohydrates 32gFiber 1gSugar 4gProtein 7g