My mother was humming softly while blending peanut butter and butter, then letting me lick the spoon with quiet joy. I sensed a spark of creativity and realized how a simple combination of ingredients can make a lasting memory.
I appreciate how each bite of these peanut butter eggs reminds me of family gatherings filled with conversation and laughter. I enjoy sharing this recipe with friends who crave both sweetness and tradition. I sometimes call them my “little pockets of happiness” because they seem to lighten the mood each time they appear on the table.
My own process of perfecting this treat involved many test batches and a few chocolate smudges on the countertop. I love tasting the filling to check the balance of peanut butter and sugar, then adjusting to find that sweet spot. I prefer letting these eggs chill a bit before dipping them in chocolate, which helps them hold their shape.
Following a special diet?
Every recipe on this site can be converted to gluten-free, vegan, dairy-free, keto, nut-free or egg-free with adjusted ratios so nothing falls flat.
Try the Recipe Converter →Why This Homemade Peanut Butter Treat Delights Easter Guests
I have watched faces light up after a single taste of creamy peanut butter wrapped in smooth chocolate. I often place these eggs on a platter next to bright spring flowers, which makes them shine at my family’s Easter gathering. I also like giving them as gifts, especially wrapped in pastel-colored boxes or tiny cellophane bags.
My neighbors often knock on my door, hoping for a fresh sample of these Easter confections. I sometimes surprise them with a small box filled with treats, which keeps our community feeling close. I relish the connection that forms when I share something homemade and thoughtful.
I have seen these eggs spark curiosity among people looking for more festive ideas on my site. I also encourage friends to explore similar fun desserts, like my Chocolate Easter Eggs and Easter Egg Hunt Martini. I believe these recipes keep everyone excited about spring’s flavors.
Mixing the Creamy Peanut Butter Filling for a Smooth Base
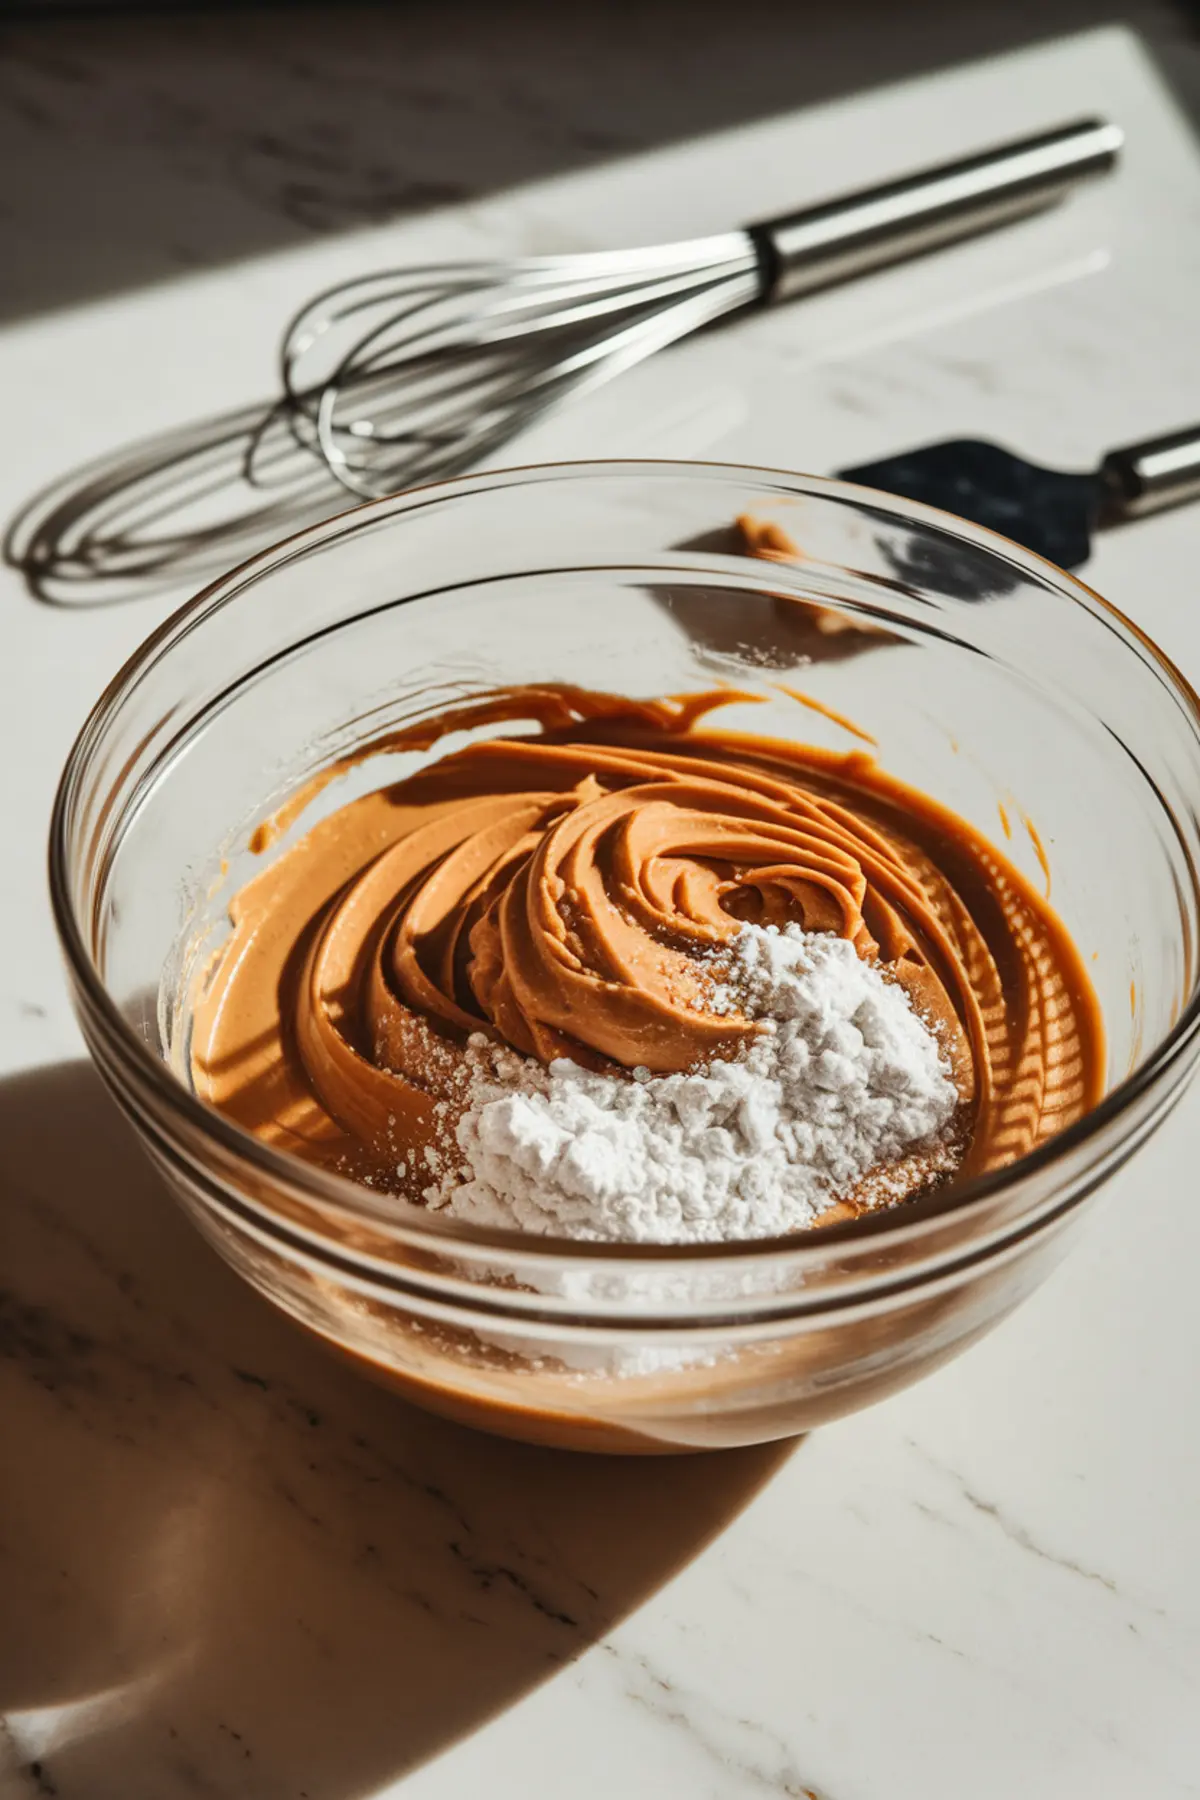
I start by blending soft butter and regular creamy peanut butter in a bowl. I add vanilla and a pinch of salt for that extra level of flavor. I bring in powdered sugar, a bit at a time, to form a pliable mixture that holds its shape.
I like pressing a small portion between my fingers to test the consistency. I notice the dough should feel firm enough to shape into little egg forms without falling apart. I sometimes chill it in the fridge for a short while to make it extra stable.
I make sure to keep the ratio of peanut butter and sugar balanced for a sweet taste and a soft center. I recall one batch that turned out sticky, so I added a small dusting of powdered sugar to rescue it. I shape these ovals with gentle pressure, forming them carefully before setting them aside.
Shaping and Freezing the Peanut Butter Eggs Before Dipping
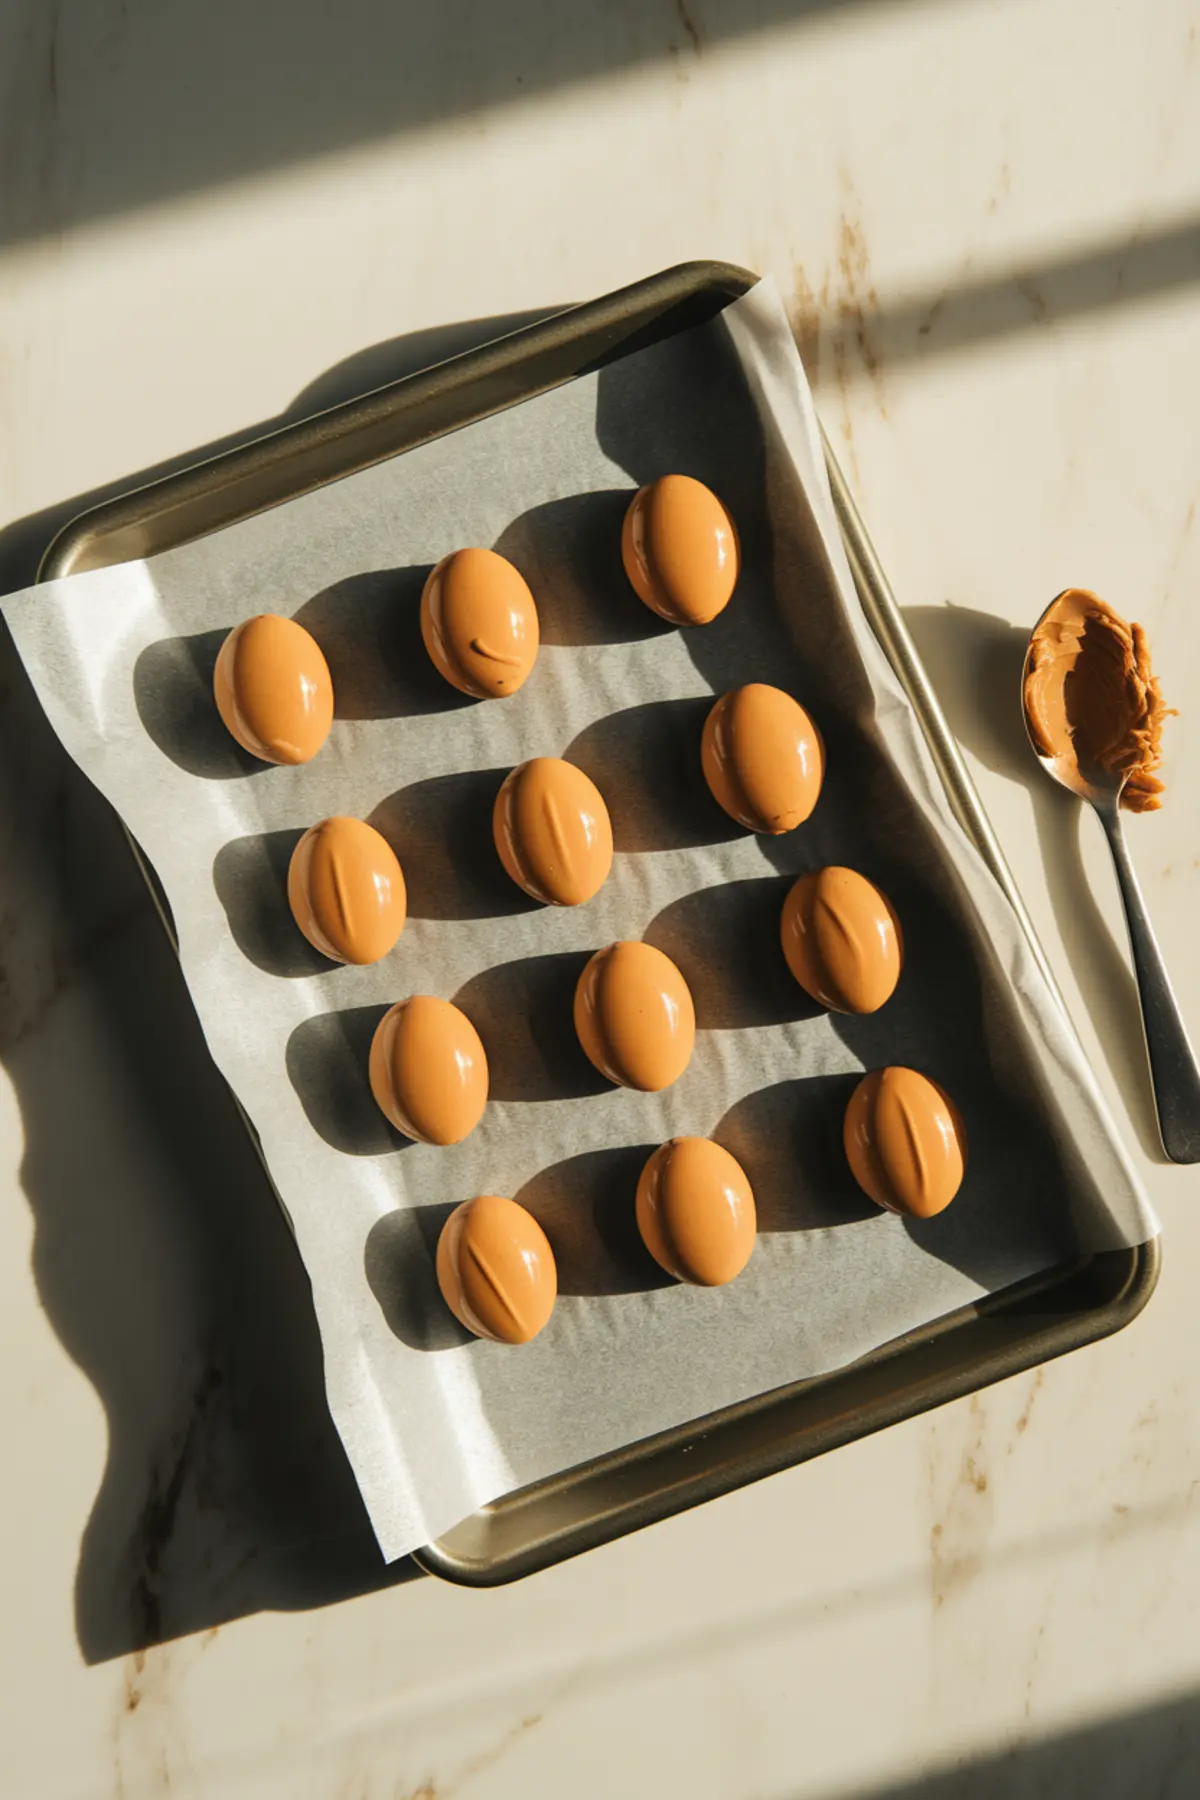
I lay out a sheet of parchment paper on a baking tray and arrange the peanut butter ovals with a bit of space between them. I tuck the tray into my freezer for about half an hour, which helps the eggs stiffen enough to handle the chocolate bath. I find this detail prevents melting disasters later.
I treasure those moments before dipping, because I get to sneak a quick taste to see if the flavors feel right. I might sprinkle a hint more salt if the peanut butter tastes too sweet. I have also noticed that proper chilling yields a glossy chocolate coating that sticks well.
My family finds it interesting that these eggs go from soft and doughy to nicely firm in such a short time. I believe this chilling step keeps the final product neat and easy to manage. I also suggest having the chocolate melted and ready, so the eggs don’t thaw too fast.
Coating Peanut Butter Eggs with Smooth Melted Chocolate
I reach for my favorite microwave-safe bowl and tip in chocolate chips plus a bit of coconut oil. I warm them in short bursts, stirring in between, which helps me avoid burning the chocolate. I love the aroma that wafts through my kitchen at this point, reminding me of childhood visits to candy shops.
I guide each egg into the chocolate and flip it with a fork. I make sure to tap off any extra coating so the finished product sets with a clean shape. I sometimes drizzle a fine thread of white chocolate on top, which adds a decorative flourish.
I have seen colorful sprinkles added right away for a festive touch. I prefer plain chocolate on mine, but my nieces like bright sugar confetti scattered across their eggs. I find each variation fun and equally mouthwatering for those who crave a bit of crunch.
Extra Hints for Creating Smooth Chocolate Surfaces
I avoid overheating the chocolate because that can lead to lumps or a chalky finish. I also stir gently, which fosters a silky texture. I test a small spoonful to confirm the right consistency before dipping all the eggs.
I prefer using a fork instead of a toothpick because it supports the egg more securely. I also love the neat swirl that appears when I lift each candy from the chocolate. I keep a second fork nearby to slide the coated egg onto the parchment without smudging.
I wipe away drips on the parchment so the eggs look neat when they set. I discovered that a damp paper towel helps me fix tiny chocolate marks. I try not to fuss too much, because these are still homemade, and a small imperfection here and there never bothers me.
Serving the Easter Eggs with Style
I invite guests to pick their treats from a decorative platter, where these peanut butter eggs share space with bright candy pieces. I enjoy presenting them with a bowl of pastel jelly beans for extra color. I find that children often snatch these peanut butter bites first, proving their irresistible appeal in any family circle.
I occasionally make a big batch and arrange them next to my Easter Egg Nest Cake. I love how these two desserts reflect the bright energy of spring gatherings. I also point visitors to my Chocolate Egg Nest Meringues, which brings more cocoa goodness for chocolate enthusiasts.
I enjoy taking photos of these eggs in a simple wooden tray, especially if I plan to share them on social media. I notice that high-quality dessert images tend to perform well on Pinterest, where food lovers search for fresh ideas. I sometimes see fun comments roll in, letting me know this recipe stands out to those who crave sweet homemade gifts.
Building Delicious Connections with Each Chocolate Bite
I see how these homemade eggs bring neighbors, family, and friends closer. I trust that simple recipes can spark meaningful bonds around the table. I feel proud sharing personal stories, because they add life to each bite.
I link them to other chocolate-themed indulgences, like my Chocolate Easter Eggs recipe, which leads to even more cocoa fun. I want my blog visitors to discover new favorites or revisit old classics that comfort them. I believe that sweet variety keeps everyone returning for more ideas.
I enjoy hearing about the ways people personalize this recipe, whether they add crunchy toppings or swirl in a bit of white chocolate. I sometimes follow up with those who tag me in their social media photos. I find that genuine back-and-forth helps readers feel part of this ongoing baking conversation.
Confidence Boost for Hobby Bakers
I recall my early days in the kitchen, worried about lumps in my melted chocolate or sugary lumps in my filling. I discovered that practice and a bit of curiosity led me to these peanut butter eggs, which satisfy so many candy cravings. I understand that repeated attempts can lead to tasty improvements.
I see home cooks transform small doubts into sweet confidence once they taste their finished treats. I understand the spark of excitement that accompanies each successful batch. I value the shared sense of joy, knowing these Easter eggs bring happiness to many kitchens.
I still get a simple thrill each time I peel the parchment from a hardened chocolate egg. I love that moment of quiet pride when I see the glossy surface reflecting the light. I believe that kind of moment keeps people passionate about baking.
Closing Thoughts and Invitation to Pin
I hope my personal stories and tips guide you through making these peanut butter eggs with ease. I invite you to pin this recipe on your Pinterest board so you can revisit it next spring or any time you crave a chocolate-peanut butter treat. I would love to see how your batch turns out, so feel free to drop a comment or question below.
I value every connection formed through shared recipes and sweet experiences. I appreciate every story about how you served these treats during Easter brunch or snuck a few into lunchboxes for a surprise. I thank you for bringing my favorite dessert into your home, and I look forward to hearing your feedback.
I encourage you to check out more treats, including the Chocolate Easter Eggs and the Easter Egg Hunt Martini for more celebration inspiration. I am grateful to be part of your baking journey and will keep sharing these heartfelt delights. I hope your next gathering glows with cheer and abundant sweetness.
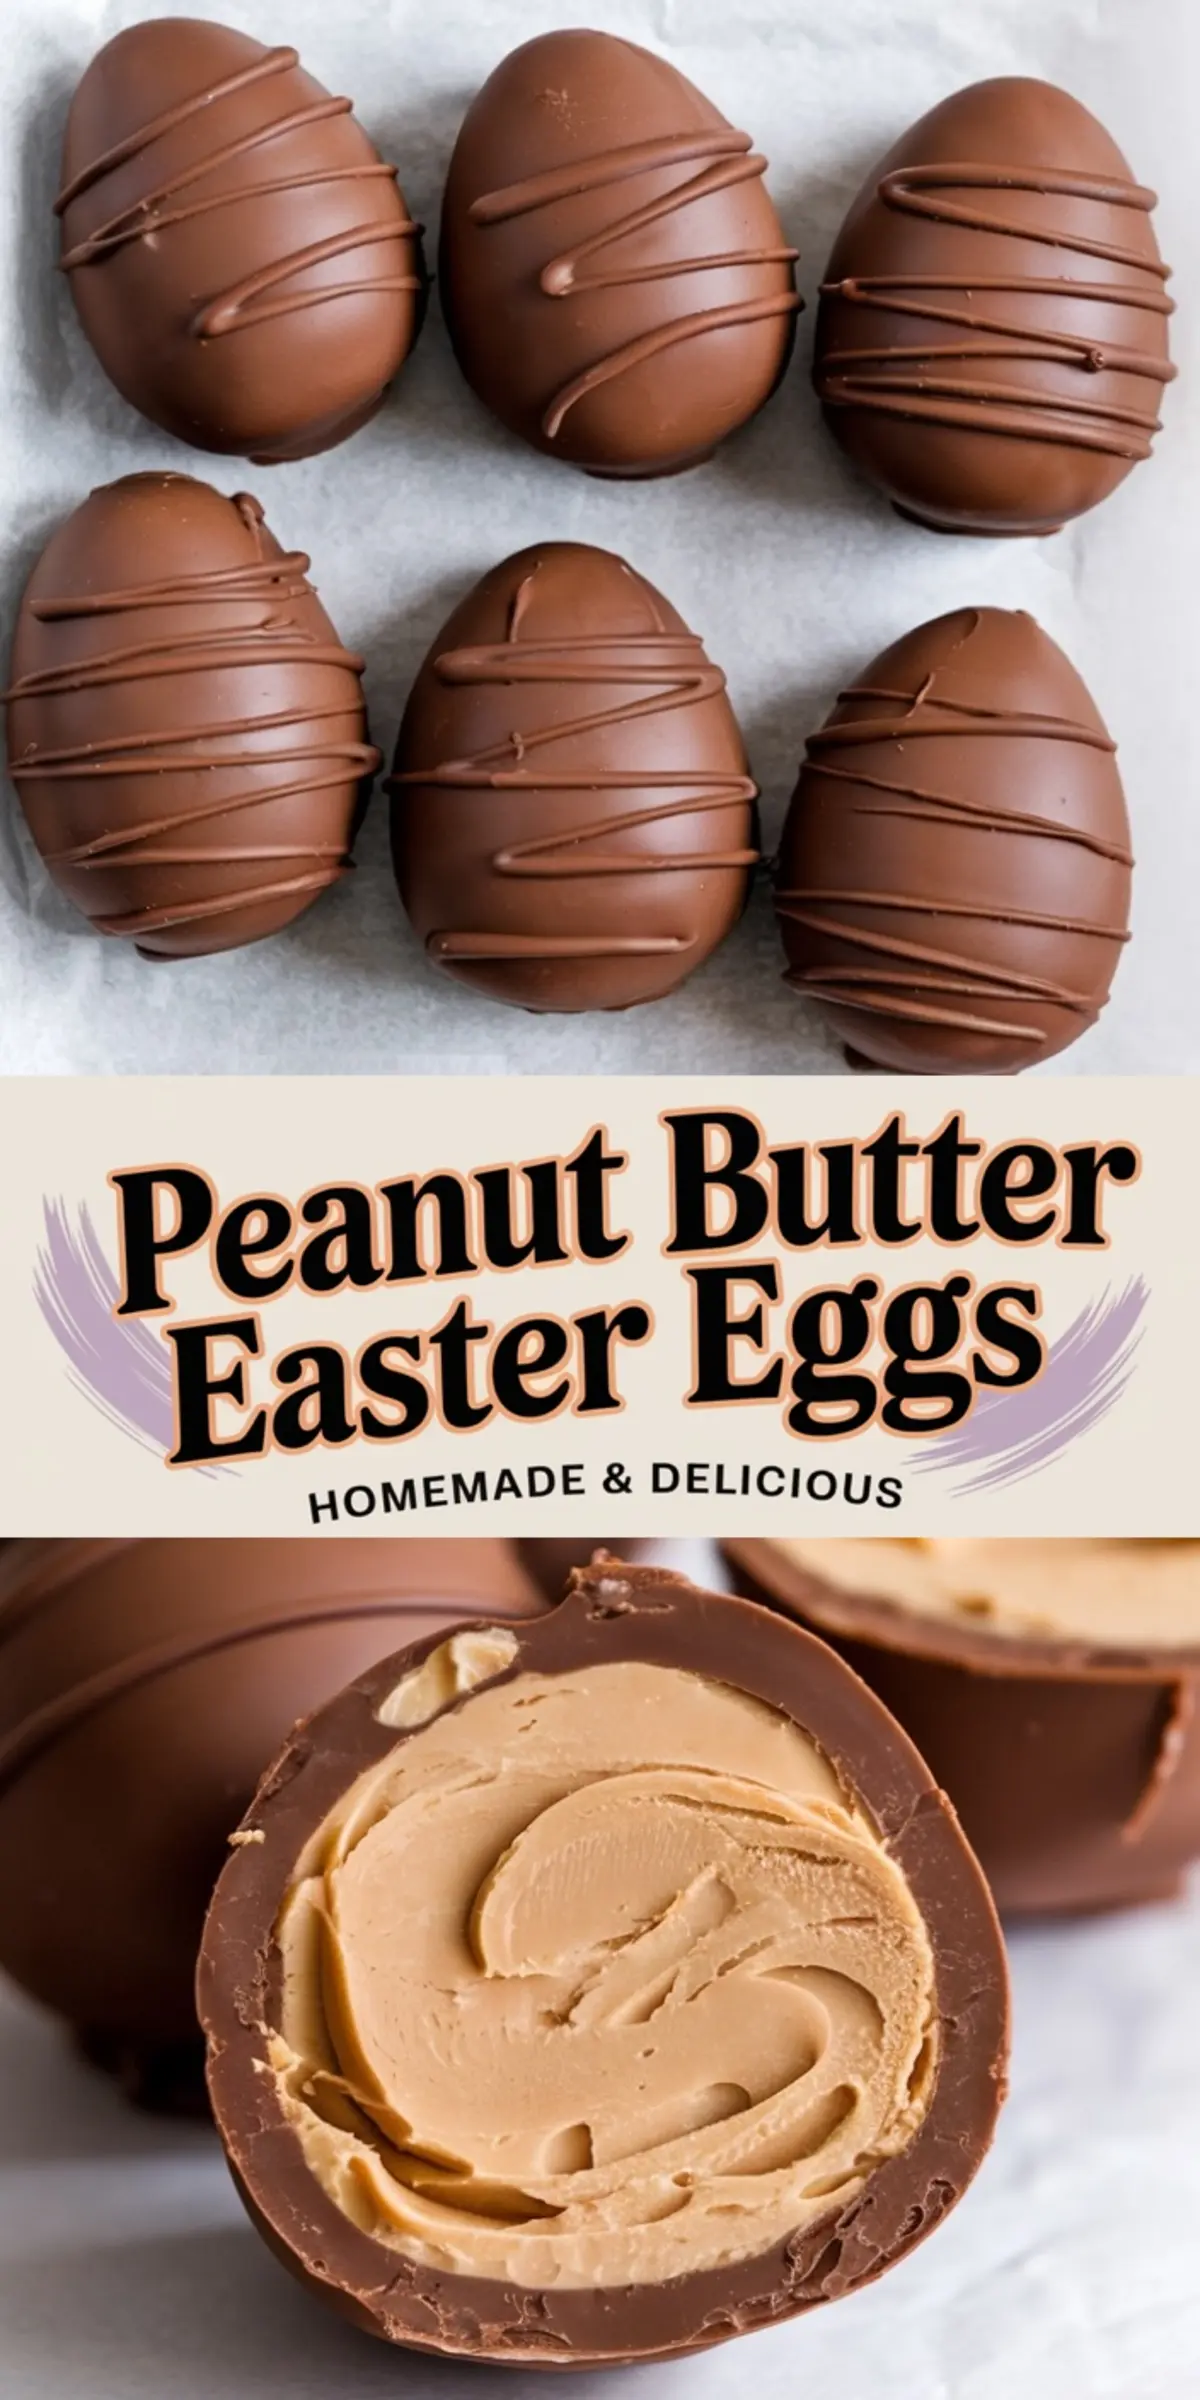
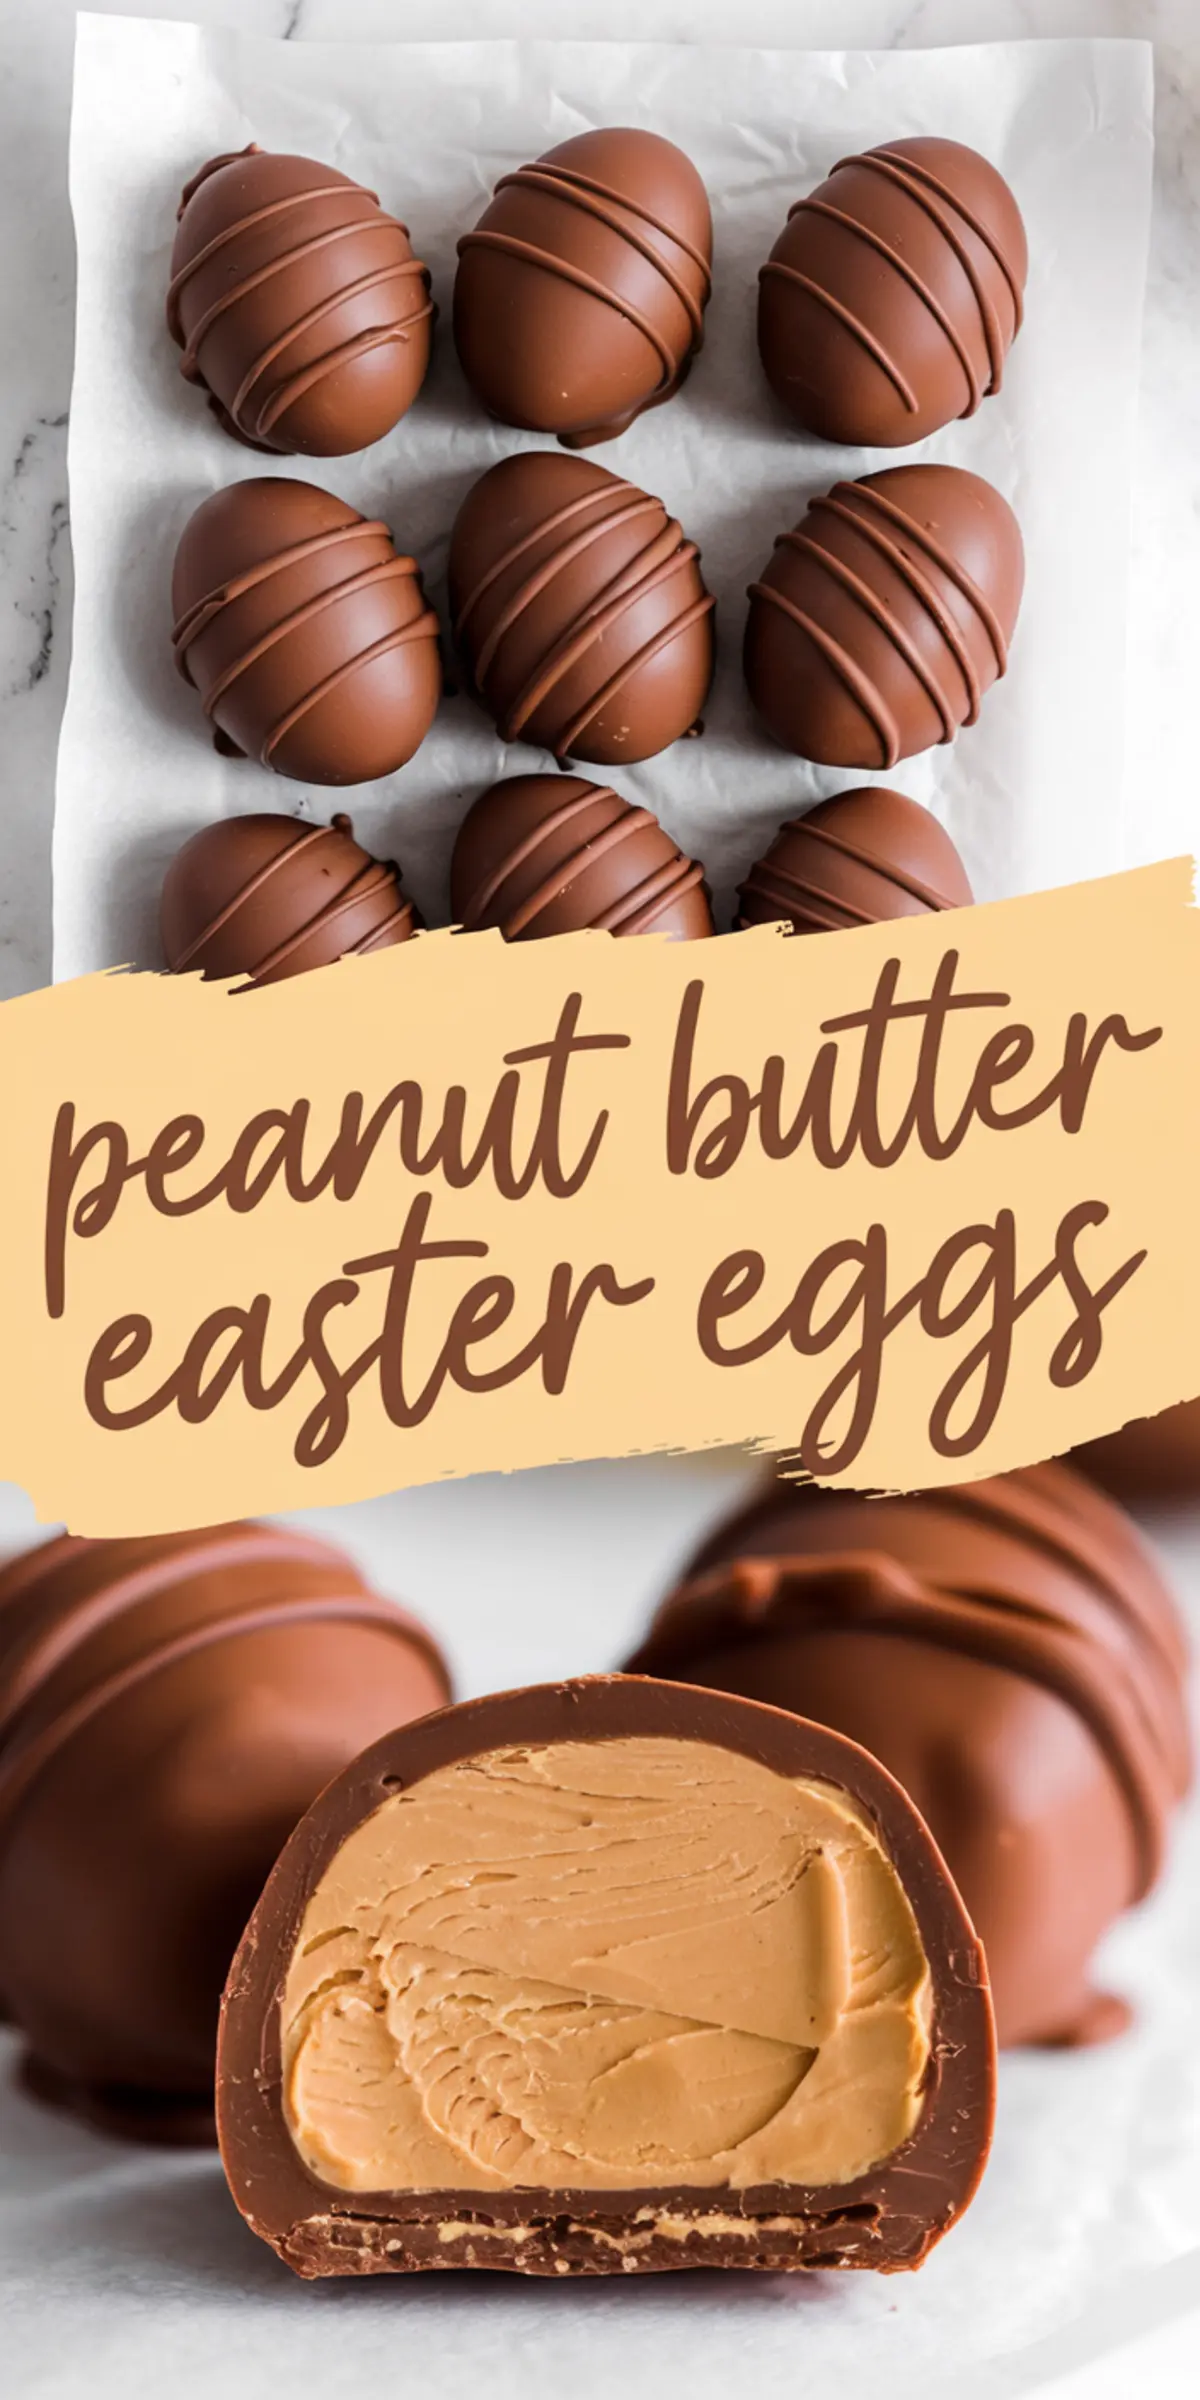
Homemade Peanut Butter Easter Eggs
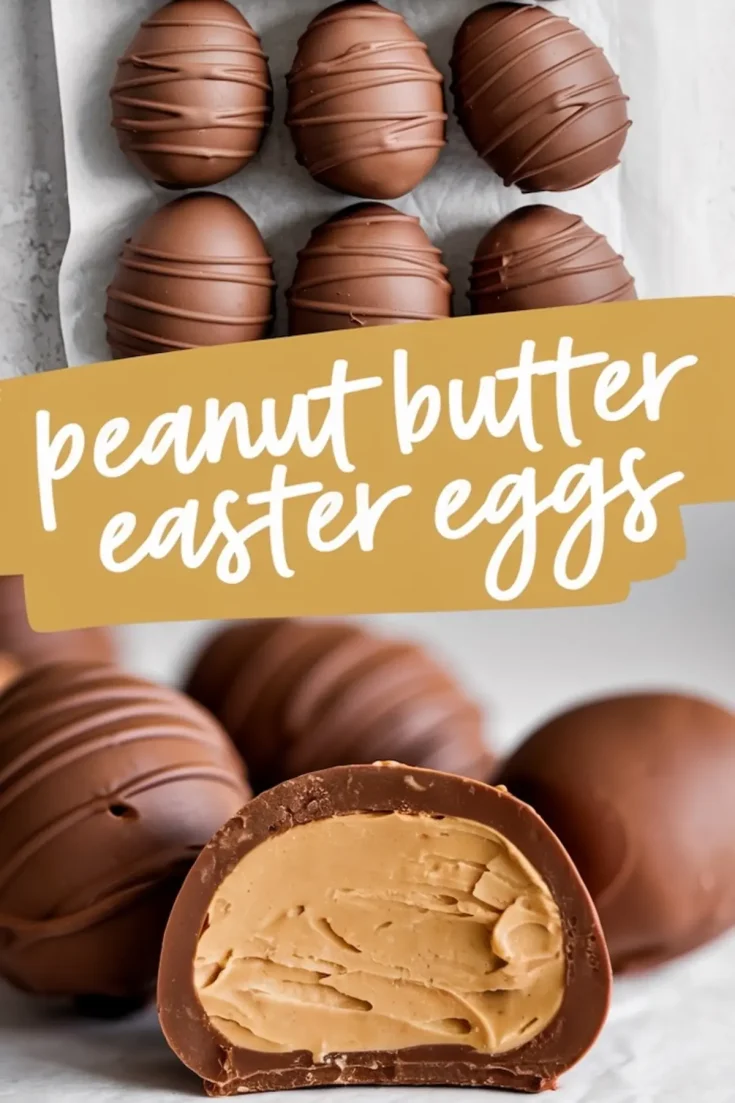
A smooth peanut butter filling is coated in rich chocolate to create homemade Easter eggs. These treats have a soft, sweet center and a crisp chocolate shell.
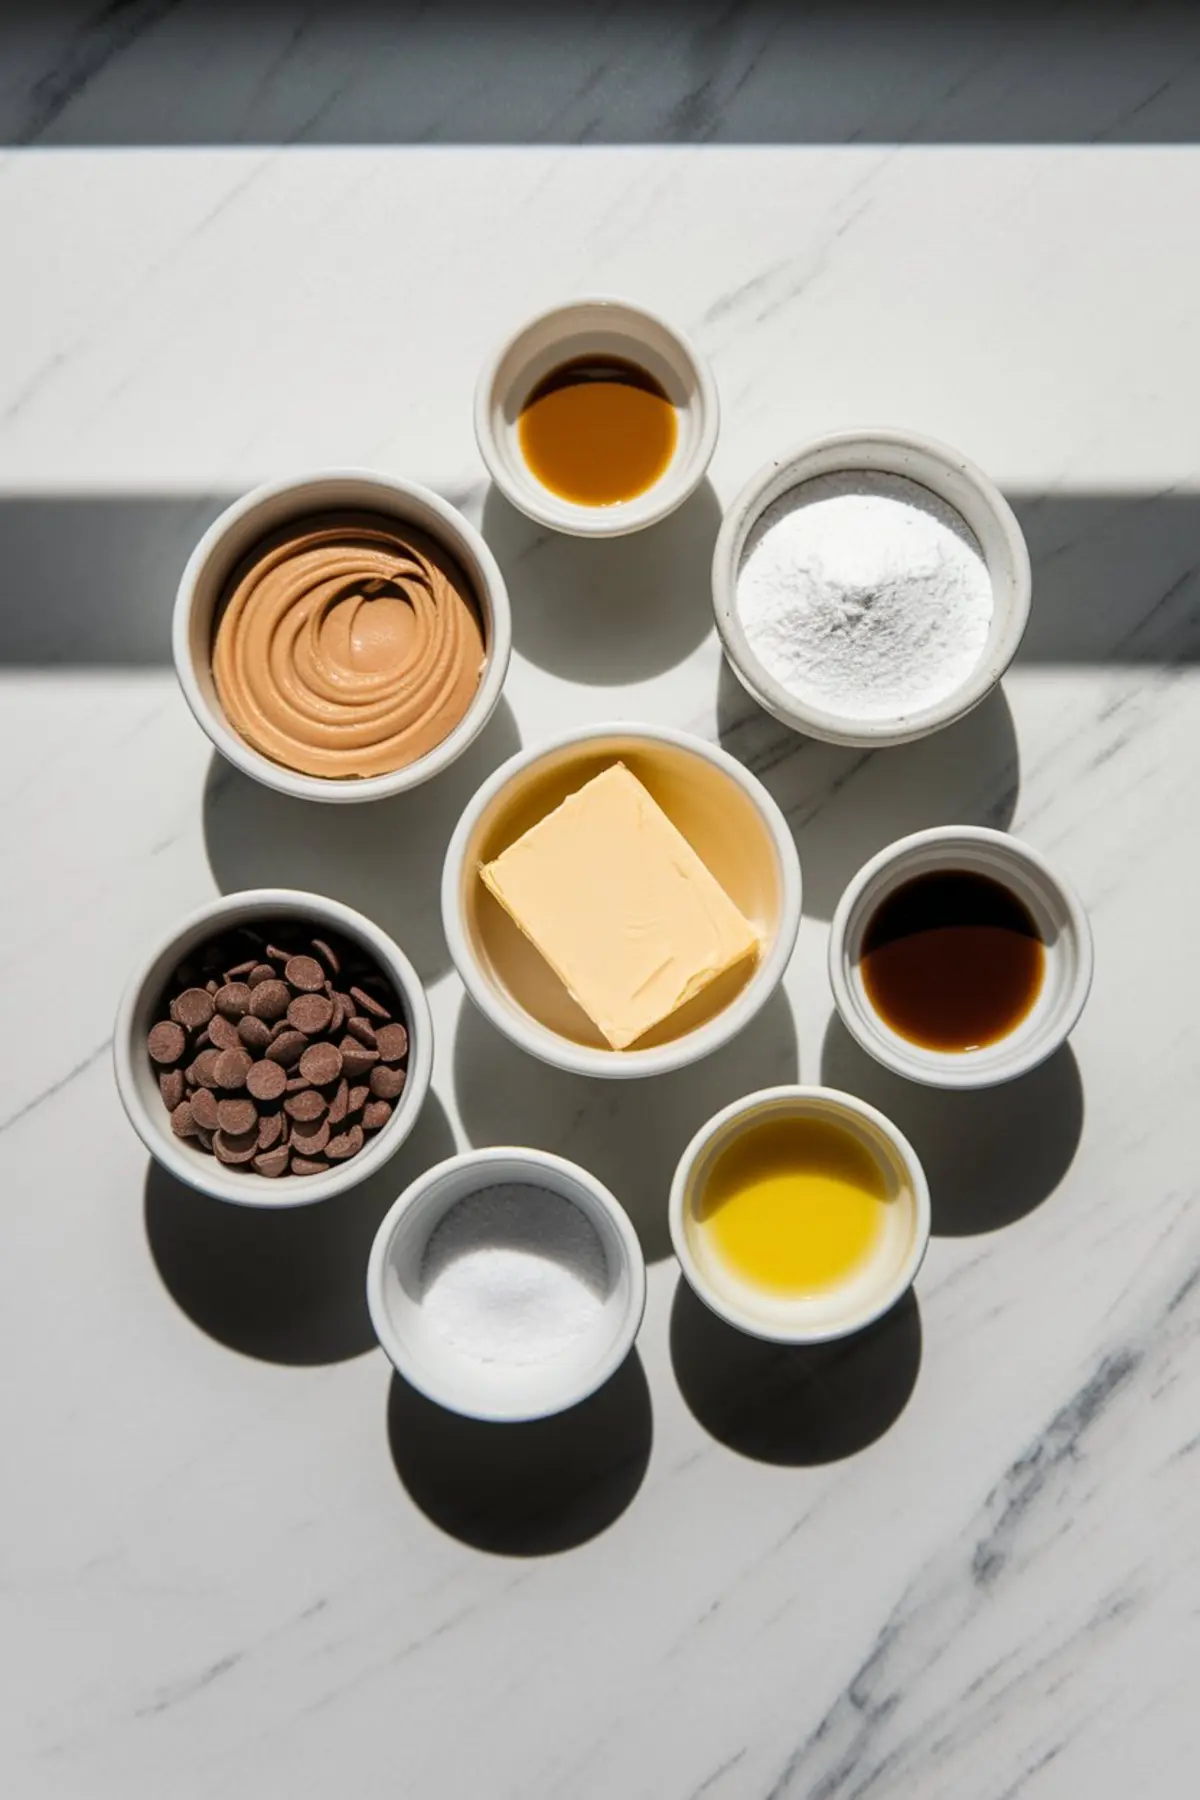
Ingredients
- FOR THE PEANUT BUTTER FILLING:
- 1 cup creamy peanut butter (not natural)
- 4 tablespoons unsalted butter, softened
- 2 cups powdered sugar
- ½ teaspoon vanilla extract
- ¼ teaspoon salt
- FOR THE CHOCOLATE COATING:
- 2 cups semi-sweet or milk chocolate chips
- 1 tablespoon coconut oil or vegetable shortening
- Optional:
- Sprinkles for decorating
- Drizzle of white or dark chocolate
Instructions
- MAKE THE PEANUT BUTTER FILLING: In a large mixing bowl, beat together peanut butter, butter, vanilla extract, and salt until smooth and creamy. Gradually add powdered sugar, mixing until a soft dough forms. If the mixture is too sticky, add a little more powdered sugar. Scoop out small portions and shape them into eggs. Place them on a parchment-lined baking sheet and freeze for 30 minutes until firm.
- MELT THE CHOCOLATE: In a microwave-safe bowl, combine chocolate chips and coconut oil. Microwave in 30-second intervals, stirring each time, until fully melted and smooth. Alternatively, use a double boiler to melt the chocolate gently.
- DIP THE EGGS: Using a fork or dipping tool, coat each peanut butter egg in the melted chocolate, ensuring full coverage. Let the excess chocolate drip off before placing it back on the parchment paper. If desired, add sprinkles or drizzle with white chocolate before the coating sets. Allow the eggs to harden at room temperature or refrigerate for faster setting.
Notes
For best results, use regular creamy peanut butter, not the natural variety, as it provides a smoother texture. If the peanut butter filling is too soft to shape, chill the mixture in the refrigerator for 10–15 minutes before forming the eggs. When melting the chocolate, avoid overheating to prevent it from seizing. Store finished peanut butter eggs in an airtight container in the refrigerator for up to one week or freeze for longer storage.
Nutrition Information
Yield
15Serving Size
1Amount Per Serving Calories 348Total Fat 22gSaturated Fat 9gTrans Fat 0gUnsaturated Fat 10gCholesterol 14mgSodium 147mgCarbohydrates 34gFiber 2gSugar 28gProtein 6g