
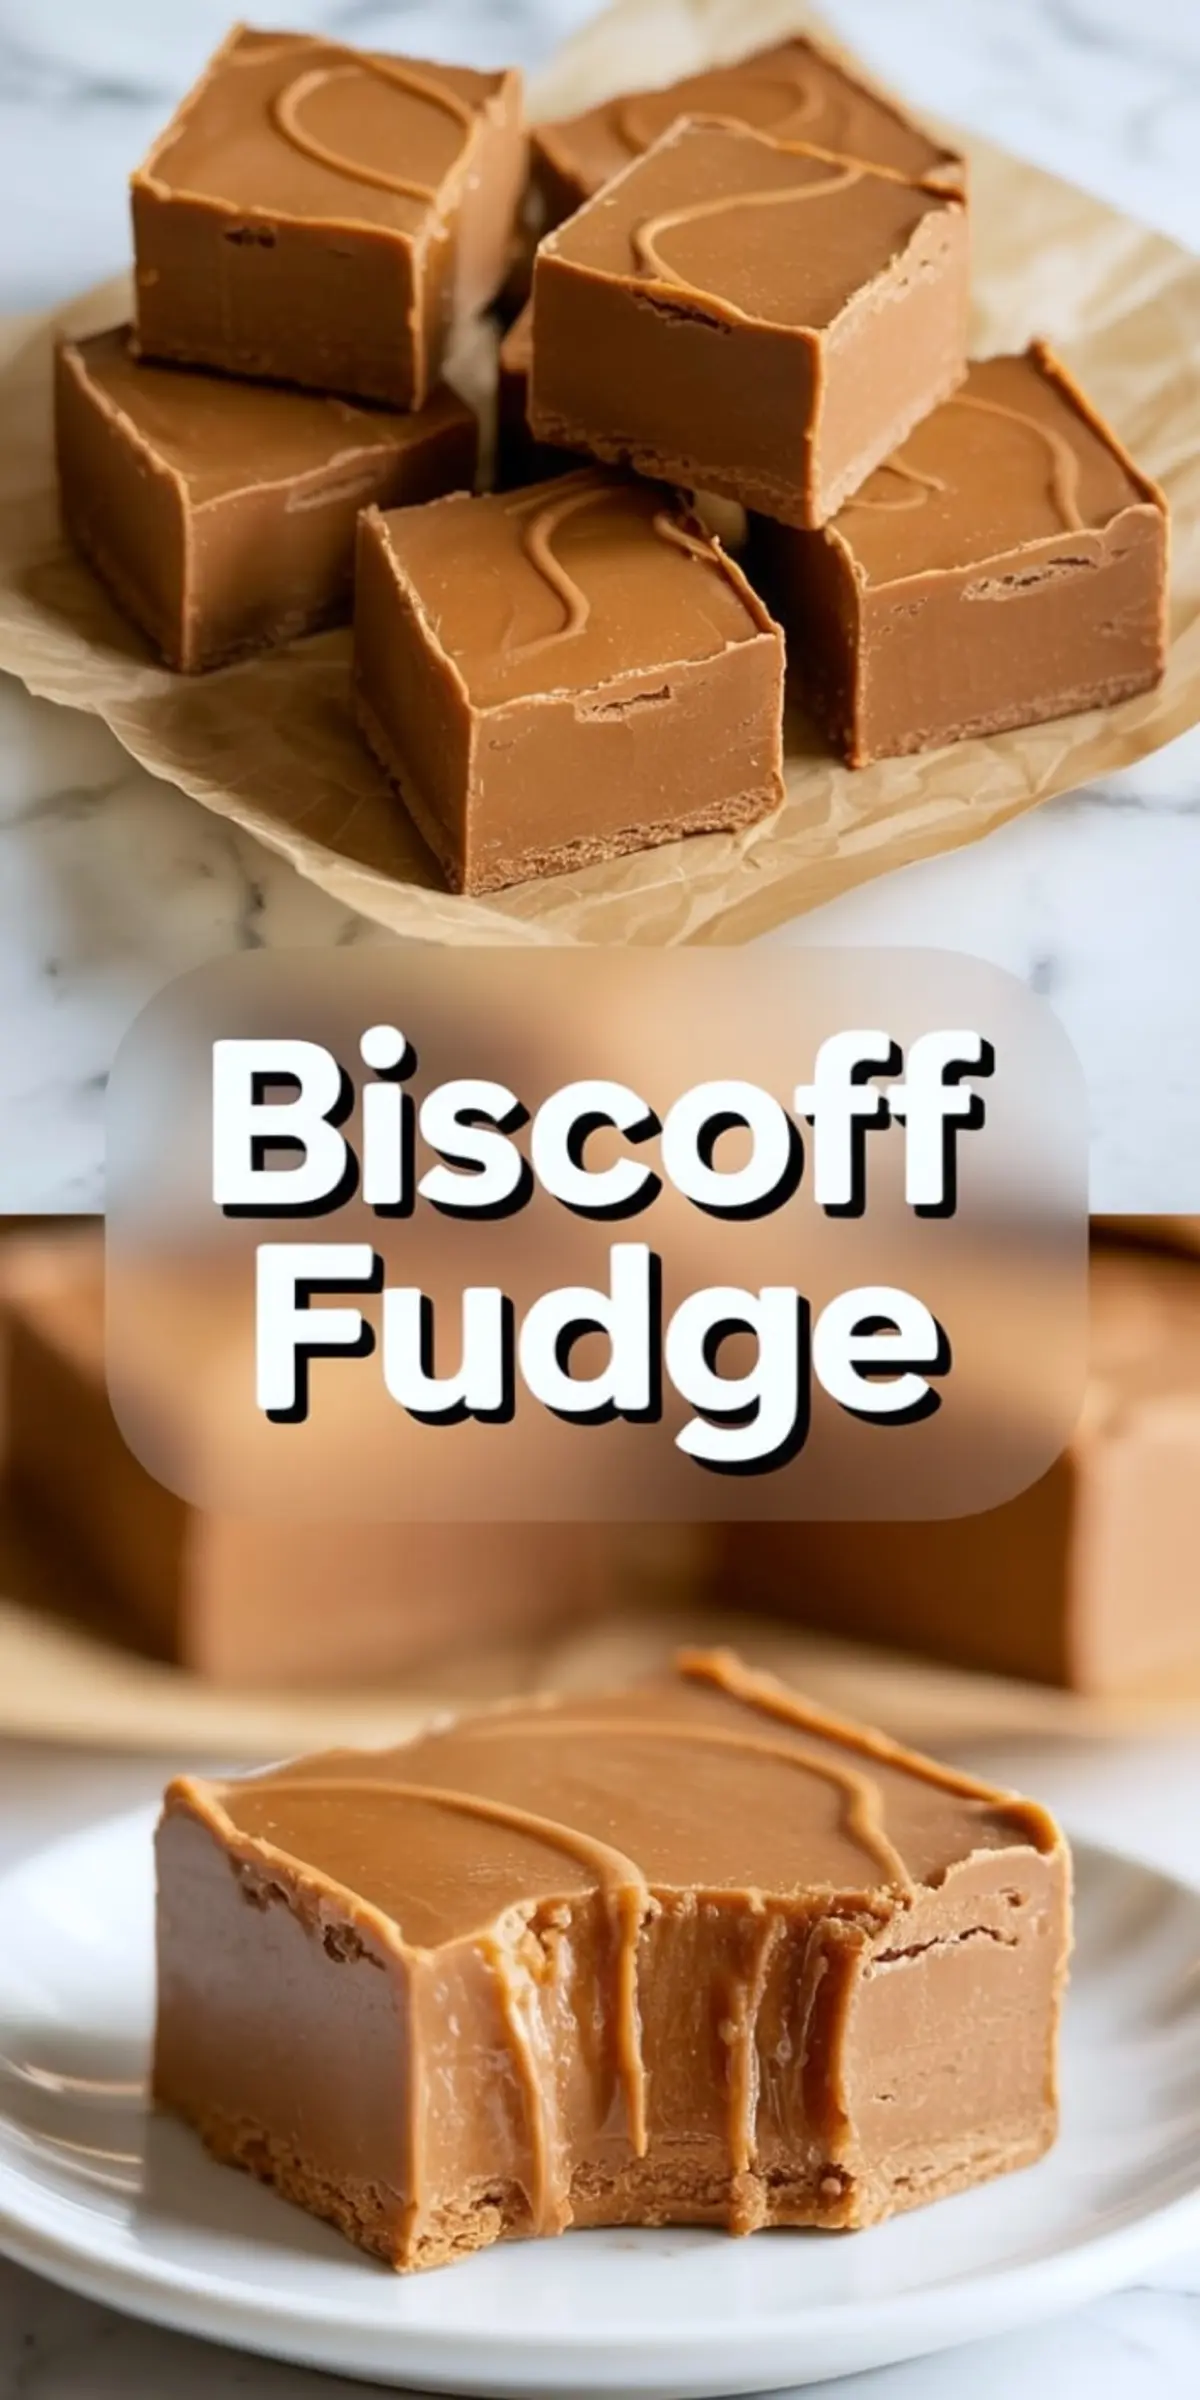
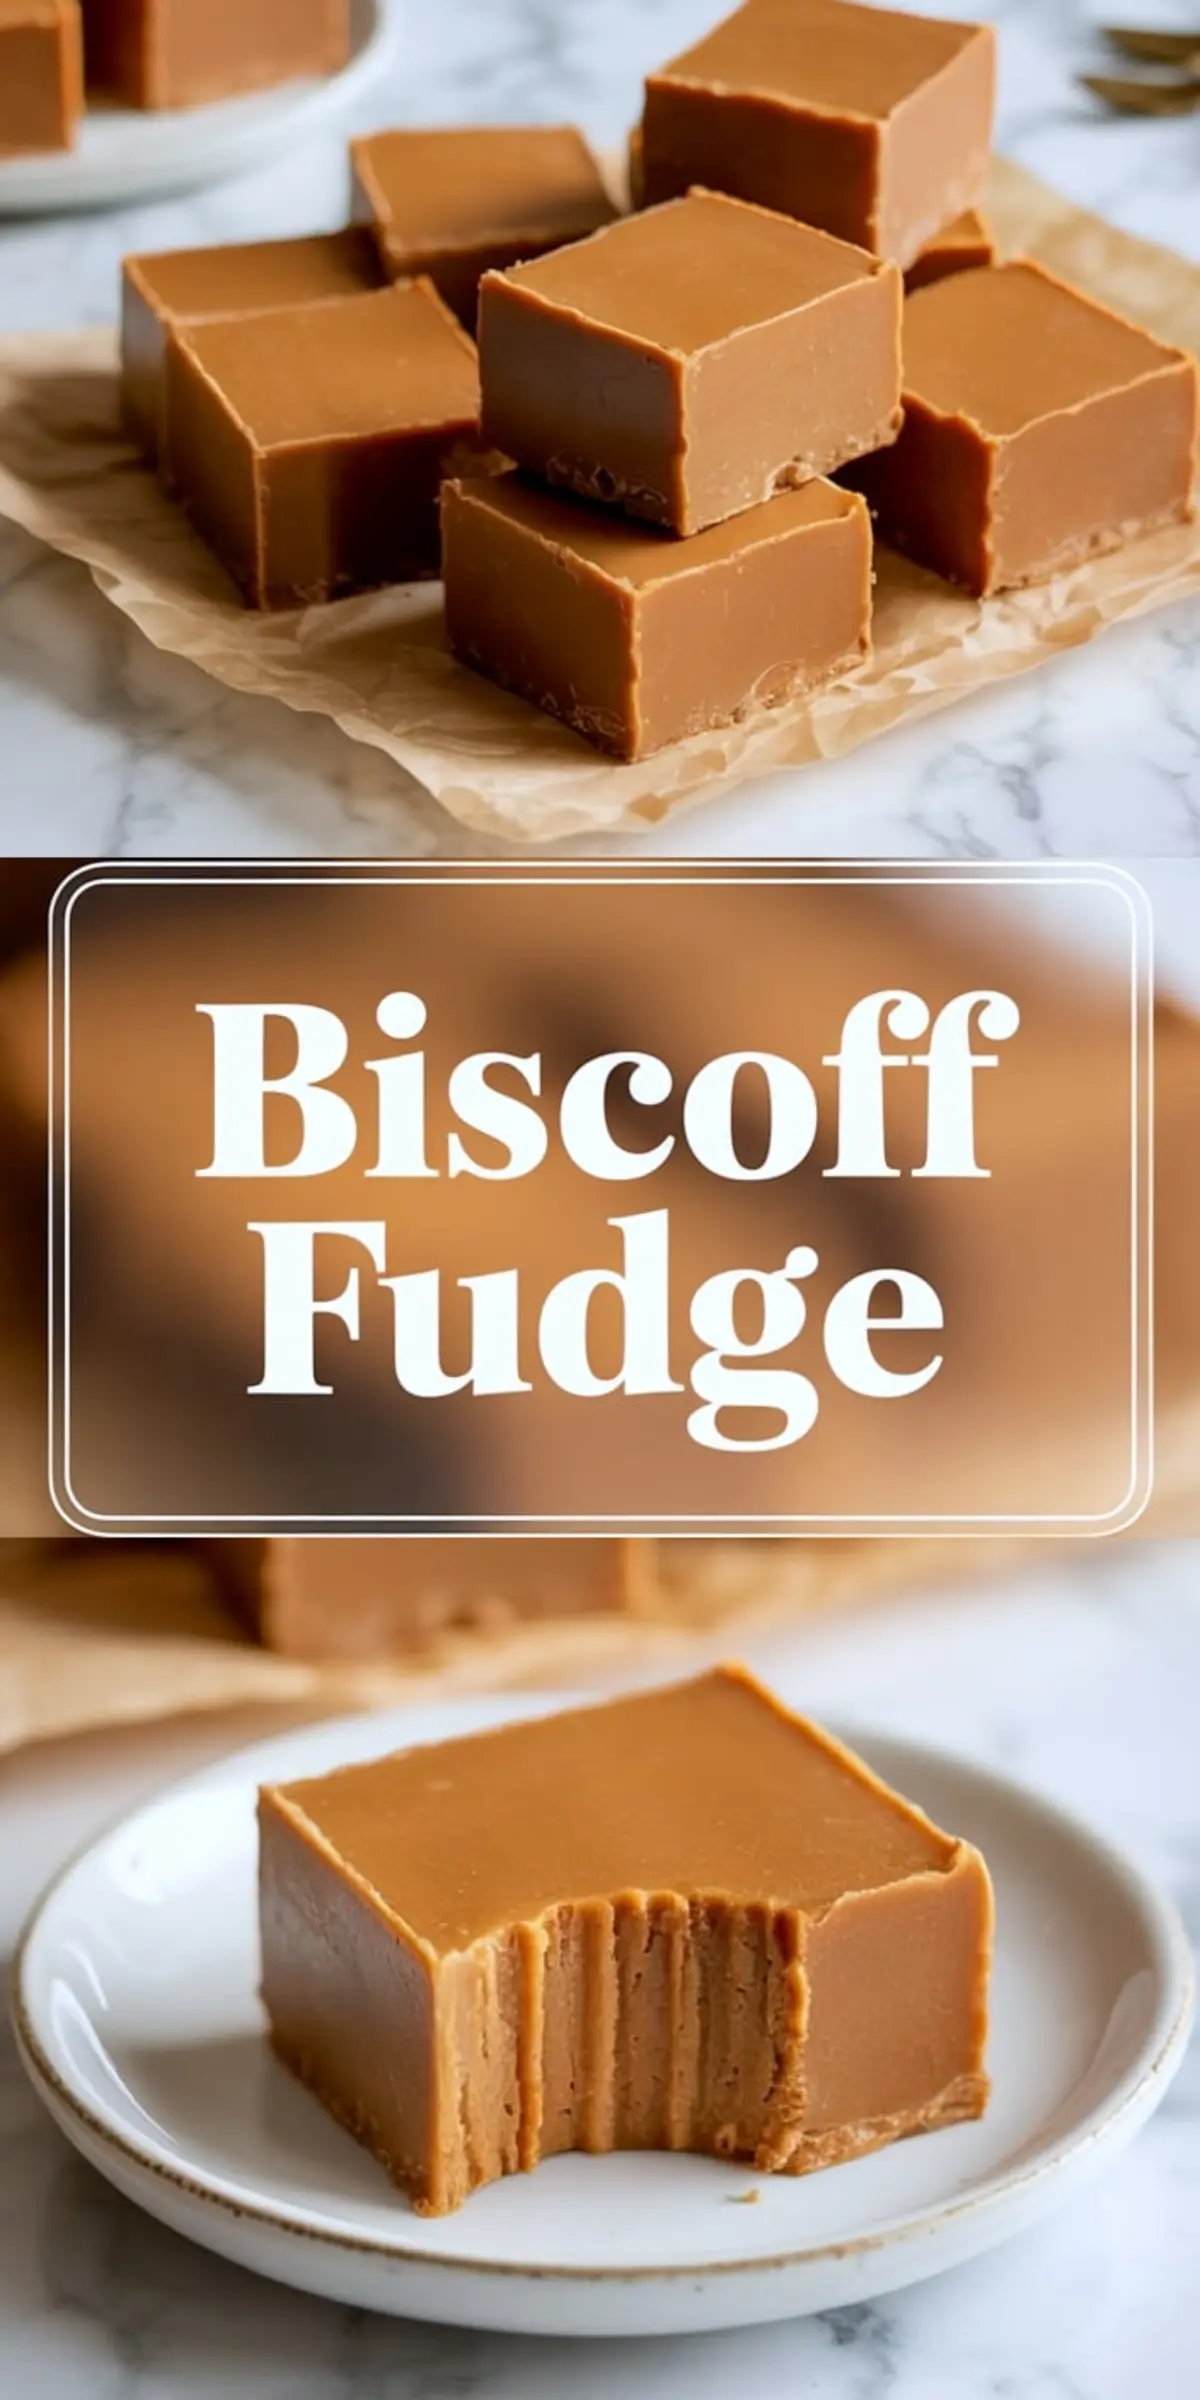
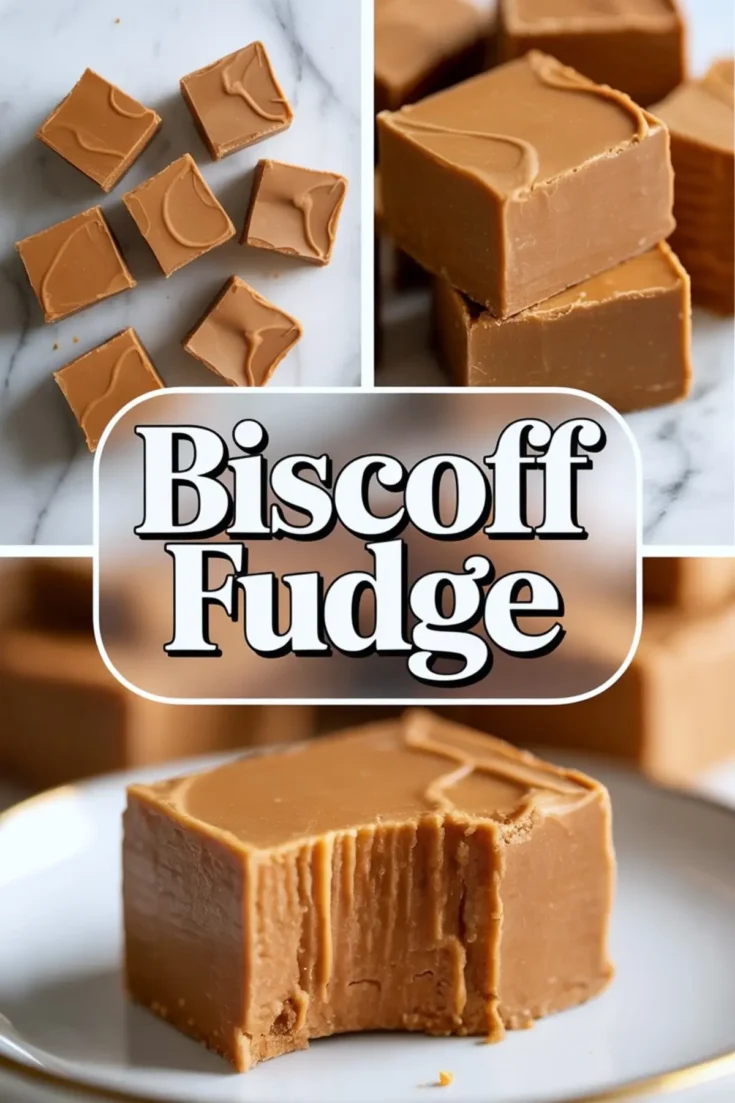
This Biscoff fudge recipe blends sweetened condensed milk, white chocolate, and smooth Biscoff spread to create a caramel fudge that’s creamy and rich. With only a few ingredients, this easy fudge recipe delivers a soft, melt-in-your-mouth texture that makes it ideal for sweet snacks, gifting, or adding to your favorite fudge recipes collection.
Following a special diet?
Every recipe on this site can be converted to gluten-free, vegan, dairy-free, keto, nut-free or egg-free with adjusted ratios so nothing falls flat.
Try the Recipe Converter →This recipe balances just three core ingredients to deliver texture and flavor that hold firm yet stay soft when sliced. The ratio of sweetened condensed milk to chocolate and spread is key. Too much chocolate turns it brittle, too little won’t let it set.
I rely on 350 grams of white chocolate to 240 grams of Biscoff spread. That keeps the base creamy but sliceable. The condensed milk brings sweetness and structure. It’s all melted gently over low heat to avoid splitting.
A quick stir, a smooth pour, and three hours of chilling. That’s the entire method. No thermometer. No sugar syrups. Just pantry staples and a little patience.
Ingredients That Matter
The Biscoff spread carries this fudge, so use smooth cookie butter for the cleanest cut. I prefer Lotus brand because it has the best caramelized flavor without bitterness.
White chocolate matters more than people think. Avoid baking chips if possible and go for a chopped bar or couverture-style white chocolate. Look for cocoa butter in the first few ingredients.
Sweetened condensed milk pulls it all together. Don’t use evaporated milk. They are not the same. The condensed version brings the thickness needed to bind the fudge.
For extra flavor, vanilla extract and a pinch of salt round out the sweetness. Crushed Biscoff cookies on top add texture. Sometimes I leave them off for a smoother bite, but they do add visual charm.
Spotlight on Biscoff Spread
This is what gives the fudge its caramel cookie profile. Biscoff spread melts smoothly into the base and stays soft once chilled. That texture difference compared to nut butters is important. It’s what gives Biscoff fudge that silky snap when sliced.
If you only have crunchy spread, you can use it. Just know the result won’t cut as cleanly. I tested both. The smooth version gave better flavor flow and mouthfeel. I save the crunchy kind for spreading on toast.
Step-by-Step with Texture Checks
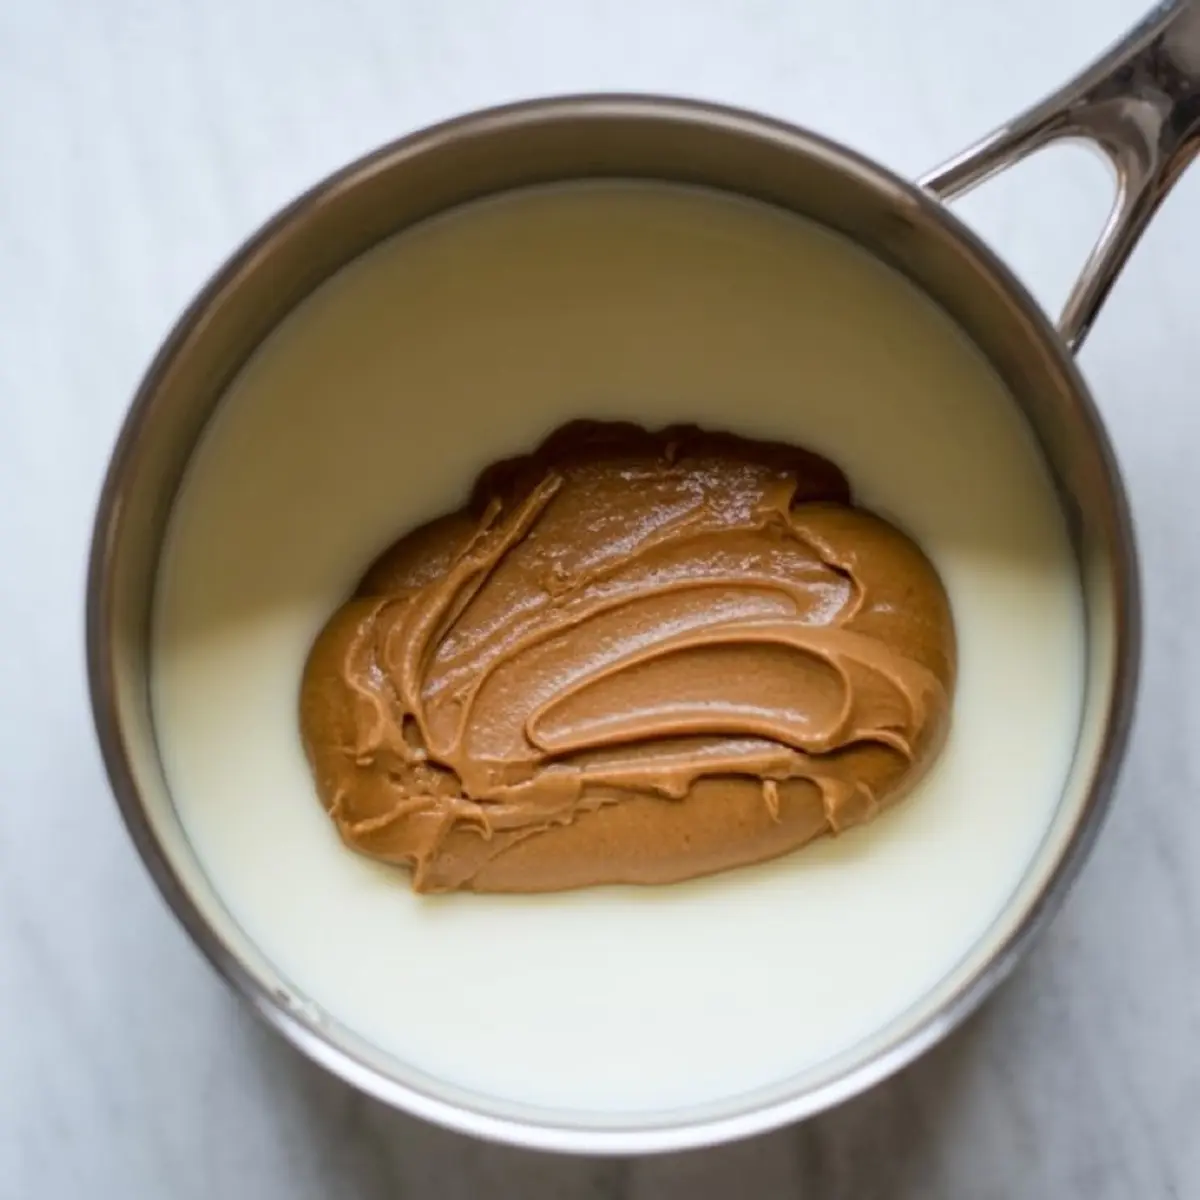
Start by melting the condensed milk and white chocolate over low heat. Stir slowly, and stop once the mixture looks glossy and fully melted. It should coat the back of a spoon and drip in ribbons.
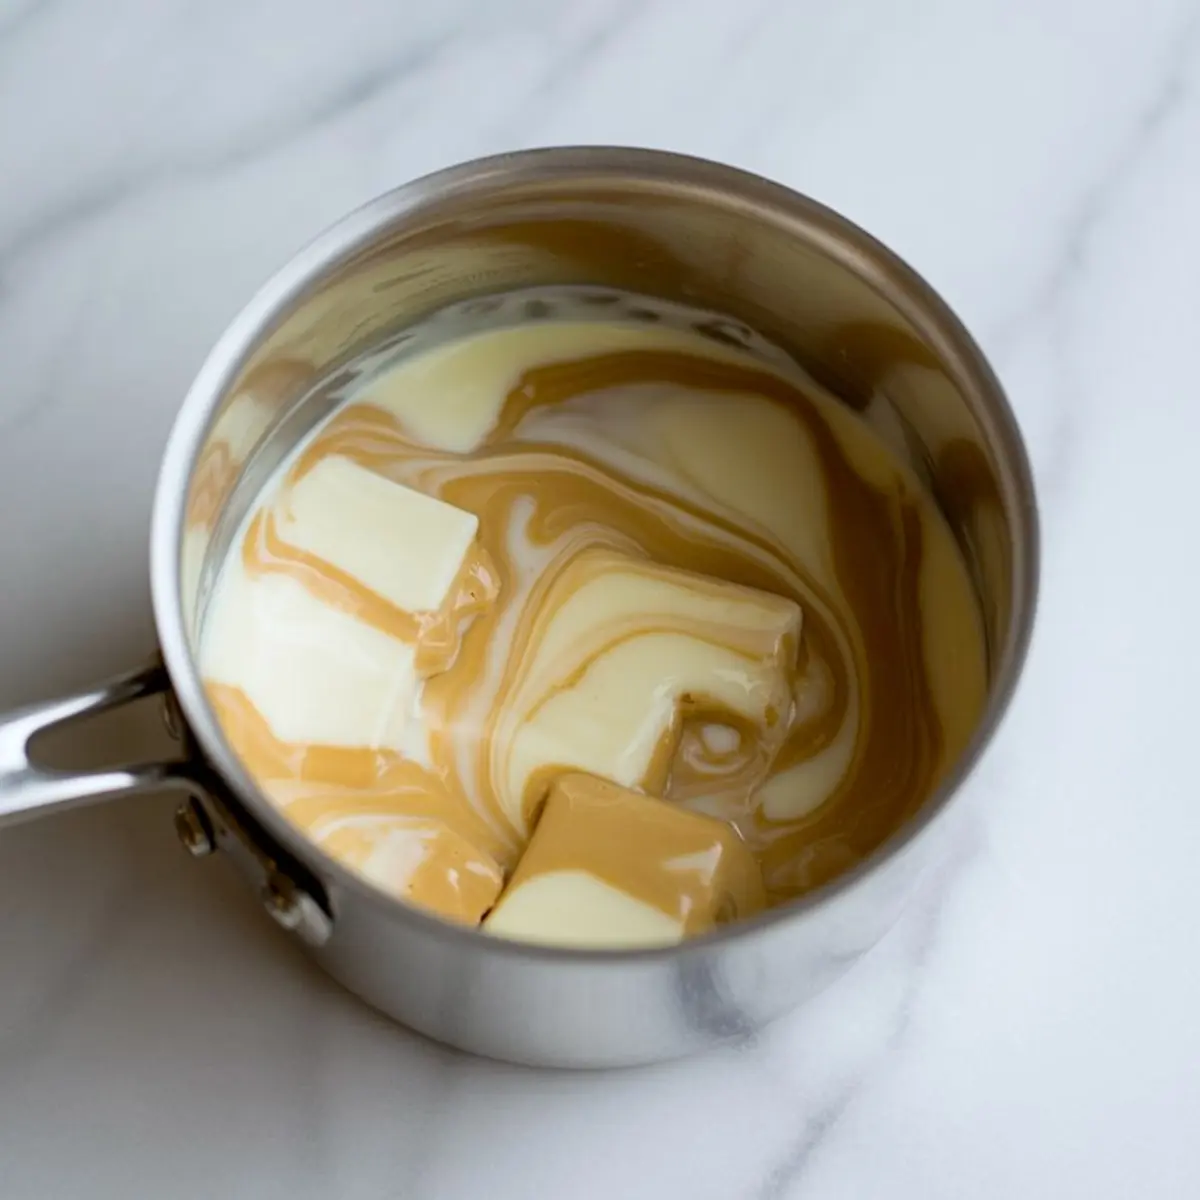
Once you stir in the Biscoff spread, the texture thickens. Keep mixing until it looks glossy again, uniform with no streaks. If you use vanilla, add it now along with a pinch of salt.
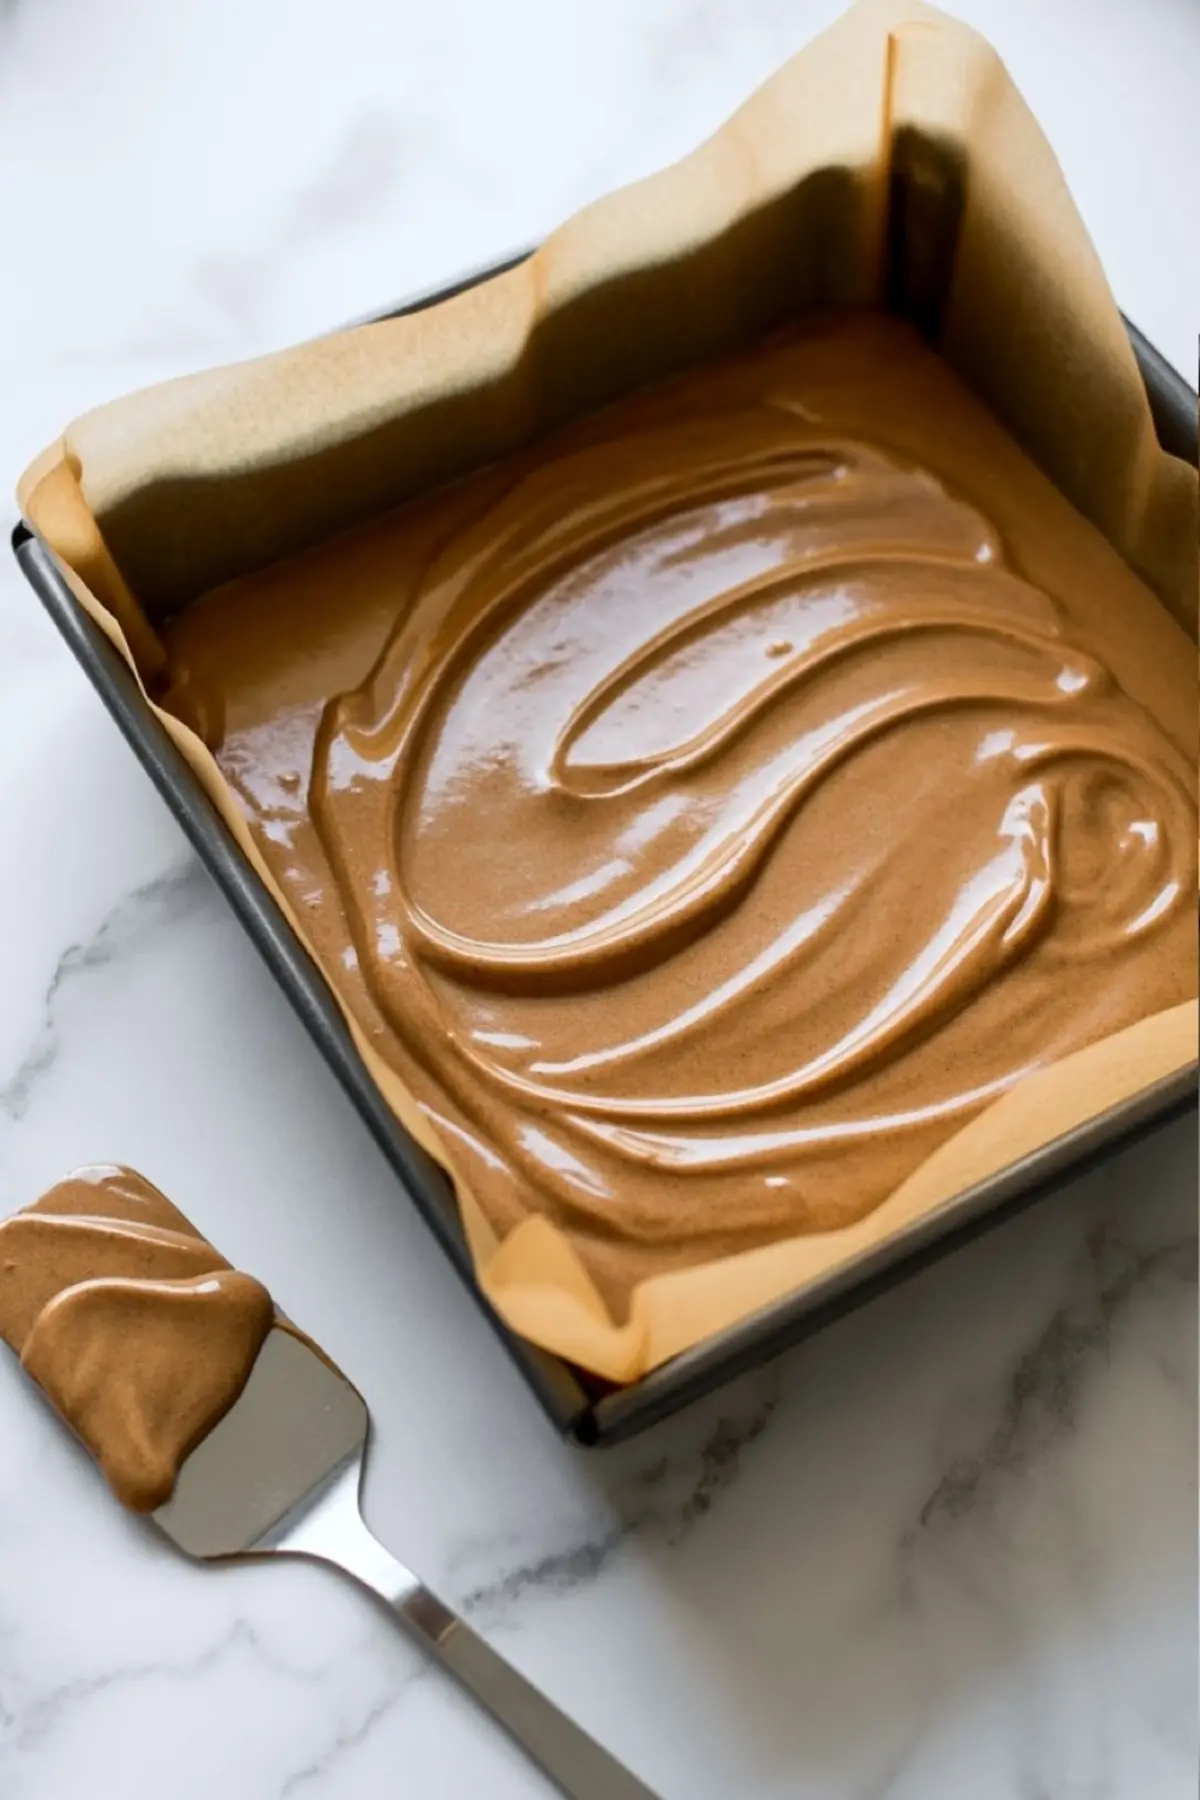
Spread into a lined 8×8 inch pan. Tap the pan lightly on the counter to remove bubbles. If you want crushed cookies on top, add them now while the fudge is still warm.
How to Know It’s Set
After three hours in the fridge, press the surface gently. It should feel firm but yield slightly under pressure.
A clean cut is another sign. If your knife pulls or sticks, chill it longer. Use a sharp knife and clean it between cuts. You want neat, glossy squares.
Common Issues and Quick Fixes
If the fudge is too soft, it likely needs more chocolate or chilling time. If it turns gritty or oily, the heat was too high. Keep it on low and stir constantly.
If it separates, remove from heat and stir vigorously. It usually comes back together.
Ways to Switch It Up
Add ¼ cup of mini marshmallows after removing from heat for a chewy texture.
Swirl in two tablespoons of Biscoff cookie butter after pouring into the pan for a marbled look.
Mix in crushed pretzels or chopped nuts for crunch.
For chocolate lovers, try my Chocolate Mousse Brownies as a rich contrast to this fudge.
How to Store Biscoff Fudge
Keep the fudge in an airtight container in the fridge for up to two weeks. I like stacking layers between parchment.
To freeze, wrap squares individually and store in a zip bag for up to two months. Thaw in the fridge overnight.
The texture stays creamy, but slightly firmer once frozen.
Baking Notes and Helpful Tips
Use parchment with overhang so lifting the fudge is easy. Don’t skip the salt. It sharpens the caramel flavor.
If using a glass pan, give it a few extra minutes in the fridge. Metal chills faster.
Use a silicone spatula to smooth the surface. It gives the cleanest finish.
You can also try Low Carb Chocolate Coconut Fudge for a dairy-free option.
Ways to Serve and Share
Cut into squares and wrap for holiday treats. Stack in jars for edible gifts.
Add to a dessert board with shortbread and berries. Serve with espresso after dinner.
Pair with salty snacks like popcorn or pretzels for contrast. Layer it into a trifle with whipped cream and cookies.
Save This Biscoff Fudge for Later
Pin this creamy Biscoff Fudge to your favorite Sweet Snacks board for easy holiday ideas or dessert prep.
Have you tried it with different toppings? Share your tweaks or ask questions in the comments below. I’d love to hear how yours turned out.
Biscoff Fudge Recipe
This Biscoff fudge recipe is a must-try for fans of creamy, indulgent treats with rich caramel flavor. Made with just a few ingredients, it’s one of the easiest fudge recipes to prepare. Perfect for gifting or enjoying as sweet snacks, this smooth, melt-in-your-mouth Biscoff dessert will be your new favorite. Ideal for those who love caramel fudge and need a fudge easy recipe that still impresses. Try this quick treat any time you’re craving something rich and satisfying.
Ingredients
- 1 can (14 oz / 397g) sweetened condensed milk
- 2 cups (350g) white chocolate chips or chopped white chocolate
- 1 cup (240g) smooth Biscoff spread (cookie butter)
- 1 tsp vanilla extract (optional)
- Pinch of salt
- Crushed Biscoff cookies (optional, for topping)
Instructions
- PREPARE YOUR PAN: Line an 8x8 inch (20x20 cm) square baking pan with parchment paper, leaving some overhang on the sides to help lift the fudge out after chilling.
- MELT THE BASE INGREDIENTS: In a medium saucepan over low heat, combine the sweetened condensed milk and white chocolate. Stir constantly until the chocolate is fully melted and the mixture is smooth and lump-free.
- ADD THE BISCOFF: Stir in the Biscoff spread, then add the vanilla extract and salt. Continue stirring until the mixture is fully combined, glossy, and uniform in texture.
- TRANSFER TO PAN: Pour the fudge mixture into the prepared pan. Use a spatula to spread it evenly into the corners. Tap the pan gently on the counter to release any trapped air bubbles.
- OPTIONAL TOPPING: Sprinkle crushed Biscoff cookies over the surface or press a few whole cookies gently into the top for added texture and visual appeal.
- CHILL TO SET: Place the pan in the refrigerator for at least 3 hours or until the fudge is firm and fully set. For best results, chill overnight.
- SLICE AND SERVE: Once set, use the parchment overhang to lift the fudge out of the pan. Cut into 1-inch squares with a sharp knife, wiping the blade between cuts for clean edges.
Notes
Store in an airtight container in the refrigerator for up to 2 weeks, or freeze for longer storage. Use smooth Biscoff spread for a creamy texture; crunchy versions may result in a different consistency.
Nutrition Information
Yield
25Serving Size
1Amount Per Serving Calories 159Total Fat 9gSaturated Fat 5gUnsaturated Fat 4gCholesterol 5mgSodium 58mgCarbohydrates 20gFiber 0gSugar 16gProtein 2g