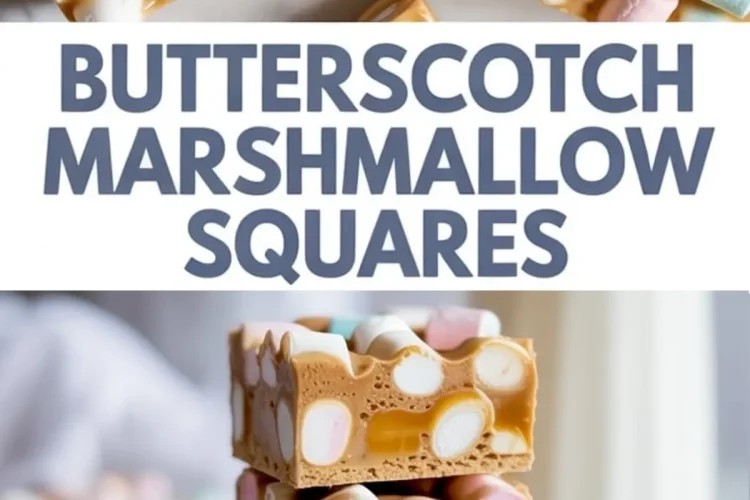
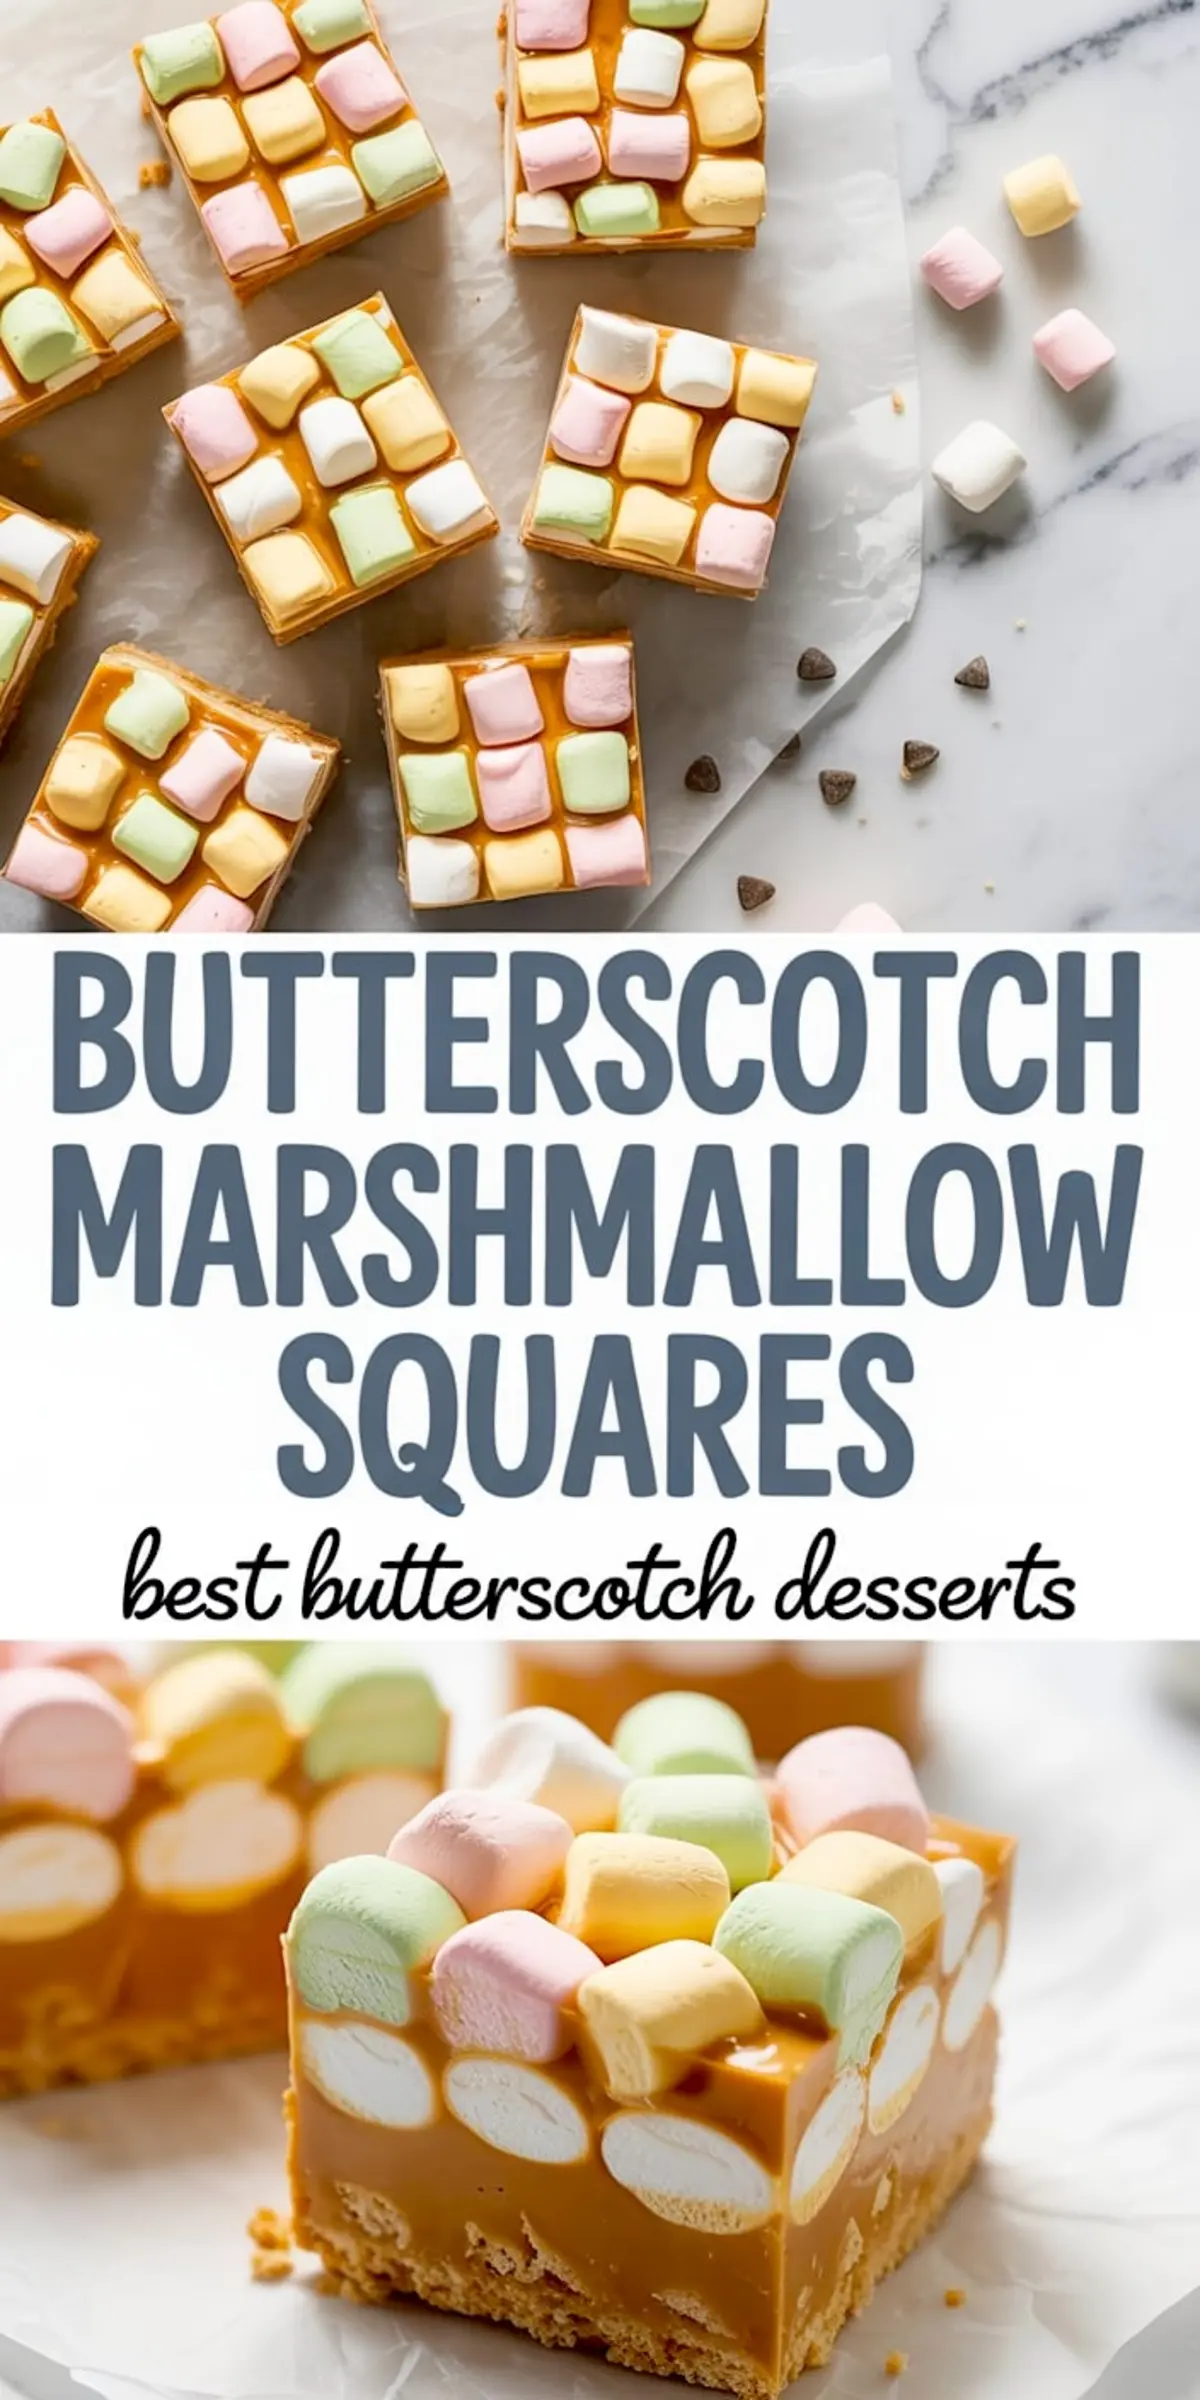
This recipe for Butterscotch Marshmallow Squares brings together the chew of marshmallow bars, the sweetness of butterscotch chips, and the rich saltiness of peanut butter into one of the easiest no-bake desserts you’ll ever make.
You’ll learn how to layer a crisp graham cracker crust beneath soft pastel marshmallows folded into a silky butterscotch-peanut butter mixture. If you’ve ever searched for peanut butter marshmallow squares, butterscotch marshmallow bars, or a marshmallow bars recipe that delivers nostalgia with every bite, this is the one that stays with you.
You can serve these bars chilled, slice them cleanly into squares, or even freeze them for events later in the week. They’re sturdy enough for bake sales, sweet enough for kids’ birthdays, and quick enough for a last-minute treat. I’ve written this version based on the one I’ve relied on for years. My notes are peanut-butter smudged, but the result is always clear: these bars disappear fast.
Following a special diet?
Every recipe on this site can be converted to gluten-free, vegan, dairy-free, keto, nut-free or egg-free with adjusted ratios so nothing falls flat.
Try the Recipe Converter →Why Butterscotch Chips and Marshmallows Just Work
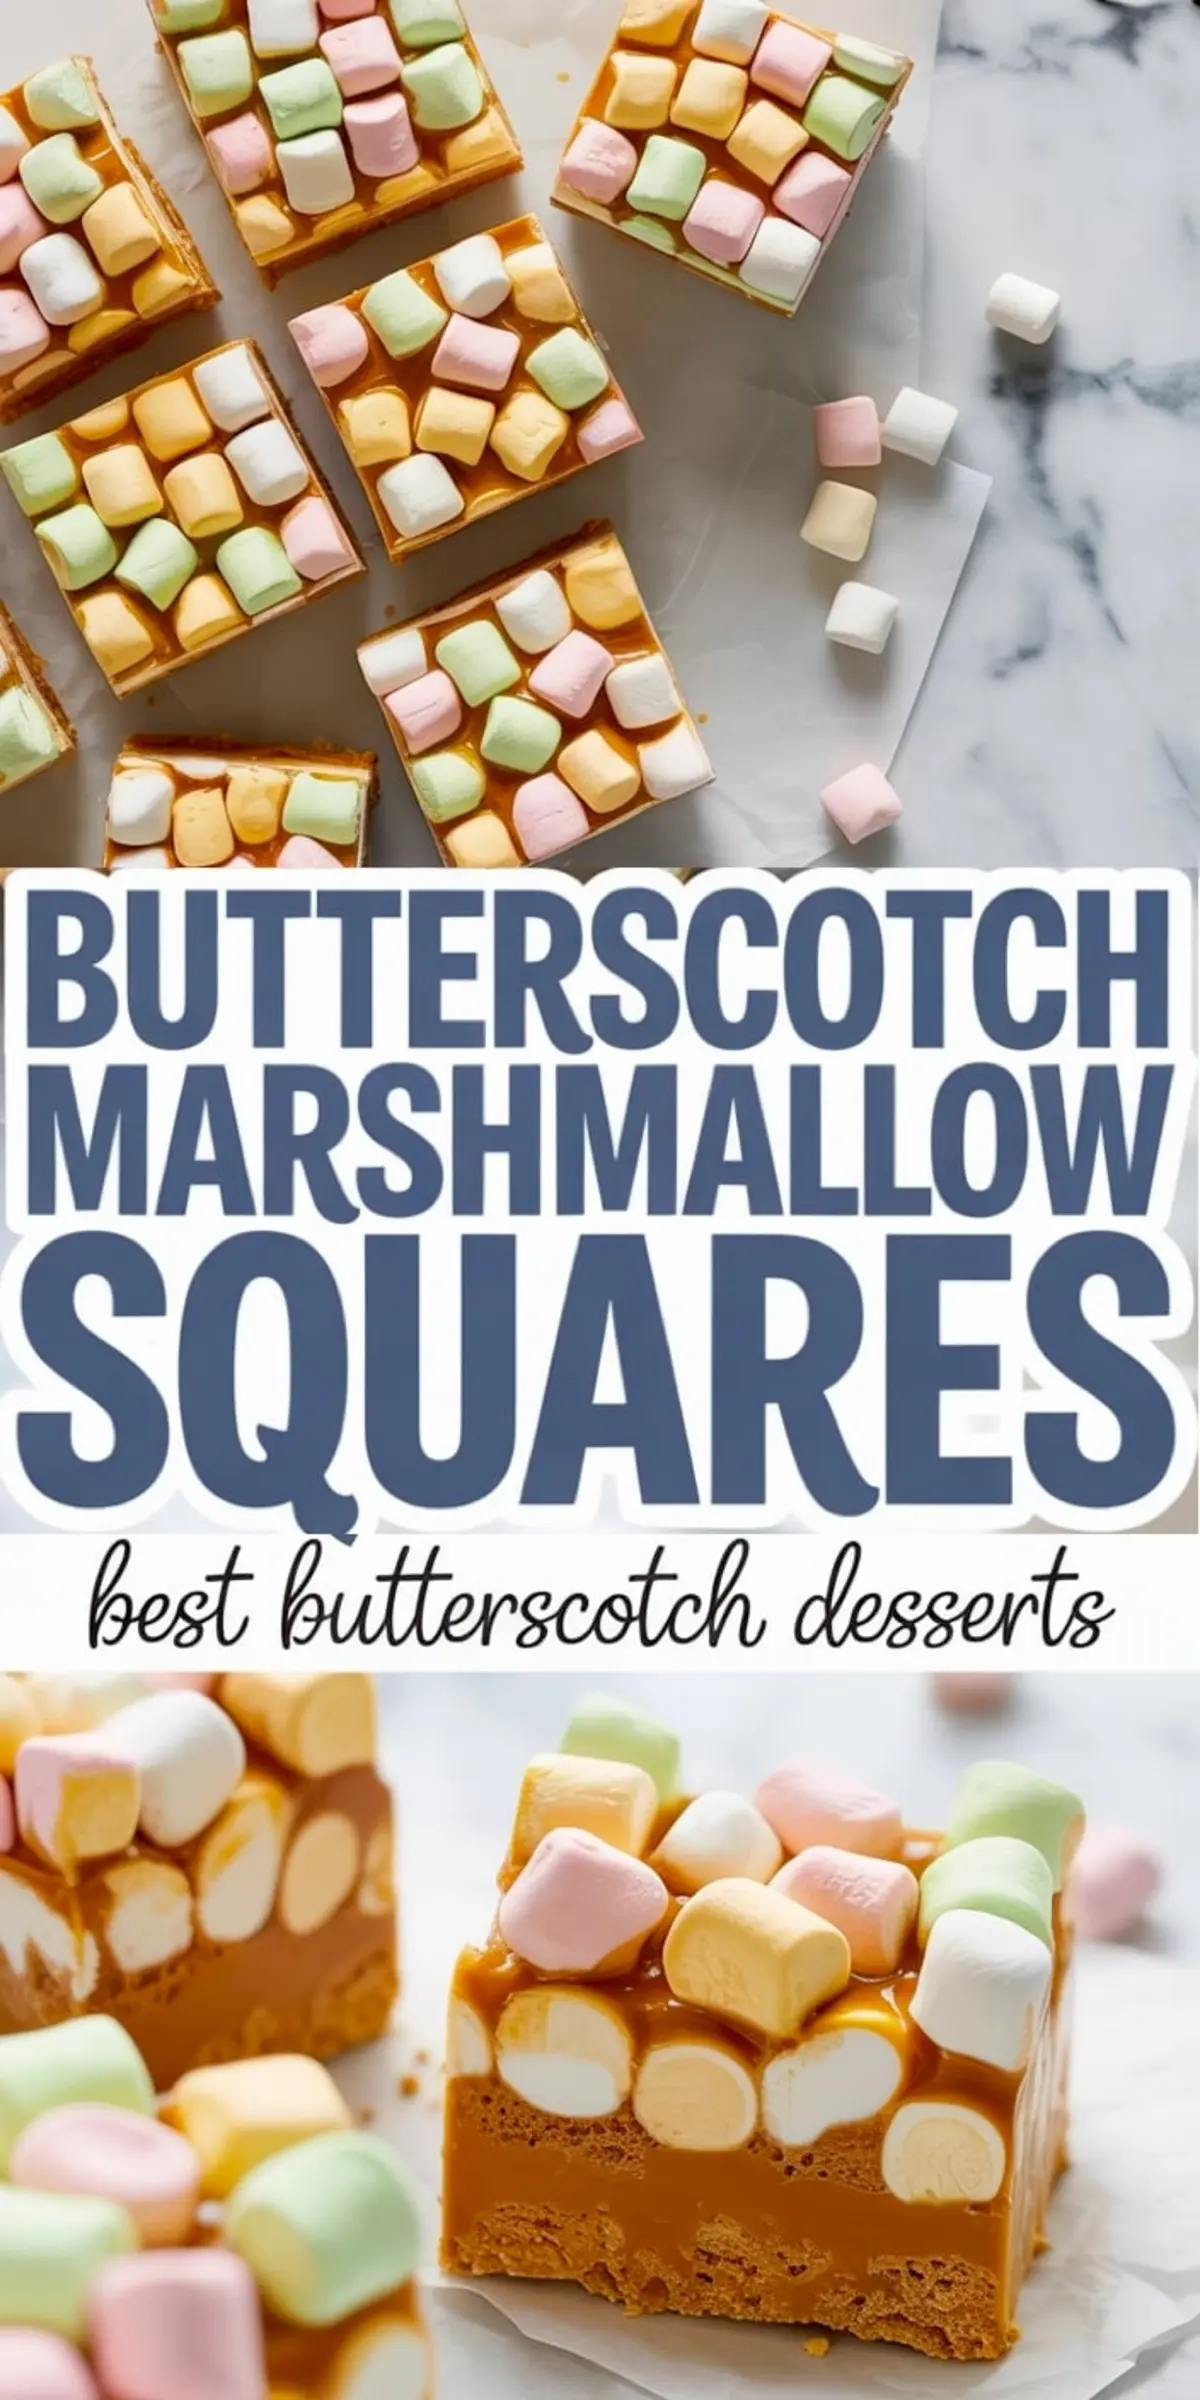
Pastel mini marshmallows bring a soft chew and color contrast to the warm, creamy mix of butterscotch and peanut butter. These aren’t just peanut butter squares. They’re a nod to vintage potluck desserts, when pantry ingredients made crowd-pleasers.
You’ll use one bag of butterscotch chips and fold in colorful marshmallows once the base has cooled. That step matters. If you mix them in while the butterscotch is too hot, you’ll end up with a sticky mess instead of clearly shaped pastel pieces. This technique keeps the colors distinct and the texture soft.
I often get asked if these are the same as peanut butter marshmallow bars. They’re close cousins. But the graham cracker base gives them a structure that makes slicing and serving much easier. Think of them as a cleaner, crunchier version of traditional butterscotch peanut butter marshmallows.
Making the Base: Graham Cracker vs. Cereal Crust
I’ve tested both graham crackers and crispy rice cereal as the base for these marshmallow bars. The cereal version offers an airy bite, but the graham cracker crust wins for flavor and structure. It holds firm when chilled and gives that caramelized crunch beneath the soft, chewy topping.
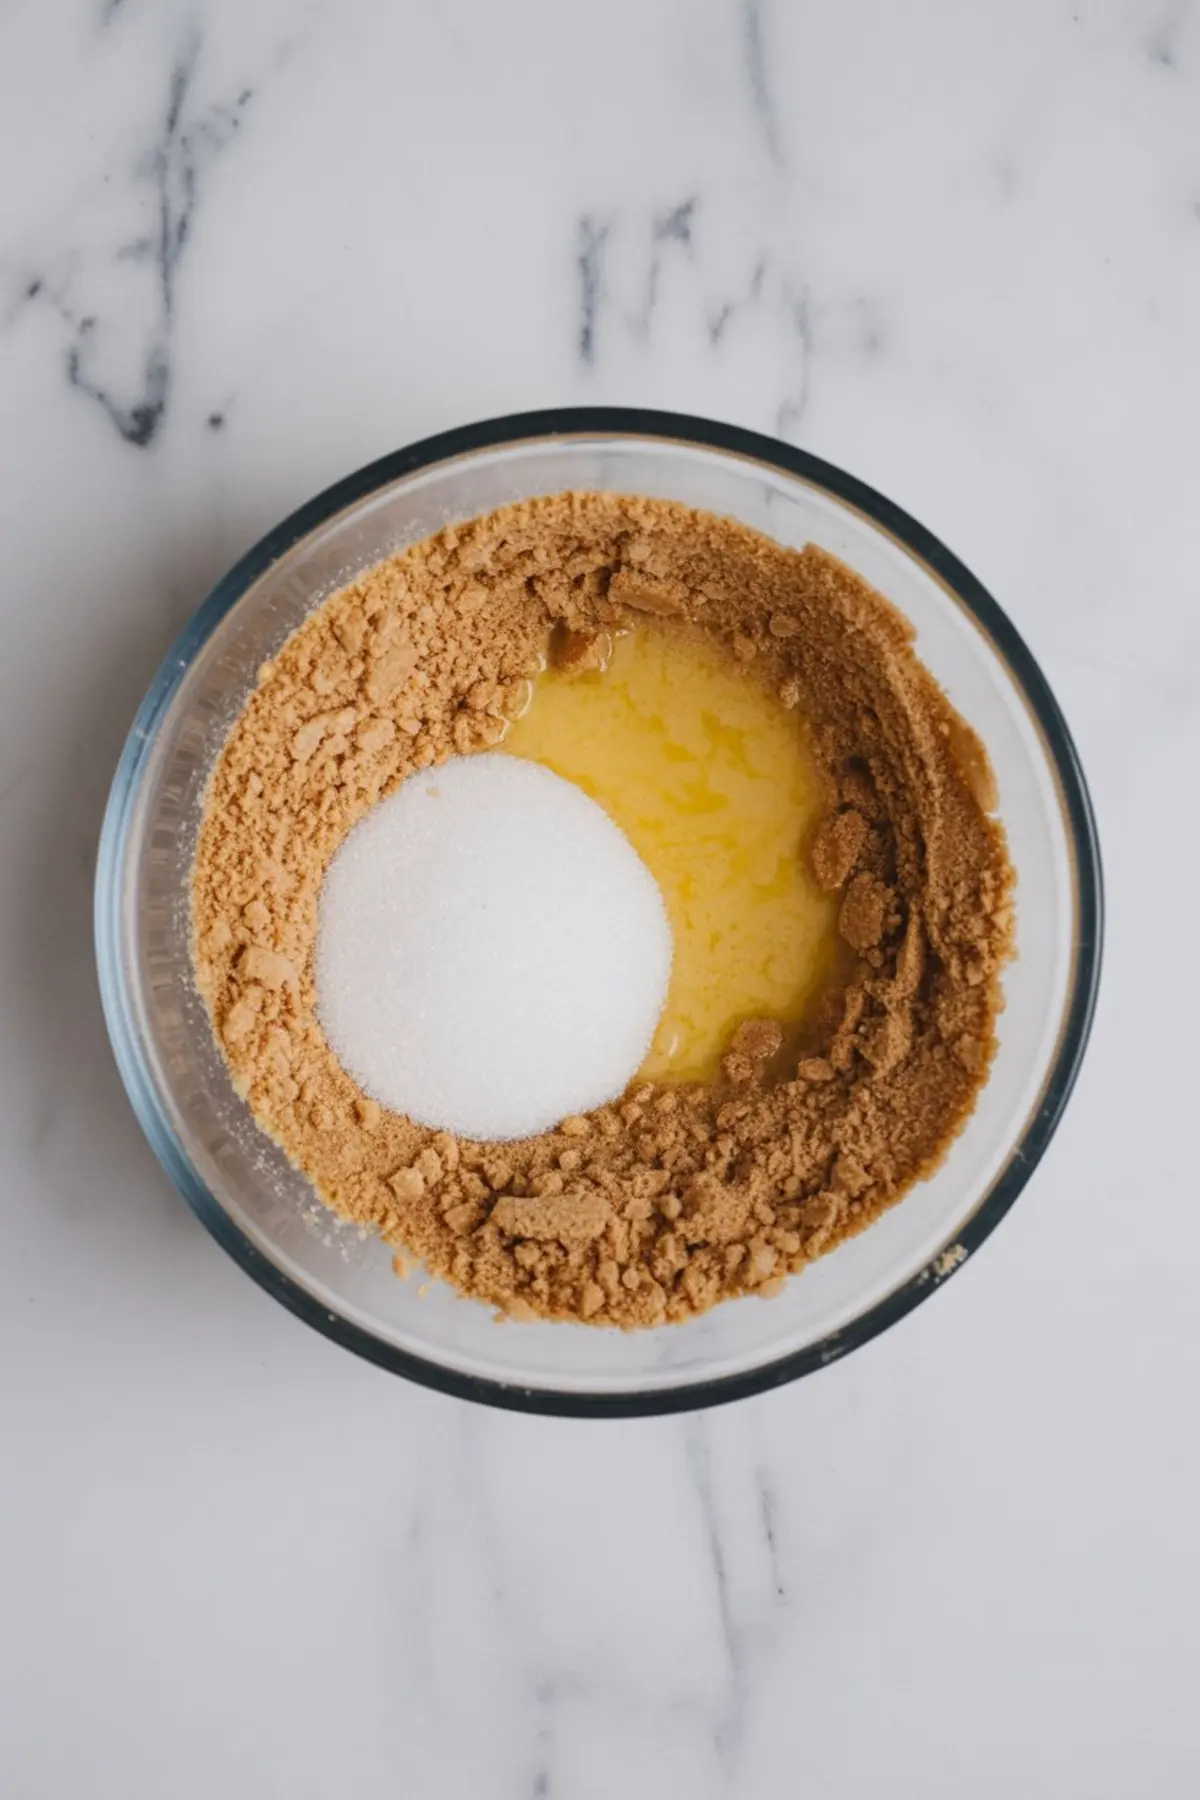
To make it, you’ll blend graham crumbs with sugar and melted butter, then press it into a parchment-lined pan. I chill it in the freezer while preparing the topping. That step sets the crust enough to hold the marshmallow mixture without softening.
If you’re looking for other no-bake bars with peanut butter, try my Peanut Butter Rice Krispie Treats for something lighter.
Melting the Butterscotch and Peanut Butter Mixture
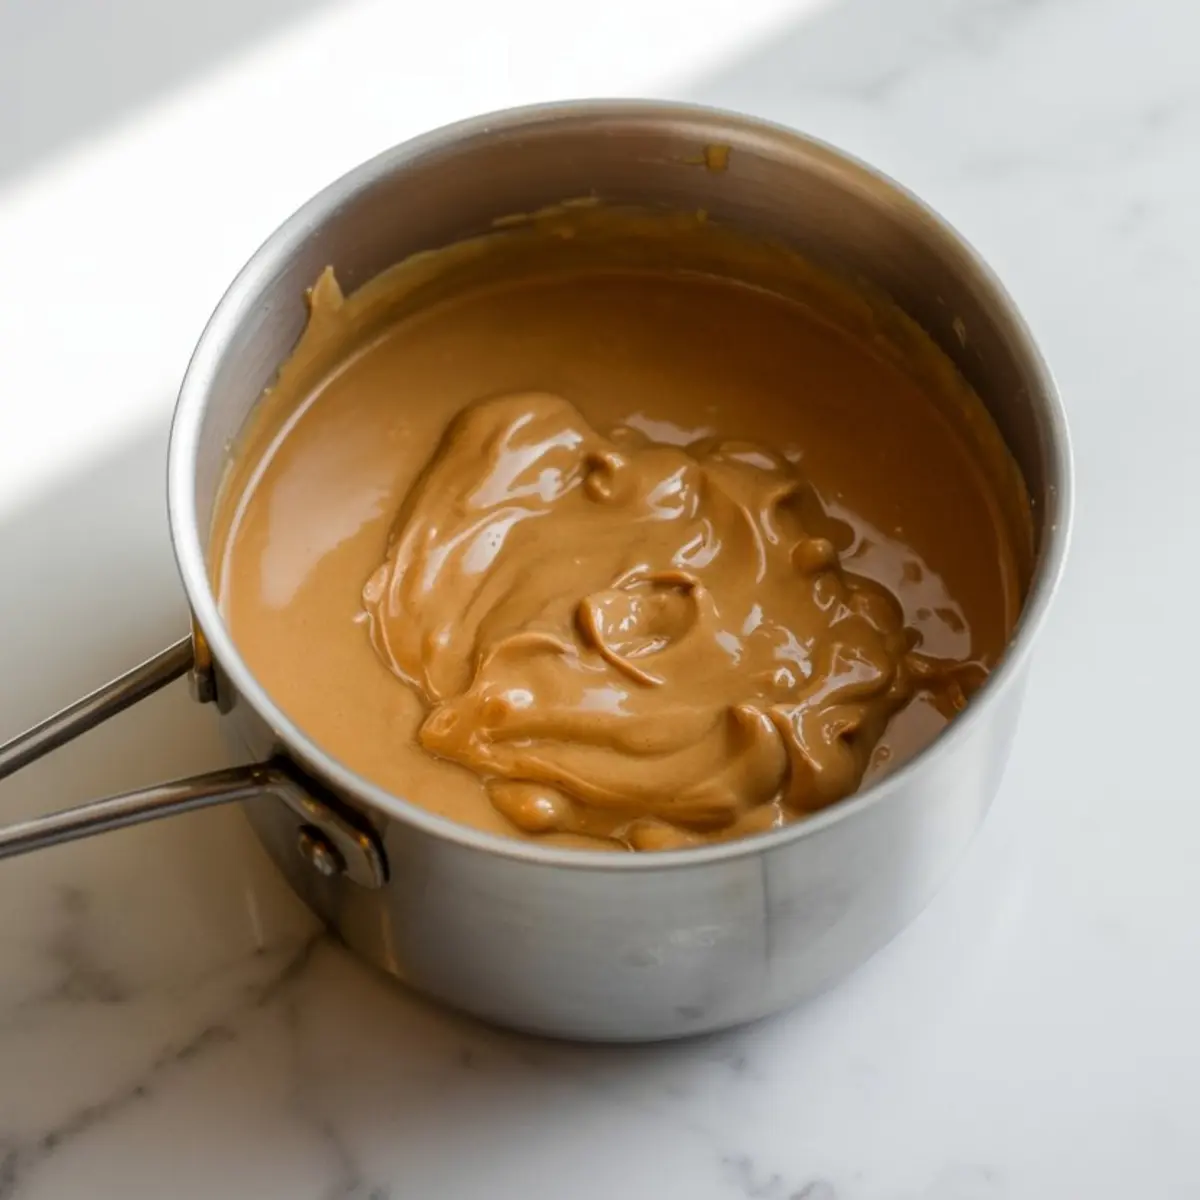
Use low heat and stir constantly. Butterscotch chips burn quickly if left unattended. I add the butter and peanut butter directly to the saucepan along with the chips. The mixture should turn glossy and smooth. Once melted, take it off the heat and give it several minutes to cool.
This short pause makes all the difference. Marshmallows added too early will melt into the mix instead of staying whole. That might still taste good, but you’ll lose the distinct texture of the marshmallow bars. Waiting five to seven minutes gets the temperature just right.
If you enjoy that blend of butterscotch and peanut butter in other forms, my Butterscotch Crunch Cake Recipe takes a similar flavor and builds it into layers.
Folding Marshmallows Without Breaking Them

This part feels more like candy making than baking. You’ll gently fold the pastel mini marshmallows into the cooled butterscotch mixture. Take your time. Use a soft spatula and move the mixture slowly to avoid breaking the marshmallows or smashing the color.
The pastel colors hold best when the mixture is just barely warm. Once coated, pour them evenly over the cold graham crust and gently press down. I use a second piece of parchment and a flat-bottomed glass to tap the mixture into place.
Chilling and Cutting Butterscotch Marshmallow Bars
Refrigerate the tray for at least two hours. Don’t rush this. It’s tempting to slice early, but the bars cut best when completely cold. I run a knife under hot water, dry it off, and slice firmly through the set topping.
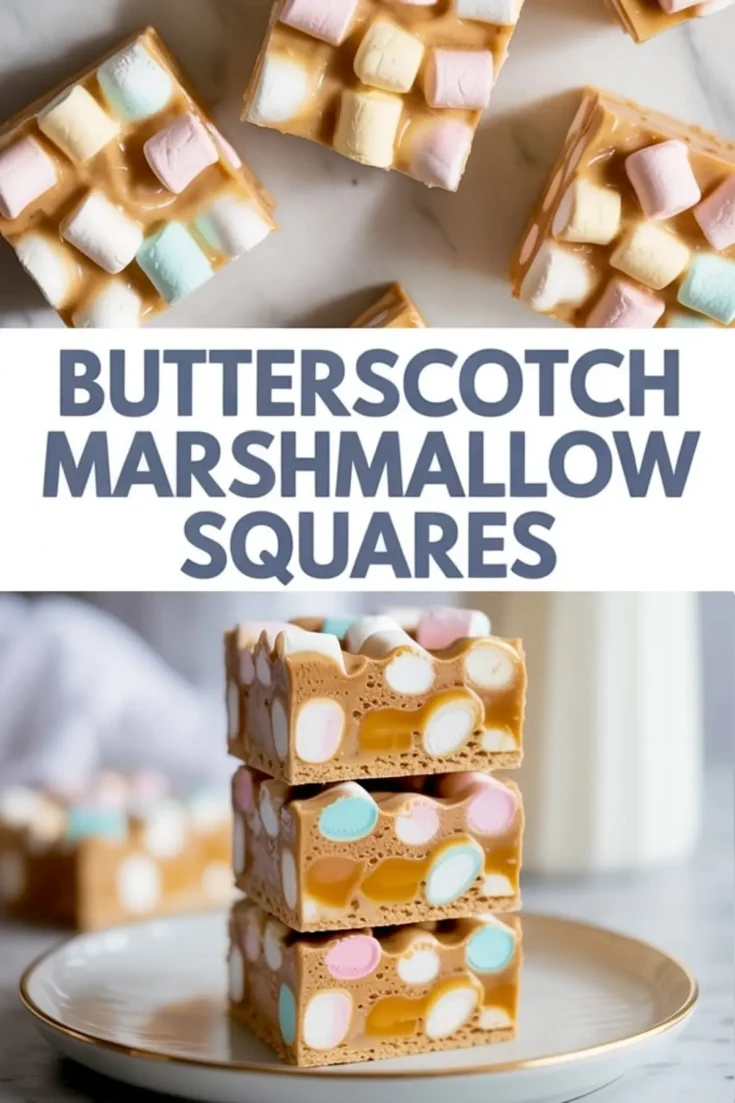
The texture contrast between the crisp base and chewy top comes through best when cold. These marshmallow bars also hold their shape better than many Peanut Butter Marshmallow Squares, thanks to that structured base.
Serving Tips and Storage Advice
Store these bars in the refrigerator in a sealed container. They last for up to five days chilled. If you need to make them ahead, they freeze well too. I wrap them tightly and thaw them in the fridge overnight.
I often serve them sliced small on a platter alongside other no-bake sweets. The soft color of the marshmallows makes them stand out, especially on white ceramic or glass. You can even drizzle extra melted butterscotch on top for added shine.
Save and Share This Classic
If these Butterscotch Marshmallow Squares remind you of something your aunt made or a treat from a childhood bake sale, you’re not alone. They’ve lasted decades for a reason.
Save this recipe to your Pinterest boards so you can come back to it anytime. And if you try it, let me know how it turned out in the comments. I’d love to hear how you’ve made it yours.
Butterscotch Marshmallow Squares
Butterscotch marshmallow squares are one of those no-bake desserts that feel nostalgic and comforting. I melt butterscotch chips with peanut butter, fold in soft marshmallows, and press the mixture into a pan for bars that set perfectly. Some call them peanut butter marshmallow squares, others butterscotch peanut butter marshmallows or marshmallow bars, but no matter the name they’re always a hit. I’ve made butterscotch marshmallow bars for holidays, peanut butter squares for bake sales, and tried recipes with butterscotch chips in different variations, but this butterscotch bars recipe remains the simplest. Among no-bake treats, these squares are chewy, sweet, and one of the easiest desserts to whip up.
Ingredients
- FOR THE CRUST
- 1 ½ cups graham cracker crumbs
- ¼ cup granulated sugar
- ½ cup unsalted butter, melted
- FOR THE TOPPING
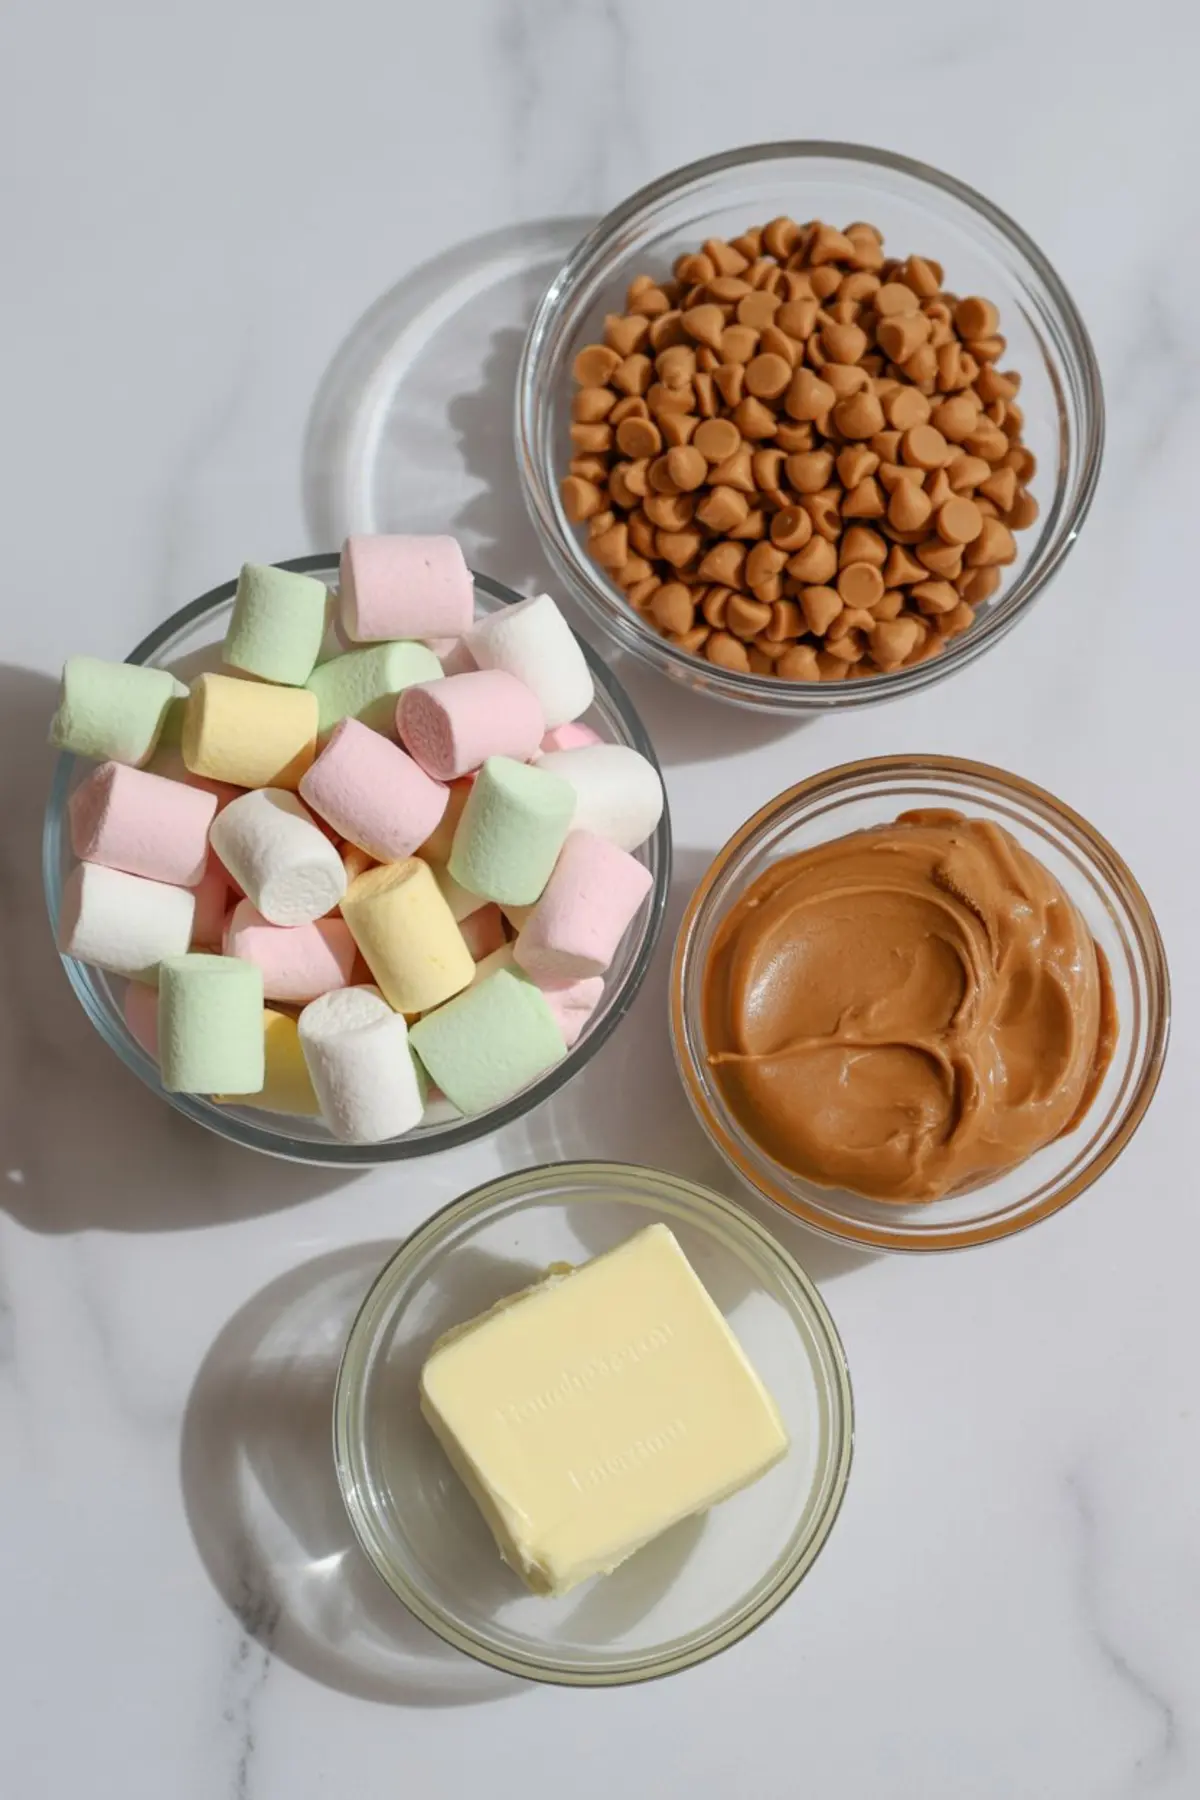
- 1 (11 oz) bag butterscotch chips
- ½ cup creamy peanut butter
- ¼ cup unsalted butter
- 1 (10 oz) bag pastel mini marshmallows (pink, green, yellow, white)
- Optional: Pinch of salt if using unsalted peanut butter
Instructions
- MAKE THE CRUST: In a mixing bowl, stir together graham cracker crumbs, granulated sugar, and melted butter until evenly combined and the texture resembles wet sand.
- PRESS INTO PAN: Line an 8x8-inch square baking pan with parchment paper. Firmly press the crumb mixture into the bottom of the pan using the back of a spoon or a flat-bottomed glass to create an even layer. Transfer the pan to the freezer to chill while preparing the topping.
- MELT THE BUTTERSCOTCH BASE: In a medium saucepan set over low heat, melt together the butterscotch chips, creamy peanut butter, and unsalted butter. Stir constantly until the mixture is completely smooth and combined.
- COOL THE MIXTURE: Remove the saucepan from the heat and allow the butterscotch mixture to cool for 5–7 minutes. It should be warm but not hot to the touch to avoid melting the marshmallows in the next step.
- FOLD IN MARSHMALLOWS: Add the pastel mini marshmallows to the cooled butterscotch mixture. Gently fold them in until they are evenly coated, being careful not to press too hard or melt the marshmallows.
- LAYER OVER THE CRUST: Remove the pan from the freezer and pour the marshmallow mixture over the chilled crust. Spread it out evenly and gently press down to help it settle into the base.
- CHILL UNTIL SET: Refrigerate the assembled bars for at least 2 hours, or until the topping is firm and set.
- SLICE AND SERVE: Use the parchment paper to lift the chilled bars out of the pan. Slice into 16 squares with a sharp knife. Store in the refrigerator until ready to serve.
Notes
If your kitchen is warm, keep the squares refrigerated until serving to maintain their shape. These bars can be made a day ahead and stored in an airtight container.
Nutrition Information
Yield
16Serving Size
1Amount Per Serving Calories 305Total Fat 23gSaturated Fat 10gTrans Fat 0gUnsaturated Fat 10gCholesterol 26mgSodium 122mgCarbohydrates 22gFiber 2gSugar 14gProtein 5g