
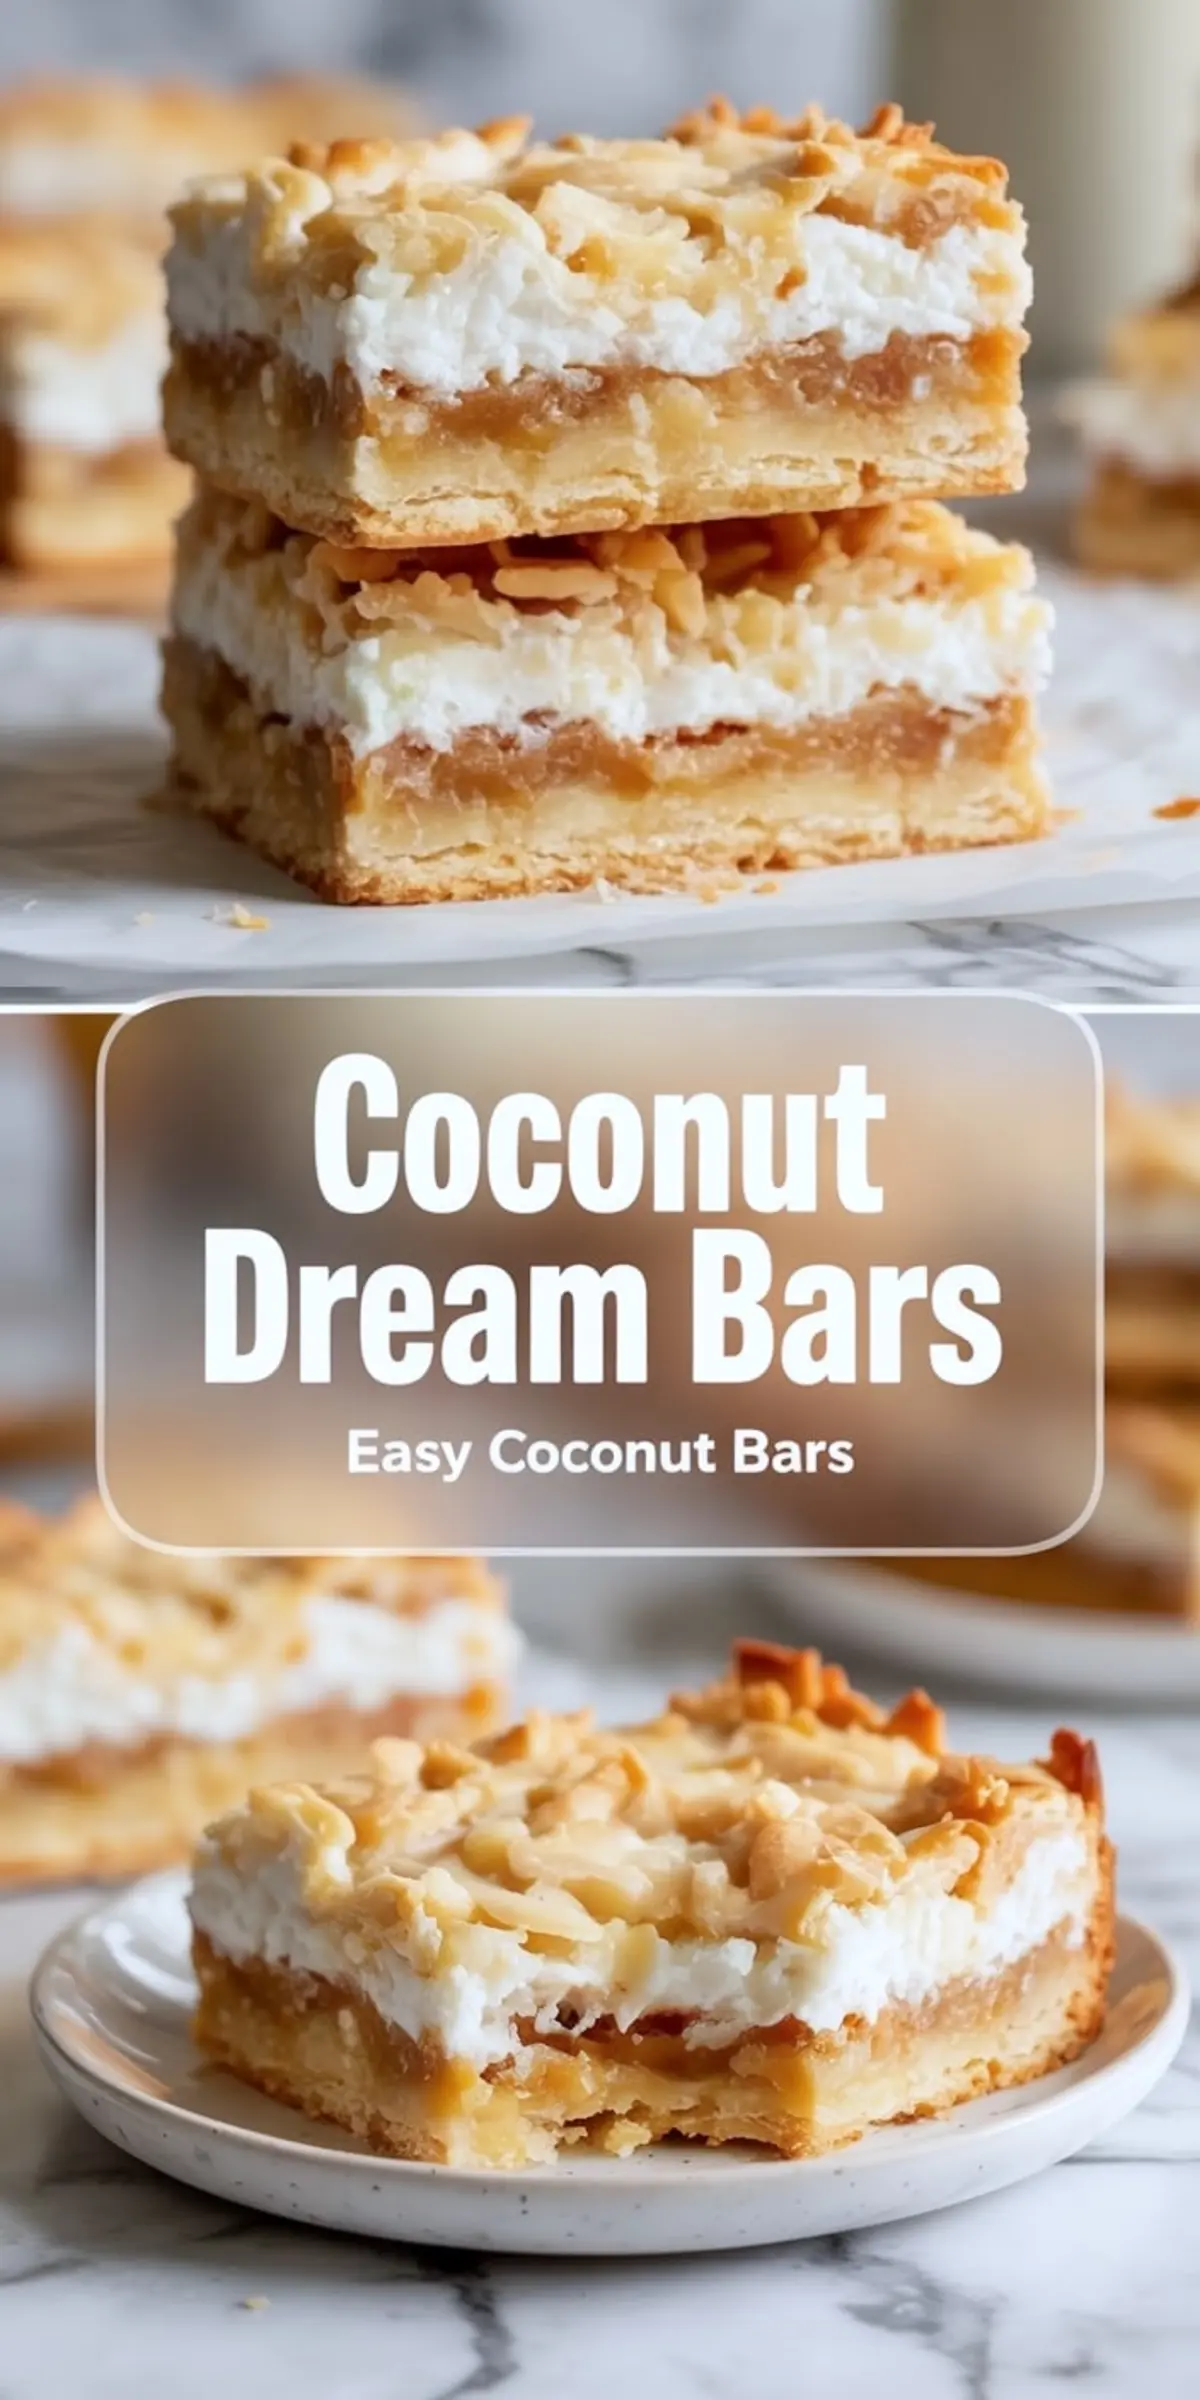
These Coconut Dream Bars layer a shortbread cookie crust, golden brown sugar filling, whipped coconut cream, and toasted shredded coconut. This dream bars recipe with coconut is easy to assemble and delivers the soft, chewy texture people look for in coconut dessert bars. If you enjoy magic cookie bars, dream squares, or coconut bars with creamy centers and crisp edges, this one fits the bill.
Following a special diet?
Every recipe on this site can be converted to gluten-free, vegan, dairy-free, keto, nut-free or egg-free with adjusted ratios so nothing falls flat.
Try the Recipe Converter →The structure starts at the bottom. A soft shortbread-style crust holds the entire dessert together and slices cleanly once chilled. It stays tender without crumbling. That matters more than people think. Bars fall apart without a stable base.
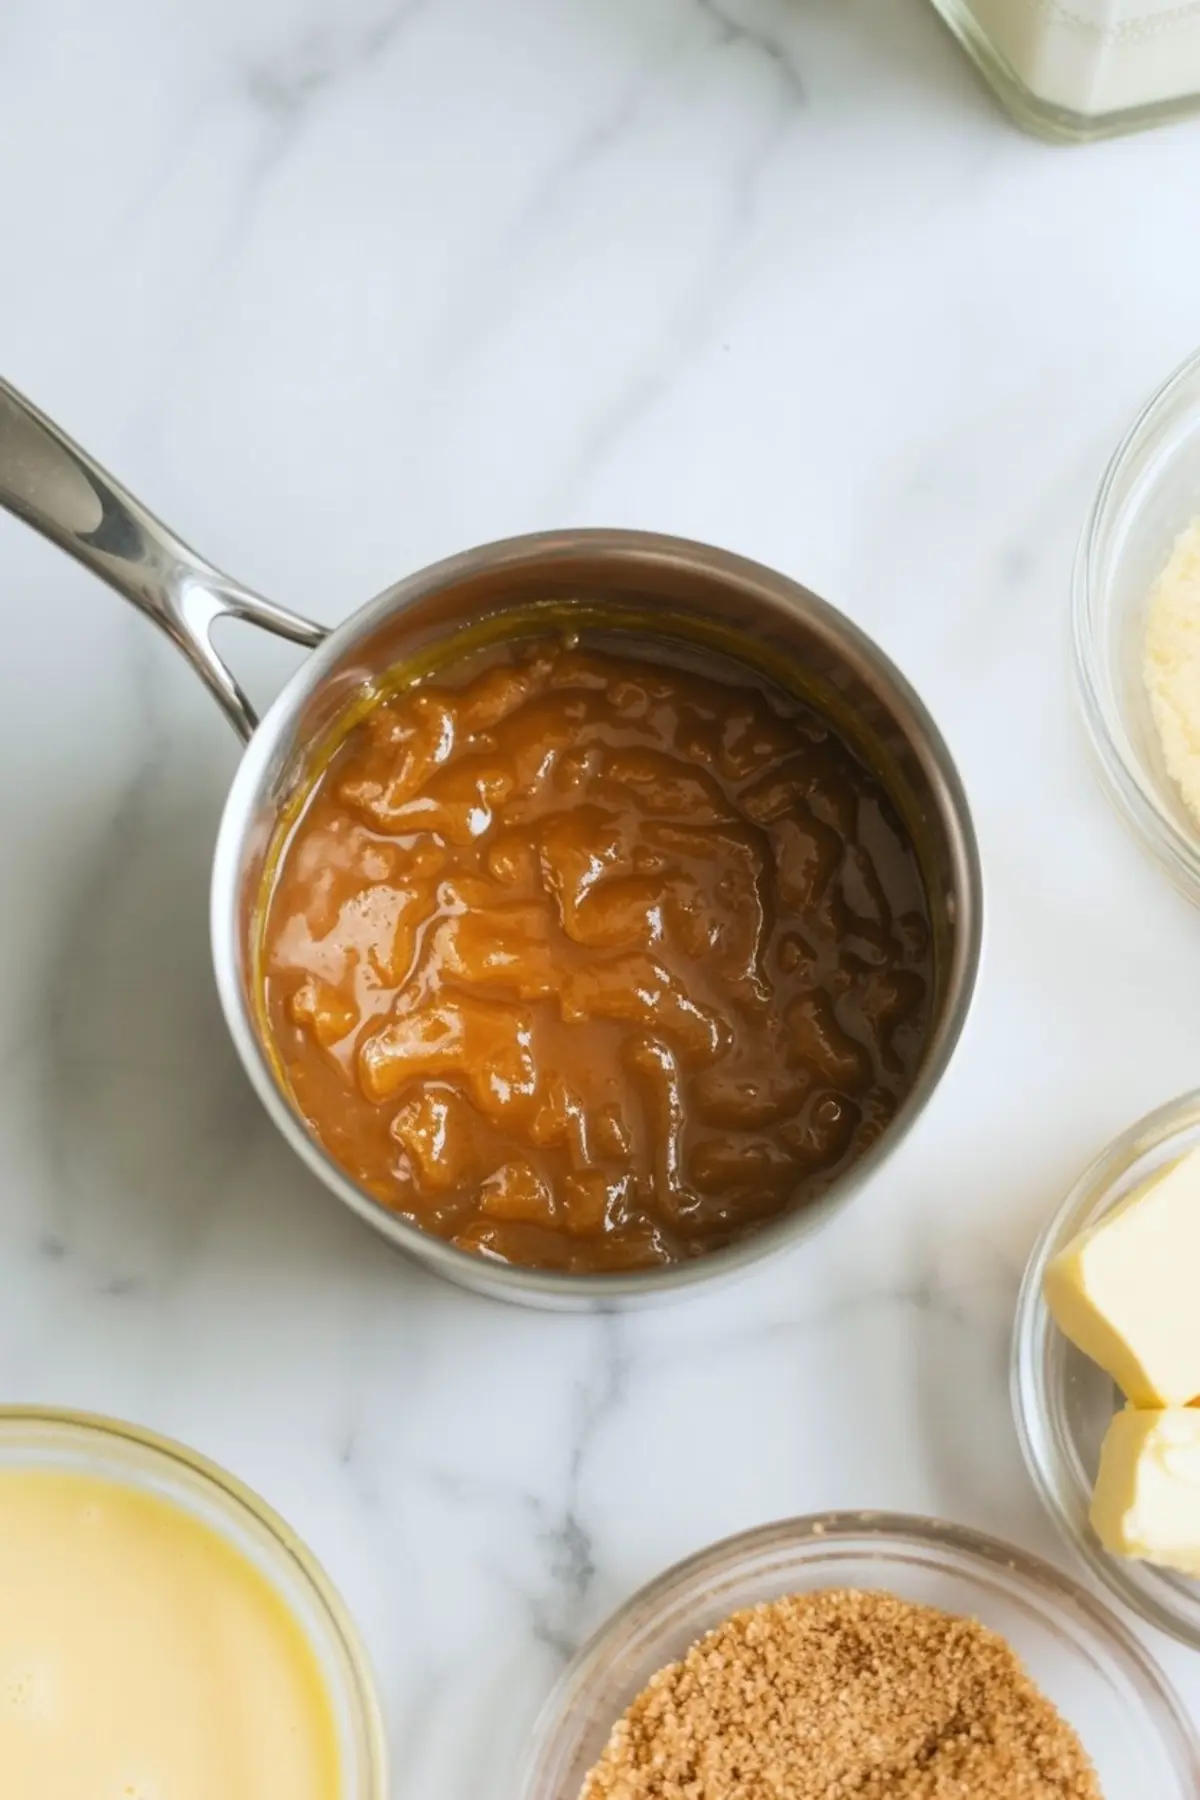
The middle layer thickens just enough on the stove. I use brown sugar and sweetened condensed milk with butter. It pours smoothly and settles as it cools. A second short bake helps lock in that fudgy texture.
What pulls it all together is the whipped coconut cream. That final layer softens the bite and adds height without extra weight. Toasted coconut on top gives crunch, contrast, and flavor. It finishes the bar and makes it stand out on a tray.
Ingredient Choices That Matter
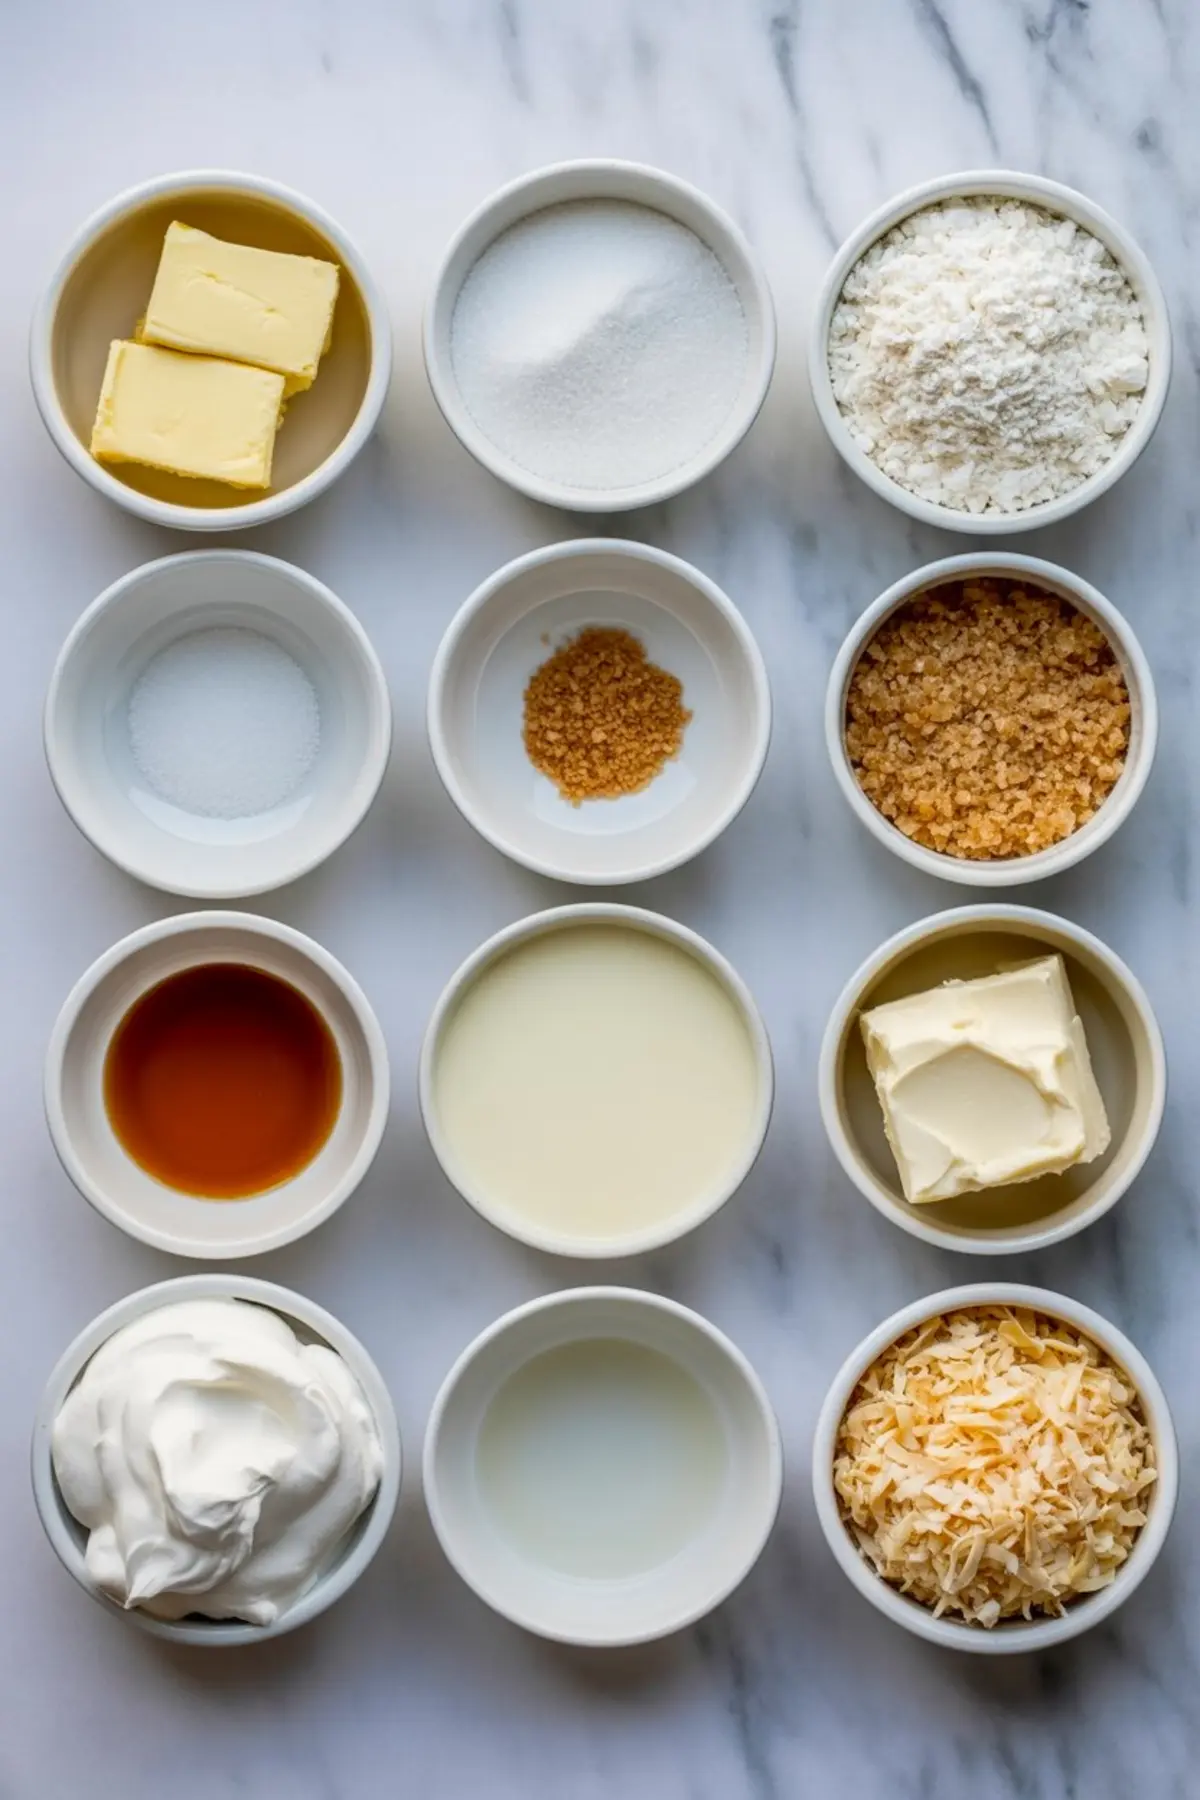
I start with unsalted butter for the crust. It blends easily and gives control over salt levels. Granulated sugar gives just enough crunch and structure, while flour and salt form the dough without making it dry.
In the filling, sweetened condensed milk creates the creamy texture. Brown sugar brings a deeper caramel tone. I add butter for shine and structure, vanilla extract for balance, and just a pinch of salt. It’s a small touch that sharpens the sweetness.
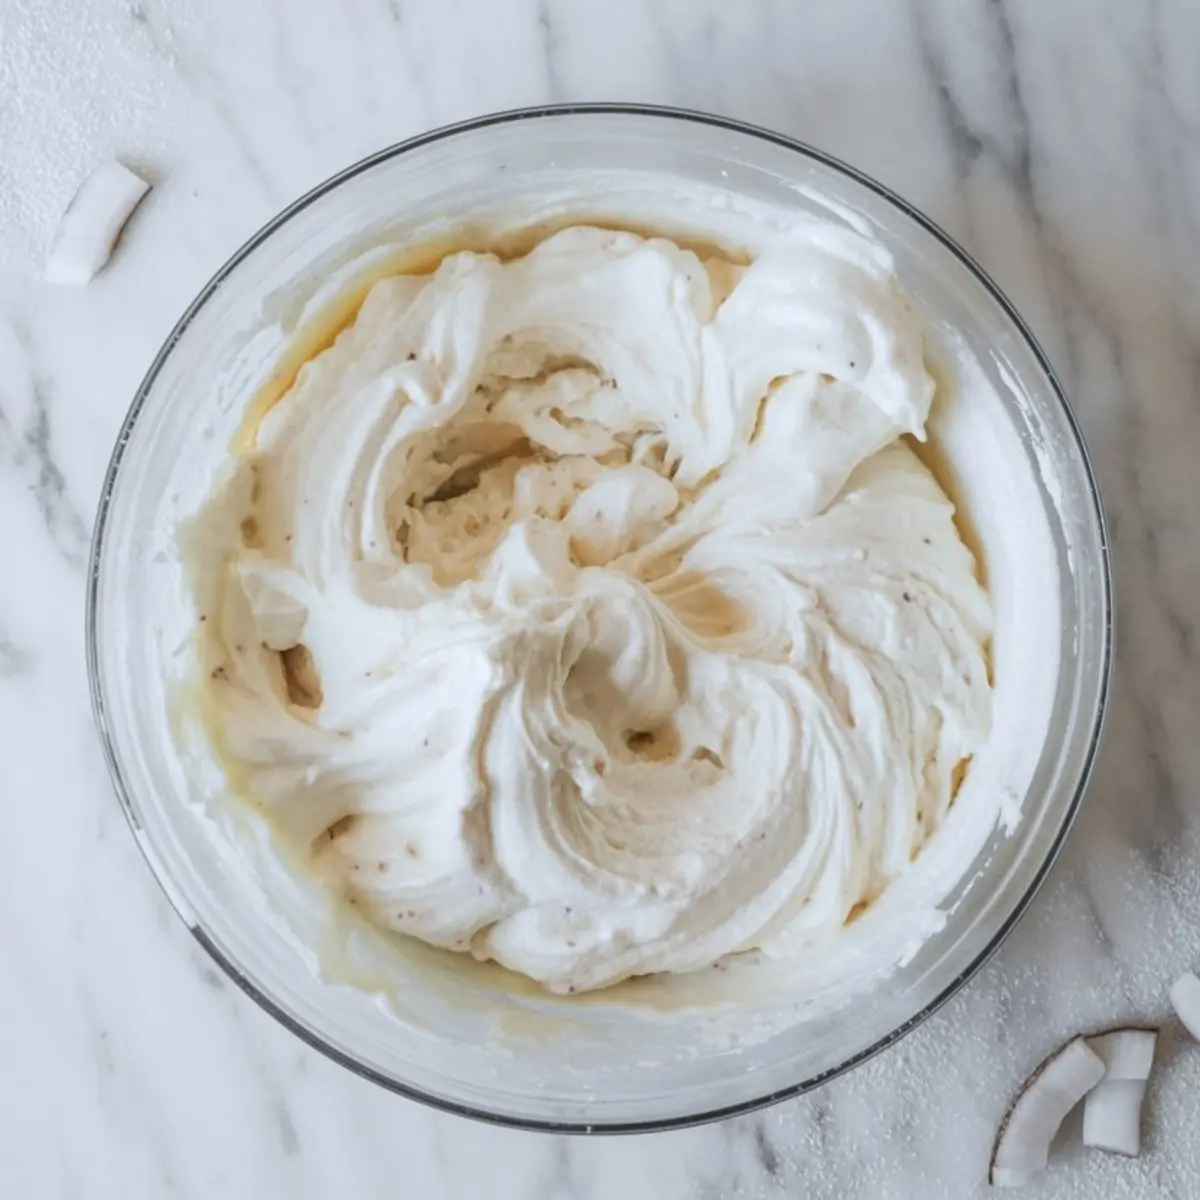
For the cream layer, I rely on softened cream cheese and powdered sugar. Whipped topping adds volume without thinning the texture. Coconut extract is optional, but it builds flavor depth without needing more sugar.
Sweetened shredded coconut works best on top. Toasting it deepens the flavor and gives you a golden, nutty finish. If you love coconut-focused bars with bold flavor, you might also enjoy my Coconut Rum Snow Squares.
A Closer Look at Toasting the Coconut
This step is short but important. Toasting brings out natural oils in the coconut and gives it more color. I use a dry pan over medium-low heat and stir constantly. Once the coconut turns golden and smells fragrant, I pull it off the heat.
It only takes about three minutes, but the change is big. Untoasted coconut looks pale and stays chewy. Toasted coconut adds texture and a slight crispness that holds well over the cream layer. I let it cool before sprinkling to avoid melting the cream.
You can use unsweetened coconut, but the finish will be drier. I prefer sweetened for better structure and color. For another texture-focused option, try these Coconut Toffee Bars. They use similar ingredients but with a crunchy candy-like edge.
Layering Each Step with Timing in Mind
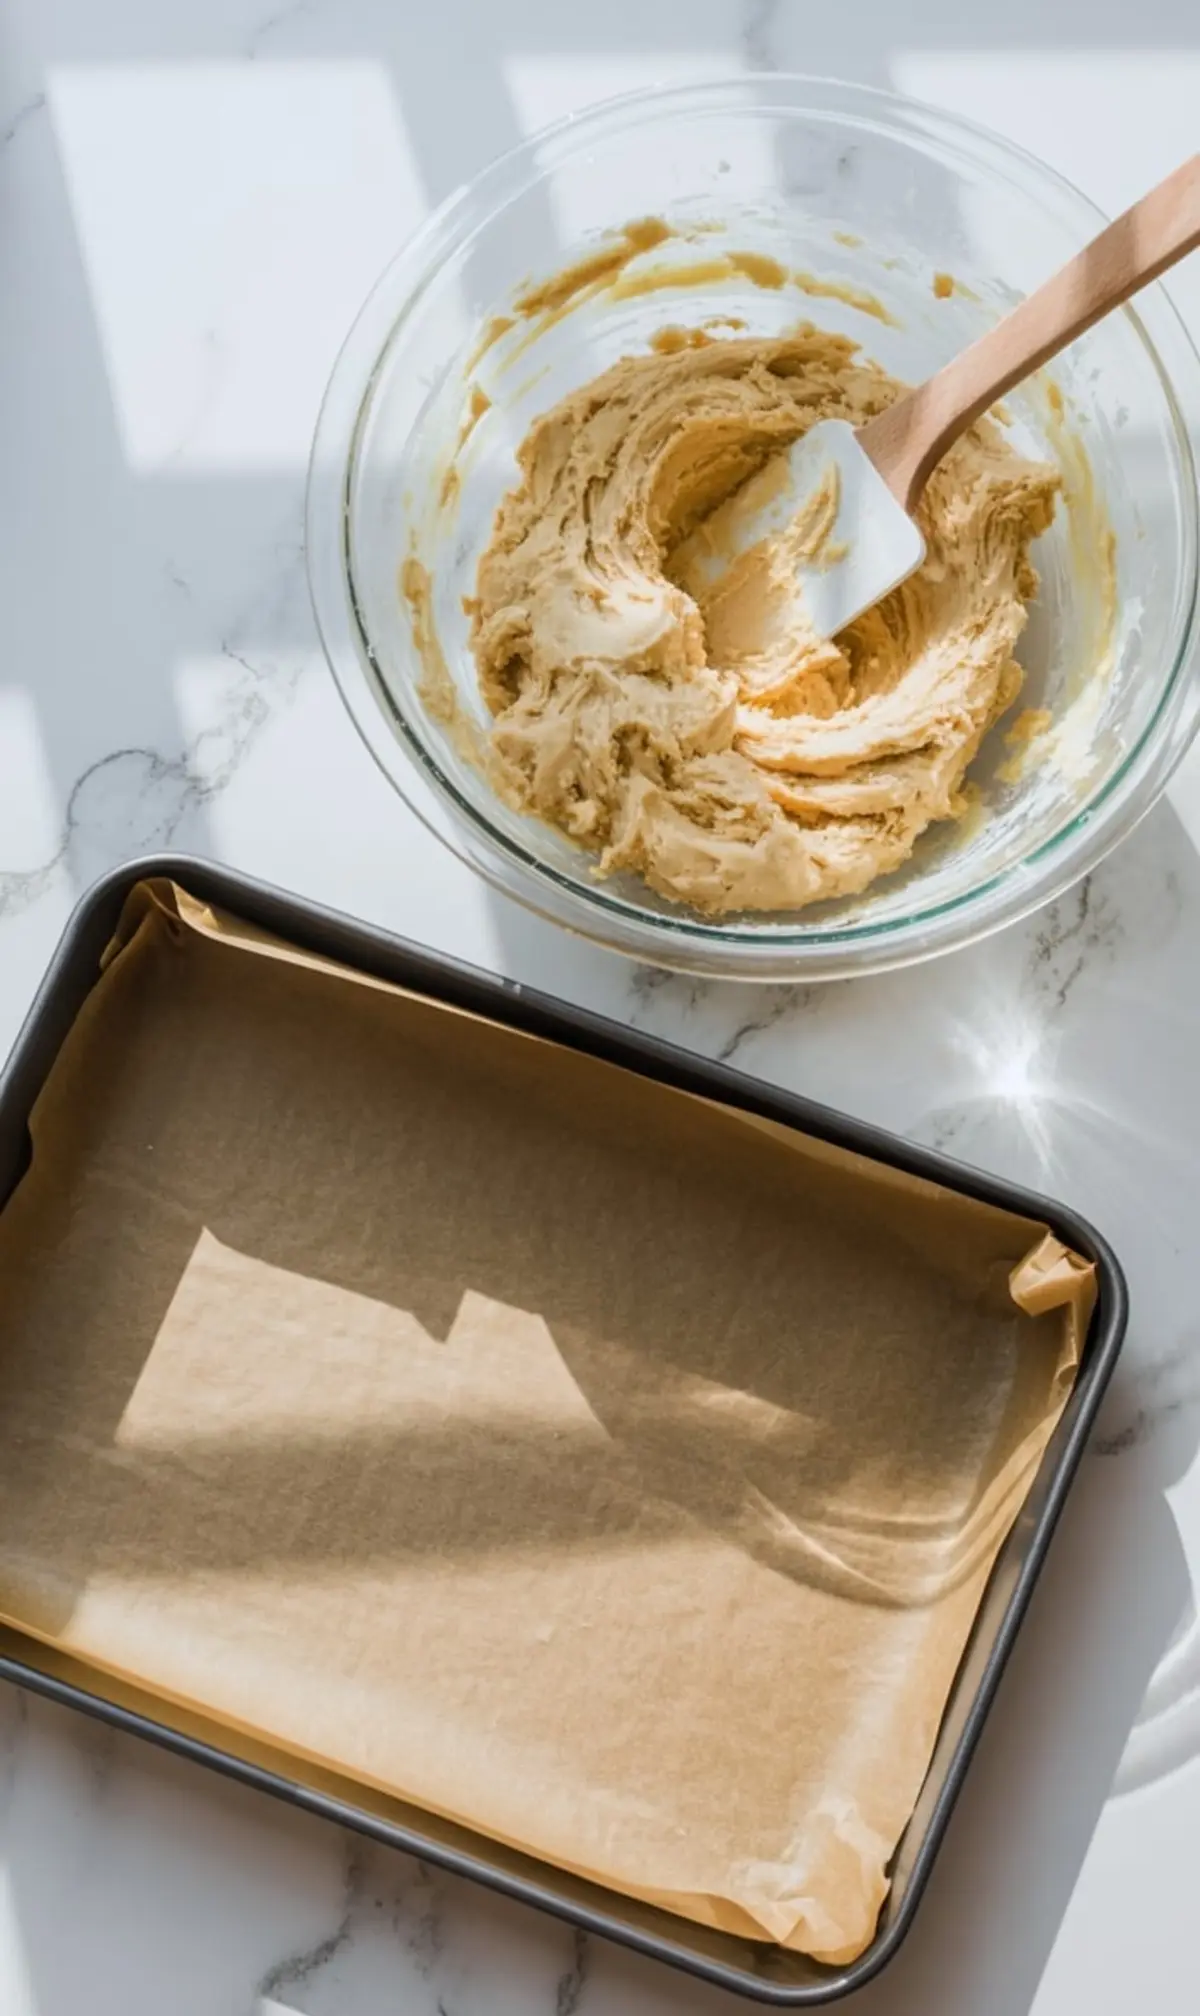
I always press the cookie crust flat using the back of a measuring cup. That keeps it even and helps prevent thin spots that can burn. After baking for about 18 minutes, I let it cool slightly while preparing the filling.
The gooey filling thickens on the stove in 8 to 10 minutes. I stir constantly and avoid boiling. Once it coats the back of a spoon, it’s ready. After pouring it over the base, I return the pan to the oven for a short second bake.
Only when it’s fully cooled do I add the cream layer. It spreads easily and stays neat. I chill the assembled bars for at least four hours. For a fruit-forward variation that chills just as well, try these Easy Cranberry Oatmeal Bars.
How to Know They’re Ready to Slice
You’ll feel the difference in the crust. The edges should be lightly golden and the center firm. The filling layer looks smooth, not glossy, once cooled. The cream layer sets completely after chilling.
If your knife drags through the cream or the squares shift while cutting, the bars likely need more time in the fridge. I usually refrigerate overnight to get clean slices. I wipe the knife between cuts for sharp edges.
Storage Notes and Freezer Tips
These bars keep best cold. Store in an airtight container in the fridge for up to five days. I layer them between parchment sheets to prevent sticking. They also freeze well. Wrap tightly and freeze for up to one month. Thaw in the fridge or leave at room temperature for 15 minutes before serving.
Save This Coconut Bars Recipe and Share Your Take

Pin this Coconut Dream Bars recipe to your board so you can come back to it anytime you need a make-ahead treat with sweet coconut flavor.
Tried it? Made changes? Let me know in the comments below. I read every one, and I always enjoy seeing how you make these recipes your own.
Coconut Dream Bars Recipe

These Coconut Dream Bars are soft, chewy, and loaded with sweet coconut flavor. Made with a buttery base and a golden coconut topping, they’re the kind of dessert that disappears fast at potlucks and gatherings. This easy dream bars recipe with coconut takes just a few pantry staples and delivers maximum flavor in every bite. Great for fans of magic cookie bars, coconut dessert bars, or classic dream squares. A quick and satisfying treat for anyone who loves coconut desserts.
Ingredients
- FOR THE COOKIE CRUST
- 1 cup (2 sticks) unsalted butter, softened
- 1/2 cup granulated sugar
- 2 cups all-purpose flour
- 1/4 tsp salt
- FOR THE GOOEY LAYER
- 1 (14 oz) can sweetened condensed milk
- 1/2 cup brown sugar
- 1/4 cup unsalted butter
- 1 tsp vanilla extract
- Pinch of salt
- FOR THE COCONUT CREAM LAYER
- 1 (8 oz) package cream cheese, softened
- 1/2 cup powdered sugar
- 1 1/2 cups whipped topping (or freshly whipped cream)
- 1 tsp coconut extract (optional, but recommended for flavor)
- FOR THE TOPPING
- 1 1/4 cups sweetened shredded coconut, lightly toasted
Instructions
- PREPARE THE PAN: Preheat the oven to 350°F (175°C) and line a 9x13-inch baking pan with parchment paper, allowing an overhang for easy removal.
- MAKE THE COOKIE CRUST: In a mixing bowl, cream together the softened butter and granulated sugar until light and fluffy. Add flour and salt and mix until a soft dough forms. Press the dough evenly into the bottom of the prepared pan. Bake for 18–20 minutes, or until the edges are lightly golden. Let cool slightly.
- COOK THE GOOEY FILLING: In a saucepan over medium heat, combine sweetened condensed milk, brown sugar, and butter. Stir continuously until the mixture thickens slightly and coats the back of a spoon, about 8–10 minutes. Remove from heat, stir in vanilla extract and a pinch of salt, then pour the filling evenly over the baked crust. Return to the oven and bake for 10 more minutes. Let cool completely.
- MAKE THE COCONUT CREAM LAYER: In a large bowl, beat softened cream cheese until smooth. Add powdered sugar and coconut extract (if using) and beat again until creamy. Fold in the whipped topping gently until the mixture is light and fully combined. Spread this mixture evenly over the cooled filling.
- ADD TOASTED COCONUT: Toast shredded coconut in a dry skillet over medium-low heat, stirring constantly until golden brown and fragrant, about 3–5 minutes. Let cool slightly, then sprinkle evenly over the top of the bars.
- CHILL AND SLICE: Refrigerate the assembled bars for at least 4 hours or overnight until fully set. Once chilled, lift out of the pan using the parchment paper and slice into 16 even squares.
Notes
For cleaner slices, use a sharp knife and wipe it between cuts. Bars can be stored in an airtight container in the refrigerator for up to 5 days.
Nutrition Information
Yield
16Serving Size
1Amount Per Serving Calories 528Total Fat 28gSaturated Fat 21gUnsaturated Fat 8gCholesterol 44mgSodium 111mgCarbohydrates 64gFiber 3gSugar 37gProtein 5g