Stovetop Apple Dessert with Brown Sugar Sauce, Ready in Minutes
You can tell a good cinnamon apple recipe by the scent alone. Butter. Brown sugar. Spice. Once it starts simmering, it feels like a small celebration in your kitchen. This stovetop cinnamon apples recipe gives you all that comfort without fuss, no pastry dough, no oven time, no long prep.
You’ll get tender apples, kissed with cinnamon and lightly sweetened, in under 30 minutes. It’s the kind of recipe that works with what’s already in your pantry. And yet, the result feels special comforting enough for Sunday mornings, simple enough for weeknights, good enough for guests.
This isn’t just a topping for pancakes or oatmeal. These warm cinnamon apples can stand alone as a proper apple cinnamon dessert. I make them when I have just a few apples left in the fruit bowl and a quiet moment to fill the kitchen with warmth.
Following a special diet?
Every recipe on this site can be converted to gluten-free, vegan, dairy-free, keto, nut-free or egg-free with adjusted ratios so nothing falls flat.
Try the Recipe Converter →What You’ll Learn From This Recipe
You’ll learn how to cook apples on the stovetop so they stay soft without going soggy. You’ll get a sauce that’s rich but light, thick but spoonable, thanks to a few small tricks. You’ll also walk away with a flexible fall dessert base you can use in more ways than one.
In my own kitchen, I’ve used this base recipe for topping ice cream, stuffing into puff pastry, and pairing with thick Greek yogurt. The cinnamon sugar ratio is balanced. Not overwhelming, just gently warming.
Choosing the Right Apples for Stovetop Cinnamon Apples
Firm, sweet apples like Honeycrisp or Fuji give the best texture. They soften without breaking down too fast. Gala is sweeter and softer, good if you want a more tender result. In my tests, Granny Smith was a bit too tart here unless you increase the sugar, and Red Delicious turned mushy, avoid those.
If you plan to use these in something like apple turnovers with puff pastry, go with Honeycrisp. They’ll hold their shape well through reheating and layering.
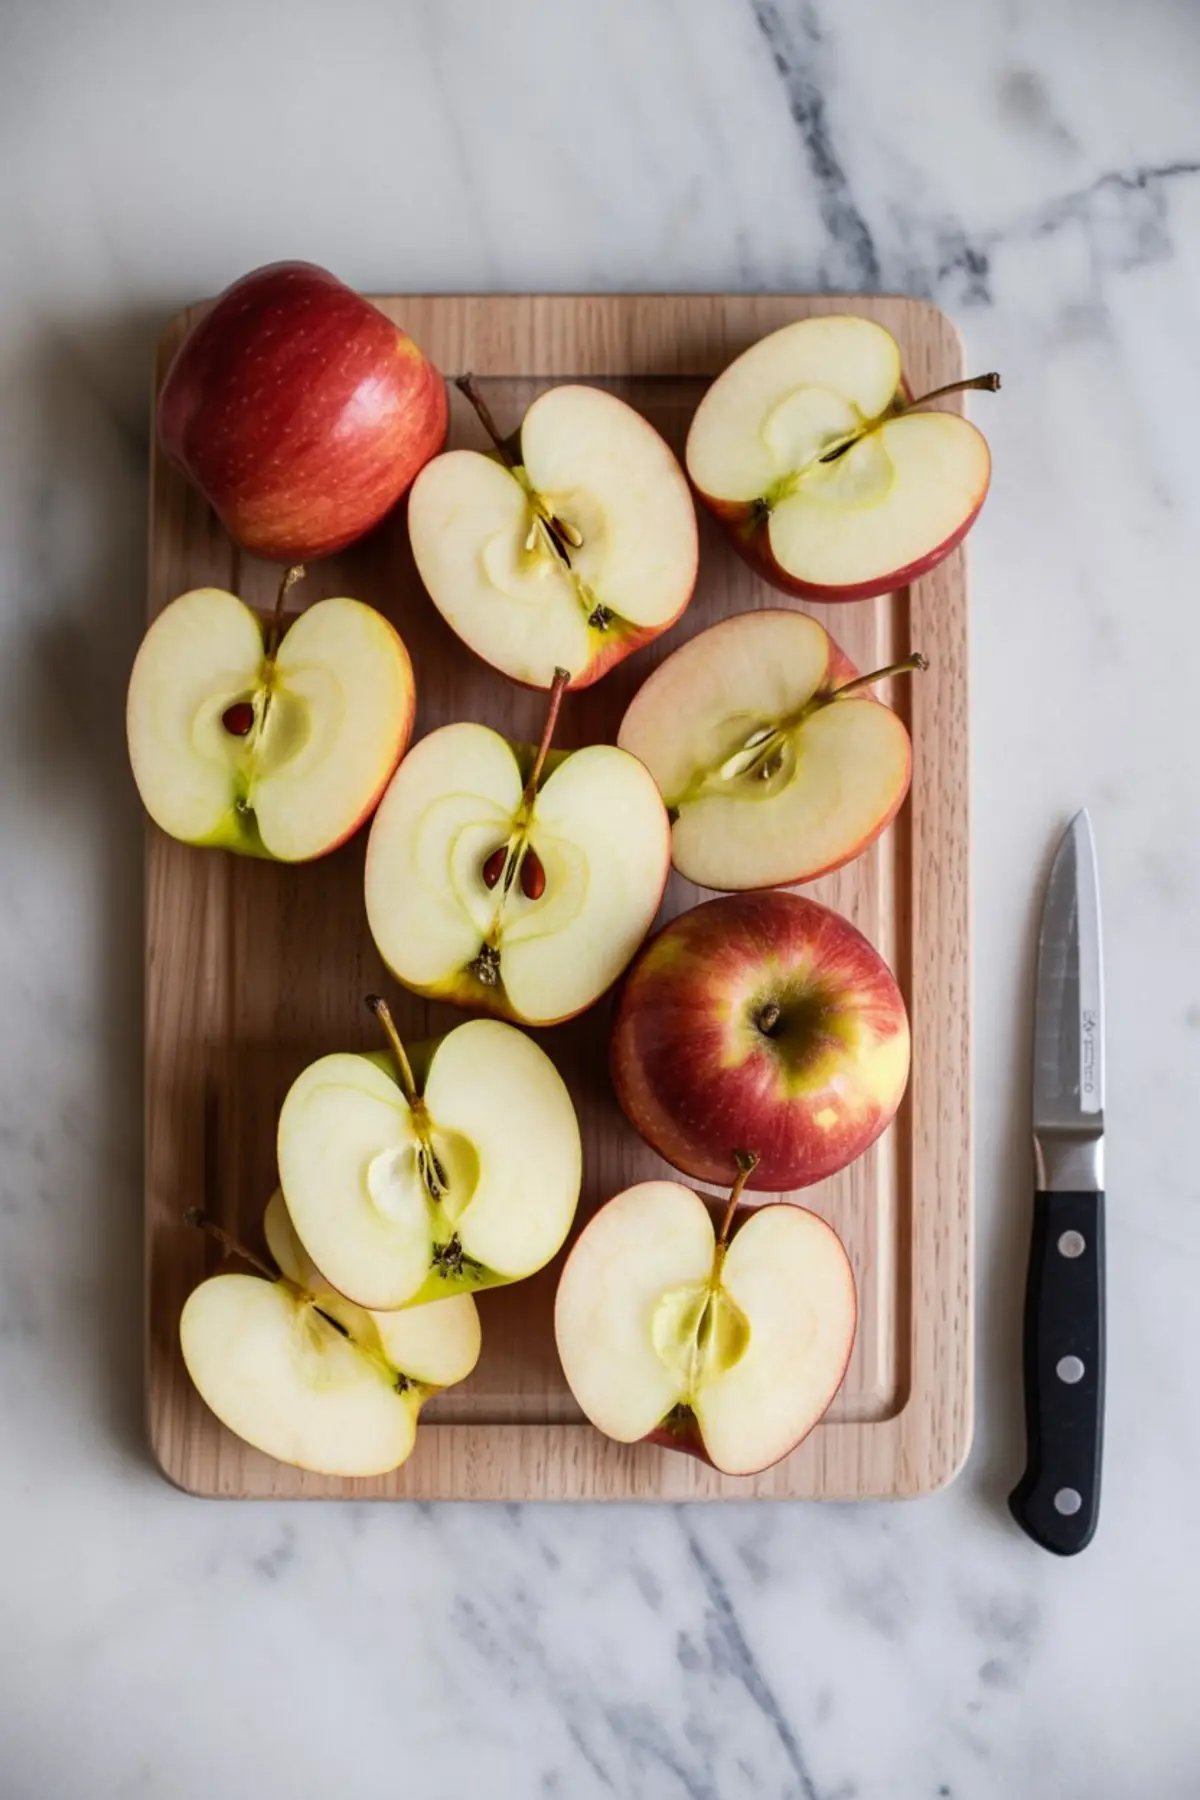
You can peel them, but I don’t. The skin gives the dish a bit of bite, which I like. It also adds visual interest—those rosy edges curling just slightly in the pan.
Making the Cinnamon Sauce
Start by melting butter until it foams gently. The moment it bubbles, add your brown sugar, cinnamon, nutmeg, and a pinch of salt. The salt may seem small, but it’s essential. It sharpens the sweetness and rounds everything out.
The brown sugar should melt fully before you add the apples. You’ll know it’s ready when it looks glossy and smells like the inside of a warm bakery.
I’ve tried both light and dark brown sugar. Light brown gives a softer flavor, more mellow and balanced. Dark brown brings a richer molasses tone. If I’m making these as a side for pork, I lean dark. For dessert, I stick with light.
Simmering Apples to the Right Texture
Once you add the apple slices, toss them gently but thoroughly. They should all be coated before you pour in the water or apple cider.
Apple cider adds depth and a subtle tang that water can’t match. If you have it, use it. If not, don’t worry. Water still lets the cinnamon and butter shine.
Cover the skillet and let the apples simmer until fork-tender but still structured. Stir once or twice so they cook evenly. Avoid over-stirring, or you’ll break them up.
Optional Step: Thicken the Sauce for Extra Richness
If you prefer a thicker finish like a proper glaze add a cornstarch slurry in the last few minutes. Just a teaspoon of cornstarch stirred into a tablespoon of cold water will do. Pour it in and stir gently until the sauce clings to the apples.
This step matters more if you plan to use the apples in something like these Apple Pie Cheesecake Bars, where the texture needs structure.
Final Touches That Make a Difference
Always stir in the vanilla after the skillet comes off the heat. Heat dulls it. Adding it last keeps the flavor sharp and clean. Then, let the apples rest in the pan for two minutes. This resting time allows the sauce to settle and coat every slice evenly.
I like to test one slice at this stage, it’s the baker’s privilege. You’ll know it’s done when the apple has give but doesn’t fall apart.
If you’re craving more apple treats, try my Apple Turnovers With Puff Pastry next.
Serving Ideas for Warm Cinnamon Apples

You can spoon these over vanilla ice cream, tuck them into warm crepes, or serve them alongside roasted meats. They also work well as a filling in simple pies.
On slow mornings, I’ve used leftovers over pancakes or swirled into oatmeal. The flavor deepens overnight. If you enjoy fall breakfasts, this pairs beautifully with Apple Pie Cookies or a warm slice of banana bread.
For a more showstopping option, layer the apples into mini mason jars with whipped cream and crushed biscuits. It looks impressive but comes together in minutes.
Storing Leftovers and Reheating
Cool completely before transferring to an airtight container. Store in the fridge for up to four days. To reheat, use a skillet over low heat or microwave in short bursts.
Avoid reheating too quickly. The sauce will break and separate if rushed. Low and slow keeps everything glossy and smooth.
Planning ahead for fall gatherings? These can be made the day before and gently rewarmed, just like I do when prepping my Gourmet Caramel Apples.
Why I Come Back to This Apple Cinnamon Dessert Again and Again
I make a lot of desserts, but few feel this dependable. This stovetop cinnamon apples recipe doesn’t ask much. No oven. No baking skills. Just good apples, butter, sugar, and a watchful eye.
It’s easy, yes. But it’s also satisfying. The smell fills the kitchen. The flavor lingers longer than expected. And the leftovers? Even better the next day.
I’ve written this one into my notes so many times I’ve stopped writing it altogether I just remember it. If you make it once, you’ll likely do the same.
Save This for Later and Join the Conversation
📌 Save this stovetop cinnamon apples recipe to your Pinterest boards so you can find it every fall.
I’d love to hear how you served it. Share your tips or questions in the comments below. Do you use cider or water? Did you add extra spice? Let’s make this a place where fall desserts feel shared and supported.
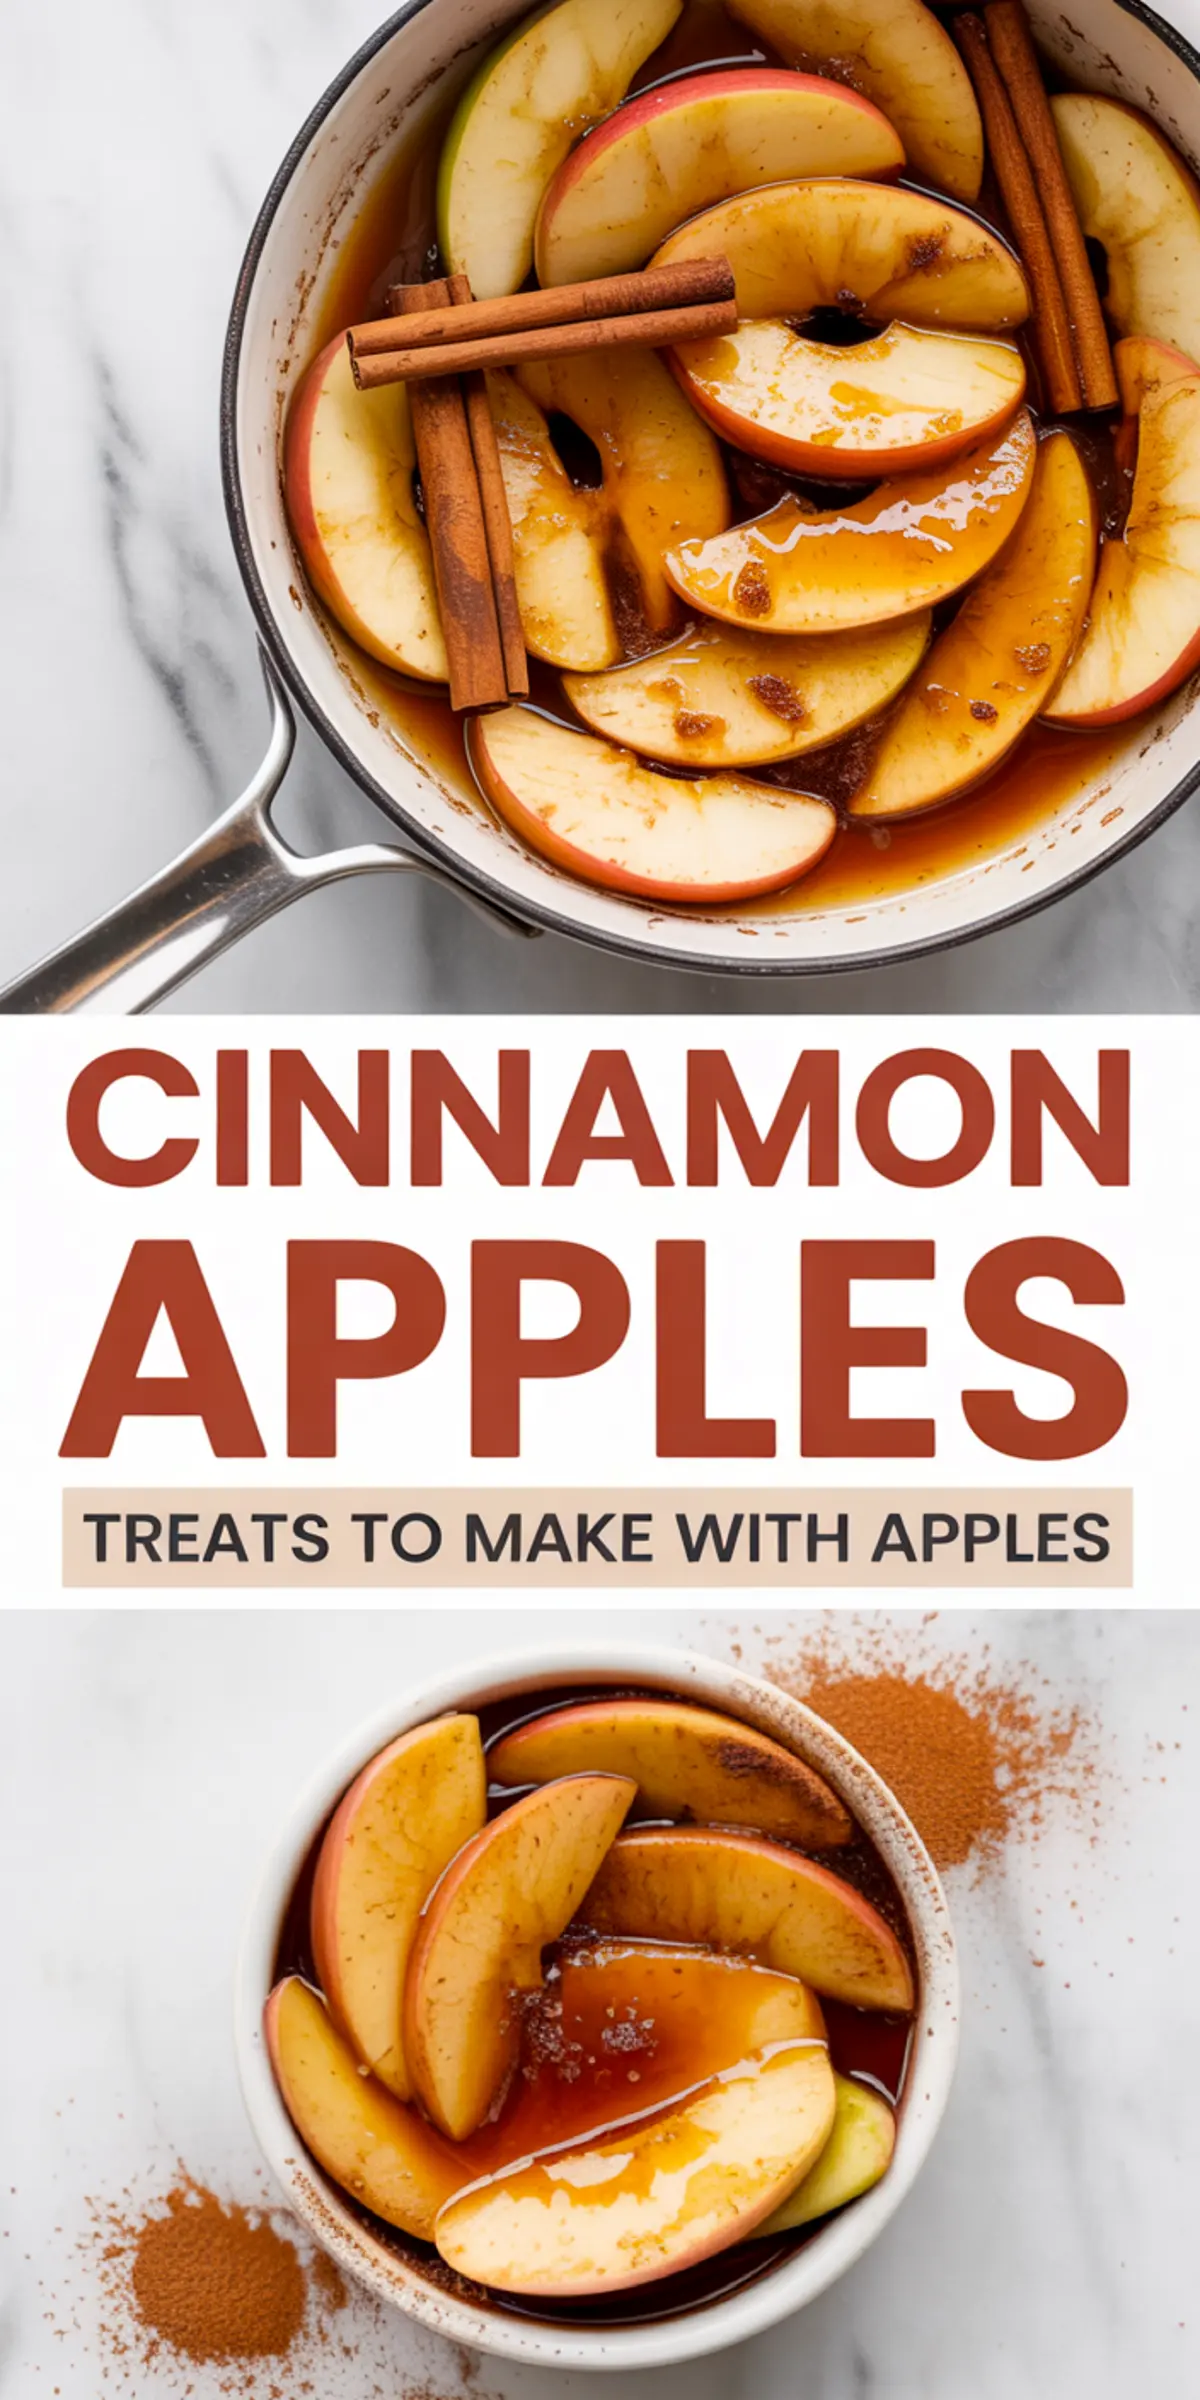
Cinnamon Apples Recipe

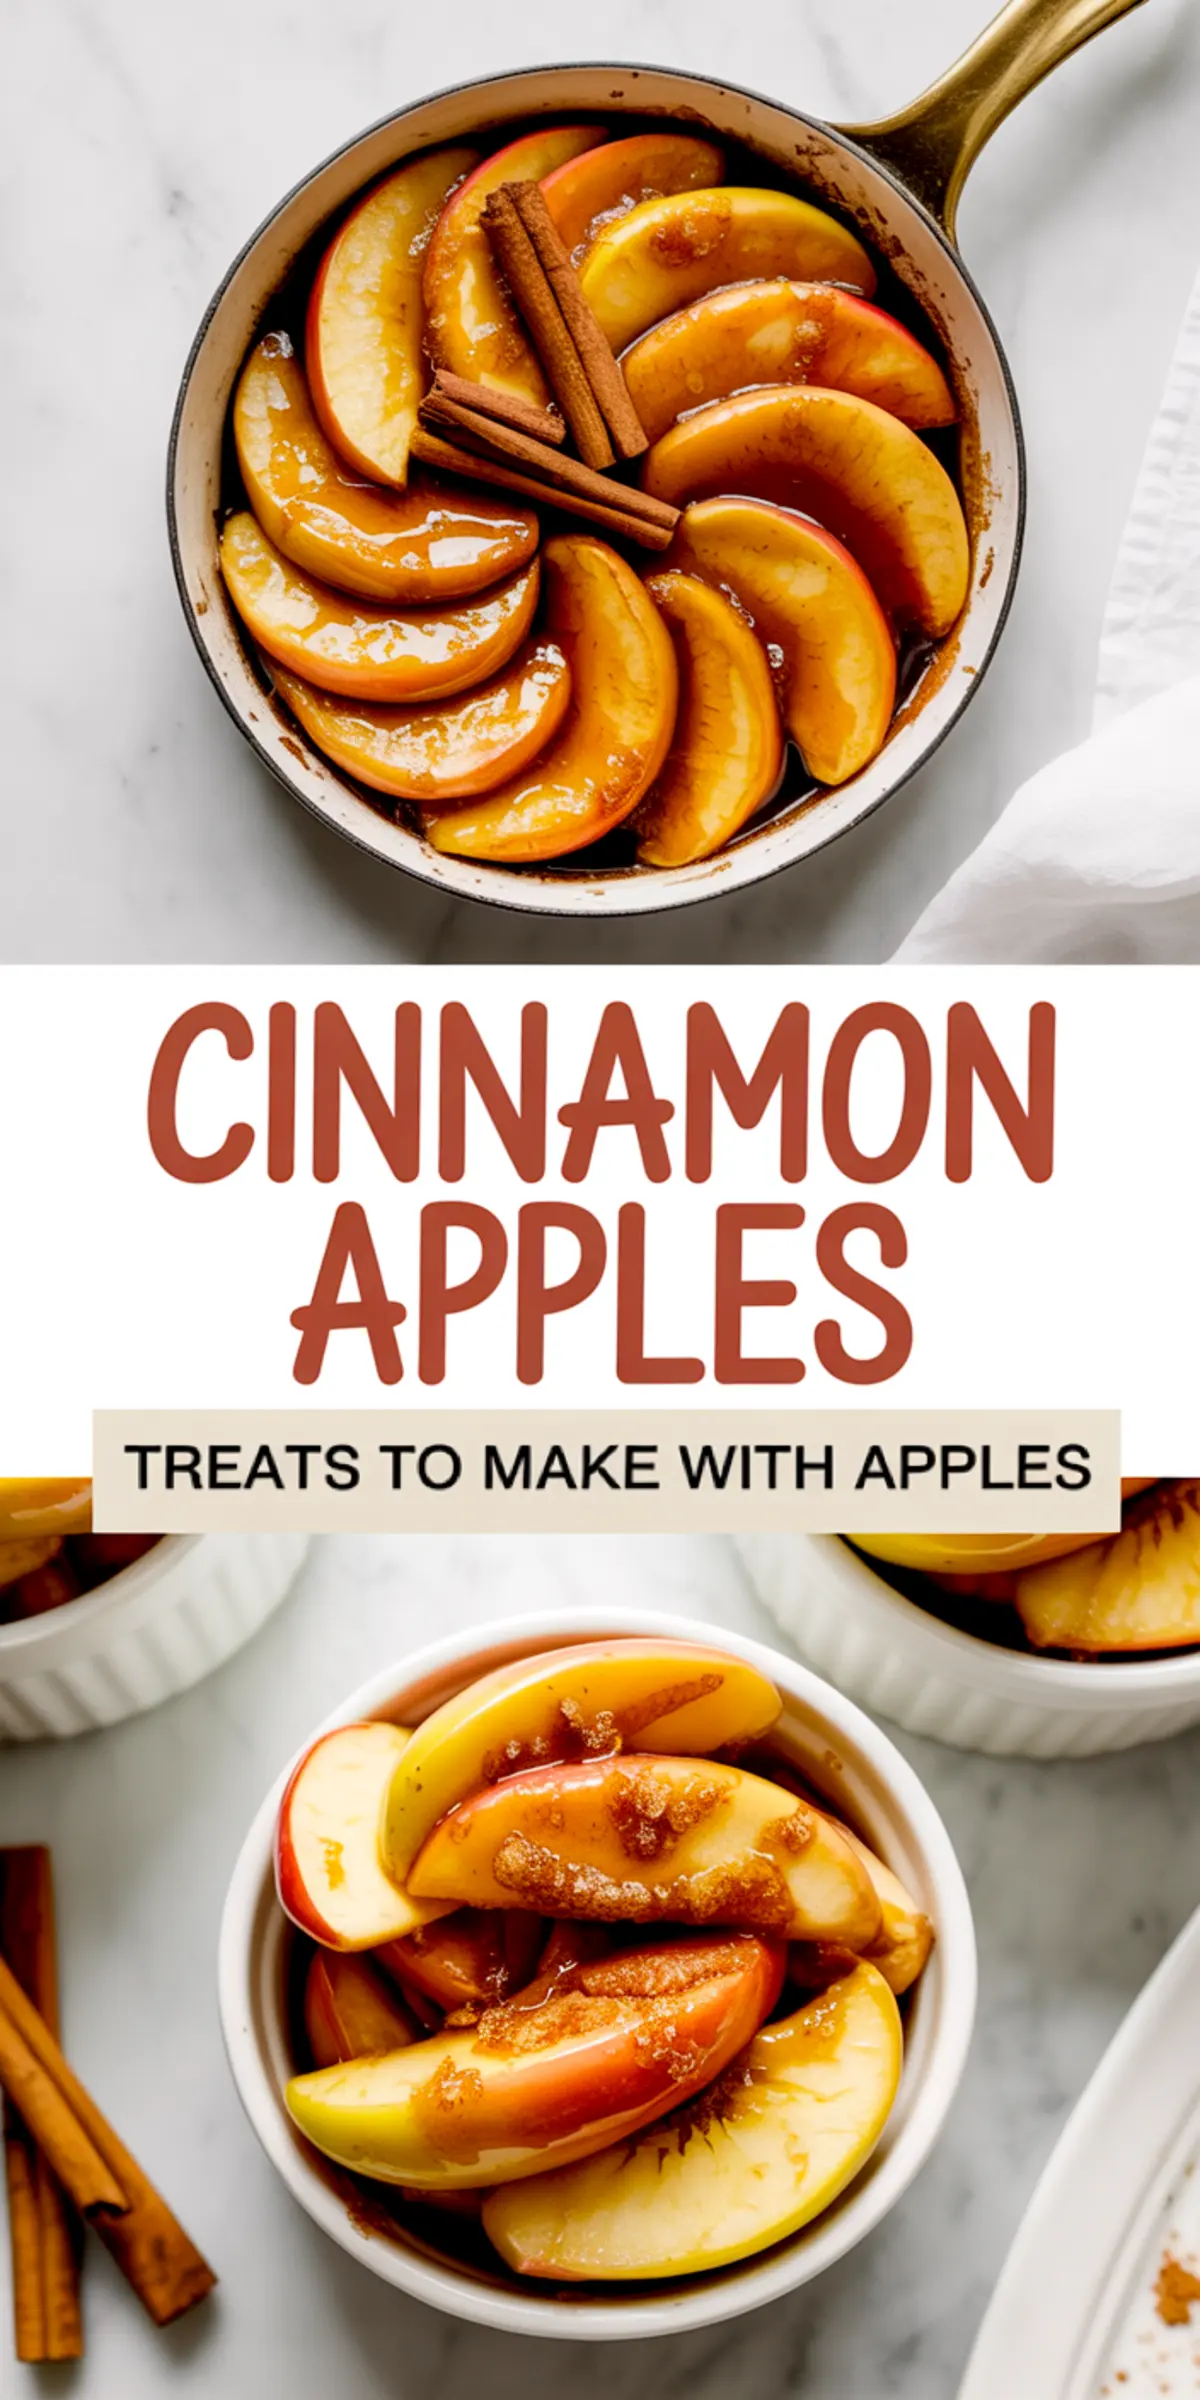
Cinnamon apples are a quick stovetop dish made with fresh apples cooked in a buttery brown sugar and cinnamon sauce. The apples turn soft and flavorful with just enough sweetness to serve as a topping for pancakes, oatmeal, or ice cream—or as a simple side dish. This easy recipe comes together in one pan with basic ingredients and is ready in under 30 minutes.
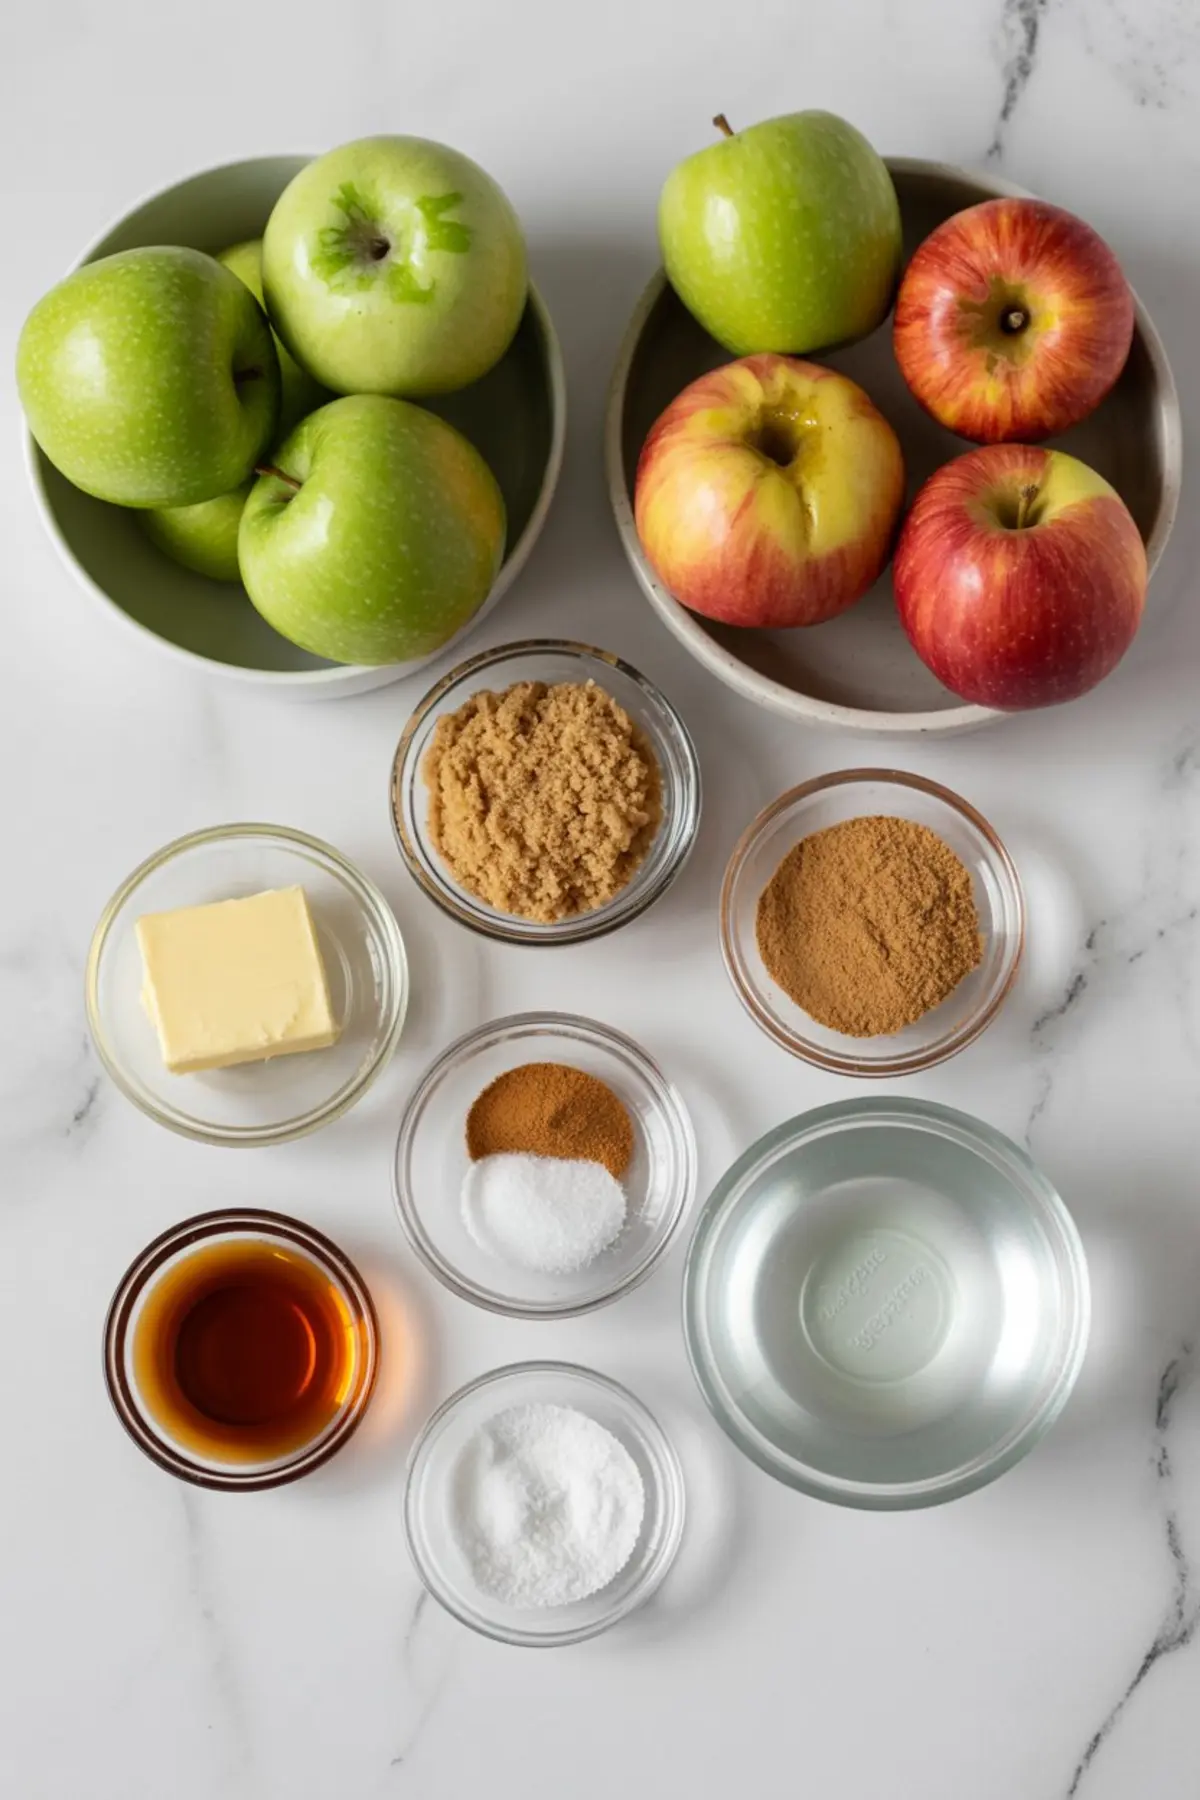
Ingredients
- 4 medium apples (Honeycrisp, Gala, or Fuji)
- 2 tablespoons butter
- 1/4 cup brown sugar
- 1 teaspoon ground cinnamon
- 1/4 teaspoon nutmeg (optional)
- 1/4 teaspoon salt
- 1/2 teaspoon vanilla extract
- 2 tablespoons water or apple cider
- 1 teaspoon cornstarch (optional)
Instructions
- PREPARE THE APPLES: Wash, core, and slice the apples into 1/4-inch thick wedges. Leave the peel on for added texture and color, or peel them if preferred.
- MELT THE BUTTER: In a large skillet over medium heat, melt the butter until it begins to bubble slightly but does not brown.
- ADD SUGAR AND SPICES: Stir in the brown sugar, cinnamon, nutmeg, and salt. Cook for about 1 minute, stirring continuously, until the mixture is smooth and fragrant.
- ADD THE APPLES: Place the apple slices into the skillet and toss well to coat them evenly in the sauce.
- SIMMER AND SOFTEN: Pour in the water or apple cider. Reduce heat to medium-low, cover the skillet, and simmer for 8 to 10 minutes, stirring occasionally, until the apples are tender but still hold their shape.
- THICKEN (OPTIONAL): If a thicker sauce is desired, mix the cornstarch with 1 tablespoon of water to create a slurry. Stir it into the skillet and cook uncovered for 2 to 3 more minutes, stirring until the sauce thickens.
- FINISH WITH VANILLA: Remove the skillet from heat and stir in the vanilla extract. Let the apples rest for 2 minutes before serving to allow the flavors to combine fully.
Notes
For best results, use firm apples that hold their shape during cooking. Apple cider adds a deeper flavor than water but both work well. Leftovers can be stored in an airtight container in the refrigerator for up to 4 days. Reheat gently on the stovetop or in the microwave.
Nutrition Information
Yield
4Serving Size
1Amount Per Serving Calories 224Total Fat 6gSaturated Fat 4gTrans Fat 0gUnsaturated Fat 2gCholesterol 15mgSodium 186mgCarbohydrates 45gFiber 5gSugar 36gProtein 1g