
There are cakes that demand a spotlight, and then there are cakes like this one. Quiet, steady, and deeply satisfying.
This date and walnut cake doesn’t shout. It simply waits on the counter—cooling, softening, becoming richer by the hour.
You’ll learn how to make a soft loaf with a tender crumb, one that slices cleanly and stores beautifully.
You’ll get answers on how baking with dates changes texture, how toasted walnuts affect the bite, and how this loaf improves with rest.
I’ve made many walnut desserts over the years. Some too sweet. Some too dry. This one stays just right, even after two days especially after two days.
Following a special diet?
Every recipe on this site can be converted to gluten-free, vegan, dairy-free, keto, nut-free or egg-free with adjusted ratios so nothing falls flat.
Try the Recipe Converter →That’s the strength of this recipe. It keeps. It deepens. And it gives you confidence to bake for both quiet mornings and guests who stay longer than expected.
This is baking with dates at its most practical.
Preparing the Dates for Texture and Depth
Why soaking matters in moist date cake recipes
Dates do more than sweeten. They carry weight.
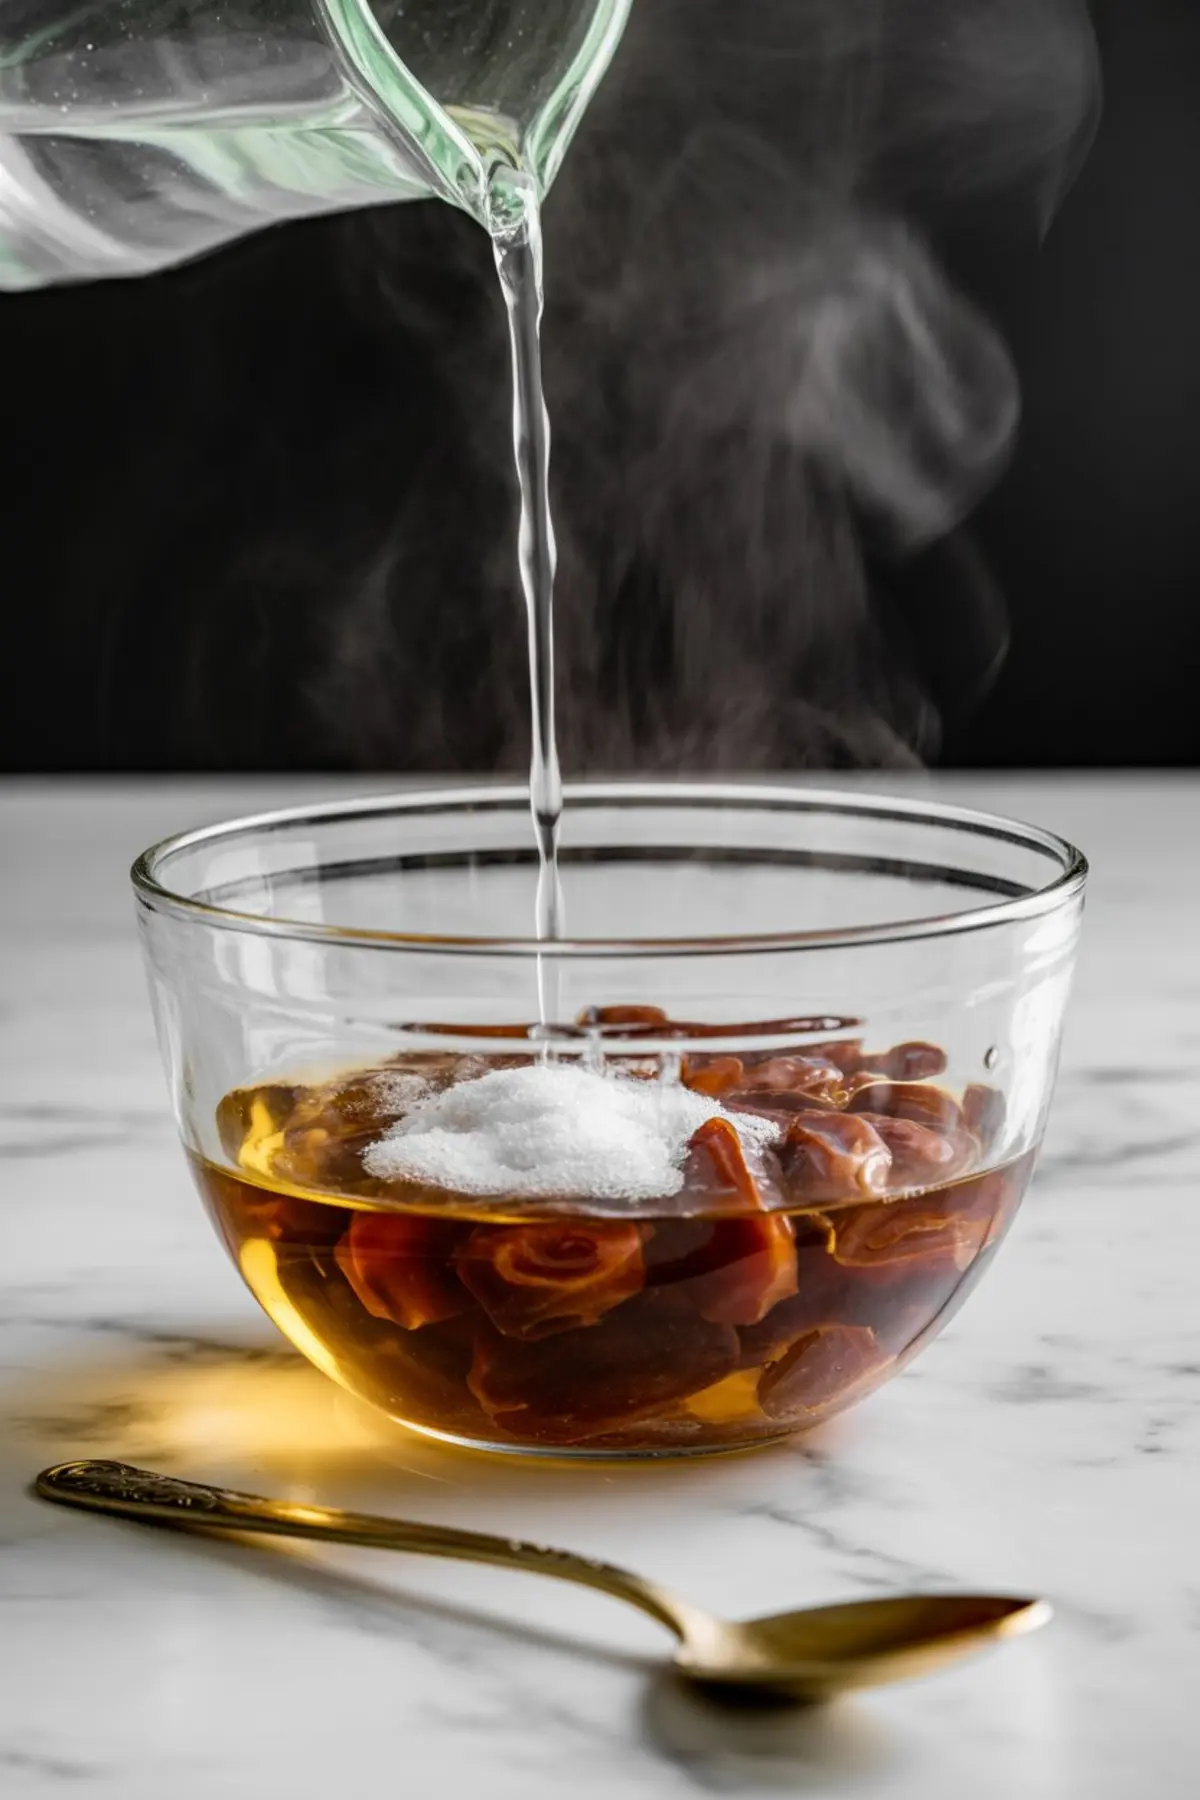
But chopped dates on their own can stay tough or chewy in a batter. Soaking them in boiling water with baking soda softens the fibers and loosens the sugars. You get a silky, sticky mixture that doesn’t clump or sink.
That step also thickens the liquid just enough to coat the crumb without turning the loaf soggy.
I always start with Medjool dates if I have them, though any soft pitted variety works well.
If you’re experimenting with recipes using dates, this soaking method works in banana bread, muffins, and even my Date Caramel Made Easy.
Choosing and Toasting the Walnuts
How toasted nuts add contrast in date walnut cake
I’ve used both raw and toasted nuts for this date and nut cake, and I always return to toasted.
Raw walnuts stay soft, even greasy. Toasted ones? They snap. They leave a trace of smoke and bitterness that balances the sweet softness of the dates.
You only need a few minutes in a dry pan. Stir them over medium heat until they smell like warm wood.
Add them last, after folding in the flour, so they don’t get broken down. That structure makes a difference in each slice.
If you’re exploring other walnut-forward recipes, this one echoes the balance in my Butterscotch Crunch Cake, which also uses toasted nuts to sharpen the sweetness.
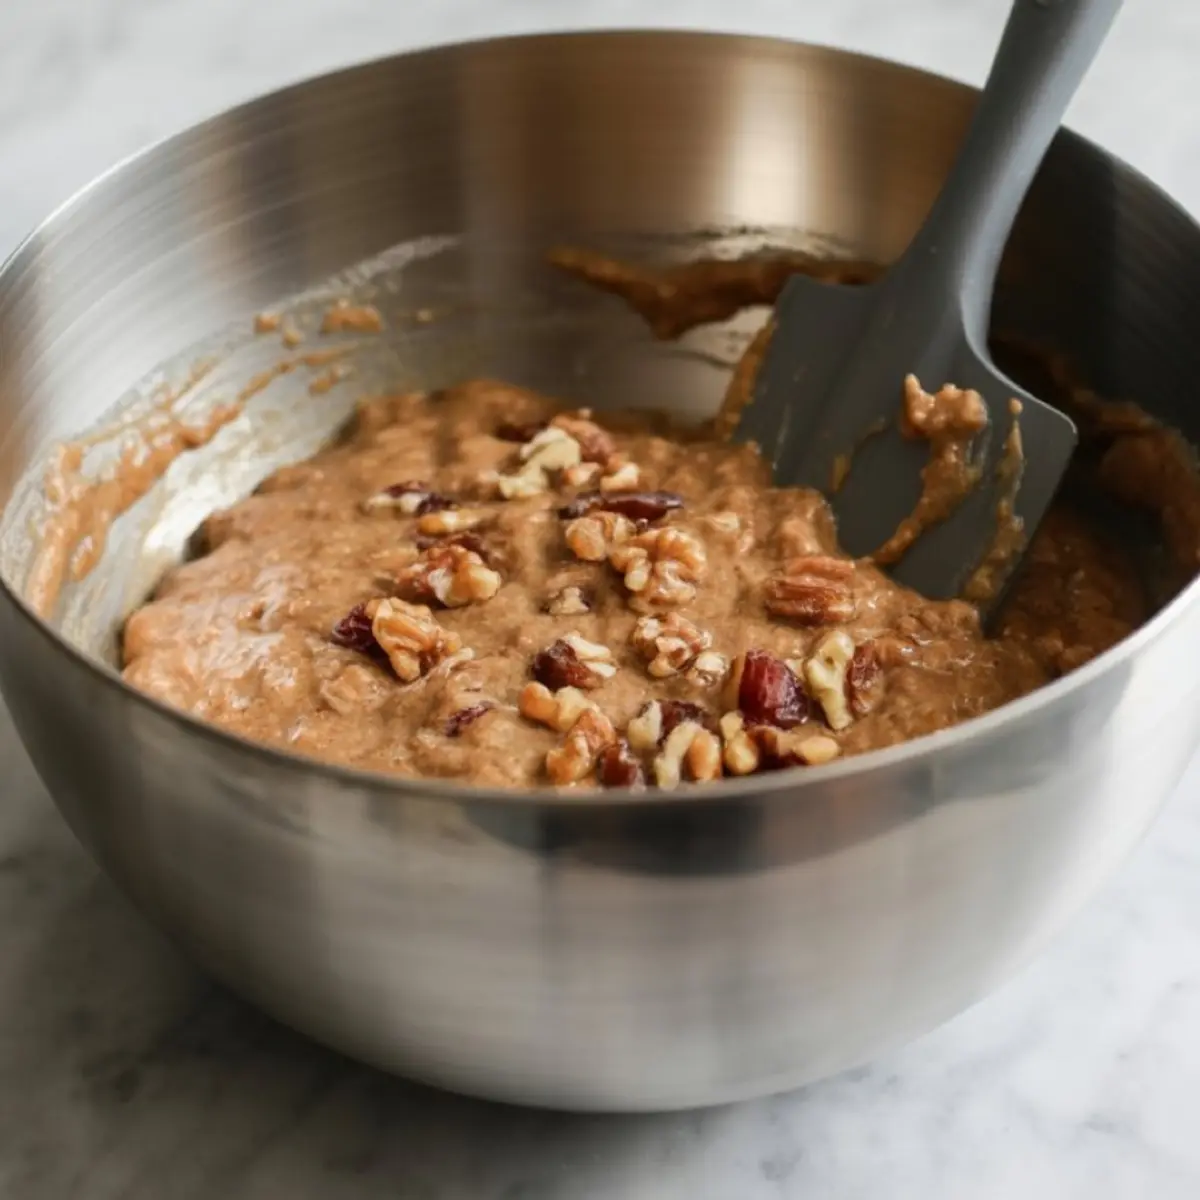
Mixing the Batter by Hand
No mixer needed. Just rhythm and rest.
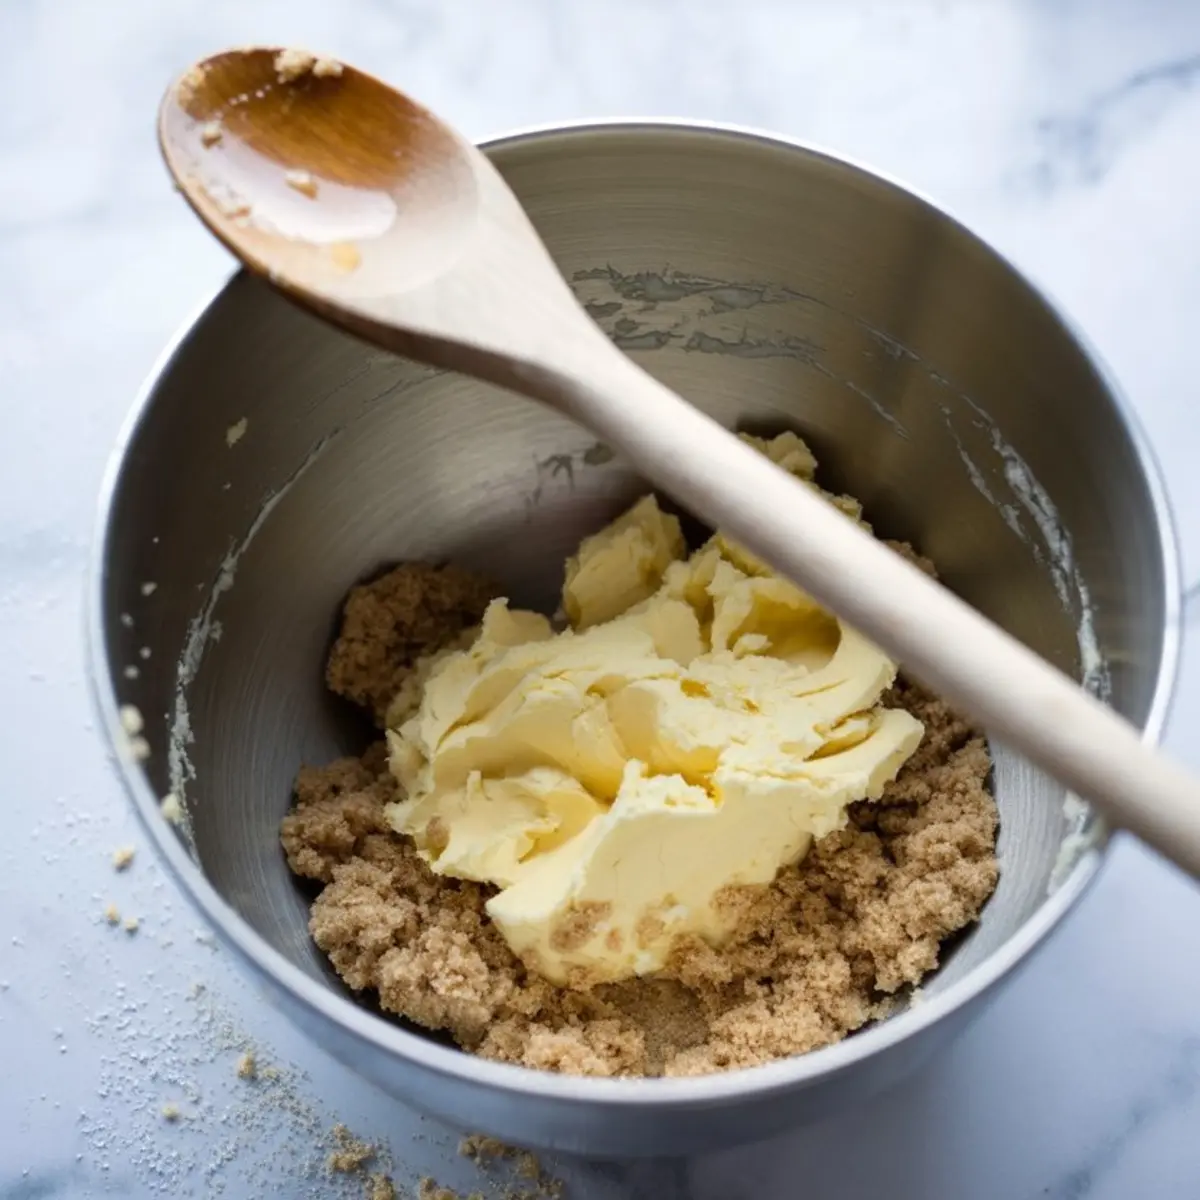
There’s something meditative about mixing a cake by hand. Butter and sugar give way under a wooden spoon. Eggs slip in, one by one. The date mixture folds in like syrup.
Everything slows down.
The key is to keep a light hand. Once you add the flour, stop mixing as soon as the dry patches disappear. Overmixing tightens the crumb and dulls the softness that moist date cake recipes depend on.
You don’t need perfection. You need patience.
Let the batter sit for a minute before pouring it in the tin—it gives the flour time to hydrate evenly.
How This Loaf Bakes and Sets
Getting a clean slice and an even rise
Bake in the center of the oven. Use parchment with a bit of overhang. This makes removal clean and prevents cracking from sticky edges.
You’re looking for a golden top, slightly domed, with a deep-set crack that cools into a beautiful fault line.
If the top browns too quickly before the center sets, I tent with foil around the 40-minute mark.
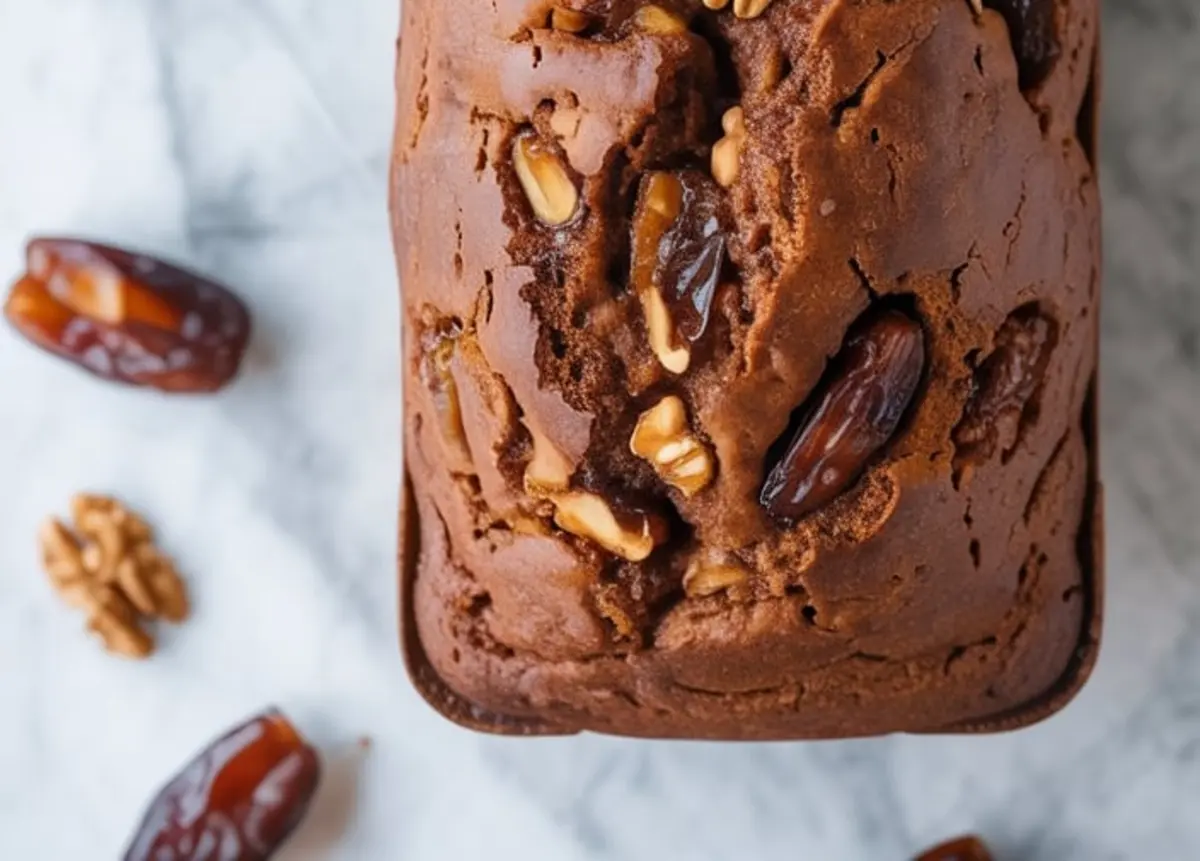
Let it cool in the pan, but only for 10 minutes. Move it to a rack to finish. That step keeps the base from steaming and turning dense.
This technique also works for my Berry-glazed Yellow Cake, where timing the cooling period affects the final crumb.
Comparing Brown Sugar and White Sugar in Date Cakes
A flavor and moisture decision
I’ve tried this with both brown and white sugar. The result isn’t just about sweetness. It’s about structure.
White sugar makes the crumb lighter, but also drier. Brown sugar holds moisture, deepens the color, and gives the loaf a gentle stickiness that stays after slicing.
In my notes, brown sugar wins every time for this date cake recipe easy.
The only adjustment I make is to press the brown sugar gently into the measuring cup to get a consistent amount.
This is the same choice I’ve made in my Chocolate Hazelnut Cake, where I want both softness and strength.
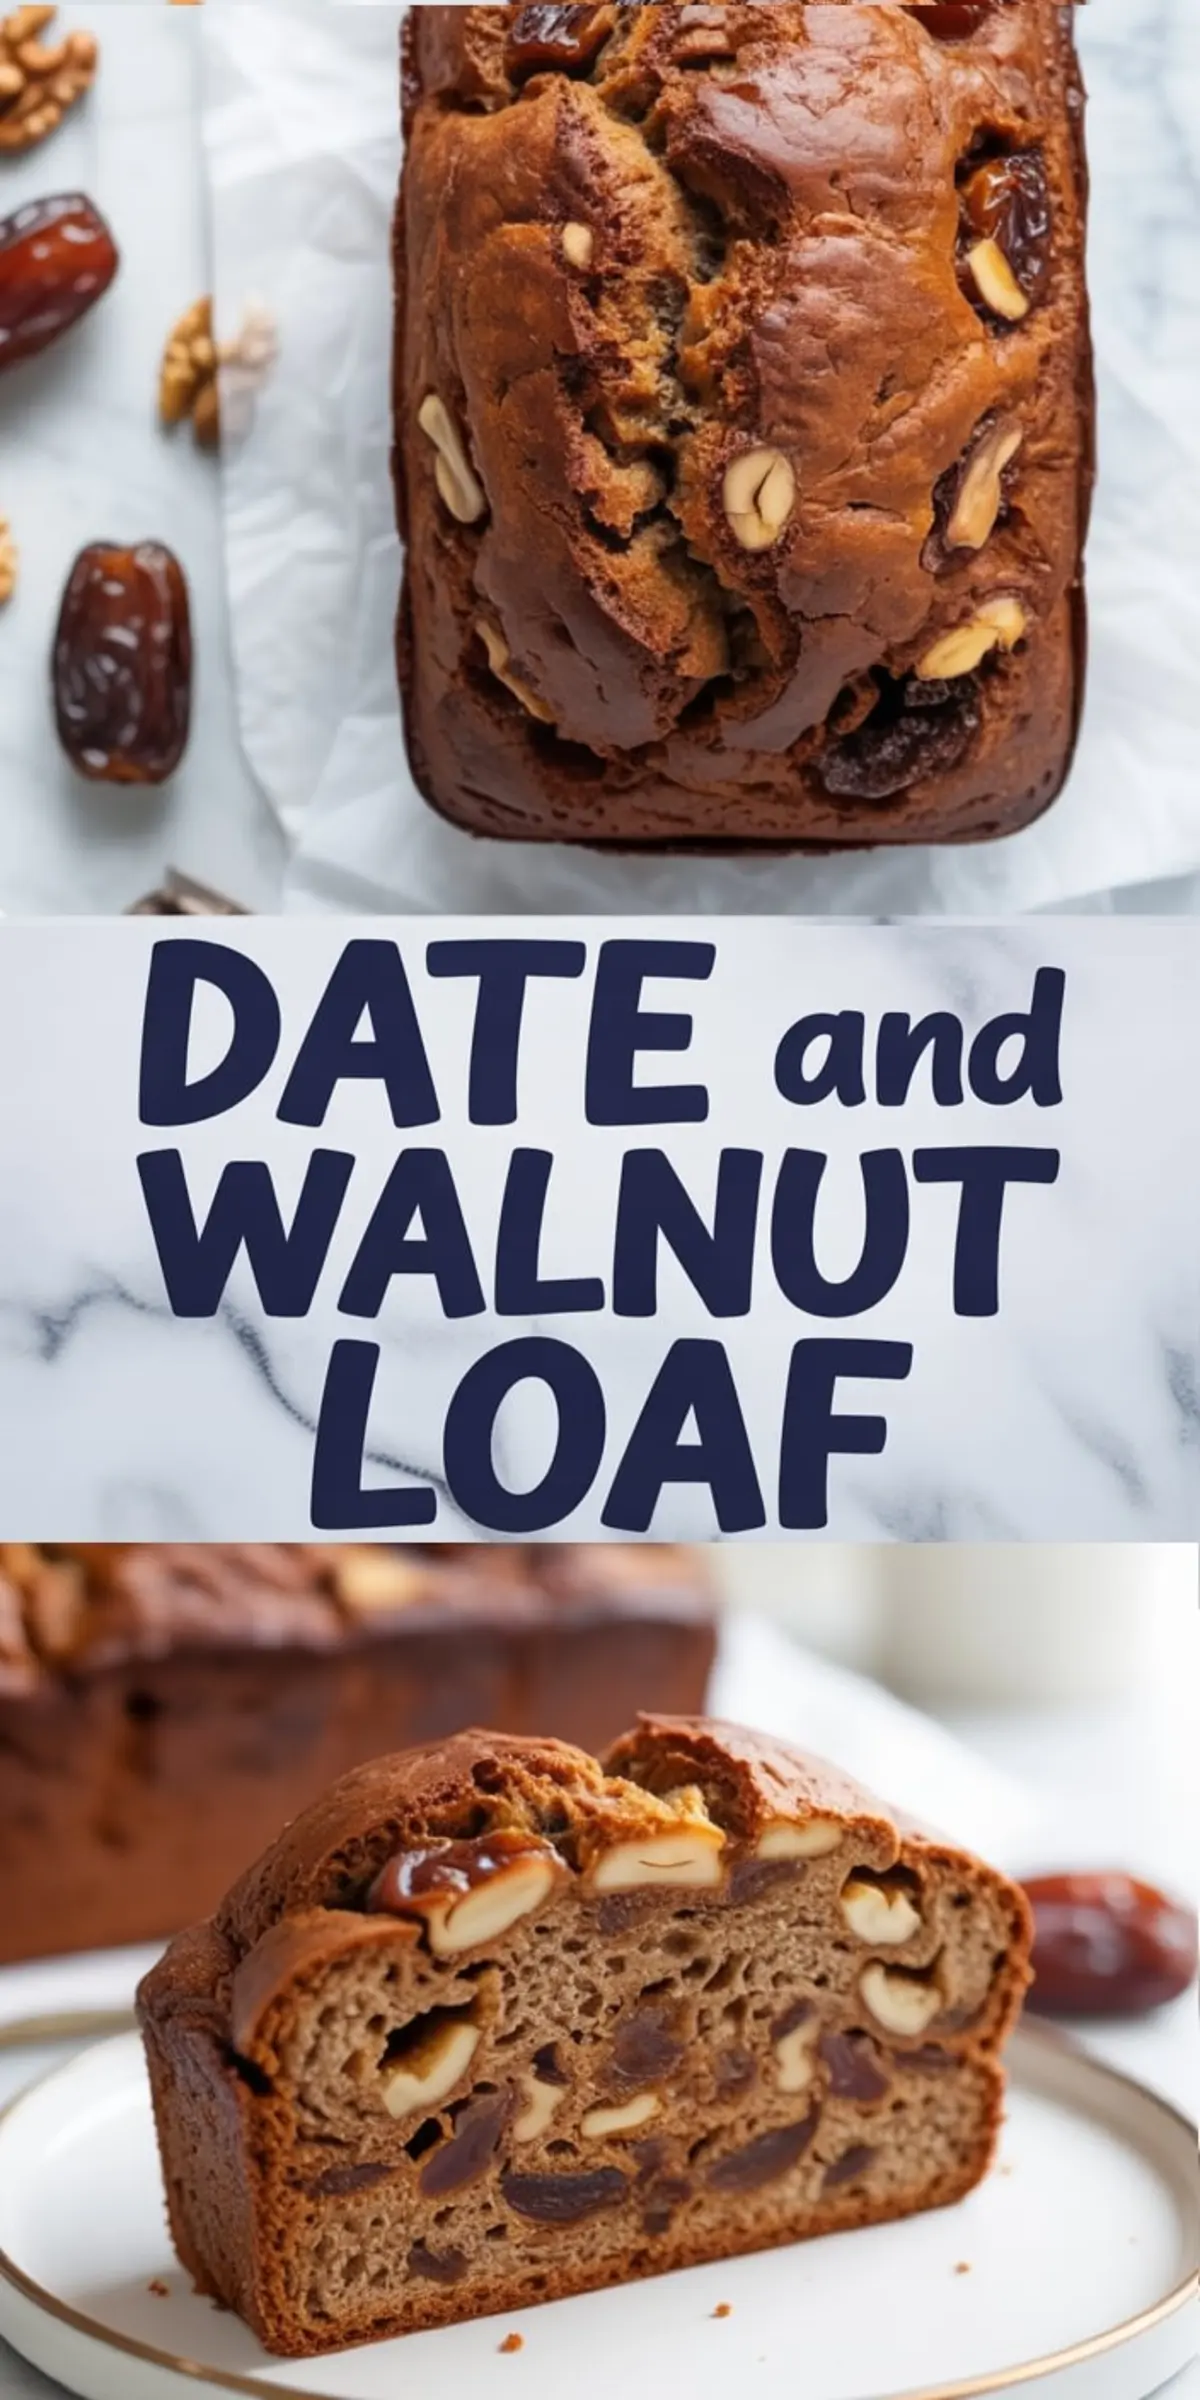
Serving and Storing This Date And Walnut Cake
Why it gets better with time
Day one gives you warm slices with a light crust and soft middle. Day two? The flavors settle. The crumb tightens.
It slices neater, feels richer, and tastes fuller.
I wrap the loaf in parchment, then place it in a cake tin or bread box at room temperature. Avoid plastic wrap, which can trap too much moisture.
For longer storage, slice and freeze the pieces. Toast them gently to serve with butter or cream cheese.
This makes the loaf ideal for gifting or preparing ahead. It stores with confidence, like my freezer-friendly Chocolate Espresso Cake.
Related Dessert Recipes Worth Exploring
If this loaf speaks to your kitchen rhythm, you might also enjoy these:
- Fig Cake – earthy and fragrant with dried fruit and spice
- Chocolate Espresso Cake – dense, dark, and bold
- Butterscotch Crunch Cake – sweet with a toasty edge and candy top
Final Thoughts: A Loaf That Stays With You
Some cakes are for celebrations. Others are for keeping close.
This date and walnut loaf cake sits somewhere in between. It feeds quiet mornings, late-night cravings, and unexpected visits.
Make it once, and it will find its place in your rotation.
Save this to your Pinterest board so you’ll always have it on hand.
If you bake it, leave a comment below. I’d love to hear how you served it or what you paired it with. Add your twist. Ask your questions. Let’s keep the kitchen open.
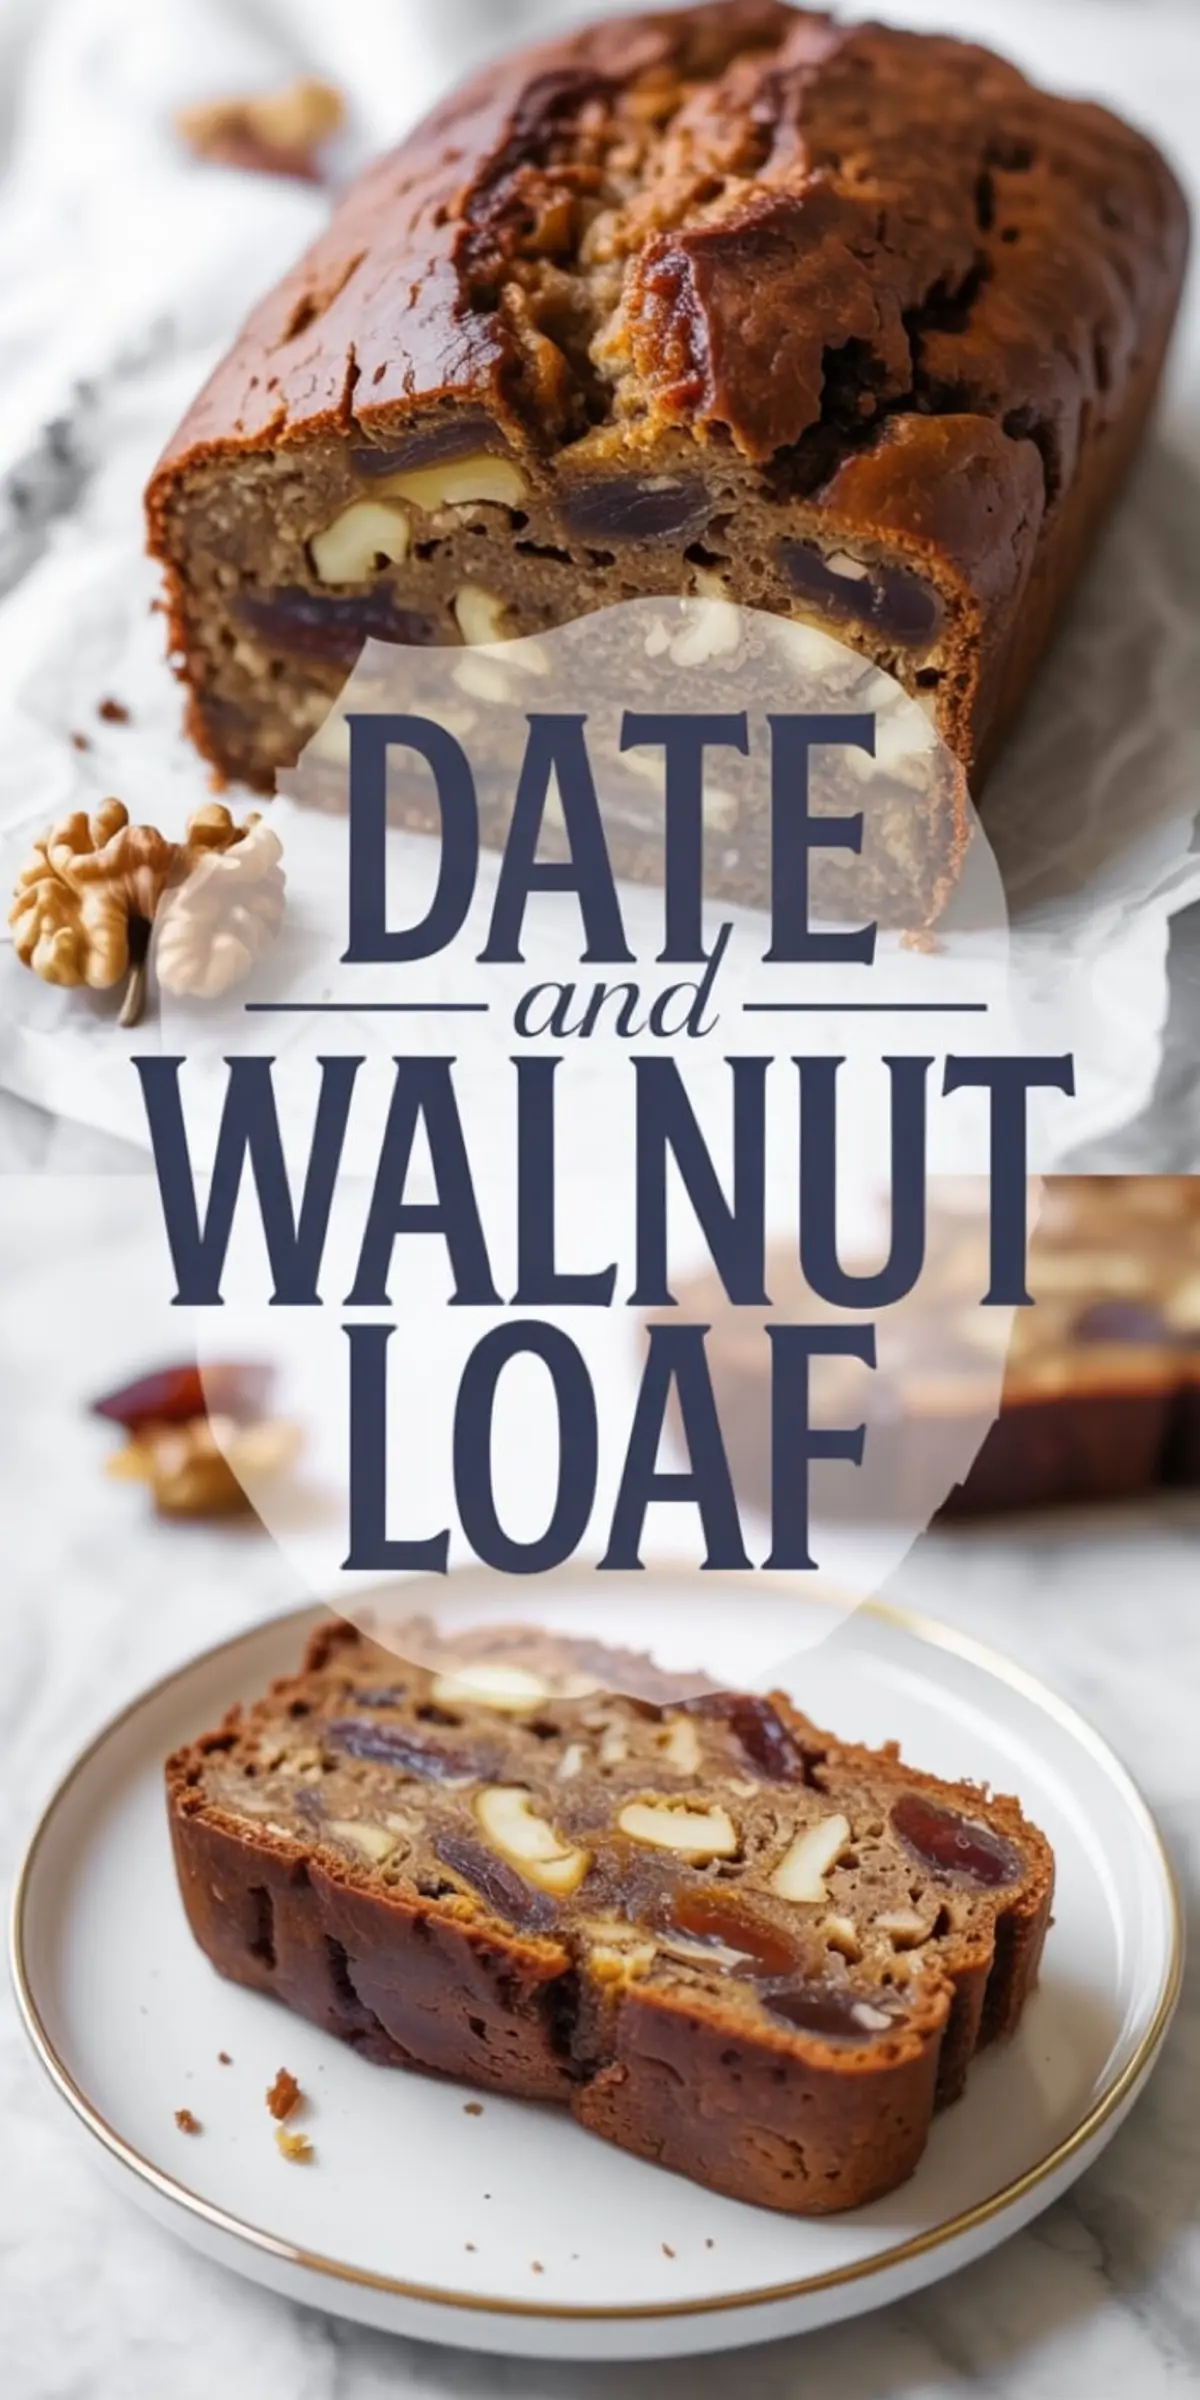
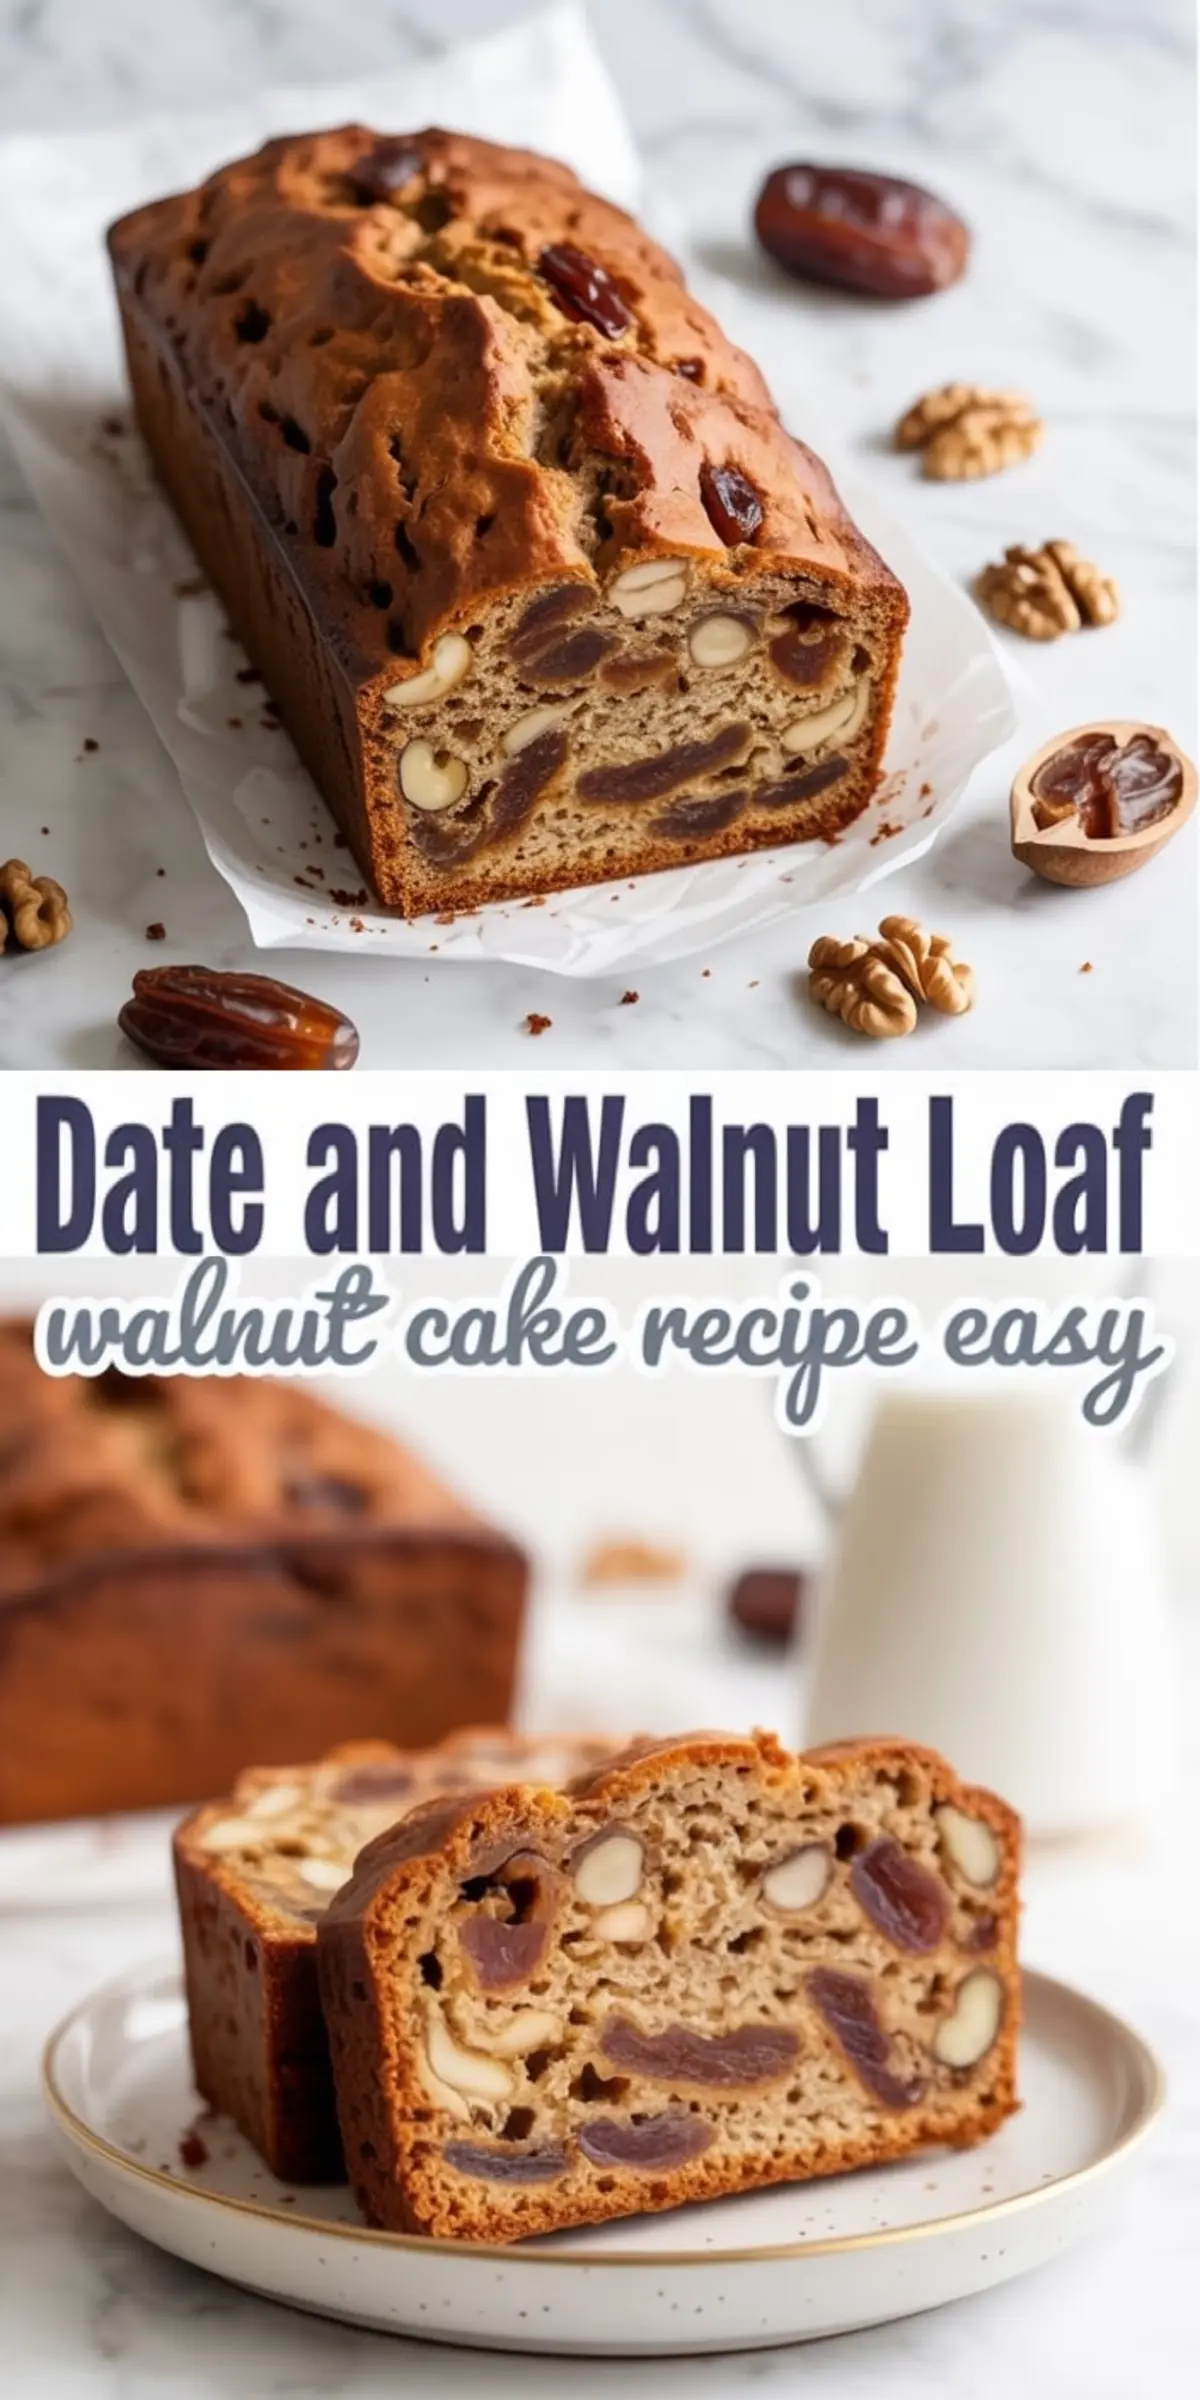
Date and Walnut Cake Recipe
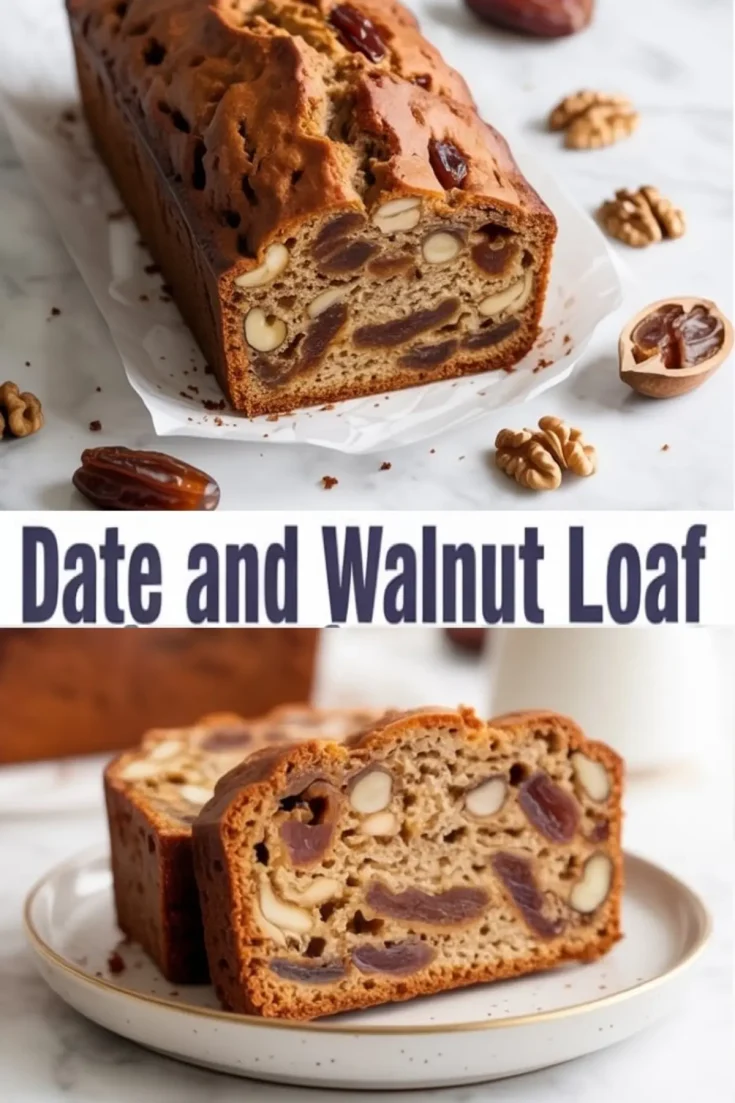
Date and walnut loaf is a classic bake that’s moist, rich, and full of flavor. I stir chopped dates into the batter, add crunchy walnuts, and bake until golden for a sliceable loaf that feels comforting and timeless. Some call it date loaf, others date and walnut loaf cake or date nut loaf recipe, but each version captures the same cozy taste. I’ve tried date and walnut cake for celebrations, date nut bread for breakfast, and even nut loaf variations for tea, and this recipe works for all occasions. Among date recipes desserts, this one stands out as simple, wholesome, and a perfect way to showcase sweet dates in homemade baking.
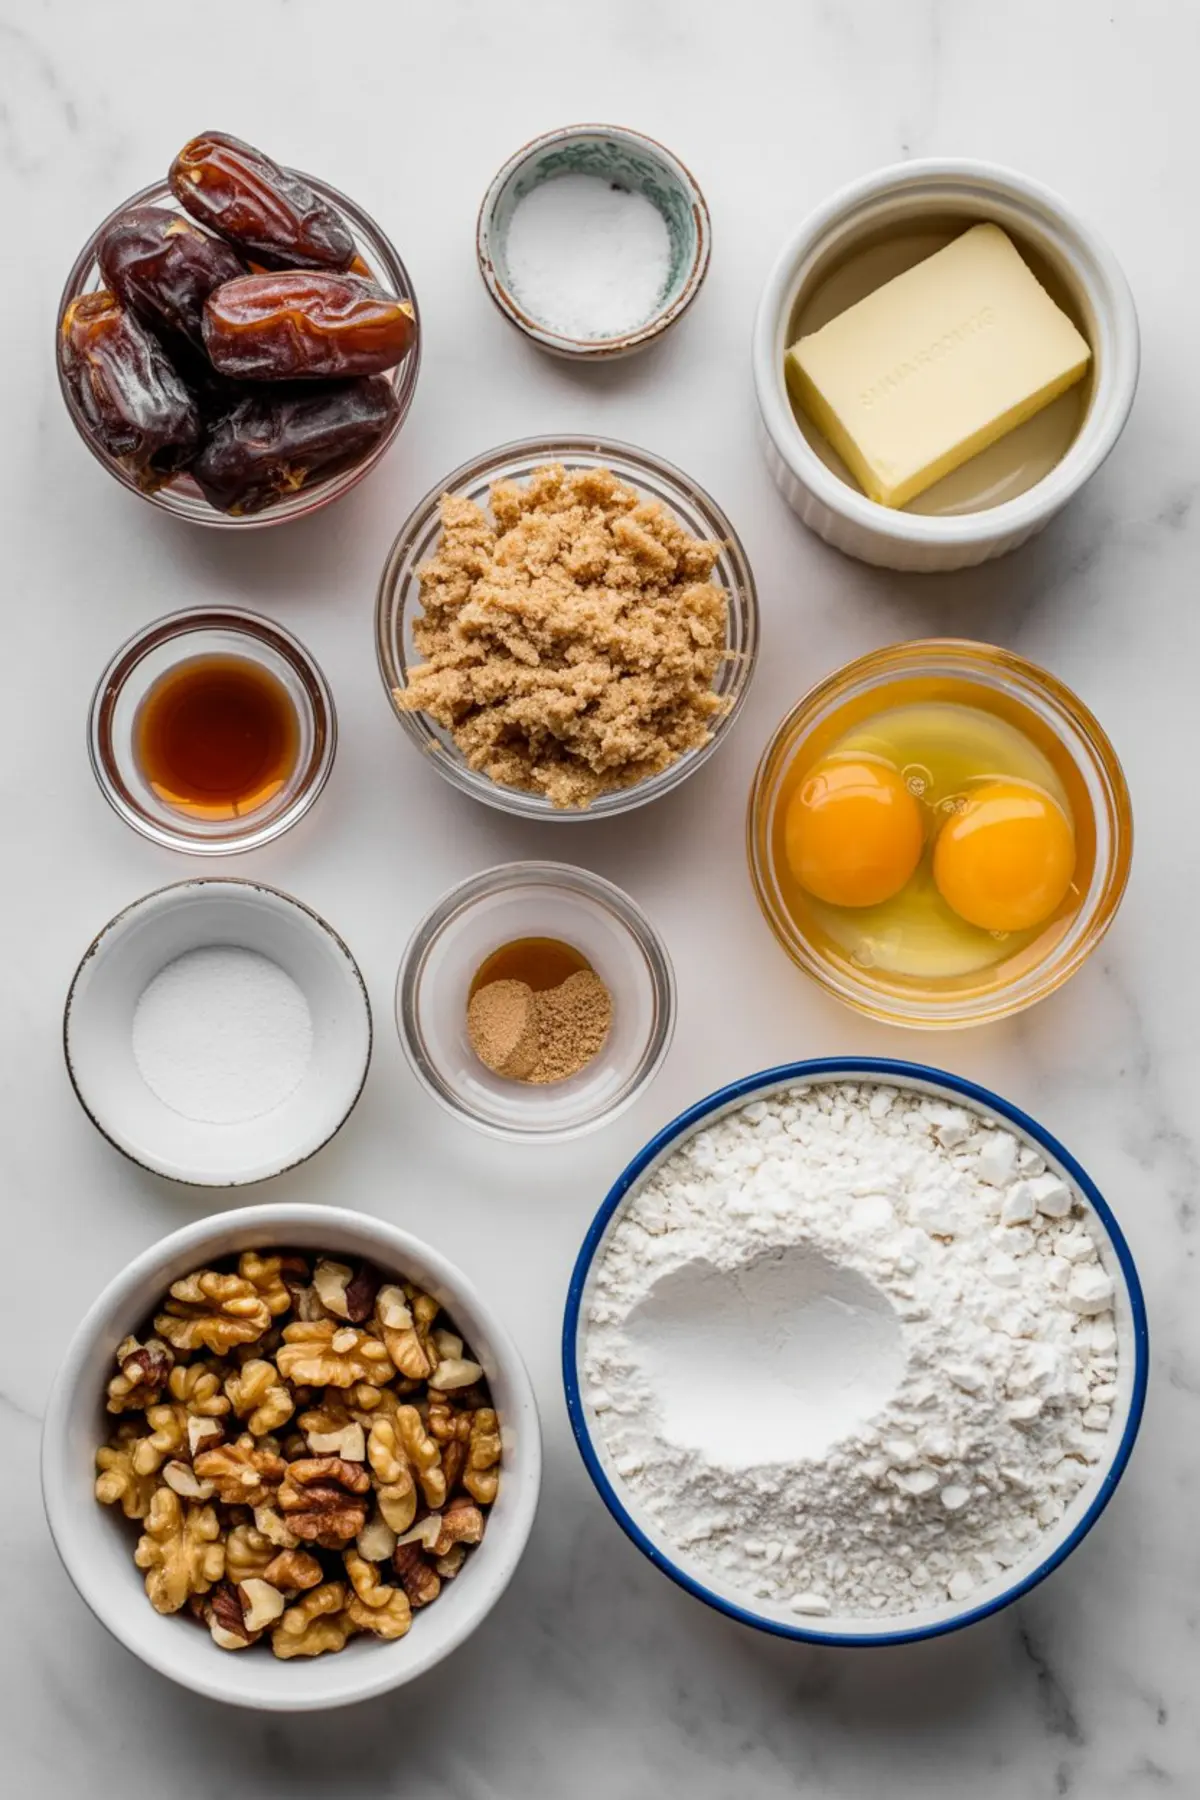
Ingredients
- 1 cup (150g) pitted dates, chopped
- 1 tsp baking soda
- 1 cup (240ml) boiling water
- 1/2 cup (115g) unsalted butter, softened
- 2/3 cup (130g) light brown sugar
- 2 large eggs
- 1 tsp vanilla extract
- 1 1/2 cups (190g) all-purpose flour
- 1 tsp baking powder
- 1/4 tsp salt
- 3/4 cup (90g) chopped walnuts, lightly toasted
Instructions
- PREHEAT THE OVEN: Set the oven to 350°F (175°C) and grease a 9x5-inch loaf tin. Line it with parchment paper, leaving some overhang for easy removal.
- SOFTEN THE DATES: Place the chopped dates in a heatproof bowl, sprinkle over the baking soda, and pour in the boiling water. Let the mixture sit for 10 to 15 minutes until the dates are soft and the liquid slightly thickens.
- CREAM BUTTER AND SUGAR: In a large mixing bowl, beat the softened butter and brown sugar together with a wooden spoon or hand whisk until the mixture is light and fluffy in texture.
- ADD EGGS AND VANILLA: Beat in the eggs one at a time, mixing well after each addition. Stir in the vanilla extract until evenly combined.
- MIX IN DATES: Add the softened date mixture, including all the liquid, to the bowl and stir until everything is well incorporated.
- ADD DRY INGREDIENTS: In a separate bowl, whisk together the flour, baking powder, and salt. Gently fold the dry ingredients into the wet mixture using a spatula, mixing just until no dry streaks remain.
- STIR IN WALNUTS: Fold in the toasted walnuts evenly, being careful not to overmix the batter.
- BAKE THE LOAF: Pour the batter into the prepared tin and smooth the surface with a spatula. Bake in the center of the oven for 50 to 60 minutes, or until a toothpick inserted in the center comes out clean.
- COOL AND SLICE: Let the loaf cool in the tin for 10 minutes. Then transfer it to a wire rack and allow it to cool completely before slicing.
Notes
To toast the walnuts, place them in a dry skillet over medium heat and stir for 4–5 minutes until fragrant. Store the loaf wrapped at room temperature for up to 3 days or freeze slices individually for longer storage.
Nutrition Information
Yield
10Serving Size
1Amount Per Serving Calories 93Total Fat 2gSaturated Fat 1gTrans Fat 0gUnsaturated Fat 1gCholesterol 39mgSodium 253mgCarbohydrates 15gFiber 1gSugar 1gProtein 3g