
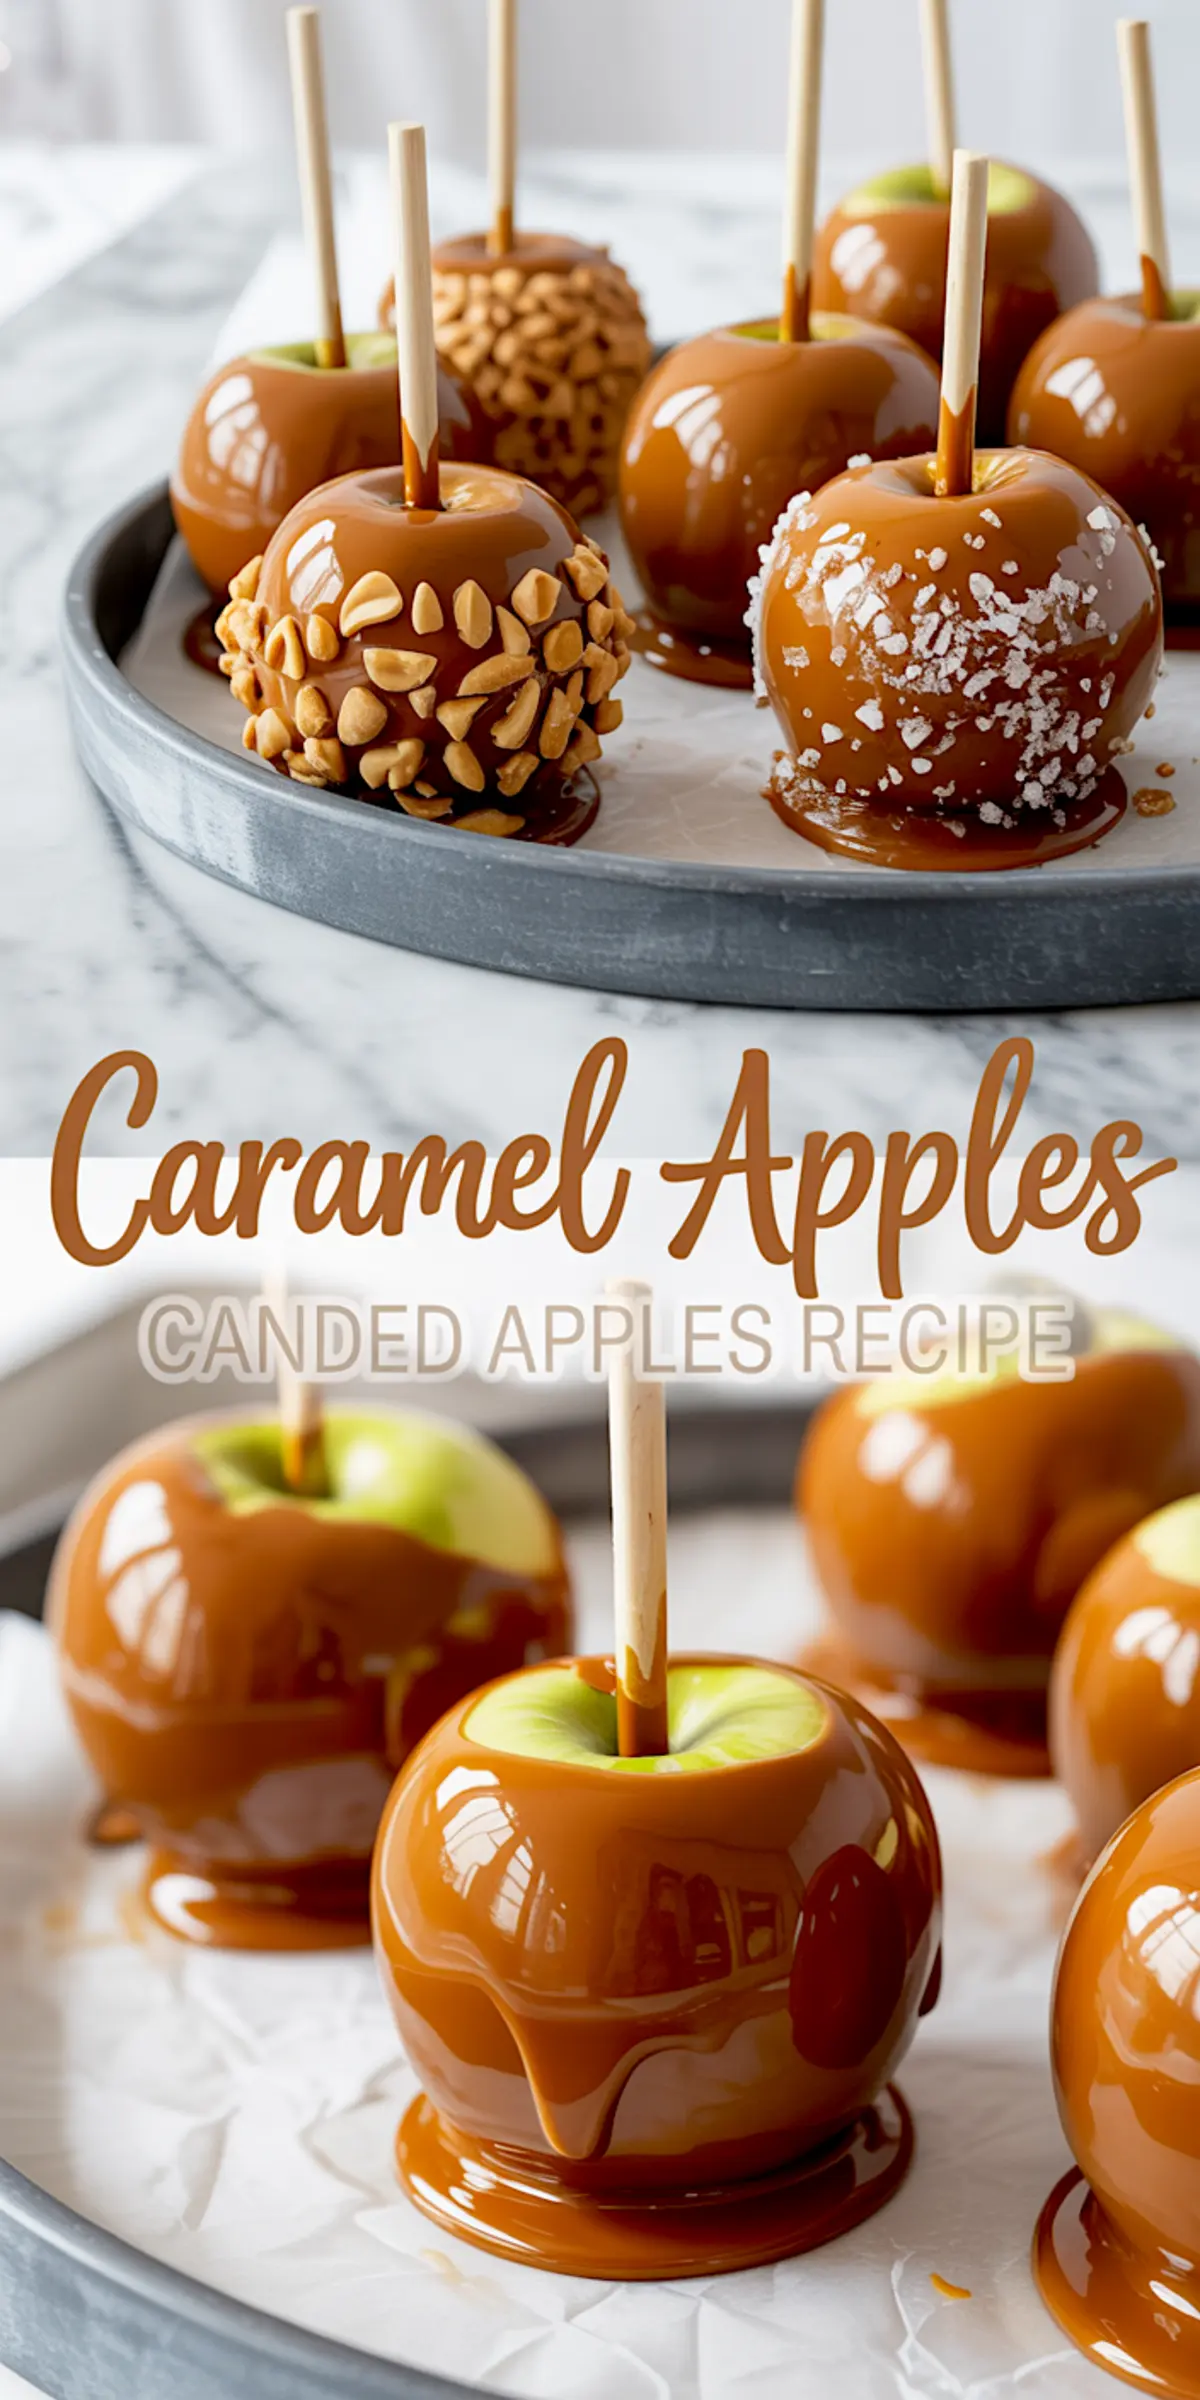
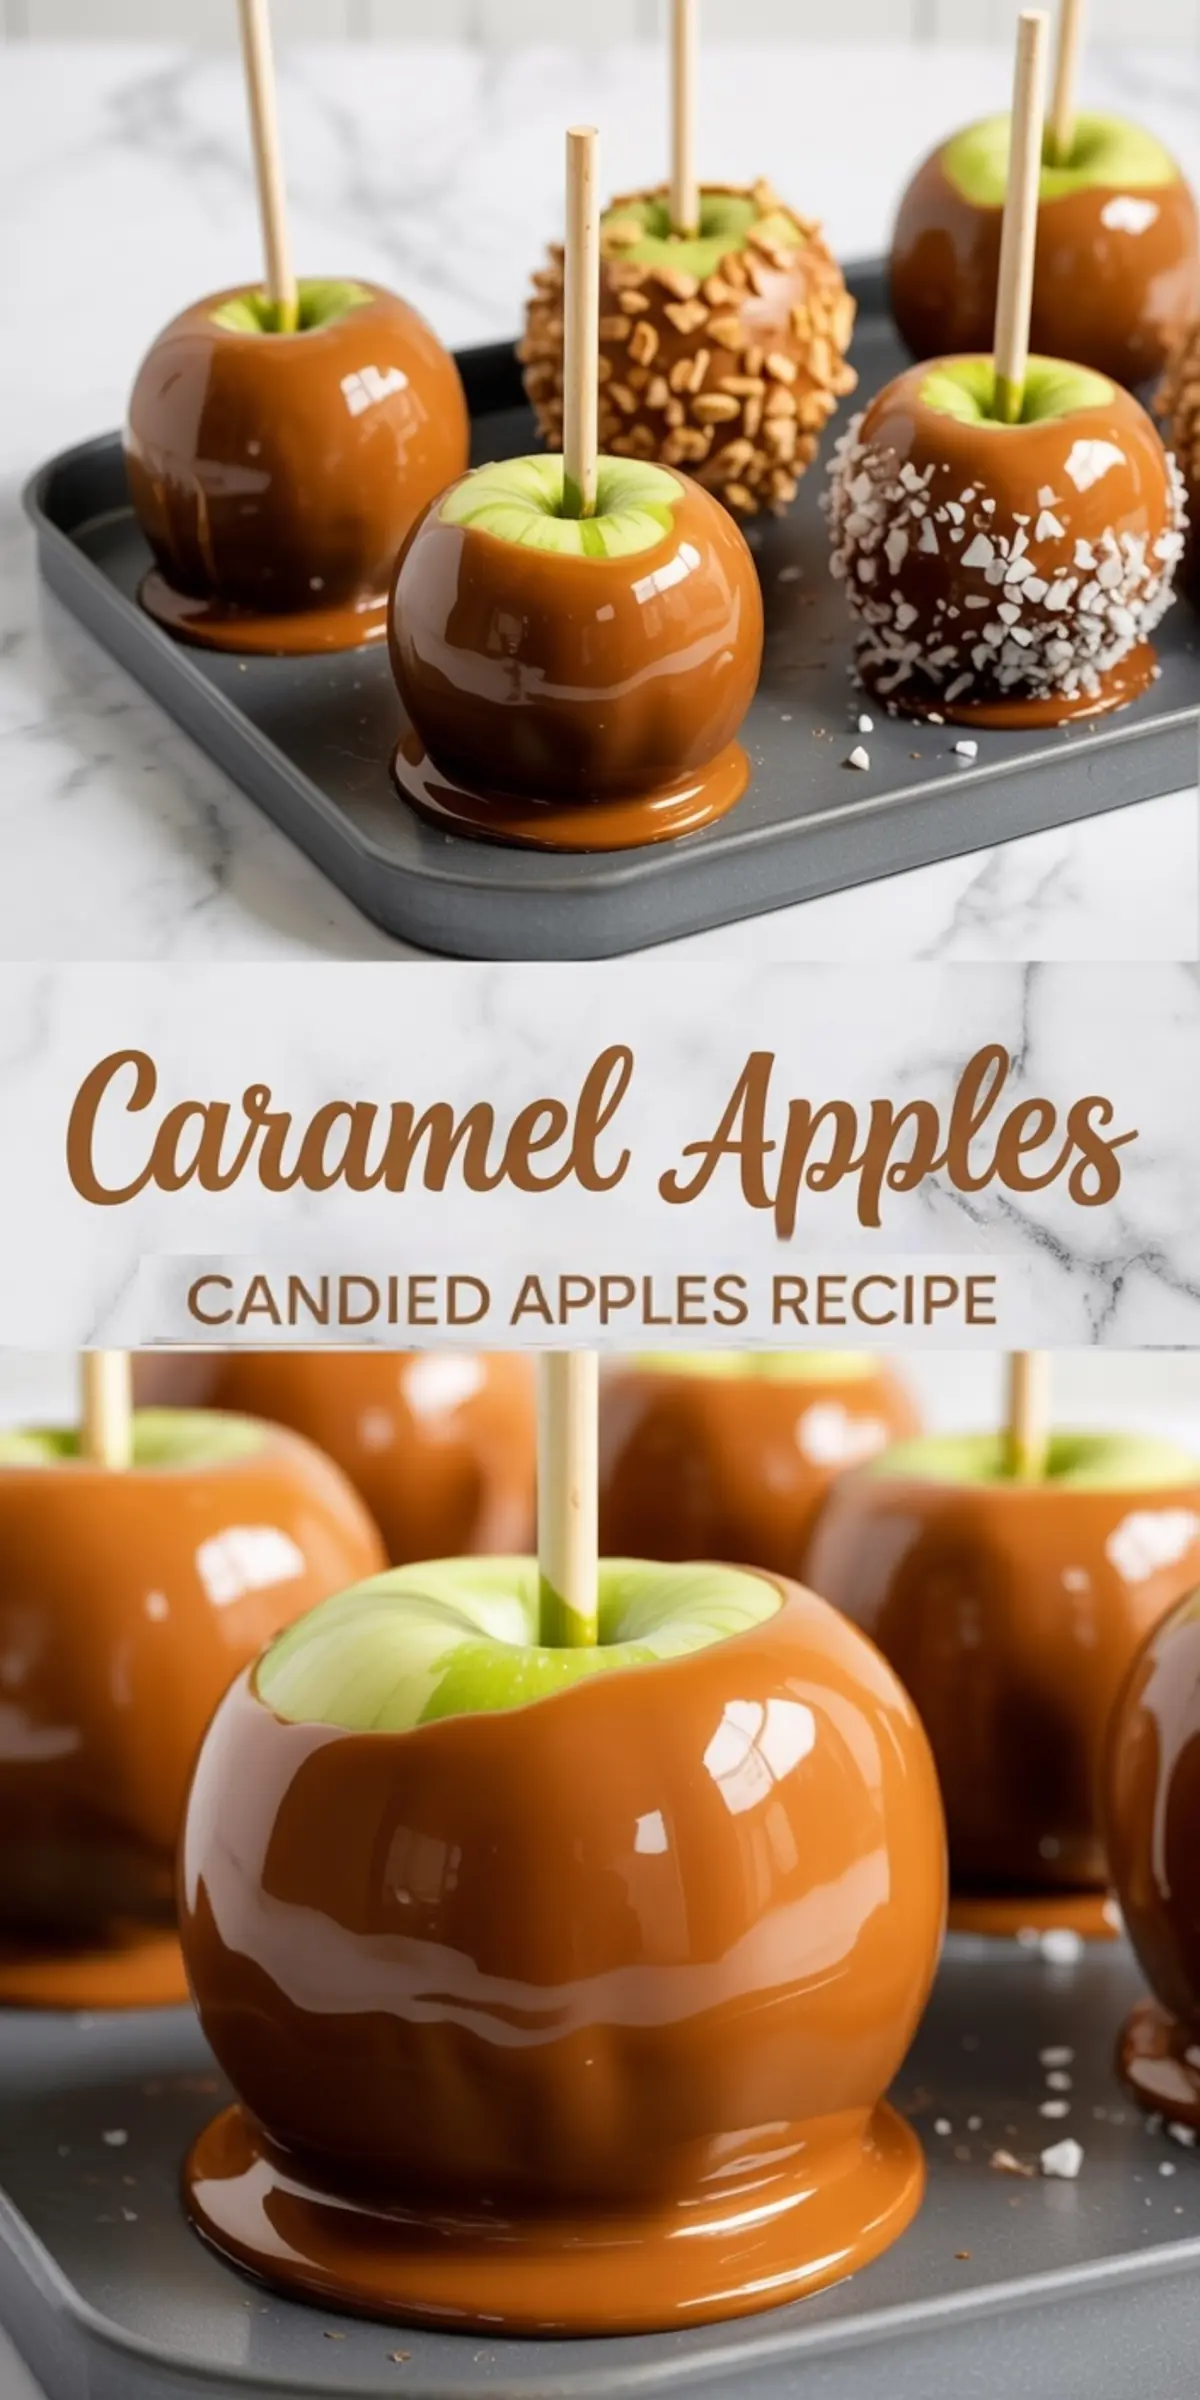
A Buttery, Glossy Fall Treat That Sticks
There’s a big difference between caramel apples made with melted candy and the kind you cook from scratch. You’ll notice it the moment the caramel sets—smooth, shiny, and not sliding off the apple like a rubber coat. If you’ve tried making caramel apples before and ended up with a sticky puddle at the bottom, this version fixes that.
You’ll learn how to make your own caramel base with real butter, brown sugar, and sweetened condensed milk. No candy wrappers, no shortcuts. Just the right timing, good apples, and a few tricks I’ll share from my own trials.
You’ll leave here knowing how to coat apples cleanly, what kind of toppings hold best, and why the caramel actually stays put.
Following a special diet?
Every recipe on this site can be converted to gluten-free, vegan, dairy-free, keto, nut-free or egg-free with adjusted ratios so nothing falls flat.
Try the Recipe Converter →Choosing the Right Apples for Caramel Dipping
Granny Smith is my go-to. The tart bite works well against the buttery caramel. They’re firm, don’t bruise easily, and give the cleanest crunch. Honeycrisp works too if you want something a little sweeter but still crisp.
Before dipping, every apple gets a hot water bath. This removes the waxy coating that grocery stores add. If you skip this, the caramel will slide right off. I’ve done that mistake once. Never again.
Insert your wooden sticks after the apples are dry. Make sure the stick is firmly centered. A crooked stick makes dipping awkward and messy.
You can also use shorter sticks if you’re making caramel apple slices or serving at a kids’ table. They’re easier to bite into and serve as fall caramel apples for parties.
Making Real Caramel for Apples
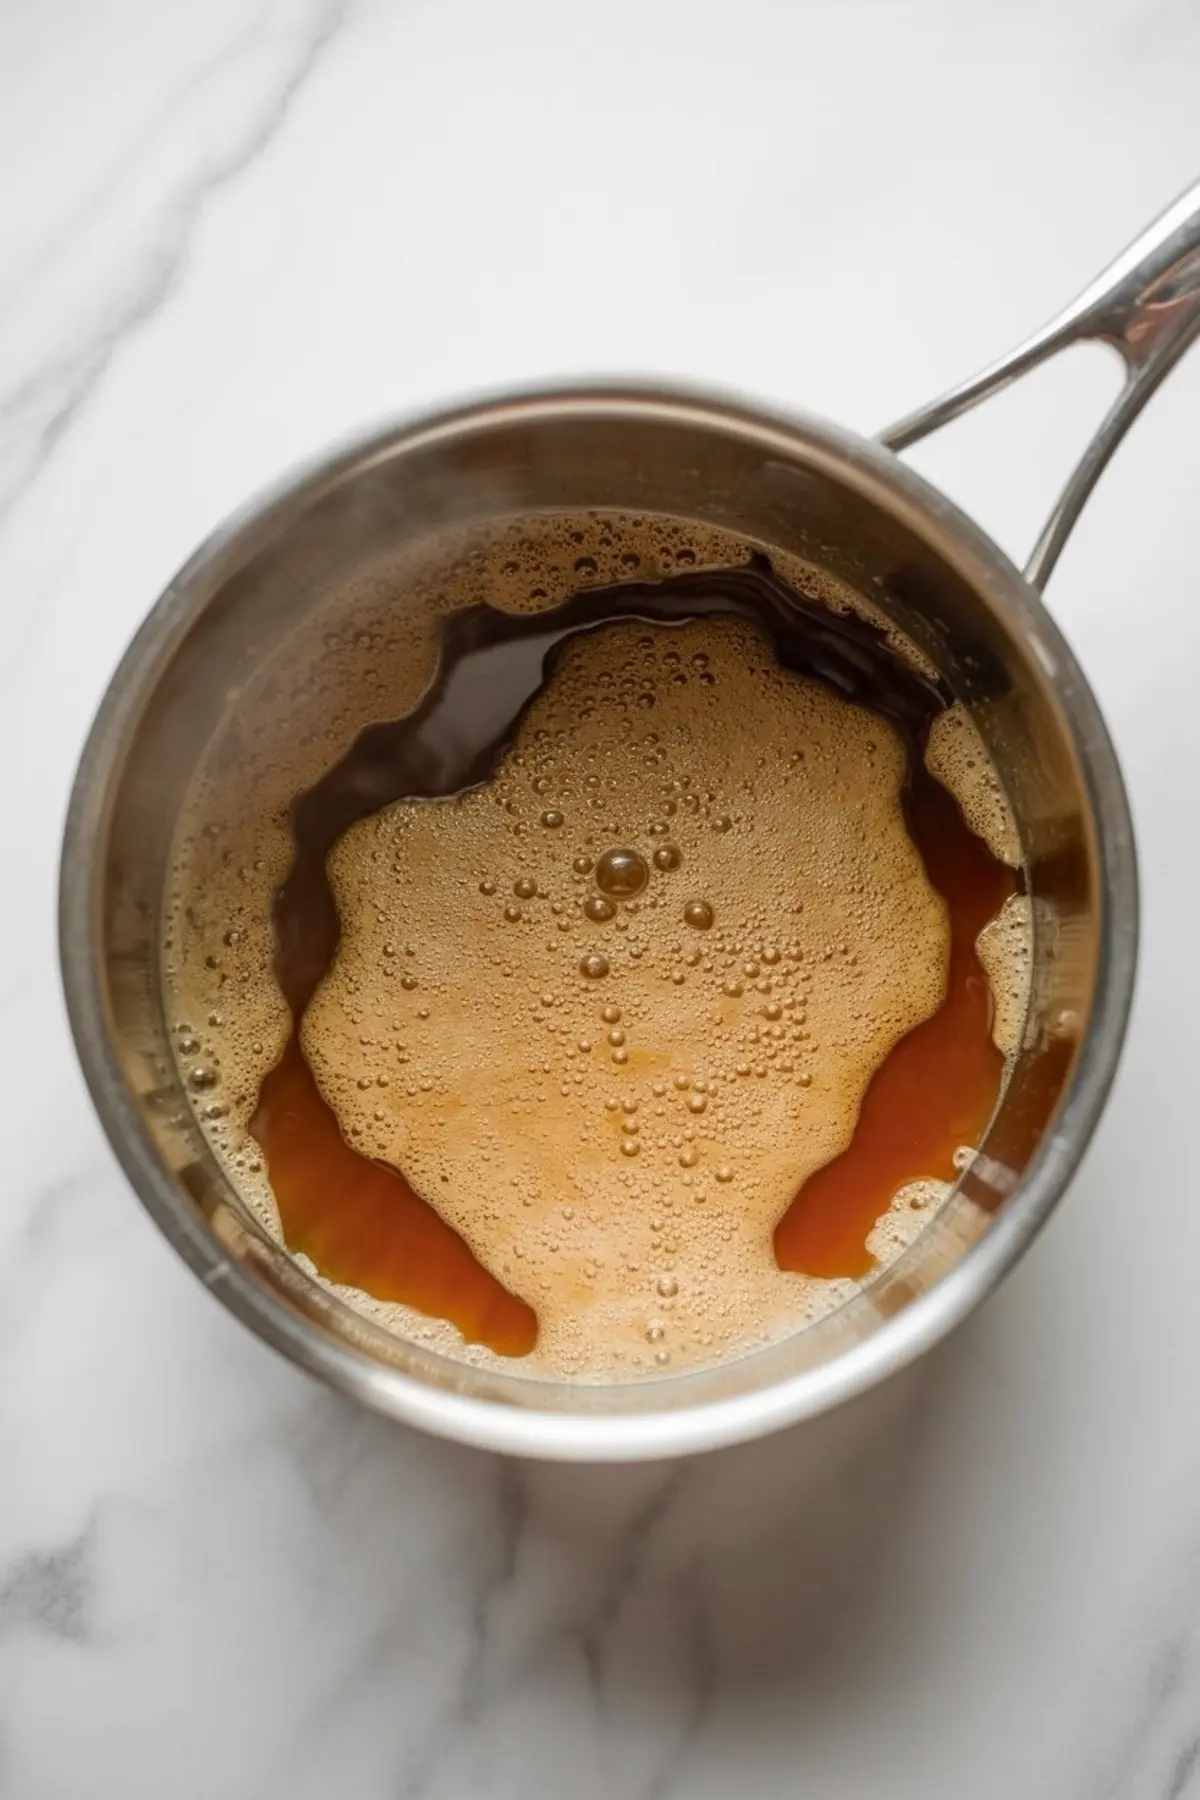
Start with butter. Melt it slowly over medium heat so it doesn’t brown too early. Then add light brown sugar, corn syrup, salt, and sweetened condensed milk. Stir as it blends.
This is where patience matters. Keep stirring. Use a candy thermometer and watch the caramel rise to 235°F to 240°F. That’s the soft-ball stage. If you stop too early, the caramel won’t hold. Go past it, and it’ll turn chewy and hard to bite through.
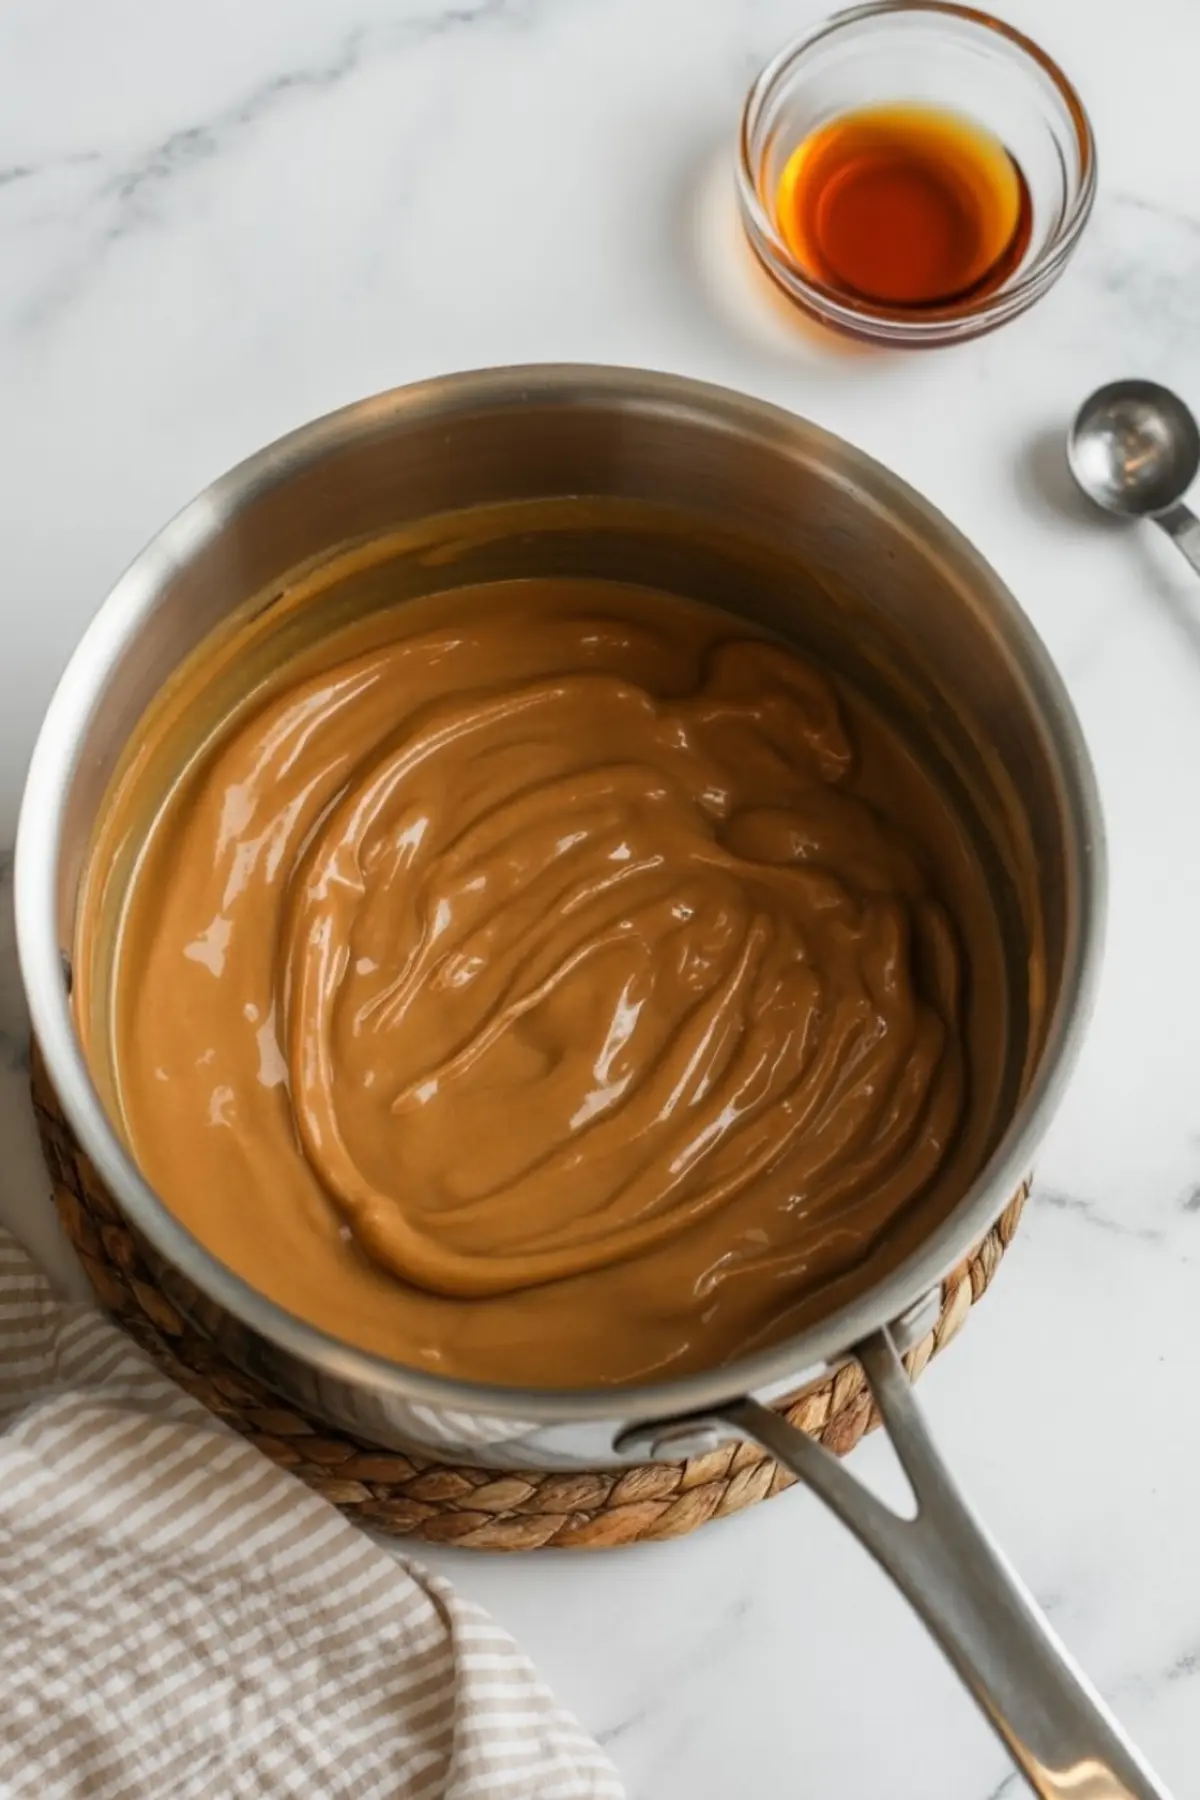
Remove from heat and stir in vanilla. Let the pot sit for a few minutes before dipping. This brief pause allows the caramel to thicken slightly, giving you better control during coating.
Dipping the Apples: The Key Movements That Matter
Hold the apple by the stick and tilt the saucepan. Dip, then spin the apple slowly. This helps coat evenly and prevents pooling. Once dipped, let the excess drip off before twirling to smooth the outer layer.
Immediately press the base of the caramel apple into toppings while the surface is still sticky.
Crushed pretzels give a good salty snap. Chopped peanuts add crunch. If you’re making DIY caramel apples for gifting, try flaky sea salt and crushed cookies for texture and balance. You can even roll them in caramel dip for apples first, then drizzle with melted chocolate or sprinkle with colored sugar.
Cooling and Setting the Apples
Place the dipped apples on a greased parchment-lined sheet. This keeps the base from sticking. Let them sit at room temperature for at least 30 minutes. Refrigeration is not necessary unless you need to speed up the set.
Pro tip: If the caramel thickens too much while dipping, warm it gently again. Keep the heat low to avoid separating the mixture.
Serving Ideas and Storage Advice
These apples serve best the same day, but they keep well for up to 3 days if stored in a cool place. Avoid stacking them. If you want to make caramel apple slices ahead of time, dip whole apples first, then slice before serving.
For parties, I sometimes serve them next to a plate of Caramel Apple Skillet Brownies for a full caramel dessert spread. You can also jar the extra caramel as a caramel sauce for apples or use it in this Caramel Apple Jam Recipe if you have leftovers and want something spreadable.
Related Recipes You’ll Want to Try Next
If you enjoy baking with apples and caramel, you’ll also like my Caramel Apple Pie Recipe, which balances tart fruit with a buttery filling and lattice crust.
Final Notes and What to Expect
This best caramel apples recipe gets its shine from real ingredients, not tricks. The key is keeping everything dry, warm, and timed right. I’ve made these on chilly fall mornings with the windows open and kids lined up at the counter waiting to choose toppings.
Once you’ve done this a couple times, it becomes part of your fall rhythm. You’ll feel it—how the caramel stirs, how it sets, how the apple crunches under the coating.
Save and Share Your Apple Creations
📌 Pin this recipe to your Fall Dessert Board or Thanksgiving Treats so you can find it again when apple season rolls around.
I’d love to hear how yours turned out. Did you go classic or add your own twist? Share in the comments or ask me any questions below. Let’s make this a space where we swap ideas and learn from each other.
Homemade Caramel Apples
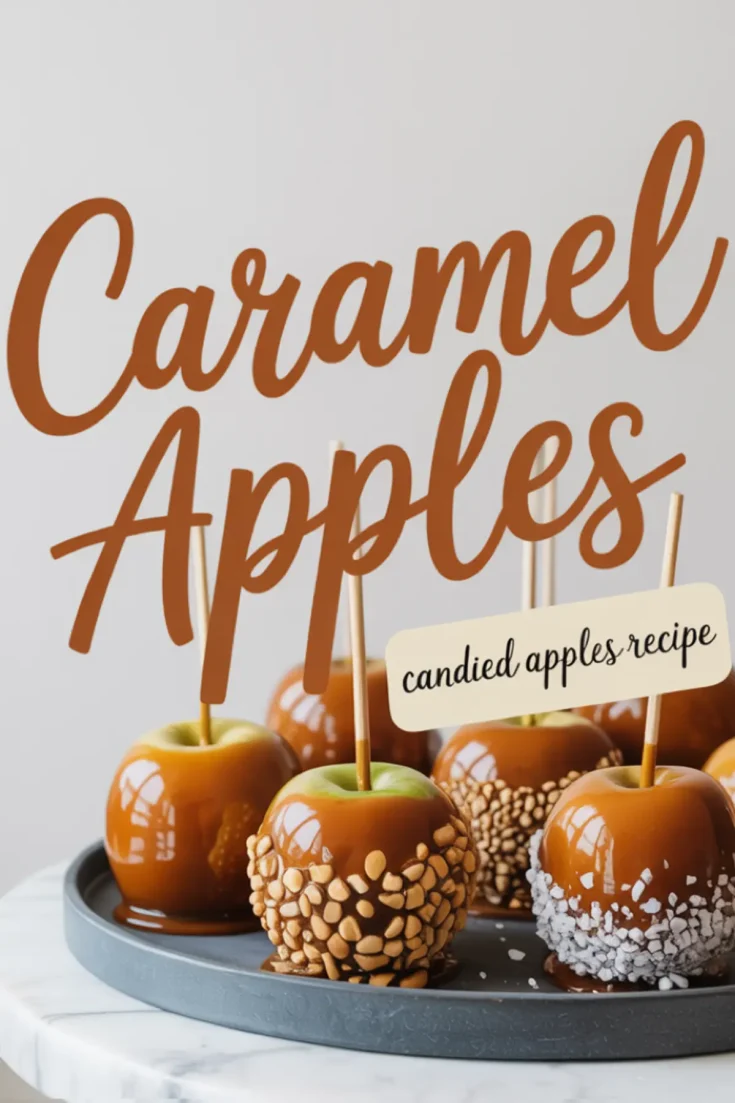
Homemade caramel apples are a classic fall treat made by coating crisp, tart apples in a buttery, smooth caramel made from scratch. This recipe uses a real caramel base—not store-bought candies—for a deep, rich flavor and glossy finish that sticks well to the apples. Customize with a variety of toppings like peanuts, pretzels, or sea salt for a fun and festive dessert.
Ingredients
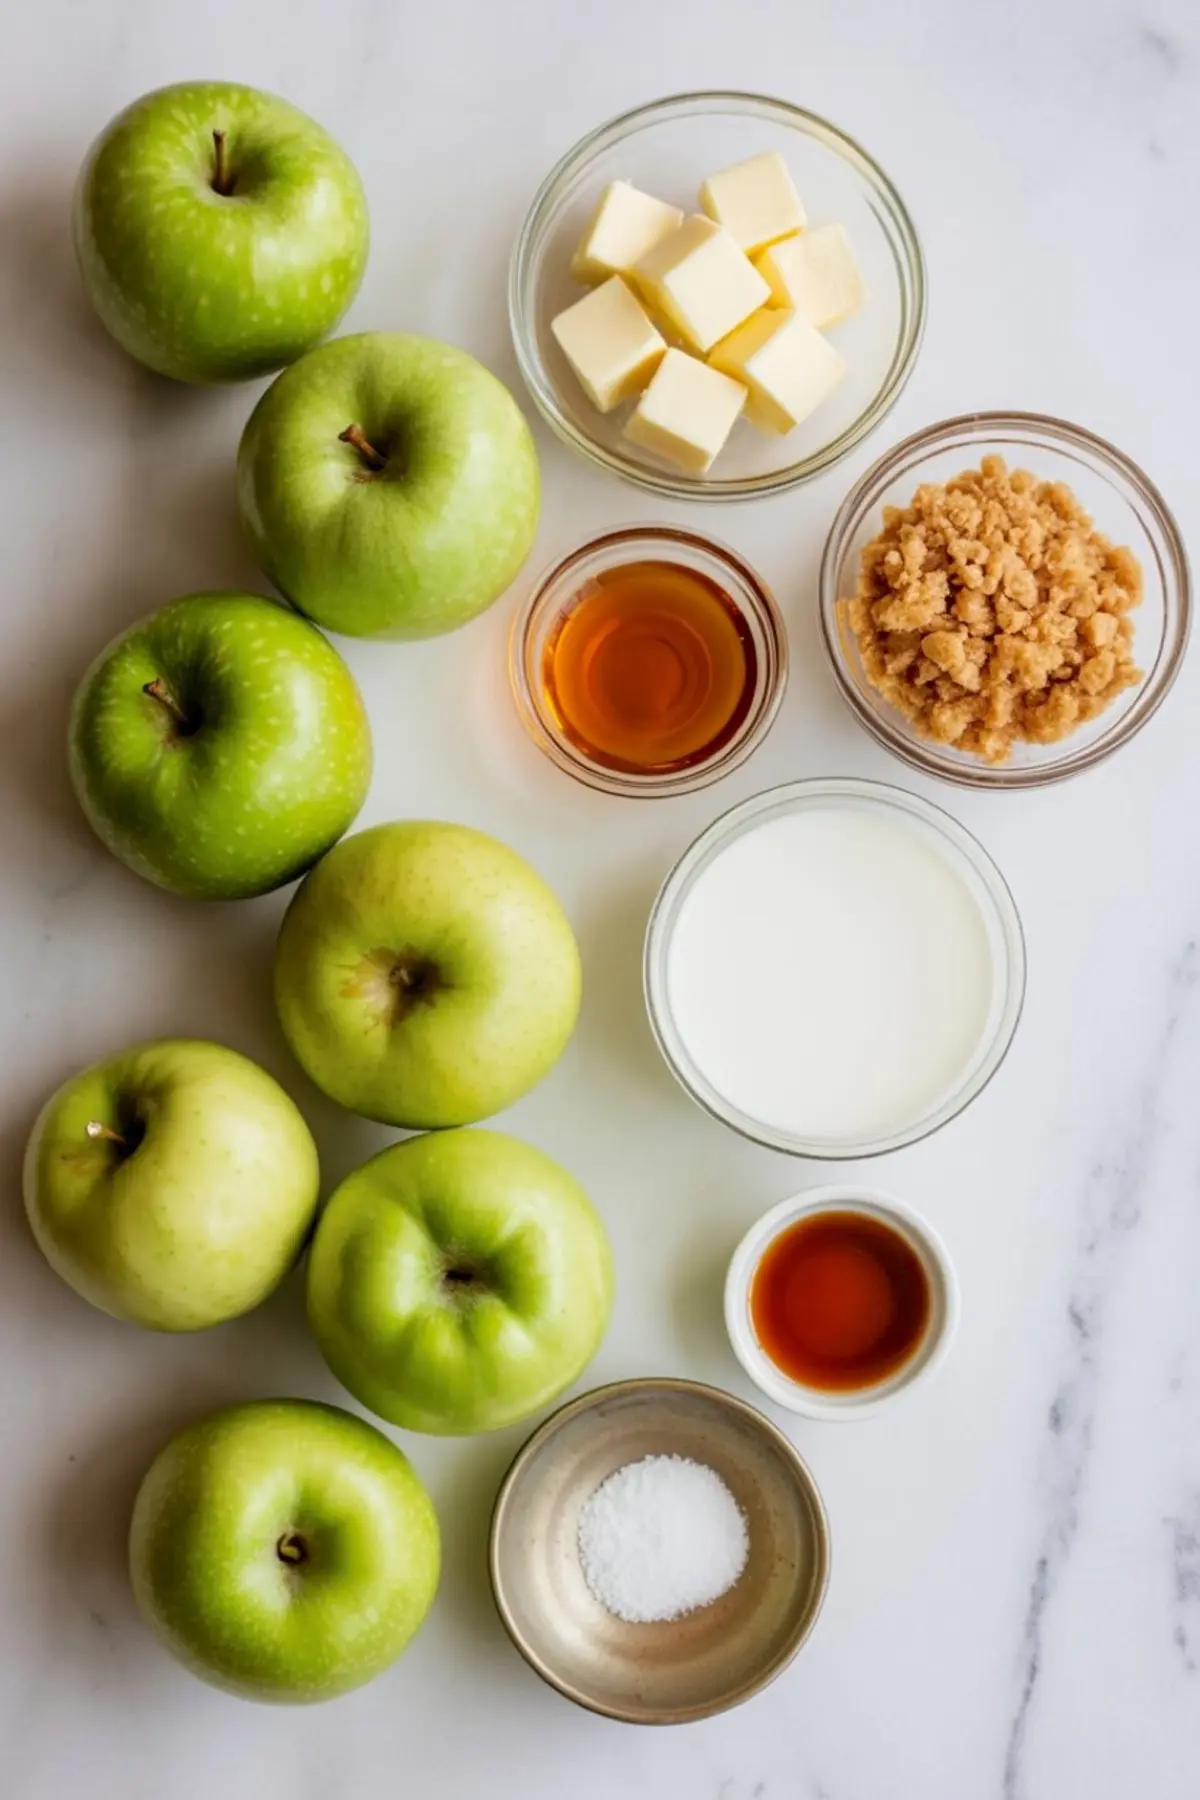
- FOR THE CARAMEL:
- 1 cup (2 sticks) unsalted butter
- 2 1/4 cups packed light brown sugar
- 1 cup light corn syrup
- 1 (14 oz) can sweetened condensed milk
- 1/4 tsp salt
- 2 tsp pure vanilla extract
- FOR THE APPLES:
- 8 medium Granny Smith apples (or Honeycrisp)
- 8 wooden sticks or popsicle sticks
- Boiling water, for prepping apples
- OPTIONAL TOPPINGS:
- Chopped salted peanuts
- Crushed pretzels
- Mini chocolate chips
- Flaky sea salt
- Crushed cookies
- Sprinkles
Instructions
- PREP THE APPLES: Wash the apples thoroughly and dry them completely to remove any wax residue, which can prevent the caramel from sticking.
- REMOVE WAX: Dip each apple briefly in boiling water and wipe clean with a towel to remove any remaining wax.
- INSERT STICKS: Push a wooden stick firmly into the stem end of each apple until it is secure.
- PREPARE BAKING SHEET: Line a baking sheet with parchment paper and lightly grease it to prevent sticking.
- MELT BUTTER: In a large heavy-bottomed saucepan, melt the butter over medium heat until fully liquified.
- ADD INGREDIENTS: Stir in the brown sugar, corn syrup, salt, and sweetened condensed milk until fully combined.
- COOK CARAMEL: Bring the mixture to a gentle boil while stirring constantly. Continue to stir and cook until the caramel reaches 235°F–240°F on a candy thermometer (soft-ball stage), about 12–15 minutes.
- ADD VANILLA: Remove the saucepan from heat and stir in the vanilla extract. Let the caramel cool for 5–7 minutes to slightly thicken, which helps it adhere better to the apples.
- DIP APPLES: Tilt the saucepan and dip each apple into the caramel, turning to coat evenly. Allow the excess to drip off and twirl the apple to smooth the coating.
- ADD TOPPINGS: While the caramel is still sticky, press the base of each apple into your preferred toppings such as peanuts or crushed cookies.
- SET APPLES: Place the finished apples on the prepared baking sheet and allow them to set for at least 30 minutes at room temperature before serving.
Notes
Use firm, tart apples like Granny Smith for the best flavor balance. Make sure apples are completely dry before dipping to ensure caramel sticks properly. If the caramel becomes too thick while dipping, gently rewarm it over low heat.
Nutrition Information
Yield
8Serving Size
1Amount Per Serving Calories 600Total Fat 10gSaturated Fat 5gTrans Fat 0gUnsaturated Fat 4gCholesterol 5mgSodium 266mgCarbohydrates 132gFiber 7gSugar 118gProtein 3g