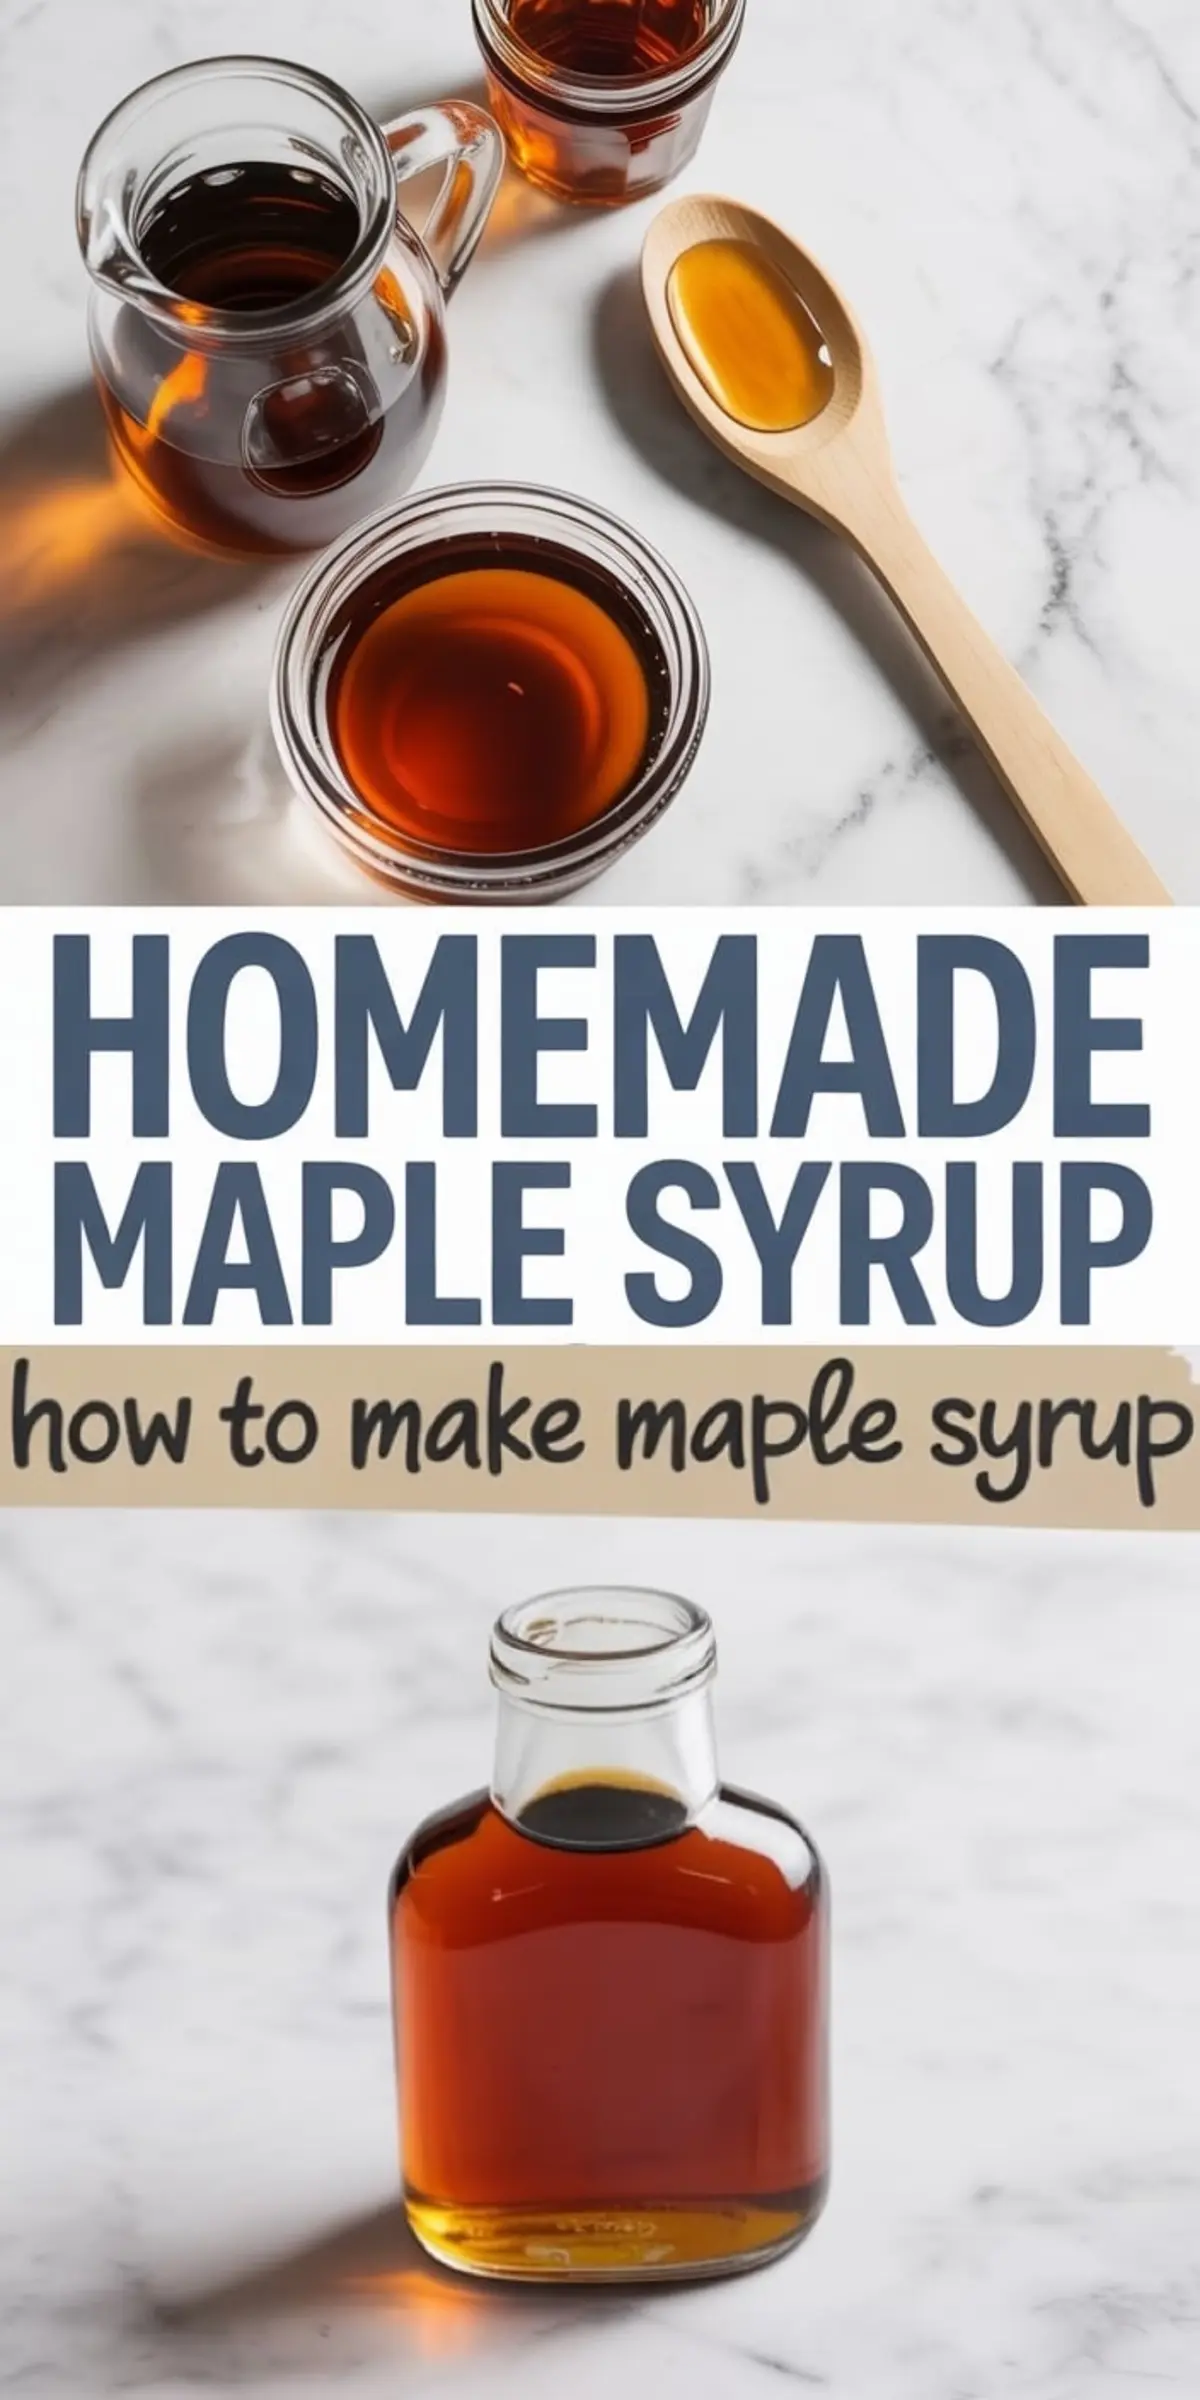
How to Make Maple Syrup at Home Without Tapping a Tree
If you’ve ever searched for a homemade maple syrup recipe that doesn’t involve tree sap, sugar thermometers, or fancy equipment, you’ve just found it.
This is a fast and practical way to bring a handcrafted maple syrup to your kitchen with ingredients you already have.
You’ll learn how to make a deep, amber-hued DIY maple syrup using a simple stovetop simmer and a few pantry staples. The flavor is rich, cozy, and full of character. Far beyond anything store-bought.
This method gives you full control. You’ll decide the sweetness, adjust the flavor, and skip the preservatives.
It also brings a little something else to the table. Confidence.
Once you make this syrup yourself, you won’t hesitate to drizzle it over pancakes, blend it into glazes, or pour it into your fall desserts. You’ll know exactly what went into it, and you’ll taste that clarity.
Following a special diet?
Every recipe on this site can be converted to gluten-free, vegan, dairy-free, keto, nut-free or egg-free with adjusted ratios so nothing falls flat.
Try the Recipe Converter →Why This Maple Syrup Recipe Works So Well
The beauty of this homemade syrup lies in its structure. It’s simple, but not basic. Fast, but not flat.
The pairing of brown sugar and white sugar creates depth and balance. Brown sugar brings moisture and molasses-like roundness, while the white sugar sharpens the edges just enough to keep the sweetness clear and bright.
The addition of maple extract infuses the syrup with that signature aroma we associate with fall mornings. The optional vanilla rounds it out and smooths the flavor, but the syrup holds beautifully with or without it.
Some versions call this homemade maple syrup easy, and I understand why. But easy doesn’t mean empty. This syrup delivers texture, color, and character, all within 15 minutes.
I’ve tested it alongside this Maple Fudge Recipe, and they complement each other perfectly.
Ingredients That Build a Better Syrup

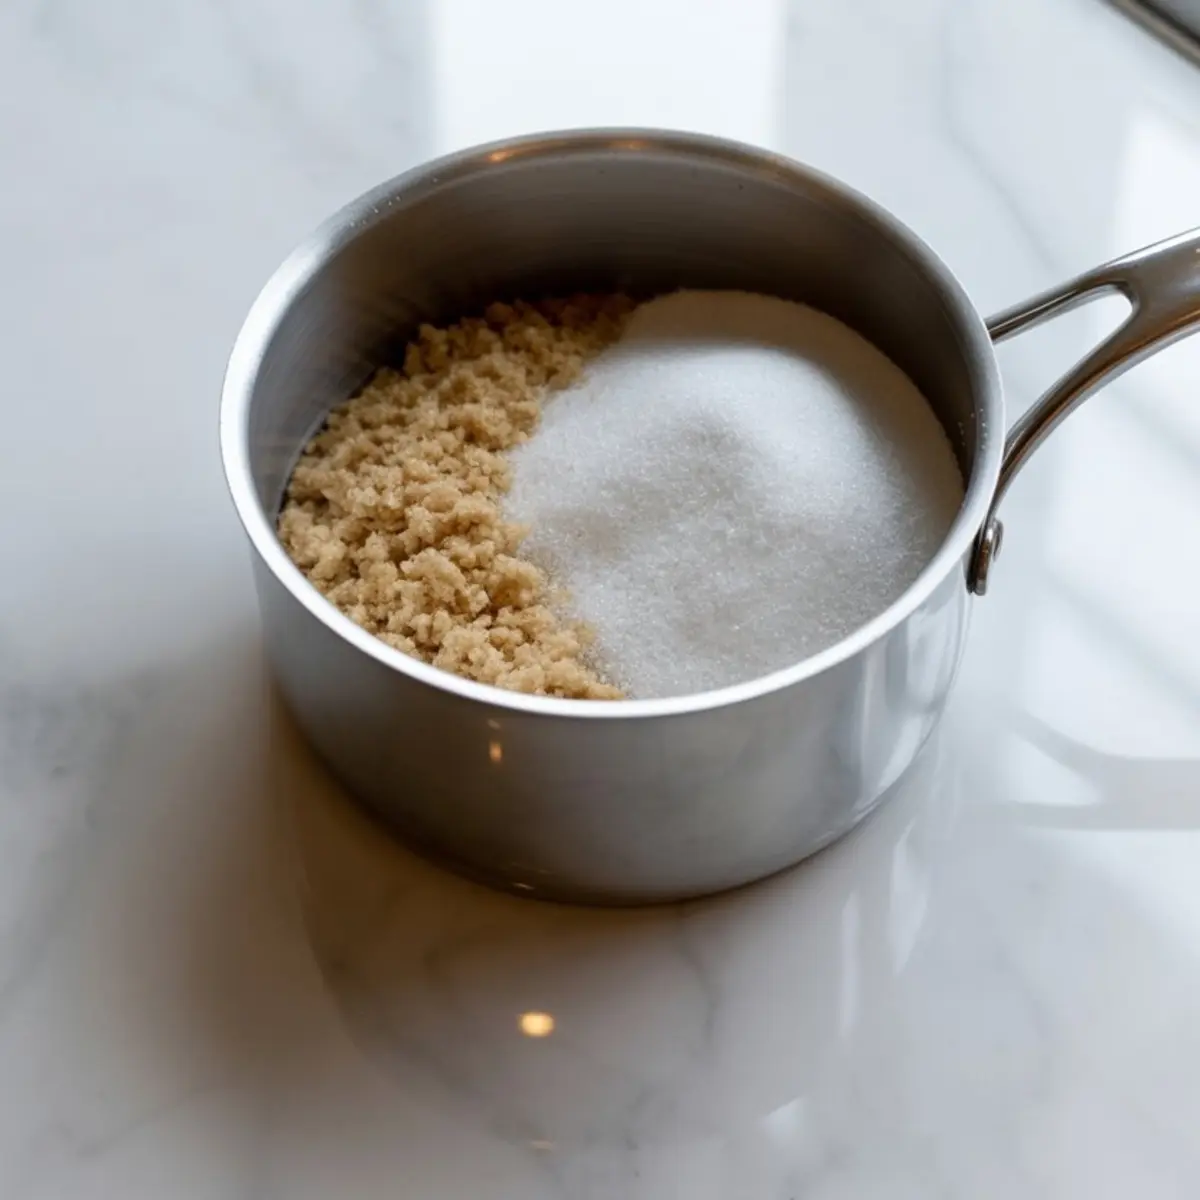
Start with one cup of brown sugar and a half-cup of granulated white sugar. The ratio matters. I’ve tried equal parts, but found it left the syrup slightly too light, both in color and flavor.
Add one cup of water. Stir gently until everything is fully dissolved before heating. You don’t want any clumps or sugar pockets in the base.
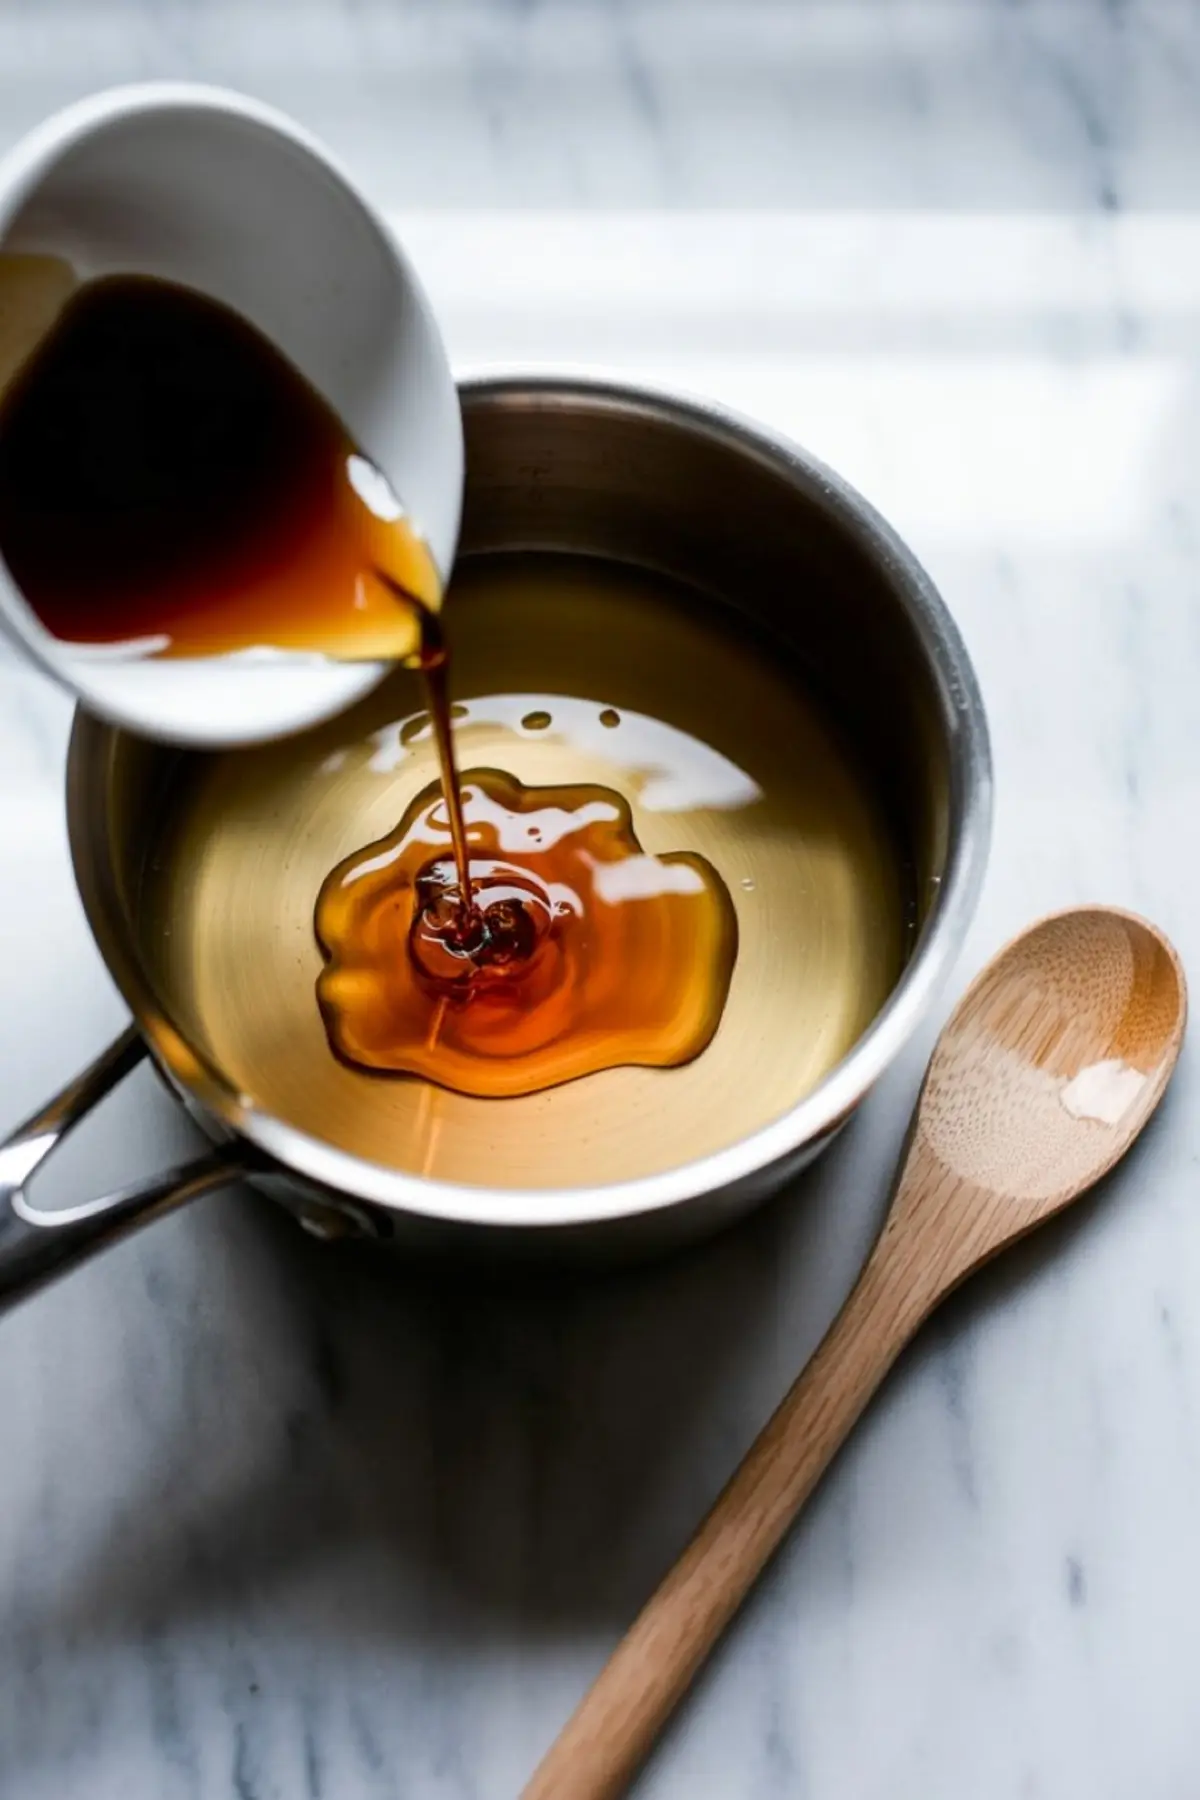
After it boils and simmers, finish it with maple extract. That step matters more than most realize. Use a quality extract with no artificial aftertaste. I’ve experimented with a few, and the difference shows immediately in both scent and richness.
Add a pinch of salt. It quietly boosts everything else. If you’d like, include vanilla extract at the end, but keep it subtle. The maple should lead.
Cooking Steps and Personal Notes
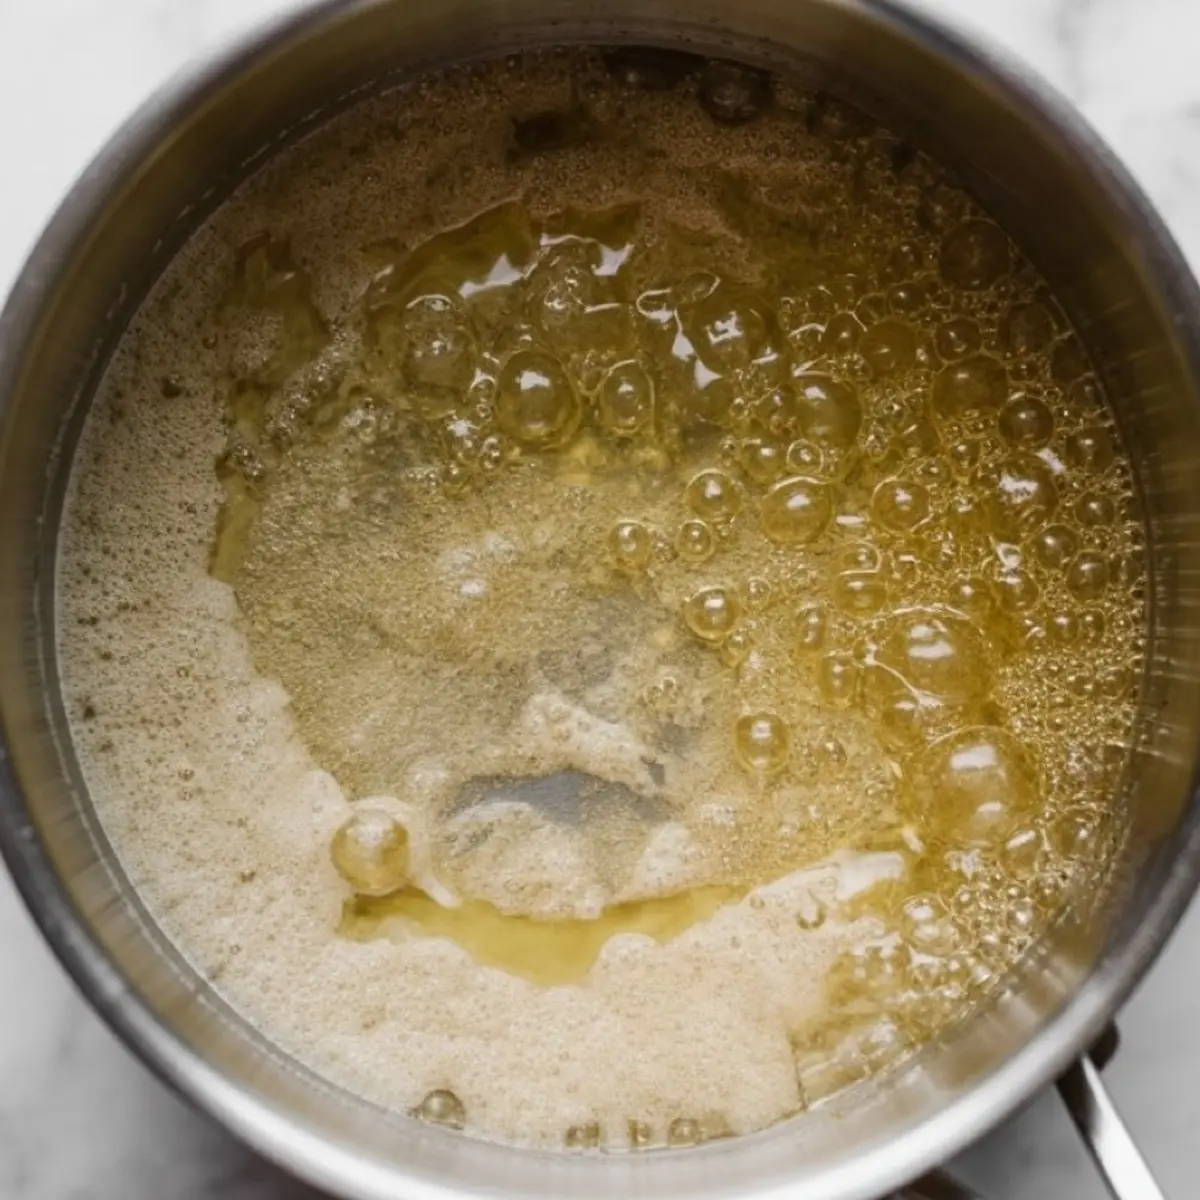
Bring the mixture to a boil over medium-high heat, then reduce to a simmer. Watch the color. It deepens slowly, and the aroma builds as the sugars caramelize slightly.
Let it simmer for 7 to 10 minutes. No more. The syrup thickens as it cools, so don’t judge it by the pot. I once let it go past twelve minutes, and it hardened into more of a sauce than a syrup. Good for cookies, but not for waffles.
Once you remove it from the heat, stir in the extracts and salt. Let it cool before bottling. It’s best stored in a clean glass jar.
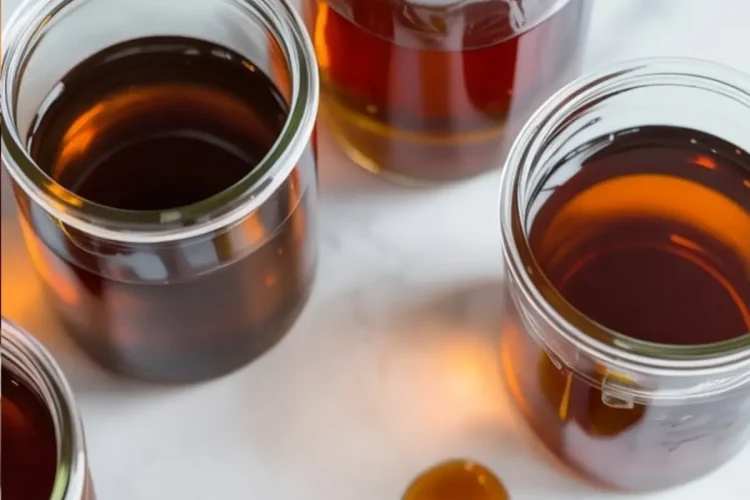
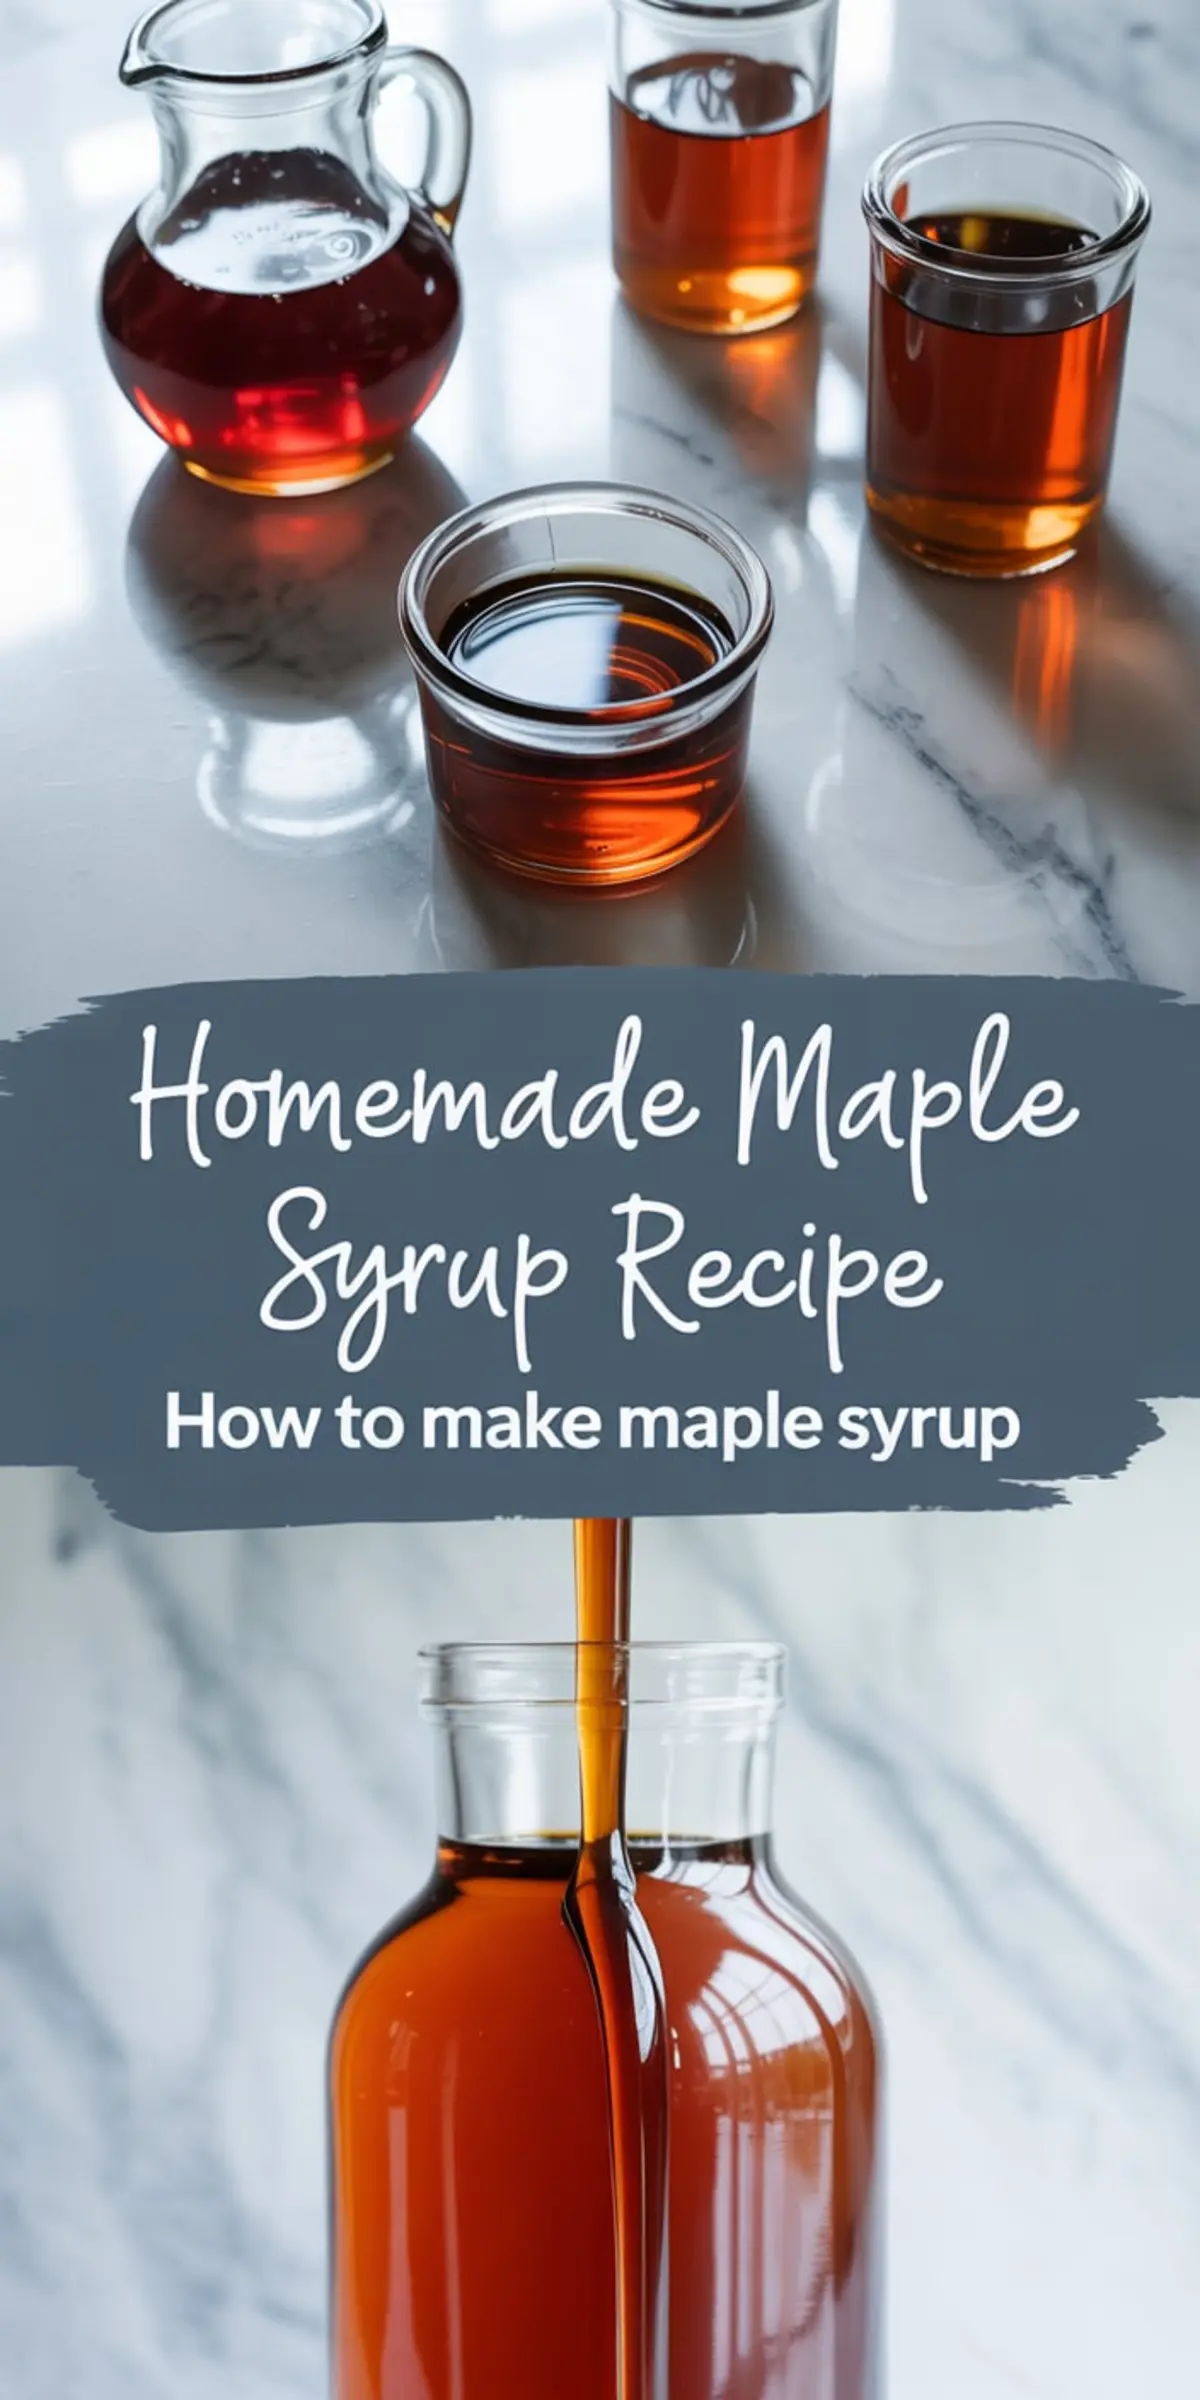
That first pour into the jar is always satisfying. Deep gold with just a hint of steam. The syrup catches light like morning sun.
If it thickens in the fridge, just reheat it gently.
Comparison You’ll Want to Know: Brown Sugar Type Matters
Here’s something I’ve noted over the years.
Light brown sugar will give you a smoother, lighter-bodied syrup. It’s gentle, especially good for breakfast syrups.
Dark brown sugar adds more intensity and a darker hue. I use it when I want the syrup to stand out in baked goods.
I’ve made this syrup with both, and they serve different moods. For pancakes, I go light. For glazing roasted carrots or finishing Maple Brown Sugar Oatmeal, I reach for dark.
Both work. The choice depends on where you plan to use the syrup.
Serving Suggestions That Actually Help
This syrup pours smoothly over pancakes, waffles, and French toast. But don’t stop there.
Add a spoonful to warm oatmeal. Use it to sweeten homemade granola or mix into yogurt. Brush it on bacon slices before baking.
It also adds flavor depth to fall desserts. Try it drizzled over this Brown Sugar Maple Cookies recipe just after baking for a glossy finish.
Pair it with Maple Frosting and spread it over warm cake layers. The flavor holds, even under heat.
Storage Tips You’ll Actually Use
Store your maple syrup in the refrigerator, covered tightly. I prefer glass, but a clean squeeze bottle works too.
It keeps for up to two weeks, sometimes longer. If it thickens too much, warm it gently on the stovetop or in a hot water bath.
I’ve had batches last longer, but I always do a smell check before using. Sugar preserves well, but it still needs care.
If you want a soft spread instead of a pourable syrup, try this Maple Butter Recipe. It spreads beautifully on toast and biscuits.
Homemade Syrup Should Taste Like You Made It
There’s a certain satisfaction in standing at the stove and stirring something simple but meaningful. This syrup offers that.
It doesn’t come from a bottle, and it doesn’t pretend to. It tastes like something you made with your hands. Because you did.
Once you’ve done it once, you’ll find excuses to make it again. You’ll spot pancakes in your future, or imagine brushing this over baked apples.
You’ll also remember how quick it was.
Fifteen minutes. That’s all it takes.
Save This Maple Syrup Recipe to Pinterest and Share Your Notes
If you plan to make this soon, save it to your board so it’s ready when you need it.
Have questions? Tried something different? Share in the comments. I read every one, and I’d love to hear how it worked in your kitchen.
Let’s keep the conversation going. Good food always starts there.
Homemade Maple Syrup
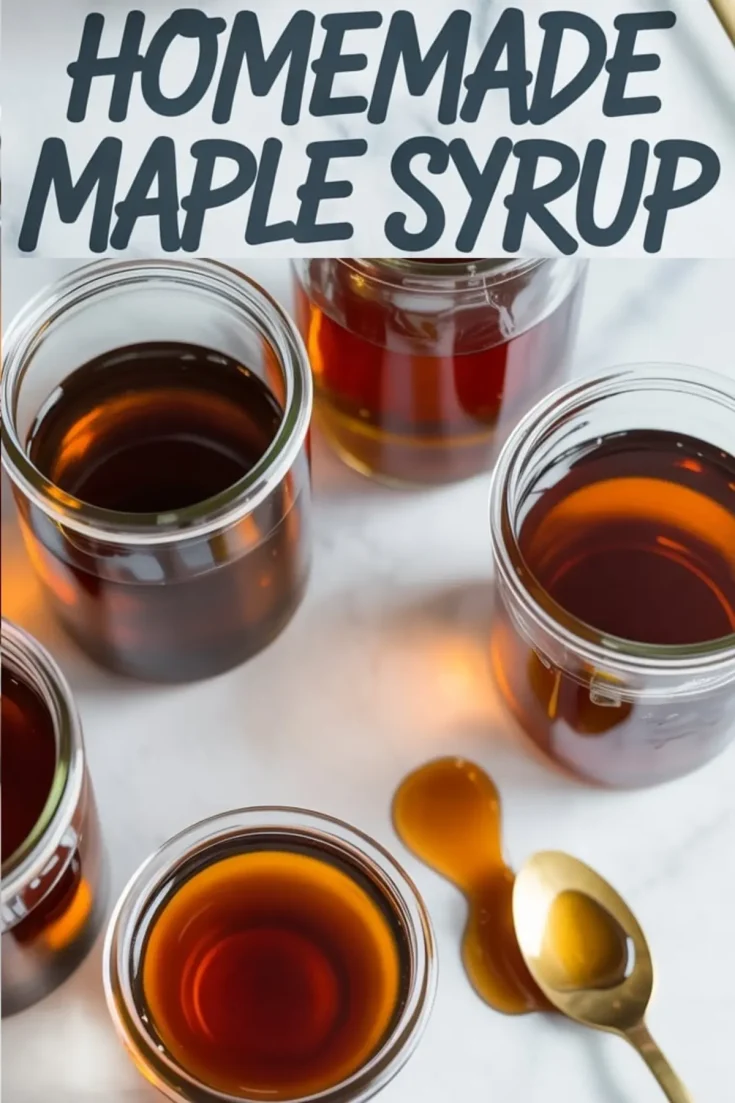
Maple syrup recipe is a simple way to bring handcrafted flavor to your table. I simmer sap into a rich, sweet homemade maple syrup that tastes nothing like the store-bought kind. Some call it homemade maple syrup easy or even DIY maple syrup, but the method is straightforward and rewarding. If you’ve ever wondered how to make maple syrup at home, this guide shows the steps clearly. I’ve tried other homemade syrup recipes, but maple syrup is the one that feels the most special. From pancakes to desserts, it adds warmth and depth to everything. Among maple syrup recipes, this one highlights the process while keeping the flavor pure and classic.
Ingredients
- 1 cup brown sugar
- 1/2 cup white granulated sugar
- 1 cup water
- 1 teaspoon maple extract
- 1/2 teaspoon vanilla extract (optional)
- Pinch of salt
Instructions
- COMBINE THE SUGARS AND WATER: In a medium saucepan, stir together the brown sugar, white sugar, and water until fully combined.
- BRING TO A BOIL: Set the saucepan over medium-high heat and cook until the mixture reaches a gentle boil, stirring occasionally to prevent sticking.
- SIMMER UNTIL THICKENED: Reduce the heat and let the syrup simmer for 7–10 minutes, stirring occasionally. The mixture will slightly thicken as it cools, so avoid overcooking.
- ADD THE EXTRACTS: Remove the saucepan from the heat. Stir in the maple extract and vanilla extract (if using), then add a pinch of salt and mix until fully incorporated.
- COOL AND STORE: Let the syrup cool for 10–15 minutes before transferring it to a clean glass jar or bottle. The syrup will continue to thicken slightly as it cools.
Notes
Store in the refrigerator for up to 2 weeks. Reheat gently if it thickens too much in the fridge.
Nutrition Information
Yield
2Serving Size
1Amount Per Serving Calories 543Total Fat 0gSaturated Fat 0gTrans Fat 0gUnsaturated Fat 0gCholesterol 0mgSodium 97mgCarbohydrates 140gFiber 0gSugar 139gProtein 0g