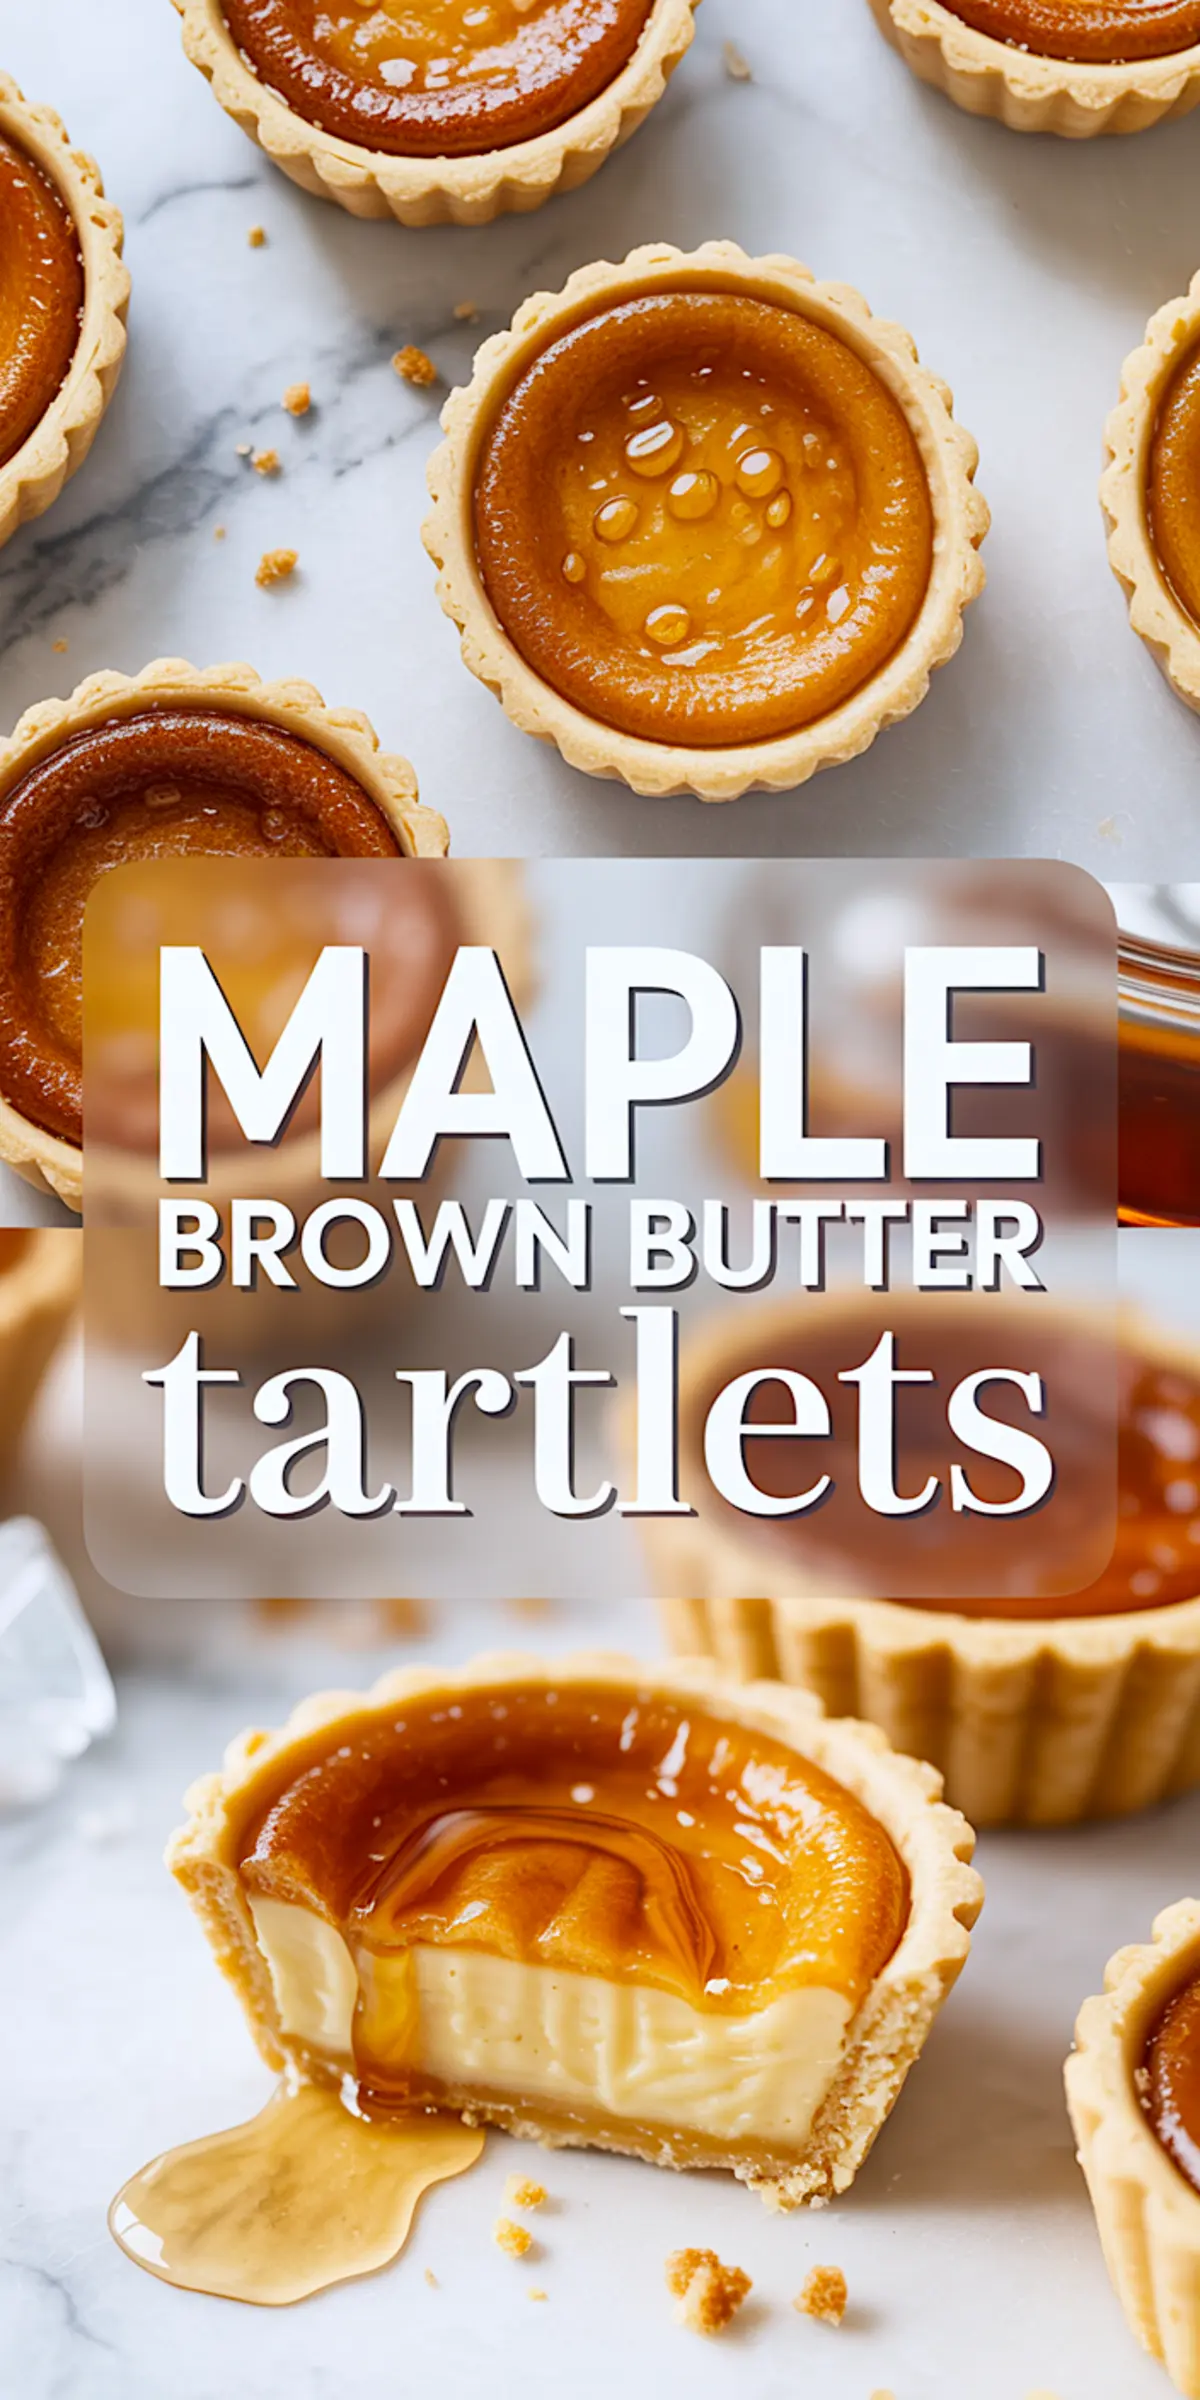
These maple brown butter tartlets deliver the classic richness of Canadian butter tarts with an extra layer of depth from browned butter and a crisp homemade tart shell. Each bite blends a smooth maple butter tart filling with the flaky snap of a golden tart crust. This recipe creates a standout addition to fall gatherings, maple desserts tables, or any tray of mini tarts.

Brown Butter Changes Everything
Butter is essential in a classic tartlet. But browning it transforms the flavor entirely. It takes just a few minutes of heat to bring out its toasted, caramel-like notes. When added to the maple syrup base, that golden richness takes over the entire tartlet.
You’ll know you’ve browned it enough when the milk solids turn golden and you smell a nutty aroma, something like toasted hazelnuts or shortbread fresh from the oven. It’s tempting to stop early, but a few more seconds make all the difference.
If you’re short on time, you can use plain melted butter, but the tartlets lose their character without that brown butter layer. It’s subtle, but it sets this recipe apart from most butter tarts.
What Each Ingredient Contributes
The crust starts with all-purpose flour for structure and powdered sugar for a soft, melt-in-your-mouth bite. A pinch of salt balances the sweetness. Cold butter ensures flaky layers in each mini tart shell. The egg yolk adds richness and helps bind the dough without making it too firm. Ice water is just enough to hold it all together without overworking the flour.
The filling blends brown butter, dark maple syrup, light brown sugar, eggs, cream, and vanilla. The syrup provides sweetness and depth, while the cream softens the texture. A pinch of salt cuts through the sugar and balances the bite. These aren’t as cloying as some maple brown sugar crinkle cookies but still have that same seasonal warmth.
Step-by-Step Guide with Tips
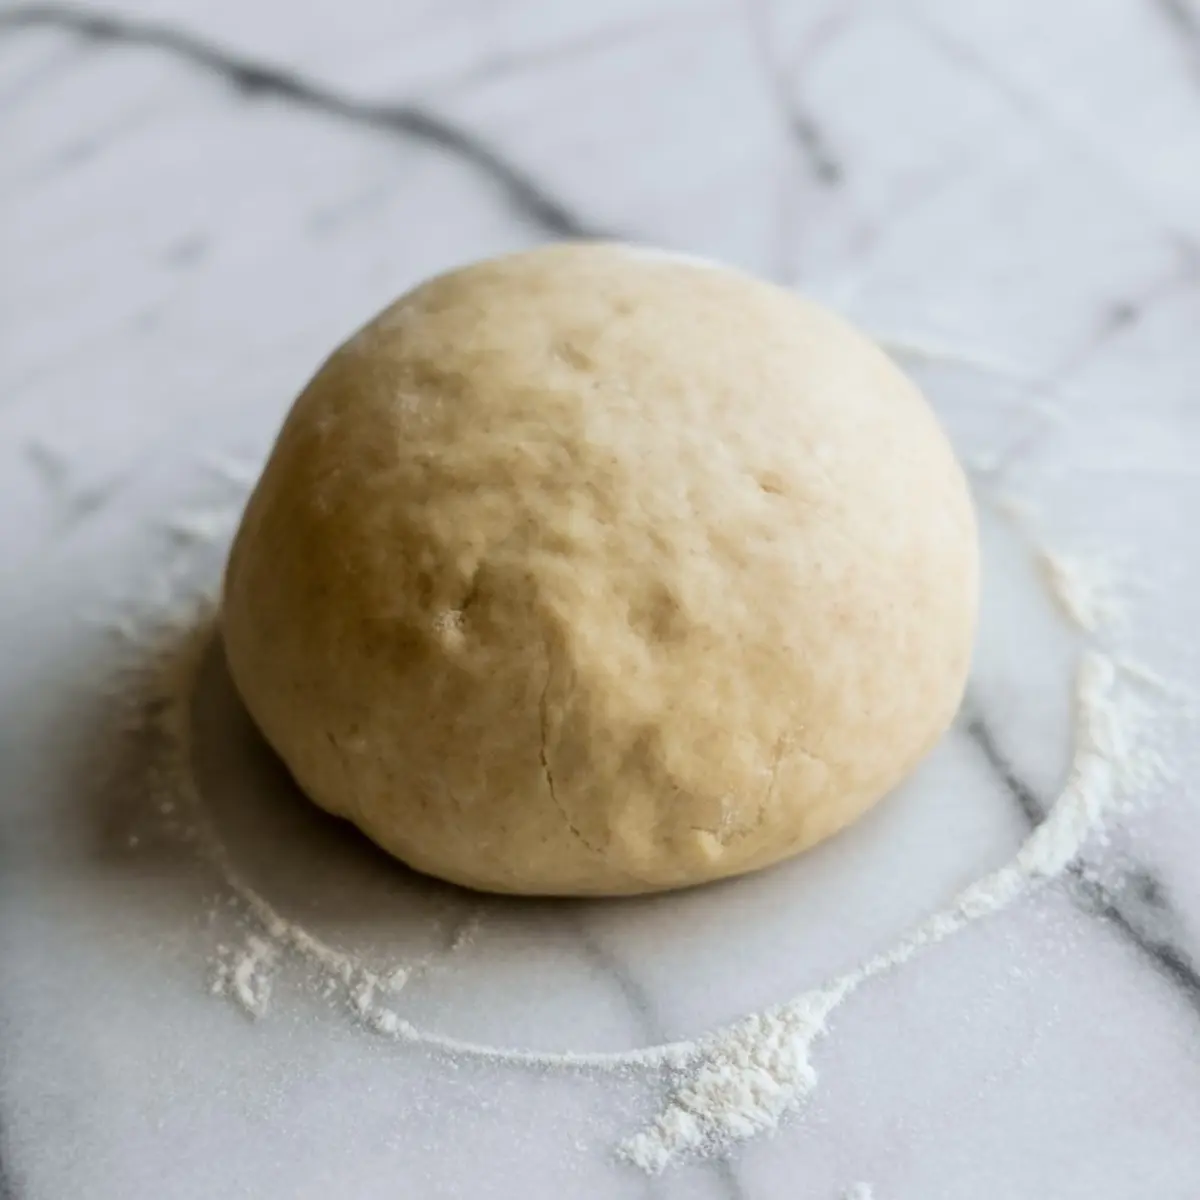
Once the tartlet dough chills, it rolls out easily without cracking. Press it into your mini tart tins gently, then chill again before baking. That second chill helps the crust hold its shape and prevents slumping in the oven.
Par-baking is essential. It sets the crust enough to hold the filling without going soggy. As it cools, brown the butter for the filling. Watch it closely. It turns fast. Remove from heat as soon as you see golden specks at the bottom.
Whisk the rest of the filling until smooth before slowly adding the warm butter. Pour carefully into the tart shells, filling almost to the top. Leave a bit of room so it doesn’t overflow when baking. These puff just slightly in the oven.
If you’re unsure about fill levels or shell thickness, test one tartlet first. It helps to prevent cracking or underbaking, which can happen with delicate maple brown sugar thumbprint cookies too.
How to Know They’re Baked Just Right
You’ll know the tartlets are done when the filling has puffed slightly and the tops lose their wet shine. They should still jiggle faintly in the center but not ripple. The edges may pull away slightly from the shell.
Overbaking causes cracks and a dry texture. Underbaking leaves them runny and hard to remove from the tin. For accuracy, set a timer for 18 minutes and check every minute after that. Your nose will also tell you—once you smell warm maple and butter, they’re nearly ready.
Common Issues and Simple Fixes
If the crust shrinks, the dough was likely too warm or stretched while pressing. Chill it longer before baking.
If the filling separates or curdles, the brown butter was added too hot. Let it cool for at least 5 minutes.
Cracks on top suggest overbaking or oven temperature running too hot. Check your thermometer and reduce bake time next batch.
If the crusts are pale and soft, extend the par-bake by 2 minutes before filling.
How to Store and Reheat
At room temperature, these keep well for two days in an airtight container. In the fridge, they last up to four.
To freeze, wrap each cooled tartlet in plastic and store in a zip bag for up to one month. Thaw in the fridge overnight before serving.
Reheat in a 300°F oven for 5 minutes if you like them slightly warm. The crust crisps back up without drying the filling.
Practical Tips from Testing
Use Grade A dark maple syrup. The light grades get lost in the filling.
Tart pans with removable bottoms make release easier. But silicone molds also work.
Brown the butter just once. Don’t try to reheat it if it cools. It can burn easily the second time.
Make the tart shells a day ahead if needed. They hold up well in the fridge and bake more evenly when cold.
Avoid thin crust edges. They bake too fast and may overbrown before the filling sets.
Save This Recipe
Save this maple brown butter tartlets recipe to your fall baking board. These little tartlets deserve a spot at your next gathering.
Let me know in the comments how yours turned out or if you tried any twists. I always love hearing your baking stories.
Maple Brown Butter Tartlets
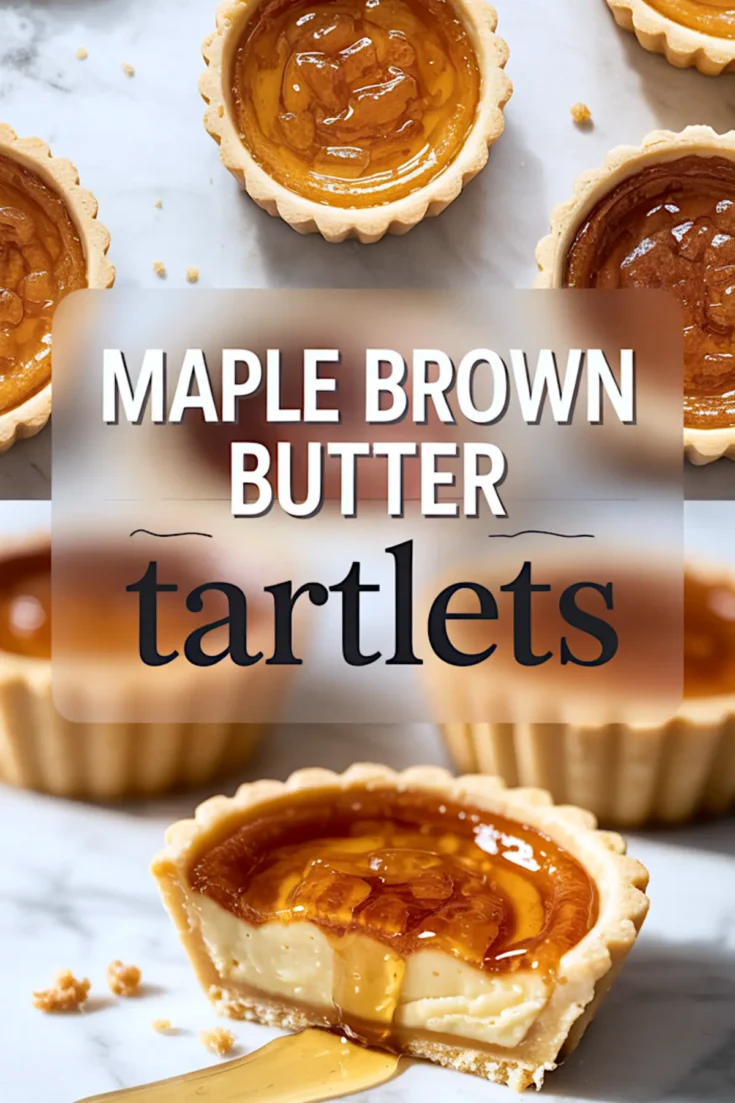
These Maple Brown Butter Tartlets combine the deep, nutty flavor of brown butter with a smooth butter tart filling, all baked into crisp tart shells for an indulgent bite-sized treat. Inspired by the classic Canadian dessert, this recipe adds a seasonal twist using real maple syrup for rich flavor in every mini tart. Perfect for serving at fall gatherings or holiday dessert tables. If you’re a fan of maple tarts, butter tarts, or elegant maple desserts, these are a must-try.
Ingredients
- FOR THE TARTLET SHELLS
- 1 ½ cups all-purpose flour
- ½ cup powdered sugar
- ¼ teaspoon salt
- ½ cup unsalted butter, cold and cubed
- 1 large egg yolk
- 1 to 2 tablespoons ice-cold water
- FOR THE MAPLE BROWN BUTTER FILLING
- ½ cup unsalted butter
- ½ cup pure maple syrup (Grade A dark recommended)
- ½ cup packed light brown sugar
- 2 large eggs
- 1 teaspoon vanilla extract
- ⅓ cup heavy cream
- Pinch of salt
Instructions
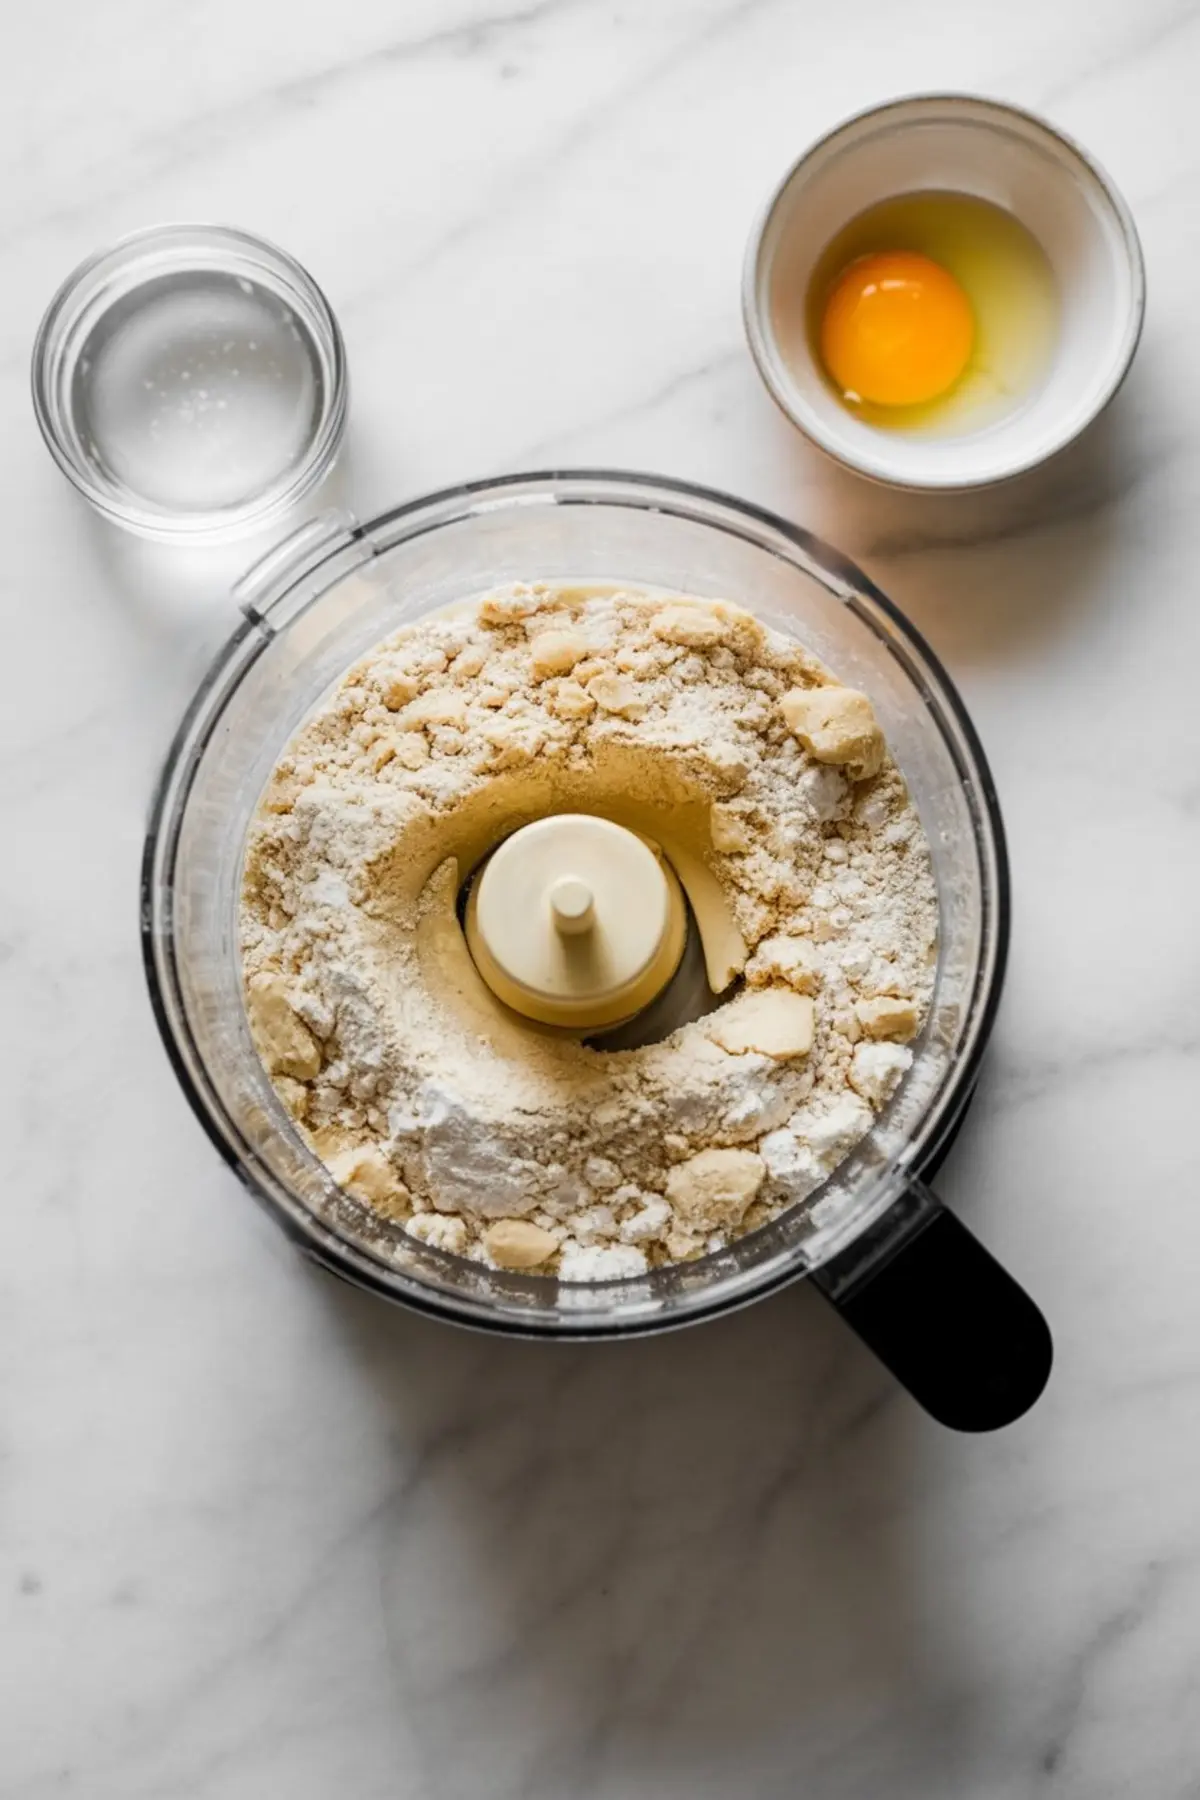
- MAKE THE TARTLET SHELLS: In a food processor, combine flour, powdered sugar, and salt. Pulse to mix evenly.
- CUT IN BUTTER: Add cold, cubed butter to the processor and pulse until the mixture looks like coarse crumbs with small visible butter pieces.
- ADD EGG YOLK AND WATER: Add the egg yolk and one tablespoon of ice water. Pulse until the dough begins to come together. Add an additional tablespoon of water if needed, just until it holds together when pressed.
- CHILL DOUGH: Turn the dough out onto a sheet of plastic wrap. Form into a ball, then flatten into a disc. Wrap and chill for at least 30 minutes.
- ROLL AND SHAPE: Roll out chilled dough on a lightly floured surface to about ⅛-inch thickness. Cut rounds to fit tartlet tins and gently press into each tin, trimming excess edges.
- CHILL SHELLS: Place shaped tartlet shells in the refrigerator for 15 minutes. Meanwhile, preheat the oven to 350°F (175°C).
- PARBAKE SHELLS: Prick the bottoms of the tartlet shells with a fork. Bake for 10 minutes until just lightly golden. Remove from oven and set aside to cool slightly.
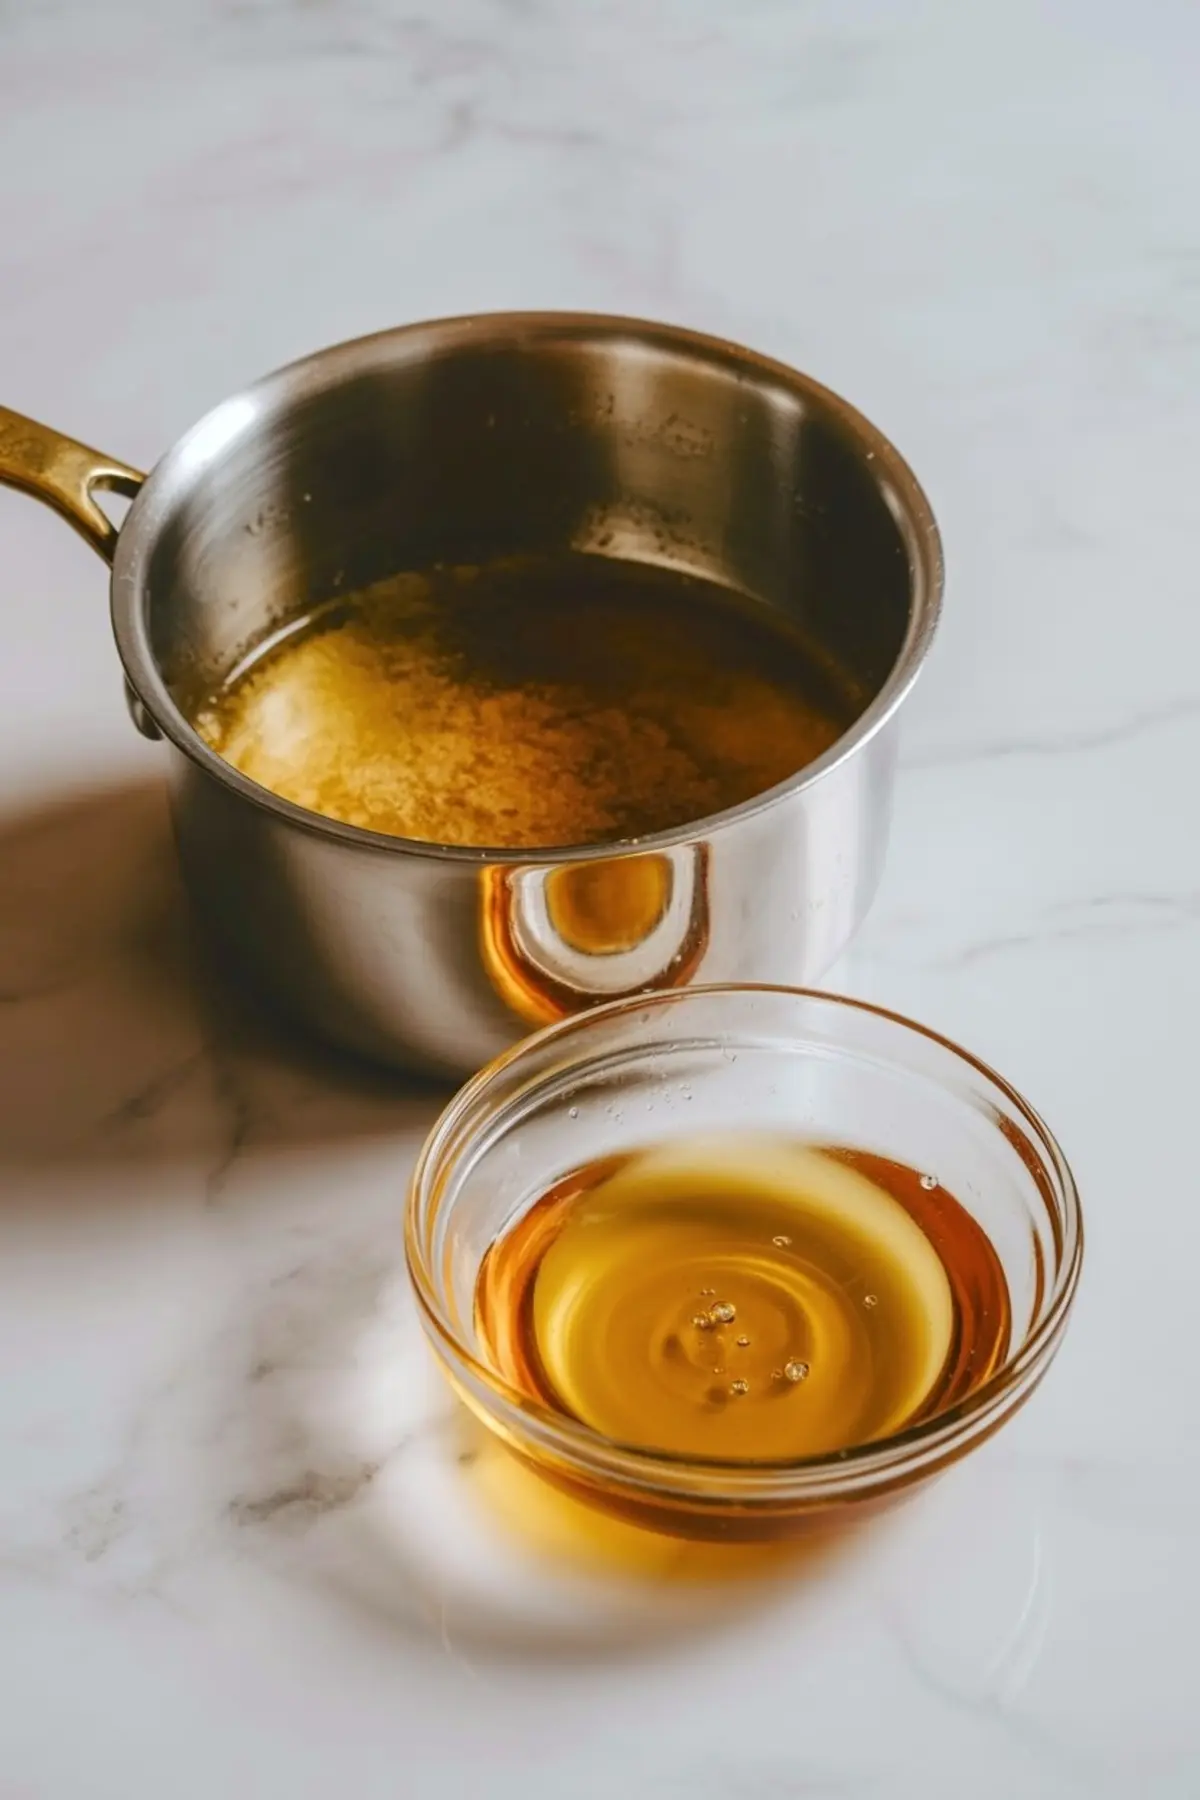
- BROWN THE BUTTER: In a small saucepan, melt the butter over medium heat. Stir constantly until the butter foams and golden brown bits form on the bottom. Once browned and fragrant, remove from heat and pour into a bowl to cool slightly.
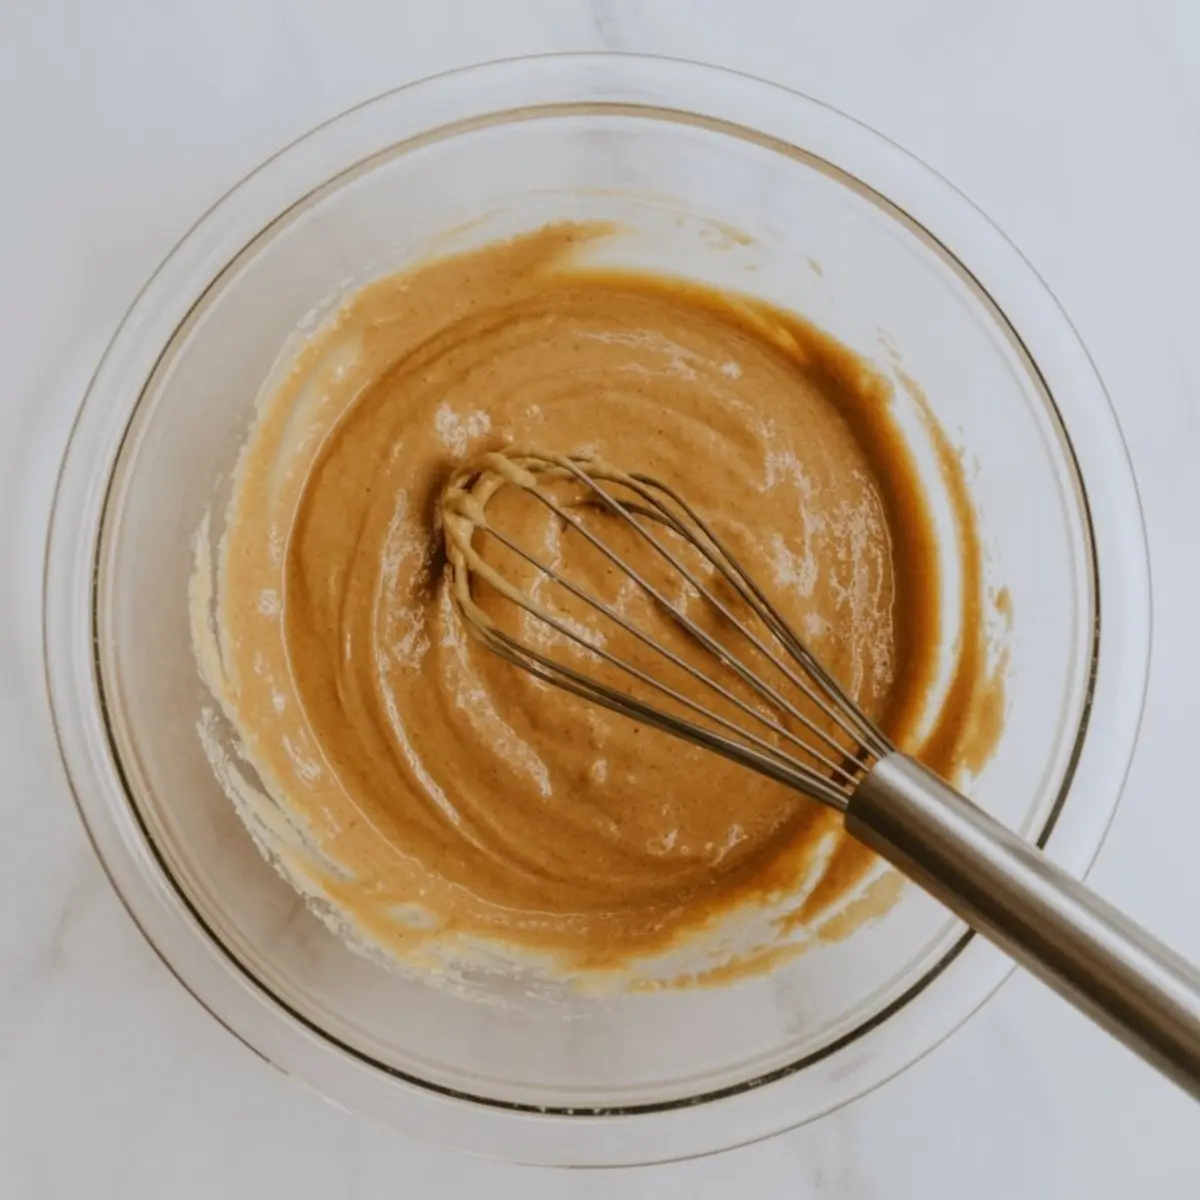
- MAKE THE FILLING: In a mixing bowl, whisk together maple syrup, brown sugar, eggs, vanilla extract, heavy cream, and a pinch of salt until smooth.
- ADD BROWN BUTTER: Slowly drizzle the slightly cooled brown butter into the filling mixture while whisking continuously. Whisk until fully combined and smooth.
- FILL TARTLETS: Pour the filling into the pre-baked tartlet shells, filling nearly to the top but leaving a small gap to prevent overflow.
- BAKE: Bake at 350°F (175°C) for 18 to 22 minutes, or until the filling is puffed and just set in the center. The tops should be golden and slightly firm.
- COOL AND SERVE: Allow tartlets to cool completely in the tins before removing. Serve at room temperature.
Notes
Grade A dark maple syrup gives a stronger maple flavor and works best in this recipe. Tartlet shells can be made ahead and stored in the refrigerator for one day or frozen for up to one month.
Nutrition Information
Yield
12Serving Size
1Amount Per Serving Calories 340Total Fat 20gSaturated Fat 13gUnsaturated Fat 8gCholesterol 99mgSodium 205mgCarbohydrates 36gFiber 0gSugar 26gProtein 3g