
Maple fudge has always reminded me of the moment when summer finally gives in. You feel it in the wind, you smell it in the kitchen, and suddenly you’re standing over the stove stirring something that feels like a ritual. This recipe brings all of that into one pan: soft, creamy maple candy made without a candy thermometer, using ingredients you likely already have.
You’ll learn how to make old-fashioned maple fudge that slices clean, tastes deep, and sets without graininess. No thermometer. No special tools. And no second-guessing. I’ve made this enough to know where things can go wrong and what makes it consistently good. You’ll leave with more than just a recipe. You’ll leave with confidence.

Following a special diet?
Every recipe on this site can be converted to gluten-free, vegan, dairy-free, keto, nut-free or egg-free with adjusted ratios so nothing falls flat.
Try the Recipe Converter →Why This Maple Fudge Deserves a Spot in Your Fall Lineup
This fudge isn’t a background treat. It holds its own next to pies and crisps. It’s soft but firm, rich but not heavy. I like to dress it up with flaky salt or toasted pecans, but even plain, the flavor carries.
You can use it for homemade gifts, dessert platters, or small moments that need something sweet. It’s quicker than making a pie, more forgiving than toffee, and stores well for days without losing quality. If you’re working on a fall dessert board or just looking for something different from cookies or bars, this fits beautifully.
It also sits comfortably alongside other Maple Dessert Recipes. Think Maple Glazed Apple Pie Bars or even Brown Sugar Maple Cookies. This one rounds out the group with soft texture and deep flavor.
Ingredients You’ll Be Working With

The backbone of this recipe is real maple syrup—the dark, amber kind that smells like firewood and tastes like late October. Pair that with brown sugar, heavy cream, butter, and vanilla, and you get a fudge base that sets with a creamy bite. A pinch of salt balances it all.
I’ve tested this with Grade A Amber and Grade A Dark. The difference is noticeable. Amber gives you a lighter, caramel finish. Dark creates something deeper and more memorable. I reach for Grade A Dark when I want the maple flavor to stand out.
For a variation, try a batch with chopped walnuts for a nod to traditional Maple Walnut Fudge Recipes. Or sprinkle sea salt over the top to contrast the sweetness.
Start with the Right Pot and Line Your Pan Well

Choose a heavy-bottomed saucepan. Lightweight pans tend to scorch the sugar at the edges before the mixture is ready. Stir slowly until the sugar dissolves, then stop. Letting the mixture boil undisturbed is part of the structure-building process.

An 8×8 pan lined with parchment gives you neat edges and easy lifting. I always leave extra parchment on two sides, so I can lift and slice the fudge cleanly. It’s a small habit that makes a big difference, especially if you’re planning to gift the fudge.
What to Watch For During Cooking and Beating
Once the mixture boils, it will thicken slowly. After 10 to 12 minutes, it will reach the soft-ball stage. You don’t need a thermometer if you know the signs: the mixture pulls slightly from the edges, and a drop in cold water holds its shape softly.
After you remove it from heat, let it sit for five minutes. Don’t stir yet. This step helps it cool just enough to beat properly. When you do start mixing, go steadily. You’ll feel it change. The shine fades. It thickens. That’s your window to pour and shape it.
In my notes, I’ve found that using a wooden spoon gives a better feel for this change than a hand mixer. You’ll feel the resistance grow in your wrist—that’s your signal.
Pour, Shape, and Choose Your Finish

Work quickly once it’s ready. Pour into the pan and smooth the top fast. The texture starts to firm within minutes.
While the fudge is still soft, add your toppings. Chopped toasted pecans, flaky sea salt, or a swirl of maple glaze all work well. You can keep it plain, but the add-ons give texture contrast.
Once set, slice into neat squares. The edges will be firm but creamy. If stored in an airtight container, it holds for up to a week at room temperature. Refrigeration can extend its life but may alter texture slightly.
You can also freeze individual pieces in wax paper for later. I’ve pulled out frozen slices after two months that still held flavor and bite.
A Quick Note on Cream and Butter Substitutes
If you’ve thought about swapping heavy cream for milk or butter for margarine, I’ve tested both. The texture shifts noticeably. Milk creates a looser set. Margarine adds a greasy finish. The original formula—cream and butter—gives a smooth, clean break and rich mouthfeel. Stick with it for best results.
If you want something loaf-style with maple tones, Maple Glazed Banana Bread might be the better fit.
Serving Tips and Storage Ideas
This fudge pairs well with spiced teas, black coffee, or even a glass of bourbon if you’re serving adults. I’ve layered it into cookie boxes with success, and it holds shape better than soft caramels.
To make it festive, wrap squares in parchment and tie with twine. For parties, cut them smaller—1/2-inch pieces look polished on a dessert tray. If the surface looks dull after a few days, a quick swipe with a warm knife brings back sheen.
Save This Maple Fudge Recipe for Later

You can pin this for your fall dessert board or add it to your collection of Easy Fall Recipes. This is one of those quiet winners that holds its place year after year.
If you make it, I’d love to hear how it turned out for you. Did you try the sea salt? Go plain? Drop a comment below let’s share what worked and what didn’t.
Maple Fudge Recipe
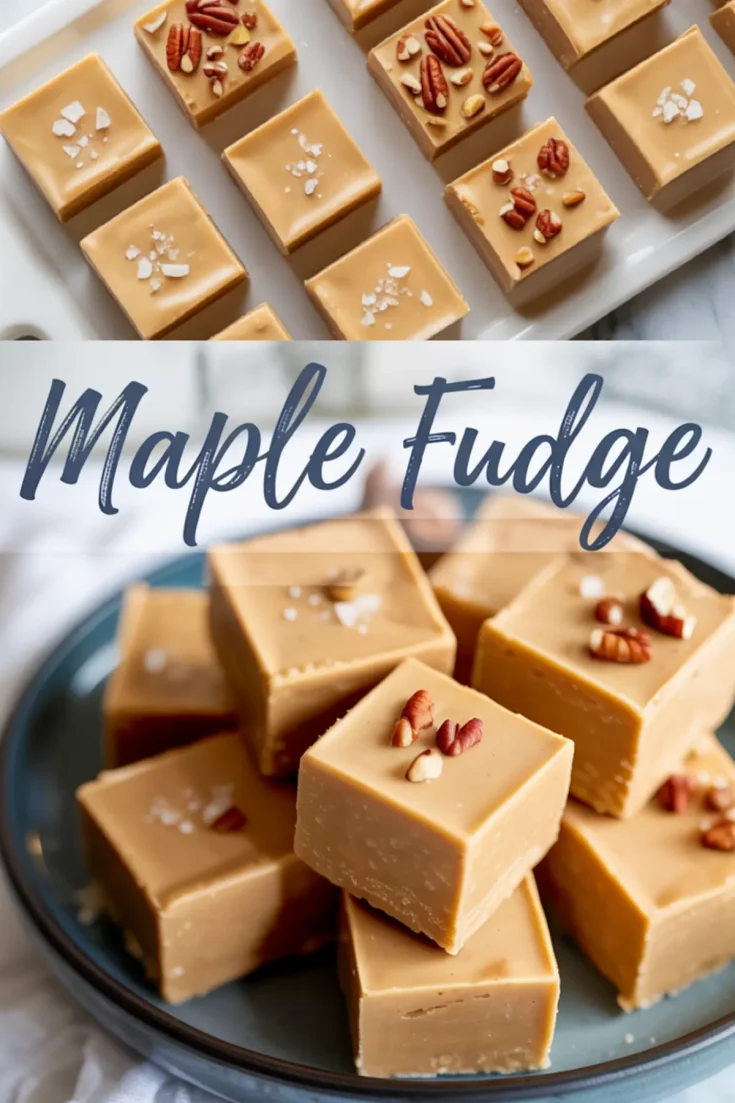
A soft, creamy maple fudge made with real maple syrup and a handful of pantry staples. This classic stovetop recipe comes together without a candy thermometer and sets into smooth, sliceable squares with rich maple flavor. Optional toppings like flaky sea salt or toasted pecans add a personalized finish.
Ingredients
- 1 cup pure maple syrup (Grade A Dark preferred for depth of flavor)
- 1 cup packed light brown sugar
- 1/2 cup heavy cream
- 1/4 cup unsalted butter, cut into cubes
- 1/4 teaspoon salt
- 1 teaspoon vanilla extract
- Optional toppings: Flaky sea salt, chopped toasted pecans, walnuts, or a light maple glaze drizzle
Instructions
- PREPARE THE PAN: Line an 8x8-inch square baking dish with parchment paper, leaving an overhang on the sides to make it easier to lift the fudge after it sets.
- COOK THE FUDGE MIXTURE: In a medium heavy-bottomed saucepan, combine maple syrup, brown sugar, heavy cream, and salt. Stir over medium heat until the sugar fully dissolves into the mixture.
- BRING TO A BOIL: Once the sugar dissolves, stop stirring and allow the mixture to come to a gentle boil. Let it cook undisturbed for 10–12 minutes until it reaches the soft-ball stage (about 235°F/113°C). The mixture will thicken and start to pull away slightly from the edges of the pan.
- REMOVE FROM HEAT AND STIR IN BUTTER AND VANILLA: Take the saucepan off the heat and immediately add the butter and vanilla extract. Let the mixture sit without stirring for about 5 minutes to cool slightly.
- BEAT THE MIXTURE: Using a wooden spoon or hand mixer, beat the fudge mixture vigorously for around 5 minutes until it thickens and loses its glossy appearance. It should become matte and start to hold its shape as you stir.
- POUR AND SET: Quickly pour the fudge into the prepared pan and spread it evenly using a spatula. If desired, sprinkle the top with flaky sea salt or chopped nuts while still soft.
- LET IT COOL: Let the fudge cool at room temperature for at least 3–4 hours, or refrigerate to speed up the process. Once firm, lift it from the pan using the parchment paper and cut into 1-inch squares for serving.
Notes
Use high-quality pure maple syrup (not pancake syrup) for the best flavor. Grade A Dark provides the richest maple taste. If the mixture isn’t beaten long enough, the fudge may not set properly—look for the glossy sheen to disappear as your cue.
Nutrition Information
Yield
36Serving Size
1Amount Per Serving Calories 69Total Fat 3gSaturated Fat 2gTrans Fat 0gUnsaturated Fat 1gCholesterol 7mgSodium 35mgCarbohydrates 12gFiber 0gSugar 11gProtein 0g