There’s a kind of hush in the kitchen when this pear tart comes out of the oven. It’s not flashy. It doesn’t call for elaborate folding or candy thermometers. But it has presence.
If you’ve wanted a pear dessert that walks the line between rustic and refined, this is it. You’ll learn how to make a pear tart from scratch with a buttery crust, gently sweetened pear slices, and a delicate glaze that catches the light just enough to turn heads at the table.
The method is straightforward. The results feel special.
You won’t need pastry school. You’ll just need a little patience, a few firm pears, and your favorite tart pan.
Following a special diet?
Every recipe on this site can be converted to gluten-free, vegan, dairy-free, keto, nut-free or egg-free with adjusted ratios so nothing falls flat.
Try the Recipe Converter →Why This Pear Tart Stands Out from Other Fruit Tarts
This tart tastes like late September. The kind of dessert I turn to when apples are crowding the market, but pears are quietly ripening in the next bin.
Most fresh pear recipes lean too heavy on sugar or overdo the spice. This one respects the fruit. The crust supports the filling without overpowering it. A swipe of apricot jam at the end gives it a soft shine and light sweetness that highlights—not hides—the pears.
If you’ve ever made my Pear Cream Cheese Crisp, you’ll recognize the balance here too. It’s gentle, clean, and buttery.
Ingredients That Build a Balanced Pear Tart
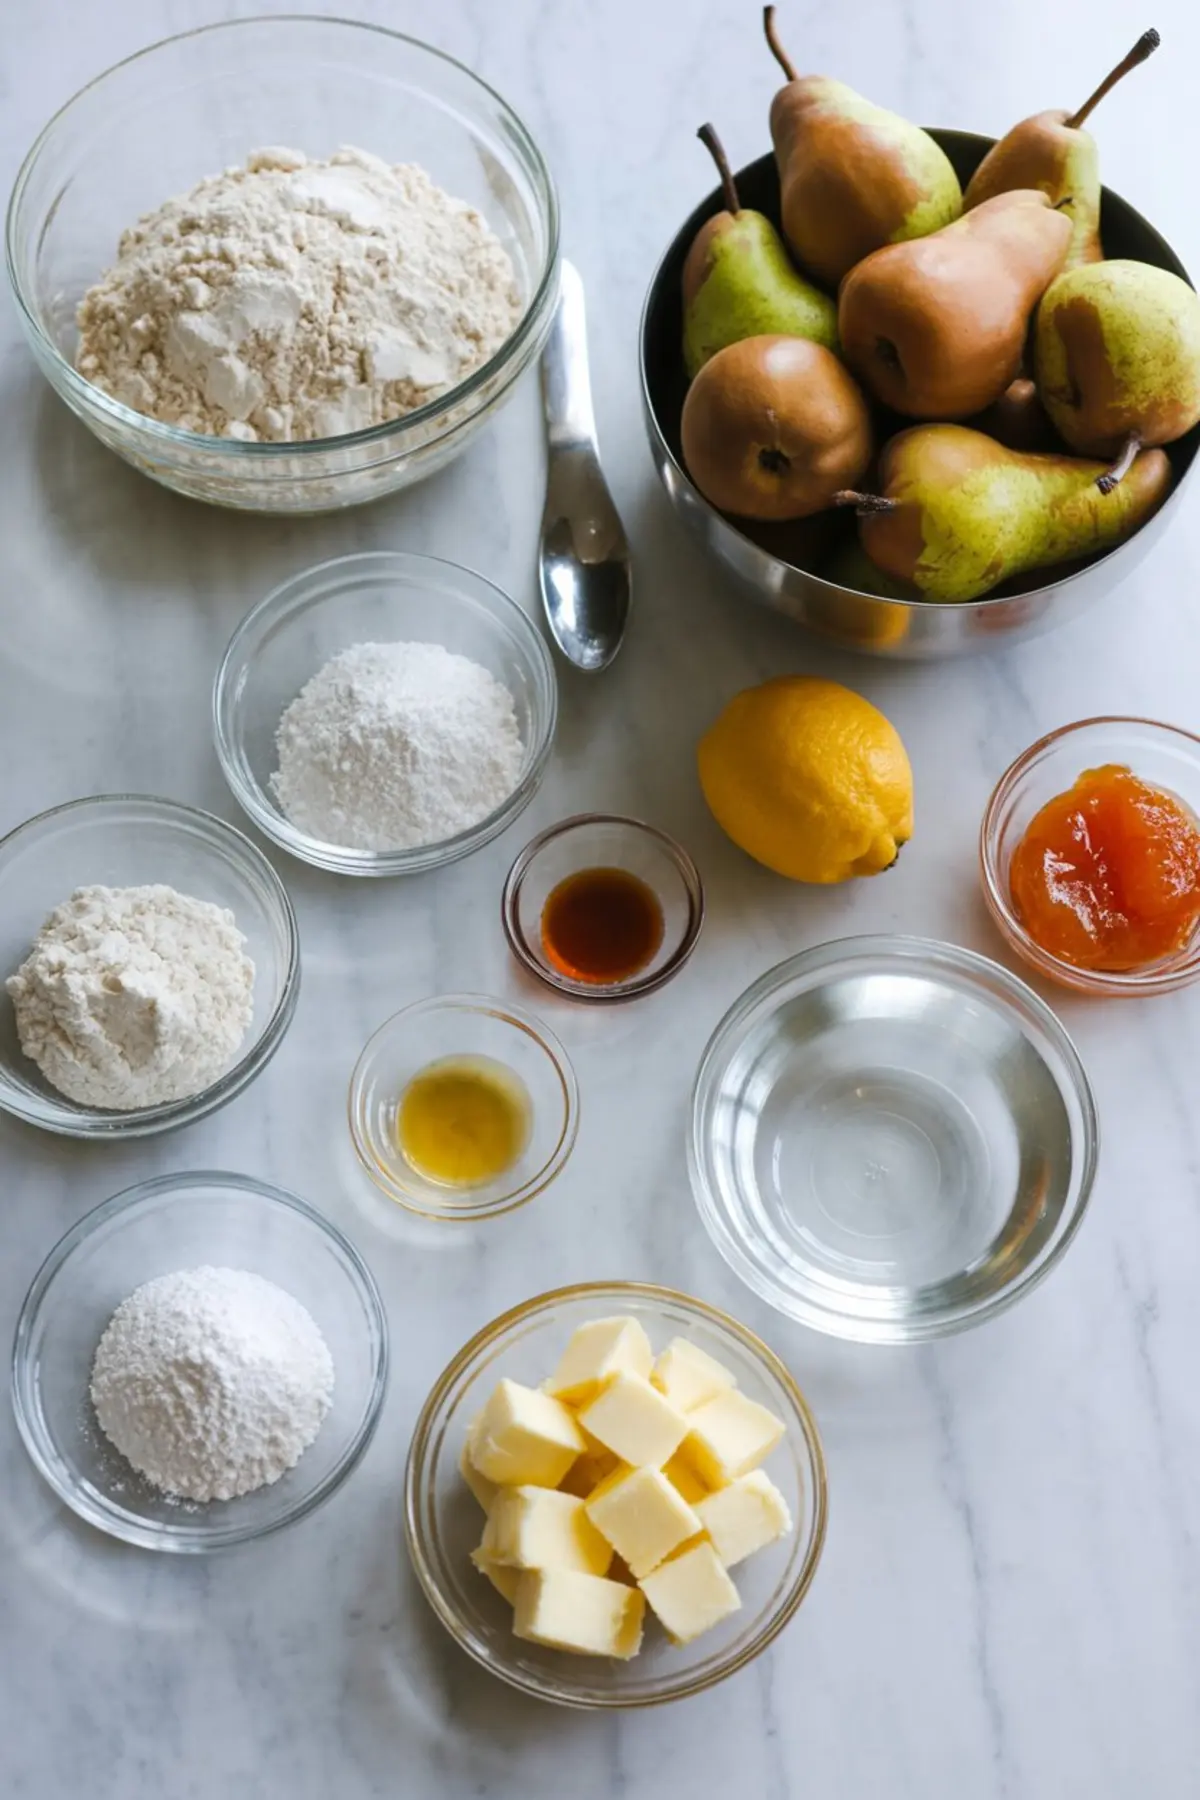
This tart crust uses powdered sugar instead of granulated, which gives it a smoother bite. It melts on the tongue but still holds up beneath the juicy pears.
I’ve tested both Bosc and Bartlett varieties. Bartletts slice easier and soften sooner in the oven, which works well here. Bosc pears stay firm longer, so if you prefer slices with a little bite left, go with those.
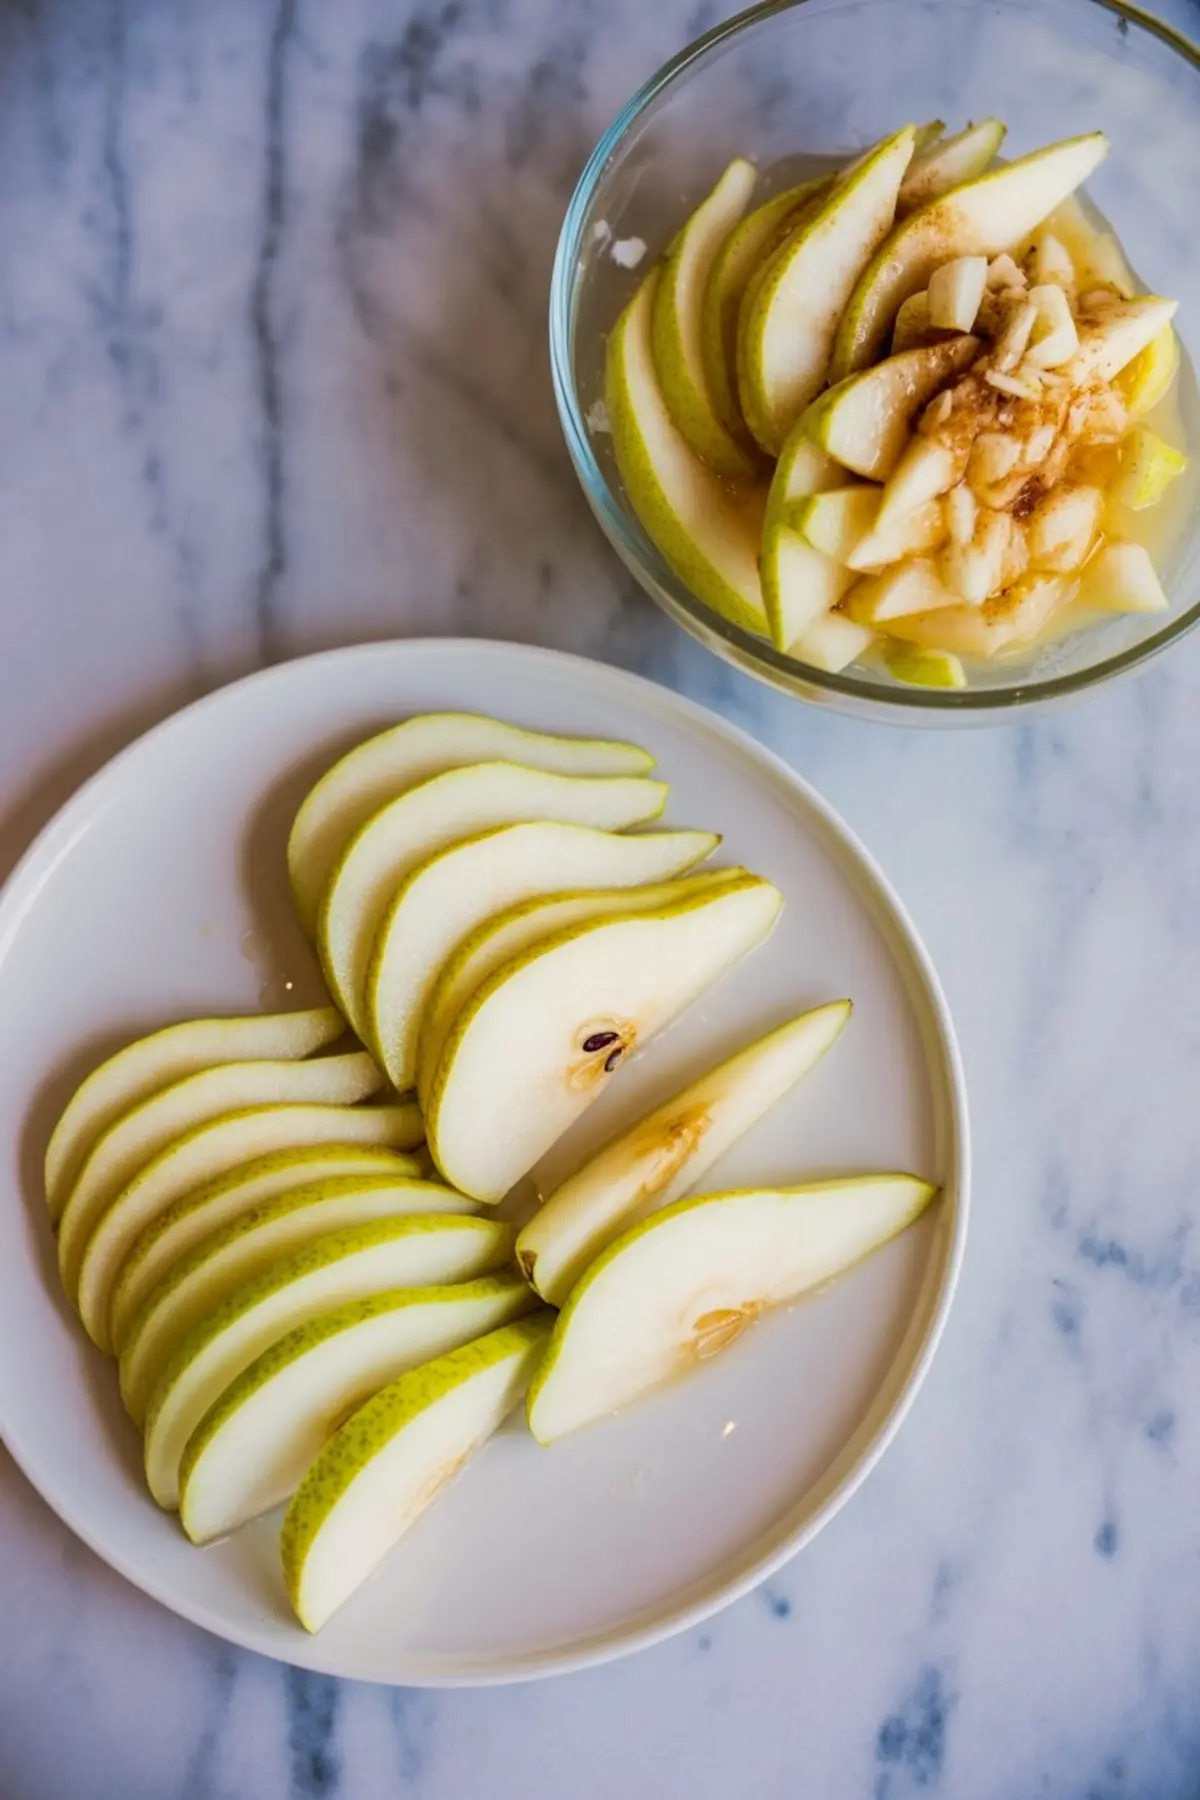
Add the lemon juice right after slicing. That step does more than prevent browning—it brightens the flavor and lifts the subtle floral notes that often get buried in baked pears.
A touch of vanilla brings warmth. Cinnamon is optional, and I tend to skip it unless I’m baking for someone who insists on it. Pears don’t need much help.
For the glaze, I alternate between apricot jam and honey. Apricot gives a clearer shine, while honey adds a golden hue. In my notes, I’ve marked apricot as the better choice for flavor neutrality.
Comparison: Apricot Jam vs. Honey for the Glaze
Both will make the tart shine, but they behave slightly differently in taste and appearance.
I’ve glazed the tart with both. Apricot jam gives a translucent, bakery-style finish. It lets the pears keep their color and adds just a whisper of tartness.
Honey, on the other hand, brings a slightly thicker gloss and soft golden tint. The flavor reads deeper—almost floral. It works beautifully in the winter months, especially with spiced variations of this tart.
If your pears are already sweet, go with apricot. If they need a boost, honey brings warmth.
Assembling and Baking Your Pear Tart
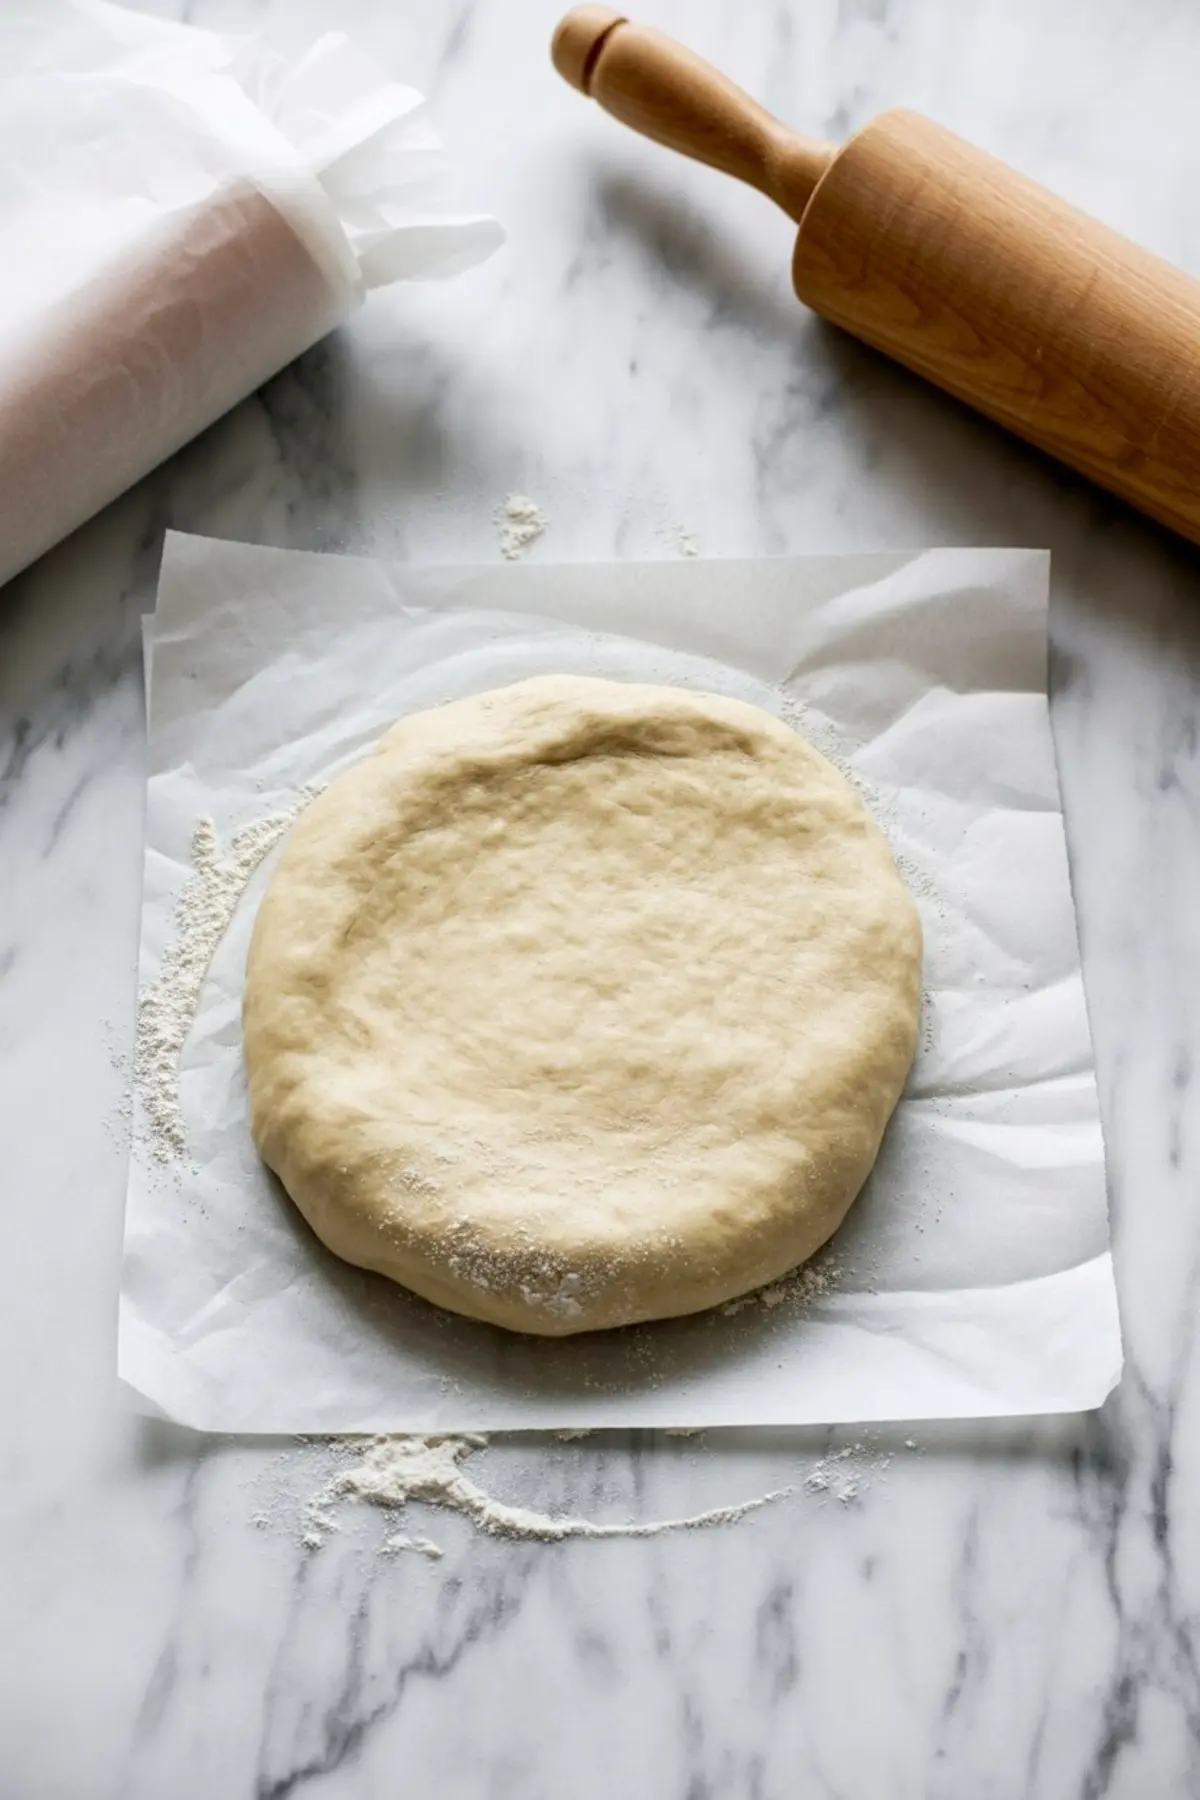
Start with a cold tart dough. That’s what gives the crust structure. Once you’ve rolled it and pressed it into the pan, pre-baking is key. Without that step, the filling can sink the base.
Use pie weights or dried beans for the first bake. Don’t skip them, or you’ll end up with air bubbles or uneven texture.
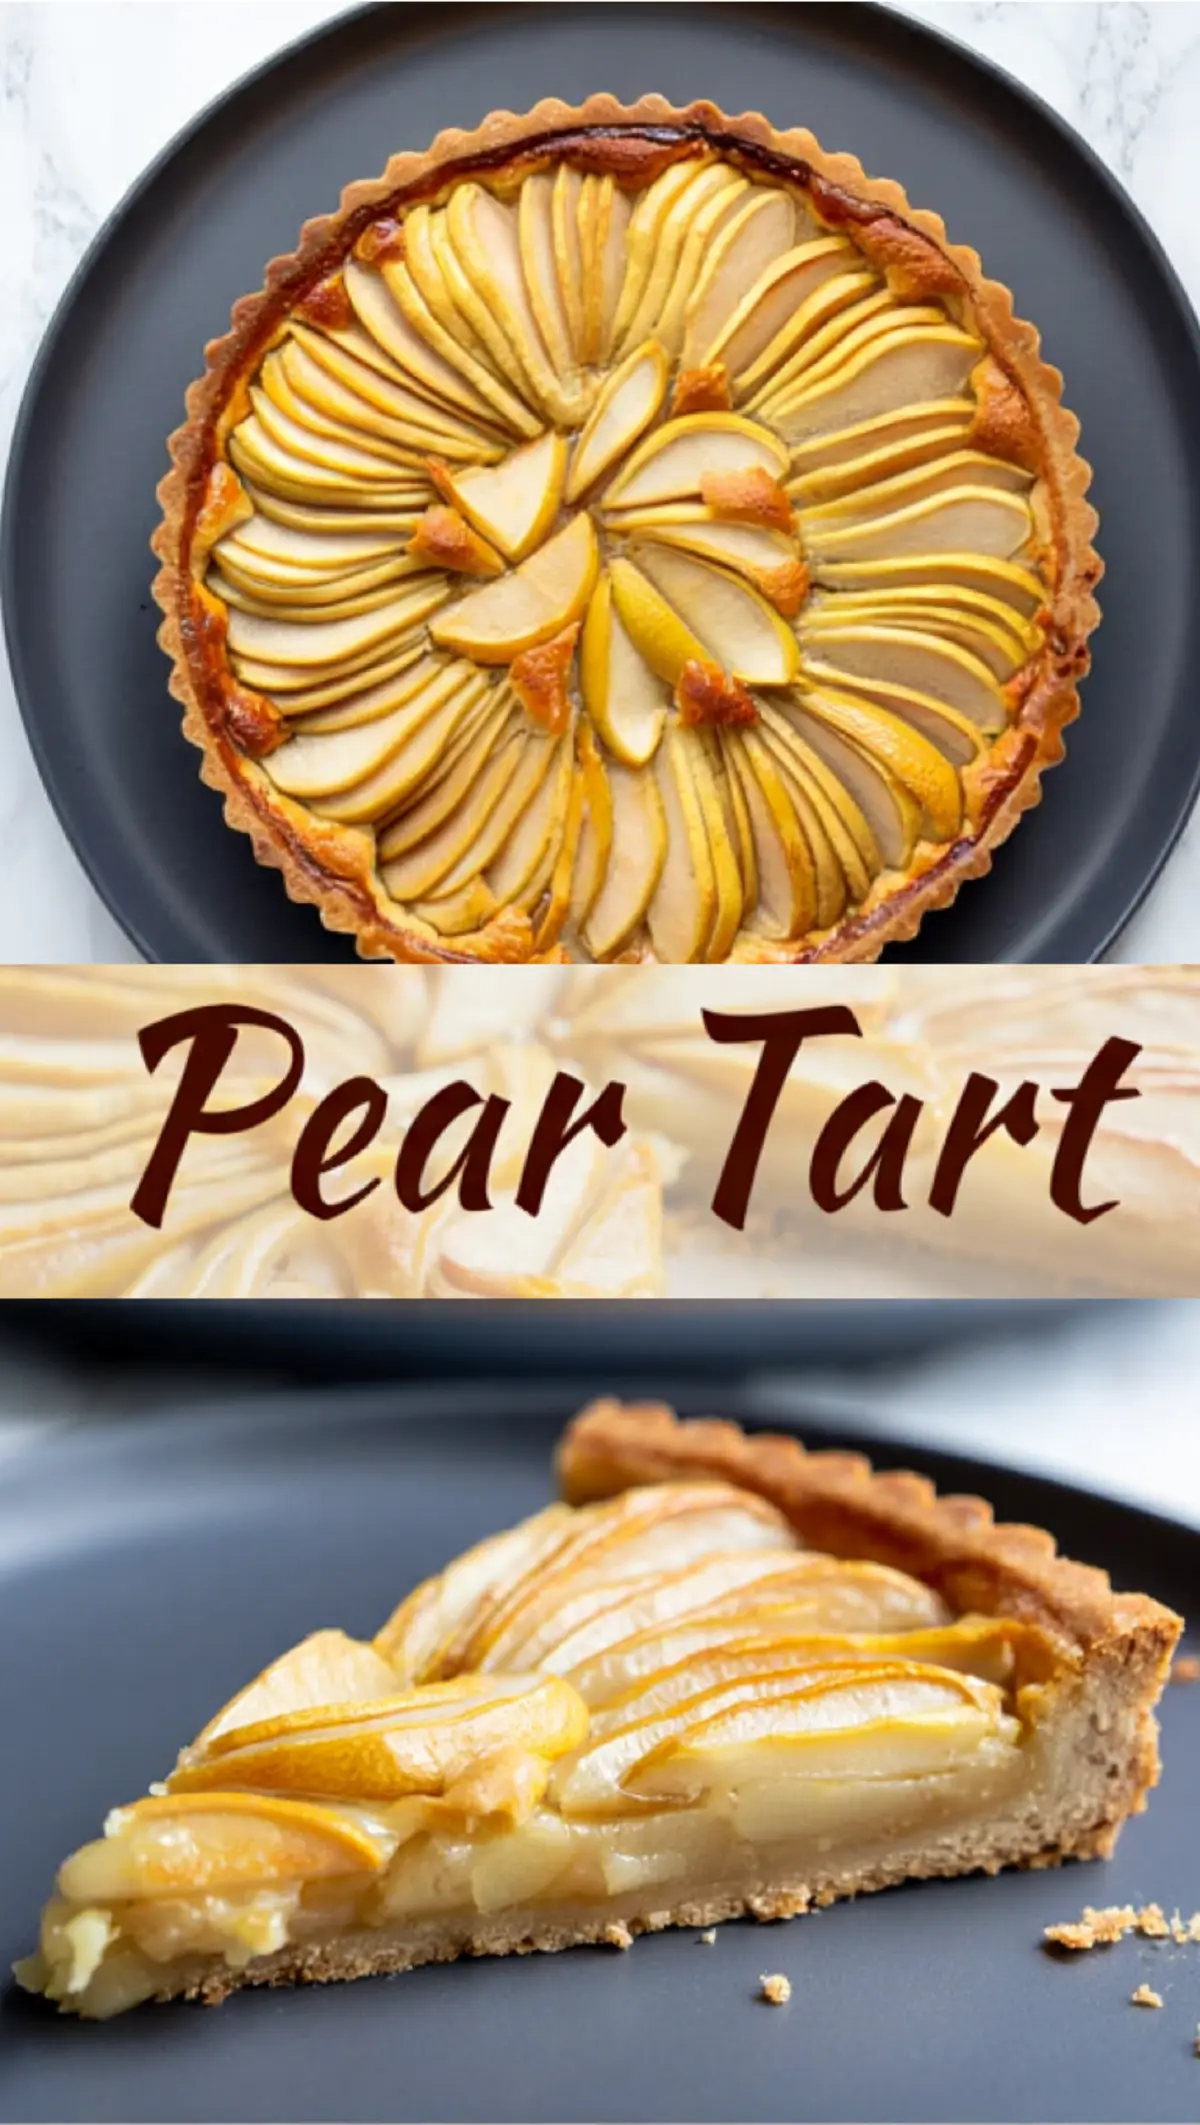
Once the crust cools, layer the pear slices. I like to arrange them in spirals, overlapping each other slightly. It creates a natural pattern and bakes evenly.
Let the scent guide you more than the timer. The edges should just start to turn gold. The pears should look softened but still hold their shape.
Once out of the oven, brush the glaze while the tart is still warm. It soaks in slightly and sets to a soft sheen.
This is the same technique I use in my Pear Cake when I want a clean finish that doesn’t overpower the crumb.
Serving and Storing Your Pear Tart
I’ve served this at room temperature with chamomile tea. I’ve also sliced it cold from the fridge the next morning with Greek yogurt and a drizzle of maple syrup.
The tart keeps well for two days on the counter, lightly covered. Beyond that, store it in the fridge—but let it sit out for twenty minutes before serving again. That softens the butter in the crust and wakes up the texture.
This tart doesn’t need whipped cream or ice cream. But a small scoop of vanilla gelato beside a warm slice doesn’t hurt.
If you’re looking for another fresh idea using pears, I’d recommend my Pear Salad—especially if you’ve got a few ripe ones left that don’t quite hold their shape.
Fresh Variations and Easy Adaptations
This recipe works as a base for several pear dessert recipes. You can easily swap in puff pastry to turn it into a pear puff pastry dessert-style galette.
It’s also an approachable alternative to a pear tarte Tatin if you’re not ready to flip a hot pan.
If you’re experimenting with frangipane or almond fillings, this tart crust will hold up beneath the weight. Just reduce the number of pears slightly so the filling doesn’t overflow.
Related Recipes You Might Like
• Pear Salad – A fresh counterpoint to the tart’s sweetness
• Pear Cake – Moist and buttery with caramelized edges
• Pear Cream Cheese Crisp – More rustic but just as rewarding
Let’s Stay Connected
Save this pear tart recipe to your Pear Dessert Recipes Easy board so you can find it when the pears start piling up.
And if you bake it, I’d love to hear what you used for the glaze—or how you arranged the slices. Leave a comment below and share your version. I always check the notes.
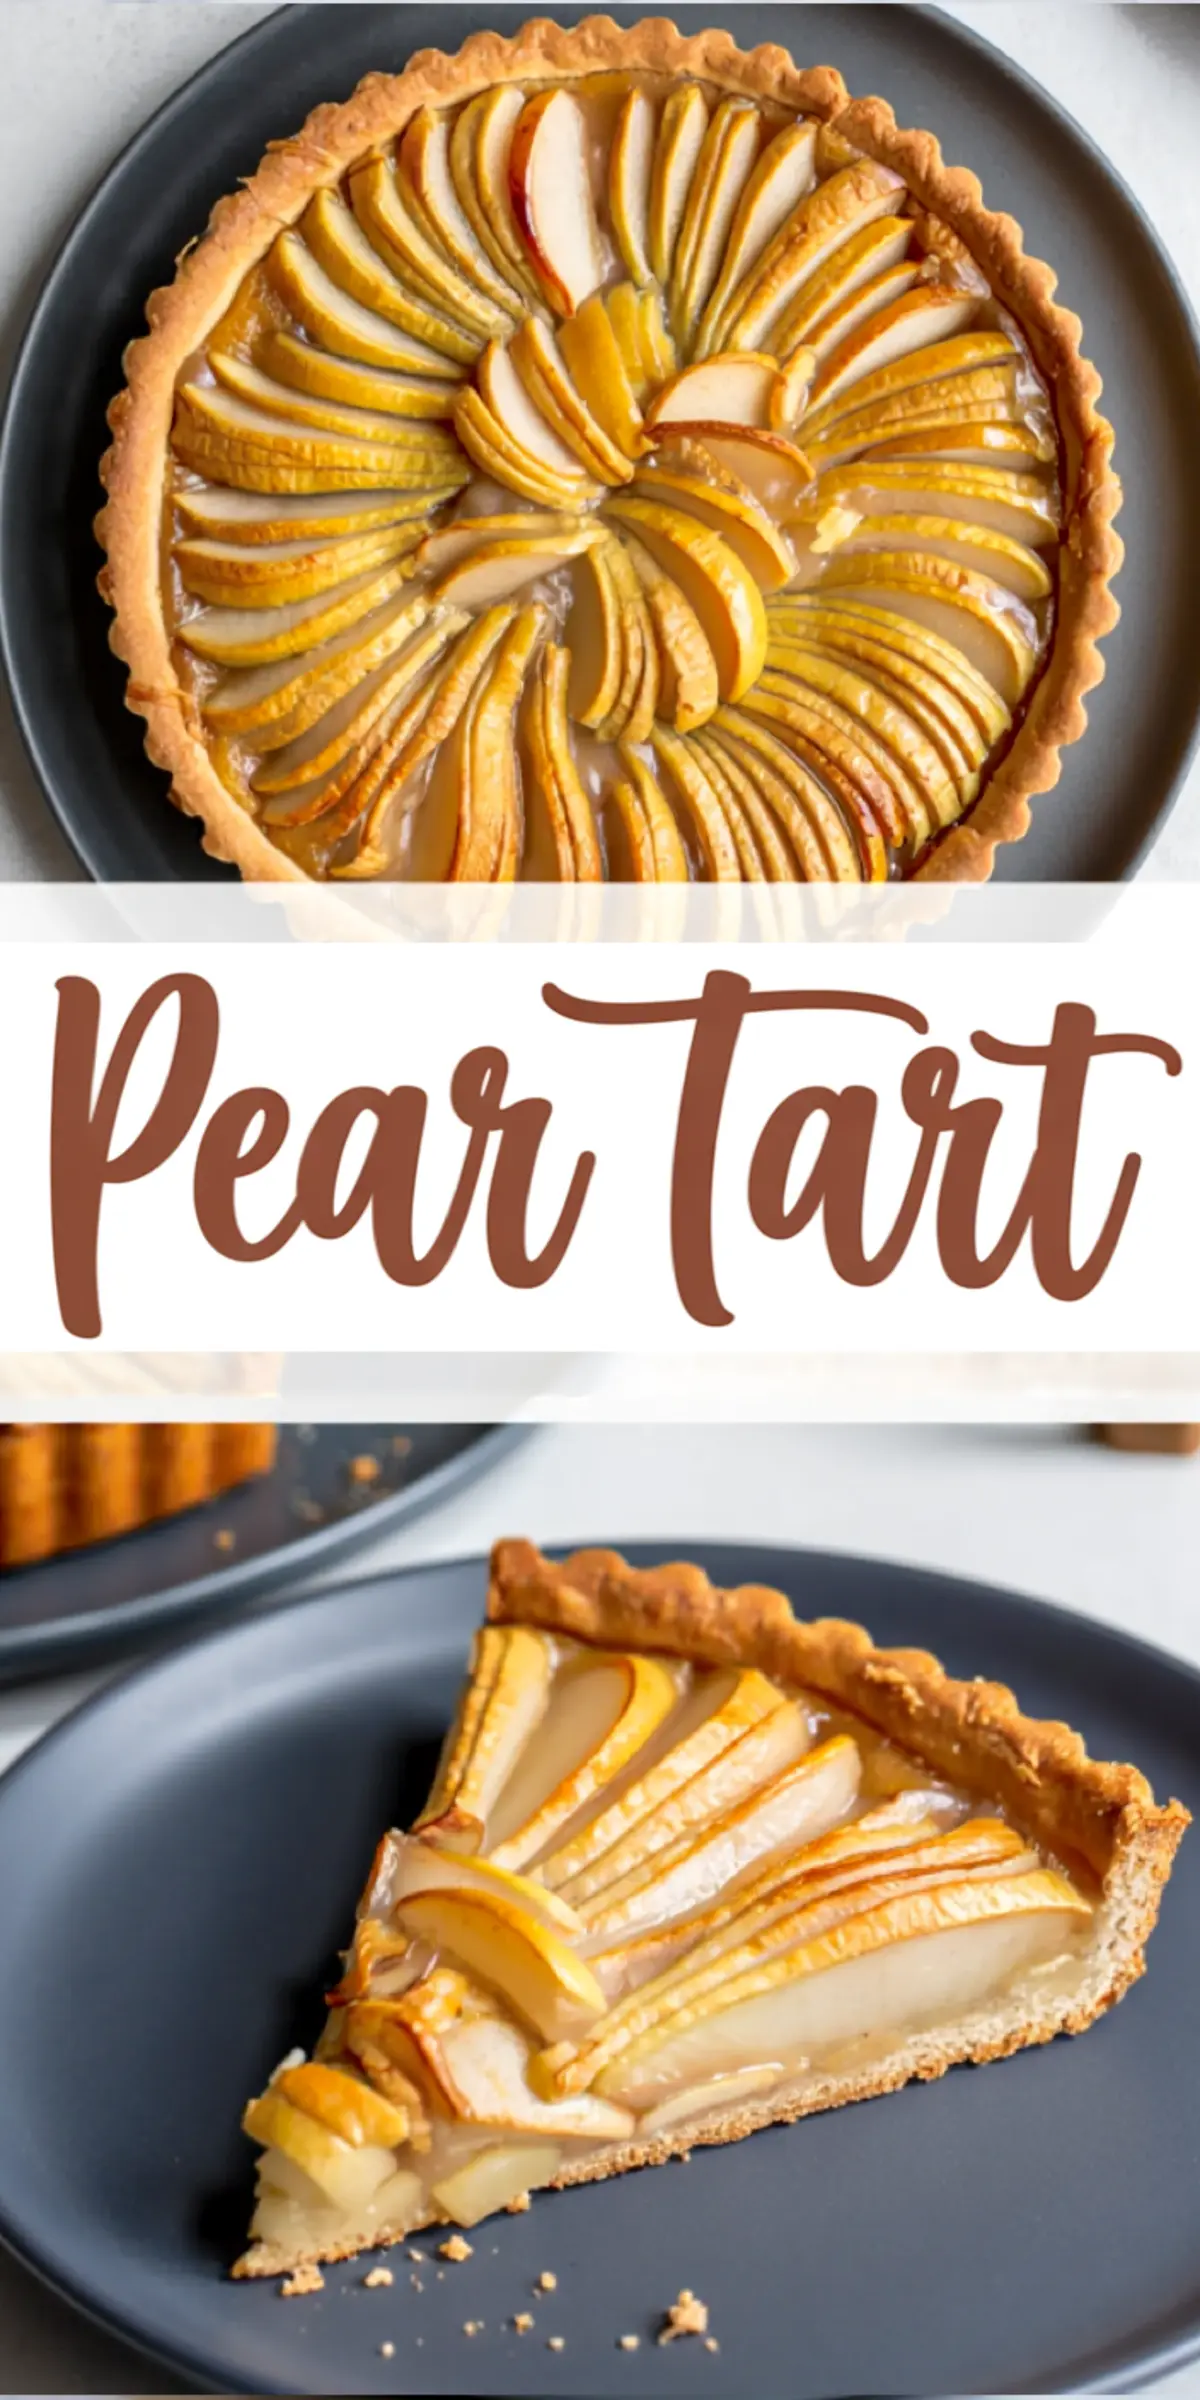
Pear Tart Recipe
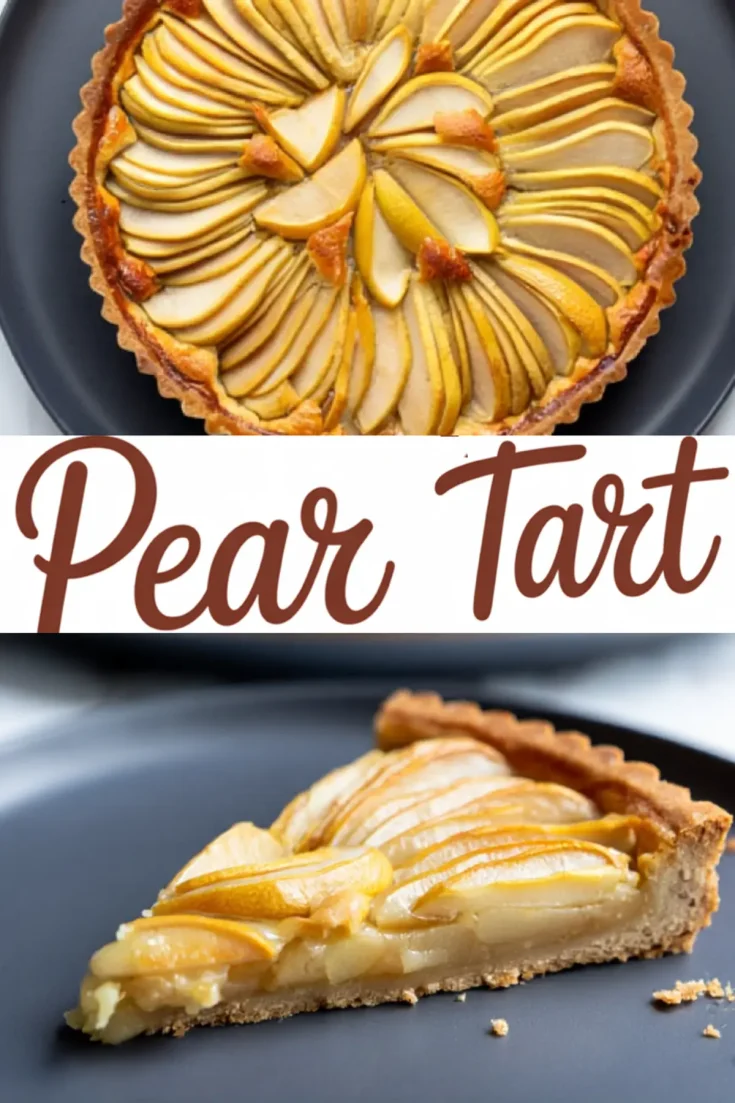
A rustic pear tart pairs crisp, buttery pastry with tender slices of ripe pears and a glossy fruit glaze. The tart features a simple crust made from scratch and a filling of lightly sweetened, spiced pears. It’s finished with a thin layer of warmed apricot jam or honey for added sweetness and shine. Serve it at room temperature with coffee or tea.
Ingredients
- FOR THE CRUST
- 1 1/4 cups (160g) all-purpose flour
- 1/4 cup (30g) powdered sugar
- 1/2 tsp salt
- 1/2 cup (113g) cold unsalted butter, cut into small cubes
- 1 egg yolk
- 2–3 tbsp ice water
- FOR THE FILLING
- 3–4 ripe but firm pears (Bosc or Bartlett work well)
- 1 tbsp lemon juice
- 2 tbsp granulated sugar
- 1/2 tsp cinnamon (optional)
- 1 tsp vanilla extract
- 1 tbsp all-purpose flour
- FOR THE GLAZE
- 2 tbsp apricot jam or honey
- 1 tsp water
Instructions
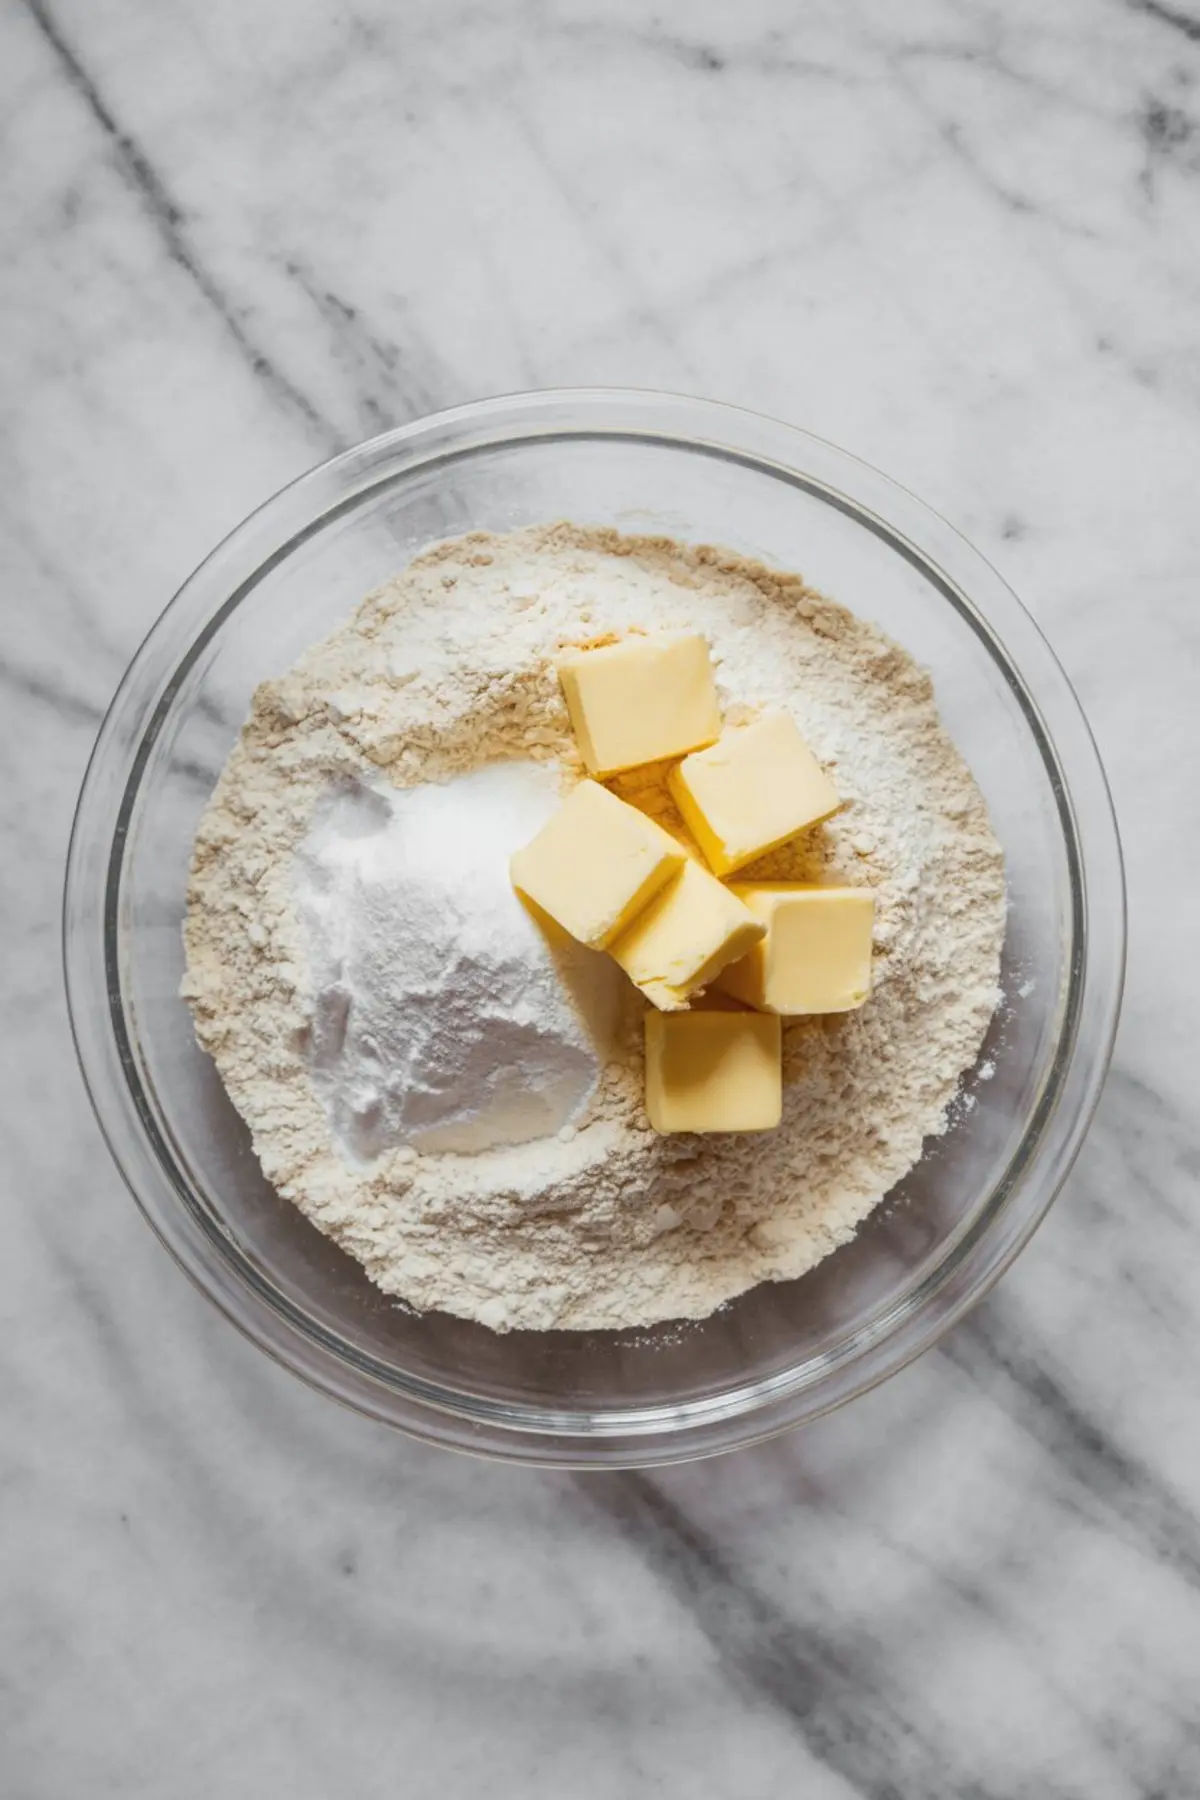
- MAKE THE TART CRUST: In a mixing bowl, whisk together the flour, powdered sugar, and salt. Add the cold butter cubes and cut them into the flour using a pastry blender or fingertips until the mixture resembles coarse crumbs. Add the egg yolk and stir to combine. Drizzle in the ice water, one tablespoon at a time, mixing just until the dough comes together. Turn the dough out onto a floured surface, shape it into a flat disk, wrap it in plastic, and refrigerate for 30 minutes.
- ROLL OUT AND PRE-BAKE THE CRUST: Preheat the oven to 375°F (190°C). On a lightly floured surface, roll the chilled dough into a 10-inch round. Transfer it to a 9-inch tart pan with a removable bottom and gently press it into the sides. Trim any excess dough. Prick the bottom with a fork, line the crust with parchment paper, and fill with pie weights or dried beans. Bake for 15 minutes. Carefully remove the parchment and weights, then return the crust to the oven and bake for another 5 minutes until lightly golden. Let the crust cool completely.
- PREPARE THE PEARS: Peel the pears if desired, then core and slice them into thin, even slices about 1/8 inch thick. Place the slices in a bowl and gently toss with the lemon juice, granulated sugar, cinnamon (if using), vanilla extract, and flour until evenly coated.
- ASSEMBLE THE TART: Arrange the pear slices in overlapping concentric circles inside the cooled tart crust, starting from the outer edge and working toward the center. Slightly fan the slices for a decorative look. Bake the tart at 375°F (190°C) for 30 to 35 minutes, or until the pears are tender and the edges are just beginning to brown.
- GLAZE AND FINISH: While the tart is still warm, combine the apricot jam or honey with the water in a small saucepan. Warm over low heat, stirring until smooth and liquid. Using a pastry brush, gently apply the glaze over the surface of the pears to add a glossy finish. Let the tart cool completely in the pan before removing and slicing.
Notes
Use firm but ripe pears for best texture—overripe pears may turn mushy during baking. The glaze helps preserve the fruit’s appearance and adds a subtle sweetness. The tart can be made several hours ahead and served at room temperature.
Nutrition Information
Yield
8Serving Size
1Amount Per Serving Calories 150Total Fat 2gSaturated Fat 1gTrans Fat 0gUnsaturated Fat 1gCholesterol 25mgSodium 152mgCarbohydrates 32gFiber 1gSugar 13gProtein 3g