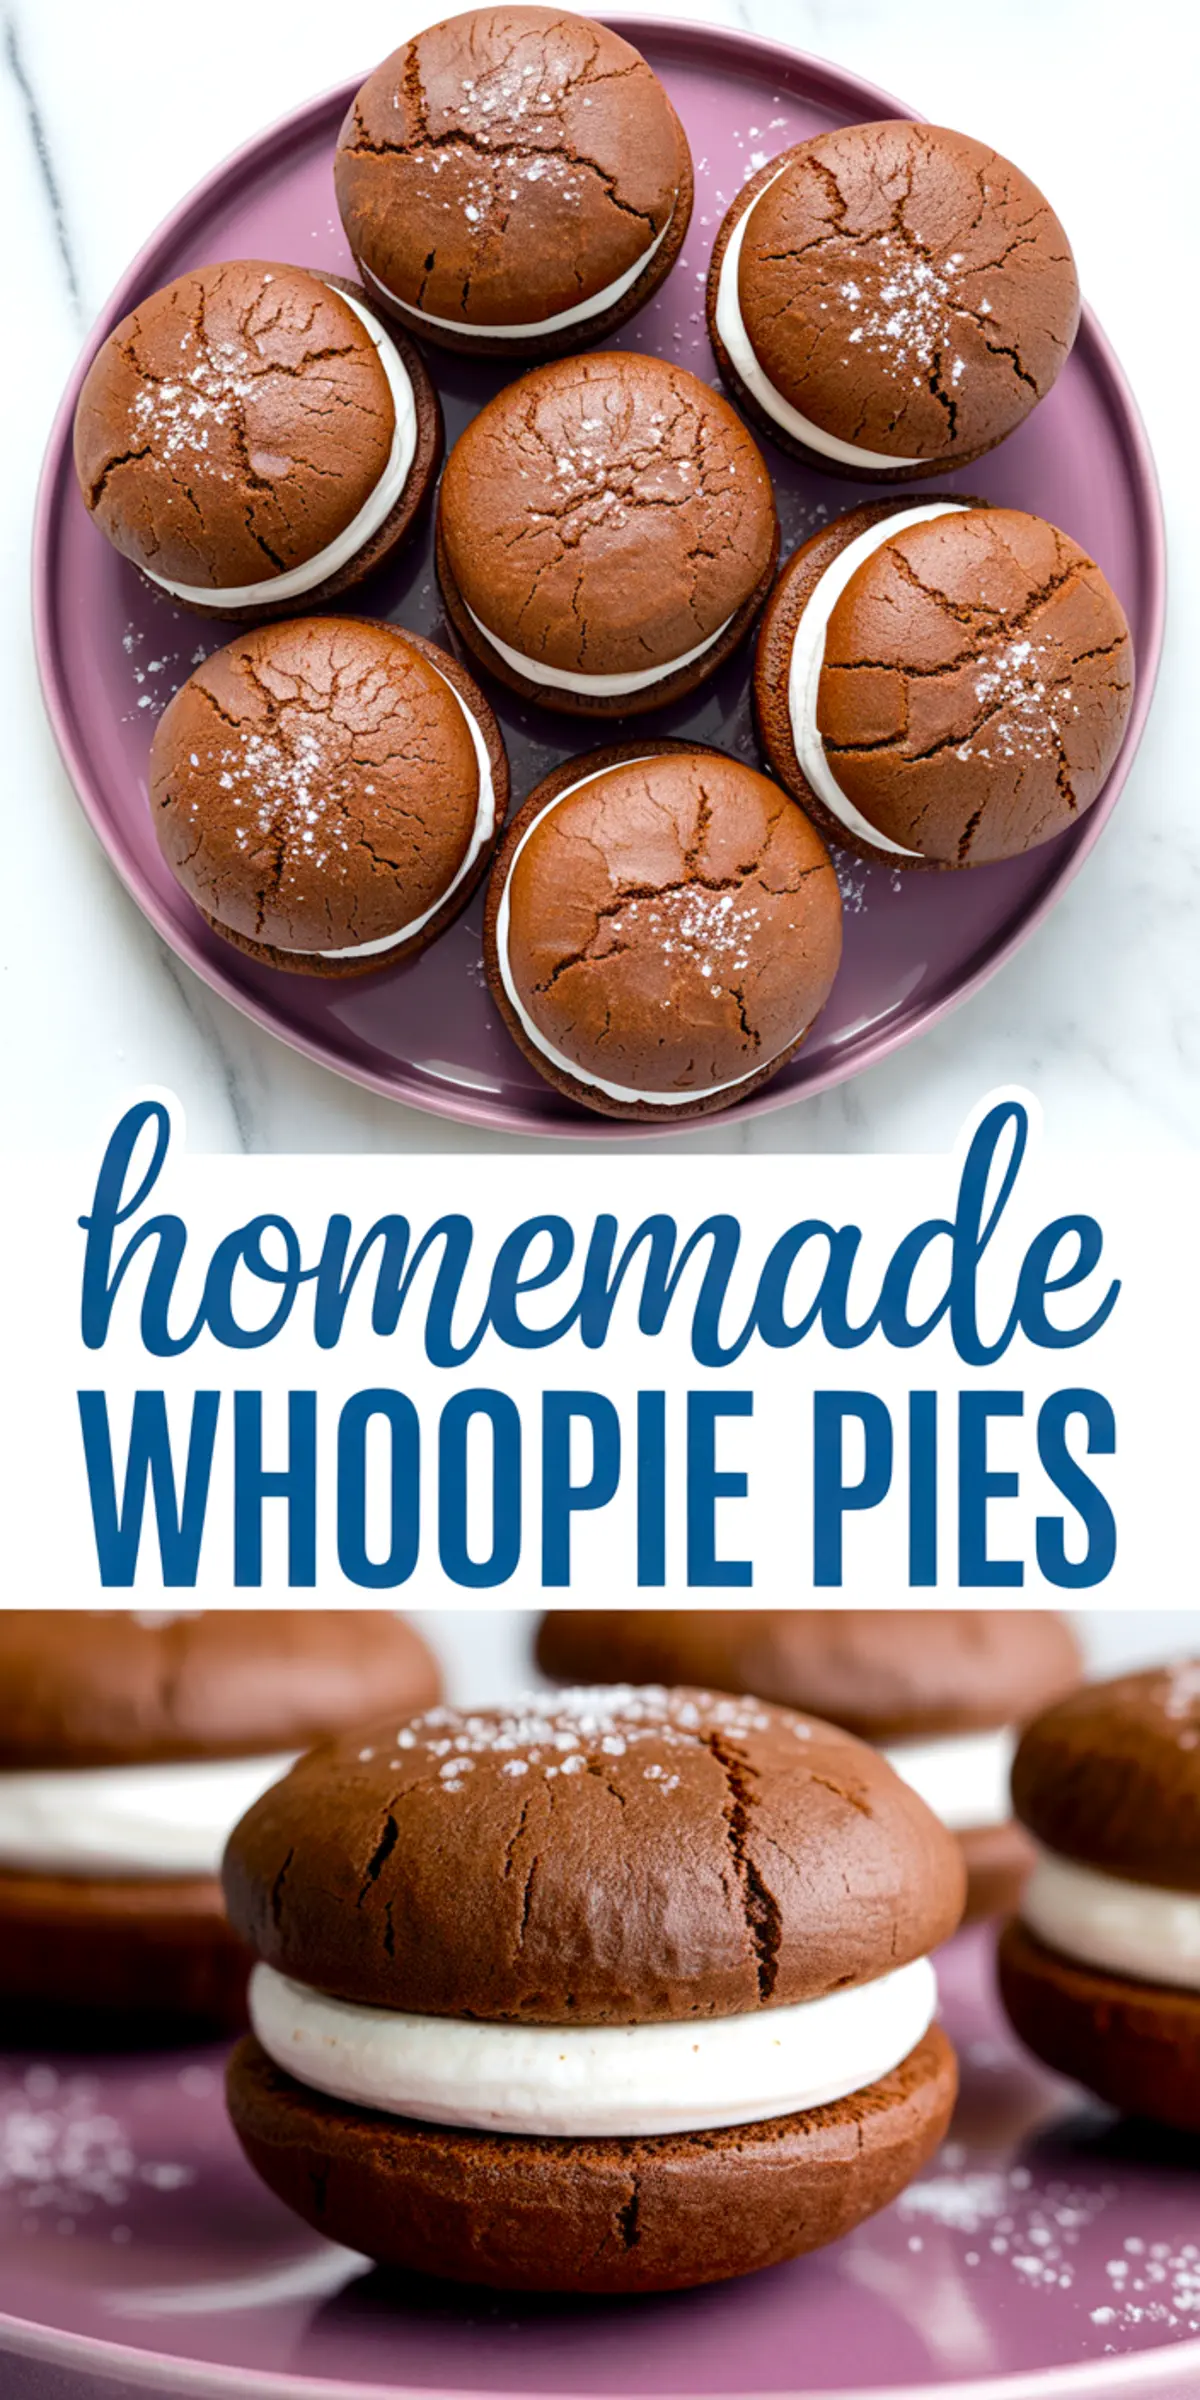
There’s something about a soft chocolate sandwich cookie with that thick swirl of marshmallow cream that makes you pause. A proper whoopie pie doesn’t just satisfy a craving—it delivers contrast. Tender, cake-like edges. A clean, structured filling. No fork required.
This whoopie pies recipe walks you through exactly how to bake that balance. You’ll learn how to keep the cakes light and how to pipe the center so it holds shape from first bite to last. Whether you’re prepping a tray for a holiday table or planning a weeknight treat, this is one of those recipes that earns its spot in your permanent rotation.
Use this guide to get clean edges, even rounds, and a filling that doesn’t squish out. You’ll leave knowing how to troubleshoot texture and store them for later. You’ll also see exactly why I pair this with cocoa powder instead of melted chocolate—and what that does for the final result.
Following a special diet?
Every recipe on this site can be converted to gluten-free, vegan, dairy-free, keto, nut-free or egg-free with adjusted ratios so nothing falls flat.
Try the Recipe Converter →Why These Are the Whoopie Pies I Keep Coming Back To
I’ve tested versions made with shortening, melted chocolate, whipped egg whites, even sour cream. This version wins for a few simple reasons.
First, the structure. Using brown sugar and buttermilk keeps the chocolate cakes tender but still firm enough to hold the filling. They spring back when pressed, don’t crack, and stay soft after cooling.

Second, the filling. A mix of softened butter, powdered sugar, and marshmallow creme gives you a fluffy consistency that pipes cleanly and sets up with just the right hold. Unlike fillings that melt on the counter, this one behaves.
If you’ve ever tried making homemade whoopie pies and ended up with a sticky mess or lopsided sandwiches, this recipe will solve that.
I reach for this every autumn alongside a batch of Apple Cider Whoopie Pies. One’s fruity. One’s chocolate. They always disappear at the same rate.
Mixing the Batter: Cocoa Powder vs. Melted Chocolate
In my early recipe testing days, I experimented with both cocoa powder and melted chocolate in the base.
Melted chocolate gave the cakes richness, but they spread unevenly and turned dense quickly.
Cocoa powder, on the other hand, blends directly into the flour mixture and keeps the texture light. It gives you a deeper flavor, especially when paired with buttermilk. The batter stays soft without becoming sticky, which makes scooping neater and matching pairs easier.
I’ve stuck with cocoa powder since. It keeps the chocolate flavor sharp and balanced. If you’re used to cake mix-based methods, you’ll notice this version tastes fuller without any bitterness.
Portion and Bake: The Trick to Matching Tops
A consistent scoop will make your life easier later. I use a 1.5 tablespoon cookie scoop for each mound and space them with care.
Once baked, I let them sit for five minutes before lifting them to a rack. Trying to move them too soon makes them tear at the edges.
Before assembly, always match your cakes in pairs. I do this before piping so I don’t end up with one oversized top or a tilt that makes them look store-bought in the wrong way.
A good whoopie pie doesn’t just taste good—it also holds together neatly. That’s the goal with this method.

If you like holiday treats with a festive feel, Mince Pies offer a great counterpart on the cookie tray.
Making the Filling: Why Less Mixing Matters
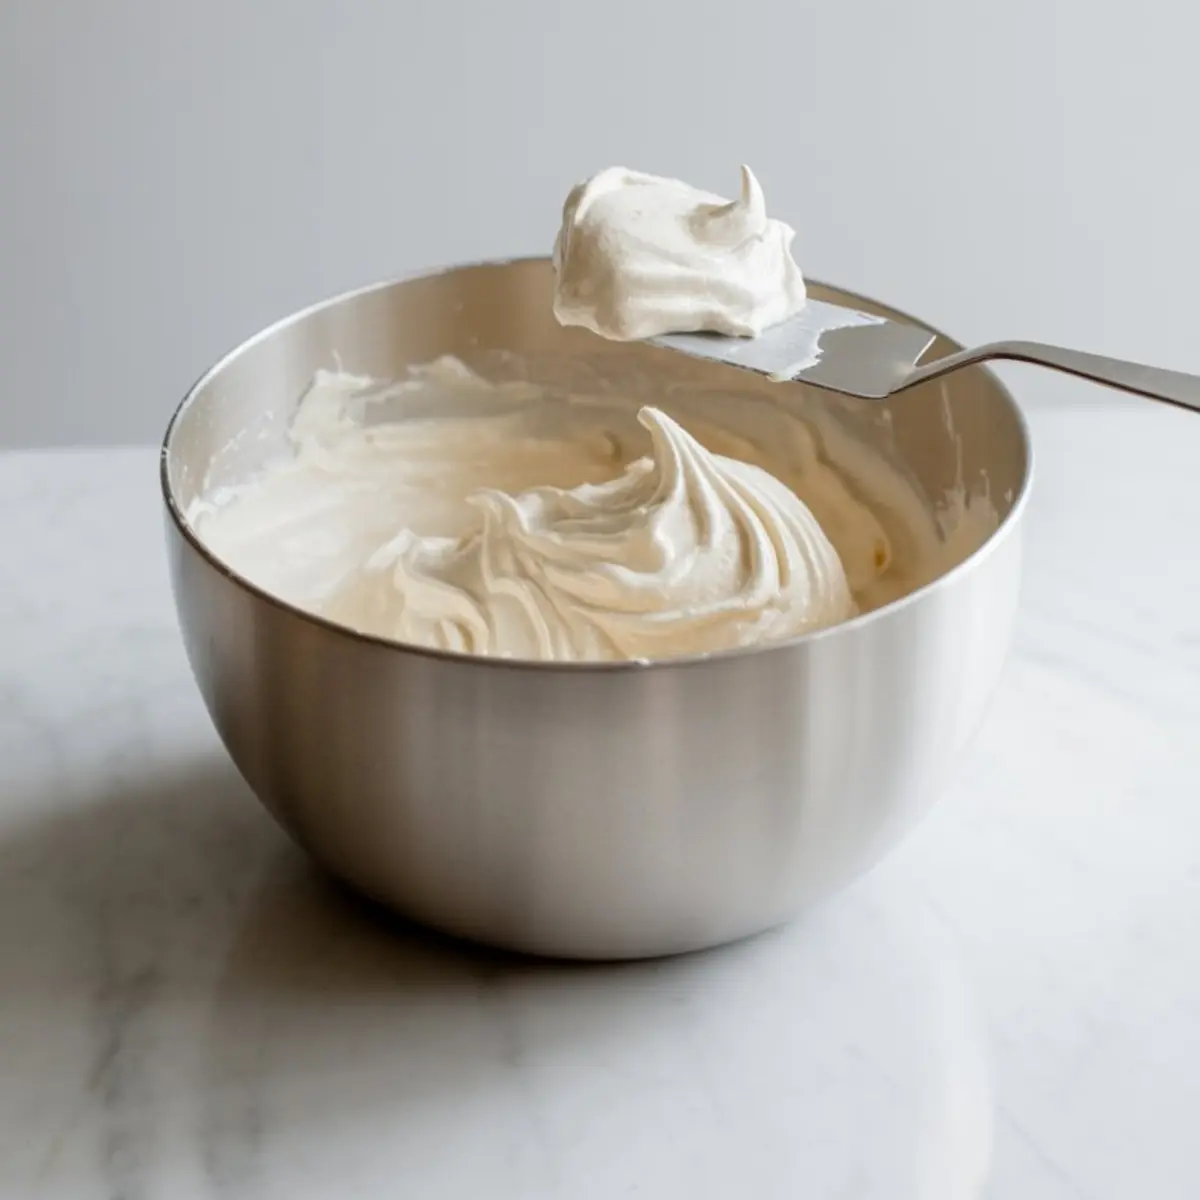
The key with whoopie pie filling is mixing until fluffy—but stopping before it turns slick.
Beat the butter first. Then slowly incorporate the powdered sugar until it’s light. Only then add the marshmallow creme. Mix just until blended. If you go beyond that, the texture starts to break and soften.
In warmer months, I refrigerate the filling for ten minutes before piping. It makes a noticeable difference in the final look, especially if you want the swirl to hold its shape for photos or gifting.
You’ll also want to check the consistency once piped. It should sit thick without oozing to the edge. A simple squeeze test in the piping bag can confirm that before you commit to assembly.
For a visual contrast at a party tray, a batch of Mississippi Mud Pie brings dense richness beside the light texture of these whoopies.
Serving and Storage Notes from My Kitchen
After assembly, I chill the filled whoopie pies for 15–20 minutes before serving. This helps the filling set and keeps the edges clean when stacked on a platter.
To store, I place each pair in a shallow container in a single layer. A layer of wax paper between helps if stacking is necessary. They hold well at room temperature for 24–48 hours or refrigerated for up to 4 days.
I don’t recommend freezing after filling—the texture of the marshmallow changes. But you can freeze the baked cakes and fill them fresh the day of.
Planning to serve these alongside a fruit pie for balance? I often pair them with Cherry Pie for contrast in flavor and presentation.
Flavor Variations and Custom Swaps
Once you’ve mastered the base, you can try other versions with ease. I’ve made pumpkin whoopie pies with cream cheese filling in October, and carrot cake whoopie pies with a citrus twist in spring.
The format adapts well—use a spice base with cinnamon and clove for holiday trays. Or try Oreo whoopie pies by adding crushed cookies to the filling.
The same method holds. You’re adjusting flavor, not structure.
Even versions like Amish whoopie pie recipes often keep the core technique similar: cake-like cookies, fluffy middle, soft bite.
Save This Whoopie Pies Recipe for Later
Pin this recipe to your baking board so you can return to it any season. These pair beautifully with Christmas whoopie pies and work well in cookie gift boxes or dessert platters year-round.
If you’ve baked these or want to try a variation—like smores whoopie pies or snickerdoodle whoopie pies—share your version in the comments. I’d love to hear which twist you chose or how you adjusted the filling.
Whoopie Pies Recipe
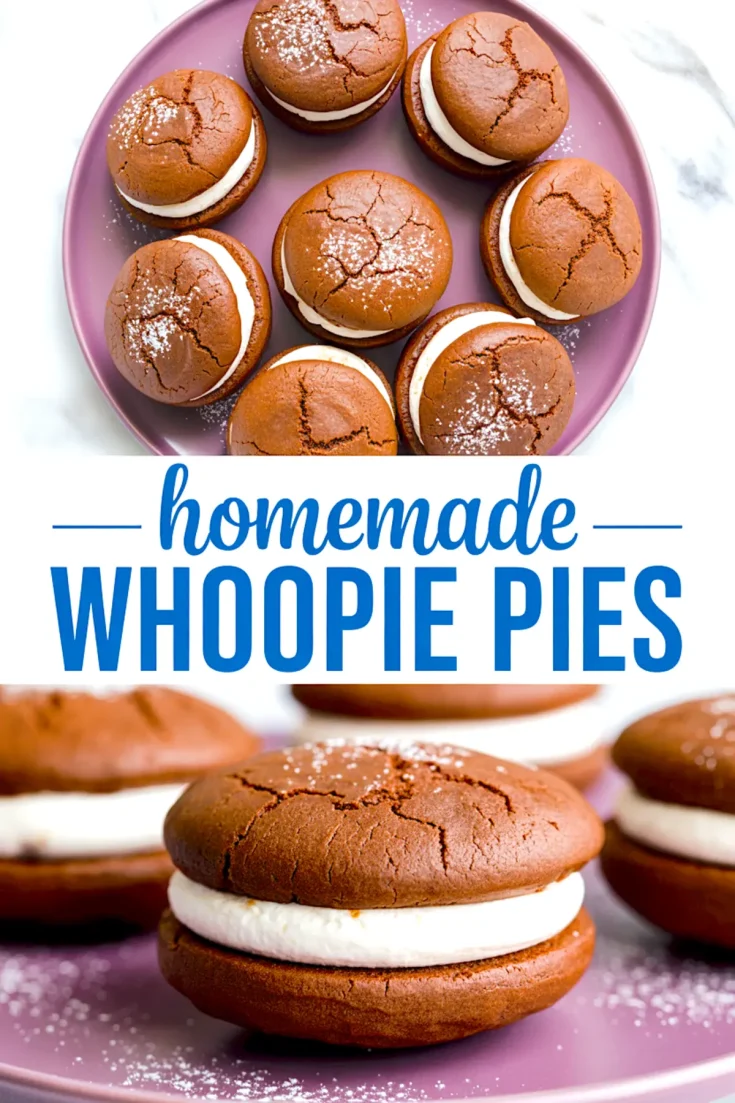
Chocolate whoopie pies combine soft, cake-like cookies with a thick swirl of marshmallow filling. These classic handheld desserts have a tender texture and deep cocoa flavor, finished with a creamy center that pipes cleanly and holds its shape. Matching cookie pairs before assembling helps achieve a neat, bakery-style appearance.
Ingredients
- FOR THE CHOCOLATE CAKES:
- 2 cups all-purpose flour
- 1/2 cup unsweetened cocoa powder
- 1 1/4 teaspoons baking soda
- 1/2 teaspoon salt
- 1/2 cup unsalted butter, softened
- 1 cup packed brown sugar
- 1 large egg
- 1 teaspoon vanilla extract
- 1 cup buttermilk
- FOR THE MARSHMALLOW FILLING:
- 1/2 cup unsalted butter, softened
- 1 cup powdered sugar
- 1 1/2 cups marshmallow creme (such as Marshmallow Fluff)
- 1 teaspoon vanilla extract
Instructions
- PREHEAT AND PREP: Preheat the oven to 350°F (175°C). Line two large baking sheets with parchment paper or silicone baking mats to prevent sticking and ensure even baking.
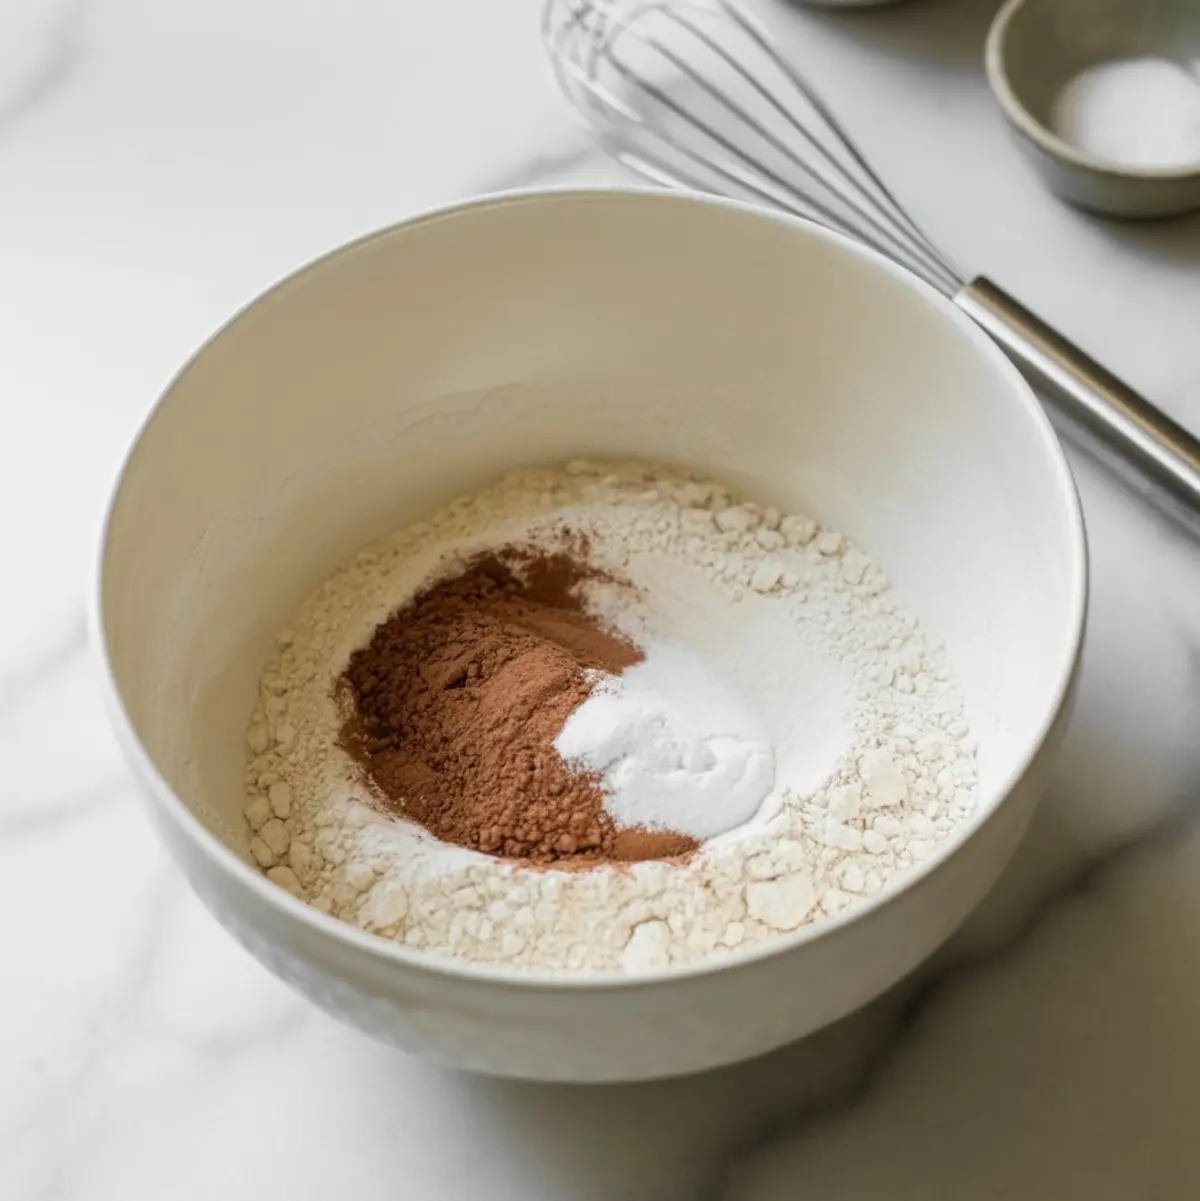
- MIX DRY INGREDIENTS: In a medium bowl, whisk together the flour, cocoa powder, baking soda, and salt until well combined. Set aside.
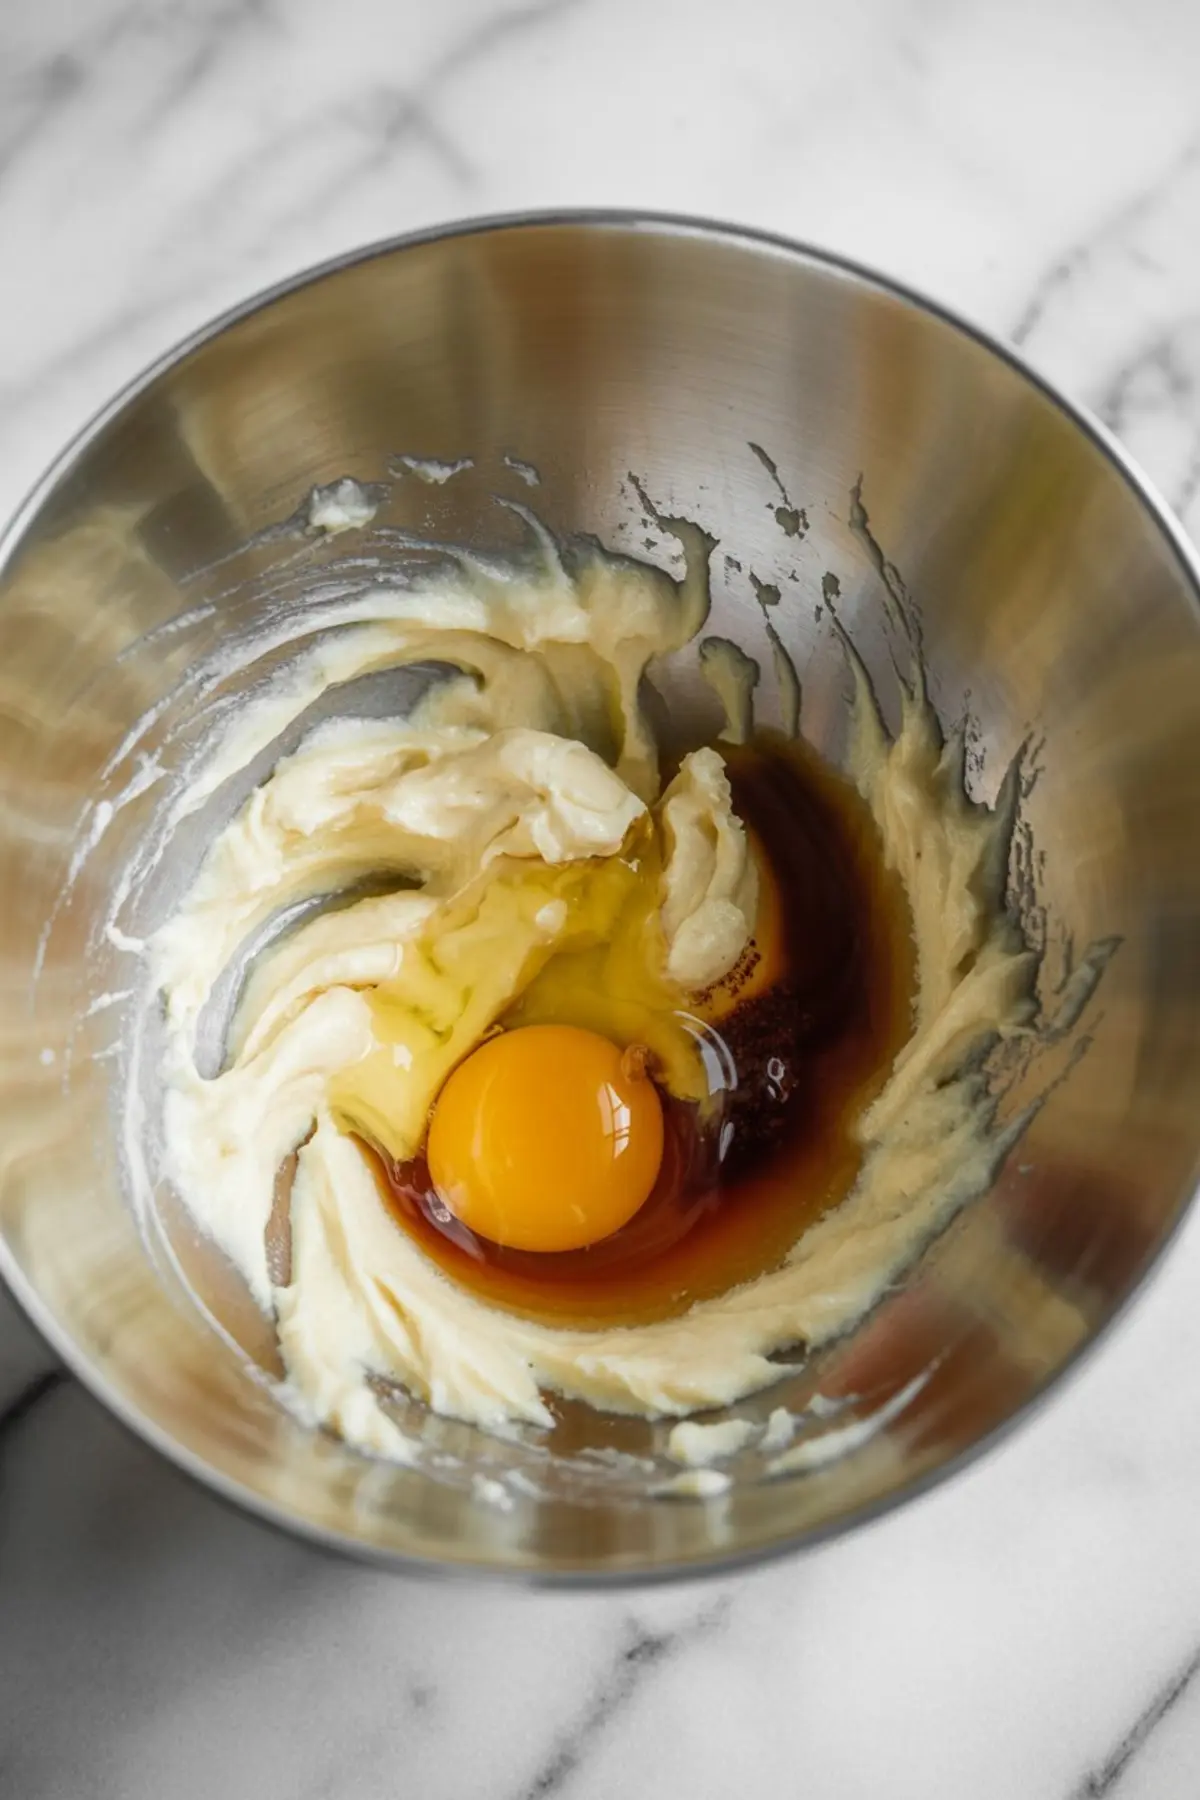
- MAKE THE BATTER: In a large bowl, cream the softened butter and brown sugar together using a mixer on medium speed until the mixture is light and fluffy, about 2 to 3 minutes. Add the egg and vanilla extract, then mix until smooth. Reduce the mixer speed to low and add the dry ingredients in three additions, alternating with the buttermilk. Begin and end with the dry mixture, mixing just until incorporated after each addition.
- PORTION THE CAKES: Use a medium cookie scoop (about 1.5 tablespoons) to drop even mounds of batter onto the prepared baking sheets, spacing them about 2 inches apart to allow for spreading during baking. Try to keep each mound uniform in size for easier pairing later.
- BAKE THE CAKES: Bake in the preheated oven for 10 to 12 minutes, or until the tops spring back when gently pressed with a fingertip. Allow the cakes to cool on the baking sheets for 5 minutes before transferring them to a wire rack to cool completely.
- MAKE THE FILLING: In a clean mixing bowl, beat the softened butter on medium speed until smooth and creamy. Add the powdered sugar and continue beating until the mixture is fluffy, about 2 minutes. Add the marshmallow creme and vanilla extract, then beat on medium-high speed until the filling is smooth, thick, and holds its shape well.
- ASSEMBLE THE WHOOPIE PIES: Once the cakes are completely cool, match them in pairs by size. Transfer the filling to a piping bag or a zip-top bag with the corner snipped off. Pipe a thick swirl of filling just inside the edge of one cake half. Gently press the second cake half on top until the filling spreads to the edges.
- SERVE OR STORE: Serve the whoopie pies immediately, or store them in an airtight container at room temperature for up to 2 days. For cleaner edges, chill briefly before serving.
Notes
For uniform whoopie pies, use a cookie scoop and pipe the batter if needed. To prevent the filling from becoming too soft, do not overmix after adding the marshmallow creme. If your kitchen is warm, refrigerate the filling for 10 minutes before piping.
Nutrition Information
Yield
12Serving Size
1Amount Per Serving Calories 378Total Fat 17gSaturated Fat 10gTrans Fat 0gUnsaturated Fat 5gCholesterol 57mgSodium 281mgCarbohydrates 54gFiber 1gSugar 32gProtein 4g