You’re looking for something festive, quick, and stress-free for the 4th of July table. You want it to feel special without turning your kitchen upside down. You also don’t want to serve another sheet cake or popsicle tray. These waffle cones deliver on all fronts.
They’re crisp. They’re colorful. And they won’t melt all over your patio before you serve them. In this post, you’ll learn how to make these cones in 30 minutes or less, how to prep them ahead of time, and how to make small changes that shift the flavor entirely.
I’ve used these for backyard cookouts, school parties, and one year even lined them up on a cake stand for a family-friendly dessert board. The best part? No baking, no chilling, no worrying.

Ingredients for Festive 4th of July Cones with Berries and Whipped Cream
You’ll need twelve waffle cones, which you can grab from any grocery store. I prefer the slightly thicker variety—those hold their shape better when filled. The thinner ones can crack, especially if you overfill.
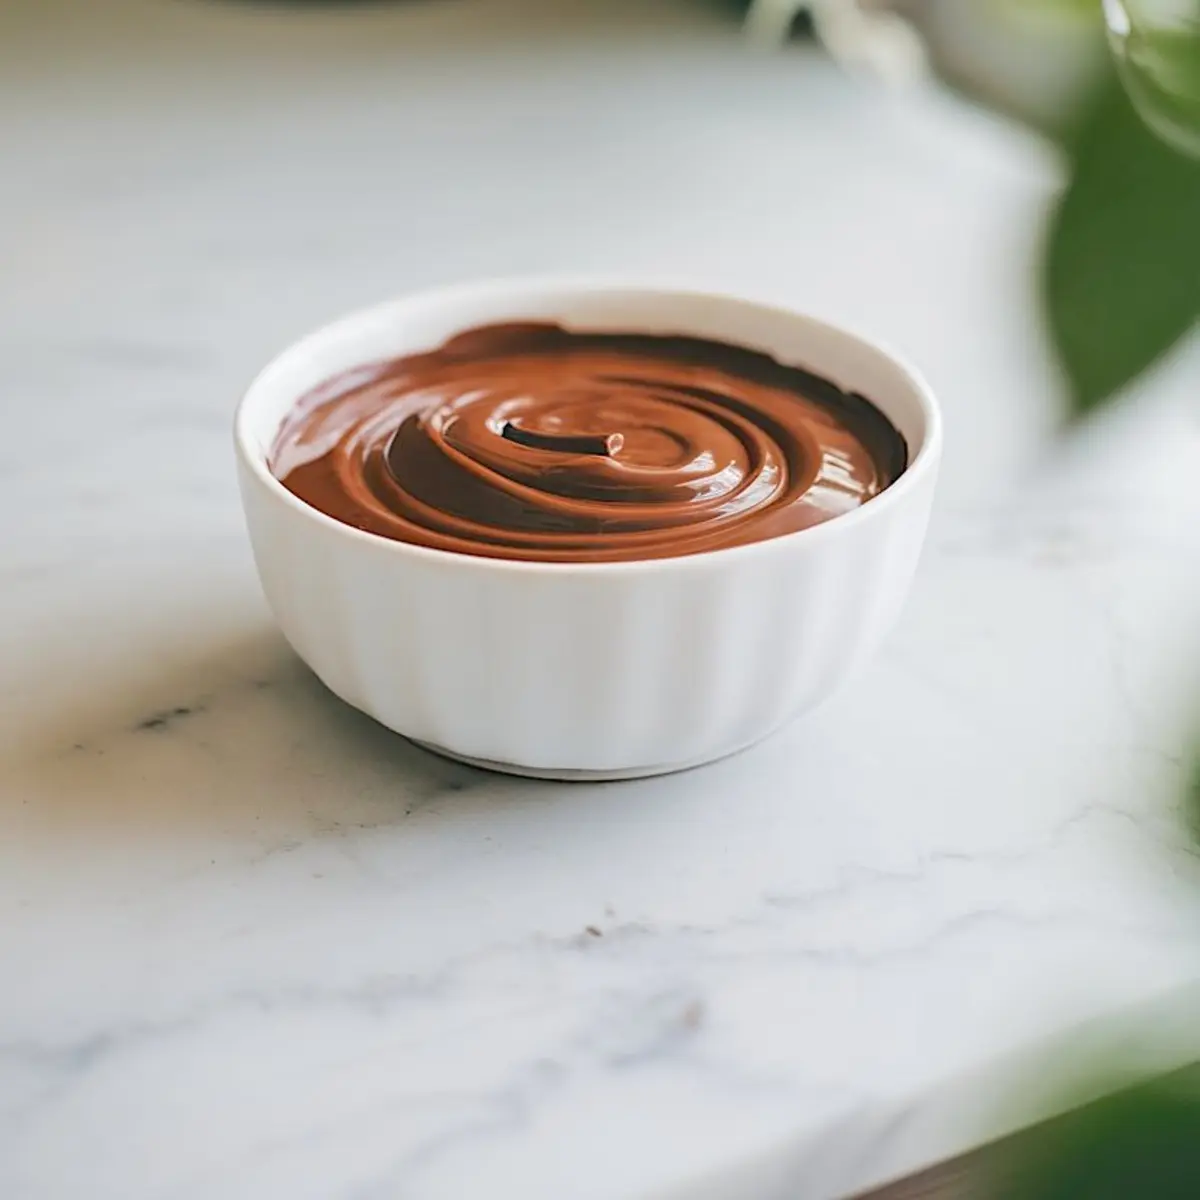
For the chocolate dip, go with one cup of milk or semi-sweet chocolate chips. I like adding a spoonful of coconut oil. It thins the chocolate slightly and gives it a clean, even coat. You don’t need much—just enough to help the chips melt smoothly.
Red, white, and blue sprinkles add the holiday color. I’ve used everything from jimmies to sanding sugar. Use what you have, but larger sprinkles tend to cling better when the chocolate is warm.
The whipped cream filling uses heavy cream, powdered sugar, and vanilla extract. You can mix it by hand, but a hand mixer gets you there faster. You’ll also want a cup of fresh strawberries (halved) and about three-quarters of a cup of blueberries. The color combo really sings on top.
Fresh vs. Canned: What Works Better for These Cones
I’ve tested this recipe with both fresh and canned fruit. If you’re short on time or out of fresh berries, canned can work. But here’s what I’ve found in my notes.
Fresh strawberries and blueberries hold their shape and keep the cones crisp. Canned berries—even the ones packed in juice—can bleed color and soften the cones. They’re sweeter, yes, but they’ll shorten the time between serving and soggy. If you’re making these ahead, fresh is the way to go.
Prepping and Assembling the Waffle Cones for the 4th of July
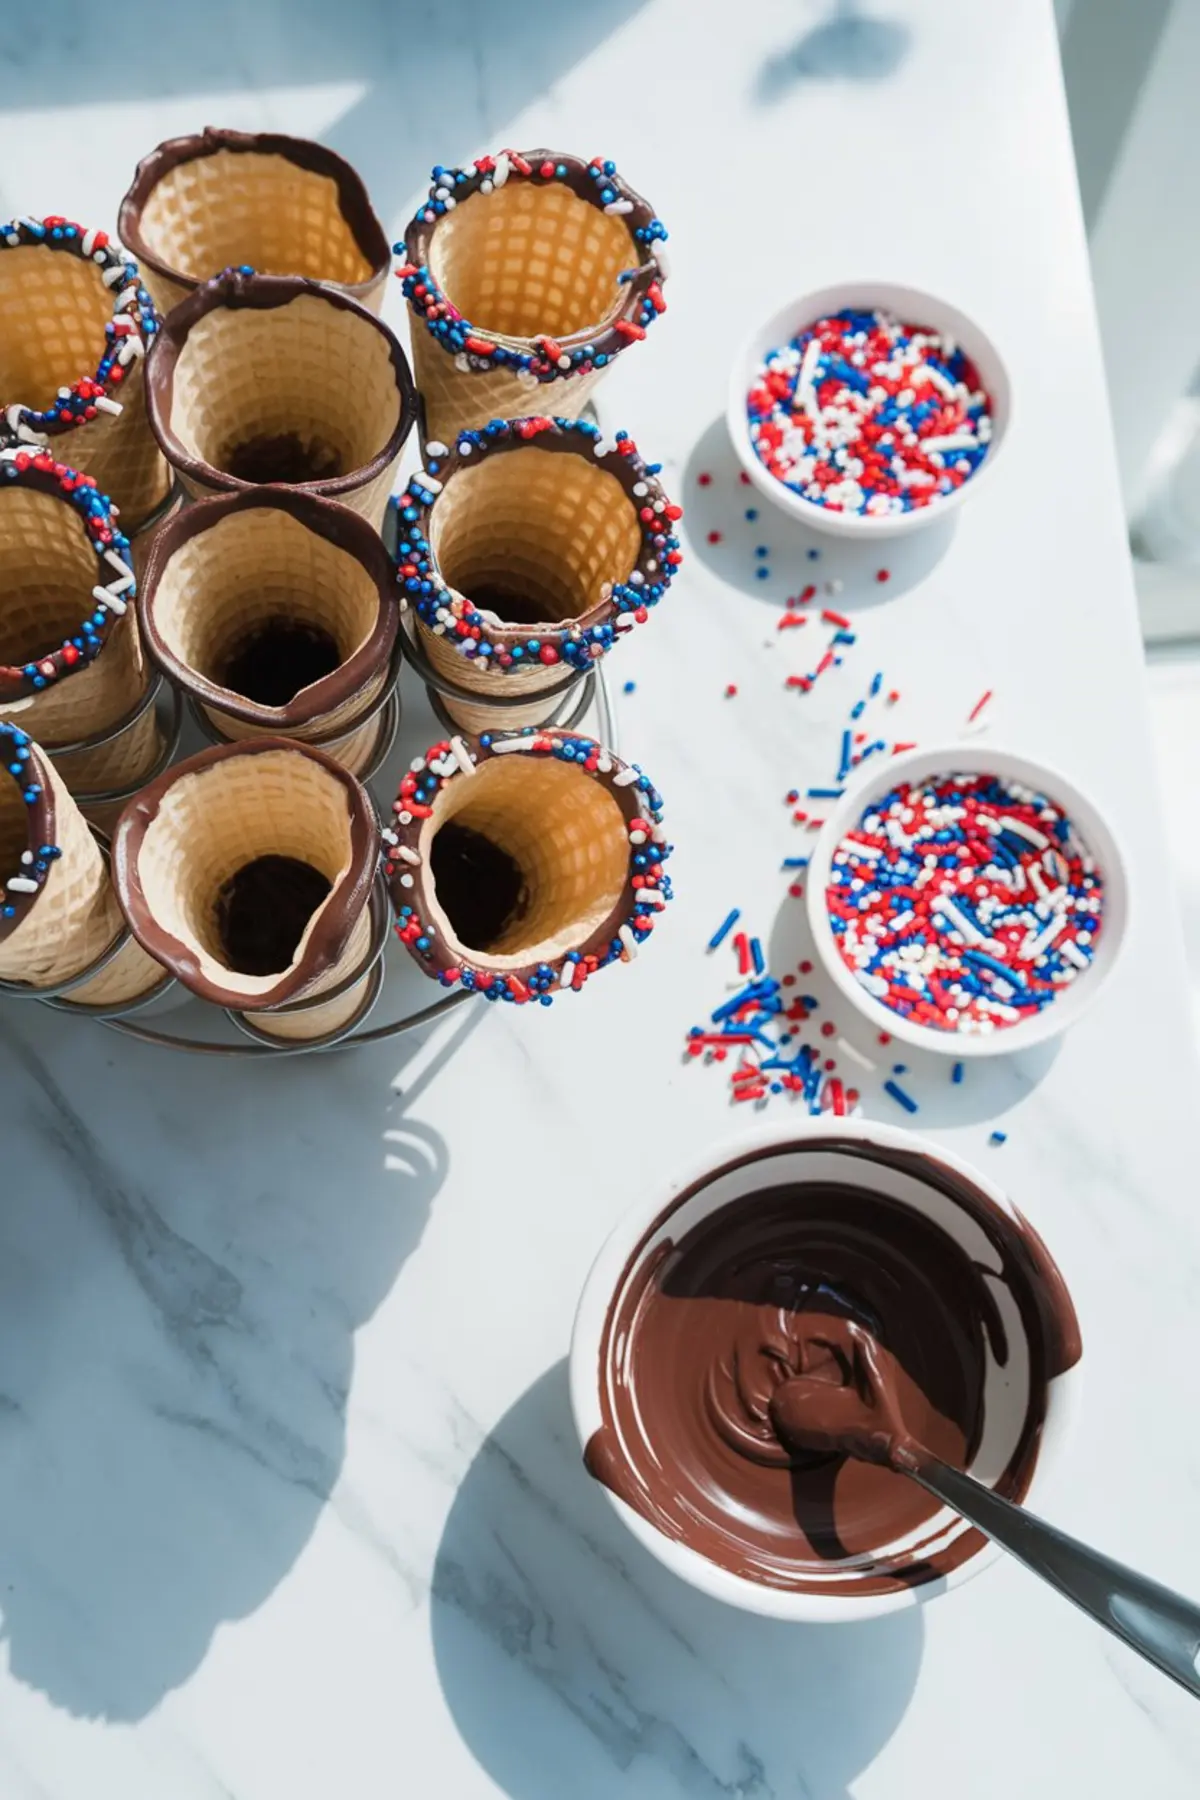
I always start by lining a baking sheet with parchment paper. That’s where the cones will rest once dipped. Keep them upright by placing them in small cups or a cone holder if you have one.
Melt the chocolate in short bursts in the microwave, stirring each time until smooth. Add the coconut oil only if the chocolate looks too thick or doesn’t glide.
Dip just the rims of the cones into the chocolate—about an inch is enough. Let the extra drip off, then roll them straight into the sprinkles. Work quickly, because once the chocolate sets, the sprinkles won’t stick.
Once dipped, let the cones cool at room temperature or chill them briefly in the fridge. That sets the chocolate fast and helps it hold once you add the whipped cream.
Making the Whipped Cream That Holds Its Shape
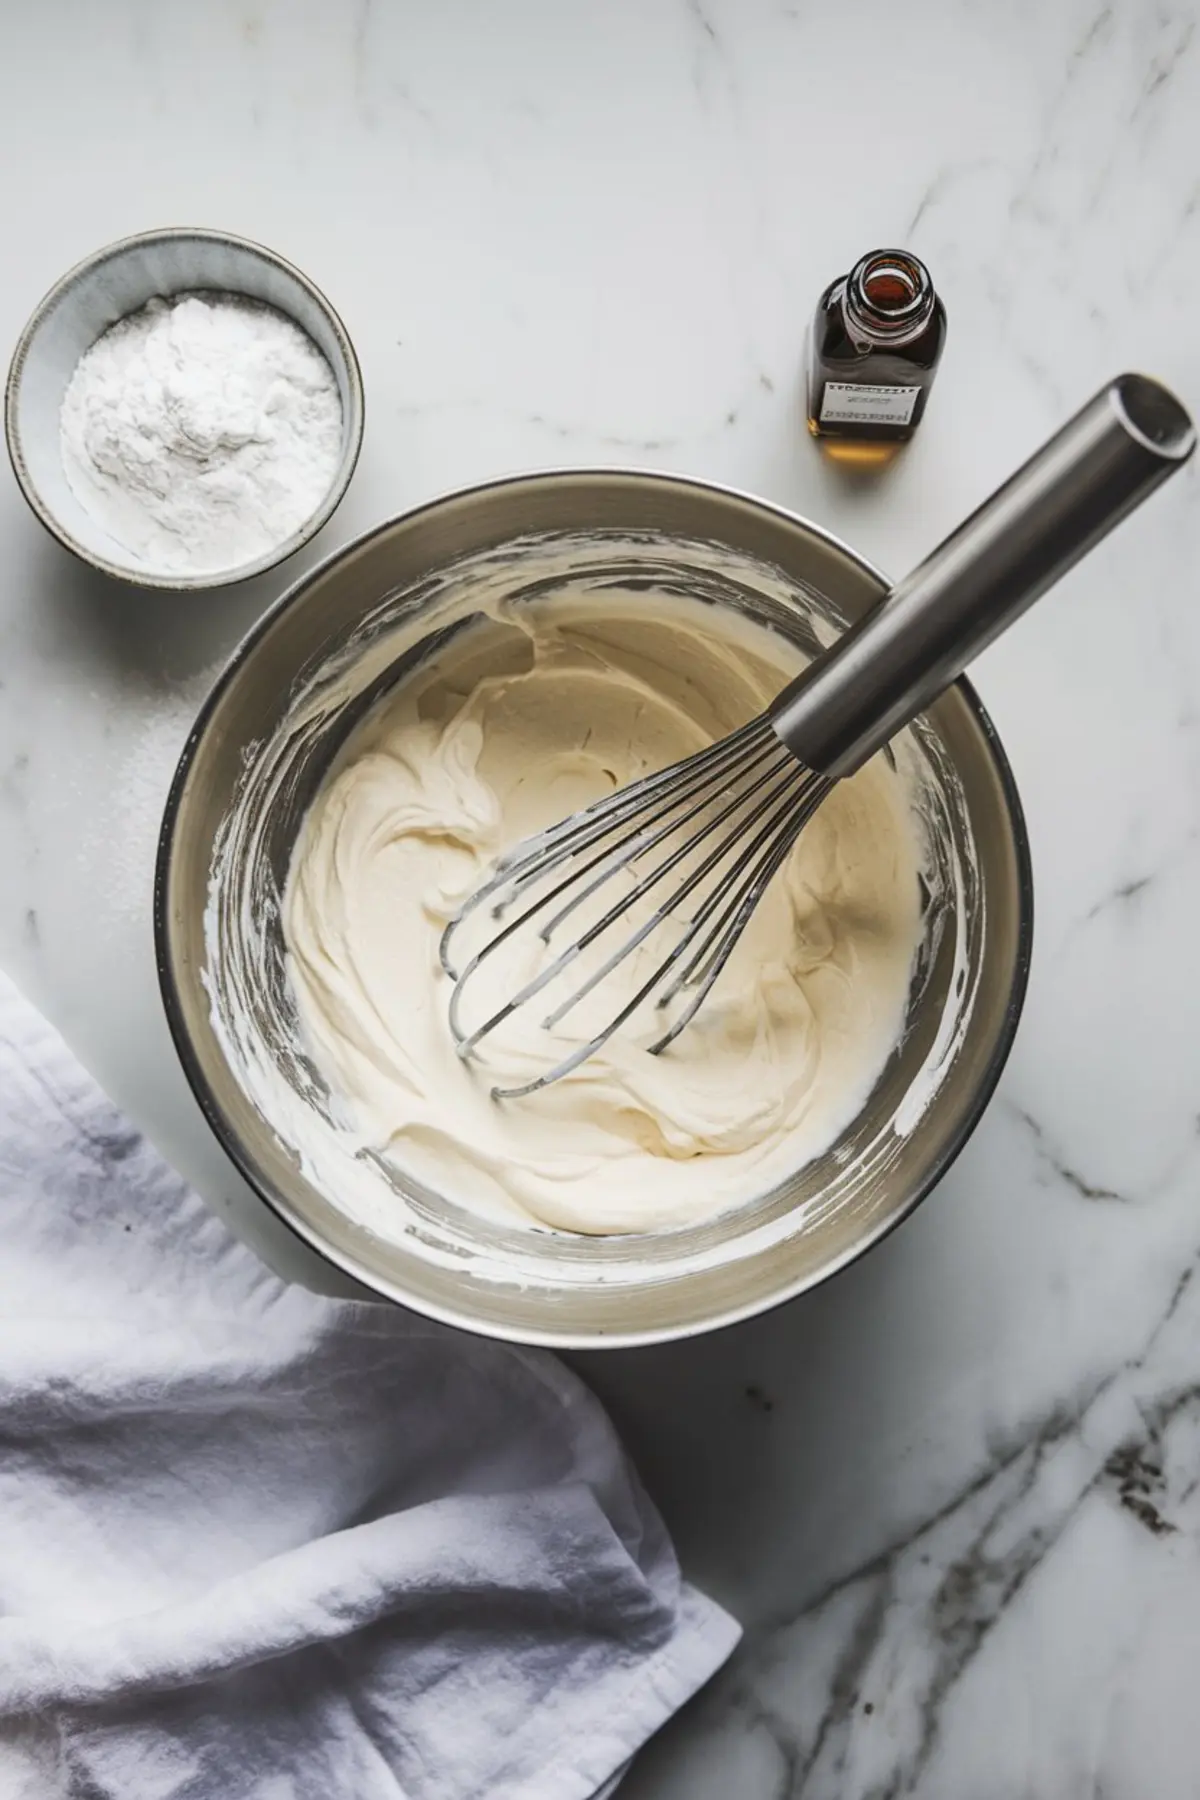
Start with cold cream straight from the fridge. I use a hand mixer and beat until I get soft peaks first. Then I add powdered sugar and vanilla, and finish beating until stiff peaks form.
Watch closely at this stage. If you mix too long, the cream can split. You want thick, glossy peaks that sit up but still feel light.
You can store this whipped cream in the fridge for a few hours. Just give it a quick stir before piping.
Serving and Storing These Patriotic Cones
Assemble the cones only just before serving. That keeps them crisp and fresh. I like to pipe the whipped cream in with a wide tip, then press in a halved strawberry and a few blueberries on top.
You can also prep all the parts in advance. Keep the dipped cones in an airtight container. Store the whipped cream separately in the fridge. Then all that’s left is filling.
You can swap the whipped cream with vanilla ice cream, cheesecake mousse, lemon curd, or strawberry jam. Each version brings a different mood. I’ve even filled a few with this Frozen Patriotic Cheesecake when I had extra filling. It worked beautifully.
How These Compare to Other 4th of July Desserts

If you’re deciding between these cones and a more structured dessert like an American Flag Cake Roll, think about your setting. Cones are grab-and-go. No plates. No forks. That’s their strength.
But if you’re setting up a formal table or need a centerpiece, something like the Patriotic Cheesecake may fit better. I usually offer both—cones for the kids, a chilled cheesecake for the adults.
For other fun, handheld ideas, these Patriotic Chocolate Balls are a quick no-bake option. Or try the Fireworks Sugar Cookies if you want something more detailed.
Save This Recipe for Your 4th of July Board
These cones are colorful, easy to serve, and never go to waste. I’ve seen guests reach for seconds while still finishing the first. If you need something quick but festive, they’re a safe bet.
Save this to your Fourth of July Pinterest board so you’ll have it on hand when planning. And if you try them, I’d love to hear in the comments how they turned out—or what filling combo you chose.
Let’s keep this a place where we share what works.
4th of July Waffle Cones

A crisp and colorful summer dessert made with waffle cones dipped in chocolate and patriotic sprinkles, then filled with fresh whipped cream and berries. These festive cones are quick to prepare, easy to customize, and perfect for celebrating the 4th of July with minimal fuss.
Ingredients
- 12 waffle cones
- 1 cup milk or semi-sweet chocolate chips
- 1 tbsp coconut oil (optional)
- ½ cup red, white, and blue sprinkles
- 1 ½ cups heavy whipping cream
- 3 tbsp powdered sugar
- 1 tsp vanilla extract
- 1 cup fresh strawberries, halved
- ¾ cup fresh blueberries
- Optional Fillings
- Vanilla ice cream
- Cheesecake mousse
- Lemon curd
- Strawberry jam
Instructions
PREP YOUR WORKSTATION: Line a baking sheet with parchment paper to hold the dipped cones while they set.
MELT THE CHOCOLATE: Combine chocolate chips and coconut oil in a microwave-safe bowl. Microwave in 20-second intervals, stirring after each, until fully melted and smooth.
DIP THE CONES: Submerge the top edges of each waffle cone into the melted chocolate, coating about 1 inch. Tap gently to remove any excess chocolate.
ADD SPRINKLES: While the chocolate is still wet, immediately roll the rims in red, white, and blue sprinkles. Stand the cones upright in cups or a cone holder and allow to cool at room temperature or briefly chill in the refrigerator.
MAKE THE WHIPPED CREAM: Use a hand or stand mixer to beat the heavy cream until soft peaks form. Add powdered sugar and vanilla extract, then continue beating until stiff peaks form. Do not over-mix.
ASSEMBLE: Once the chocolate has set, fill each cone with whipped cream using a spoon or piping bag. Top with one halved strawberry and a few blueberries.
Notes
You can prepare the cones and whipped cream in advance, then assemble just before serving. Try swapping whipped cream with one of the optional fillings to vary the flavor.
Nutrition Information
Yield
12Serving Size
1Amount Per Serving Calories 624Total Fat 38gSaturated Fat 16gTrans Fat 1gUnsaturated Fat 19gCholesterol 149mgSodium 507mgCarbohydrates 63gFiber 1gSugar 32gProtein 10g

