Planning a dessert for the 4th of July or Memorial Day that travels well and pleases a crowd?
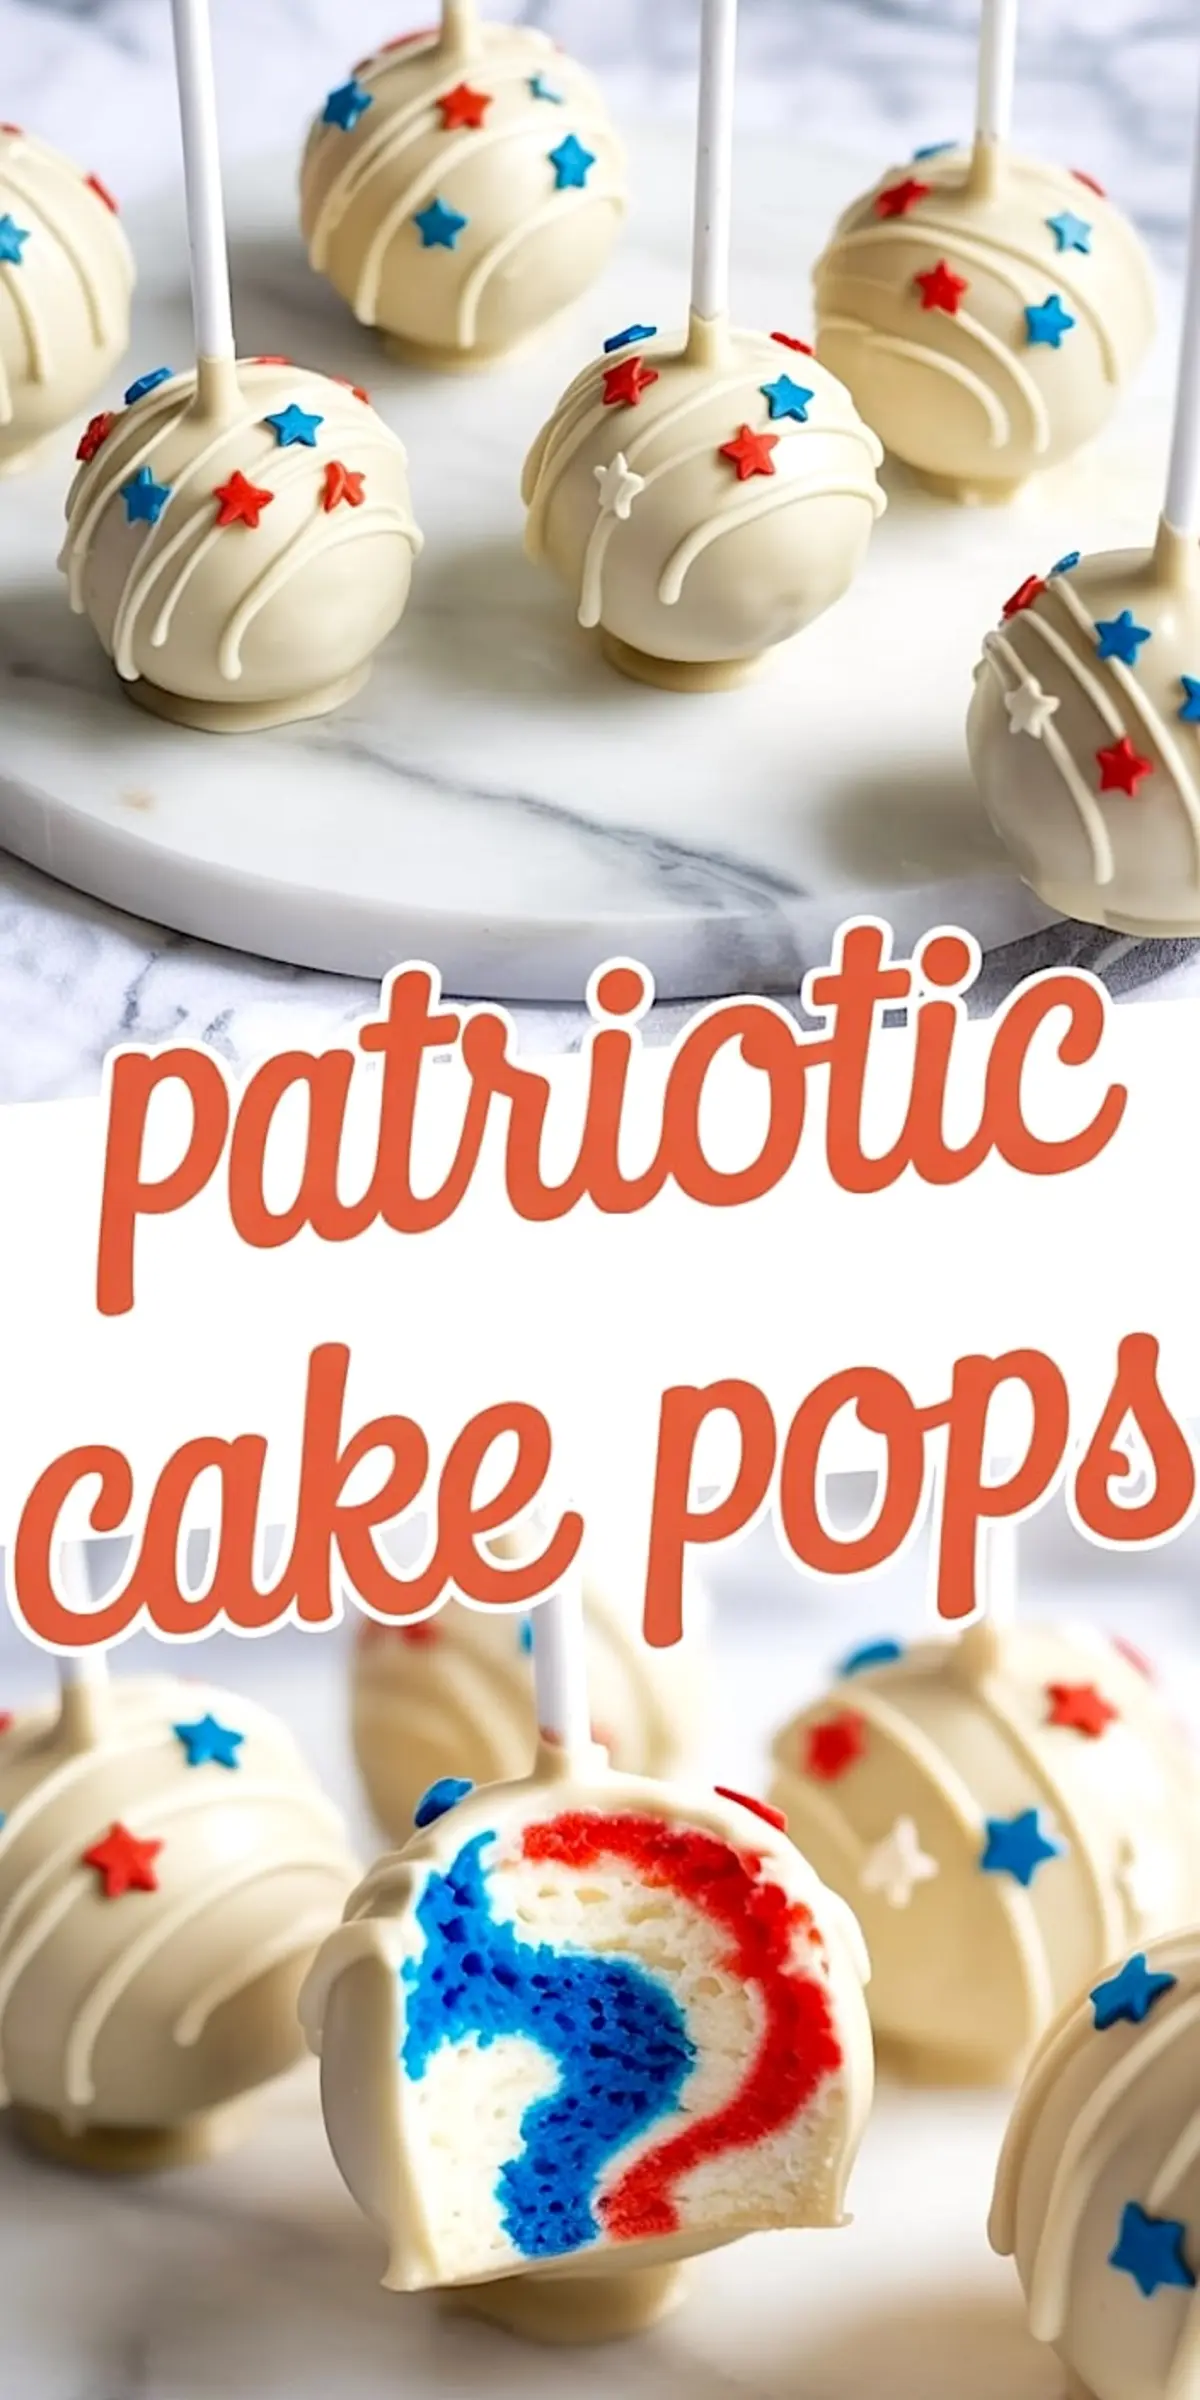
Patriotic Cake Pops give you the red, white, and blue you want without the fuss of frosting a full cake.
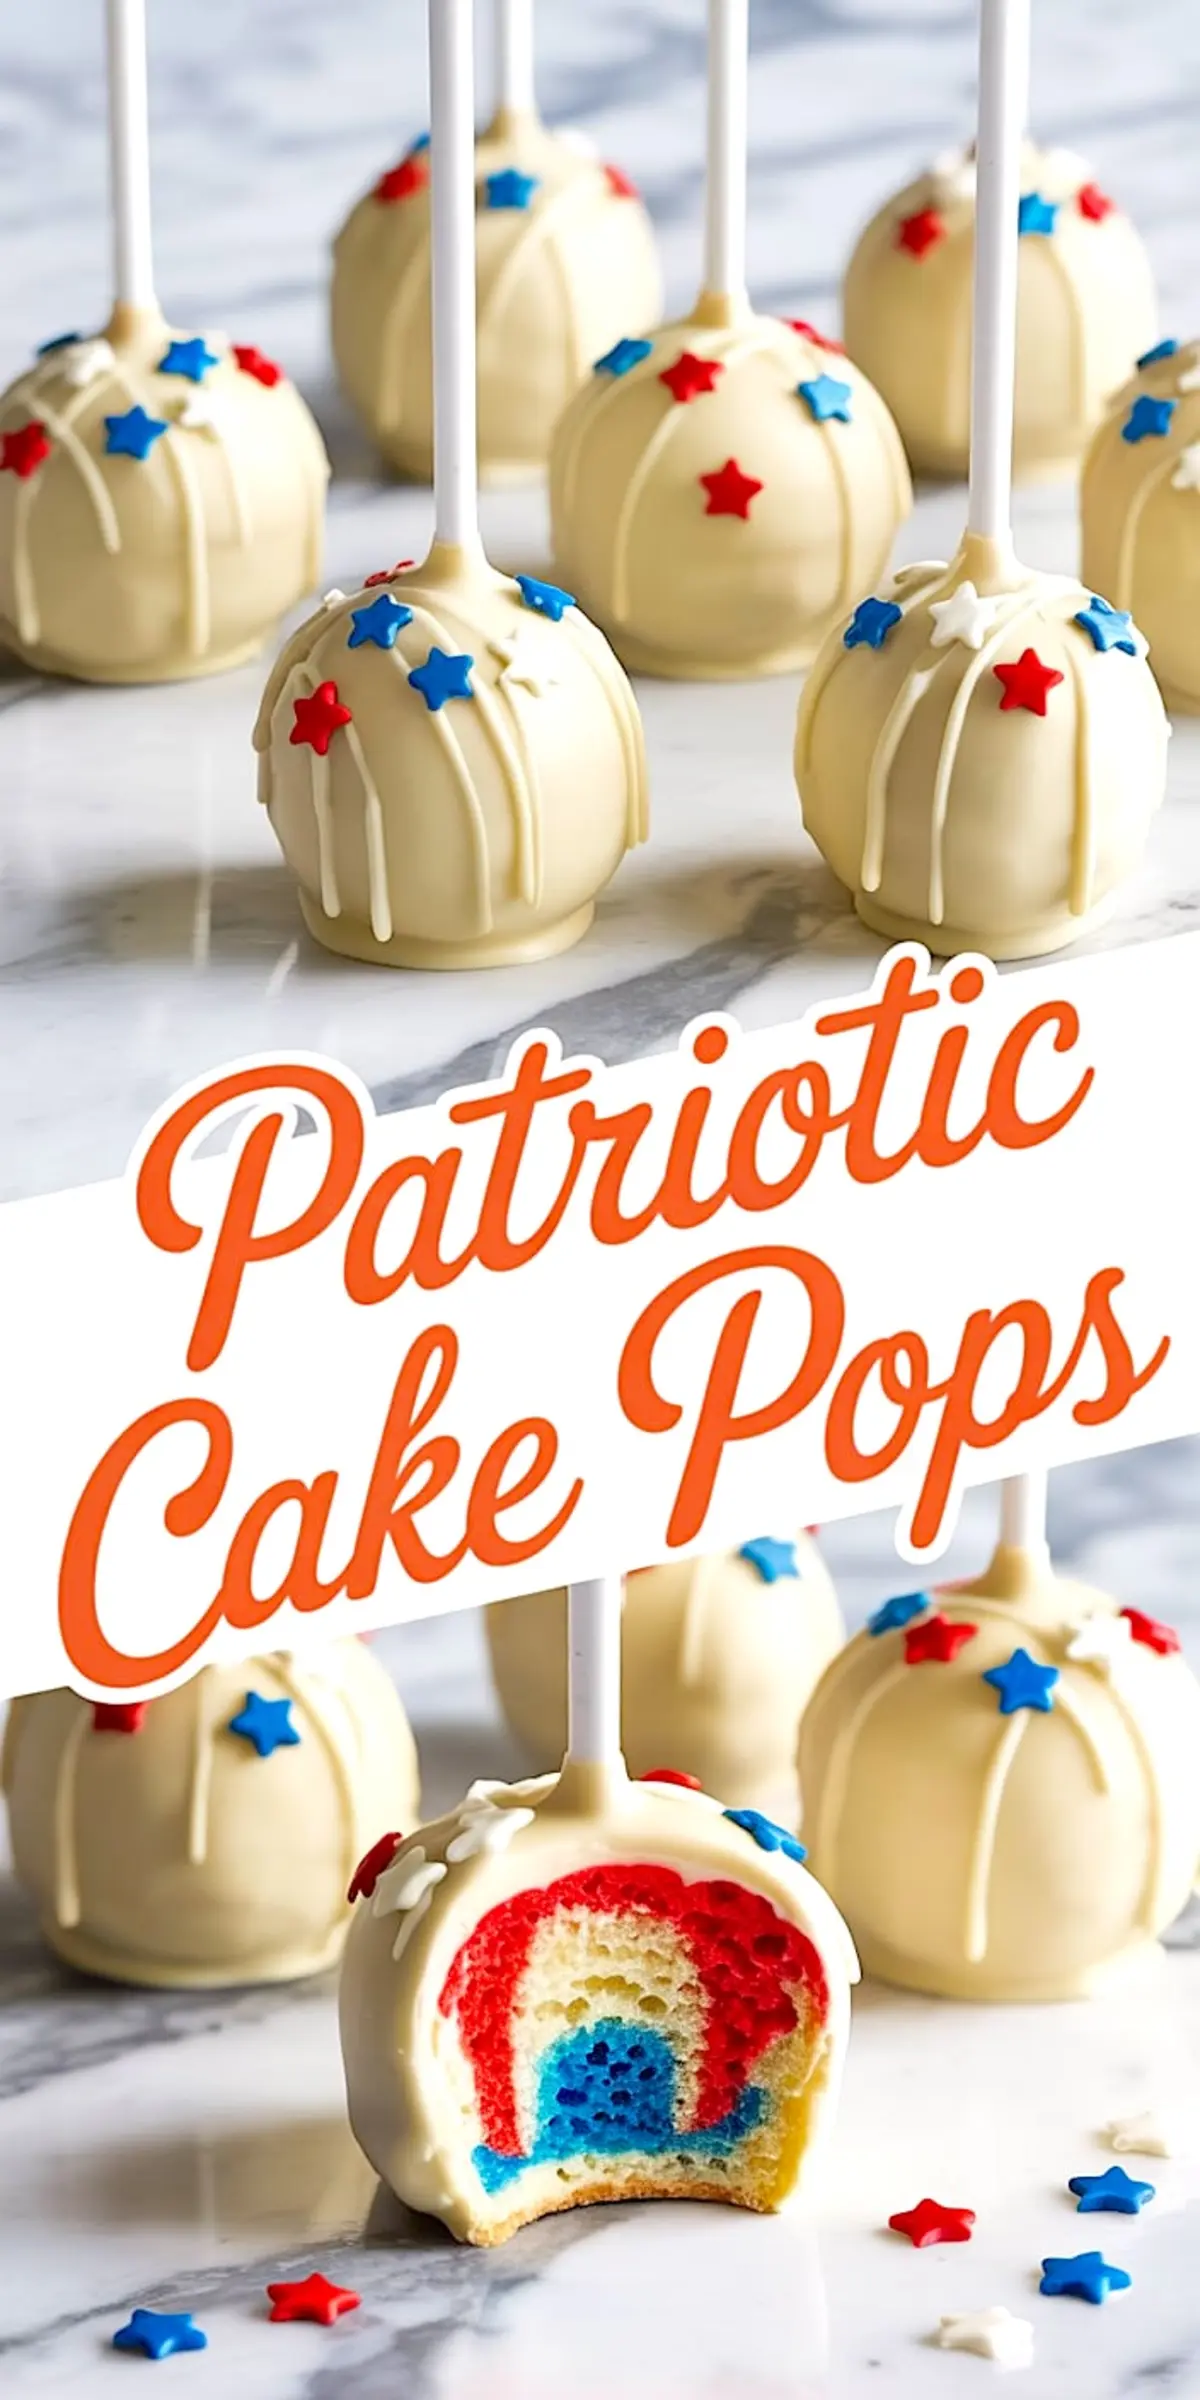
You’ll get that classic vanilla flavor wrapped in white chocolate, a neat handheld shape, and an eye-catching swirl of color inside that makes these stand out on any holiday dessert table.
This isn’t a boxed cake shortcut or store-bought frosting situation. These are cake pops with a proper crumb, a buttery base, and frosting made from real butter, not something from a tub.
Following a special diet?
Every recipe on this site can be converted to gluten-free, vegan, dairy-free, keto, nut-free or egg-free with adjusted ratios so nothing falls flat.
Try the Recipe Converter →What Makes These Red White and Blue Cake Pops Worth Making
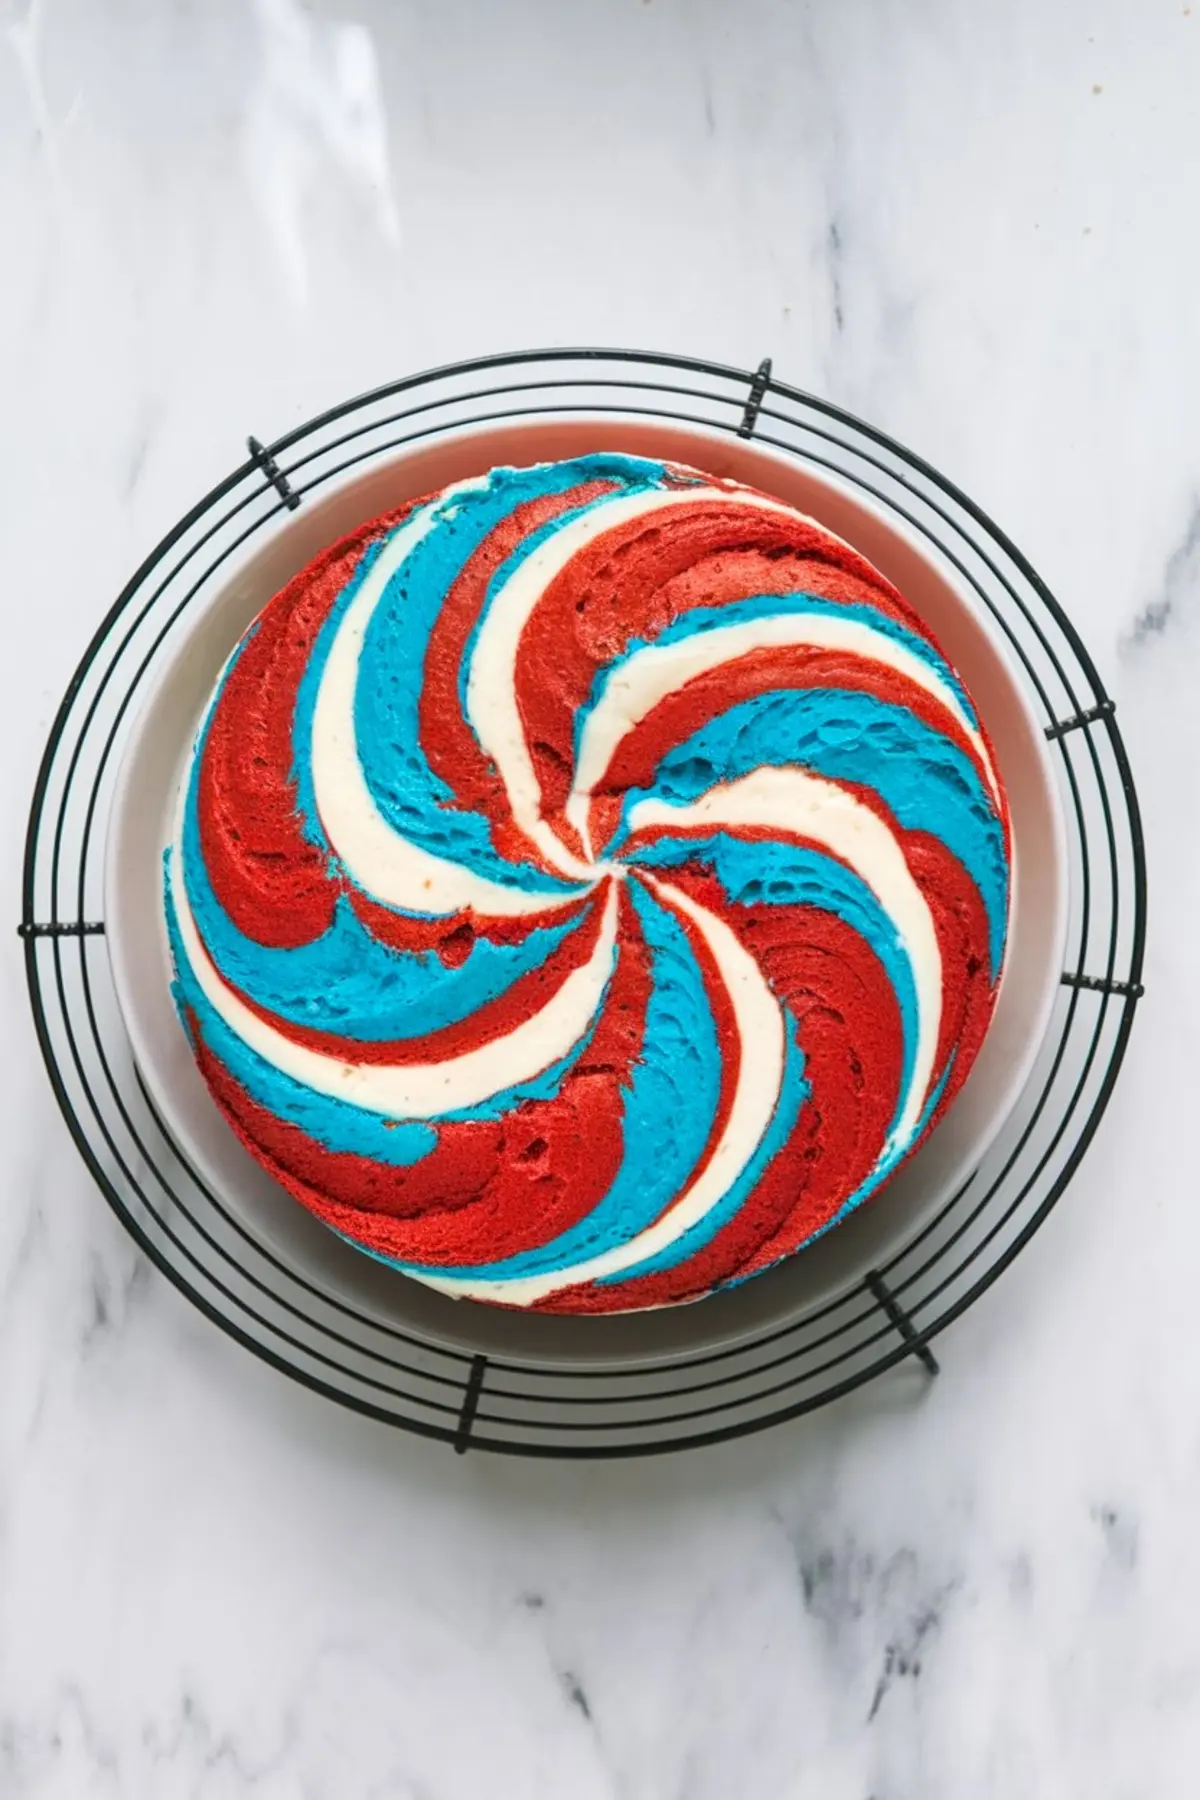
These start with a scratch-made vanilla cake that bakes in one pan and uses a simple marbling method.
Once baked, the cake gets crumbled and mixed with homemade frosting. You shape them into balls, chill them, and dip them in melted white chocolate.
The interior stays soft but not soggy. The coating cracks gently under the bite.
I’ve made these for years, and the thing I hear most often is, “How did you get those colors to swirl like that?”
You don’t swirl much. That’s the trick. Just drop spoonfuls of red, white, and blue batter and barely touch it with a knife.
Vanilla Cake Pops for Patriotic Holidays: Better from Scratch
Most cake pop recipes start with a box cake and canned frosting.
You can do that. But I don’t.
The texture from scratch baking holds together better with less frosting. That means your cake balls won’t feel heavy or overly sweet.
I’ve tested both. Boxed mix crumbles faster and absorbs the frosting too much. Homemade cake gives you control. That’s why I stick with butter, sugar, flour, eggs, and milk.
If you want the cake to hold its swirl after crumbling, don’t overmix. Keep your fingers light as you break it down.
Choosing Between White Chocolate and Candy Melts for Dipping
I’ve tried both on these cake pops.
Candy melts set faster and are more predictable for beginners. But the flavor lacks depth.
White chocolate tastes better. It can be trickier to melt, though. That’s where a spoonful of vegetable shortening or coconut oil makes a difference.
If you’re serving these outside, go with candy melts. For indoor parties or gifting, real white chocolate makes the better impression.
In my notes, I’ve found Ghirardelli white chocolate chips melt smoother than most, and the flavor is worth it.
How to Keep the Swirls Visible Inside Cake Pops
You’ve got two chances to mess up the swirl: before baking, and while crumbling.
First, don’t over-swirl the batter in the pan. One light zigzag with a toothpick is enough.
Second, once the cake cools, use your hands to crumble it gently. Don’t mash or knead it like bread.
The less you mix the frosting into the cake, the more visible your red and blue streaks will be.
That’s why I always start with ¾ cup frosting and only add more if absolutely needed.
Serving and Storage Tips for Patriotic Cake Pop Ideas
If you’re serving these at a barbecue or picnic, keep them chilled until just before setting them out. Heat softens the chocolate and weakens the stick.
I use a foam block or cake pop stand to display them upright. If you’re transporting, lay them flat in a single layer with parchment in between.
You can make these up to three days in advance. Store in an airtight container at room temperature. If it’s hot, refrigerate them and let them come back to room temp before serving.
They also freeze well. I’ve frozen them with no issue—just thaw in the fridge overnight.
Want More Red, White and Blue Dessert Ideas?
Pair these cake pops with other easy 4th of July treats:
🎇 Firework Painted Macarons – for something elegant and artistic
🍧 Patriotic Slushie – to cool things down
🍰 Frozen Patriotic Cheesecake – for a no-bake option
🍦 4th of July Waffle Cones – when you want a hand-held scoop with flair
🍓 Patriotic Mousse Cups – light and airy, good for make-ahead
Save and Share This Festive Cake Pop Recipe
You can pin this recipe for later or print it out for your 4th of July prep.
If you try these Patriotic Cake Pops, I’d love to hear how they turned out. Share in the comments—did you go with white chocolate or candy melts? Did your swirls stay visible?
Your tips and tweaks help others too, so don’t be shy.
📌 Save this to your ‘Fourth of July Desserts’ board so it’s ready when you need it.
Patriotic Cake Pops Recipe
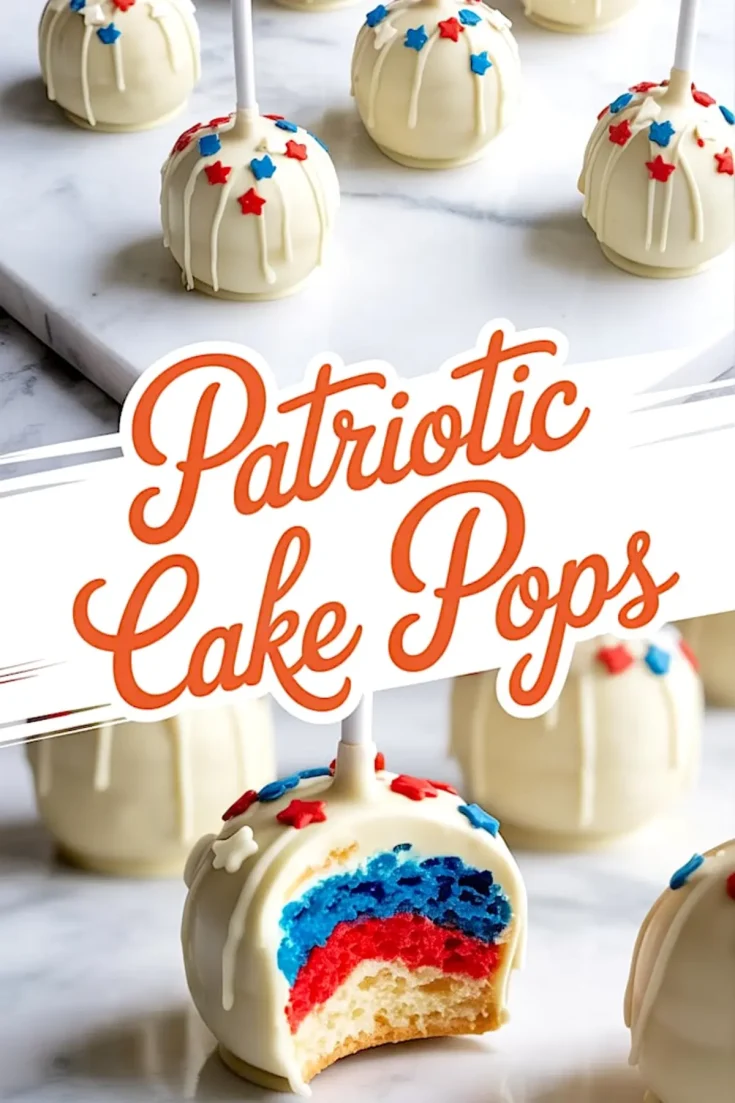
A festive red, white, and blue dessert featuring moist vanilla cake swirled with patriotic colors, shaped into pops, and coated in smooth white chocolate. Each bite reveals a colorful interior and a creamy shell, topped with star-shaped sprinkles. These cake pops are baked in a single pan with a marbled swirl technique, then formed into bites perfect for parties and patriotic celebrations.
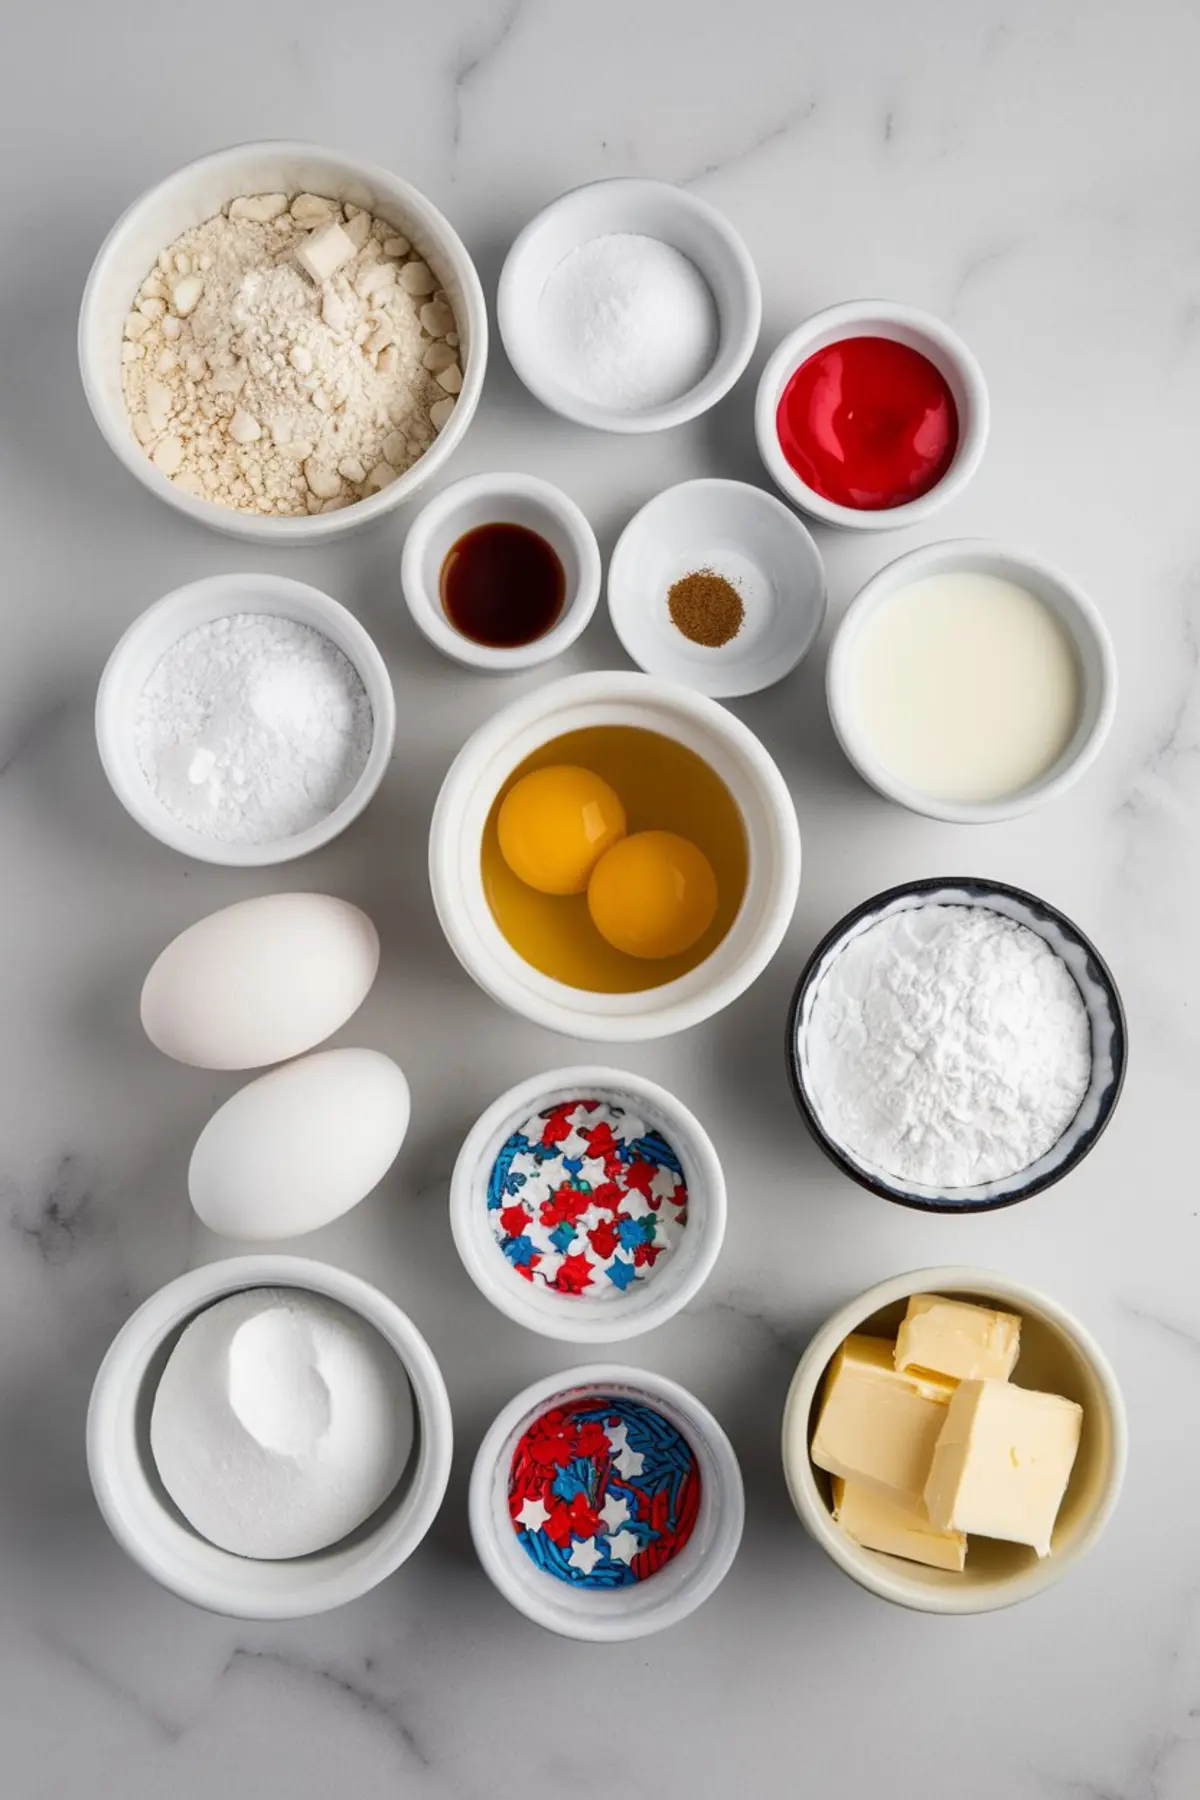
Ingredients
- For the Cake:
- 2 ½ cups all-purpose flour
- 2 ½ tsp baking powder
- ½ tsp salt
- 1 cup unsalted butter, room temperature
- 1 ¾ cups granulated sugar
- 4 large eggs
- 1 tbsp pure vanilla extract
- 1 cup whole milk
- Red gel food coloring
- Blue gel food coloring
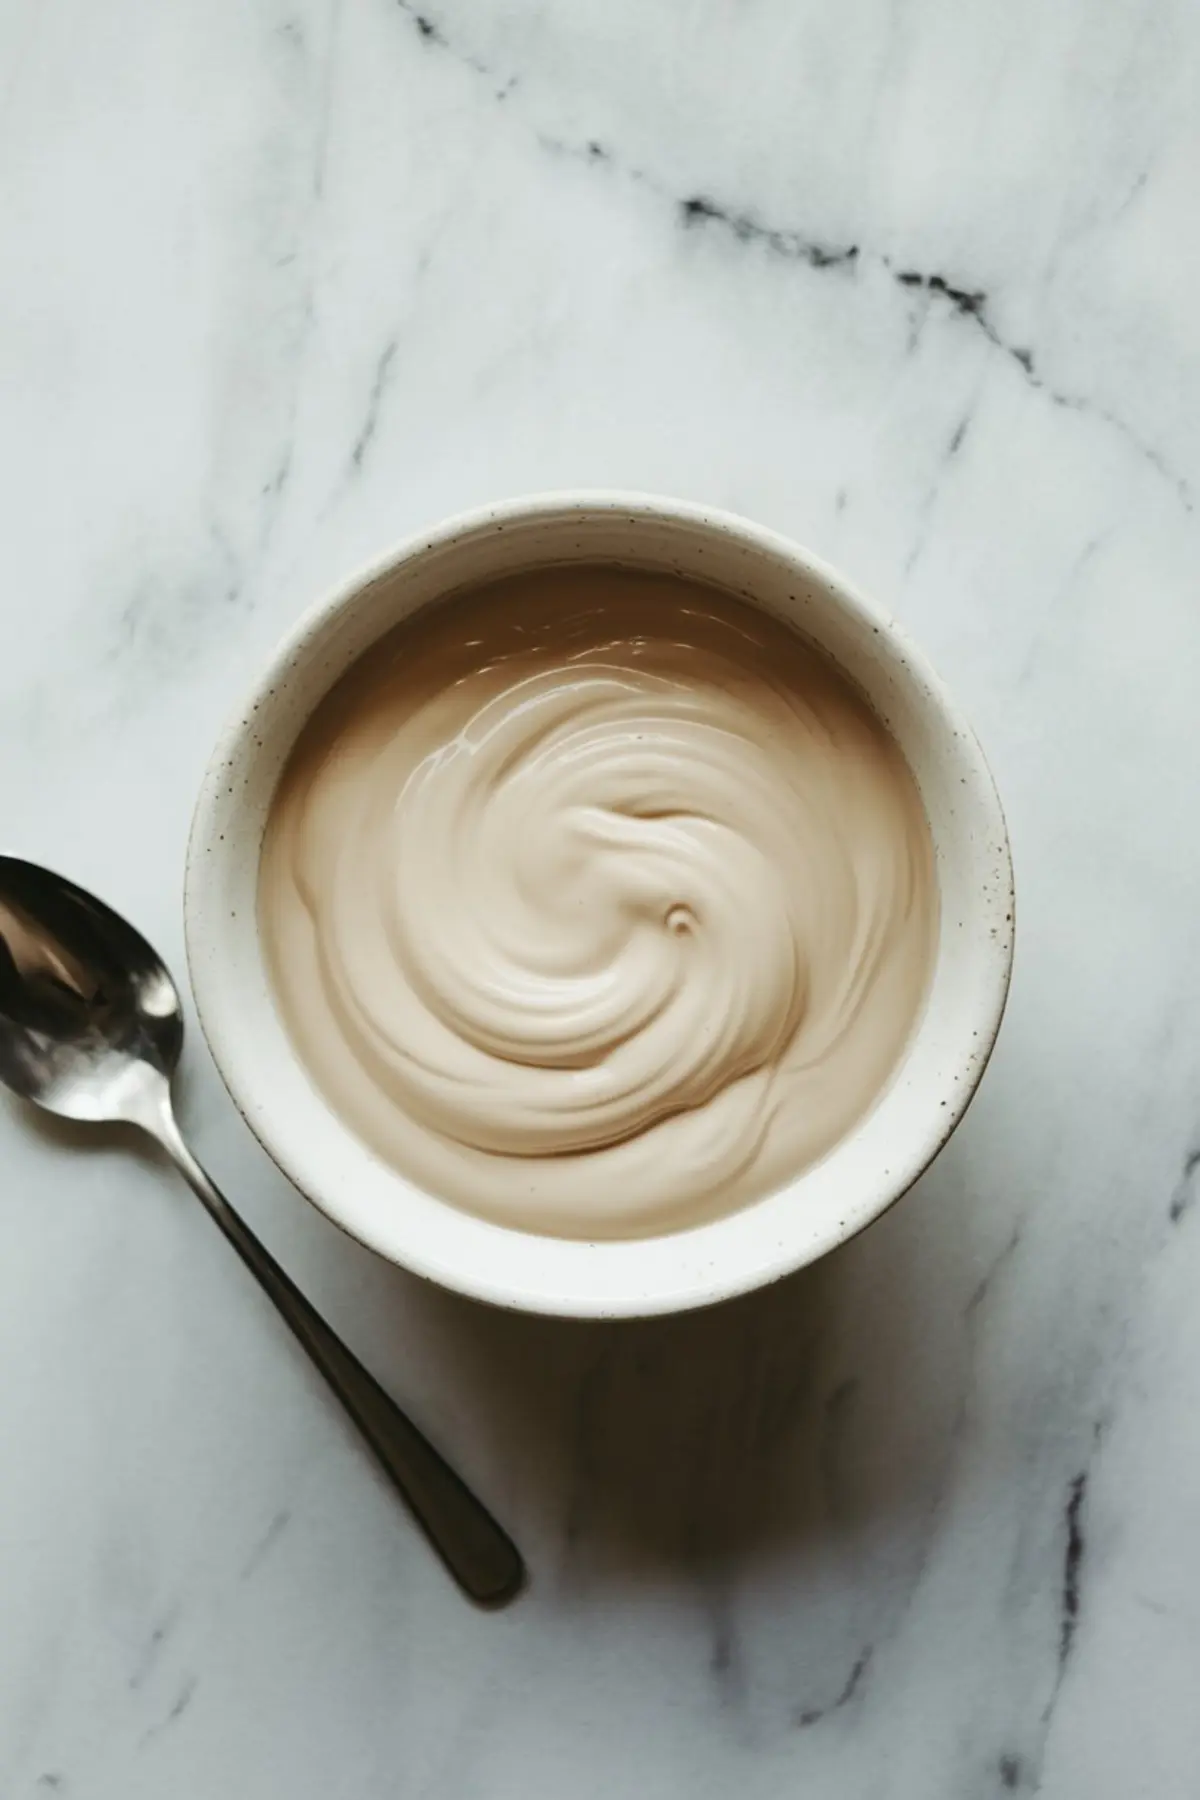
- FOR THE FROSTING (BINDING THE CAKE POPS):
- ¾ cup unsalted butter, room temperature
- 2 cups powdered sugar
- 1 ½ tsp vanilla extract
- 1–2 tbsp milk (if needed, for texture)
- FOR COATING AND DECORATING:
- 2 cups white chocolate or white candy melts
- 1 tbsp vegetable shortening or coconut oil
- Red, white, and blue star-shaped sprinkles
- Lollipop sticks
Instructions
- PREHEAT THE OVEN AND PREPARE THE PAN: Preheat your oven to 350°F (175°C). Grease and line a 9x13-inch baking pan with parchment paper to prevent sticking.
- MIX DRY INGREDIENTS: In a medium bowl, whisk together the flour, baking powder, and salt until evenly combined. Set aside.
- CREAM BUTTER AND SUGAR: In a large mixing bowl, beat the butter and sugar together on medium speed until light and fluffy, about 3 minutes. Add the eggs one at a time, mixing well after each addition. Stir in the vanilla extract.
- ADD FLOUR AND MILK: Alternately add the dry mixture and milk to the creamed mixture, starting and ending with the dry ingredients. Mix just until incorporated to avoid overmixing.
- COLOR THE BATTER: Divide the batter evenly into three bowls. Leave one portion plain. Color the second portion with red gel food coloring and the third with blue gel food coloring, using enough to create bold colors that stay vibrant after baking.
- SWIRL INTO PAN: Drop spoonfuls of each colored batter into the prepared pan, alternating colors to create a scattered pattern. Lightly swirl through the batter with a toothpick or knife to create a marbled effect. Do not overmix.
- BAKE THE CAKE: Bake for 28 to 32 minutes or until a toothpick inserted in the center comes out clean. Let the cake cool completely in the pan.
- CRUMBLE THE CAKE: Once cooled, crumble the cake into a large bowl using your hands or a fork. Gently break it up without overmixing so the red, white, and blue swirls remain visible.
- MIX WITH FROSTING: Add about ¾ cup of the prepared frosting and mix by hand until the mixture holds together like dough. Add more frosting in small amounts only if needed for binding.
- ROLL INTO BALLS: Use a tablespoon or cookie scoop to portion the mixture, then roll into tight balls about 1.5 inches in diameter. Place them on a parchment-lined baking sheet.
- CHILL THE CAKE BALLS: Refrigerate the cake balls for 1 hour or freeze for 20 minutes until firm. This helps them hold their shape during dipping.
- MELT THE COATING: In a microwave-safe bowl, melt the white chocolate or candy melts in 30-second intervals, stirring between each. Add vegetable shortening or coconut oil to achieve a smooth, pourable consistency.
- INSERT STICKS: Dip the tip of each lollipop stick into the melted chocolate, then push it halfway into each cake ball. This step helps secure the stick in place.
- DIP THE CAKE POPS: Dip each cake pop into the melted chocolate, turning to coat completely. Let the excess drip off and place the pops upright in a stand or foam block.
- DECORATE IMMEDIATELY: While the coating is still wet, sprinkle with red, white, and blue star-shaped sprinkles. Allow the coating to set completely before serving.
Notes
If your chocolate begins to thicken during dipping, gently reheat it in short intervals and stir well. Store cake pops in an airtight container at room temperature for up to 3 days or refrigerate for longer freshness.
Nutrition Information
Yield
24Serving Size
1Amount Per Serving Calories 372Total Fat 21gSaturated Fat 12gTrans Fat 0gUnsaturated Fat 7gCholesterol 72mgSodium 134mgCarbohydrates 44gFiber 0gSugar 33gProtein 4g