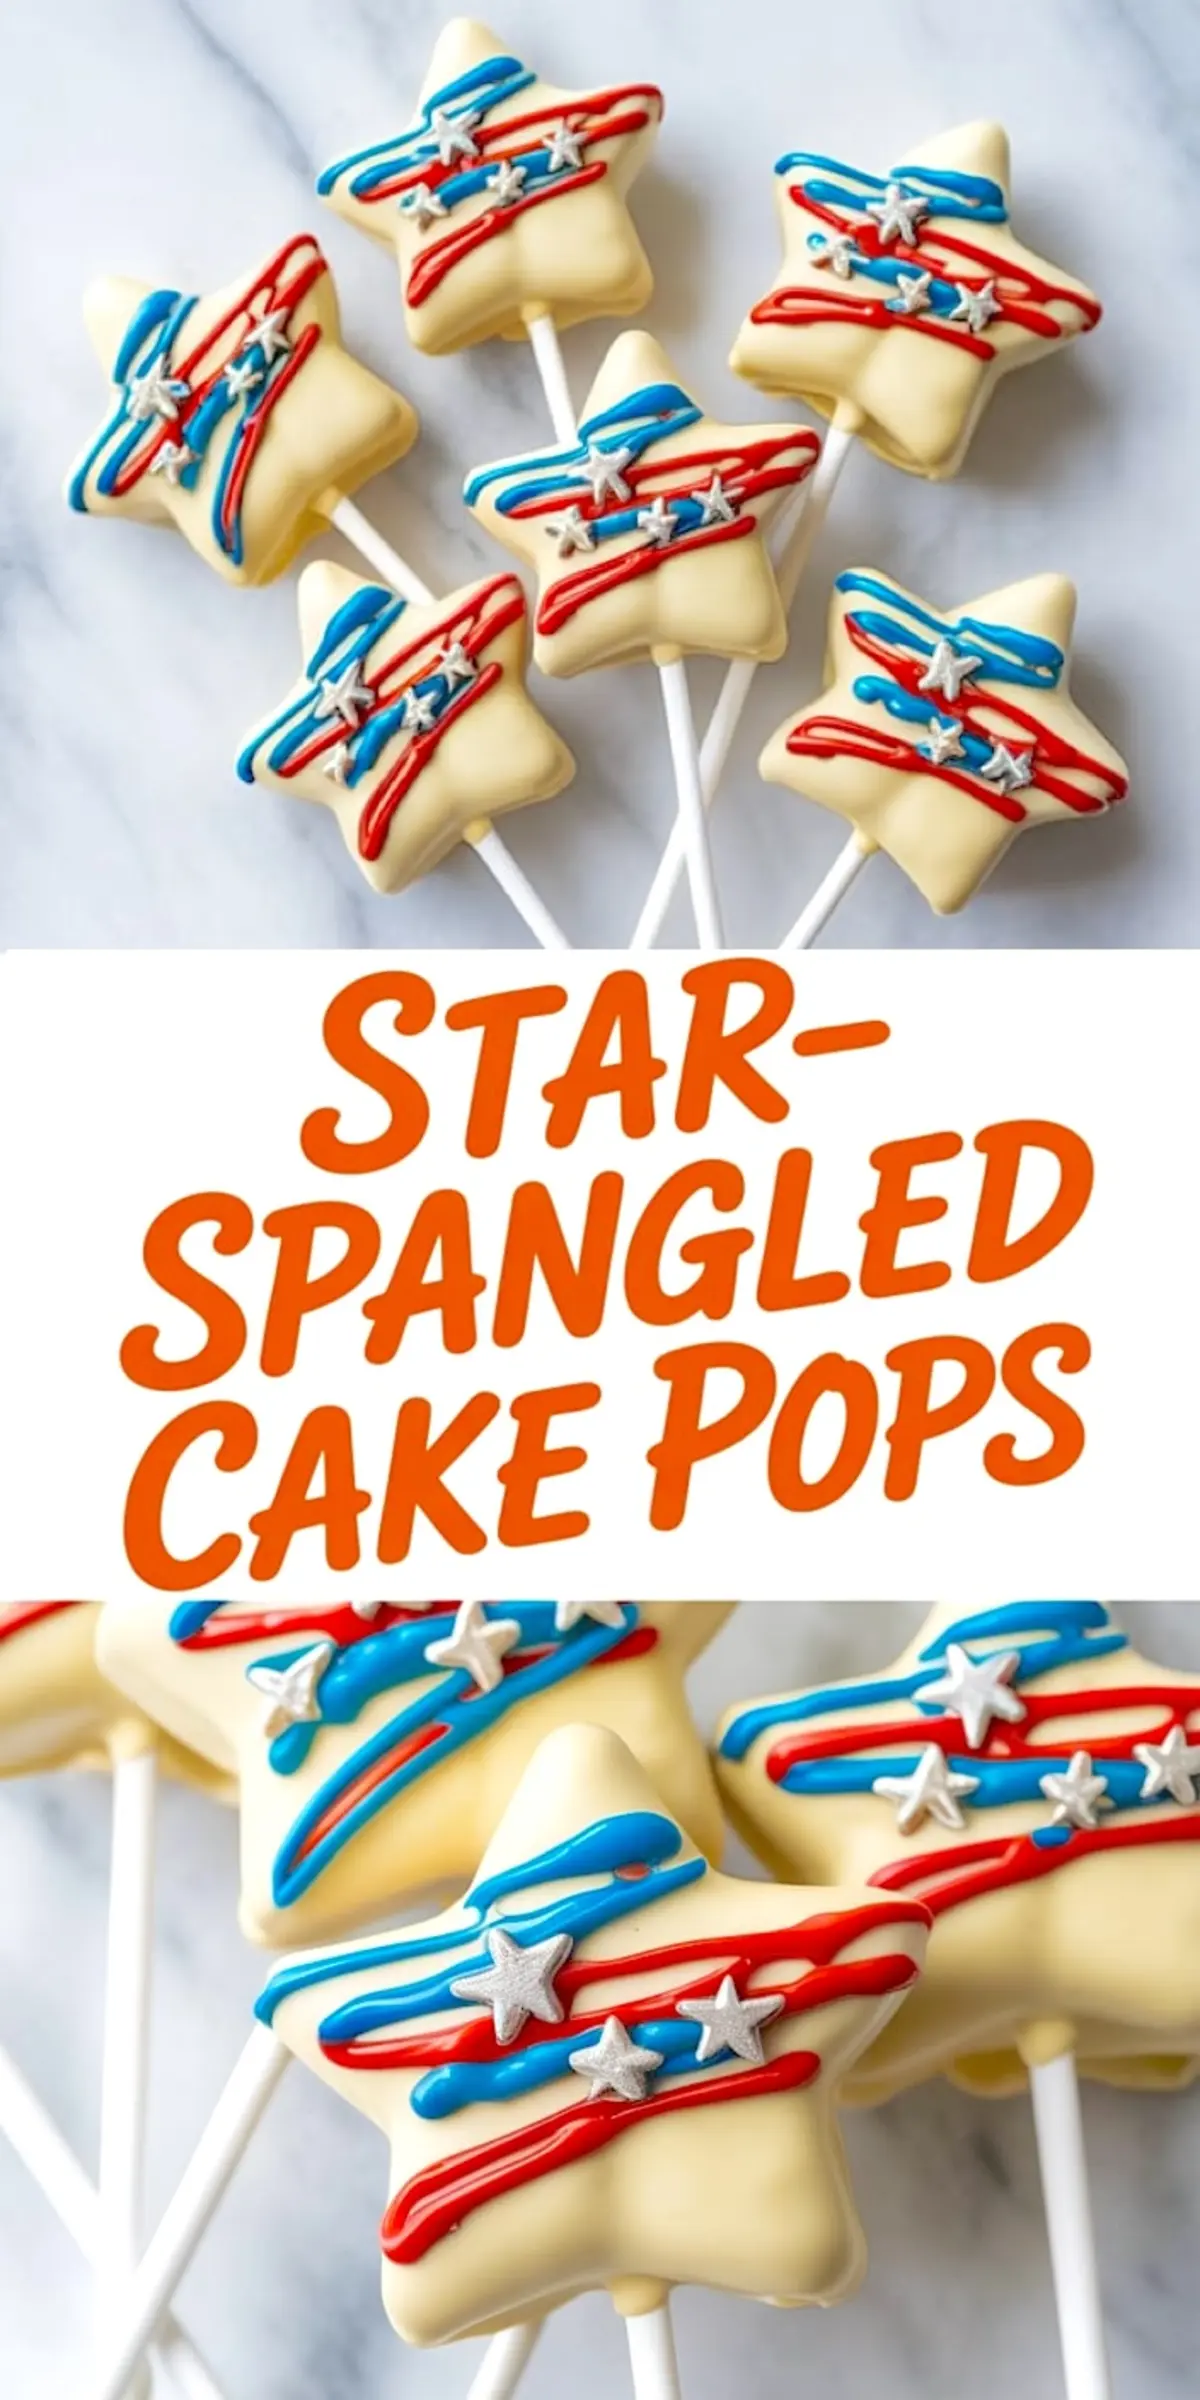
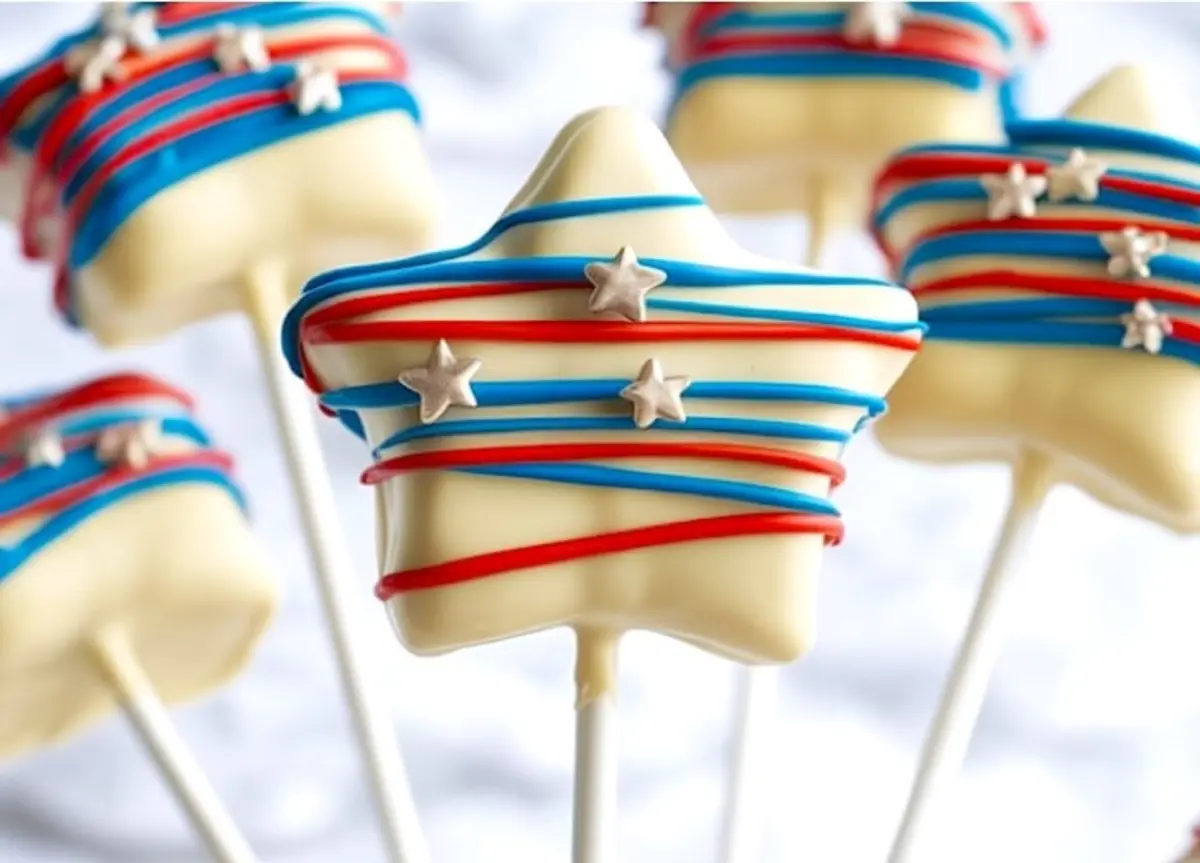
You’re about to make cake pops that don’t look like any others on the table. These are stars, literally. Dipped in white chocolate and streaked with red and blue, each one gets a silver sparkle just before it sets. There’s a reason I come back to these every summer.
Kids love holding them. Adults love eating them. And I love how easy it is to shape and dress them without needing fancy tools. If you’ve got a box of vanilla cake mix, a cookie cutter, and a microwave, you’ve already done half the work.
This isn’t about perfection. It’s about color, texture, and the surprise of biting into a soft cake center under a crisp shell.
Following a special diet?
Every recipe on this site can be converted to gluten-free, vegan, dairy-free, keto, nut-free or egg-free with adjusted ratios so nothing falls flat.
Try the Recipe Converter →Ingredients for Patriotic Cake Pops
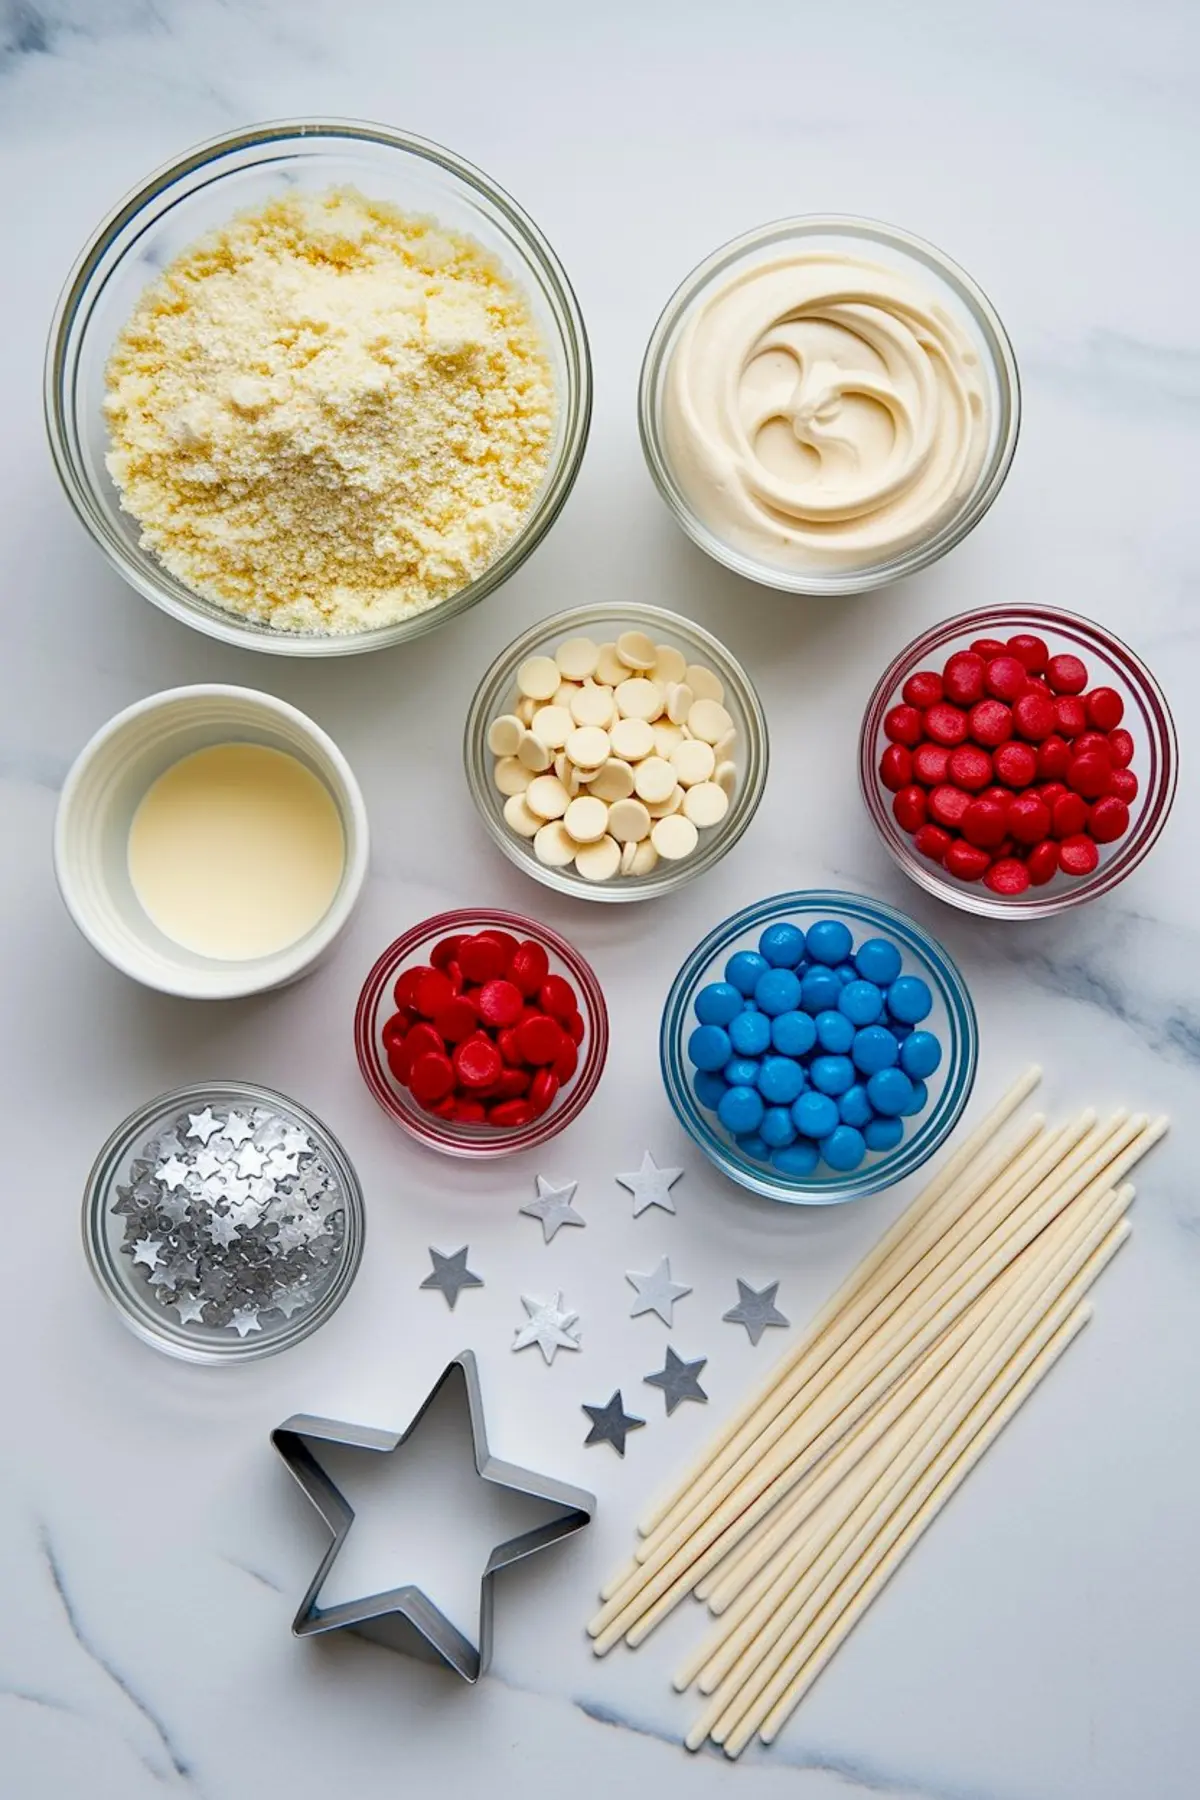
Start with a standard box of vanilla cake mix. Bake it in a 9×13-inch pan and let it cool completely. You need a firm, even bake—no warm crumbs or the frosting will melt.
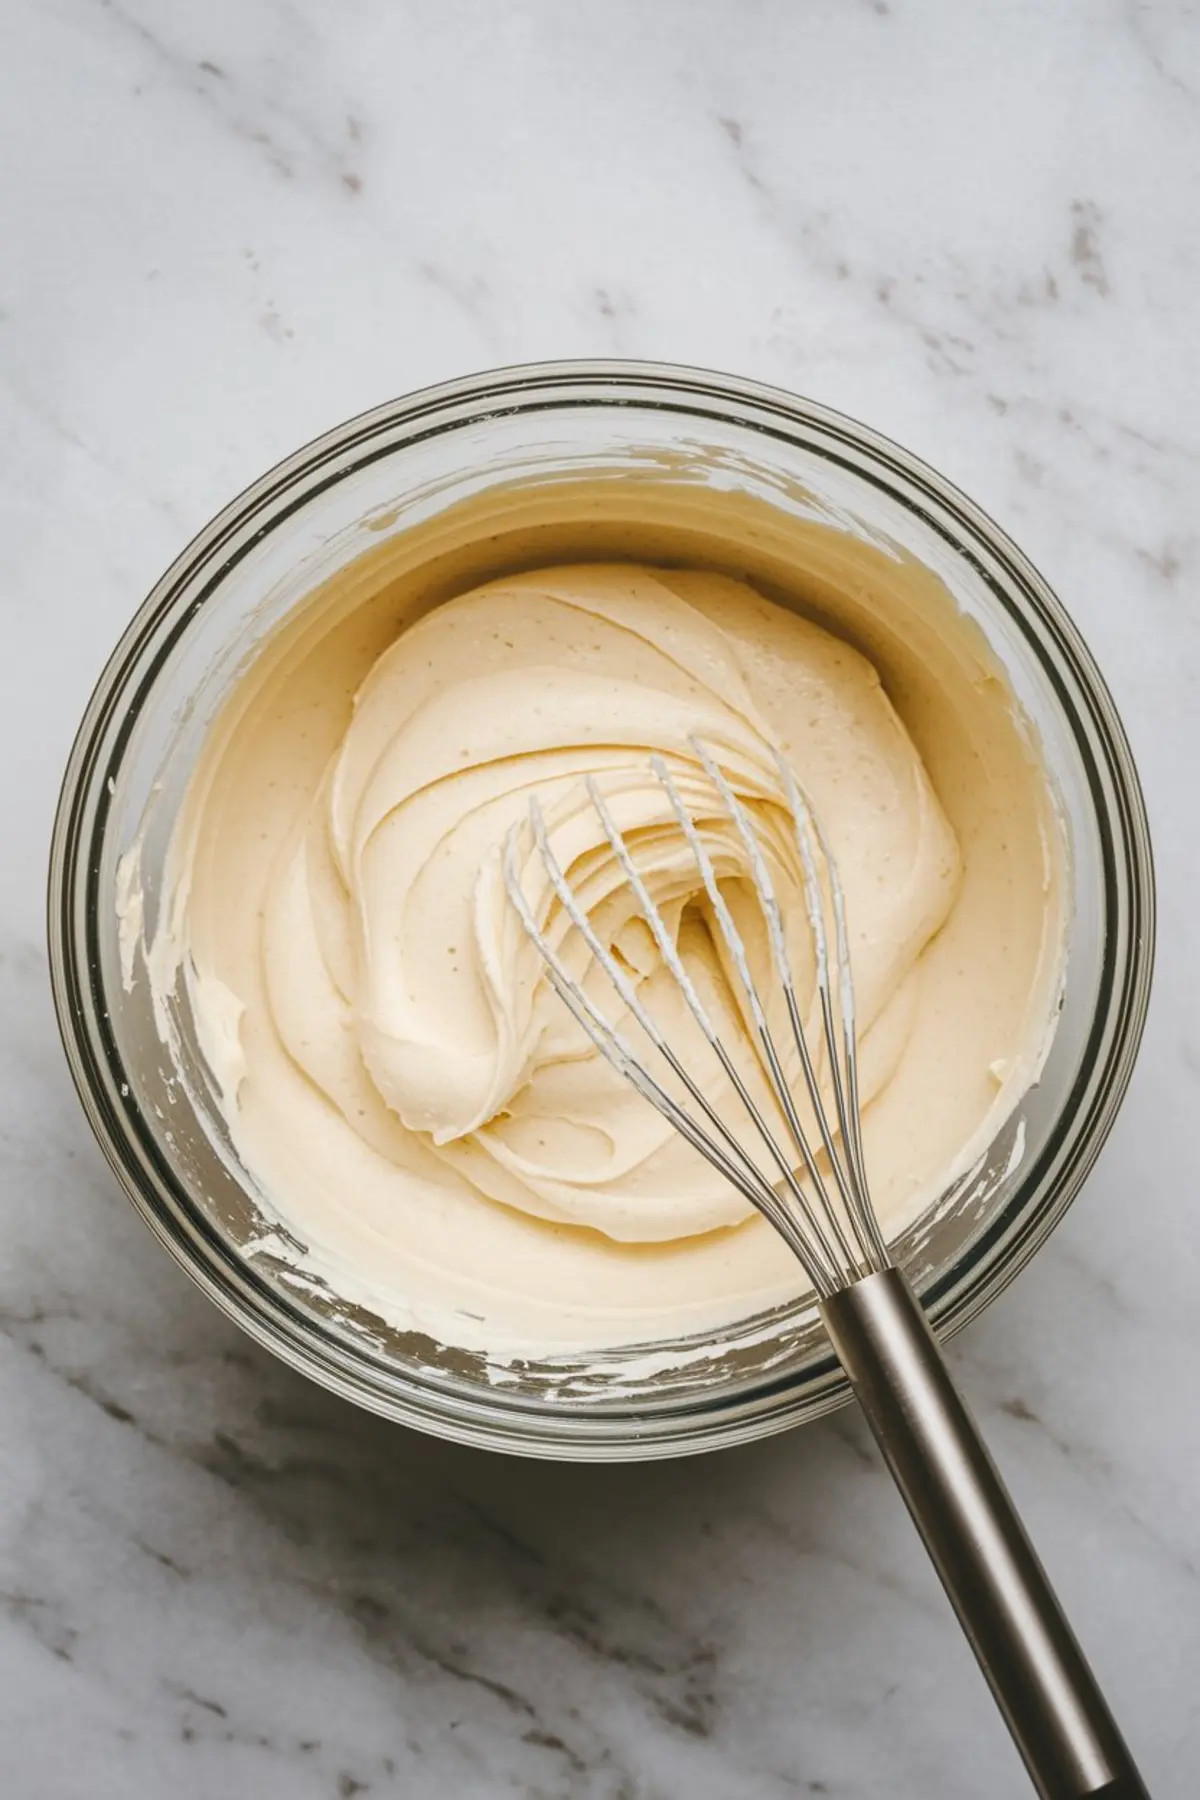
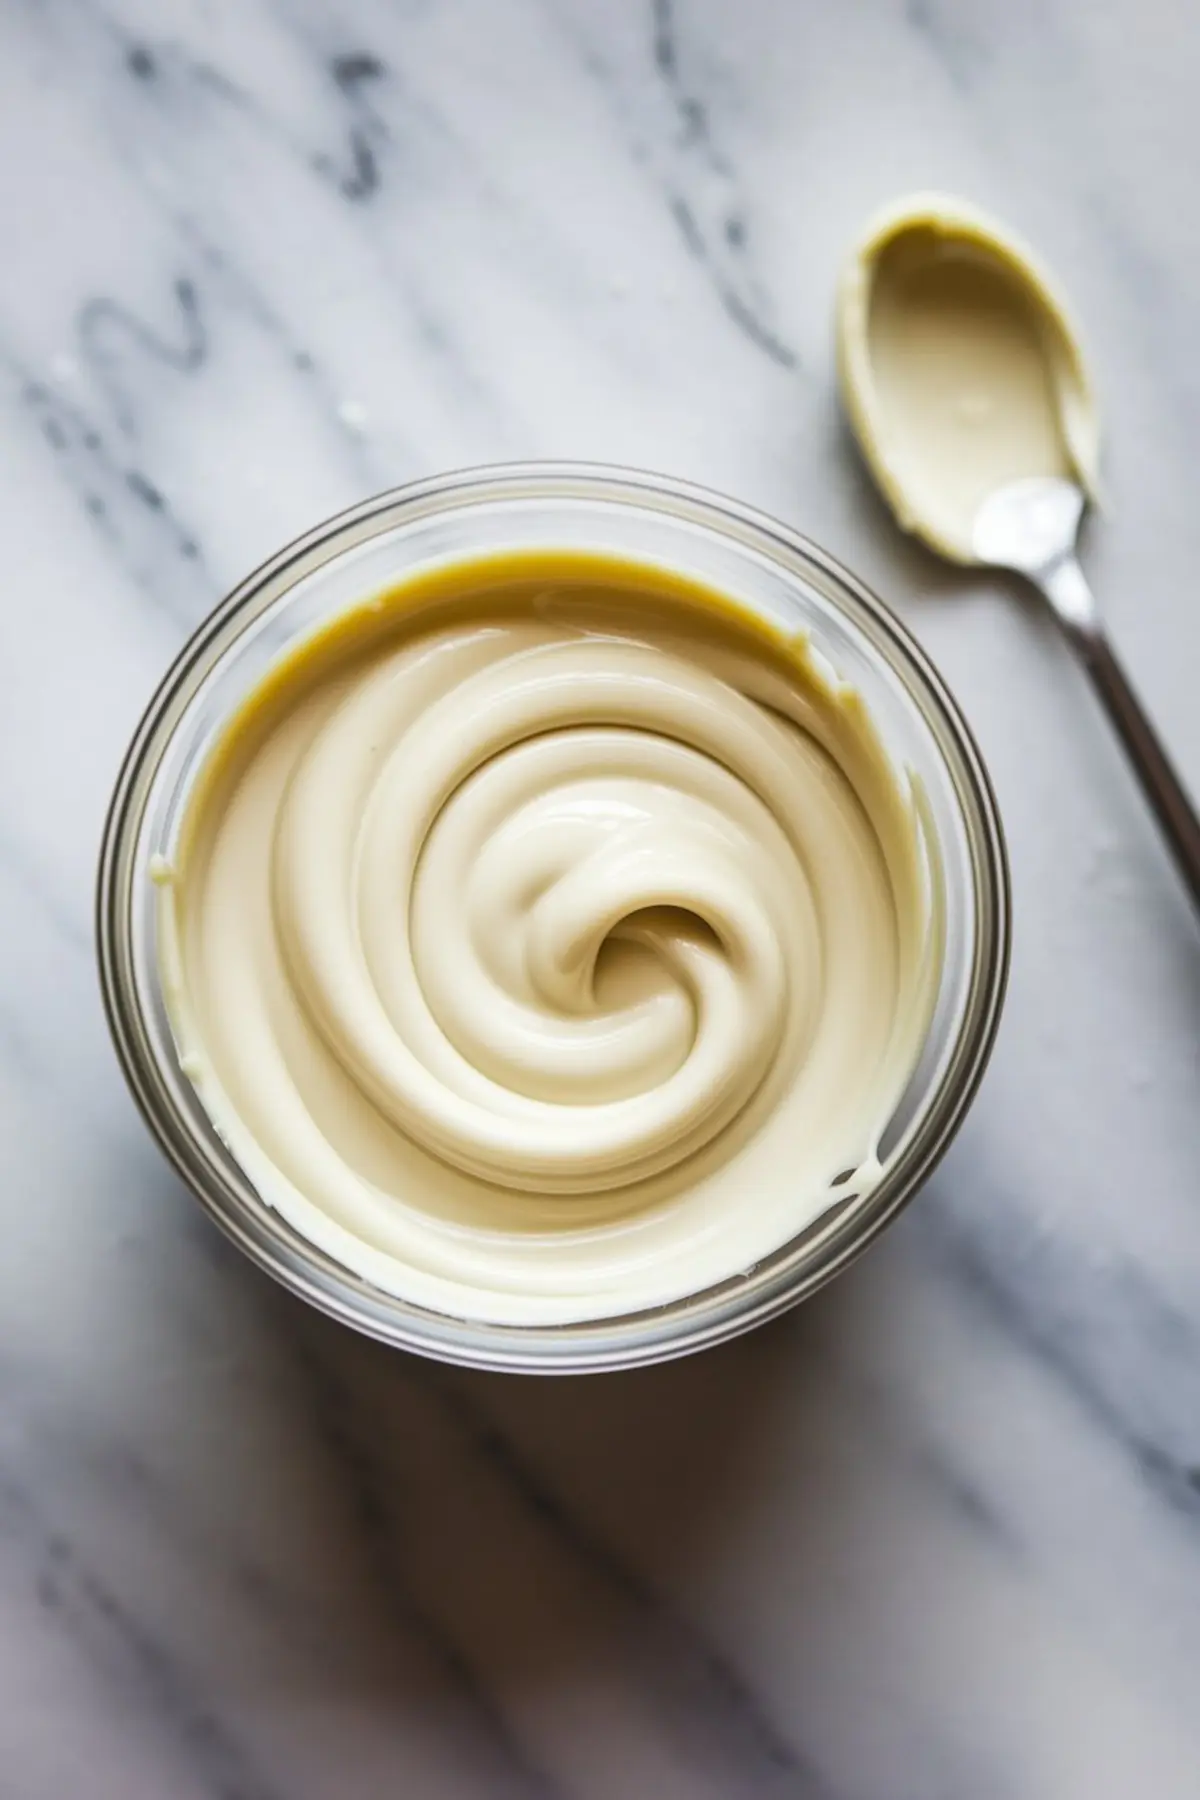
For the frosting, I stick to a basic buttercream. Softened butter, powdered sugar, vanilla, and just enough cream to pull it together. In my notes, I’ve found that milk works in a pinch, but cream gives you better control when shaping the stars.
Then there’s the chocolate. I use white chocolate bars or candy melts, depending on what’s available. Candy melts stay glossy longer, especially if you’re making these ahead for a party.
Don’t forget the color. You’ll need red, white, and blue melts (or food-colored white chocolate) and edible silver stars. If you don’t have piping bags, spoons work too.
Shaping the Cake Pop Stars
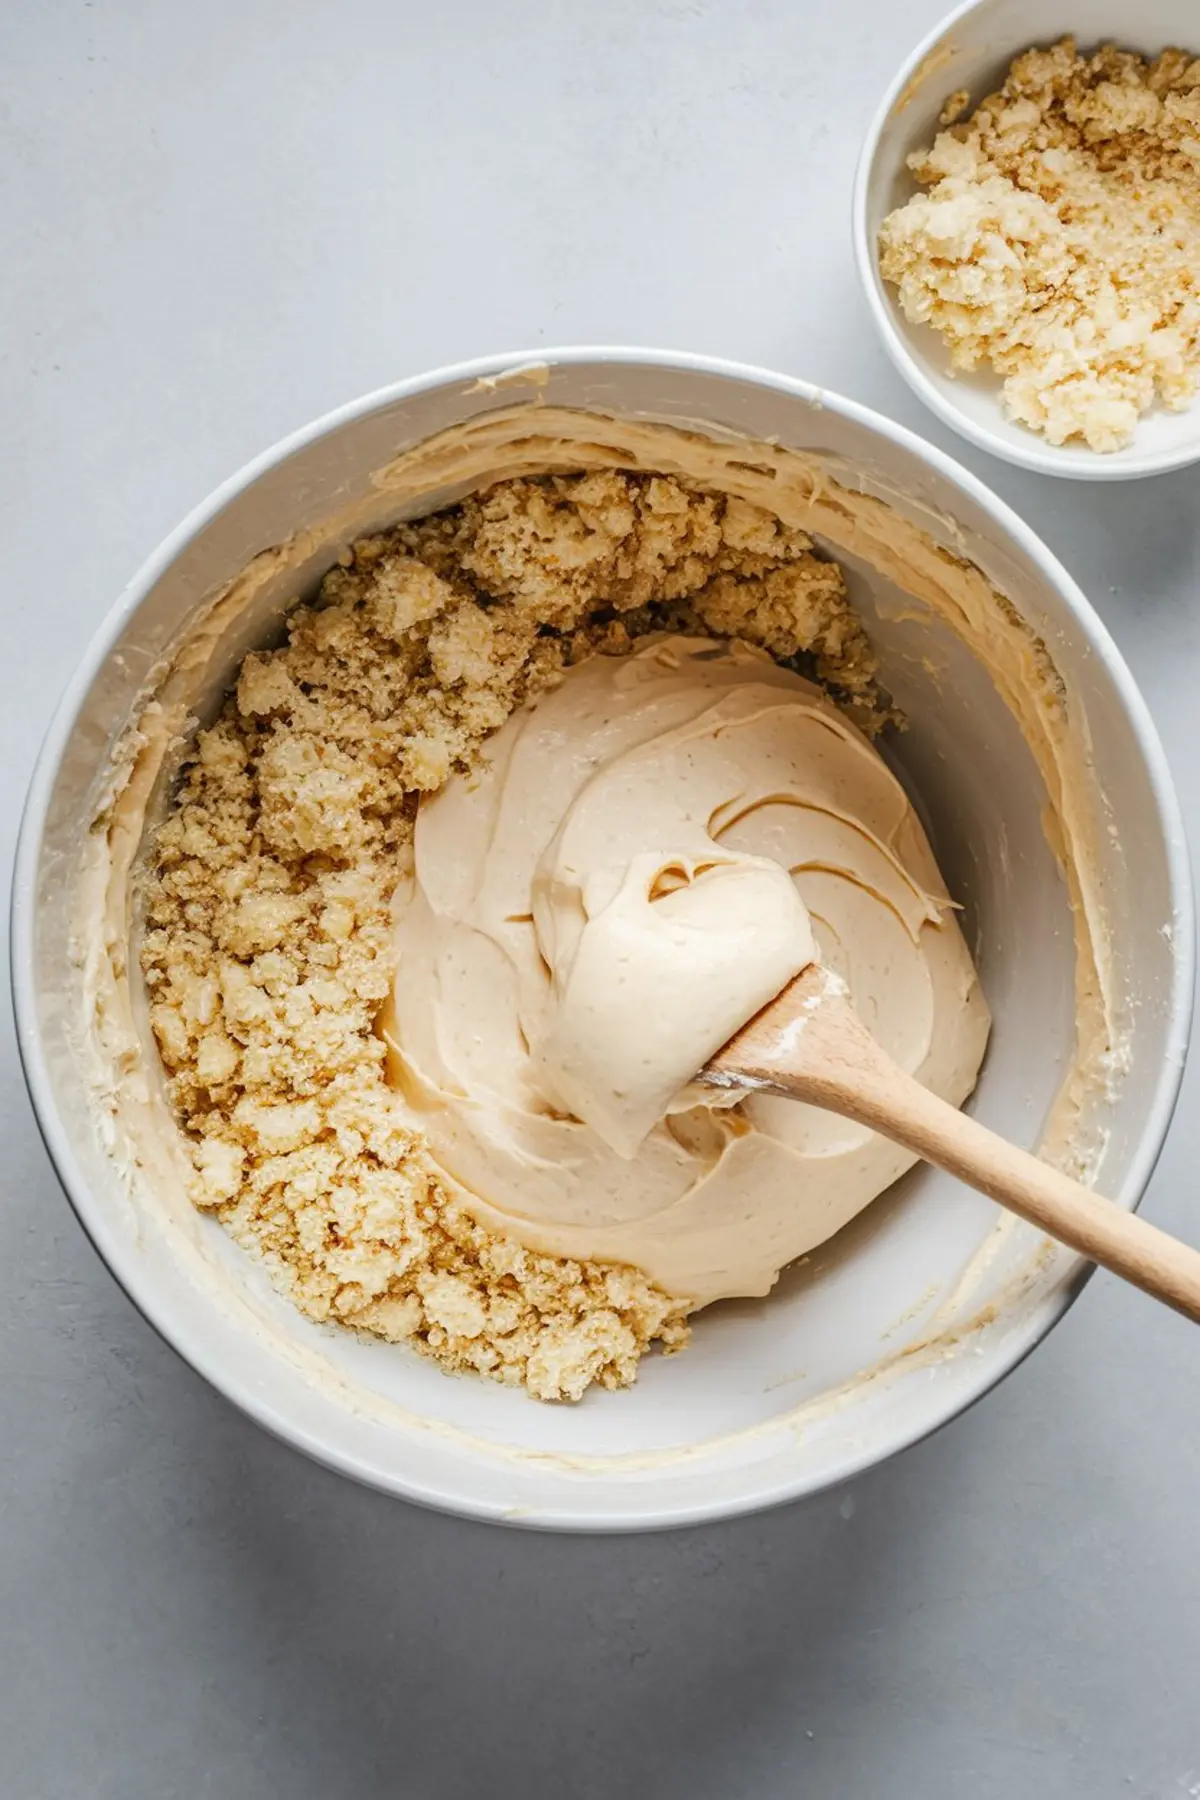
Crumble the cooled cake with your hands. Add frosting bit by bit, stopping when the texture holds like cookie dough. Too dry, and the stars will crack. Too soft, and they’ll sag on the stick.
Press the dough to about 3/4-inch thick. A metal star cutter gives sharper edges than plastic—especially if you dip it in powdered sugar between cuts. That trick saves time.
Line up the stars on parchment. Push a lollipop stick into the base of each. Not too far, just enough to hold. Then freeze for 20 to 30 minutes. You want them firm, not rock solid.
Dipping and Decorating with White Chocolate
Melt the white chocolate in short bursts, stirring between each. I use a glass bowl because it retains heat more evenly than plastic. Once smooth, take a star and dip.
Let the excess drip off. Tap gently against the bowl. Then place it upright in a cake pop stand. If you don’t have one, use a styrofoam block or even a colander upside down.
Now comes the fun. Drizzle melted red, white, and blue chocolate in zigzags or loops. No need for symmetry. The more varied, the better. While the surface is still soft, press on silver stars.
Tips for Consistent Results
Don’t skip the freeze. If the cake isn’t chilled, it can fall off the stick in the chocolate. I’ve tried shortcuts. They don’t work.
Use gloves if your kitchen runs hot. Warm hands melt the cake dough and make shaping tricky.
Avoid over-mixing the cake and frosting. You want it to bind, not turn to paste. Think of it like mixing biscuit dough: gentle, but thorough.
If your chocolate starts to thicken mid-way, warm it again for 10 seconds. Stir. Keep your tools dry—even a drop of water can seize melted chocolate.
Key Takeaway:
A firm, chilled star + smooth chocolate = no slipping off the stick.
Make-Ahead and Storage Advice
You can make these a full day ahead. Once the chocolate sets, they hold well at room temperature for two days. If you’re storing longer, refrigerate in a sealed container.
I don’t recommend freezing them after decorating. The moisture from thawing can dull the chocolate and cause discoloration. But if you’re short on time, you can freeze the stars before dipping, then finish them the next day.
I’ve tested both homemade cake and boxed mix here. The truth? Boxed mix gives a more consistent texture, which makes shaping easier. But if you’ve got a favorite dense homemade recipe, it’ll work just fine.
Pin This:
Save this post and keep it on hand for your next summer party.
More Red White and Blue Dessert Ideas
Try pairing these with Patriotic Poke Cake for a colorful display. Or set out a tray of Red White and Blue Meringue Kisses for a lighter bite.
Need something cooler? The 4th of July Trifle and Patriotic Lasagna Dessert both layer beautifully in clear glass. And don’t forget the Firework Crinkle Cookies, the sparkle matches your pops.
Or go fresh with Patriotic Berry Cheesecake Salad.
Have questions or tried the recipe?
Leave a comment, I always check and love hearing how they turned out.
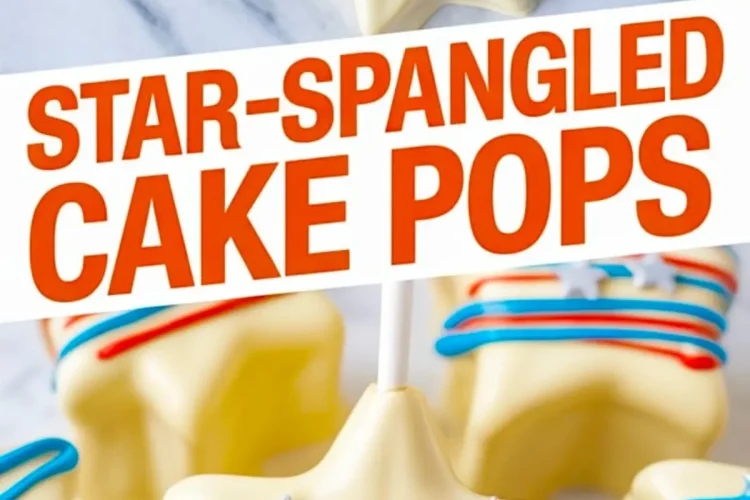
Star-Spangled Cake Pops
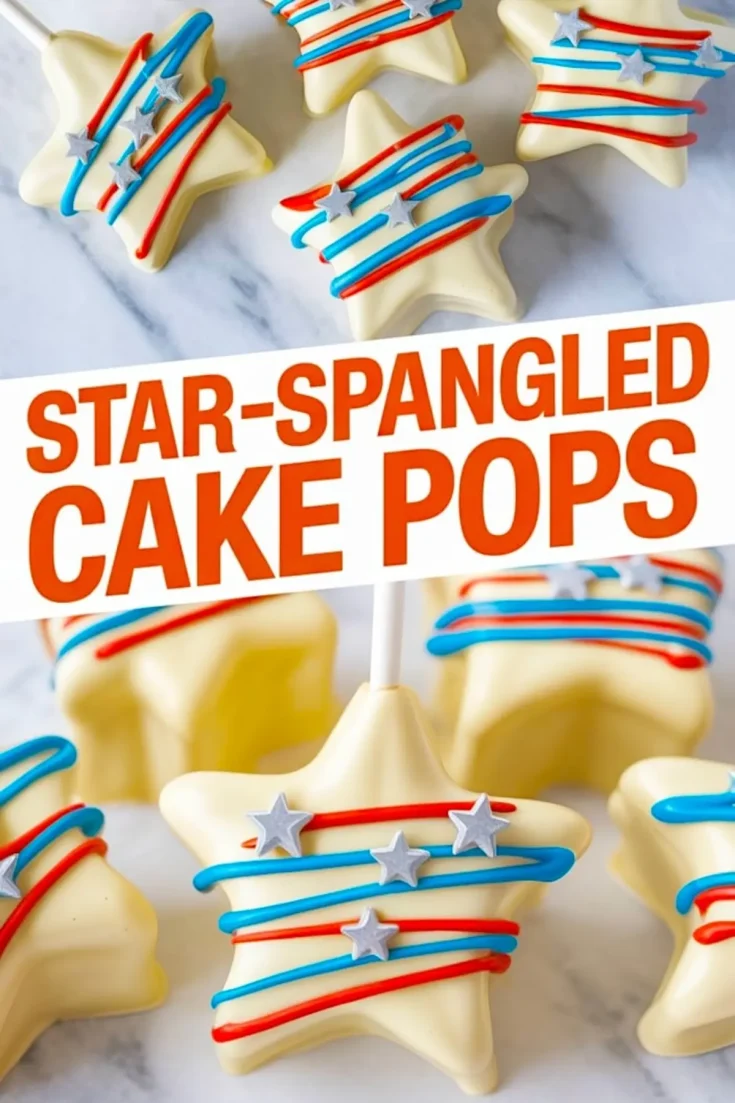
Celebrate with colorful, star-shaped cake pops dipped in white chocolate and decorated with patriotic swirls and silver stars. These festive treats are easy to shape, coat, and customize, making them great for summer gatherings and holidays like the 4th of July.
Ingredients
- For the Cake:
- 1 box vanilla cake mix
- Ingredients listed on the box (usually eggs, oil, and water)
- For the Frosting:
- ½ cup (1 stick) unsalted butter, softened
- 1 ½ cups powdered sugar
- 1–2 tbsp heavy cream or milk
- 1 tsp vanilla extract
- Pinch of salt
- FOR THE DECORATION:
- 16 oz white chocolate or white candy melts
- Red, white, and blue candy melts or colored chocolate (for drizzling)
- Silver star sprinkles or edible glitter stars
- Lollipop sticks
- Star-shaped cookie cutter (about 2.5–3 inches wide)
- Cake pop or styrofoam stand
Instructions
- BAKE AND COOL THE CAKE: Preheat the oven according to the cake mix instructions, usually 350°F (175°C). Prepare and bake the cake in a 9x13-inch pan following the package directions. Allow the cake to cool completely before proceeding to prevent the frosting from melting when mixed.
- MAKE THE FROSTING: In a mixing bowl, beat the softened butter until creamy and smooth. Gradually add powdered sugar, vanilla extract, and a pinch of salt. Mix in heavy cream or milk 1 tablespoon at a time until the frosting reaches a soft, spreadable consistency.
- MAKE THE CAKE POP DOUGH: Crumble the cooled cake into a large mixing bowl using your hands or a fork. Add about ¾ of the frosting and mix thoroughly until the mixture is cohesive and resembles cookie dough. Add more frosting if needed to help the mixture hold its shape.
- SHAPE THE STARS: Line a baking tray with parchment paper. Press the cake mixture evenly to about ¾-inch thickness on a clean work surface. Use a star-shaped cookie cutter to cut out star shapes and place them on the prepared tray. Carefully insert a lollipop stick into the base of each star. Transfer the tray to the freezer for 20–30 minutes until the stars are firm but not frozen solid.
- COAT WITH CHOCOLATE: In a microwave-safe bowl, melt the white chocolate or candy melts in 30-second intervals, stirring between each until smooth. Dip each chilled star into the melted chocolate, using a spoon to ensure full coverage. Tap gently to remove excess coating and place upright in a cake pop stand to set.
- DECORATE: Melt the red, white, and blue candy melts separately. Transfer each color to a piping bag or use a spoon to drizzle over the coated cake pops in random patterns. While the coating is still wet, press silver star sprinkles or edible glitter stars onto the surface. Allow all decorations to set completely at room temperature before serving.
Notes
If using homemade cake, ensure it’s a dense, moist variety to help the cake pops hold together well. For cleaner edges, dip the cookie cutter in powdered sugar before cutting. Store finished cake pops at room temperature for up to 2 days or refrigerate for longer freshness.
Nutrition Information
Yield
22Serving Size
1Amount Per Serving Calories 285Total Fat 12gSaturated Fat 7gTrans Fat 0gUnsaturated Fat 4gCholesterol 17mgSodium 217mgCarbohydrates 43gFiber 0gSugar 33gProtein 3g