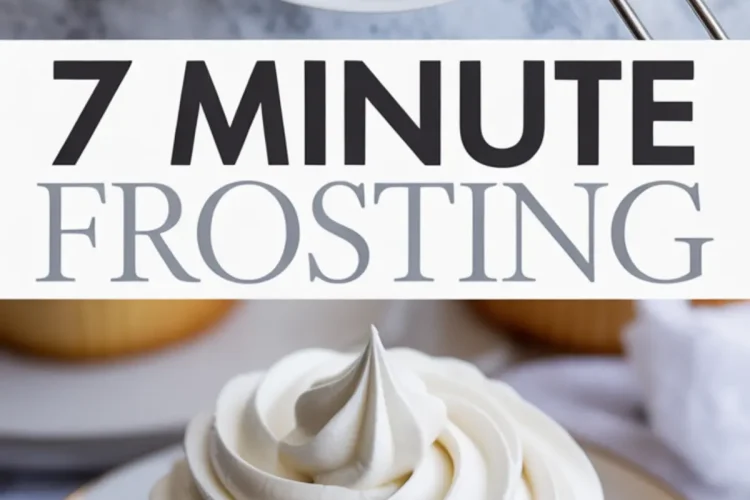
There’s a kind of frosting that doesn’t weigh down a cake but lifts it. Light, billowy, glossy like satin. That’s what this 7 minute frosting delivers. It’s one of those frosting recipes easy to overlook in favor of butter-heavy options, but when you want a fluffy frosting that feels like a soft cloud on your tongue, this is the one to trust.
You’ll learn exactly how to make a traditional seven minute frosting recipe that actually sets, pipes beautifully, and tastes like the frosting your grandmother used on Sunday cakes. No butter, no cream, just glossy whipped magic that clings to your beaters and holds its shape. I’ve tested this on layered cake slices, birthday cupcakes, and once on a lemon loaf that needed something more. Every time, it’s held up.
This recipe brings confidence back to cooks who want something lighter than buttercream, but more structured than whipped cream frosting. It fills that space.

Following a special diet?
Every recipe on this site can be converted to gluten-free, vegan, dairy-free, keto, nut-free or egg-free with adjusted ratios so nothing falls flat.
Try the Recipe Converter →Why This Frosting Works: A Personal Note on Simplicity
I keep this recipe in a folder labeled “Reliable.” It’s tucked between my Italian buttercream frosting notes and a scribbled version of my Ermine frosting shortcut. The common thread? Recipes that do exactly what they say.
With this 7 minute frosting recipe, you’re not chasing trends. You’re going back to basics, and doing them well. That’s where the real satisfaction comes from.
This frosting doesn’t coat the tongue in fat. Instead, it leaves a soft sweetness, a clean finish, and a glossy top that sets just enough to hold a shape but never crusts.
Ingredient Insight: Why I Chose These and Nothing Else

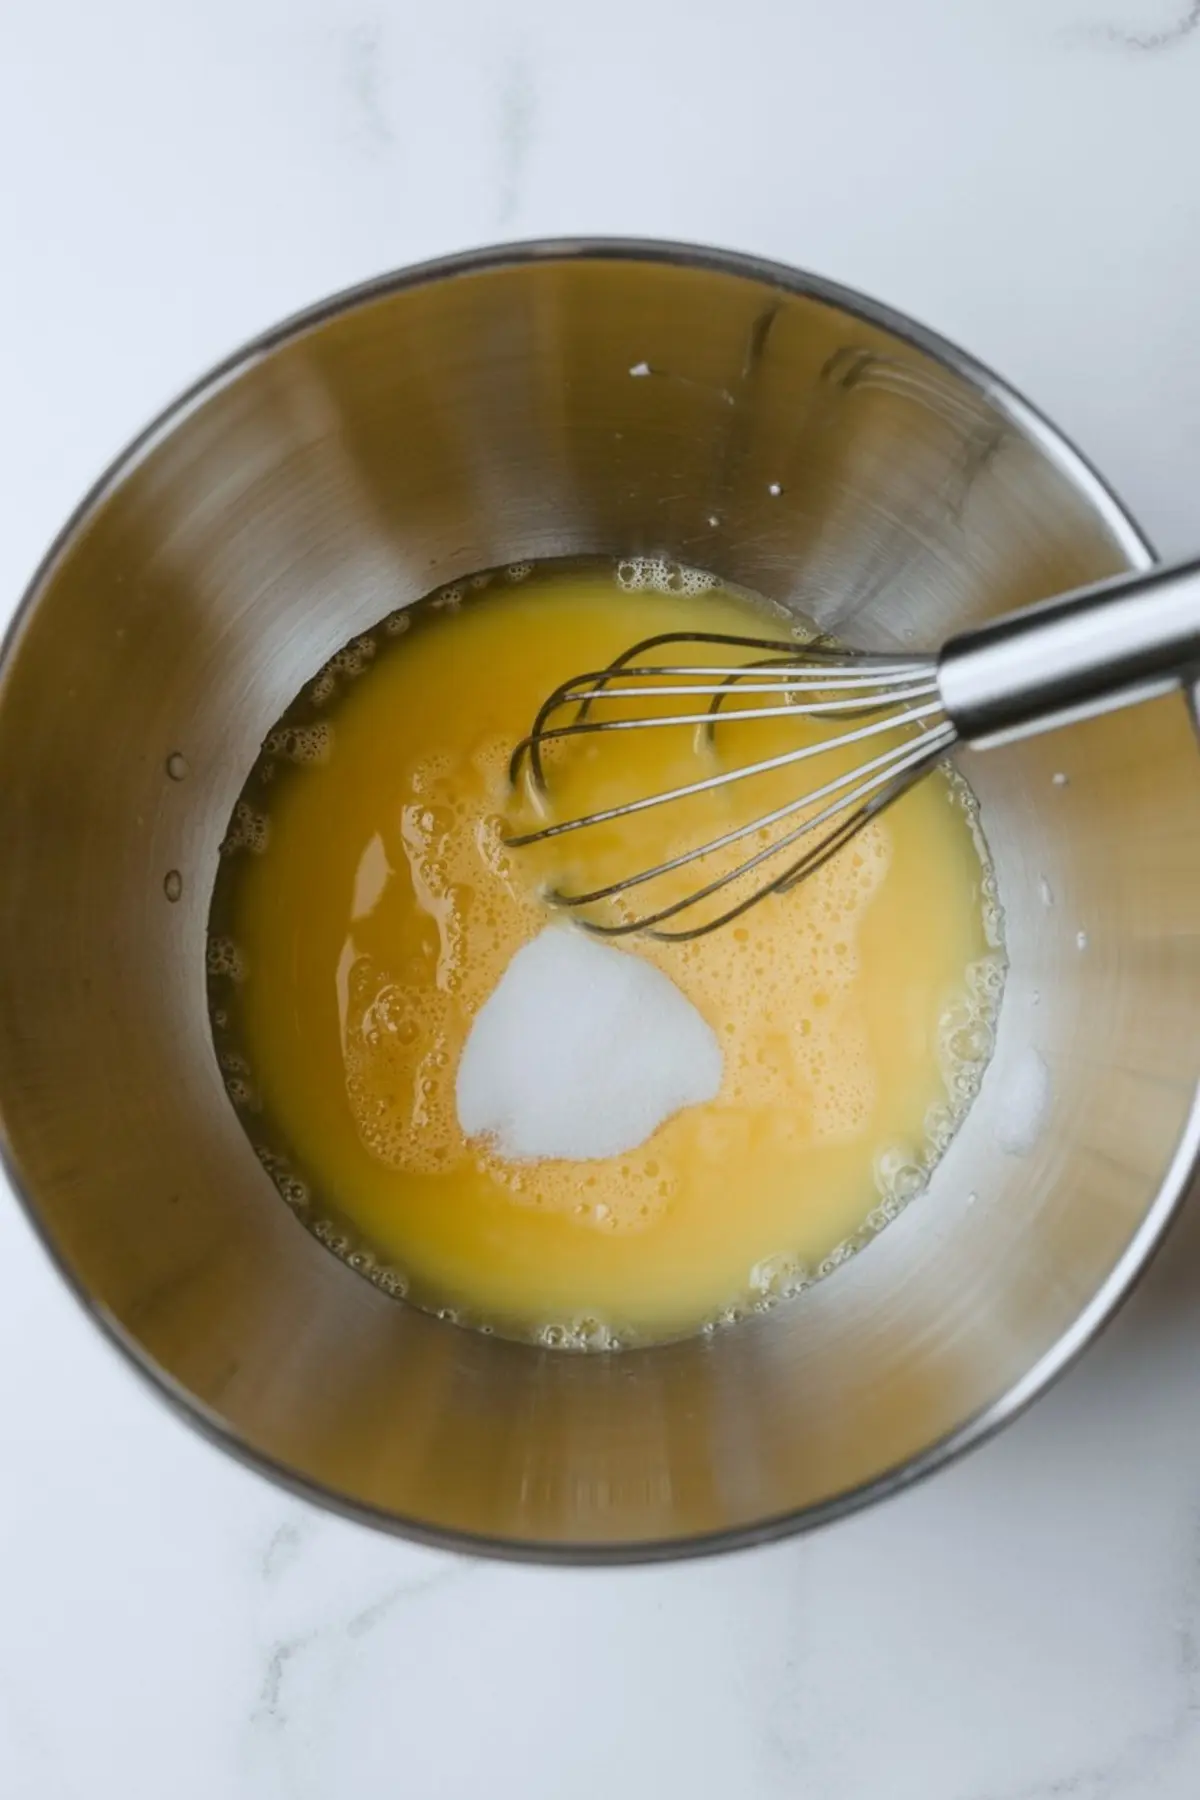
Egg whites start the structure. I always use large, room-temperature eggs. Cold eggs whip slower, and for a seven minute whip, every second counts. You want volume, fast.
Granulated sugar gives the frosting its body and sheen. I’ve tried superfine sugar, but it dissolves too quickly and doesn’t produce the same thickness. Regular white sugar holds the whip long enough for structure to build.
Cold water keeps the sugar from caramelizing too soon over the simmering pot. If the mixture heats too fast, the eggs will scramble. I’ve seen it happen, and it’s not pretty.
Cream of tartar adds stability. Without it, you risk deflation before the seven minutes are up. If you’ve ever made a meringue that collapsed, you know what I mean.
Salt adds the tiniest counterpoint to all that sugar. You don’t taste it directly, it’s more about balance.
Clear vanilla extract keeps the color pristine. Brown vanilla works too, but it will tint the frosting slightly. For white cakes or clean contrast against dark layers, I stay with clear.
A Note on Mixing: Why the Seven Minutes Matter
The trick to this frosting is in the name. It’s not six. It’s not eight. It’s seven.
Set a timer, keep the mixer going, and don’t stop. I know that sounds strict, but this is one of those cake frosting recipes where timing is everything. The heat, the air, the sugar they all come together right at the seven-minute mark.
If you beat too little, the peaks fall. If you go too far, the texture starts to stiffen and lose that marshmallow gloss. It’s a sweet spot—literally.
Whisking vs Beating: The One Choice That Changes the Texture
I’ve done this both ways: by hand with a whisk, and with a handheld mixer.
Whisking by hand gives a softer, more delicate texture. But unless you have forearms like a baker in a boulangerie, it’s hard to keep the volume consistent.
Using an electric mixer on high speed gives you volume, stability, and gloss. The peaks set better, and the frosting holds longer.
So I’ll say this: if you’re frosting a full layered cake, choose the mixer. If you’re piping a few cupcakes and want a softer touch, the whisk will do. That’s the difference.
Storing This Fluffy Frosting: What You Need to Know
This frosting doesn’t like the fridge. It stiffens, sweats, and loses its shape. That’s just the nature of egg white-based frostings.
I always recommend frosting your cake the day you serve it. If you need to make it ahead, keep the frosting covered at room temperature for up to 24 hours. A glass dome or cake carrier does the job.
If the frosting starts to lose shine, a quick whisk by hand can bring back a bit of the volume. Not the full height—but enough to restore smoothness.
Pairing Ideas: What Cakes This Actually Works With
This frosting shines on a classic layered cake. Think yellow cake, chocolate layers, or anything nostalgic.
I’ve used it on cupcakes, too, especially for birthday parties where buttercream just feels too rich. One of my favorites was a batch of mini lemon cakes topped with swirls of this frosting and a dot of citrus zest.
It’s also lovely on red velvet, if you want an alternative to cream cheese frosting. Lighter, less tangy, and with more visual lift.
If you want a richer topping instead, I’ve shared my Italian buttercream frosting method here: Italian Buttercream Frosting. That’s where butter takes the lead.
Topping Notes and Decoration Options
Because this frosting sets with a bit of gloss, it makes a beautiful base for piped rosettes, swirls, or even rustic swoops with a spoon. I often top it with toasted coconut or shaved chocolate if I want contrast. A light dusting of cocoa powder also works on cupcakes.
If you’re decorating cookies, this isn’t your pick. Use royal icing instead for clean lines and hard sets: Royal Icing Recipe.
Related Recipes to Try Next
– Ermine Frosting for a creamy, flour-based option
– Whipped Cream Frosting when you want a chilled, dairy-based topping
Final Thoughts and a Quick Note from Me

I’ve kept this frosting in rotation for over a decade. It hasn’t failed me yet. If you’re new to making meringue-style frostings, this is the one to start with. It teaches patience, rhythm, and precision without making you feel like you need a degree in pastry.
Once you master it, you’ll find yourself coming back. Again and again.
If you make this seven minute frosting, pin this recipe to your cake frosting board for later. And please share in the comments how it turned out or if you have questions. I’d love to hear your variations or favorite pairings. Let’s keep learning from each other.
7 Minute Frosting Recipe
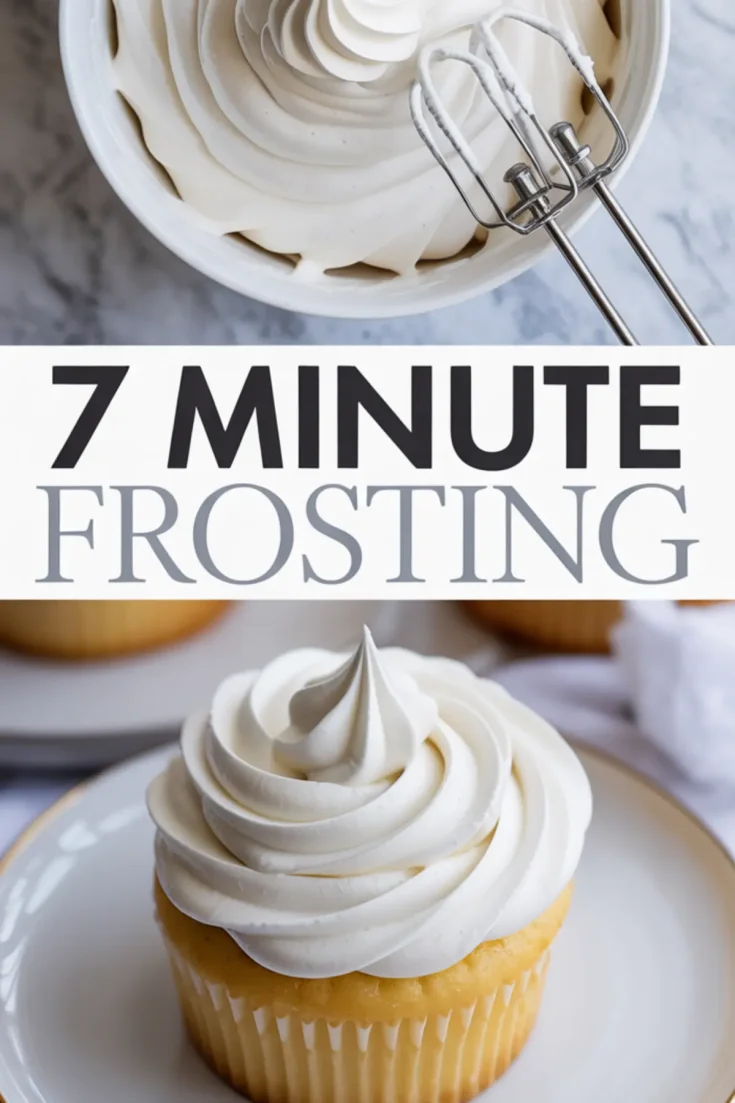
This 7 minute frosting recipe is light, glossy, and perfectly fluffy—ideal for topping classic layered cakes or cupcakes. It’s one of those frosting recipes that feels old-fashioned in the best way, with a glossy marshmallow-like finish that sets beautifully. If you love fluffy frosting without butter or heavy cream, this easy 7 minute frosting is a must-try. Perfect for vintage-style cakes or when you want something a little lighter than traditional buttercream. Whether you’re icing a birthday cake or need a quick cake frosting recipe for a celebration, this fluffy topping comes together fast and holds up beautifully.
Ingredients
- 2 large egg whites
- 1 ½ cups granulated sugar
- ⅓ cup cold water
- ¼ teaspoon cream of tartar
- Pinch of salt
- 1 teaspoon clear vanilla extract
Instructions
- SET UP A DOUBLE BOILER: Fill a medium saucepan with 1 to 2 inches of water and bring it to a simmer. Place a metal or glass heatproof bowl on top of the pan, ensuring it does not touch the water.
- COMBINE INGREDIENTS: Off the heat, add egg whites, granulated sugar, cold water, cream of tartar, and salt to the bowl. Whisk by hand until the mixture is fully combined.
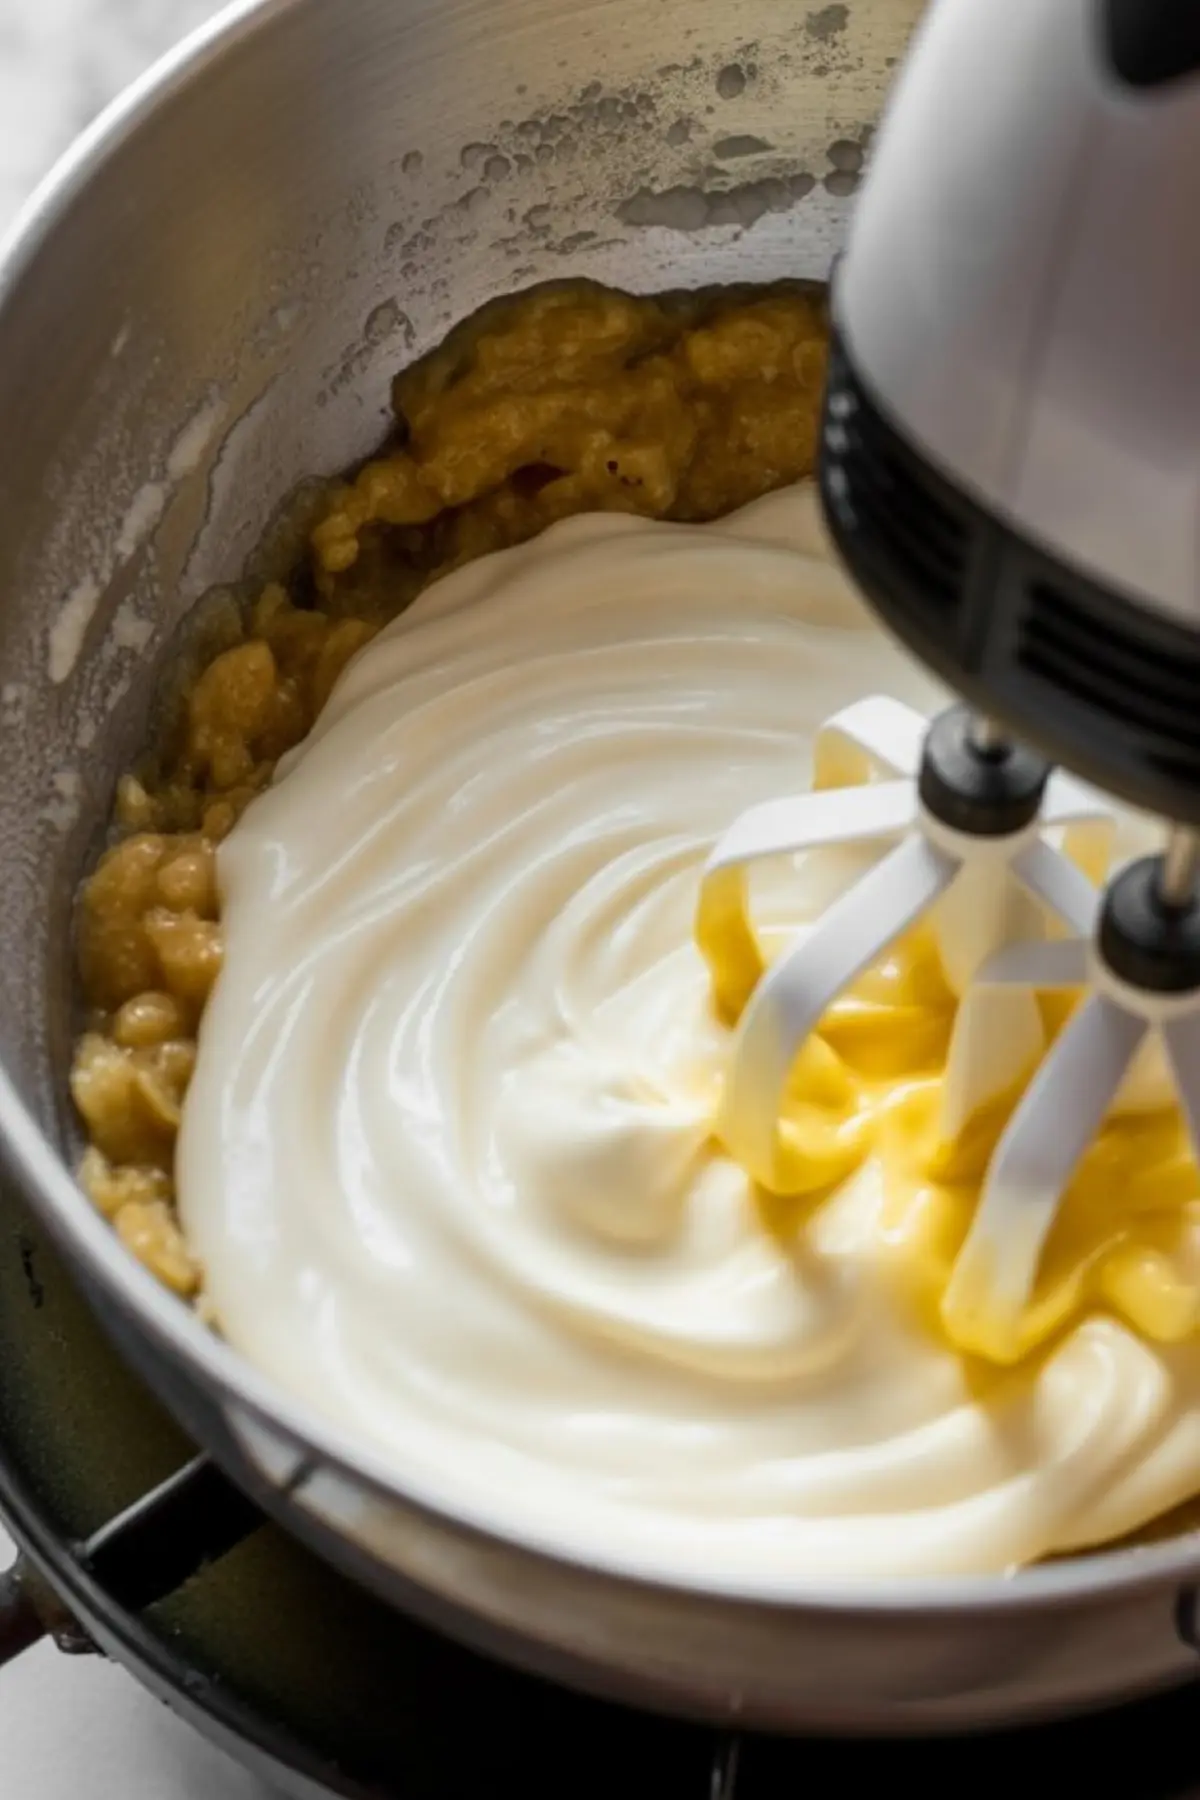
- HEAT AND BEAT: Place the bowl over the simmering water. Using a handheld electric mixer on high speed, beat the mixture continuously for exactly 7 minutes. The frosting will become thick, glossy, and form stiff peaks.
- REMOVE FROM HEAT: Carefully take the bowl off the saucepan once the 7 minutes are complete.
- ADD VANILLA: Add the clear vanilla extract and beat for 1 more minute to incorporate the flavor and slightly cool the frosting.
- FROST IMMEDIATELY: Use the frosting right away while it's soft and fluffy. Spread or pipe onto cake or cupcakes before it begins to set.
Notes
Use a clean, dry metal or glass bowl to avoid deflating the egg whites.
Egg whites whip best at room temperature.
Cream of tartar helps stabilize the meringue.
Beat continuously for the full 7 minutes — set a timer for accuracy.
Do not refrigerate the frosted cake; store at room temperature for up to 24 hours.
Frosting sets as it cools and can be lightly re-whipped if needed.
Nutrition Information
Yield
1Serving Size
1Amount Per Serving Calories 1210Total Fat 0gSodium 249mgCarbohydrates 301gSugar 300gProtein 7g