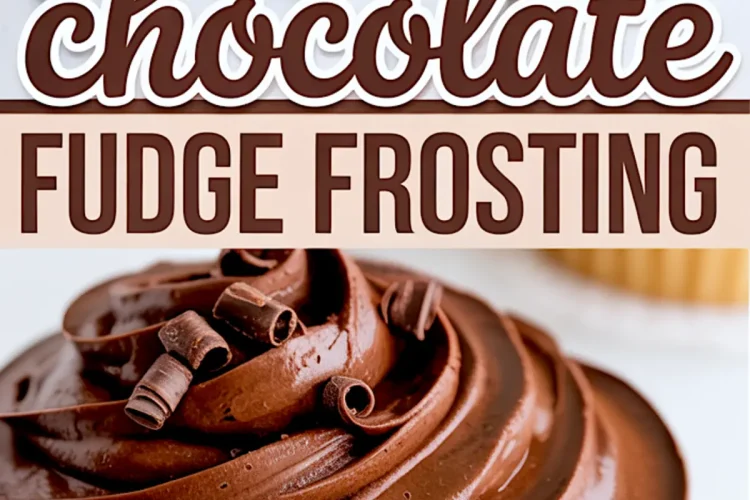
This chocolate fudge frosting recipe makes a thick, spreadable icing that sets with a soft fudge finish. It’s not just another whipped topping. It brings that deep, nostalgic flavor you’d expect from a homemade chocolate fudge icing, cooked just enough to give it structure without losing its creaminess.
In this post, you’ll learn what makes this frosting different from a basic chocolate buttercream, how to use it as a fudge cake filling, and how small choices like the type of cocoa can change the texture and taste.
You’ll also see why this cooked chocolate fudge frosting recipe belongs in your collection of cake filling recipes, especially for layer cakes, cupcakes, or retro-style sheet cakes.
Following a special diet?
Every recipe on this site can be converted to gluten-free, vegan, dairy-free, keto, nut-free or egg-free with adjusted ratios so nothing falls flat.
Try the Recipe Converter →Why the Butter Matters in the First Step
The butter in this recipe forms the backbone. Softened, unsalted, and beaten until fluffy, it sets the foundation for a smooth chocolate cake icing. I’ve used both salted and unsalted over the years. The salted version muddied the flavor slightly. The unsalted lets the cocoa stand out.
Room temperature is key here. Cold butter breaks the mix. Too warm, and you lose structure. I always leave mine out on the counter for 30 minutes, no shortcuts.
For a deeper chocolate base, this frosting pairs beautifully with homemade chocolate pudding as a filling between cake layers.
Cocoa Powder: The Type You Choose Changes Everything
Unsweetened cocoa powder is standard, but there’s a subtle difference depending on what you use. Natural cocoa gives a lighter taste, a bit sharper. Dutch-processed cocoa, on the other hand, deepens the flavor and darkens the color.
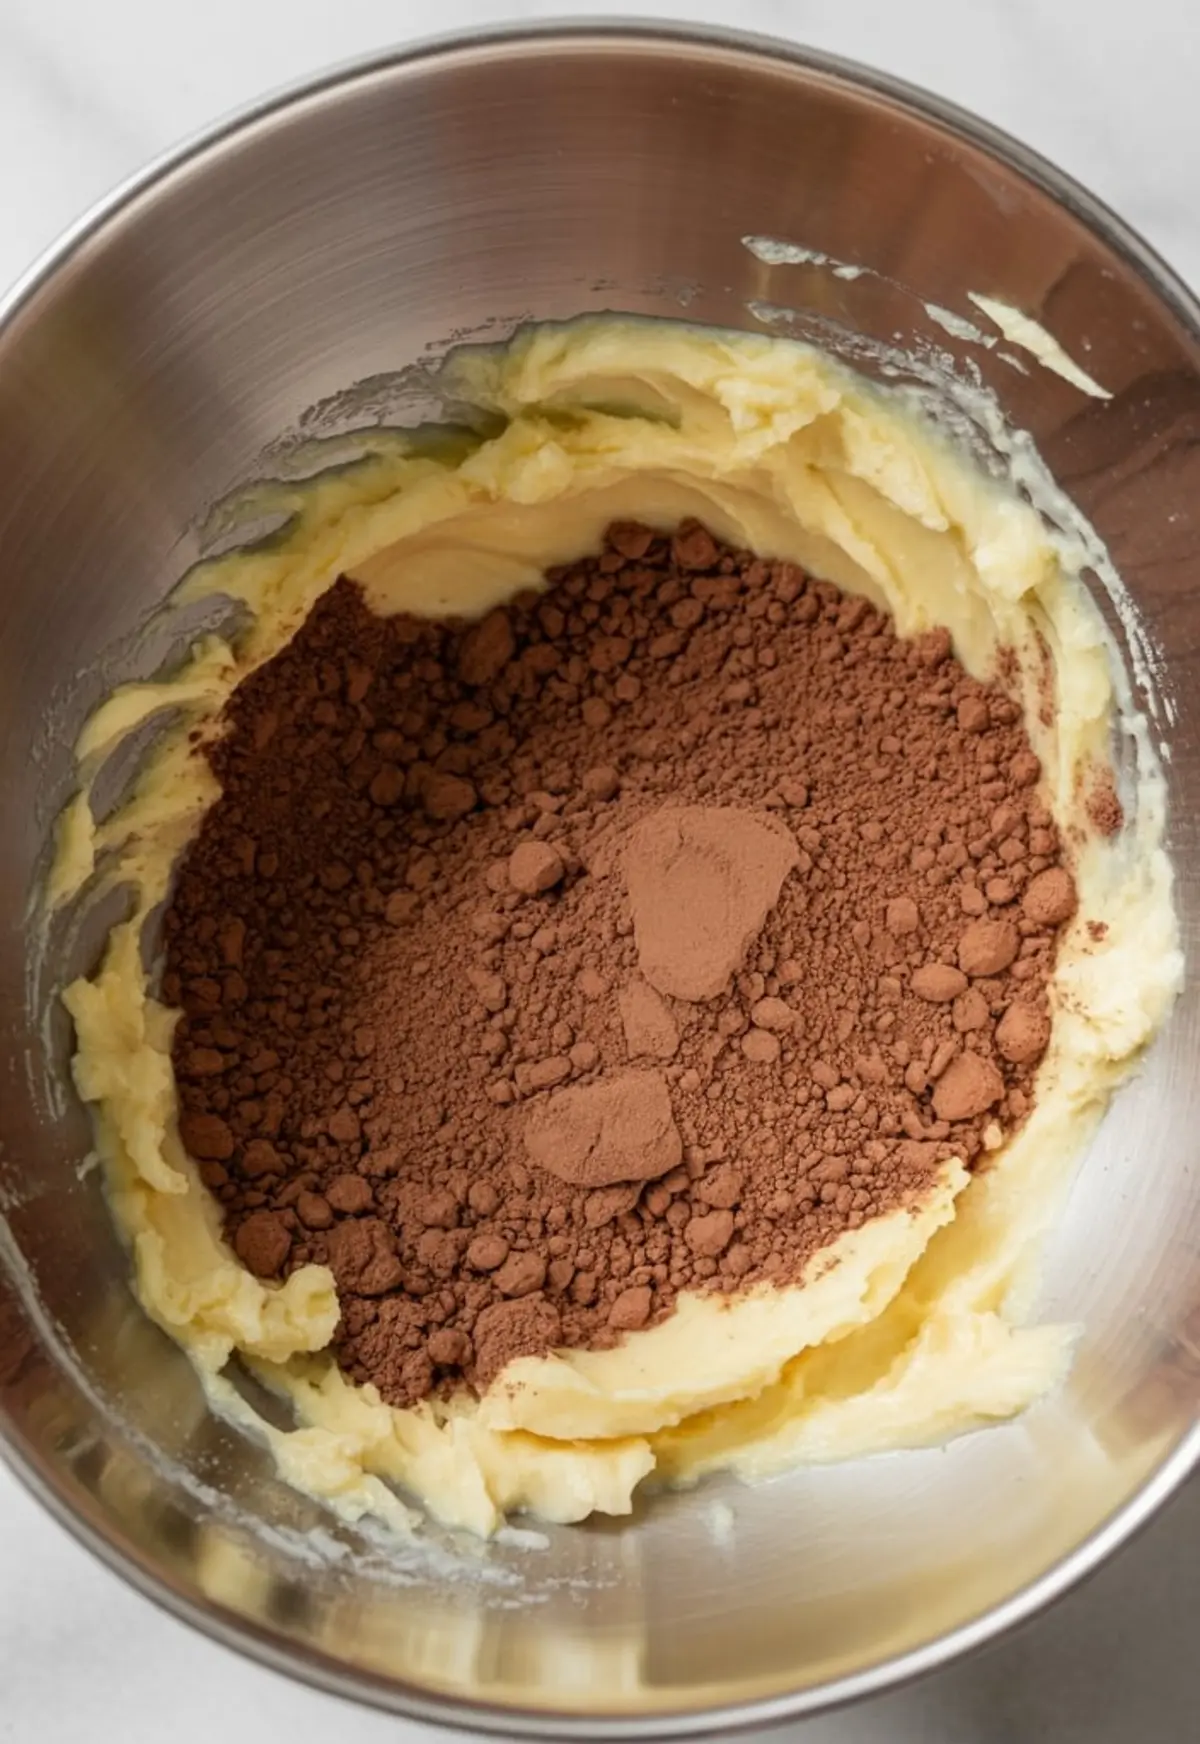
For this recipe, I use Dutch-processed when I want a dramatic, rich frosting—something that pairs with a classic yellow cake or layered chocolate sponge. I sift it straight into the butter, so there’s no clumping.
I’ve tested both versions side-by-side. The Dutch cocoa version tasted like old-fashioned cooked chocolate fudge icing. The natural cocoa version leaned slightly dry.
For another variation of rich frosting, try my German chocolate frosting and compare the texture.
Why the Sugar Goes in Slowly
The powdered sugar doesn’t just sweeten. It affects the structure. Adding it in stages, alternating with cream, helps control consistency. One cup at a time gives the butter enough room to absorb it. Add it too fast, and you’ll get clumps or dry patches.
I start low on the cream. A tablespoon or two at a time gives more control. This way you can adjust based on humidity or how warm your kitchen is that day.
Use heavy cream if you want a thicker set. Milk works in a pinch, but it won’t hold shape quite as well.
Vanilla, Salt, and the Final Whip
A little vanilla makes the frosting aromatic without making it sweet. It rounds out the bitterness of the cocoa. The pinch of salt sharpens it.
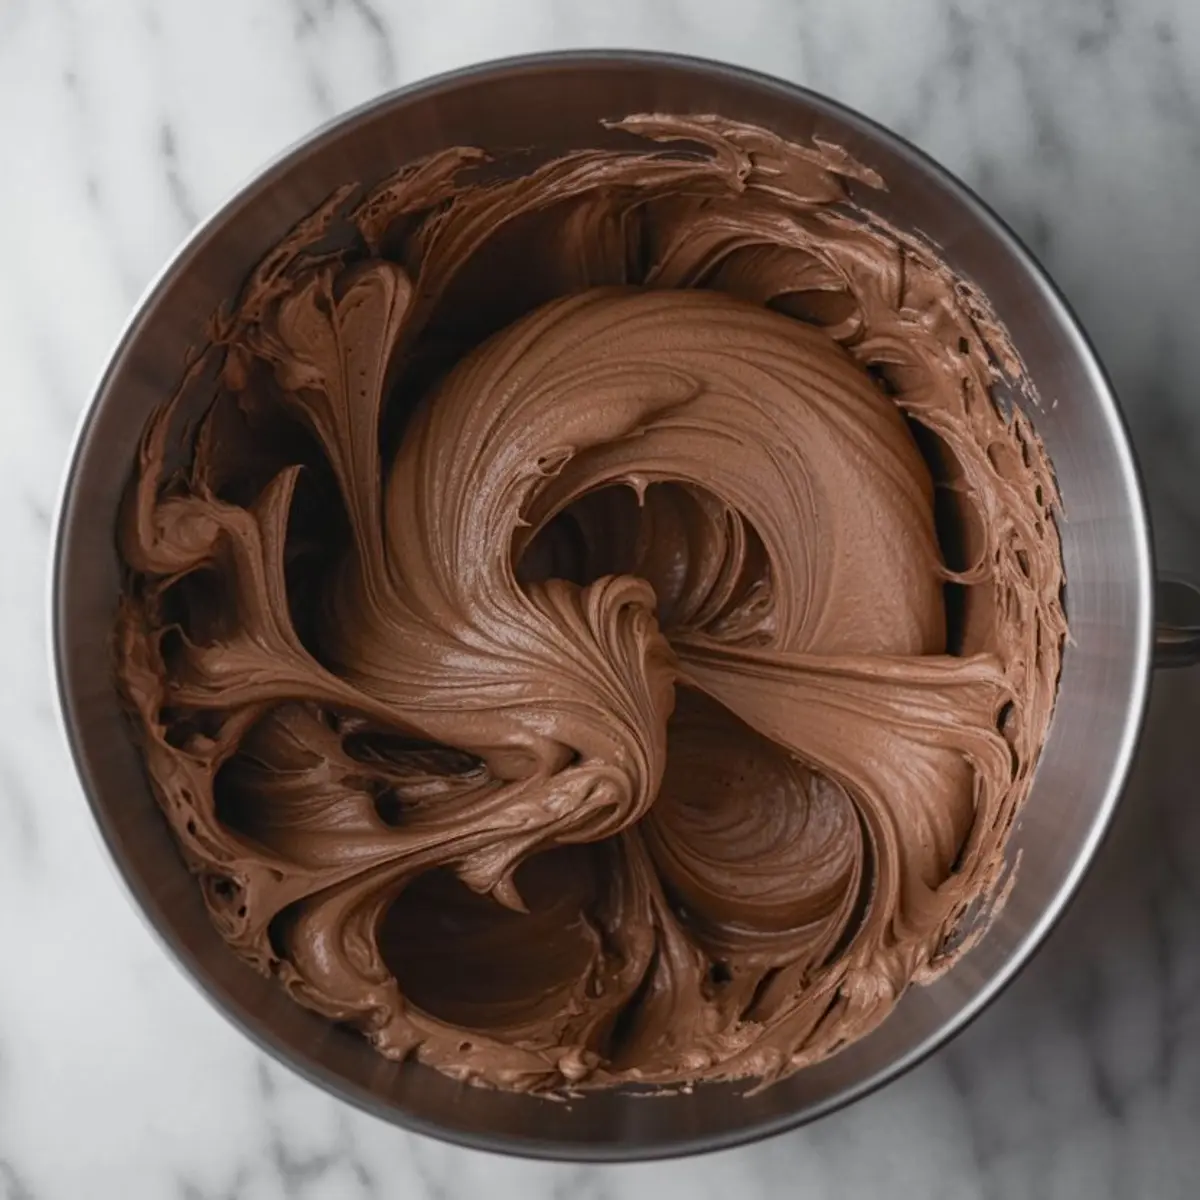
This part often gets rushed. I give the final mix a solid two to three minutes of beating. That’s when the frosting shifts from “mixed” to glossy, airy, and smooth. It’s the difference between just spreadable and spoon-licking good.
Try it on top of a brownie base, then swirl a spoonful of chocolate ganache over it for layered texture.
A Quick Comparison: Cream vs Milk
I’ve tried both cream and whole milk in this chocolate fudge frosting recipe. Cream gives body. It makes the frosting pipeable and thick, with a richer finish. Milk makes it lighter but more prone to losing shape in warm rooms.
For cakes that sit out, I always go with cream. If I’m frosting cupcakes for a quick batch at home, milk is fine.
How to Use and Store This Chocolate Fudge Frosting
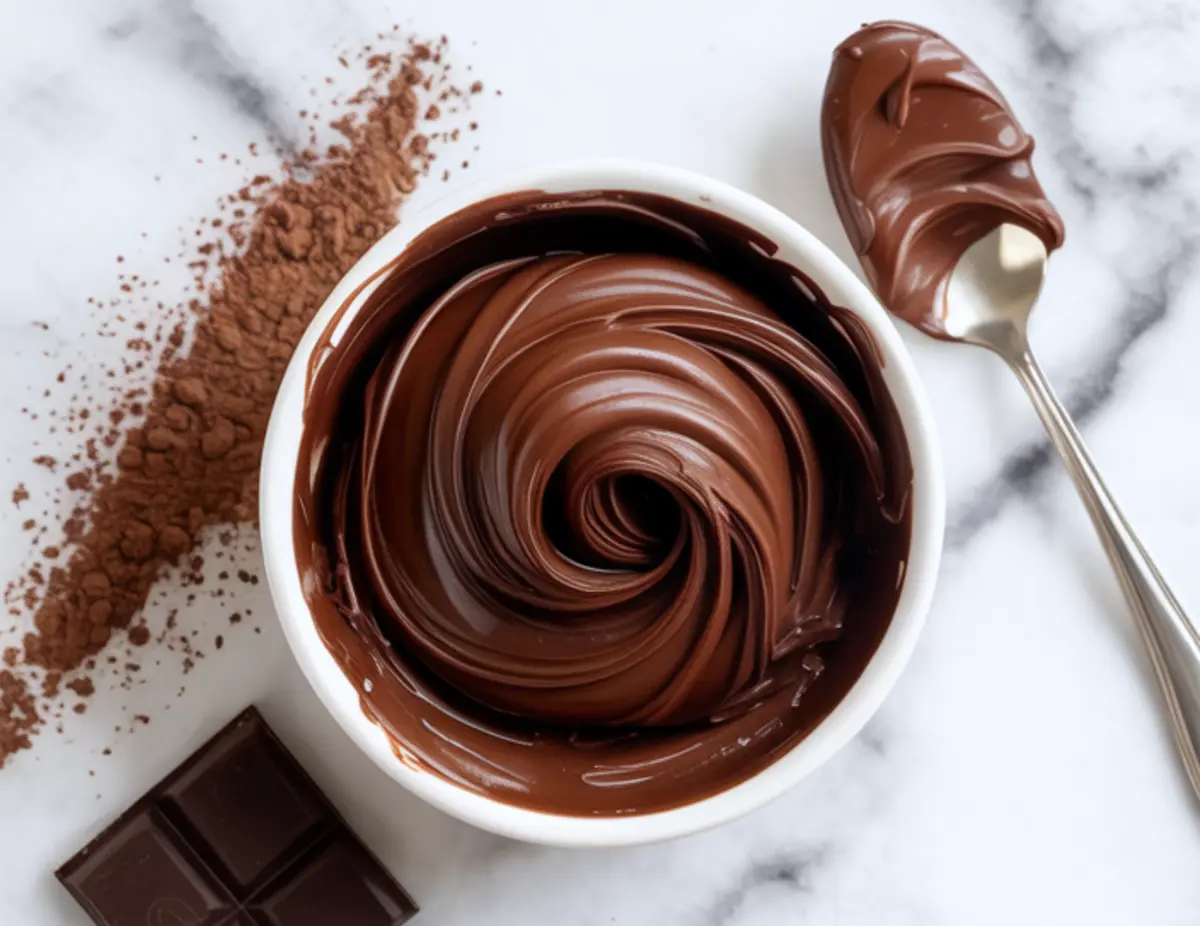
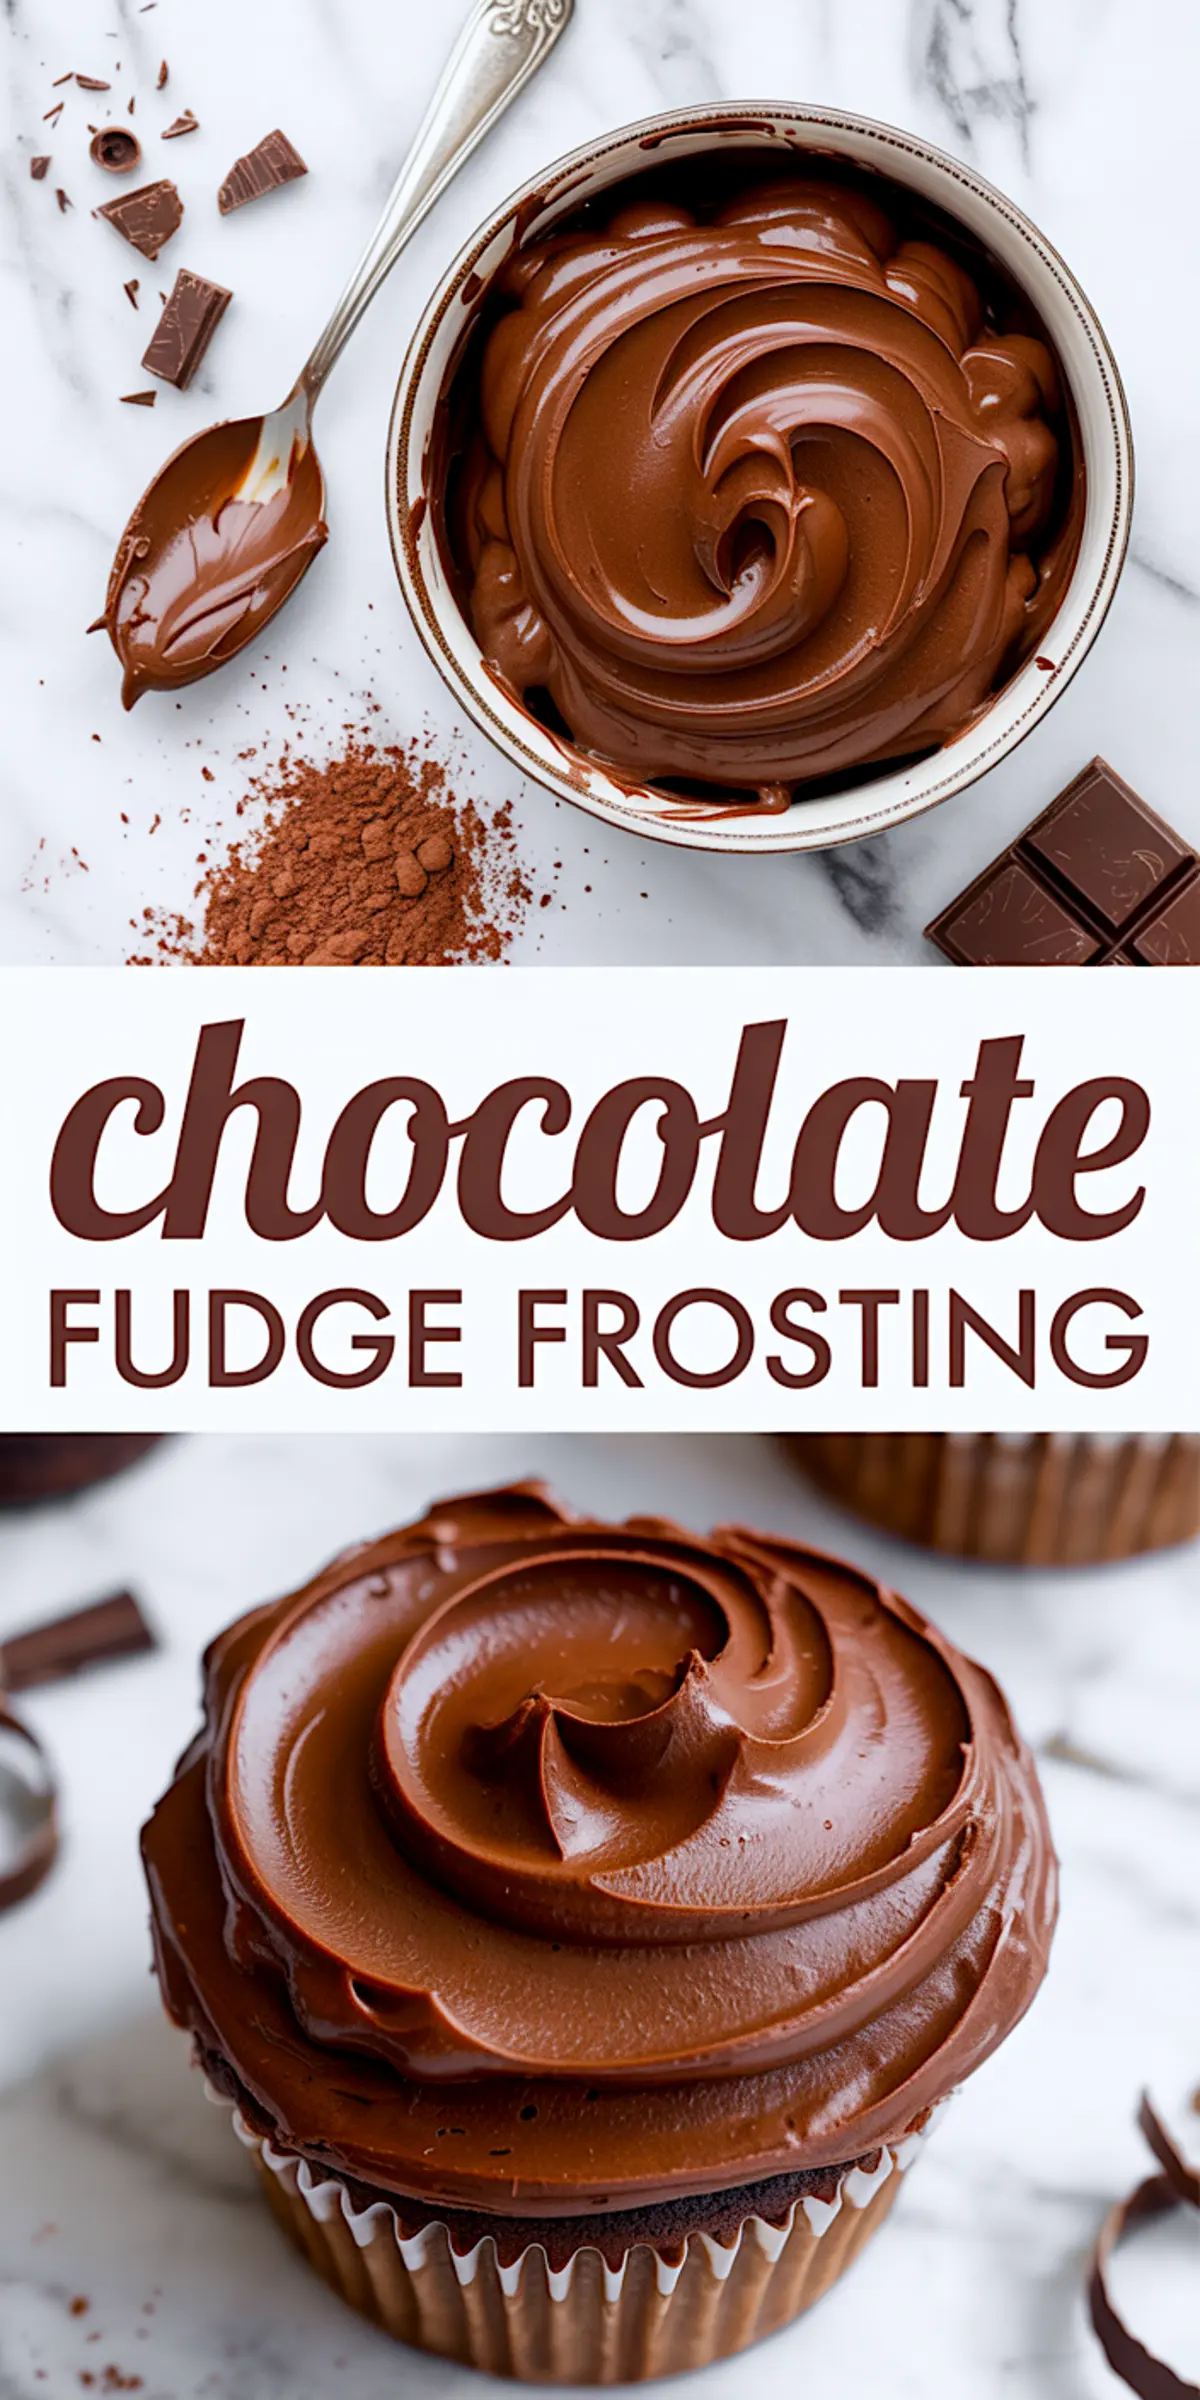
This chocolate cake icing works well as a spread, swirl, or even a thick fudge cake filling. It sets with that classic sheen and just the right resistance.
If I’m layering a tall chocolate cake, I chill the frosting for 20 minutes before assembling. It firms up slightly, which helps keep the layers level.
You can store it in the fridge for up to 5 days. Let it come back to room temperature and re-whip before using. It becomes soft again without losing the structure. A quick beat brings back the gloss.
If you’re after a smooth piping finish, re-whipping is essential.
Final Notes, and a Small Invitation
This frosting makes enough for one two-layer cake or about two dozen cupcakes. It’s rich, dependable, and brings that fudge frosting nostalgia back in every spoonful.
Save this chocolate fudge frosting recipe to your Pinterest board so you always have it ready for your next cake. And if you try it, leave a comment. I’d love to hear how it turned out, or if you added your own twist.
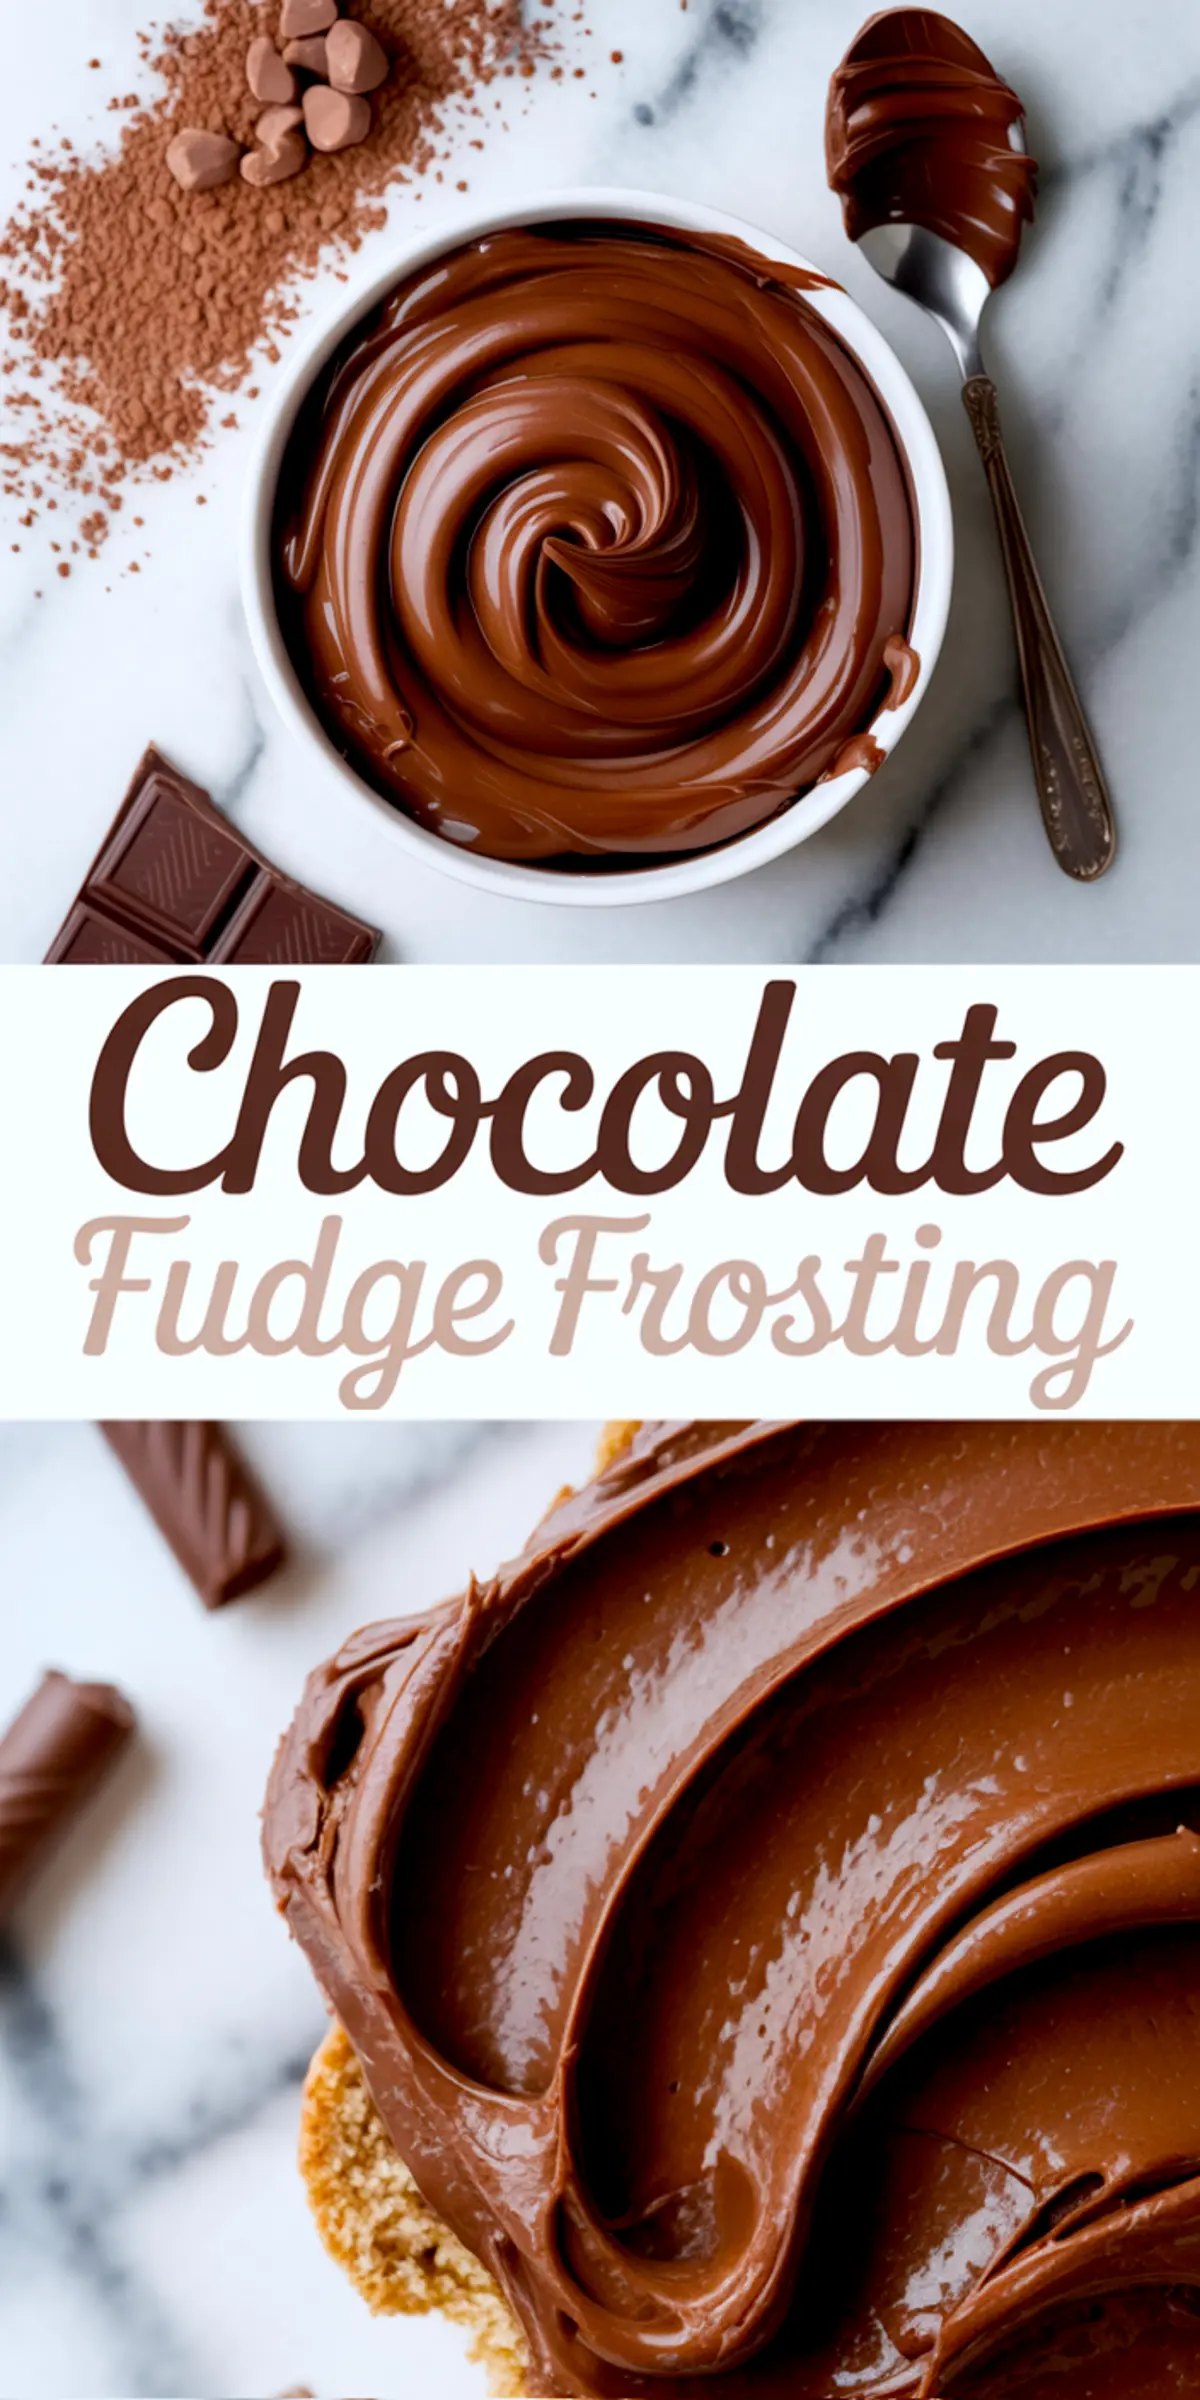
Chocolate Fudge Frosting
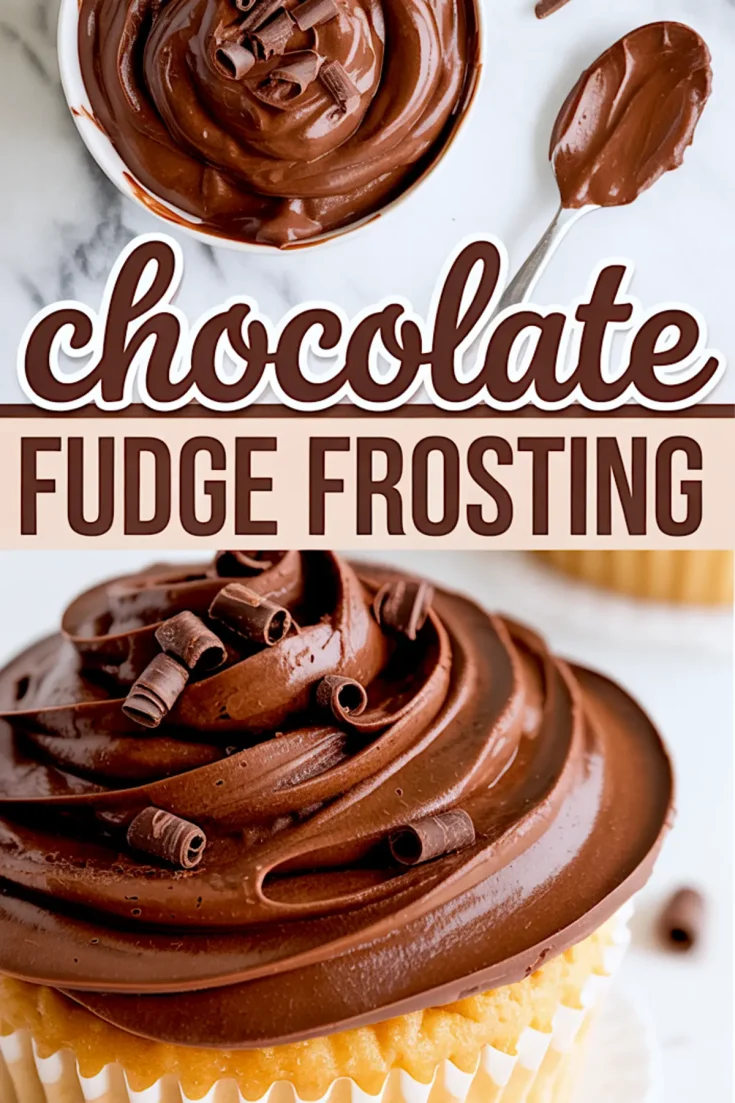
This chocolate fudge frosting is thick, creamy, and full of deep chocolate flavor—perfect for topping cakes, brownies, cupcakes, and bars. Made with simple pantry staples like butter, cocoa powder, powdered sugar, and milk, this fudge frosting comes together in minutes with no melting or stovetop steps required. It spreads beautifully and sets with a soft, fudgy finish that’s ideal for layering or piping. Whether you’re decorating a birthday cake or making a quick batch of brownies, this easy chocolate frosting recipe will become your go-to. Use it as a chocolate cake icing, fudge cake filling, or add it to your favorite frosting recipes for rich, bakery-style results at home.
Ingredients
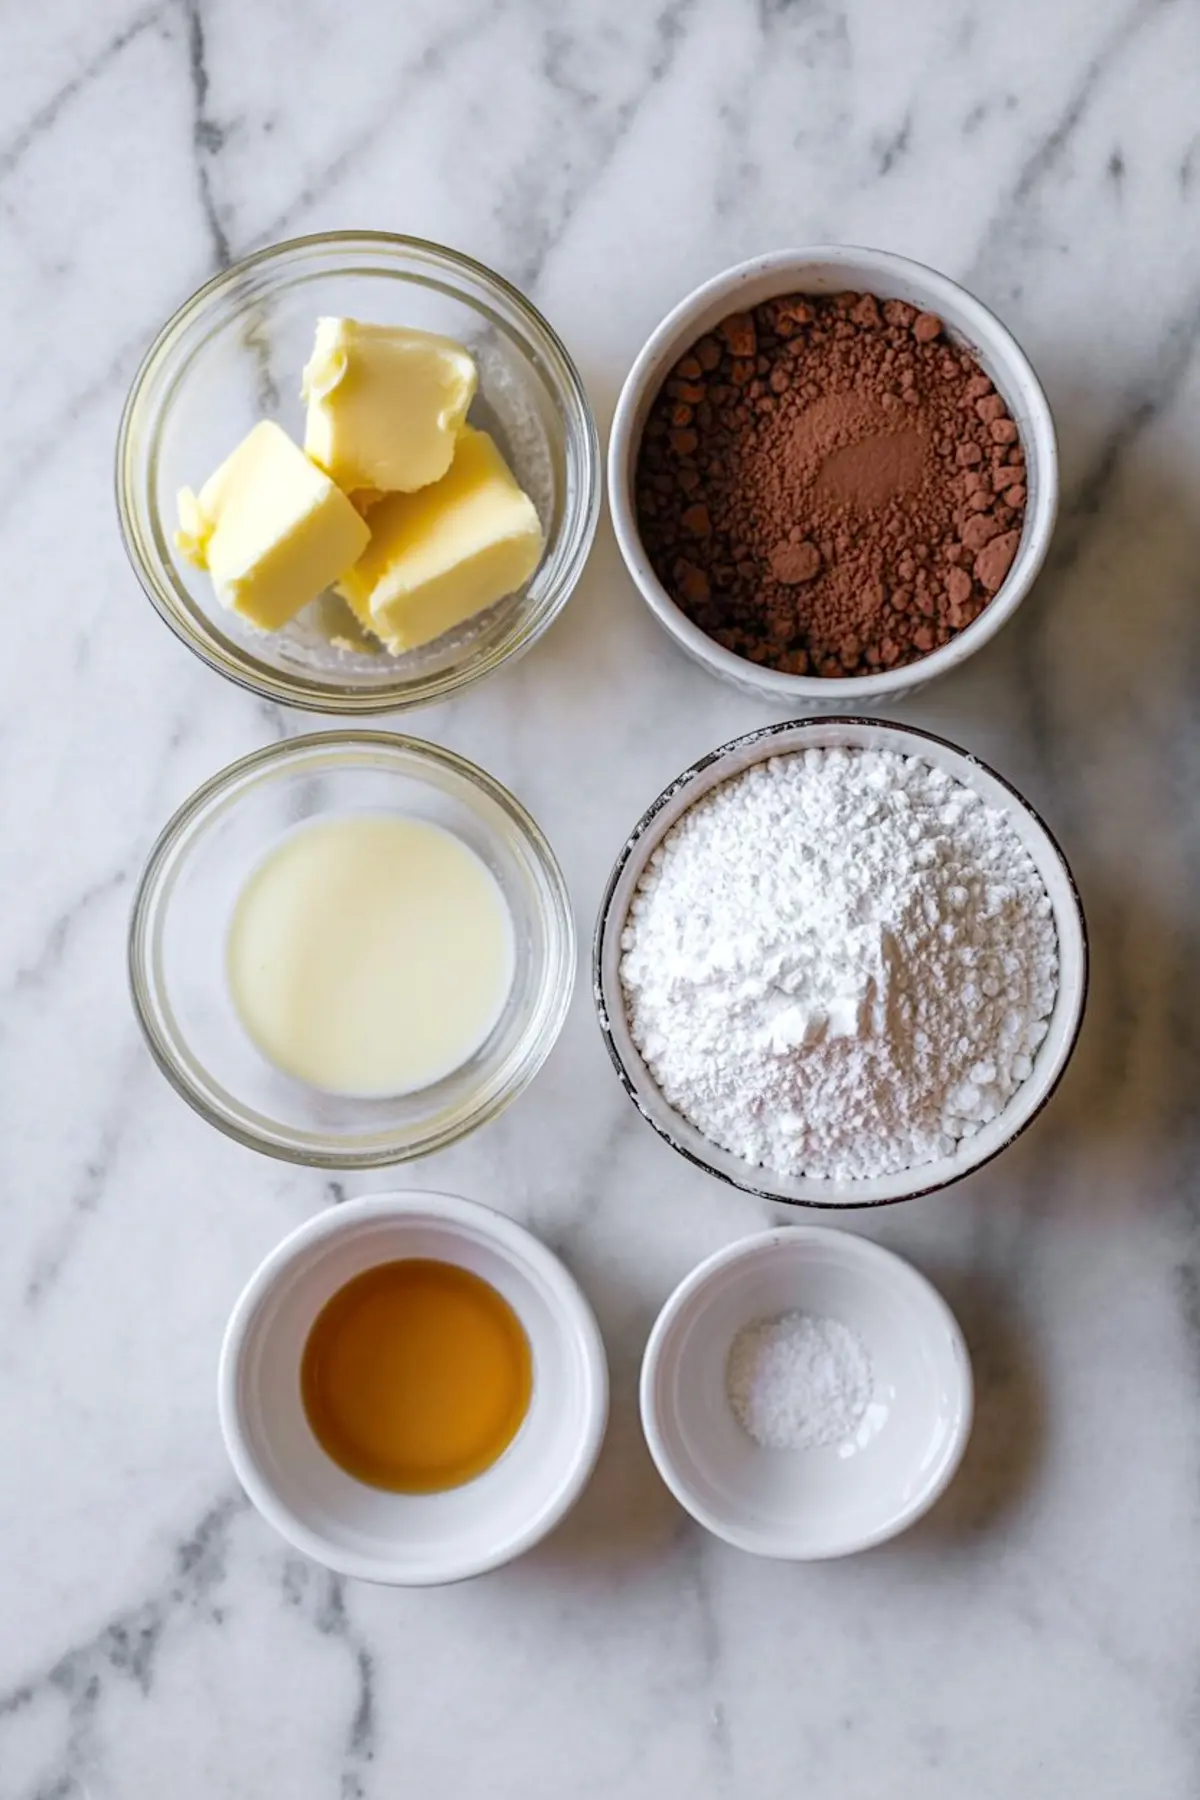
- 1 cup (226g) unsalted butter, softened to room temperature
- ¾ cup (75g) unsweetened cocoa powder, sifted
- 3 cups (360g) powdered sugar, sifted
- ¼ cup (60ml) heavy cream or milk, plus more as needed
- 2 teaspoons vanilla extract
- Pinch of salt
Instructions
- CREAM THE BUTTER: In a large mixing bowl, beat the softened butter with an electric mixer on medium speed for 2 to 3 minutes, until it becomes light, smooth, and fluffy.
- ADD COCOA POWDER: Sift the cocoa powder directly into the bowl to avoid lumps, then beat until fully combined and the mixture looks creamy and uniform.
- INCORPORATE SUGAR AND CREAM: Add the powdered sugar one cup at a time, alternating with a tablespoon or two of cream. Beat well after each addition. Continue this process until all the powdered sugar and cream have been mixed in.
- ADD VANILLA AND SALT: Pour in the vanilla extract and add a pinch of salt. Beat the frosting for another minute, scraping down the sides of the bowl to make sure everything is evenly mixed.
- ADJUST CONSISTENCY: If the frosting is too thick, add a little more cream, one teaspoon at a time. If it’s too thin, mix in a bit more powdered sugar until the desired consistency is reached.
- FINAL WHIP: Beat the frosting on medium-high speed for 2 to 3 minutes until it becomes extra fluffy and glossy. This step gives the frosting a smooth, spreadable texture that holds its shape.
Notes
For deeper chocolate flavor, use Dutch-processed cocoa powder. Frosting can be made ahead and stored in an airtight container in the refrigerator for up to 5 days. Let it come to room temperature and rewhip before using.
Nutrition Information
Yield
1Serving Size
1Amount Per Serving Calories 3506Total Fat 216gSaturated Fat 131gTrans Fat 1gUnsaturated Fat 68gCholesterol 575mgSodium 295mgCarbohydrates 380gFiber 12gSugar 338gProtein 24g