
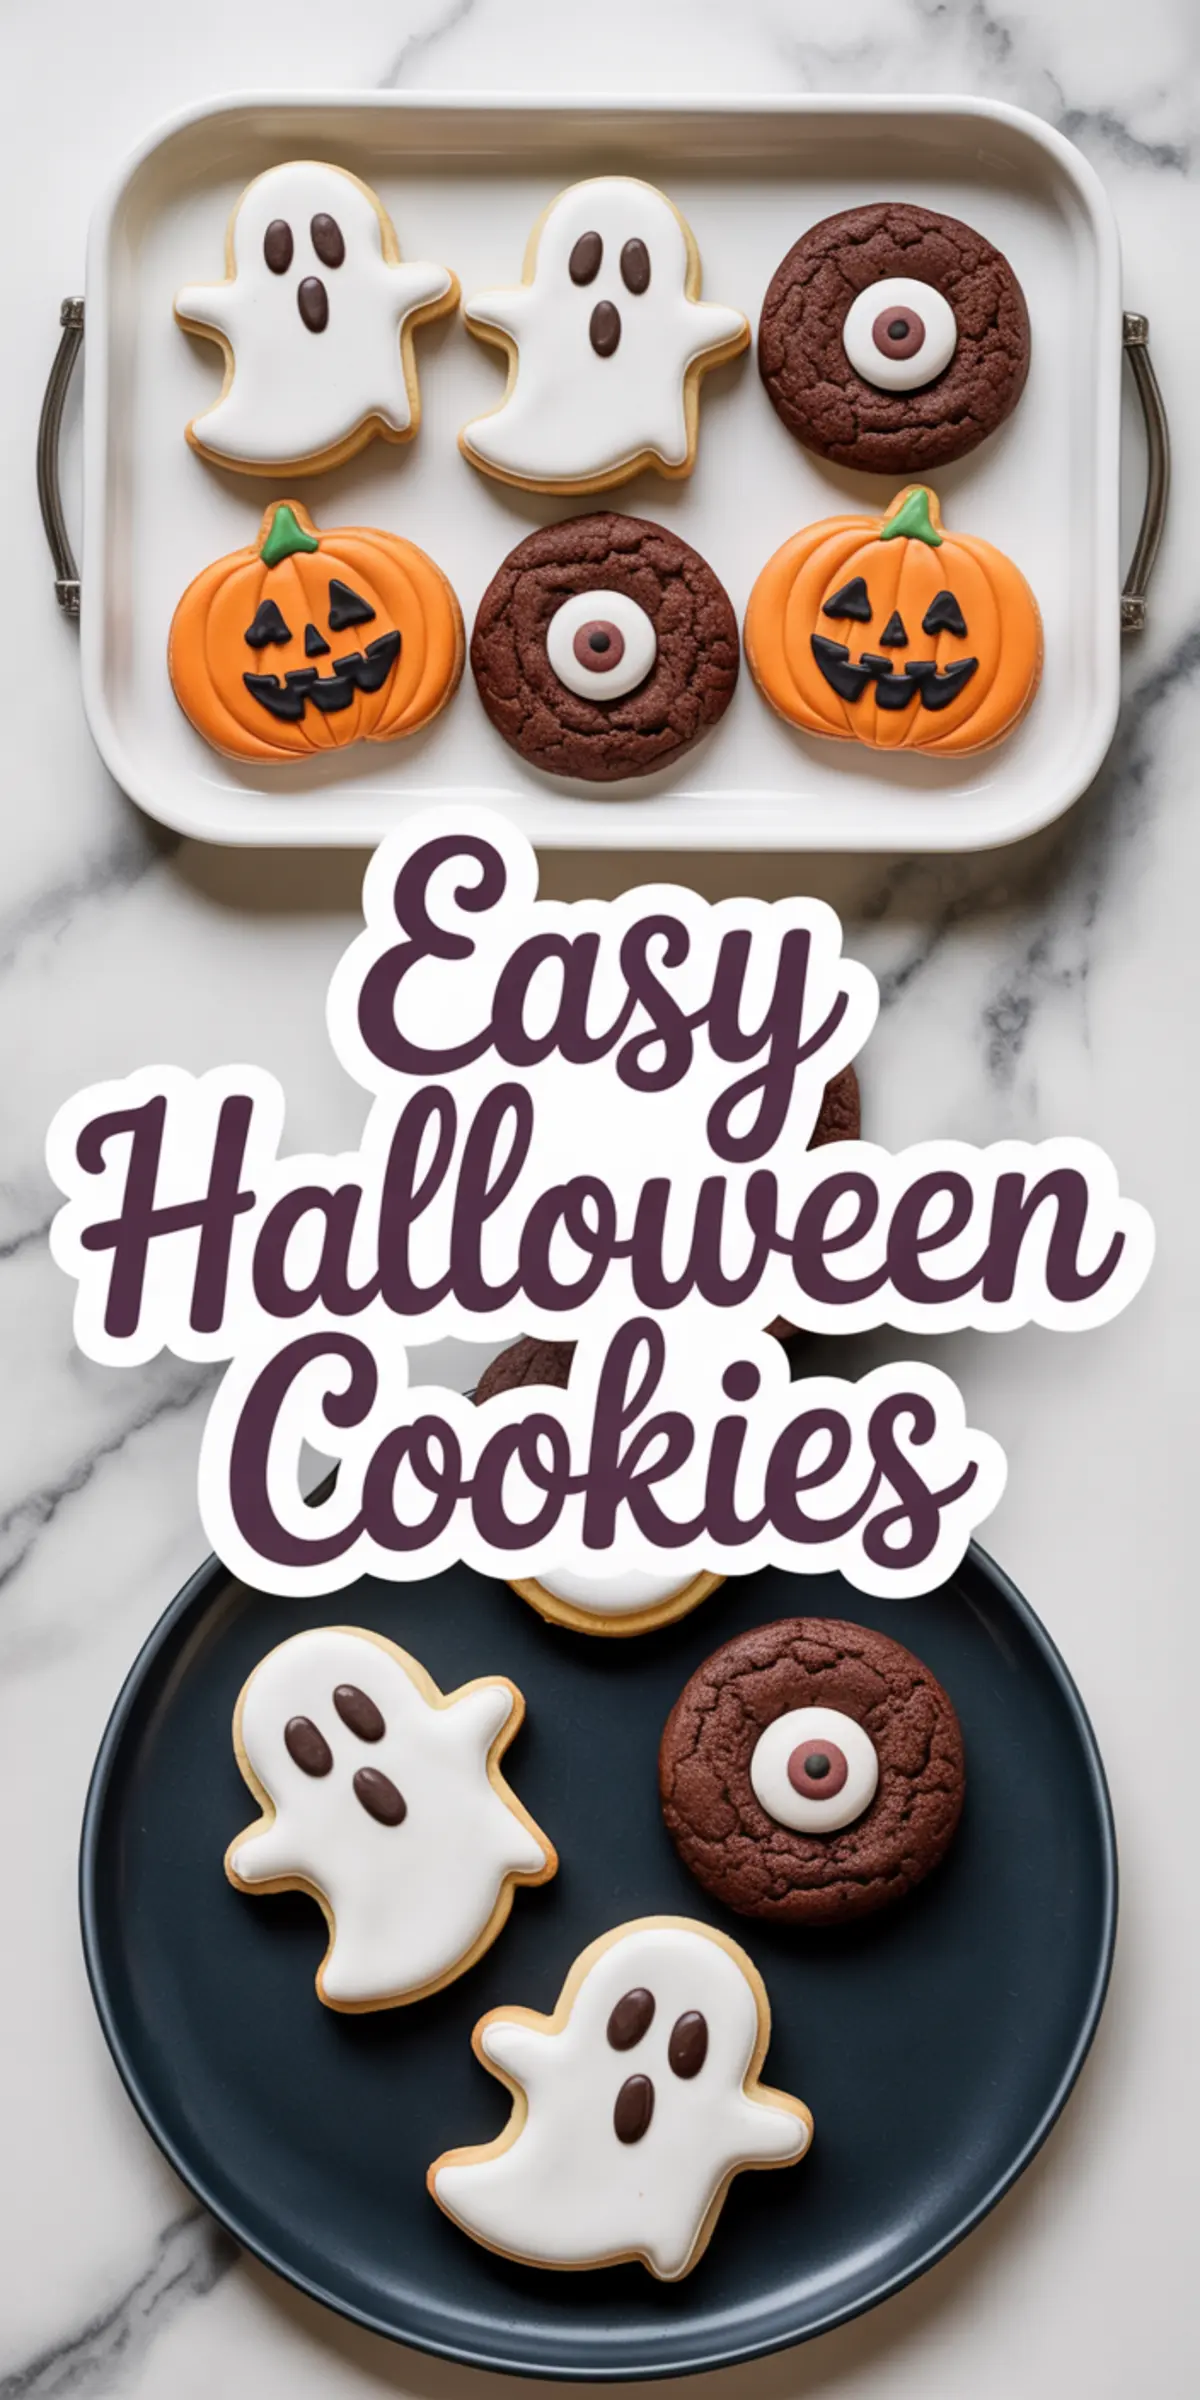
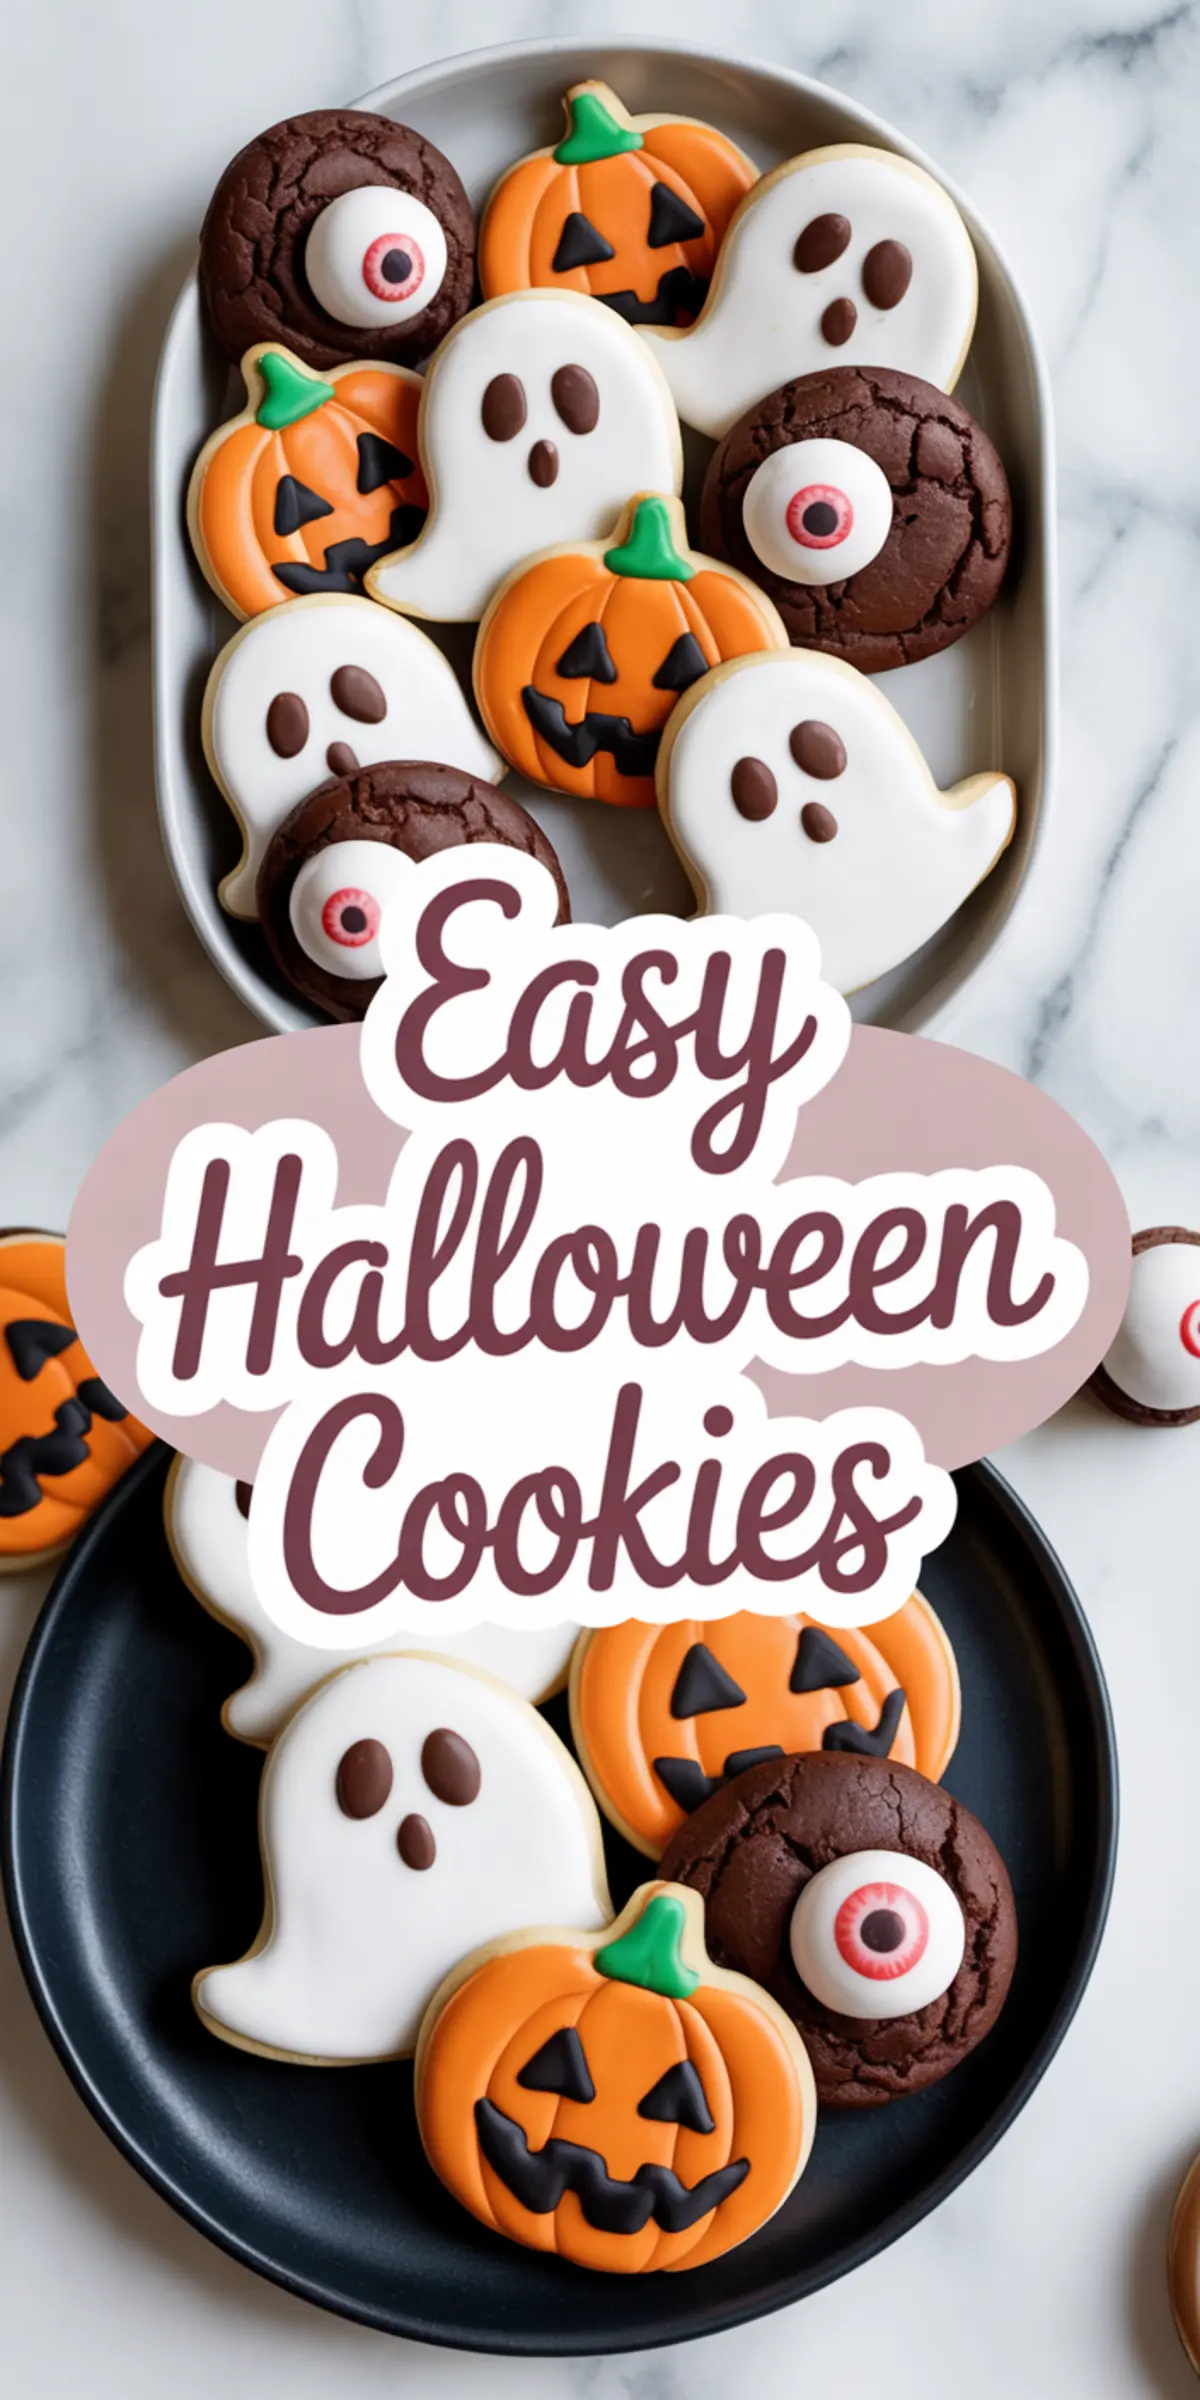
These easy Halloween cookies are the kind of treat that checks every box when October sneaks up on you. They’re festive, foolproof, and always leave the platter empty by the end of the night. In this guide, you’ll learn how to make three crowd-pleasing designs—ghost sugar cookies, jack-o’-lantern pumpkins, and creepy chocolate eyeballs all from one reliable dough base with a second chocolate option that adds variety without extra hassle.
This isn’t just about decorating. You’ll understand how to get a clean shape on your cookies without spread, how to make royal icing that actually sets, and how to make Halloween baking enjoyable, even if you’re short on time. Planning fun Halloween food for a class party, organizing a Halloween charcuterie board, or just baking with your kids on a Sunday afternoon, this mix of Halloween cookie recipes has something simple and festive for everyone.
No tricks here just cookies that look as good as they taste.
Following a special diet?
Every recipe on this site can be converted to gluten-free, vegan, dairy-free, keto, nut-free or egg-free with adjusted ratios so nothing falls flat.
Try the Recipe Converter →Why Two Doughs Beat One Every Time
I’ve tested plenty of Halloween cookies recipes, and over the years I’ve landed on this combination: a vanilla-based sugar cookie for ghosts and pumpkins, and a rich cocoa cookie for the monster eyes. The contrast looks great on a tray, but more than that, it keeps the flavor mix interesting.
The sugar cookie dough uses both vanilla and a touch of almond extract. The almond is optional, but I always include it. It gives the cookie just enough depth to stand out from basic sugar versions. You don’t taste almond directly it simply lifts the sweetness into something more fragrant.
The chocolate cookie dough builds flavor from cocoa and brown sugar. The brown sugar holds moisture better, keeping these cookies soft even after baking. I also add chocolate chips occasionally for texture. You can leave them out if you want a smoother look for the eyeballs.
Comparison to Consider
If you’re deciding between using only one dough for all shapes or splitting into two, I’d recommend the split. I’ve done both. The single dough is faster, sure, but the double dough approach adds contrast on the plate and in every bite. It helps each cookie design stand out. If you’re making a Halloween cookie tray or want a more professional-looking Halloween food treat, go with both.
Rolling Dough That Holds Its Shape
Sugar cookie shapes can frustrate bakers when they puff and blur in the oven. To prevent that, I chill the dough well at least an hour. If I’ve got time, I’ll roll the dough between sheets of parchment before chilling. That way, it’s firm and ready to cut straight from the fridge.
Cutting ghosts and pumpkins is straightforward with the right cutters. Avoid overly detailed designs. You want bold outlines that stay recognizable after baking.
With chocolate dough, I don’t use cutters. I roll small balls, flatten slightly, and bake them into thick discs. These hold the eyeball design without cracks or spreading.
If you’ve never worked with a cocoa-based dough, this one is soft but cooperative. Keep your hands cool, and don’t skip the chill.
Try this cookie technique with my spooky Ghost Cookie Cake for a larger crowd.
How to Build Royal Icing that Works with You
Royal icing doesn’t have to be complicated, but it does require the right texture. I use meringue powder because it’s reliable, shelf-stable, and faster than egg whites. Powdered sugar, warm water, and a mixer do the job.
You’ll want stiff peaks for outlines, then thin it out just slightly for flooding. I always color in small bowls and cover with damp towels if I’m decorating slowly. Gel food coloring gives you clean, bold hues don’t use liquid coloring, or you’ll throw off the texture.
For Halloween, I stick to white, black, orange, red, and green. You can mix purples or yellows too, but this palette keeps the designs simple and readable.
When flooding the cookies, I move them to a fresh sheet of parchment and let them dry overnight uncovered. It keeps the surface smooth and shiny without smudges.
Cookie Decorating Designs That Work for All Skill Levels
Ghost cookies need only three dots: a white flood, two eyes, and a mouth. Don’t worry about expressions being uniform. In fact, a bit of variation makes the tray feel more alive.
Pumpkins are just as approachable. I flood with orange, add a green stem, and pipe faces once the base sets. I’ve found kids enjoy making their own faces—some turn out cheerful, some a bit sinister. It’s always fun.
The monster eye cookies take a different approach. I pipe a white circle, add red vein lines, then place a small dot of black or red for the pupil. These sit well on the chocolate cookies, giving a strong contrast that stands out on a Halloween dessert table.
Want more fun options for your Halloween baking? These Halloween Finger Cookies always draw a reaction.
Serving and Storage: What Holds Up and What Doesn’t
Decorated cookies don’t love humidity, so I store mine in single layers in airtight tins. Wax paper between layers prevents icing from sticking or cracking.
I’ve served these cookies at parties and school events and found they hold their look and texture for about five days at room temperature. After that, the icing remains intact, but the cookies begin to firm up.
You can make both doughs ahead and refrigerate for two days. I often prep the night before, so decorating feels more relaxed. I’ve also frozen the shaped, unbaked cookies and baked them directly from frozen with an extra minute added to the bake time.
If you’re planning a Halloween dessert table with variety, these cookies pair well with softer treats like cake pops or mini cupcakes. I usually include something savory too, like this Halloween Charcuterie Board for balance.
Last Thoughts Before You Decorate
If you’re doing Halloween baking with kids or beginners, this recipe builds confidence without overwhelming. There’s room for creativity in the faces, but the structure of the dough and icing keeps the process steady. You can pipe quickly and still end up with cookies that look planned and polished.
And if you’re doing this last-minute? You still have time. I’ve pulled these off in one evening by mixing, cutting, baking, and letting the icing dry overnight. By morning, they’re party-ready.
Looking for something more classic? Try my Halloween Sugar Cookies for a single dough version.
Save This Halloween Cookie Recipe and Share Your Creations
If you’re baking these easy Halloween cookies this season, I’d love to know how yours turn out. Do your ghosts smile or scream? Did your monster eyes look spooky or silly?
Drop your tips or favorite designs in the comments. And if this recipe helped you pull off a festive tray without stress, save it on your Halloween baking board so you can return to it each year.
Easy Halloween Cookies
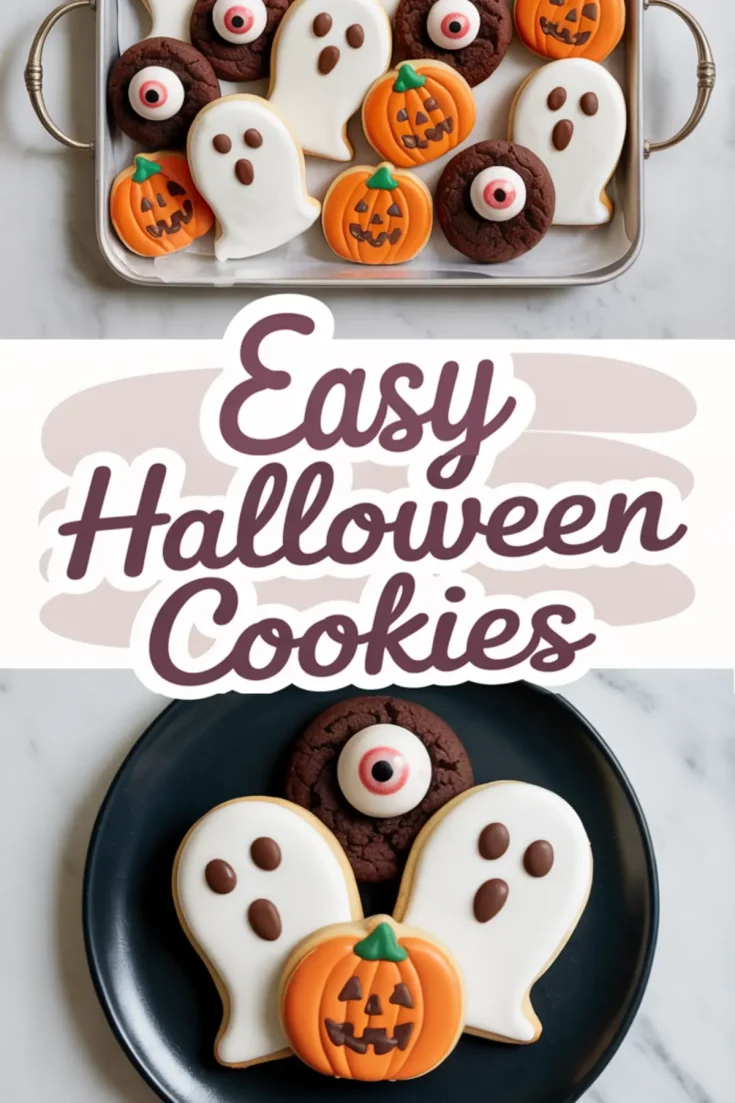
These easy Halloween cookies are perfect for last minute spooky season baking. Featuring ghost sugar cookies, Jack-o’-lanterns, and eyeball chocolate cookies, this recipe is a hit at Halloween parties. Whether you’re planning fun Halloween food or looking for Halloween cookie recipes that are simple yet creative, these treats deliver. Great for Halloween baking, cookie exchanges, or a themed dessert table. These Halloween cookies are kid-friendly, easy to decorate, and ideal for Halloween recipes cookies lovers who want something both festive and doable.
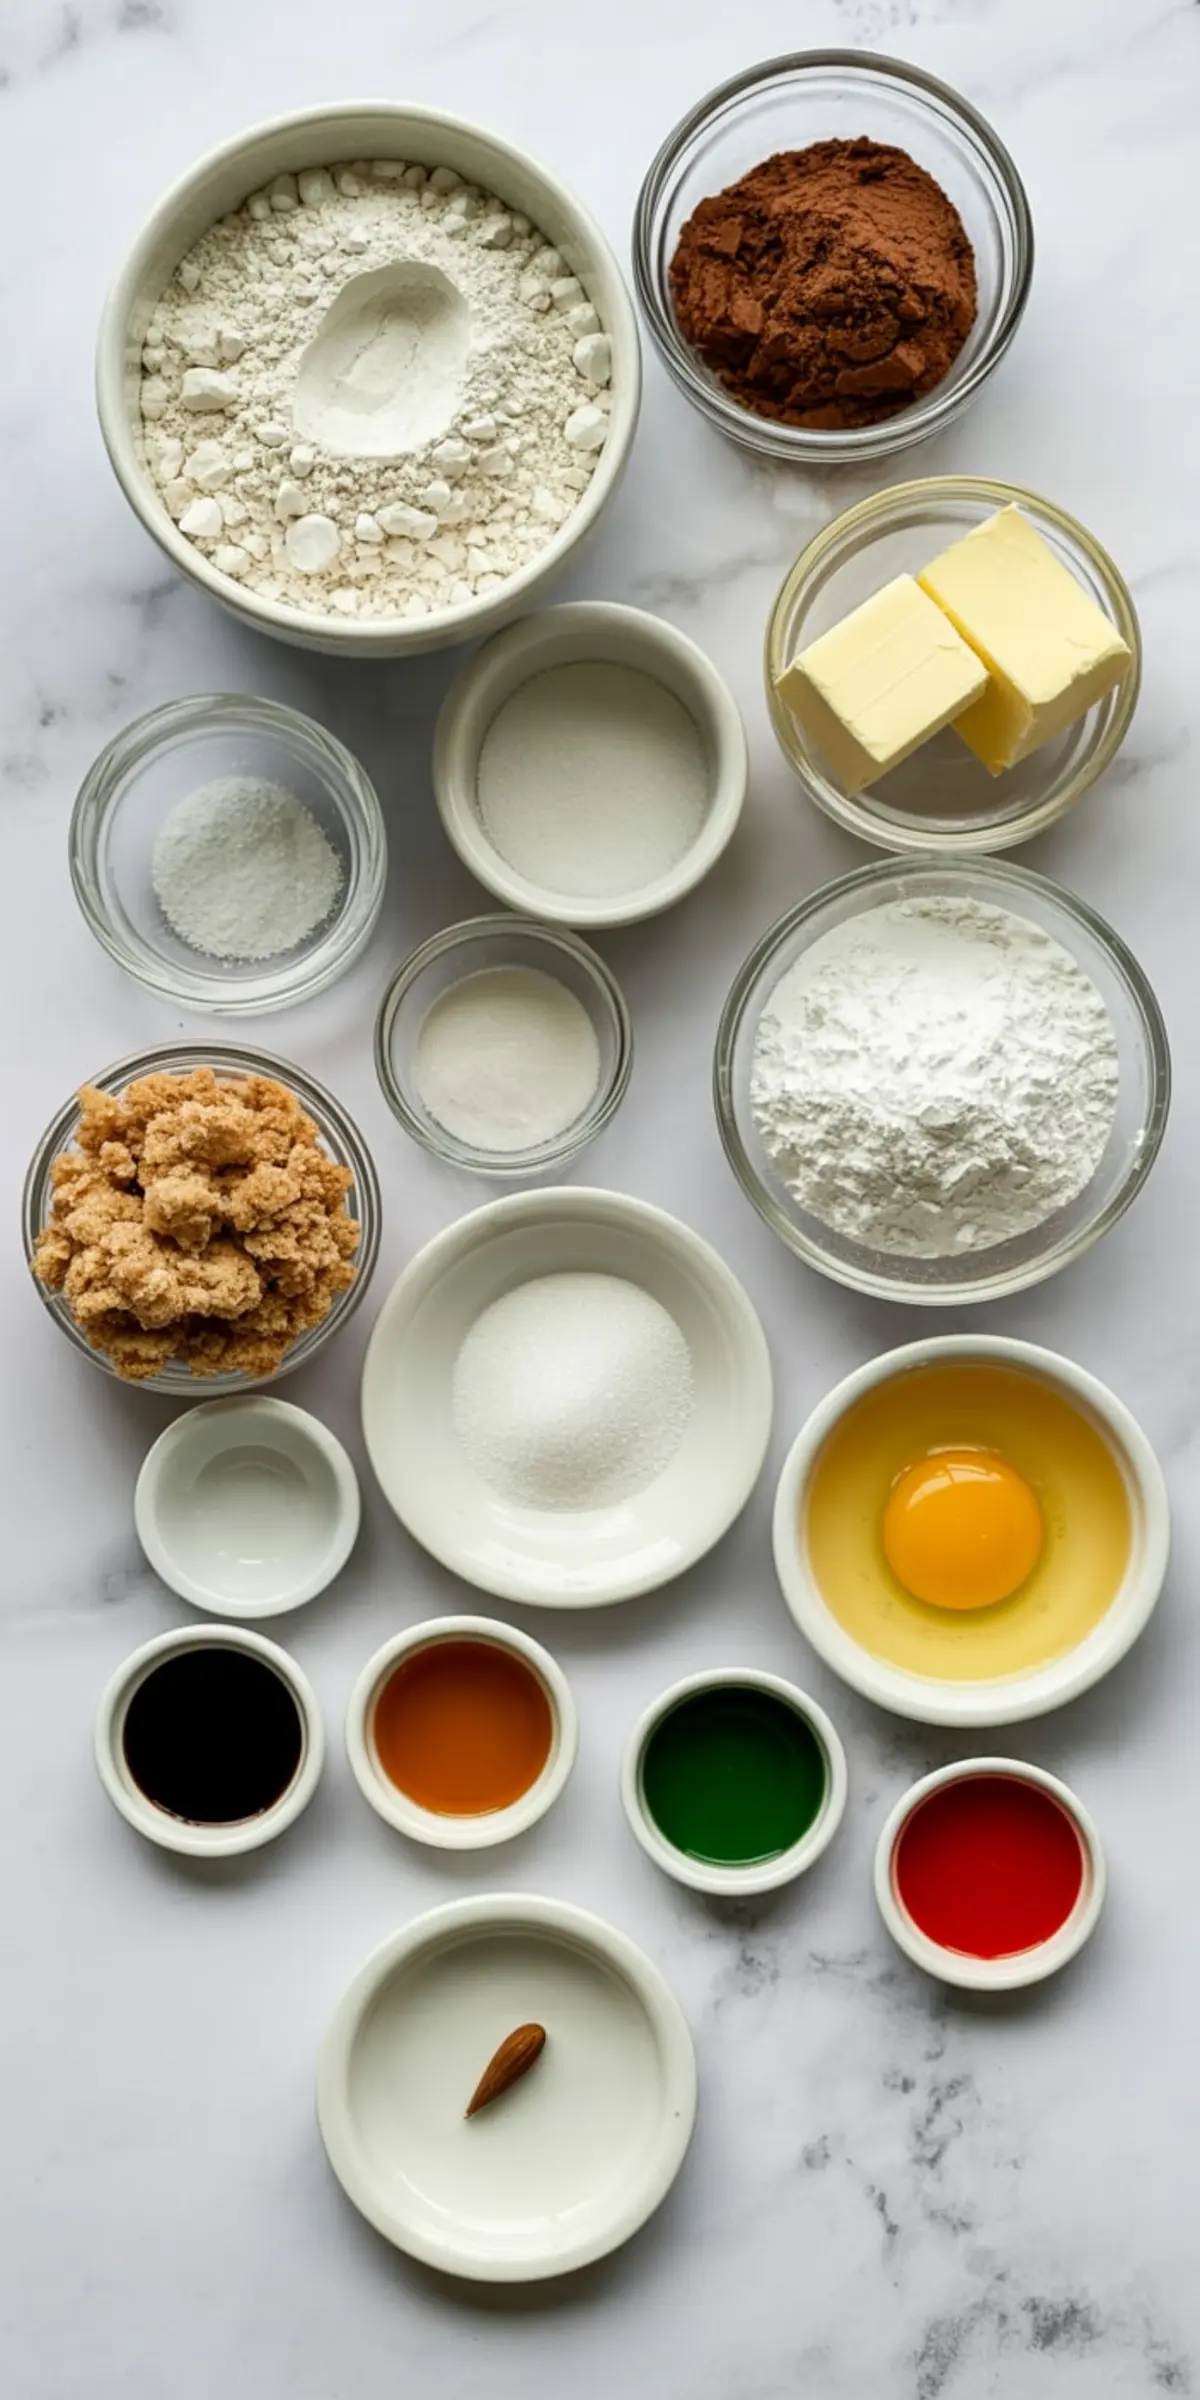
Ingredients
- FOR THE SUGAR COOKIES
- 2 ¾ cups all-purpose flour
- 1 tsp baking powder
- ½ tsp salt
- 1 cup unsalted butter, room temperature
- ¾ cup granulated sugar
- 1 large egg
- 1 tsp vanilla extract
- ¼ tsp almond extract (optional)
- FOR THE CHOCOLATE COOKIES
- 1 cup all-purpose flour
- ½ cup unsweetened cocoa powder
- ½ tsp baking soda
- ¼ tsp salt
- ½ cup unsalted butter, room temperature
- ½ cup brown sugar
- ¼ cup granulated sugar
- 1 large egg
- 1 tsp vanilla extract
- 1 cup semisweet chocolate chips (optional)
- FOR THE ROYAL ICING
- 3 cups powdered sugar
- 2 tbsp meringue powder
- 4–6 tbsp warm water
- Gel food coloring (white, orange, black, green, red)
Instructions
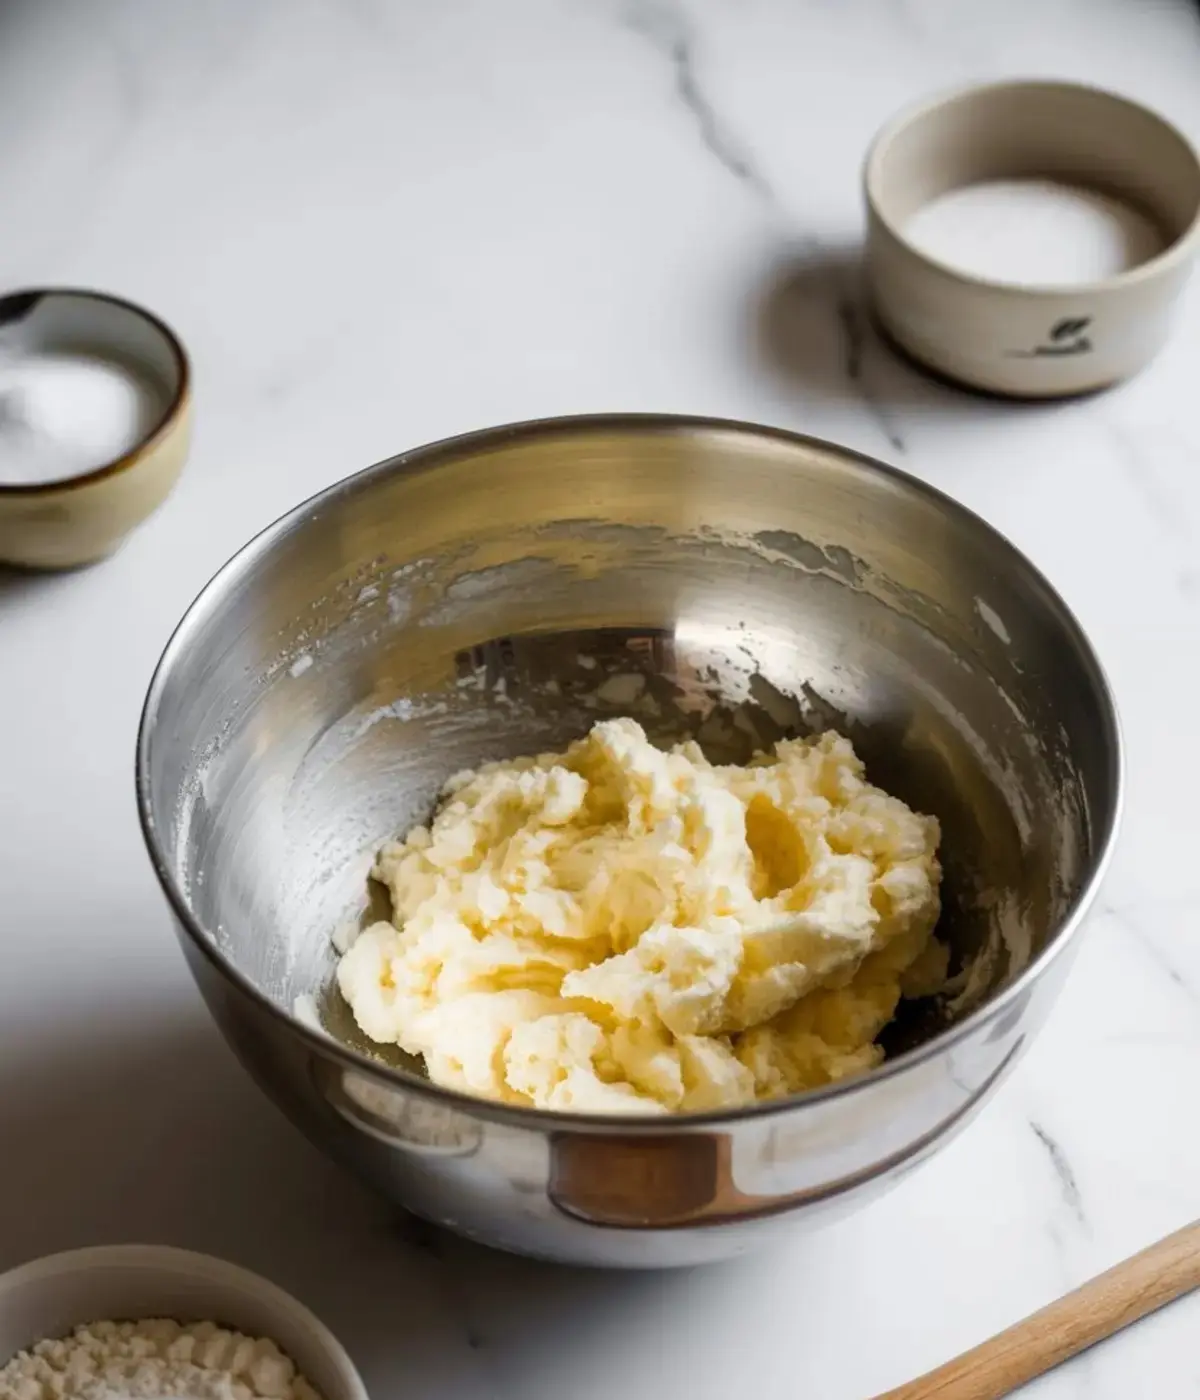
- MAKE THE SUGAR COOKIE DOUGH: In a medium bowl, whisk together the flour, baking powder, and salt. In a separate large bowl, beat the butter and sugar until light and fluffy, about 3 to 4 minutes. Add the egg, vanilla extract, and almond extract if using. Mix until combined. Gradually add the dry ingredients and mix until a soft dough forms. Divide the dough in half, wrap each portion in plastic wrap, and chill for at least 1 hour.
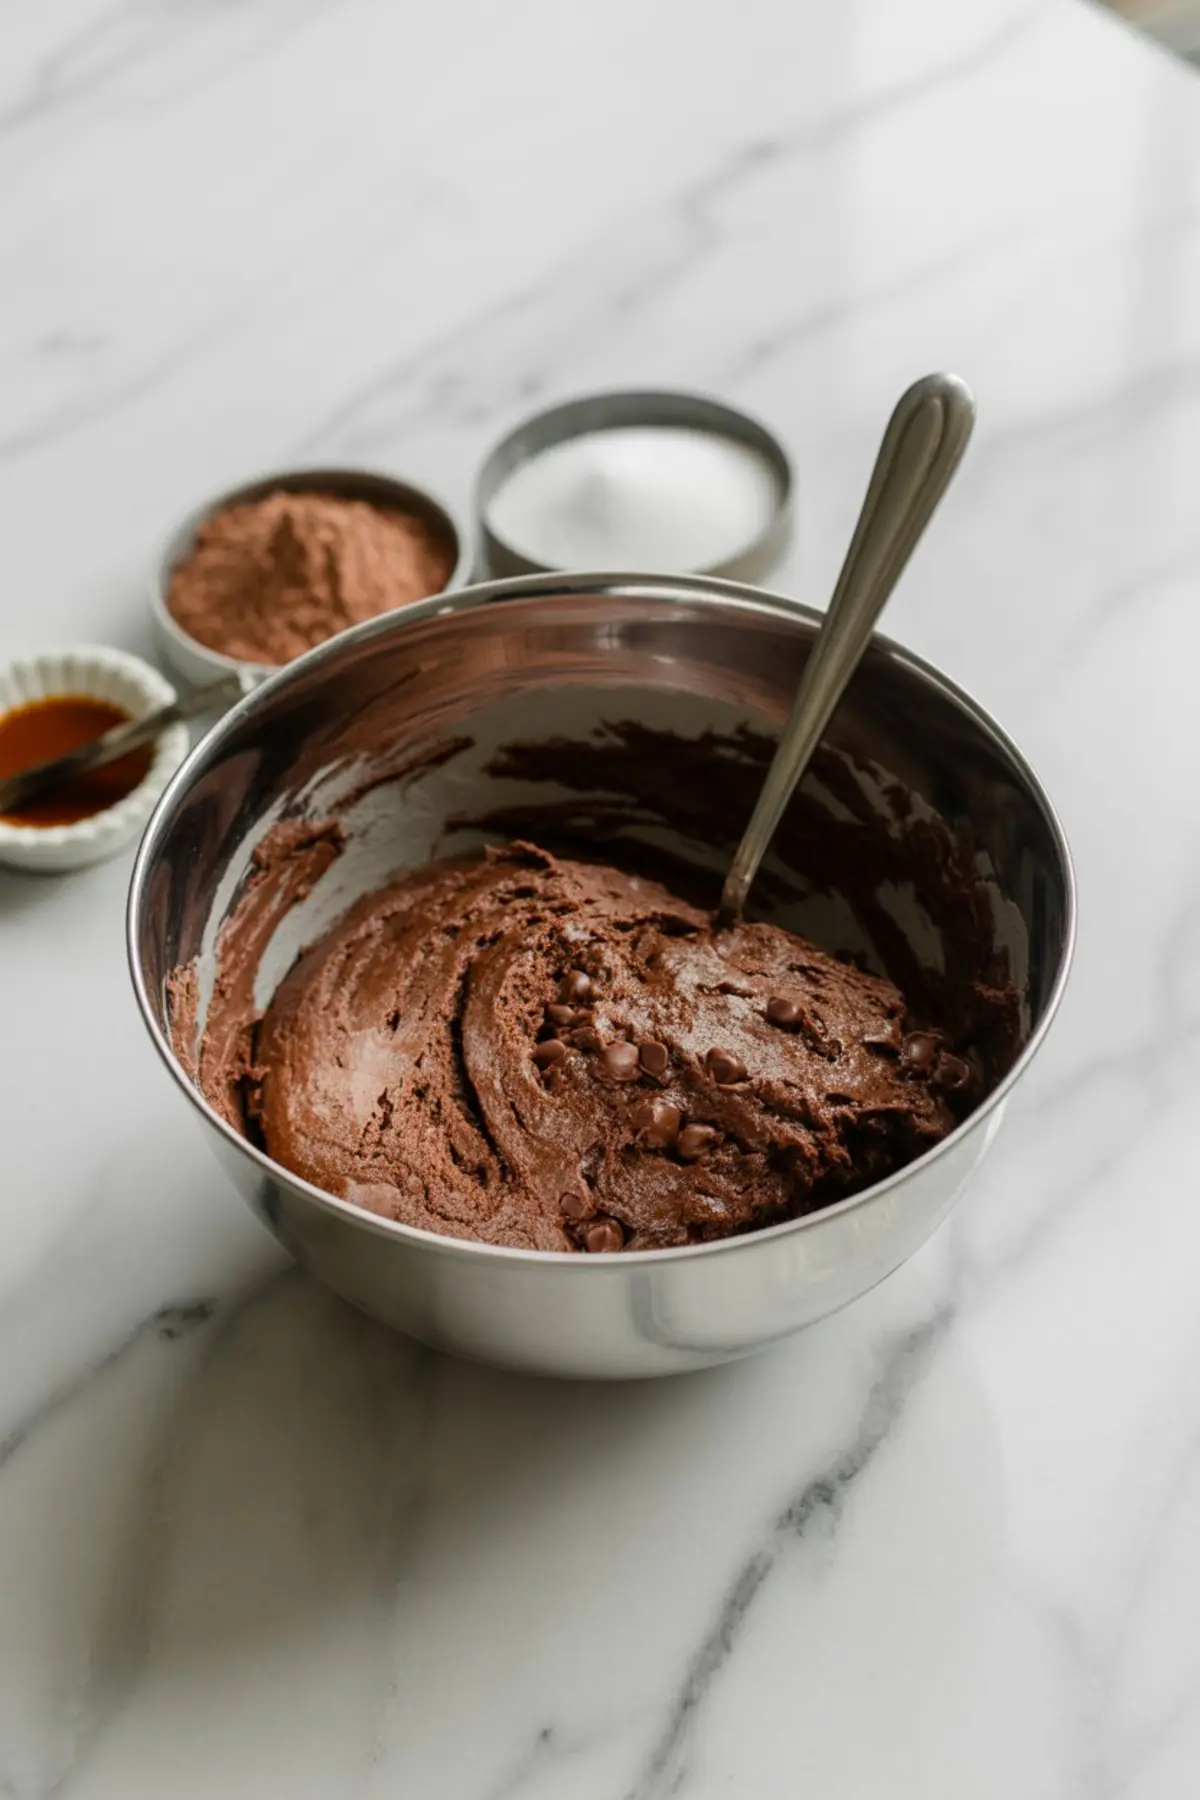
- MAKE THE CHOCOLATE COOKIE DOUGH: In a medium bowl, sift together the flour, cocoa powder, baking soda, and salt. In another large bowl, beat the butter, brown sugar, and granulated sugar until smooth and creamy. Add the egg and vanilla extract, mixing until fully incorporated. Gradually add the dry mixture to the wet ingredients, mixing until combined. Fold in chocolate chips if using. Chill the dough for 30 to 45 minutes.
- BAKE THE SUGAR COOKIES: Preheat oven to 350°F (175°C). Roll the chilled sugar cookie dough out on a lightly floured surface to ¼-inch thickness. Use ghost and pumpkin cookie cutters to cut out shapes. Transfer to parchment-lined baking sheets and bake for 8 to 10 minutes, or until the edges are just set. Let cool completely on wire racks before decorating.
- BAKE THE CHOCOLATE COOKIES: Scoop tablespoon-sized portions of chocolate dough and roll into balls. Place them on a lined baking sheet and slightly flatten each one. Bake at 350°F (175°C) for 9 to 11 minutes. Allow cookies to cool fully before decorating the tops as monster eyes.
- MAKE THE ROYAL ICING: In a large bowl, combine powdered sugar and meringue powder. Add 4 tablespoons of warm water and beat until stiff peaks form. Add more water, one teaspoon at a time, until the icing reaches a smooth, pipeable consistency. Divide the icing into separate bowls and color each portion as needed using gel food coloring.
- DECORATE THE COOKIES: For ghosts, flood the cookies with white icing and pipe black eyes and a mouth. For pumpkins, use orange icing to flood, then add black faces and green stems. For monster eyes, pipe a white circle in the center of the chocolate cookie, add red icing lines for veins, and finish with a colored center pupil in red or black.
Notes
To save time, the cookie doughs can be made up to two days in advance and stored in the refrigerator. Decorated cookies will keep for up to 1 week in an airtight container at room temperature. Royal icing sets best when left to dry uncovered for several hours or overnight.