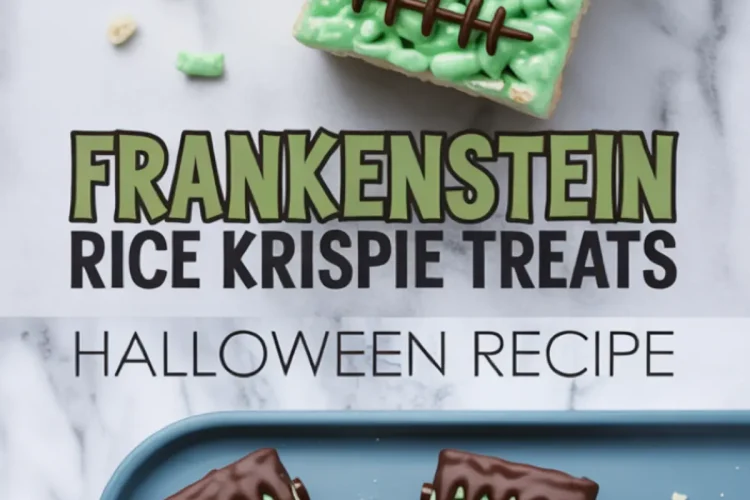
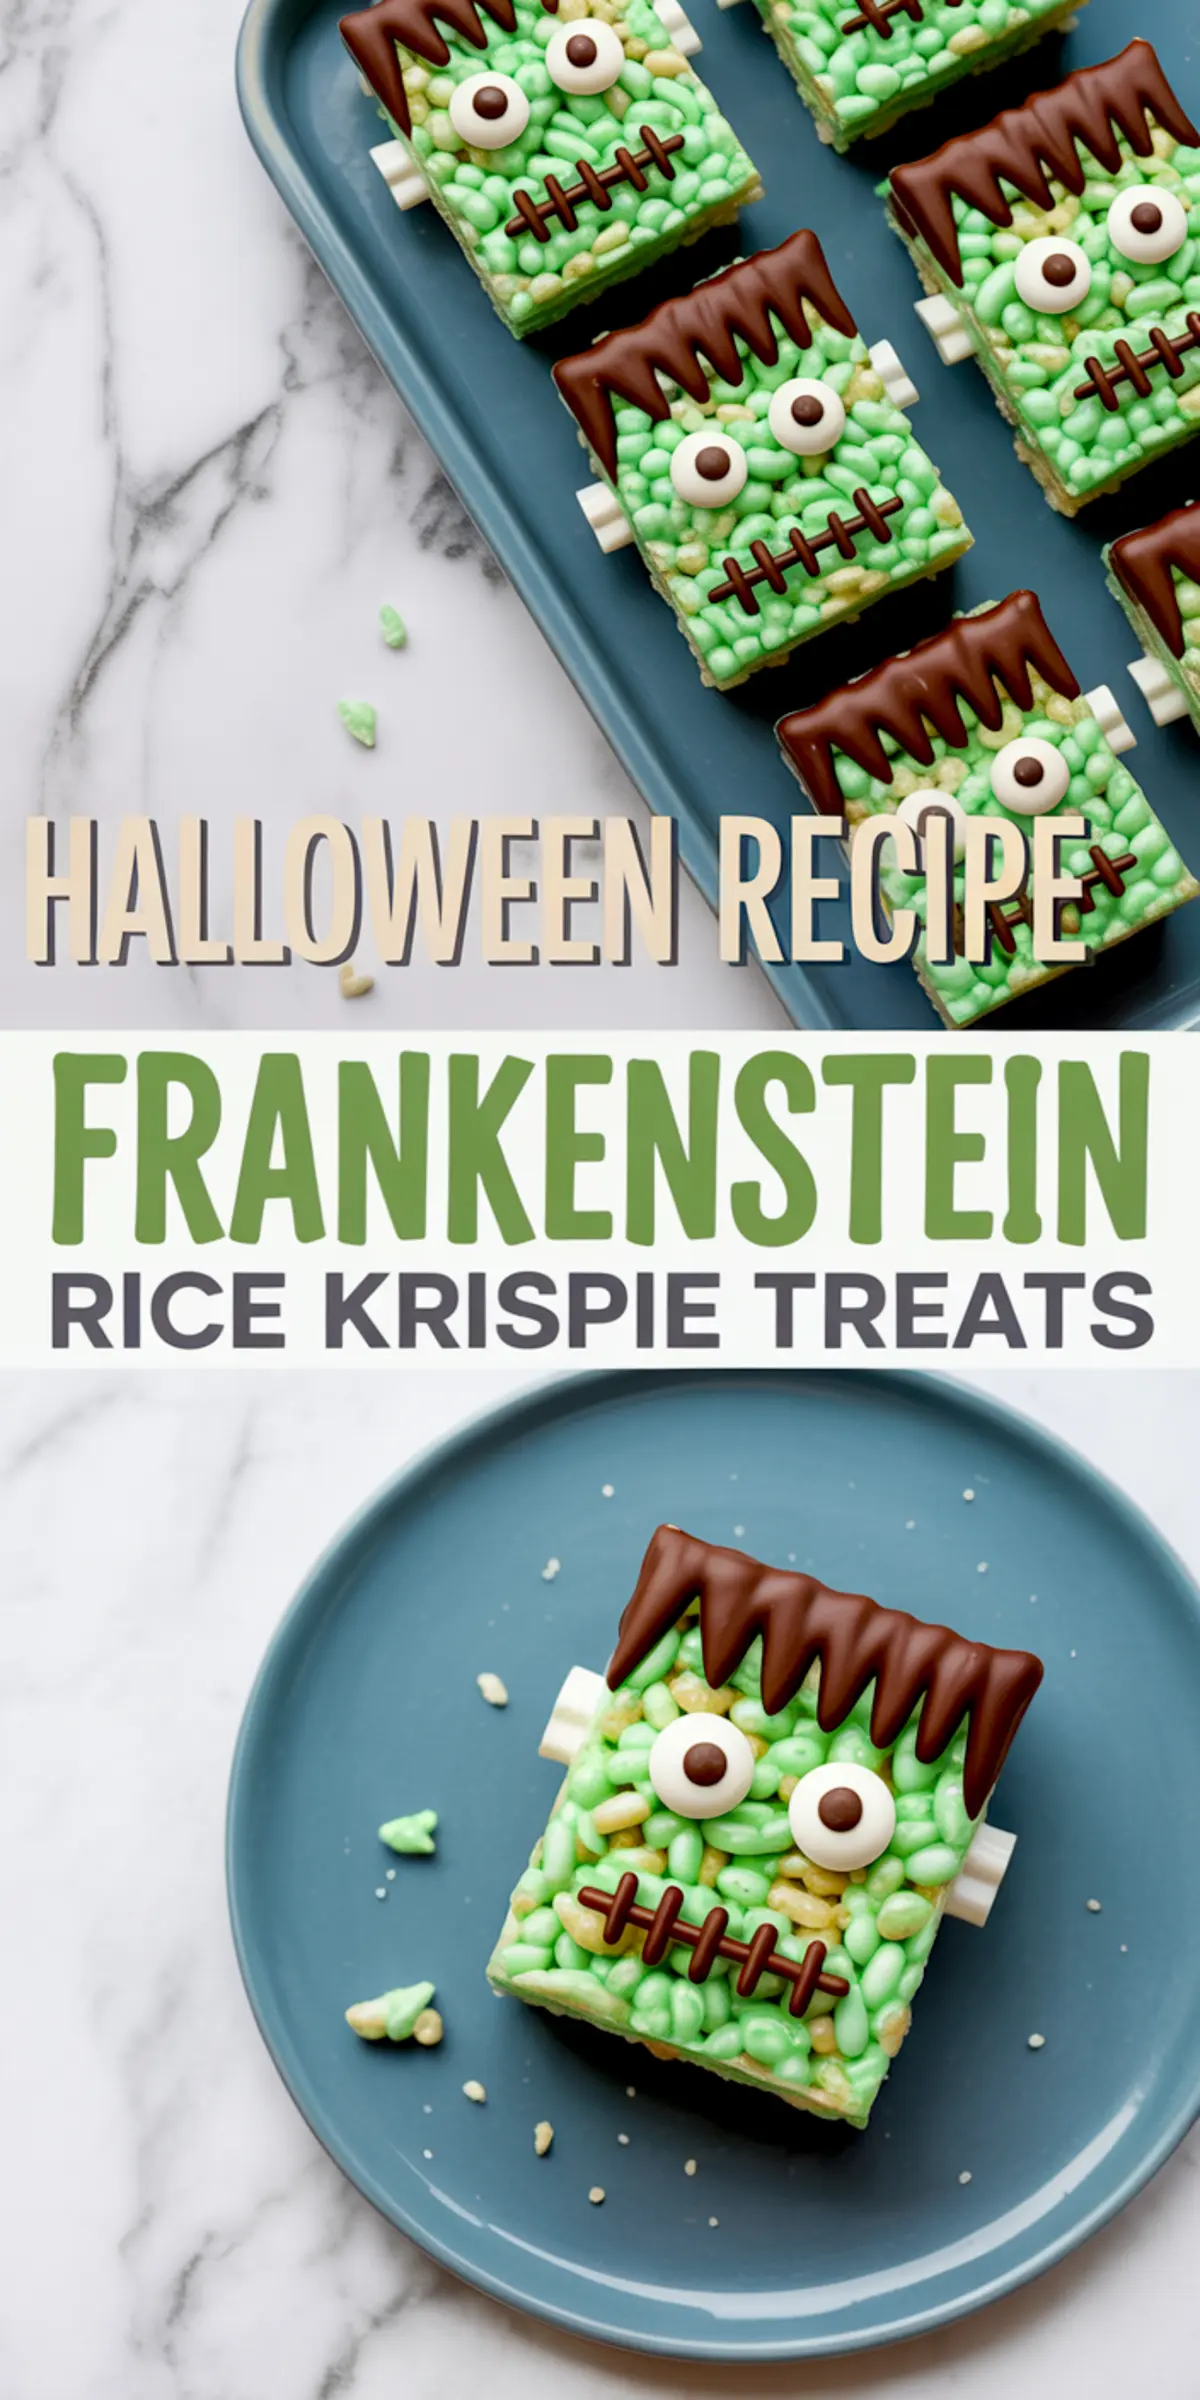
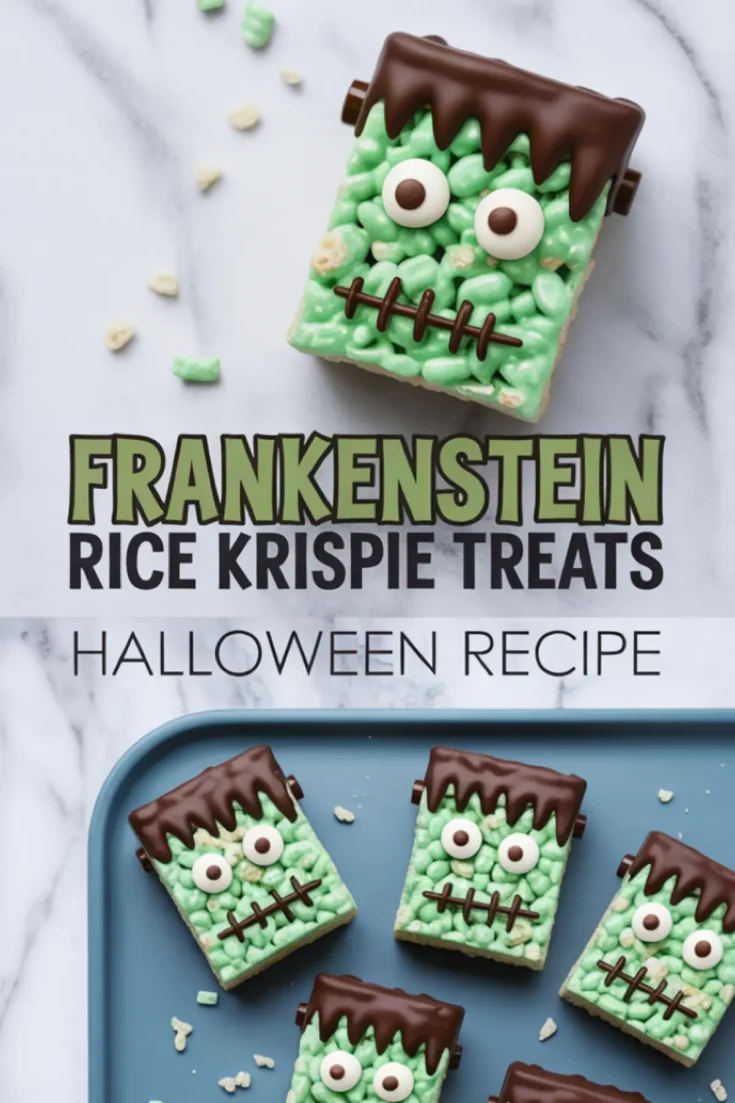
Frankenstein Rice Krispie Treats bring together two things every Halloween dessert table needs: instant recognition and easy preparation. These aren’t complicated. They use pantry ingredients, a microwave, and a bit of creativity. And yet, they turn out eye-catching, party-friendly, and frankly a little charming.
You’ll walk away from this recipe with more than just a tray of Halloween Rice Krispie Treats. You’ll understand how to color and decorate them for maximum visual impact.
You’ll also learn how to set them up for fast assembly, whether you’re making twenty or two hundred. If you’re prepping Halloween party treats or looking for fun Halloween food ideas that guests will actually eat, this is one to keep in your recipe folder.
Following a special diet?
Every recipe on this site can be converted to gluten-free, vegan, dairy-free, keto, nut-free or egg-free with adjusted ratios so nothing falls flat.
Try the Recipe Converter →What Makes These Rice Krispie Treats So Good for Halloween
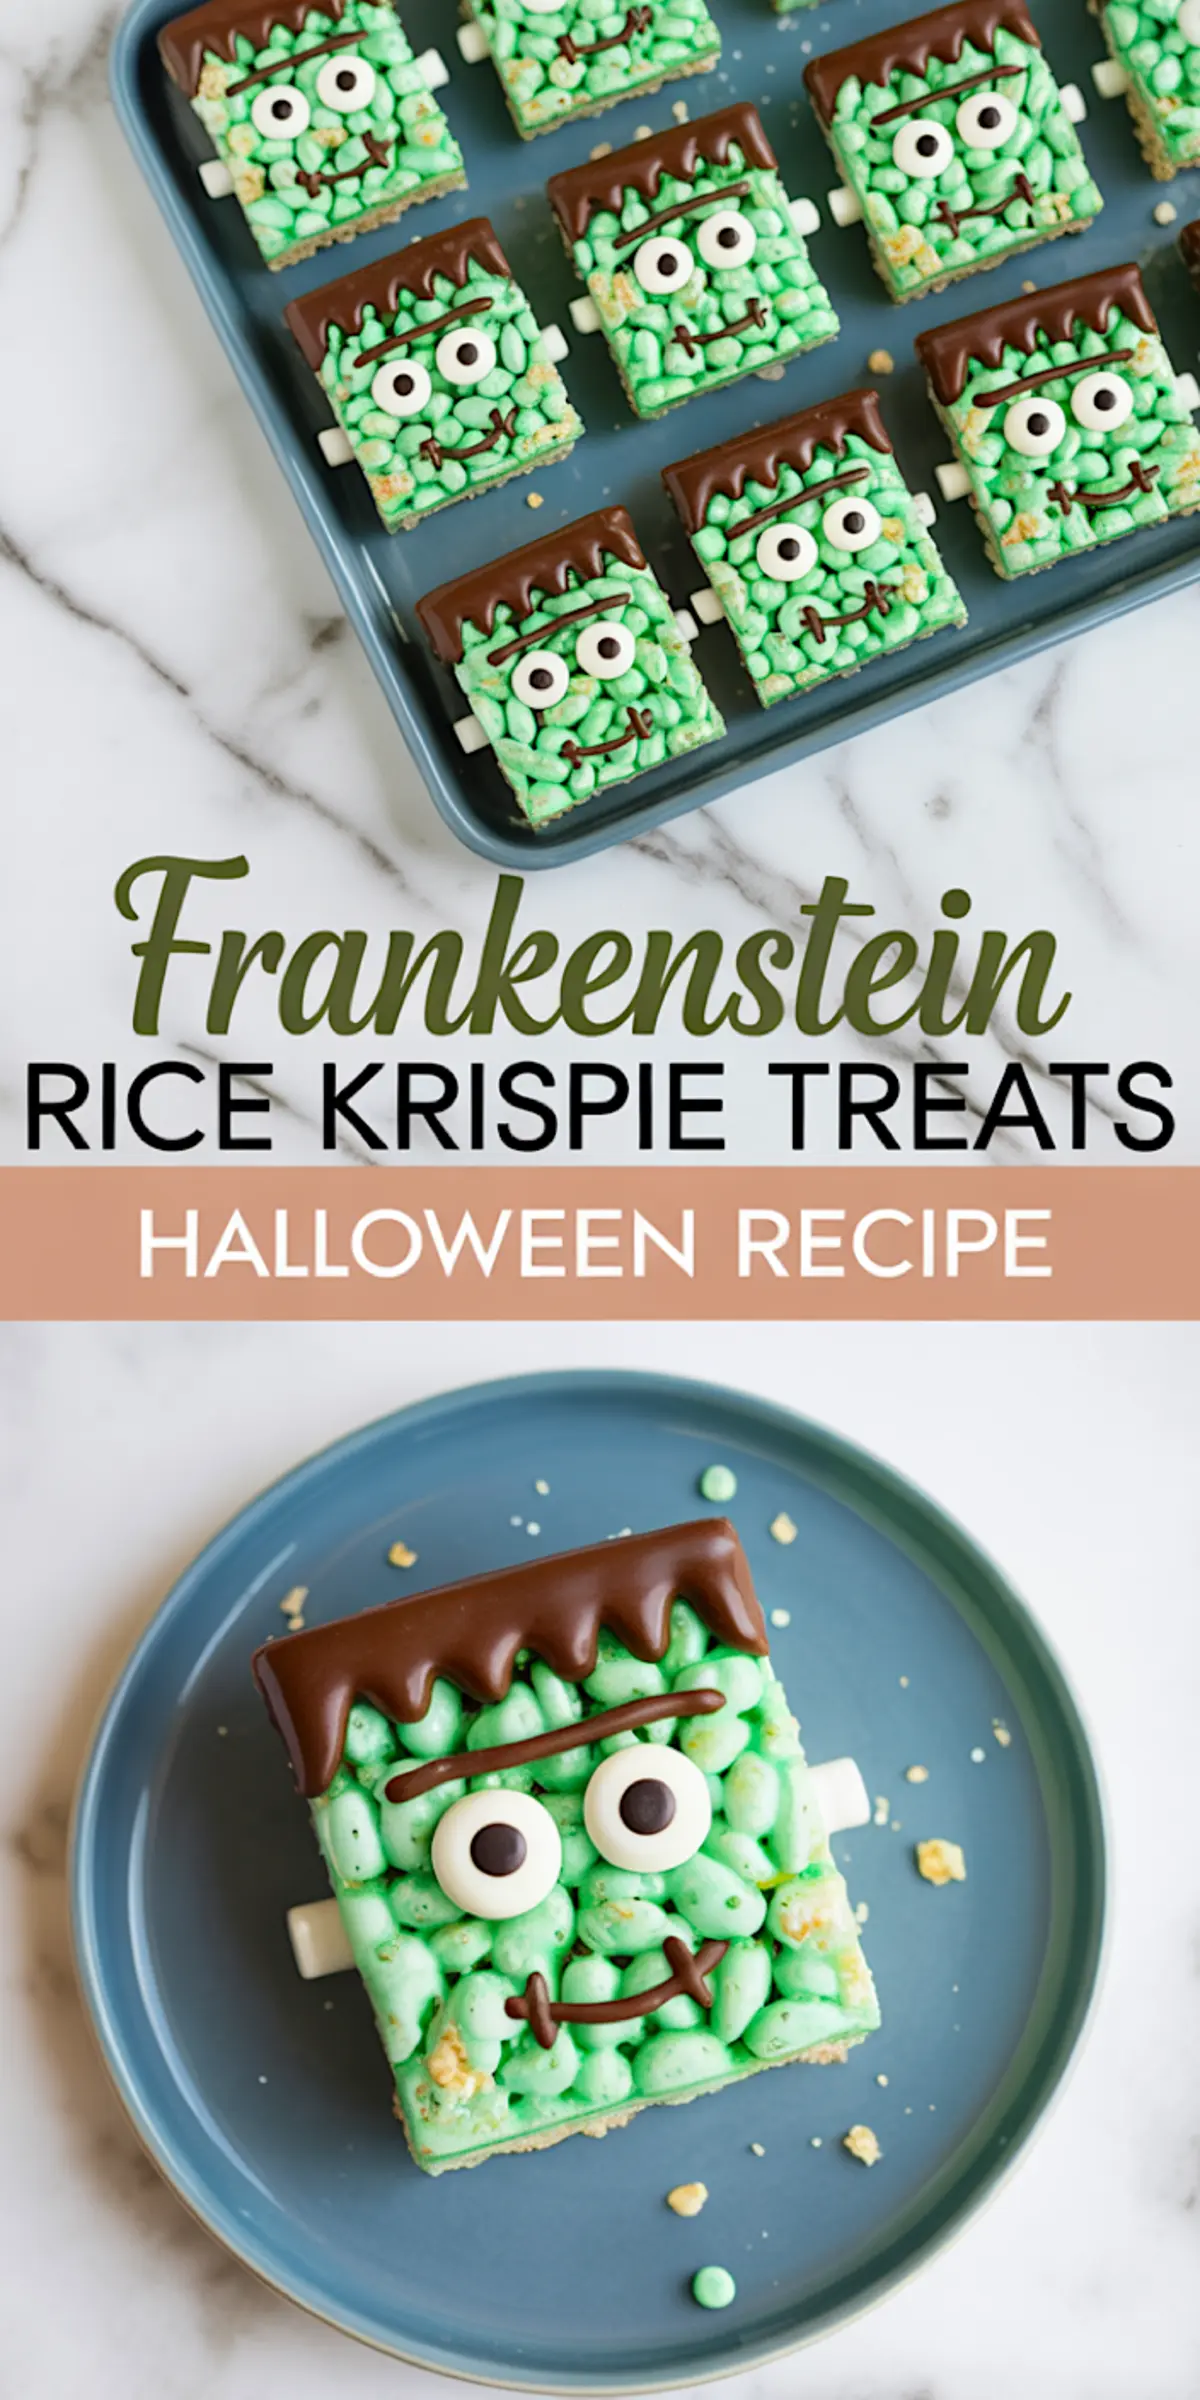
These bars hold their shape well, so they stand up on a dessert tray. You can pick them up without a mess. The green color gives a strong Frankenstein Halloween vibe even before you decorate. Once the candy eyes and chocolate hair go on, they turn into something much more fun than the usual cereal squares.
In my own notes, I’ve found these easier to manage than something like Halloween cake pops. No rolling, dipping, or delicate handling. Just spread, cut, dip, and dot.
Looking for something more detailed? Try these Halloween Cake Pops.
Ingredients That Make a Difference in Texture and Color
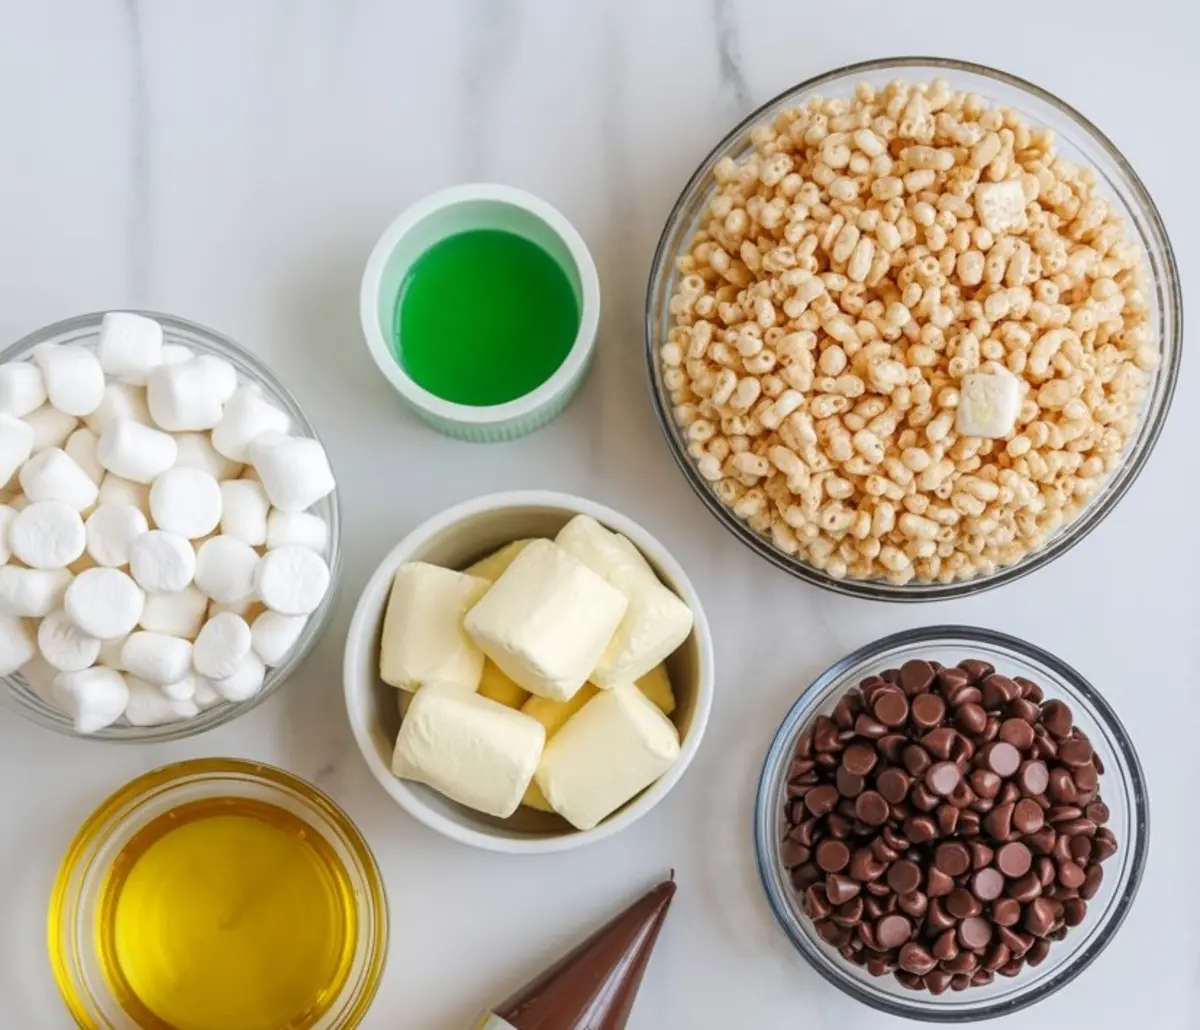
Use fresh mini marshmallows. That makes the melting smoother and helps the cereal bind evenly. I’ve tried older, semi-dried marshmallows and they melt poorly, forming sticky clumps that don’t coat the Rice Krispies as well.
Add the green food coloring after the marshmallows melt but before adding the cereal. Gel coloring works best. It gives a bolder green with less liquid, so the base stays firm. For a lighter green or more yellow Frankenstein, use less. For something more ghoulish, use more.
You can also fold in a small splash of vanilla. It softens the cereal taste and makes the whole thing smell more like a bakery treat than a box mix.
If you’re already planning a Halloween dessert tray, you might enjoy these Halloween Finger Cookies too.
Shaping and Cooling for Neat, Even Results
Once the mixture is in the pan, press gently. Don’t mash. You want the bars compact but not dense. I use the back of a spoon greased with a bit of butter or spray. If I’m making a large batch, wax paper pressed with a rolling pin gives cleaner edges.
Cool completely at room temperature. If you cut them too soon, they’ll sag. Room-temp cooling takes about 30 minutes. Then turn them out, slice into rectangles, and prepare for decorating.
Decorating Tips for Frankenstein Rice Krispie Treats

Melt the chocolate with a spoonful of coconut oil or shortening. That gives a shinier finish and keeps the coating soft enough to bite through. I’ve done it with plain chocolate before and it sets too stiff, sometimes cracking off.
Dip just the tops for the hair. Let the extra drip off. While still wet, press on the candy eyes. Place them slightly below the chocolate edge so they look peeking rather than bug-eyed.
Use black writing gel or melted chocolate to draw the faces. If you want them to look more cartoon than creepy, go with stitched smiles and high eyebrows. For a spookier version, add scar lines near the eyes.
Add mini marshmallows or sliced Tootsie Rolls to the sides for bolts. It’s a small step, but it completes the Frankenstein look better than you’d expect.
Need something with a bit more chocolate? These Halloween Brownies come dressed for the occasion.
How They Compare: Coconut Oil vs. Butter in the Chocolate
In batches I’ve tested, coconut oil gives a smoother dip and better bite. Butter works too, but it makes the chocolate duller and a bit softer at room temperature. Coconut oil keeps the hair glossy and snappy.
If you’re out of both, vegetable shortening works fine. Just avoid margarine—it affects the flavor and texture in a strange way.
Serving and Storage Tips
Serve these on parchment or wax paper. They stick slightly when stacked. You can prevent that by separating layers with a small square of parchment between them. If you’re using them as Halloween finger foods, inserting lollipop sticks before decorating makes them easier to serve.
They store well at room temperature for up to three days. Place in an airtight container and keep them in a cool, dry area. If your kitchen runs warm, refrigerate them briefly before serving to keep the chocolate firm.
For a fast, fruity option that skips the oven, check out these Halloween Strawberries.
Related Recipes for Your Halloween Treat Table
• Halloween Cupcakes Decoration
Save This Halloween Idea and Share Your Thoughts
These Frankenstein Rice Krispie Treats show up every year on my table. They never last long. Kids love them. Adults sneak them. If you try them out, I’d love to hear what you think.
Leave a comment below with your questions or tips, and don’t forget to save this idea to your Halloween board on Pinterest so you can find it next October.
Frankenstein Rice Krispie Treats
Frankenstein rice krispie treats are a spooky twist on the classic rice krispie cereal bar, decorated with green frosting and candy eyes for Halloween. I love making these as Halloween rice krispie treats since they’re simple, colorful, and always a hit at parties. Some people serve them as Halloween finger foods, others add them to a tray of Halloween party treats or Halloween desserts, but no matter where they land they fit right in. Among fun Halloween food ideas, Frankenstein Halloween snacks stand out for being festive, easy to make in batches, and guaranteed to disappear quickly. They’re the kind of fun snacks I return to every October.
Ingredients
- FOR THE RICE KRISPIE BASE:
- 6 cups Rice Krispies cereal
- 1 package (10 oz) mini marshmallows
- 3 tablespoons unsalted butter
- ½ teaspoon vanilla extract (optional)
- Green food coloring (gel or liquid)
- FOR DECORATING:
- 1 cup chocolate chips (semi-sweet or milk)
- 1 tablespoon coconut oil or shortening
- Candy eyes
- Black writing gel or melted chocolate in a piping bag
- Mini marshmallows or Tootsie Rolls
- Lollipop sticks (optional)
Instructions
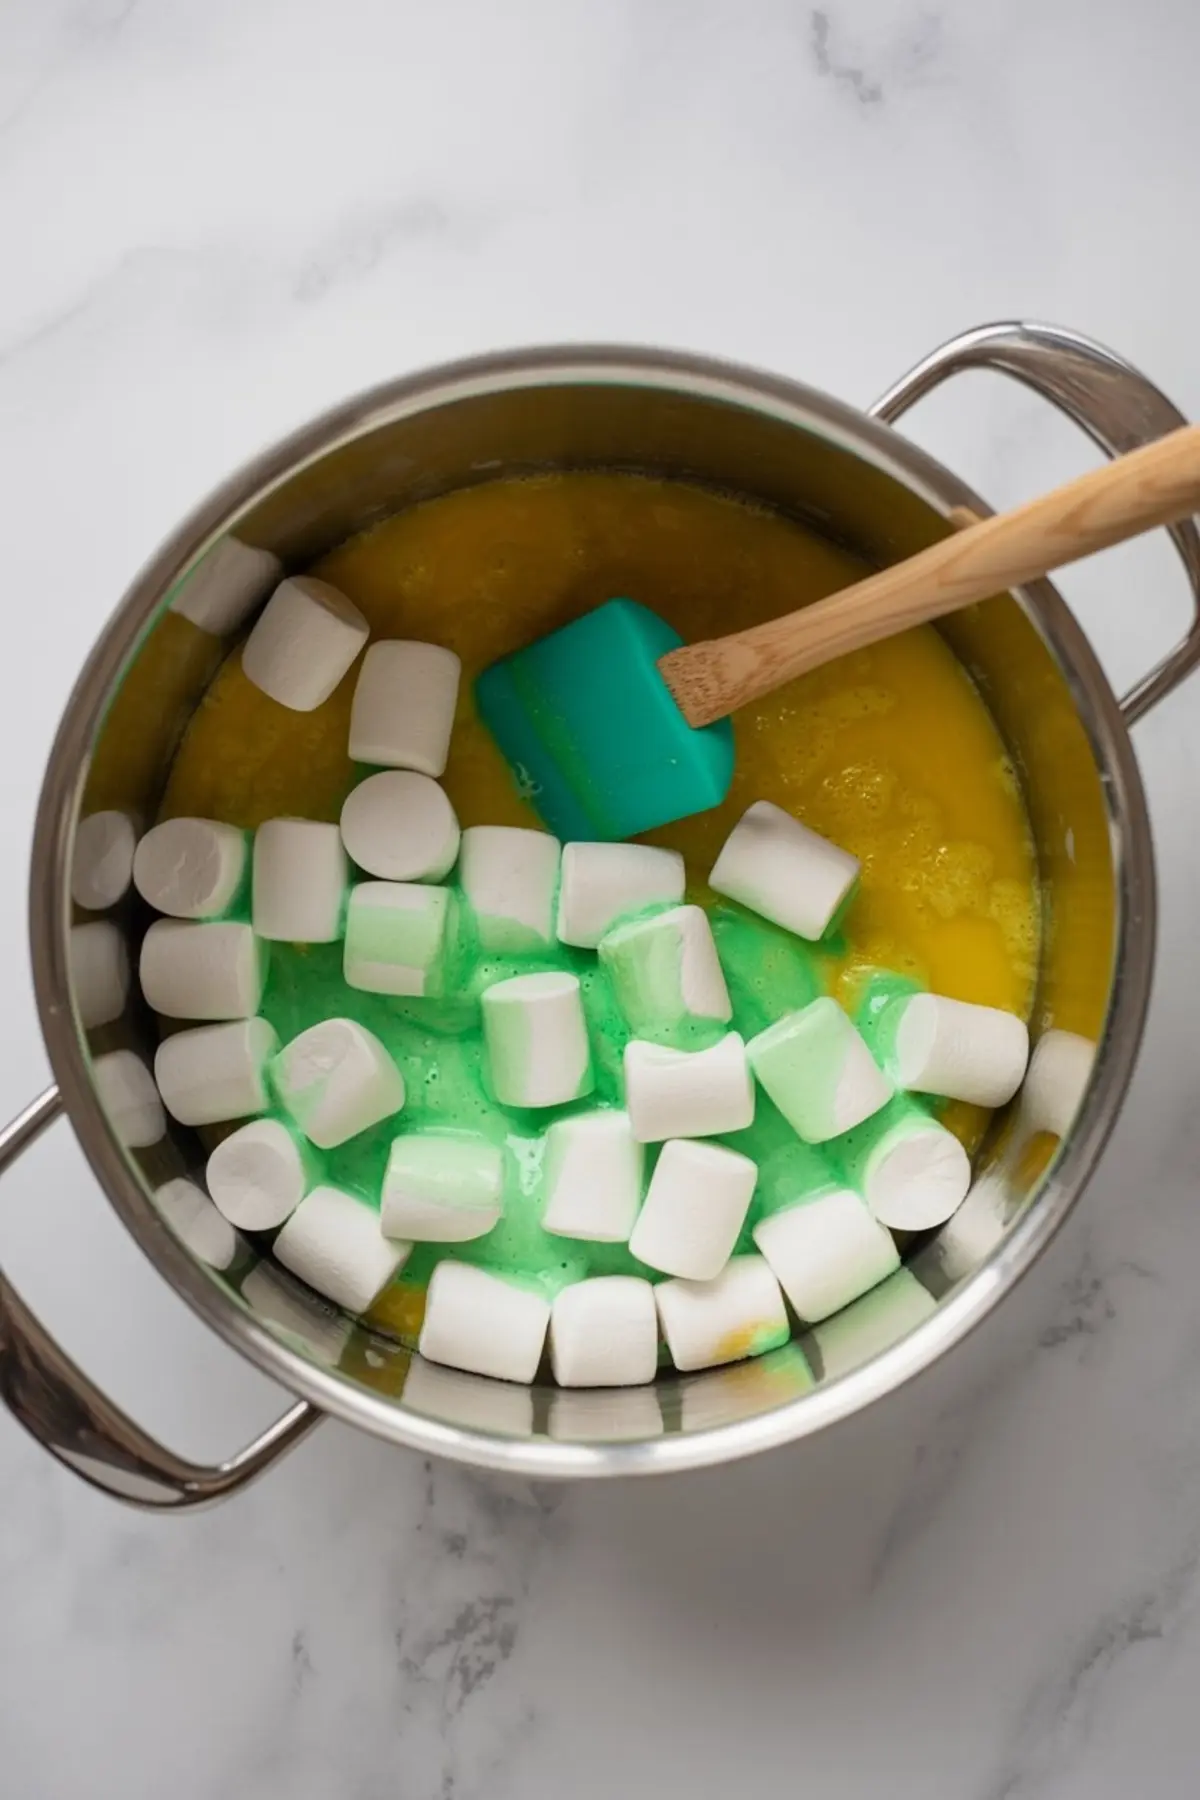
MELT THE BUTTER AND MARSHMALLOWS: In a large saucepan over medium heat, melt the butter completely. Add the mini marshmallows and stir continuously until fully melted and smooth.
ADD COLOR AND CEREAL: Mix in green food coloring a few drops at a time until the mixture reaches your preferred Frankenstein shade. Remove the pan from heat and immediately stir in the Rice Krispies cereal. Mix thoroughly to coat all of the cereal evenly.
PRESS INTO PAN: Transfer the mixture into a greased 9x13-inch baking pan. Use a buttered spatula or a piece of wax paper to press it down evenly into the pan. Allow it to cool completely at room temperature.
CUT INTO RECTANGLES: Once cooled and set, remove the cereal block from the pan and place it on a cutting board. Use a sharp knife to cut into even rectangles, each representing Frankenstein’s head.
PREPARE FOR DECORATING: Arrange the cut rectangles on a parchment-lined baking sheet to keep your workspace clean and ready for decorating.
MELT THE CHOCOLATE: In a microwave-safe bowl, combine chocolate chips and coconut oil. Microwave in 30-second intervals, stirring after each, until fully melted and smooth.
ADD THE HAIR: Dip the top of each rectangle into the melted chocolate to create Frankenstein’s hair. Let the excess chocolate drip off before placing each treat back on the parchment to set.
PLACE THE EYES: While the chocolate is still soft, gently press two candy eyes onto each treat just below the hairline.
DRAW FACE DETAILS: Use black writing gel or melted chocolate in a piping bag to draw a stitched mouth and optional eyebrow scars on each Frankenstein.
ATTACH NECK BOLTS: Insert half of a mini marshmallow or a small piece of Tootsie Roll into each side of the base of the treat to resemble Frankenstein’s bolts.
OPTIONAL: ADD STICKS: If using, insert a lollipop stick into the base of each treat to turn them into Frankenstein pops for easy serving.
LET SET AND SERVE: Allow the decorations to set completely at room temperature or chill in the fridge for a few minutes if needed. Serve once the chocolate and gel are firm to the touch.
Notes
Use gel food coloring for more vibrant green color with less liquid. If the treats are sticking to your hands while shaping, lightly grease your fingers or spatula with cooking spray. Store in an airtight container for up to 3 days.
Nutrition Information
Yield
12Serving Size
1Amount Per Serving Calories 161Total Fat 10gSaturated Fat 6gTrans Fat 0gUnsaturated Fat 3gCholesterol 8mgSodium 4mgCarbohydrates 19gFiber 1gSugar 10gProtein 1g