
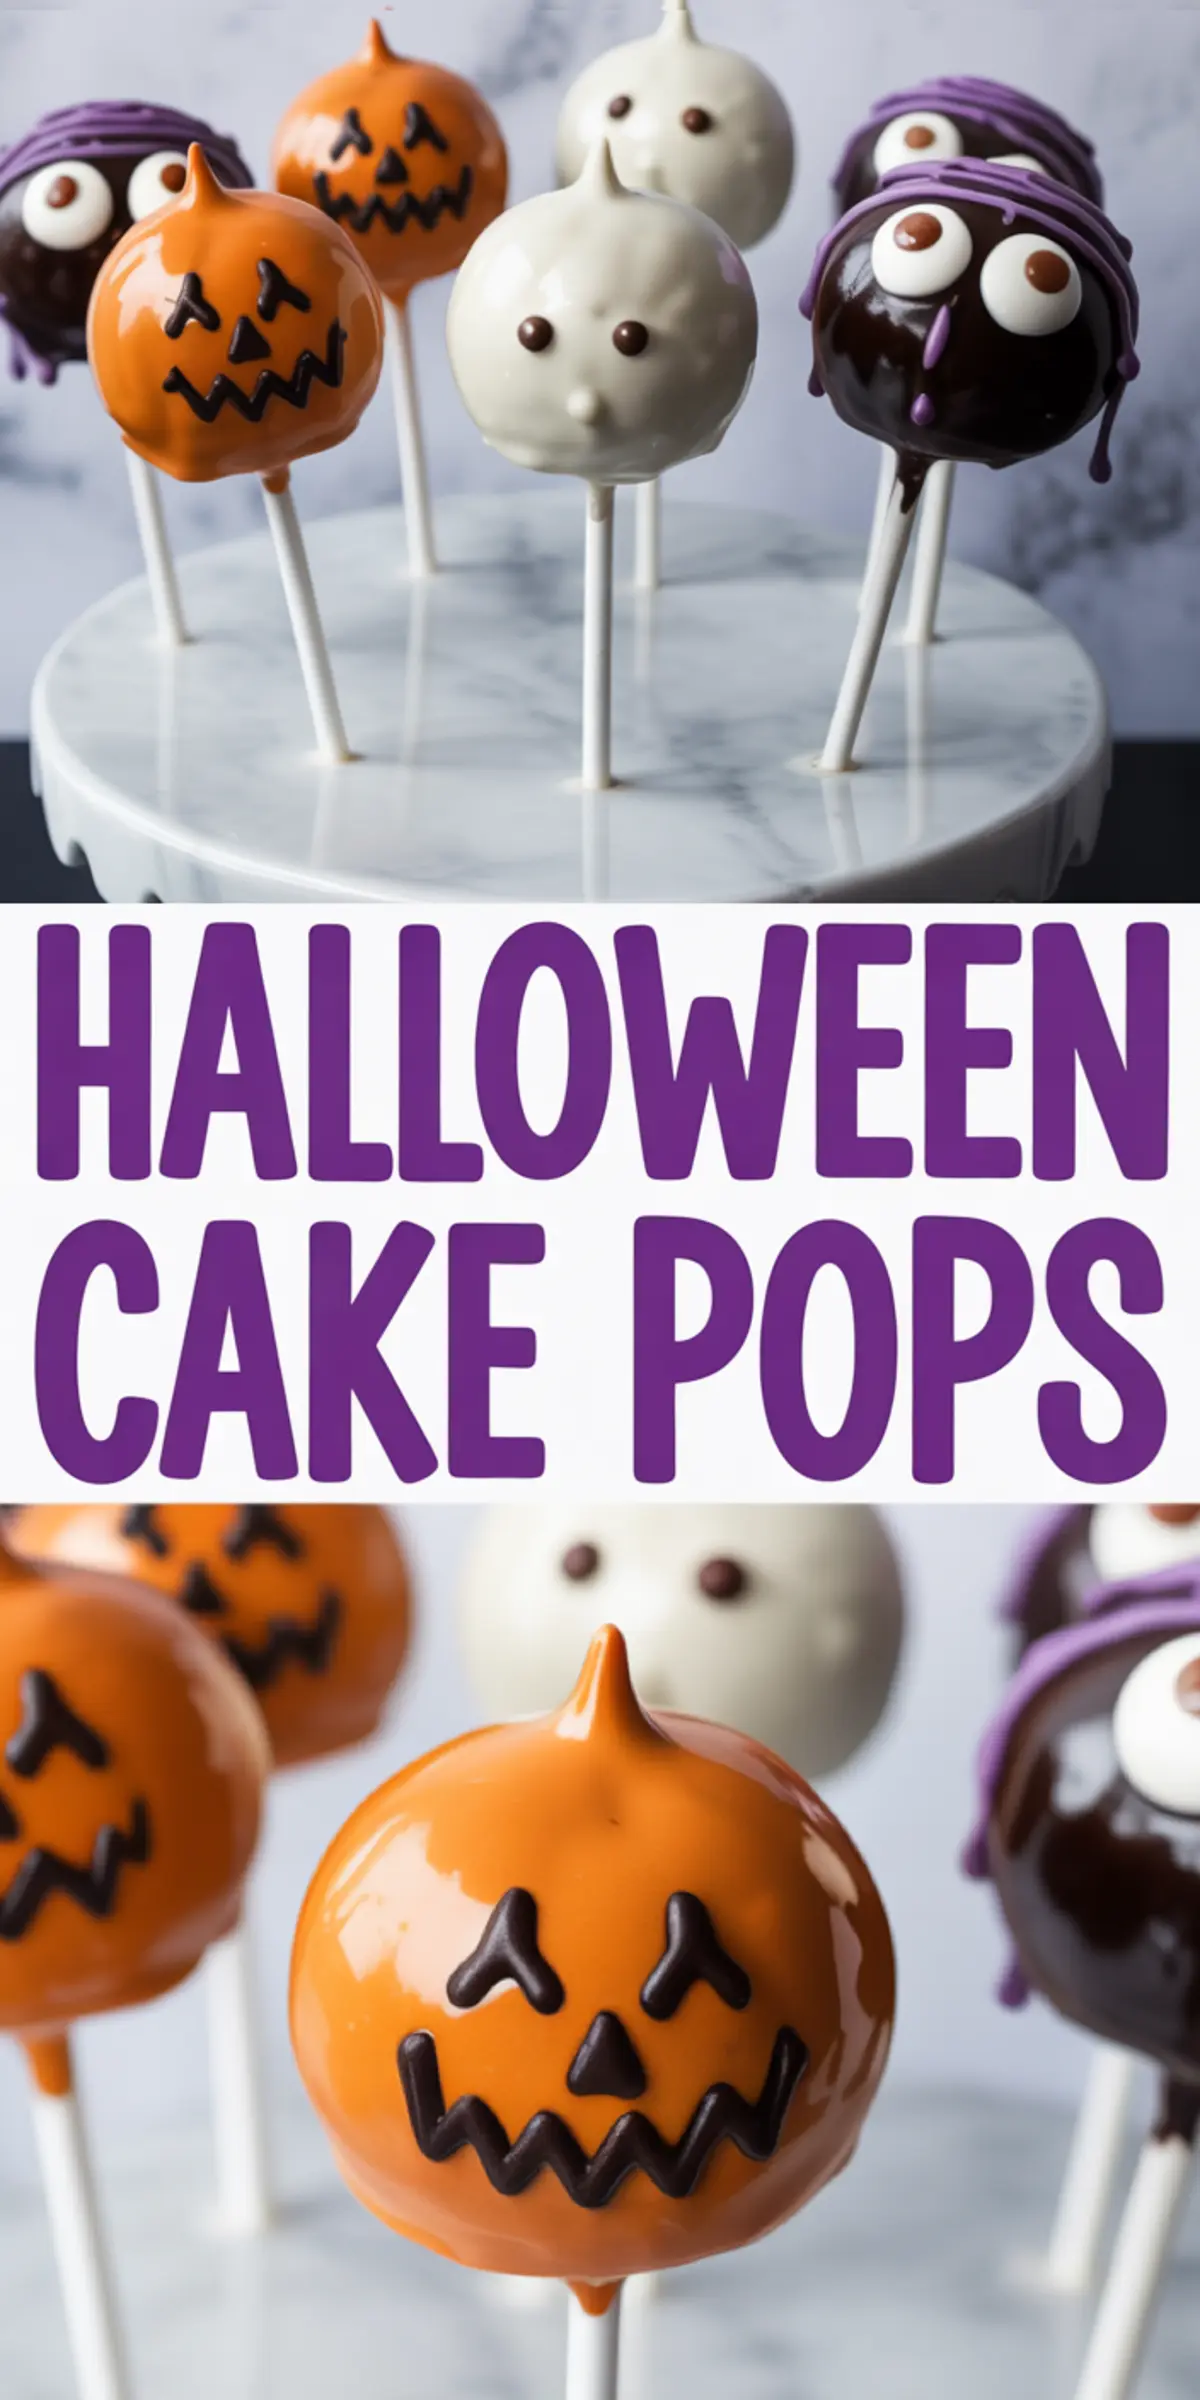
There’s a reason cake pops keep coming back around Halloween. These little desserts carry just enough whimsy to make kids laugh and enough flavor to keep adults reaching for seconds. But this version, with its lineup of ghosts, monsters, and grinning pumpkins, adds something else to the mix: fun you don’t have to fuss over.
In this post, you’ll learn how to make Halloween cake pops from scratch using simple tools and basic decorating supplies. You’ll also find personal tips from my own Halloween baking notes, plus a smart ingredient comparison that might save you from a cracked pop or too-thick coating. If you’ve ever stood in front of melting candy and wondered, “Is this too thick?” this is for you.
Following a special diet?
Every recipe on this site can be converted to gluten-free, vegan, dairy-free, keto, nut-free or egg-free with adjusted ratios so nothing falls flat.
Try the Recipe Converter →Why These Cake Pops Work for Fall Parties and Spooky Dessert Tables
Cake pops often feel intimidating at first glance. But this recipe breaks the process into clear steps: bake, crumble, mix, chill, dip, decorate. With a steady rhythm and some chilled cake balls, you’ll be well on your way to spooky cake pops that hold their shape and take on detail with ease.
I’ve tested this method both with boxed cake mix and from-scratch sponge. The texture holds up beautifully either way. The key isn’t the mix—it’s the moisture balance once you combine the crumbs with frosting. I’ll explain what to look for in that step.
Planning a party? These Halloween cakepops make excellent spooky treats for kids’ tables, potlucks, or individually wrapped favors. Their size keeps things neat, and their color makes them shine alongside other Halloween dessert ideas like this Horror Cake.
Choosing the Base: Boxed Mix or Homemade?
In my notes, I’ve found that both boxed and homemade cakes work. But here’s the difference.
Boxed cake tends to be lighter and fluffier, which makes crumbling easier and creates a more tender bite. It mixes with frosting smoothly but may need a bit more chilling time to firm up.
Homemade cakes, especially denser ones, yield a sturdier crumb. They may hold together with less frosting and chill faster. If I’m short on time and want a firm texture, I lean toward a homemade sponge.
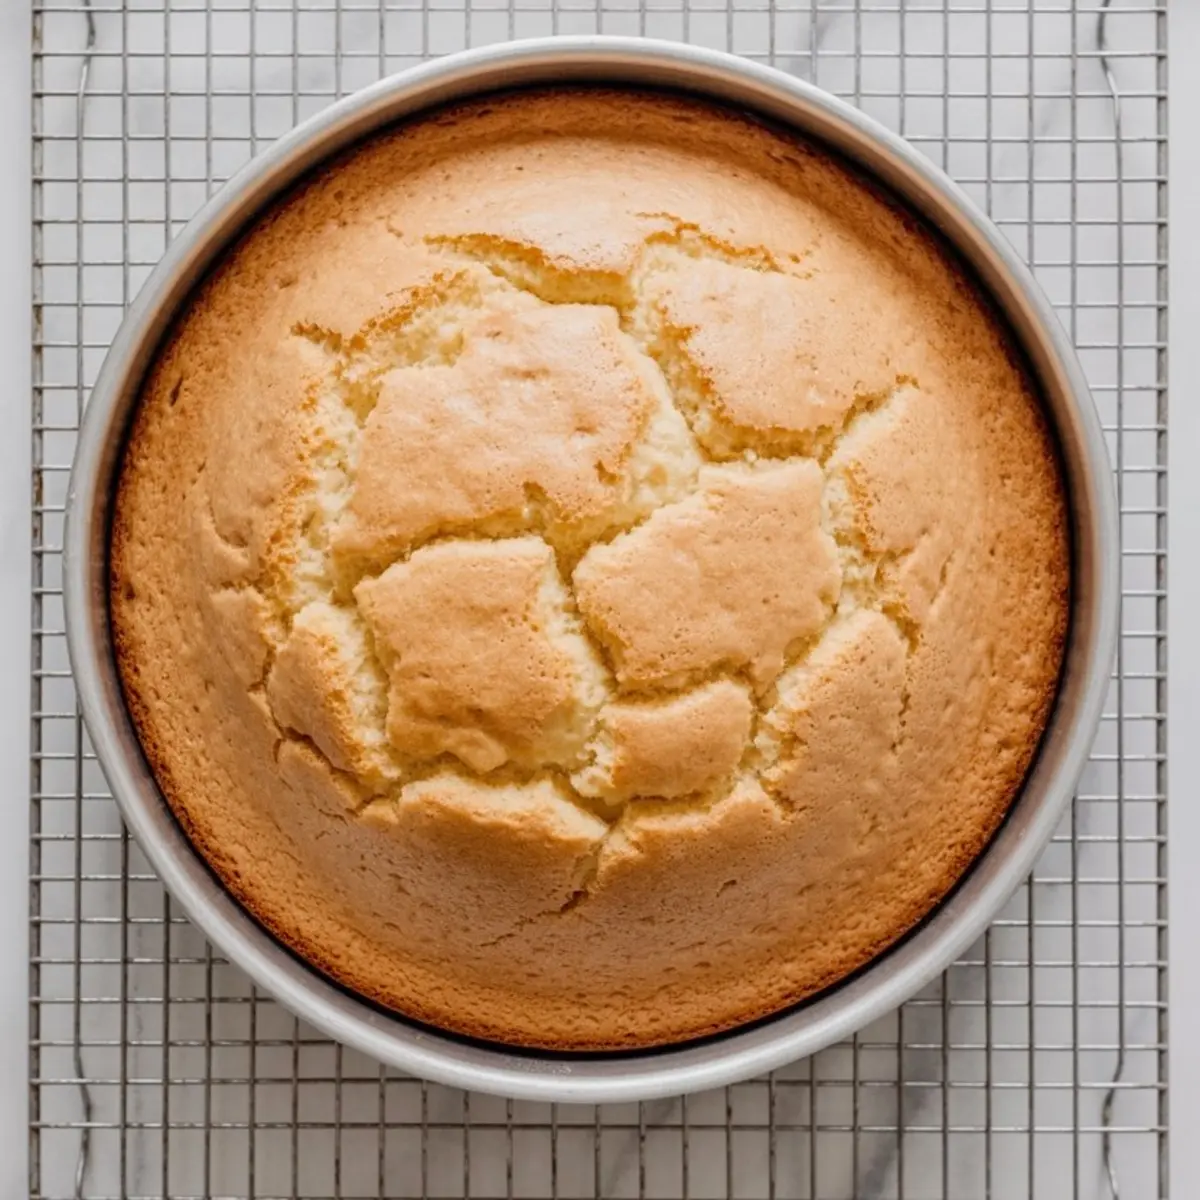
No matter which you use, let the cake cool completely before crumbling. That step alone can prevent pops from becoming too soft to hold.
How to Combine the Cake Crumbs and Frosting
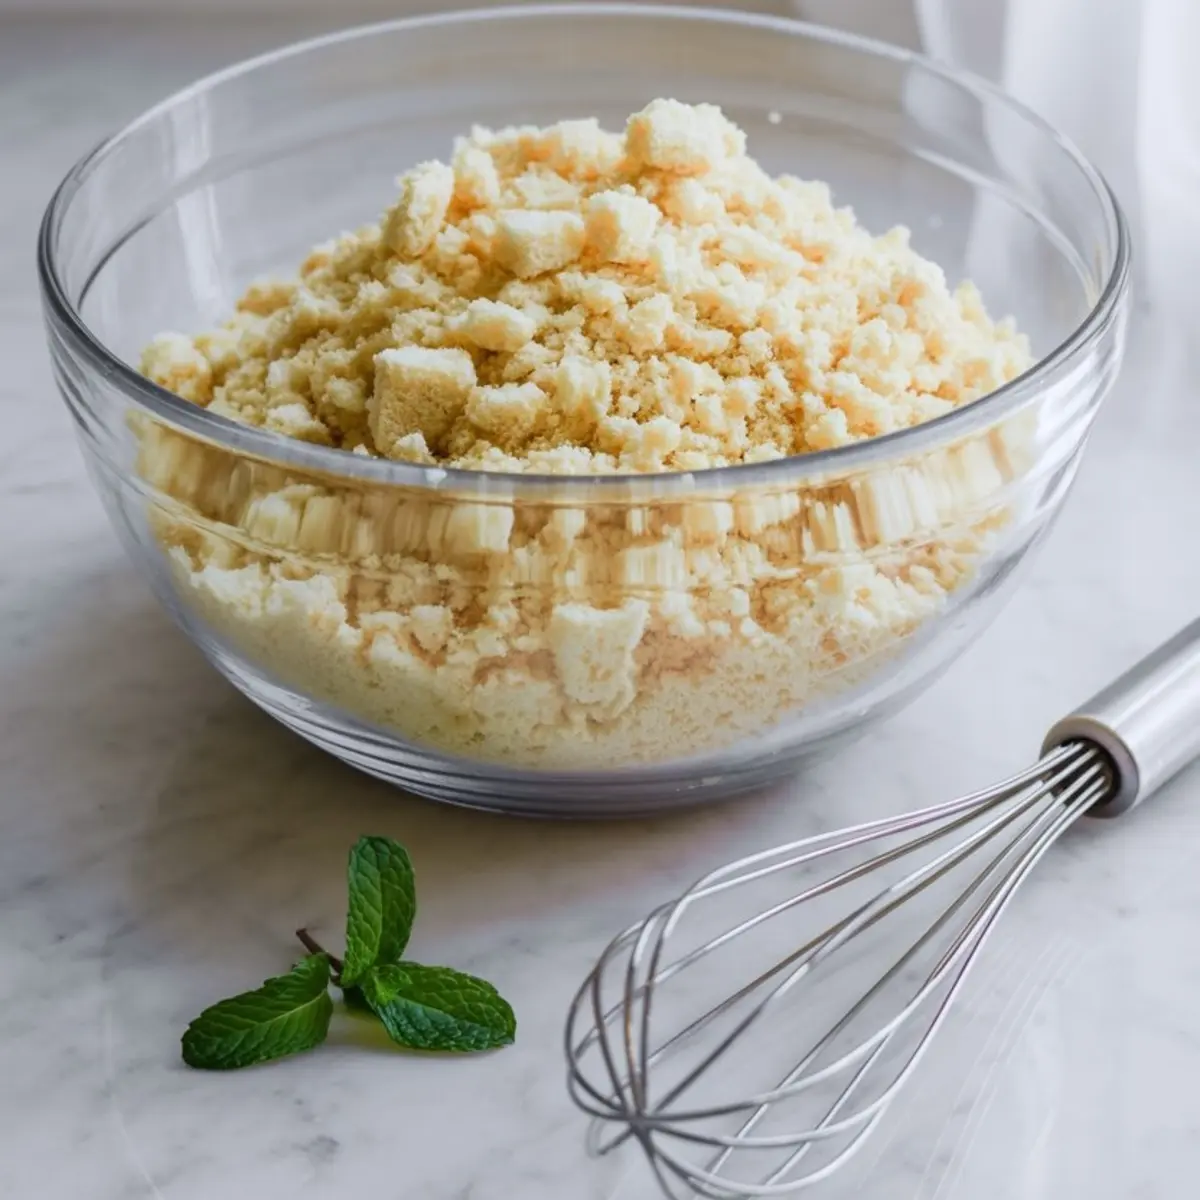
Once your cake is cool, crumble it into fine bits. I like using my hands for this—it gives a better feel for texture than a food processor. Add frosting gradually. Start with about ¼ cup, then mix.
You’re looking for a consistency that holds its shape when rolled, without feeling sticky or wet. If it squishes too easily or leaves a film on your fingers, it needs more cake. If it cracks, a touch more frosting helps.
This stage decides the structure of the pop. Get this right, and the rest becomes easier.
You might also enjoy trying a themed recipe like these Halloween Sugar Cookies if you’re planning a mix of spooky desserts.
The Best Way to Chill and Shape Cake Pops
Shape the mixture into even 1.5-inch balls. I line them up on parchment and chill in the fridge for an hour. Freezing for 20 minutes works too, but don’t leave them in too long or the candy coating may crack later.
Before inserting the sticks, dip each tip into melted candy coating. This creates a little glue pocket that holds the stick inside the ball. Without this step, pops may slide off mid-dip something I’ve learned the hard way.
Tips for Melting Candy Coating Smoothly
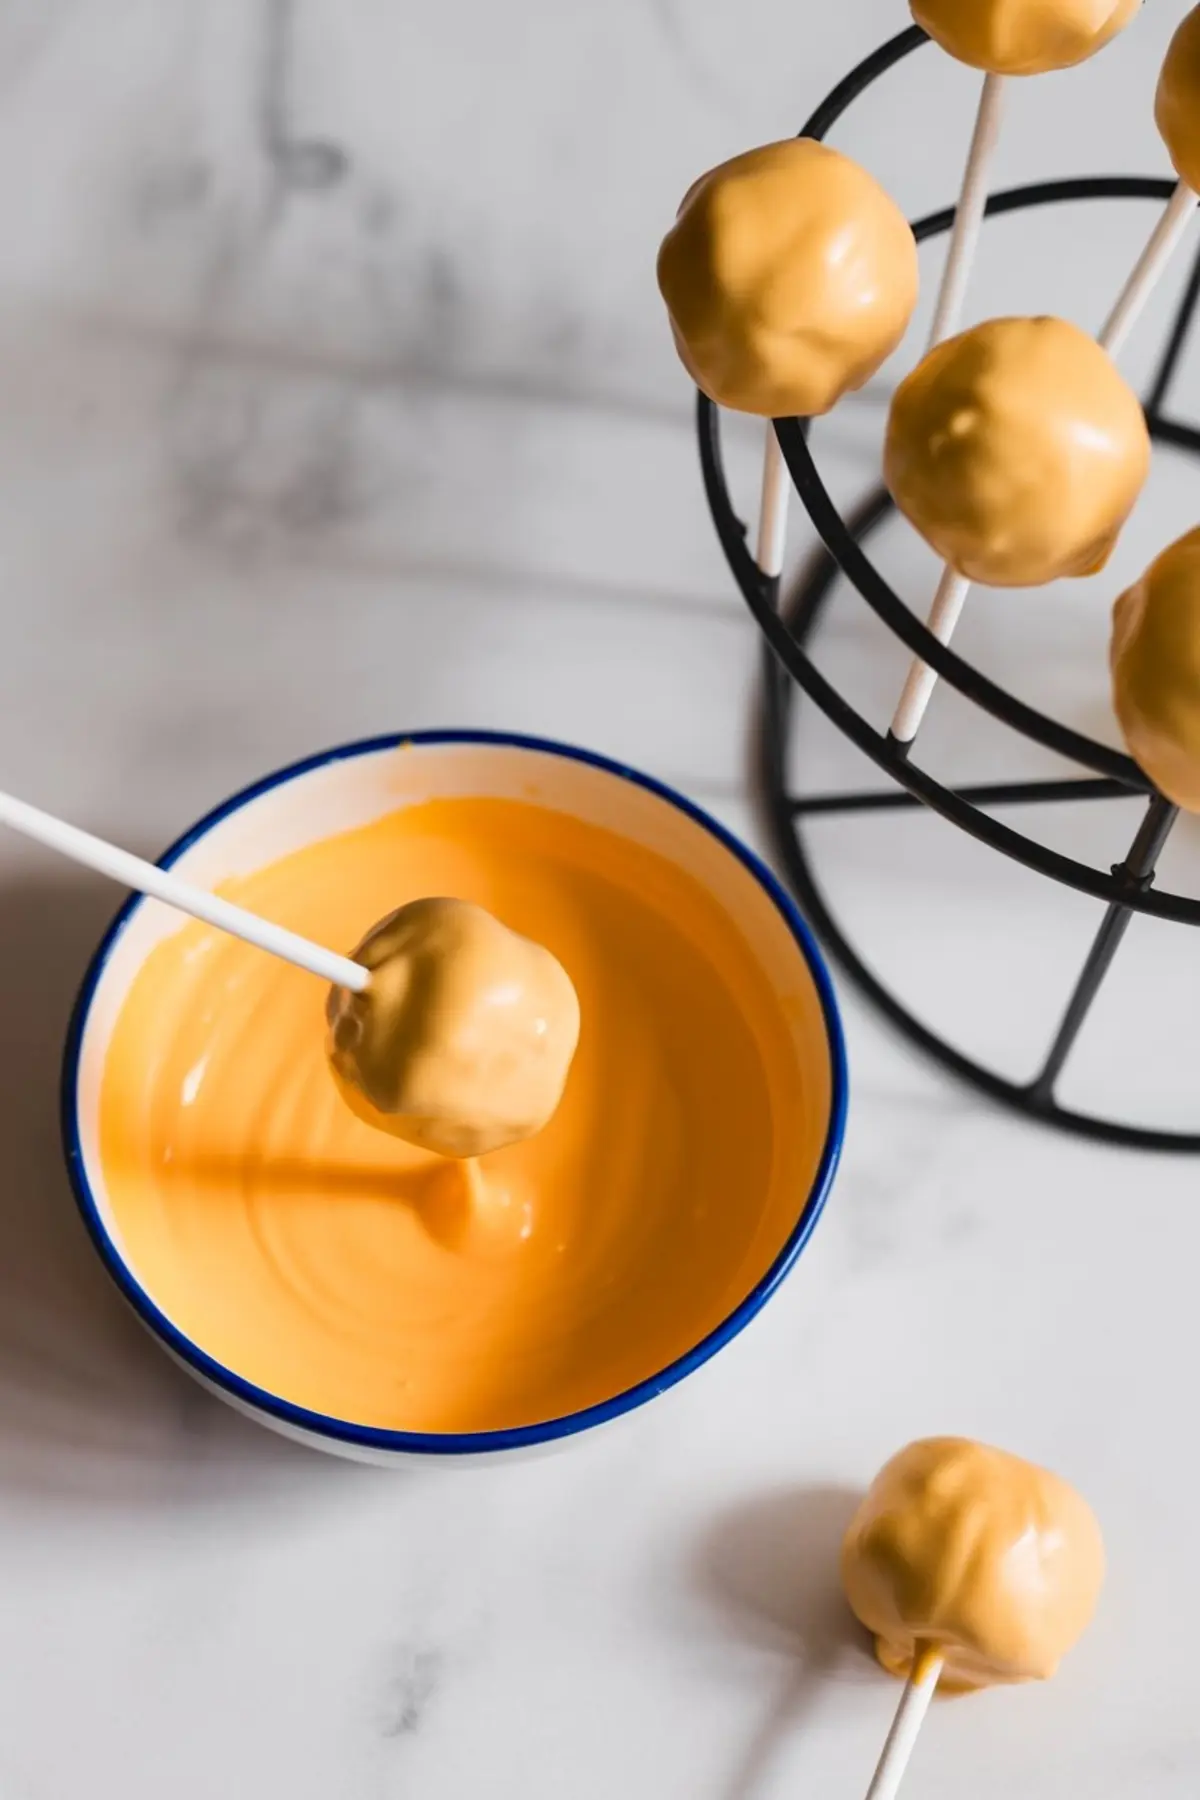
Candy melts behave differently depending on brand and humidity. I’ve had better luck with low heat and frequent stirring. Microwave in 20-second bursts, stirring between each.
If the candy feels thick or clumpy, don’t panic. Stir in a teaspoon of coconut oil or vegetable shortening. It thins the texture just enough for dipping. This trick also helps get a smooth finish on designs like Halloween Macarons, where coating consistency matters.
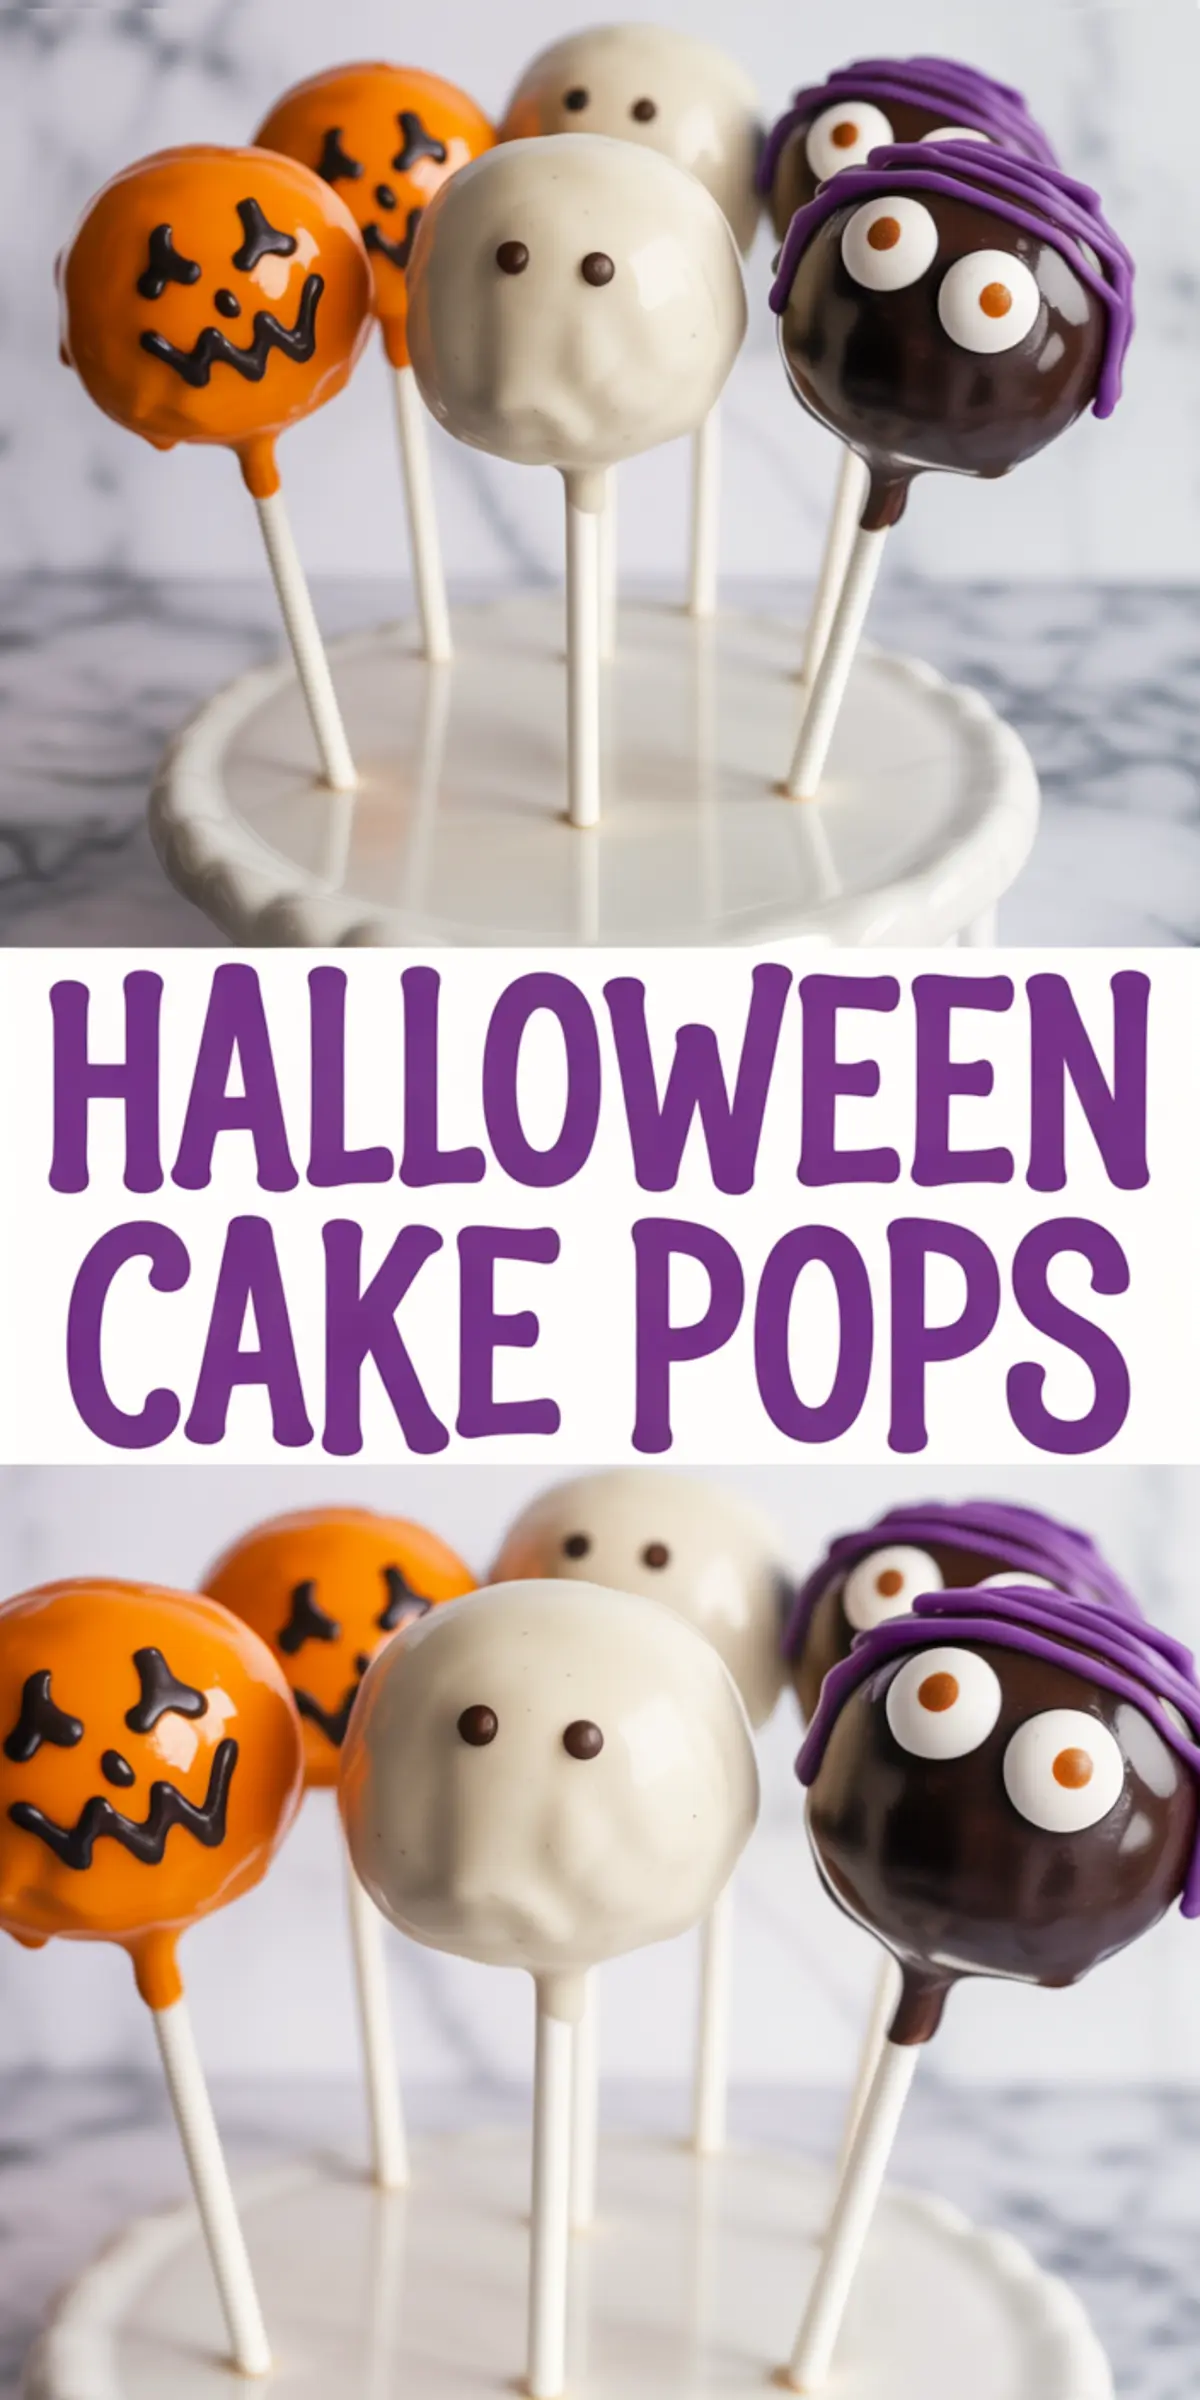
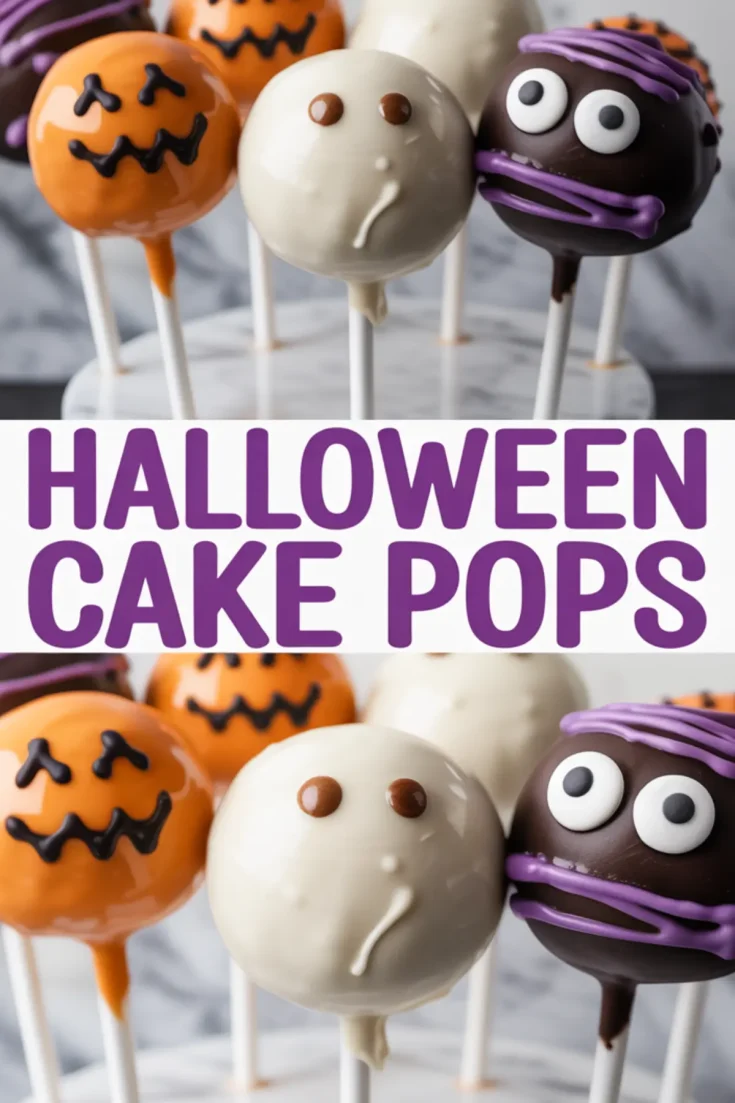
Separate your colors orange for pumpkins, white for ghosts or mummies, and dark for monsters. Once dipped, decorate quickly before the coating sets.
Decorating Ideas for Spooky Cake Pops
Use edible eyes, candy melts, and black icing to turn these pops into little characters. For pumpkins, pipe simple jack-o’-lantern faces over orange coating. Ghosts only need two eyes. Monsters can have wild hair with drizzled purple candy melts and mismatched candy eyes.
Kids love helping here. I sometimes set out bowls of decorations and let them make their own cake pops. The messier, the better. A cake pop doesn’t need to be symmetrical to get a big smile.
If you want a centerpiece-style dessert that adds drama, try pairing these with something like this Horror Cake. They complement each other visually and offer different textures.
Serving and Storing Halloween Cake Pops
Serve these standing upright in a foam block, or lay them flat in mini cupcake liners. For parties, I like wrapping them individually in cellophane tied with ribbon it keeps hands clean and makes transport easier.
Store them in an airtight container at room temperature for up to 3 days. For longer storage, refrigerate for up to 5 days. Let them sit at room temperature for 10 minutes before serving, especially if coated with chocolate-based melts.
If you’re also making a dip, you might like this Halloween Dip that works well alongside the cake pops as a savory balance.
Final Thoughts and Reader Invitation
Cake pops don’t need to be perfect to be effective. They need to hold, to charm, and to taste good and this recipe gives you exactly that. There’s room for creativity, even a little mess.
Save this recipe to your Halloween Dessert Ideas board so you have it ready the next time ghosts and monsters are due in your kitchen. And if you try it, I’d love to hear what characters you came up with. Share your tips or questions in the comments.
Halloween Cake Pops Recipe
Halloween Cake Pops are a fun and creative dessert made by combining crumbled cake with frosting, shaping it into balls, and decorating with colorful candy melts and edible details. They can be designed as pumpkins, ghosts, or monsters, making them an engaging activity for kids and adults. The process is straightforward and requires no advanced decorating skills.
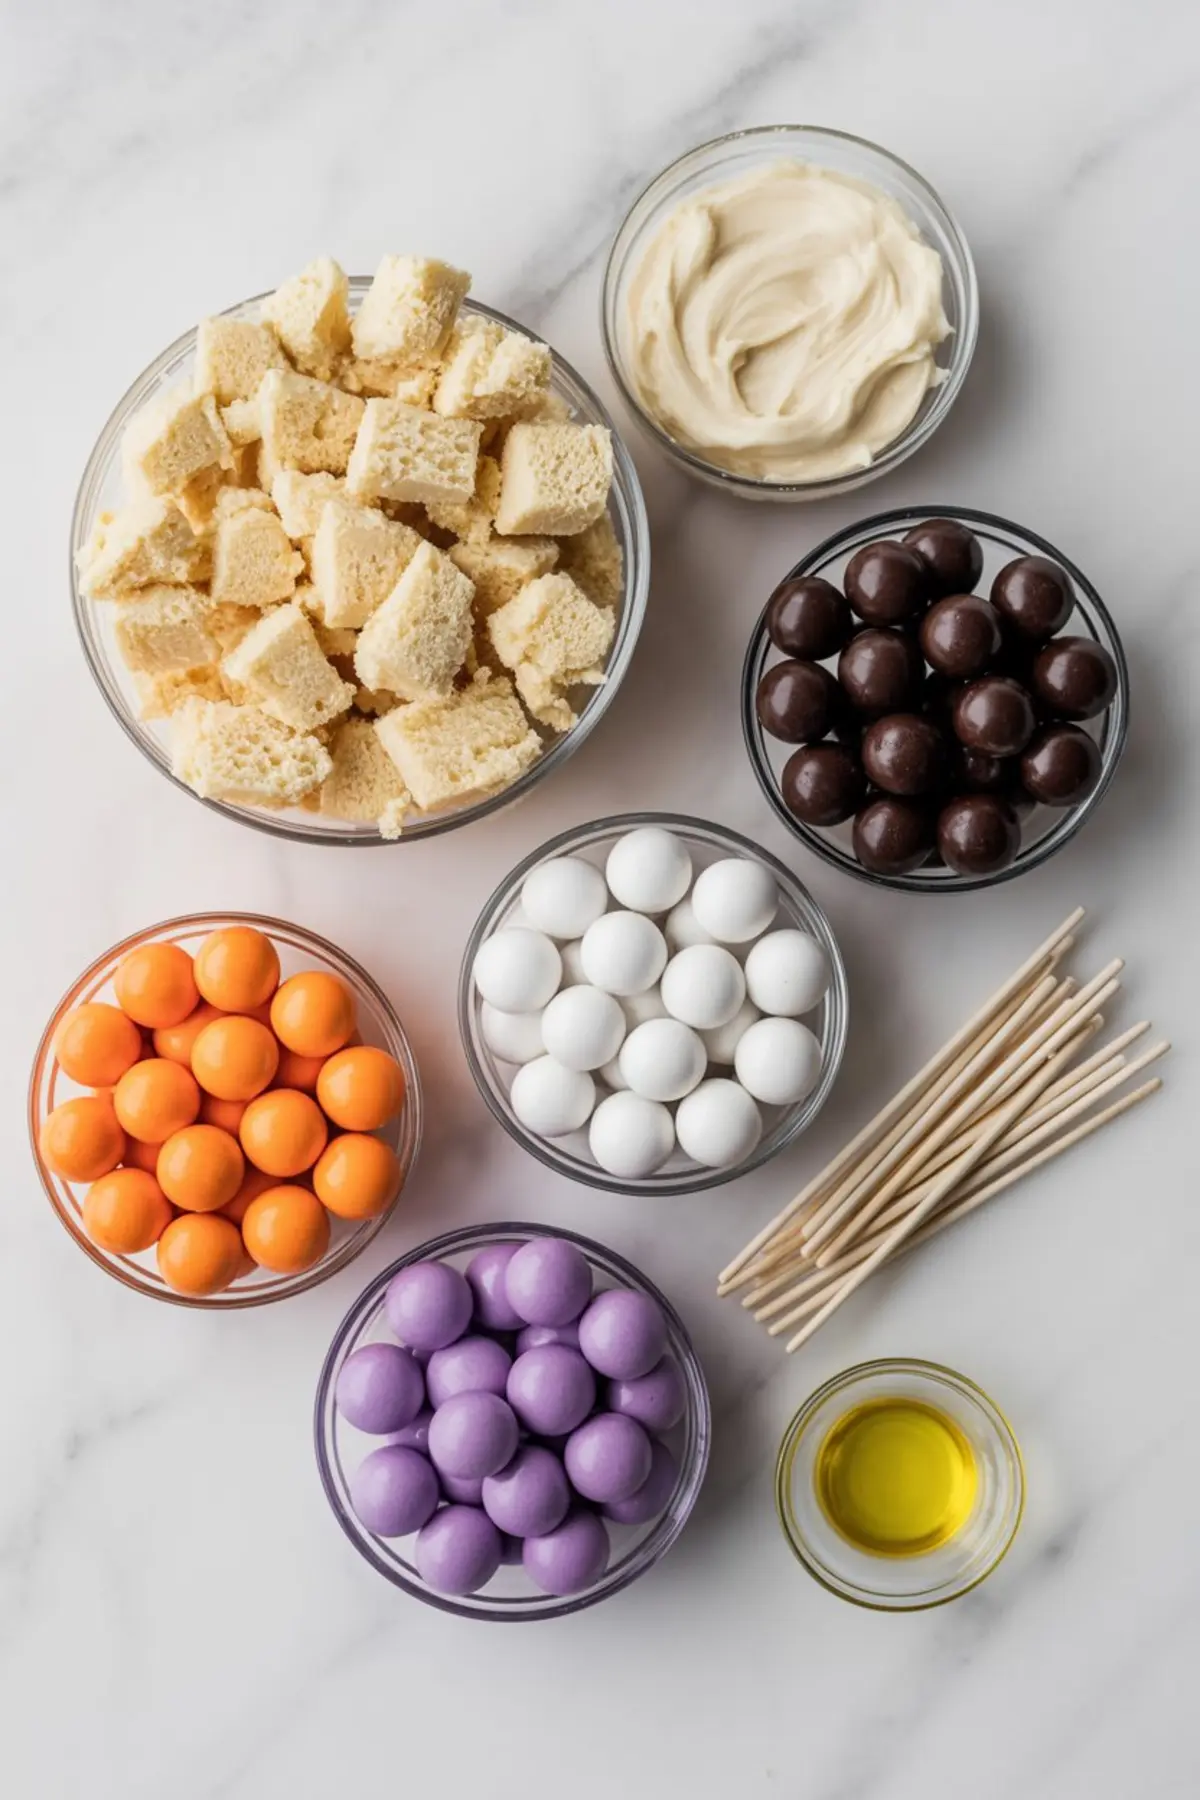
Ingredients
- For the Cake Pops
- 1 box cake mix (plus ingredients listed on the box) or one homemade 9-inch cake
- 1/2 cup frosting (vanilla, chocolate, or cream cheese)
- 40 lollipop sticks
- For the Coating and Decoration
- 2 cups orange candy melts (for pumpkins)
- 2 cups white candy melts (for ghosts or mummies)
- 2 cups dark or black candy melts (for monsters)
- Black icing or edible marker (for pumpkin faces)
- Candy eyes
- Purple candy melts (for mummy wraps or monster hair)
- Vegetable shortening or coconut oil (optional, to thin candy melts)
Instructions
BAKE THE CAKE: Prepare the cake according to package or homemade recipe directions. Allow it to cool completely before proceeding.
CRUMBLE THE CAKE: Break the cooled cake into fine crumbs using your hands or a food processor. Transfer the crumbs to a large mixing bowl.
MIX WITH FROSTING: Add 1/4 cup of frosting to the cake crumbs and mix thoroughly. Add more frosting as needed until the mixture holds its shape without being sticky.
SHAPE THE POPS: Roll the mixture into 1.5-inch balls and place them on a baking sheet lined with parchment paper.
INSERT STICKS: Melt a small amount of candy melts. Dip the tip of each lollipop stick into the melted candy, then insert halfway into each cake ball to secure the stick.
CHILL: Place the baking sheet in the refrigerator for at least 1 hour, or in the freezer for 20 minutes, until the cake pops are firm.
DIP AND DECORATE: Melt the candy melts in separate bowls according to package instructions. If the coating is too thick, stir in 1 teaspoon vegetable shortening or coconut oil. Dip each chilled cake pop into the coating, letting the excess drip off. Decorate as desired: for pumpkins, use orange coating and pipe black icing faces; for ghosts, use white coating and add candy eyes; for monsters, use dark coating, add candy eyes, and drizzle with purple coating for hair or bandages.
SET AND SERVE: Place the decorated pops upright in a foam block or cake pop stand to dry completely before serving.
Notes
Notes
• For smoother candy coating, melt candy melts slowly over low heat or in short microwave intervals, stirring frequently to prevent scorching.
• Adding 1 teaspoon of vegetable shortening or coconut oil to the melted candy can help create a thinner, more even coating.
• If cake pops fall off the sticks while dipping, they may be too warm or too soft. Chill them longer before coating.
Nutrition Information
Yield
40Serving Size
1Amount Per Serving Calories 162Total Fat 2gSaturated Fat 1gTrans Fat 0gUnsaturated Fat 1gCholesterol 3mgSodium 32mgCarbohydrates 35gFiber 0gSugar 24gProtein 0g