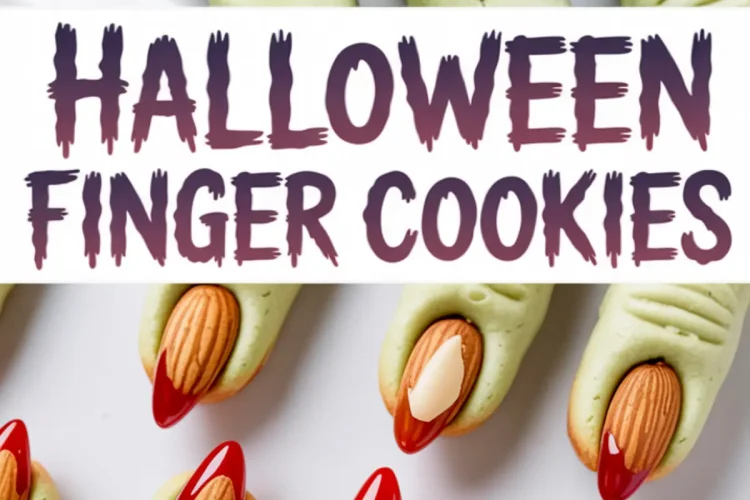
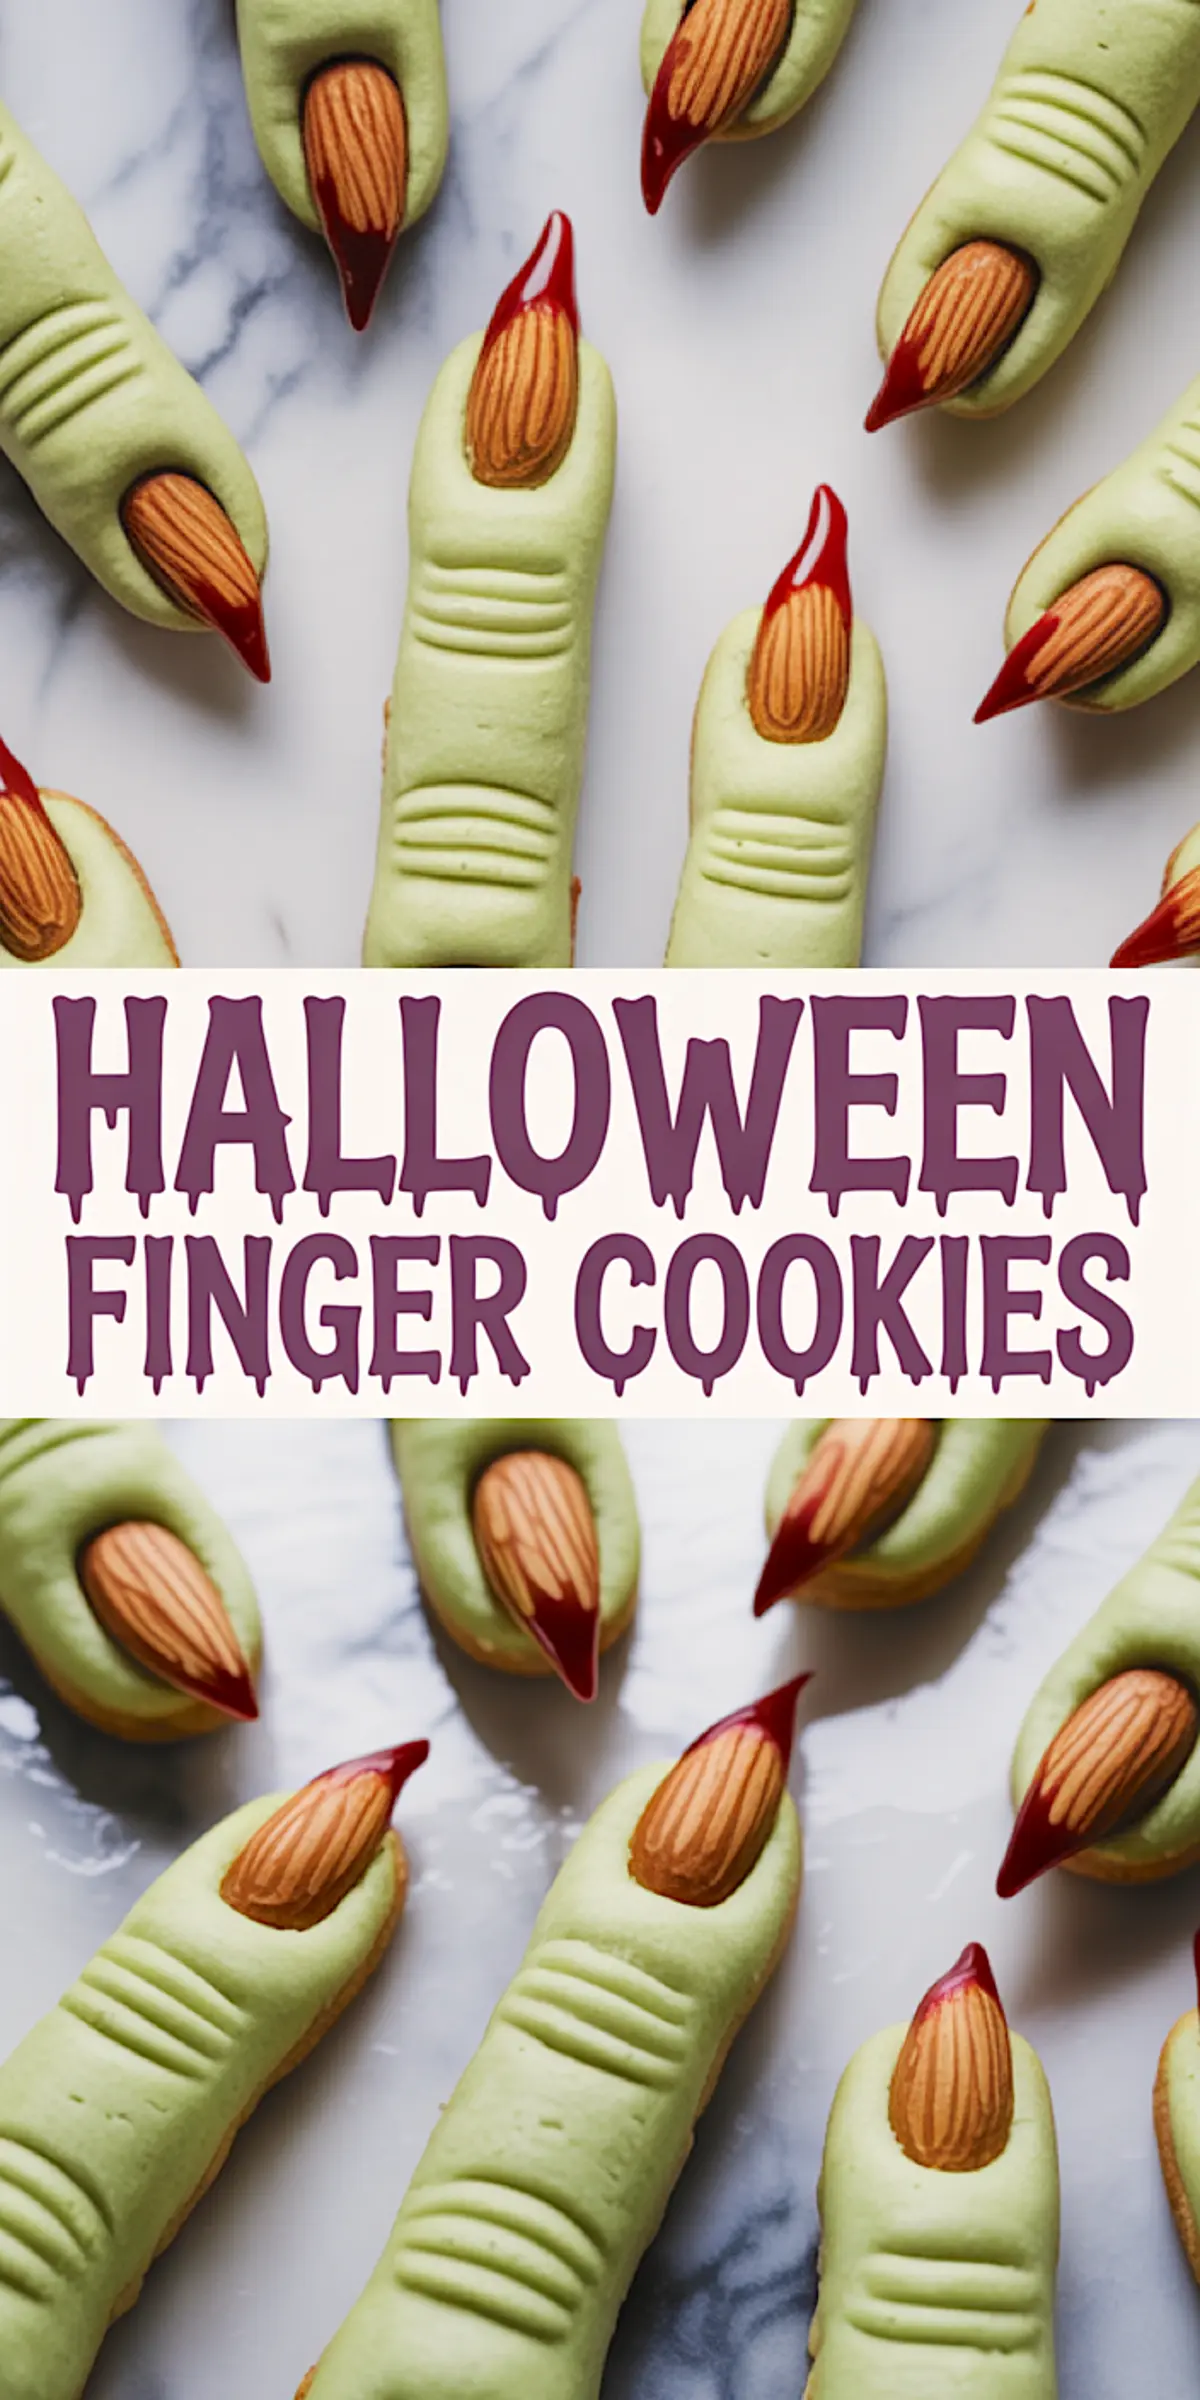
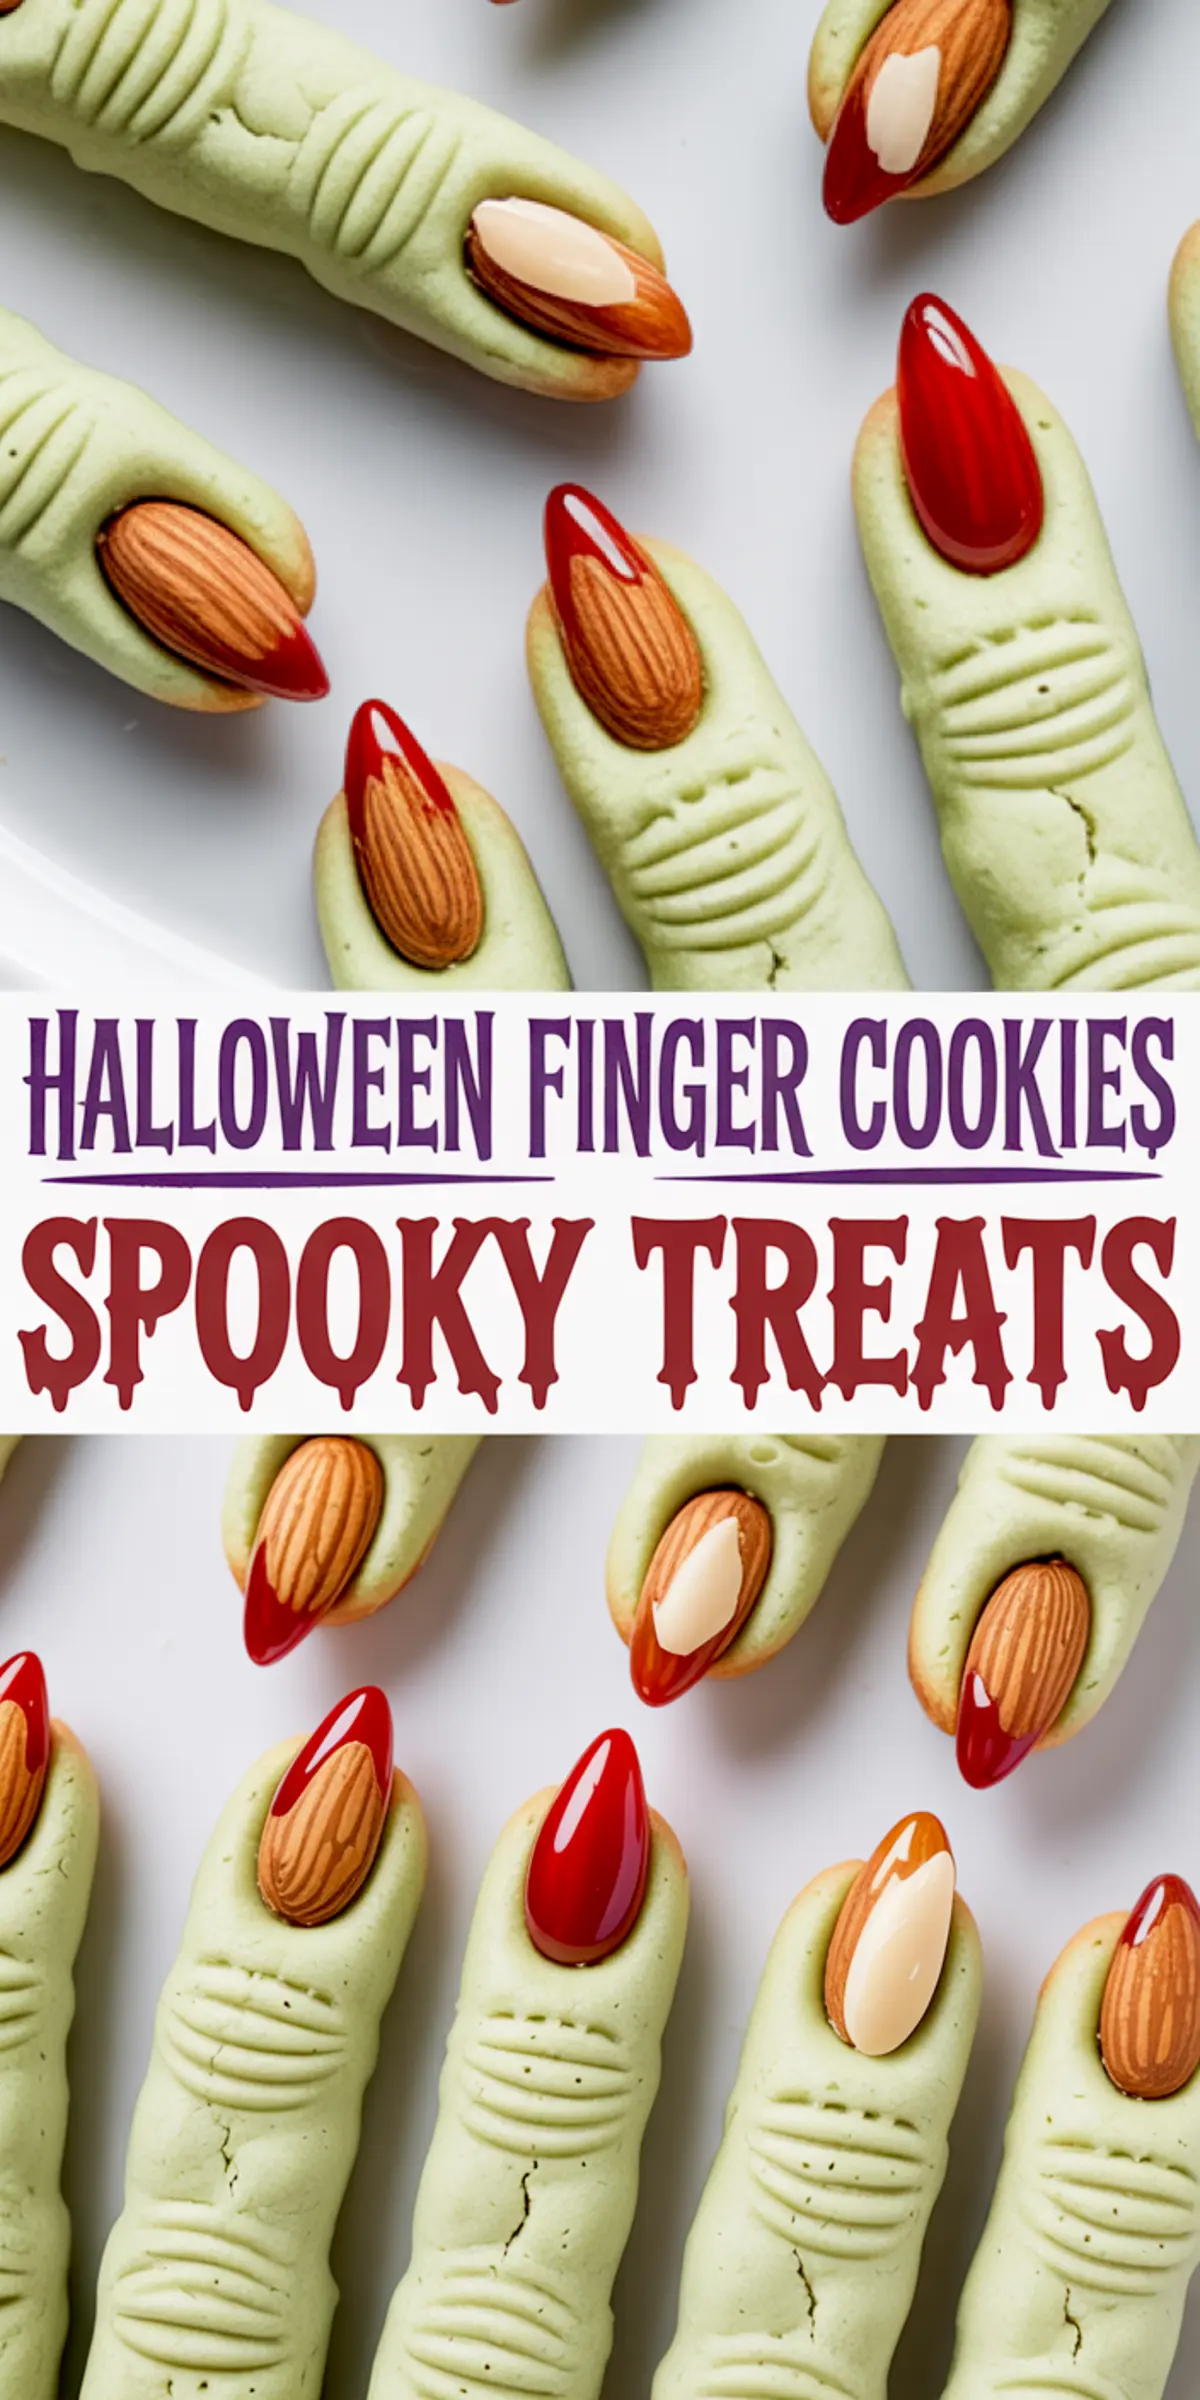
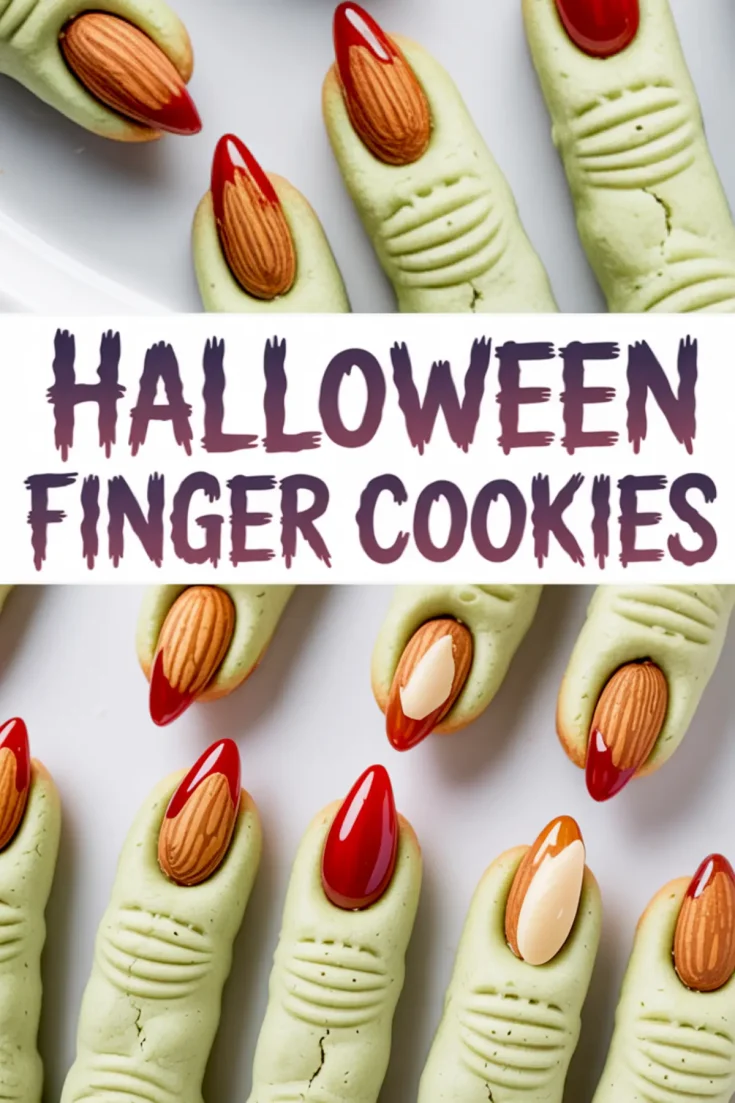
There’s something about these Halloween Finger Cookies that always stops people in their tracks. Maybe it’s the green hue. Maybe it’s the way the almonds look like cracked old fingernails. Or maybe it’s because they manage to be creepy and delicious without trying too hard.
These cookies deliver more than just a spooky look. The dough bakes into a classic buttery base with a subtle almond aroma. It holds its shape without puffing or spreading, which makes them a reliable choice when you want your spooky finger food to look the part. They decorate easily, store well, and come with endless creative variations, especially if you enjoy edible nail polish effects.
Following a special diet?
Every recipe on this site can be converted to gluten-free, vegan, dairy-free, keto, nut-free or egg-free with adjusted ratios so nothing falls flat.
Try the Recipe Converter →Why These Spooky Cookies Work
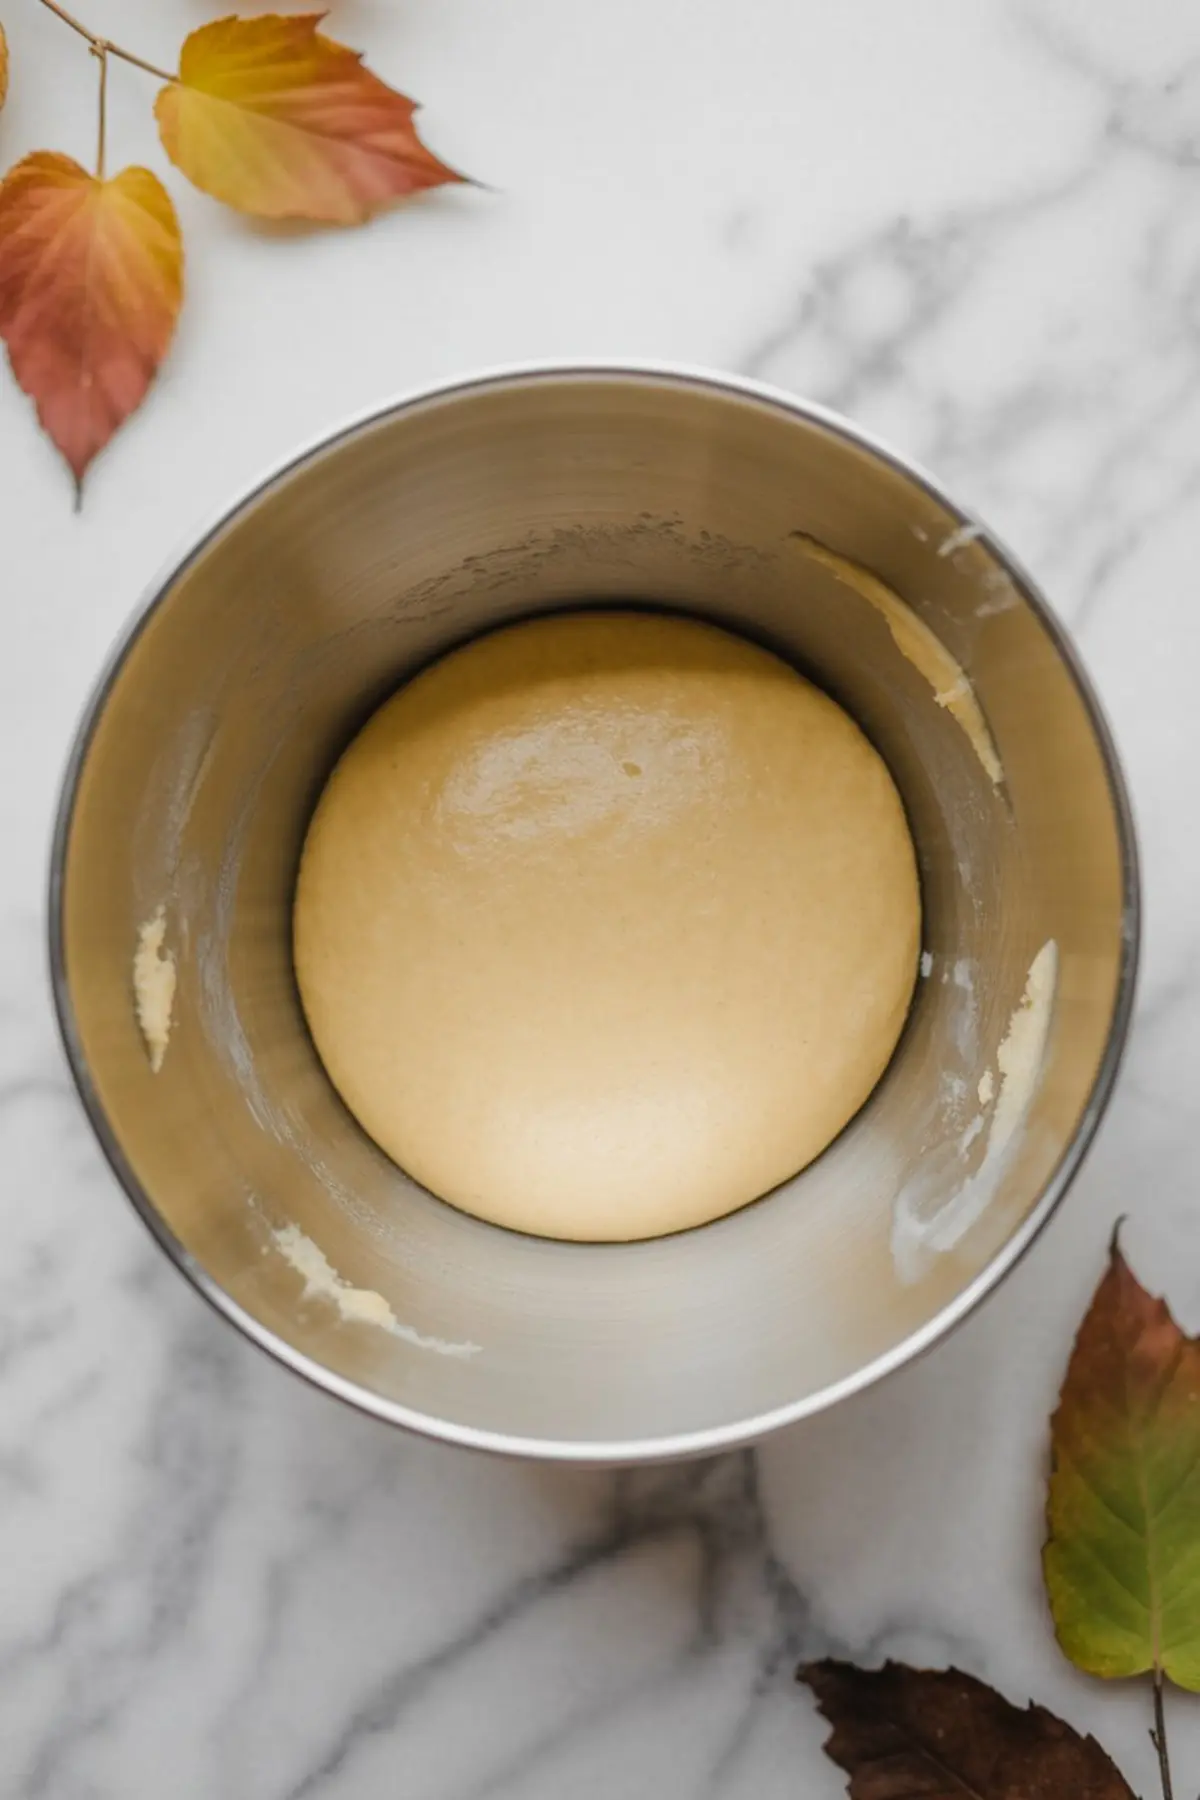
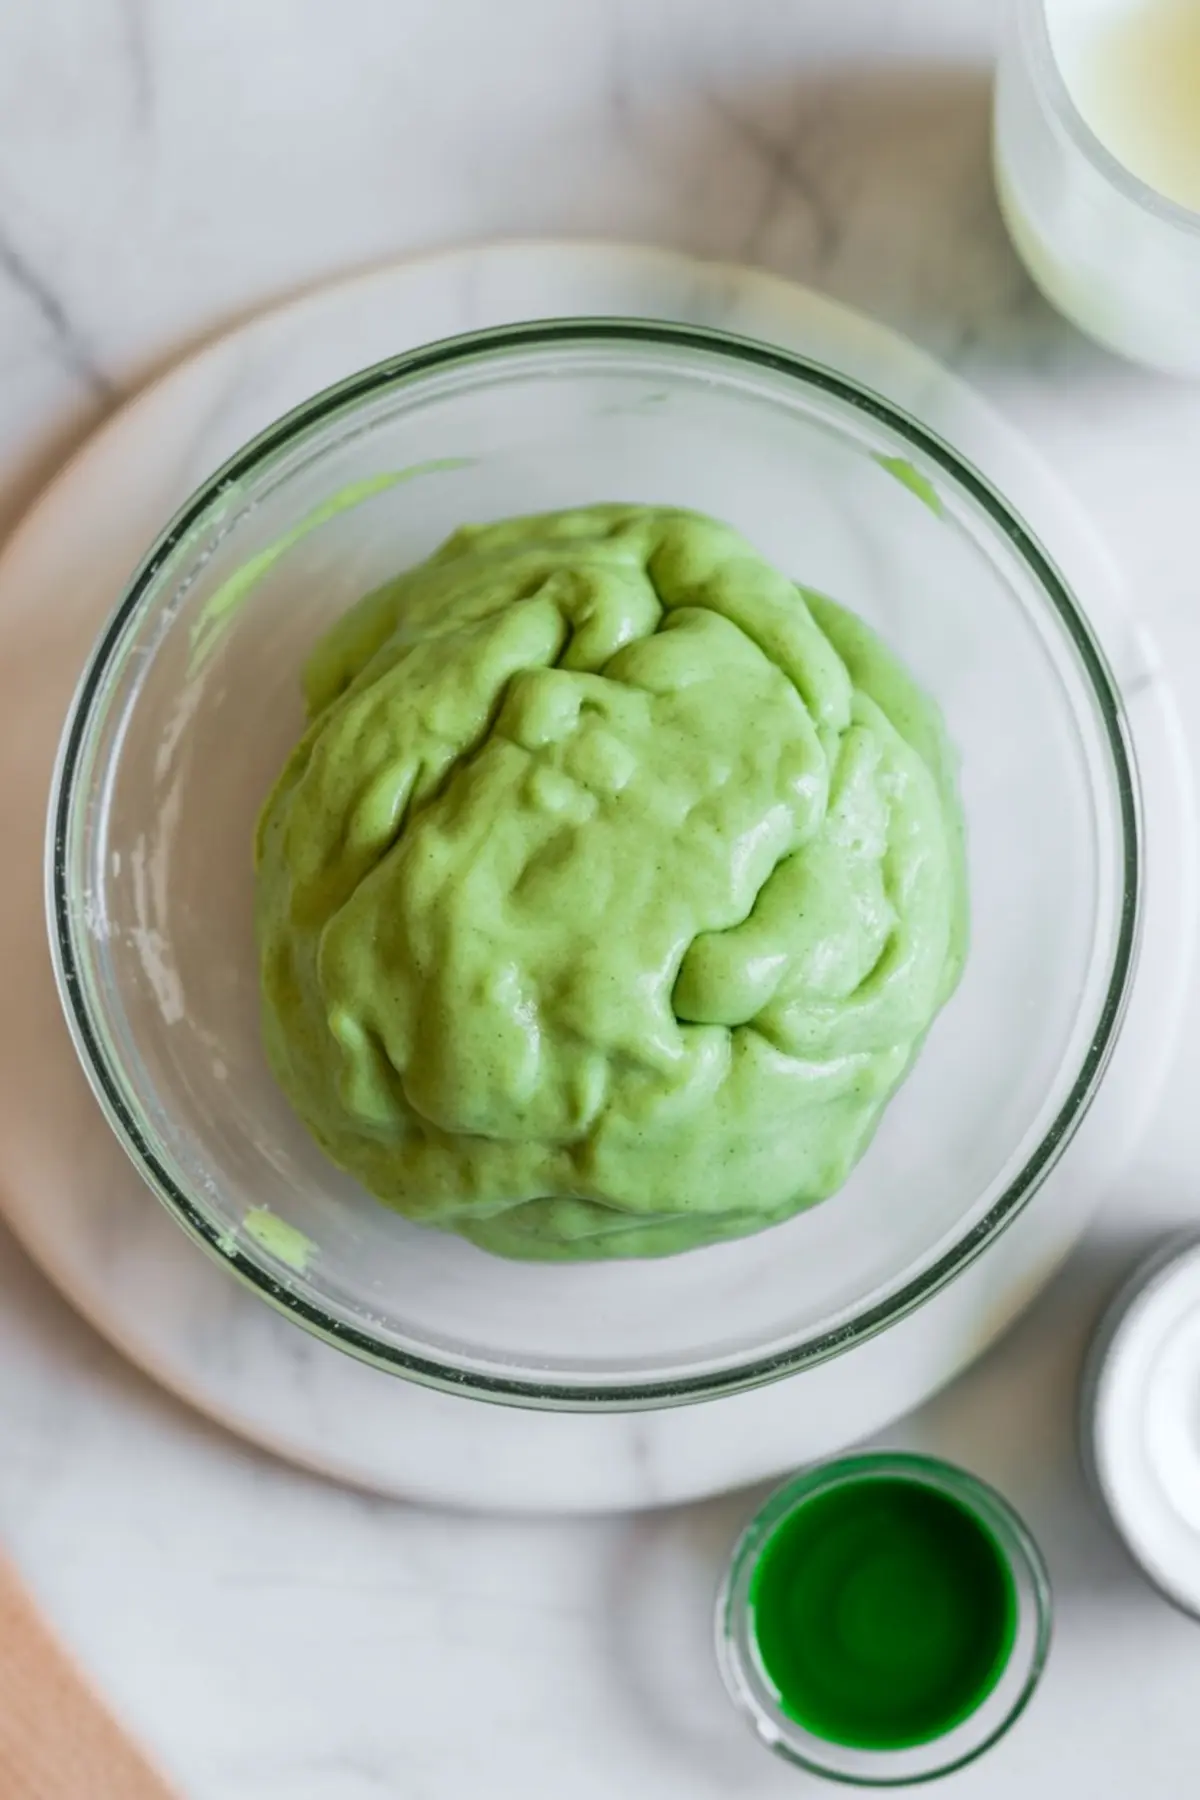
This recipe was built to serve two goals: flavor and form. You get a soft, buttery cookie with structure strong enough to shape and sculpt. The dough is easy to work with after chilling, and you’ll notice that the green food coloring blends evenly. There’s no need for any advanced decorating tools. A small knife and some candy melts are enough to transform these into the kind of scary Halloween cookies that people remember.
If you’ve made Halloween Cake Pops or Halloween Brownies, you know how visual effect plays a role. These finger cookies match that same spirit, creepy, playful, and easy to serve.
Ingredients for Realistic Halloween Finger Cookies
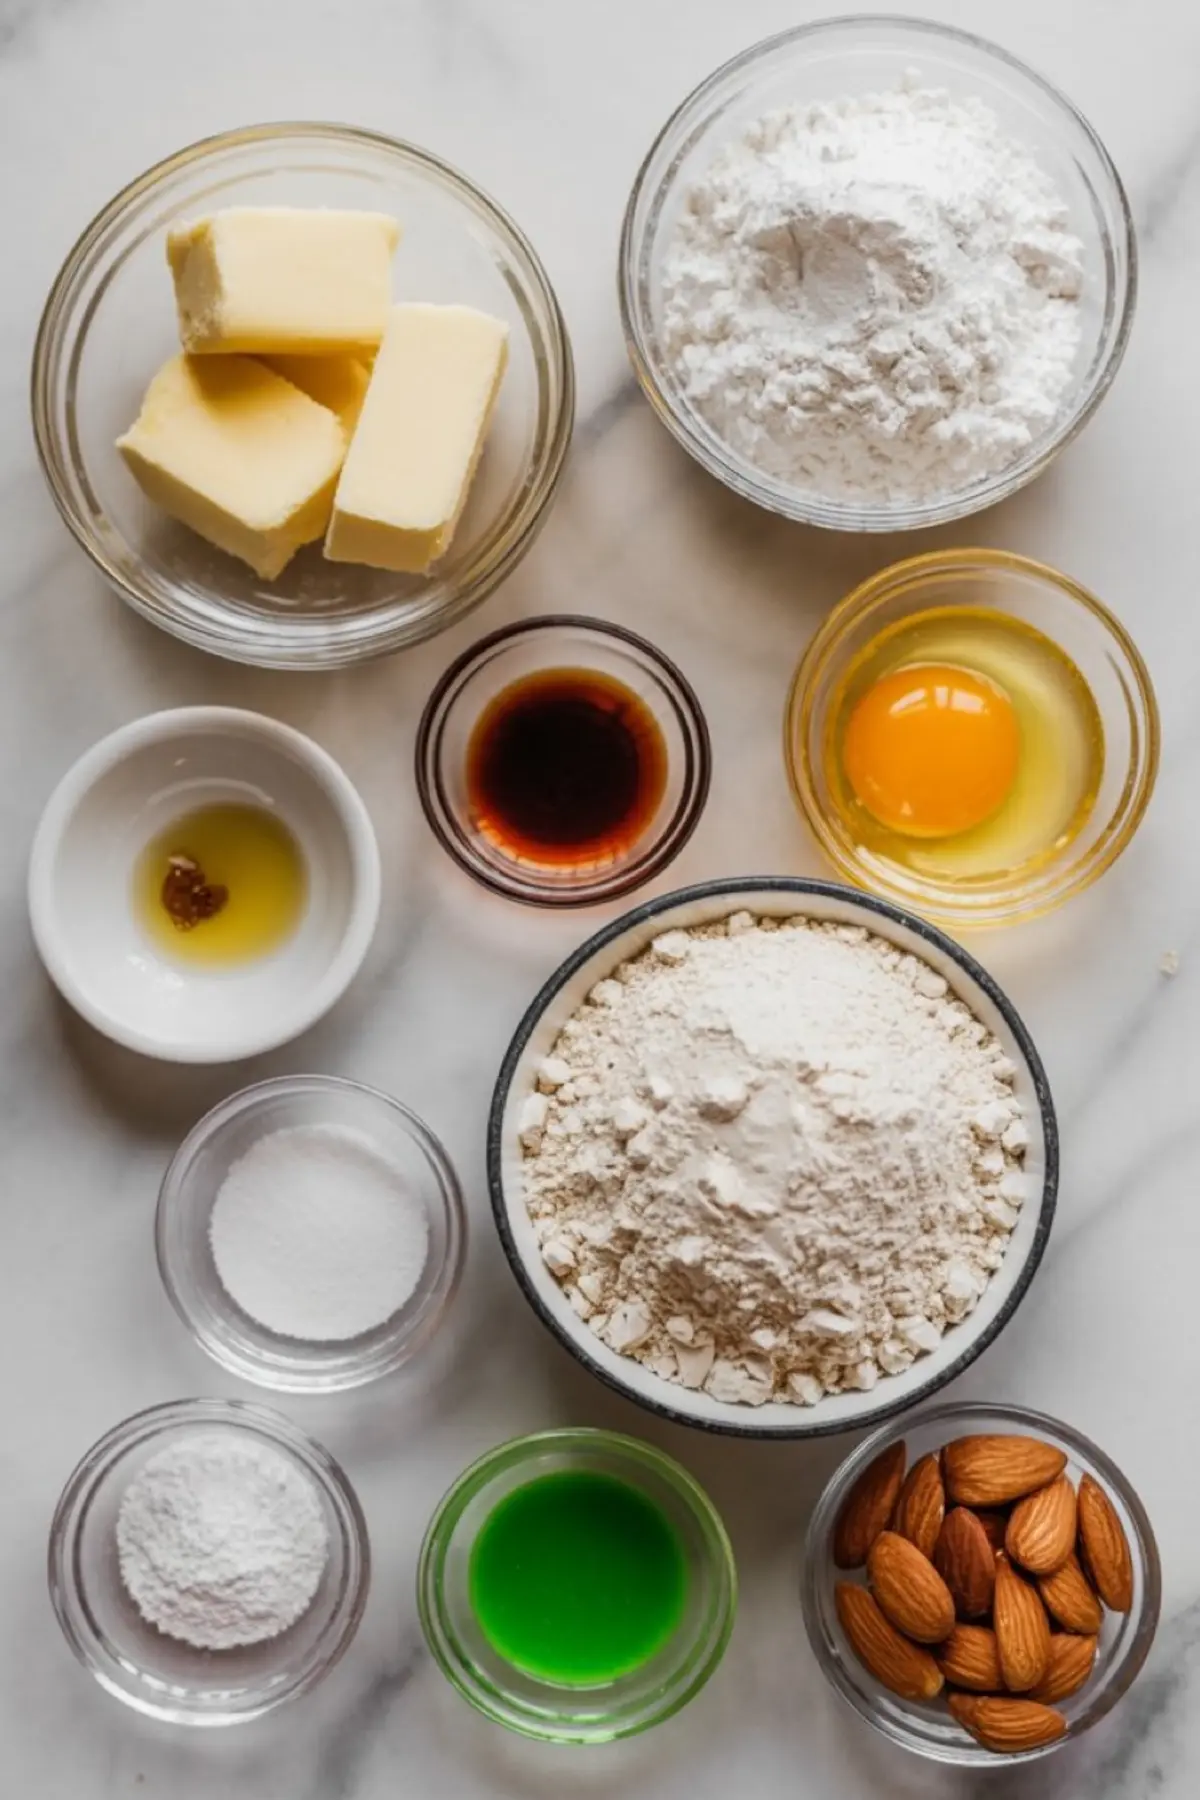
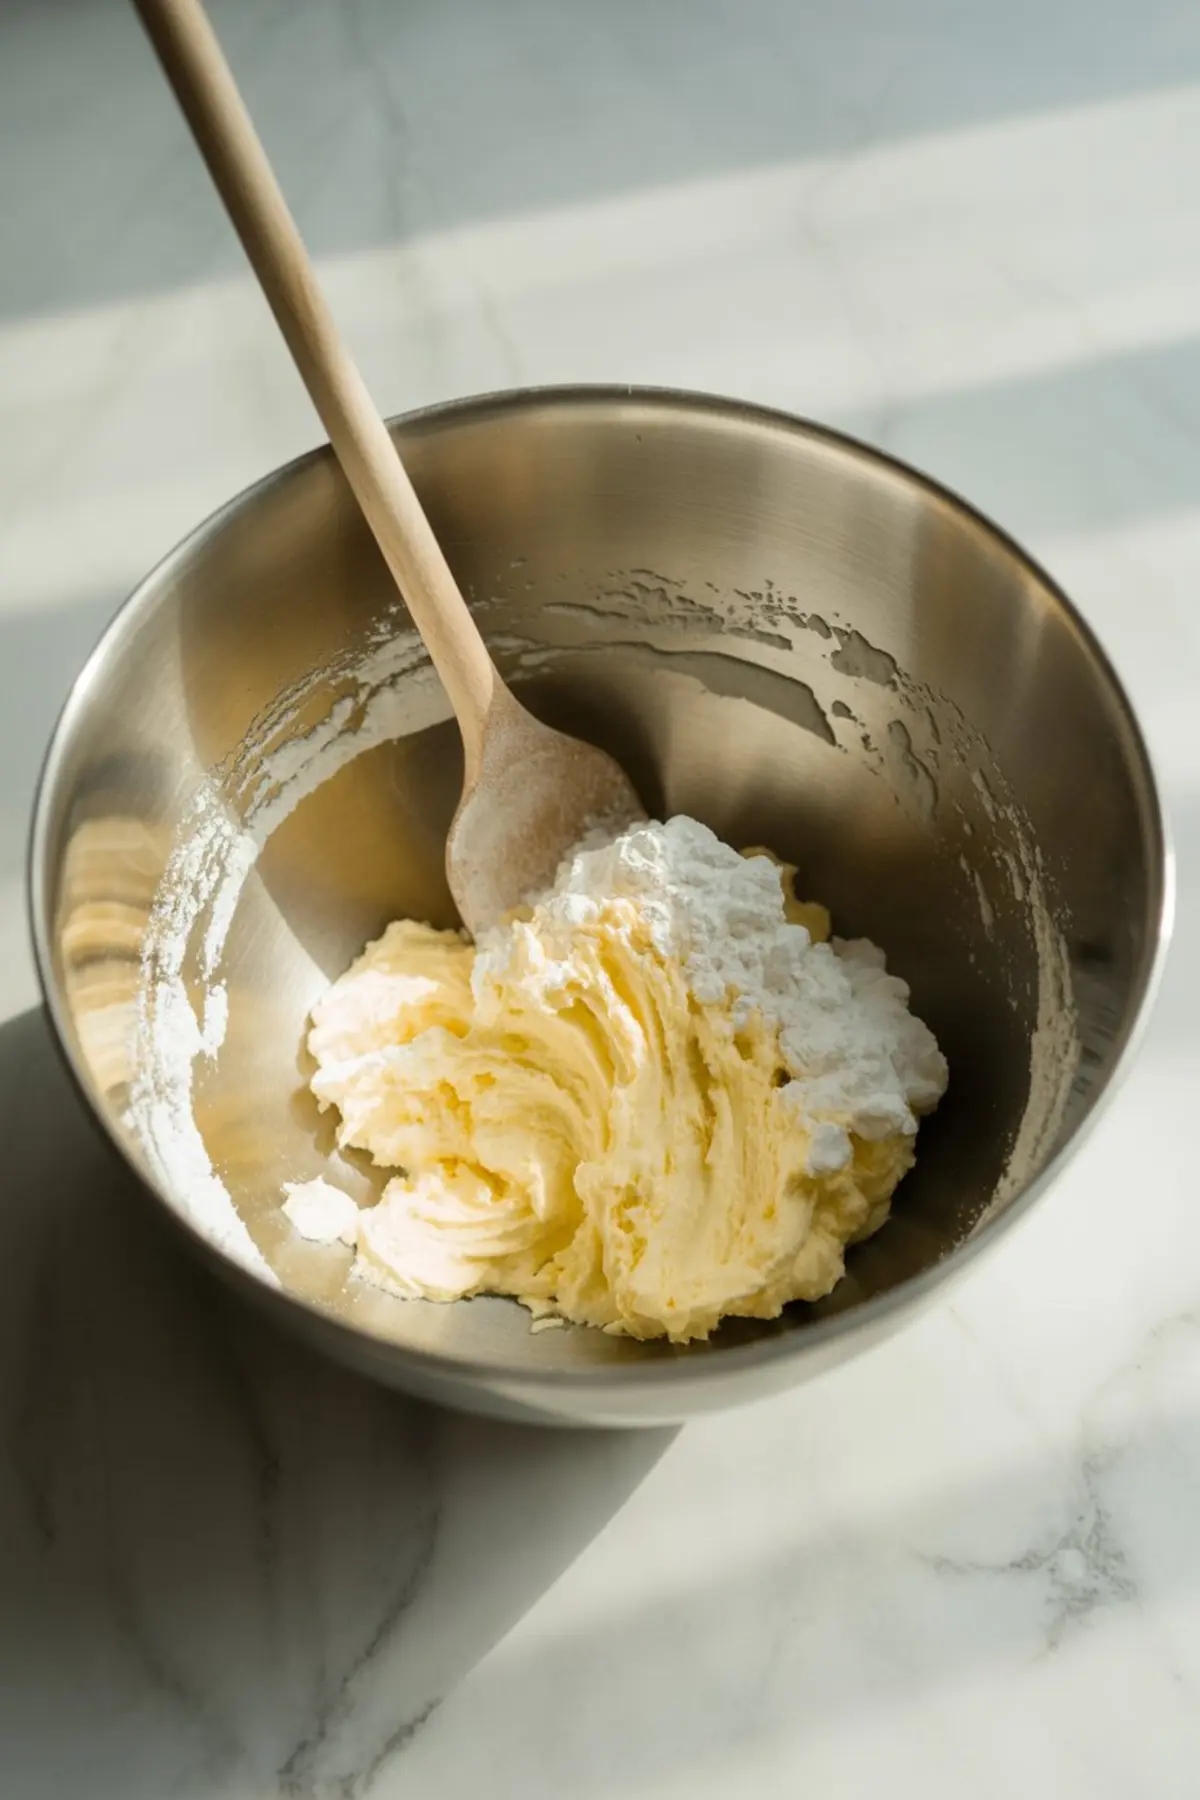
This dough is a shortbread-style base with a tender crumb and buttery flavor. Unsalted butter is key here. It allows full control over salt levels and helps the almond extract shine without competing notes.
The almond extract is optional, but in my tests, it elevated the aroma and made the finished cookie feel more rounded. If you skip it, the vanilla still carries the flavor well. You’ll need green gel food coloring for the color. Liquid dye works, but gel gives a stronger tint with less moisture.
For the fingernails, whole almonds hold up best. They roast slightly in the oven and create that distinct cracked nail look. Once cooled, they’re removed and reattached using your chosen “nail polish” — strawberry jam, red candy melts, black-dyed chocolate, or even shimmer-dusted orange candy melts.
I’ve tried both jam and candy melts for the nail bed. Jam adds realism, but it’s messier and softens faster. Candy melts are cleaner and hold up longer on a party table. For school events, I usually go with the melts.
How to Shape and Bake Halloween Finger Cookies
Once the dough is mixed and chilled, it handles beautifully. Scoop about a tablespoon at a time, and roll into a log about three to four inches long. Don’t overwork the dough. Light hands help.
Insert an almond into one end. Then gently press and pinch around the center to make the finger shape more lifelike. Use a knife to score knuckle lines. I press one line in the middle and two toward the base. These lines stay defined after baking, so don’t be afraid to exaggerate them a bit.
Place the cookies on a lined tray and bake at 325°F. Watch for the edges to turn light gold — usually at 18 to 20 minutes. Overbaking will dry them out, so remove them once they feel set. They continue to firm as they cool.
Decorating with Nail Polish Effects
Once cooled, lift the almonds, dab your candy melt or jam, and press the almond back into the same spot. This step holds the “nail” in place while also adding color beneath. Then paint the almond surface using a food brush or small spoon.
You can try different shades for variety. I’ve used black for a witchy look, orange for a pumpkin theme, and red for classic gore. Purple and white also work well, especially for contrast. If the polish looks dull, shimmer dust adds a fun finish without much effort.
For other fun party ideas, these pair well with Halloween Sugar Cookies since they use similar decorating techniques and can share color schemes.
Serving, Storing, and Party Prep Tips
These cookies stay fresh at room temperature for up to five days in an airtight container. I like to layer them between parchment to prevent the nail polish from rubbing off.
They travel well for school parties or potlucks. You can make the dough two days ahead and shape the cookies right before baking. If prepping for a crowd, bake in batches and decorate once everything cools.
Compared to soft Halloween Strawberries, these finger cookies offer a more portable, dry snack that stacks neatly and won’t smudge.
They also make a great talking point on a platter surrounded by other spooky snacks like eyeball cake pops or mini monster cupcakes. Kids love them. Adults always want the recipe.
Final Thoughts. And a Quick Note from Me.
I’ve made these Halloween Finger Cookies every October since they first appeared in my handwritten fall notes. They started as a last-minute addition for a bake sale, and now I get asked about them weeks in advance.
That’s the charm of this recipe. It’s playful, simple, and always gets a reaction. If you’re planning a fall party or putting together Halloween food for a party, don’t skip these. One batch goes a long way, and the decorating becomes part of the fun.
🎃 Save this Pin for Later
If you’re building a board for Fall Treats or Spooky Finger Foods, be sure to save this post. It helps other bakers find it, too.
And if you give them a try, I’d love to hear how yours turned out. Drop a comment below. Share your tweaks, your color choices, or any fun reactions they got at your party.
Halloween Finger Cookies Recipe
A spooky treat that looks like it crawled right out of a haunted kitchen, these Halloween Finger Cookies are buttery, creepy, and fun to decorate. The soft green-tinted dough bakes into realistic-looking fingers, complete with almond nails and customizable "nail polish" effects. Perfect for Halloween parties or school events, they hold their shape beautifully and deliver a classic buttery cookie flavor with a hint of almond.
Ingredients
- FOR THE COOKIES
- 1 cup (225g) unsalted butter, softened
- 1 cup (125g) powdered sugar
- 1 large egg
- 1 ½ tsp vanilla extract
- ½ tsp almond extract (optional)
- 2 ¾ cups (340g) all-purpose flour
- 1 tsp baking powder
- Pinch of salt
- Green food coloring (gel preferred)
- Whole almonds (for nails)
- FOR THE NAIL POLISH EFFECT (CHOOSE YOUR COLOR)
- Strawberry or raspberry jam, red food coloring, or red candy melts (Classic Bloody Red)
- Black gel food coloring mixed into melted white chocolate or black candy melts (Witchy Black)
- Orange candy melts or white chocolate dyed with orange food coloring (Pumpkin Orange)
- White candy melts or melted white chocolate (Ghost White)
- Purple candy melts or dyed white chocolate (Purple Potion)
Instructions
Notes
You can prepare the dough up to 2 days in advance and refrigerate it until ready to use. Decorated cookies can be stored in an airtight container at room temperature for up to 5 days. For a more dramatic effect, use food-safe edible glitter or shimmer dust on the nails once dry.