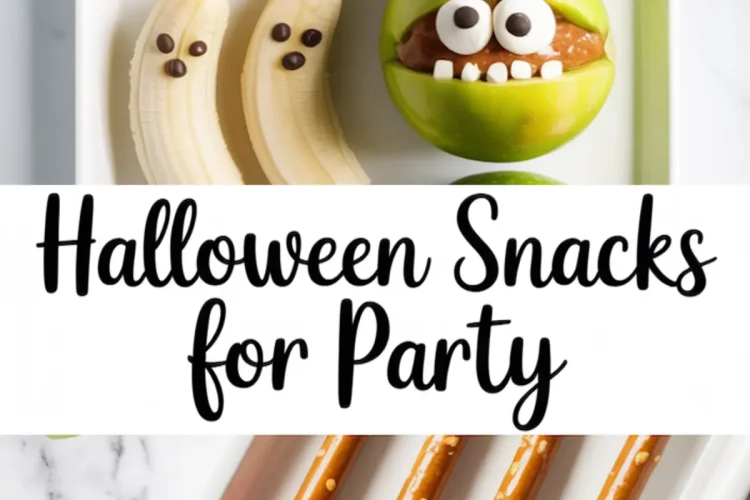
Easy, No-Bake, Crowd-Pleasing Treats for Halloween Appetizers and Snack Trays
Most Halloween party food leans heavily on sweets or heavy baking. But every October, I find myself needing something fast, festive, and fresh to balance out the candy overload. These no-bake Halloween snacks came out of that need.
They’re not fussy, they don’t require an oven, and they always bring smiles.
You’ll learn how to make three Halloween appetizers easy enough for kids but clever enough to delight adults. These are party-ready in under 30 minutes.
They suit work gatherings, after-school treats, or trays for a full Halloween food spread. The best part? You can prep most of these in advance and keep them chilled until guests arrive.
These snacks check every box: fun, easy Halloween party food, healthy Halloween snacks, and even options for make-ahead Halloween party food. The simplicity of assembly leaves room to focus on decorating the tray, not stressing over the oven timer.
Following a special diet?
Every recipe on this site can be converted to gluten-free, vegan, dairy-free, keto, nut-free or egg-free with adjusted ratios so nothing falls flat.
Try the Recipe Converter →Ingredients That Keep It Simple
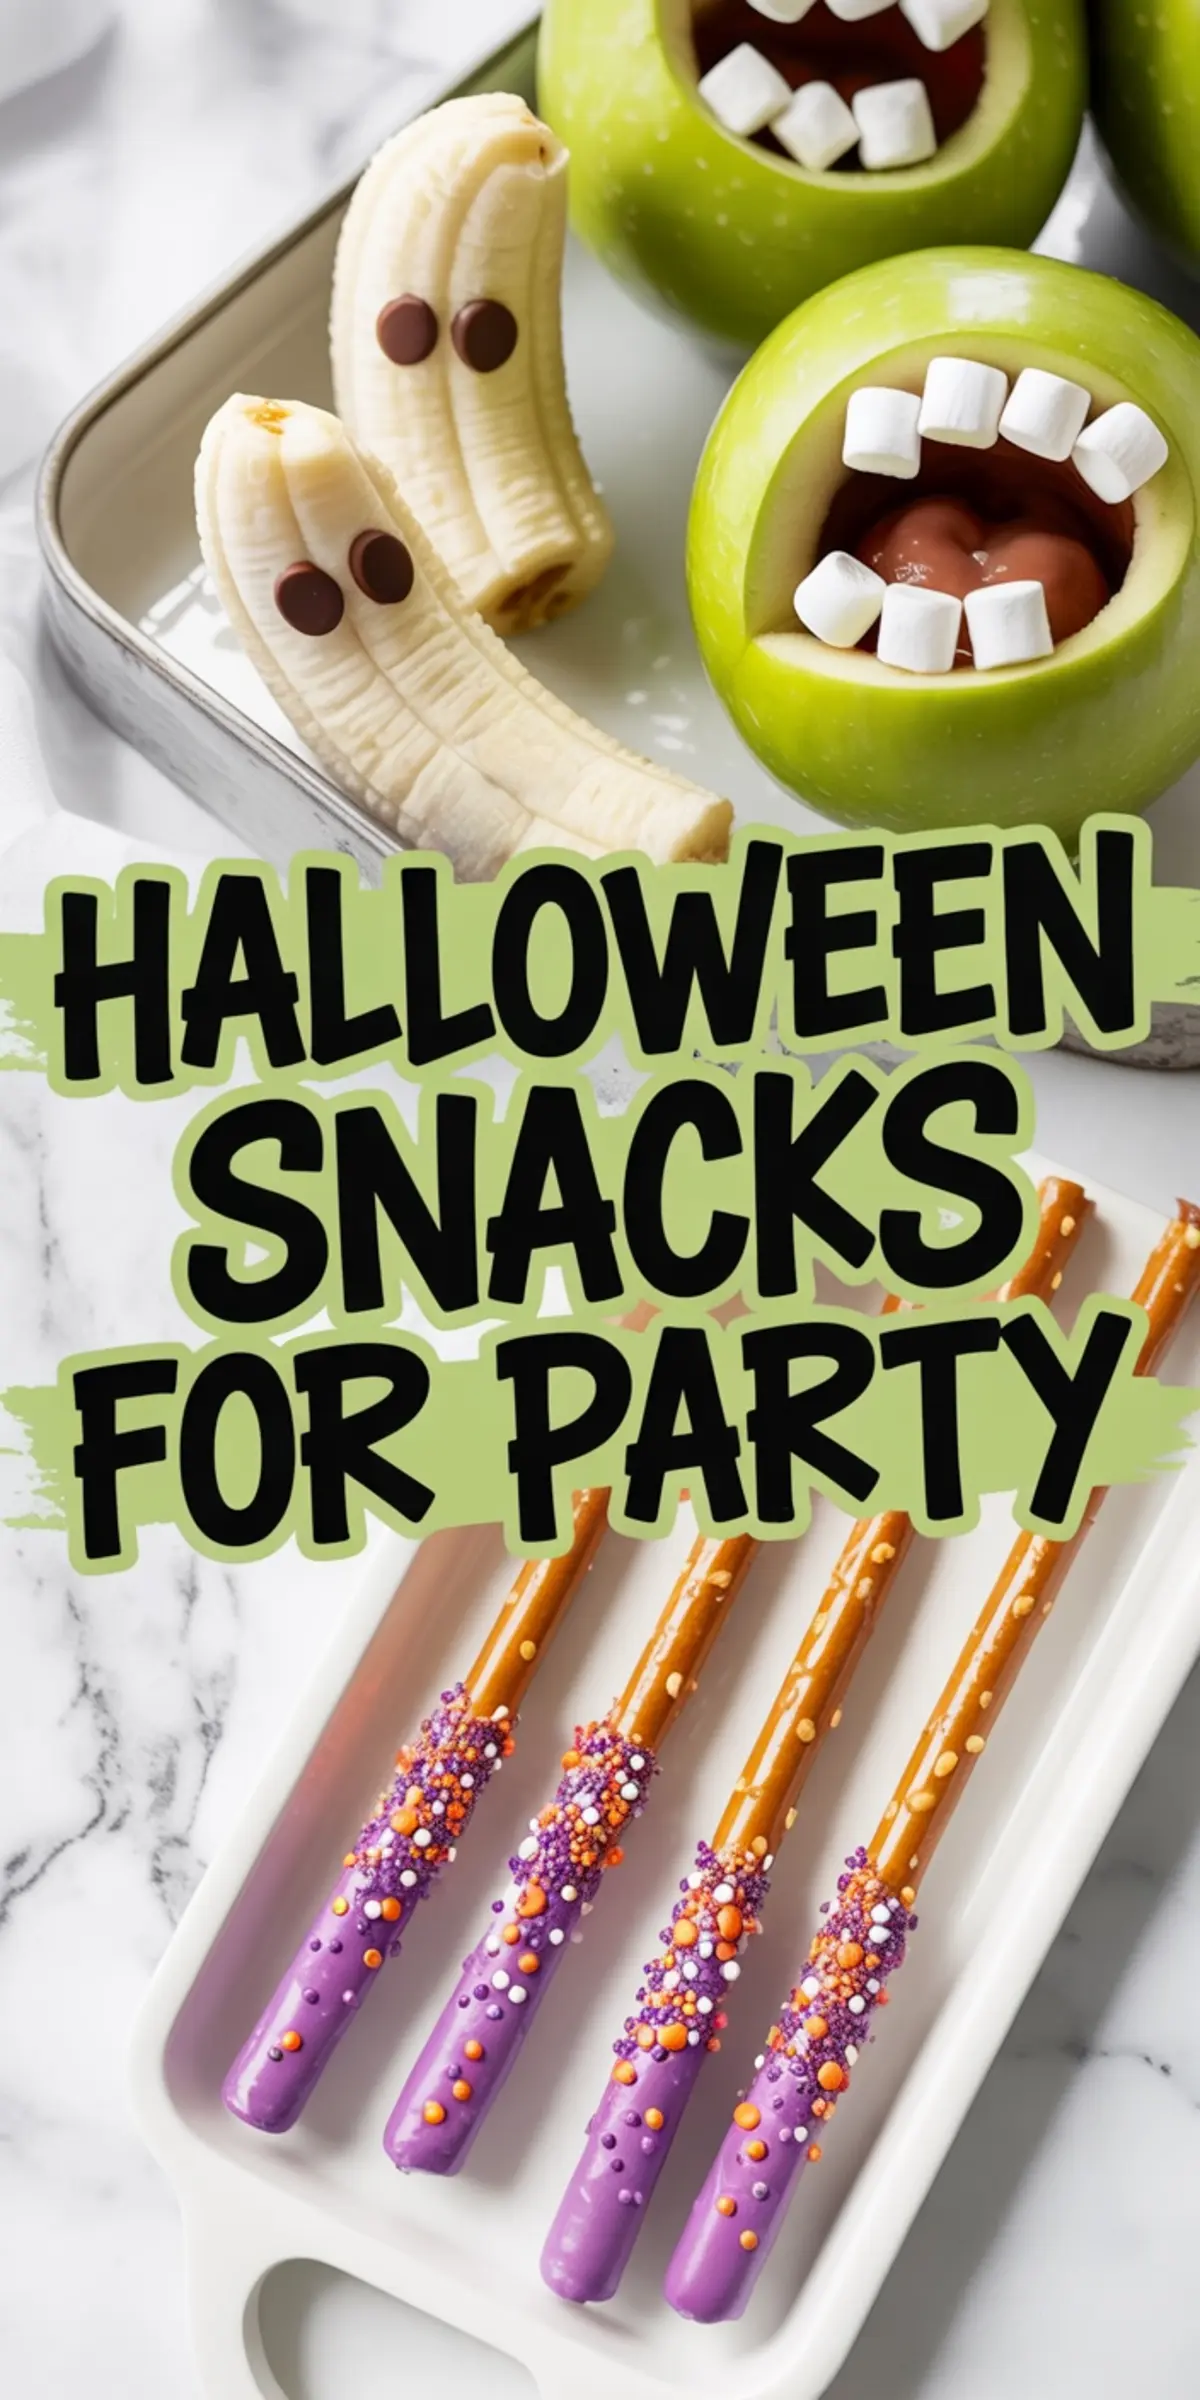
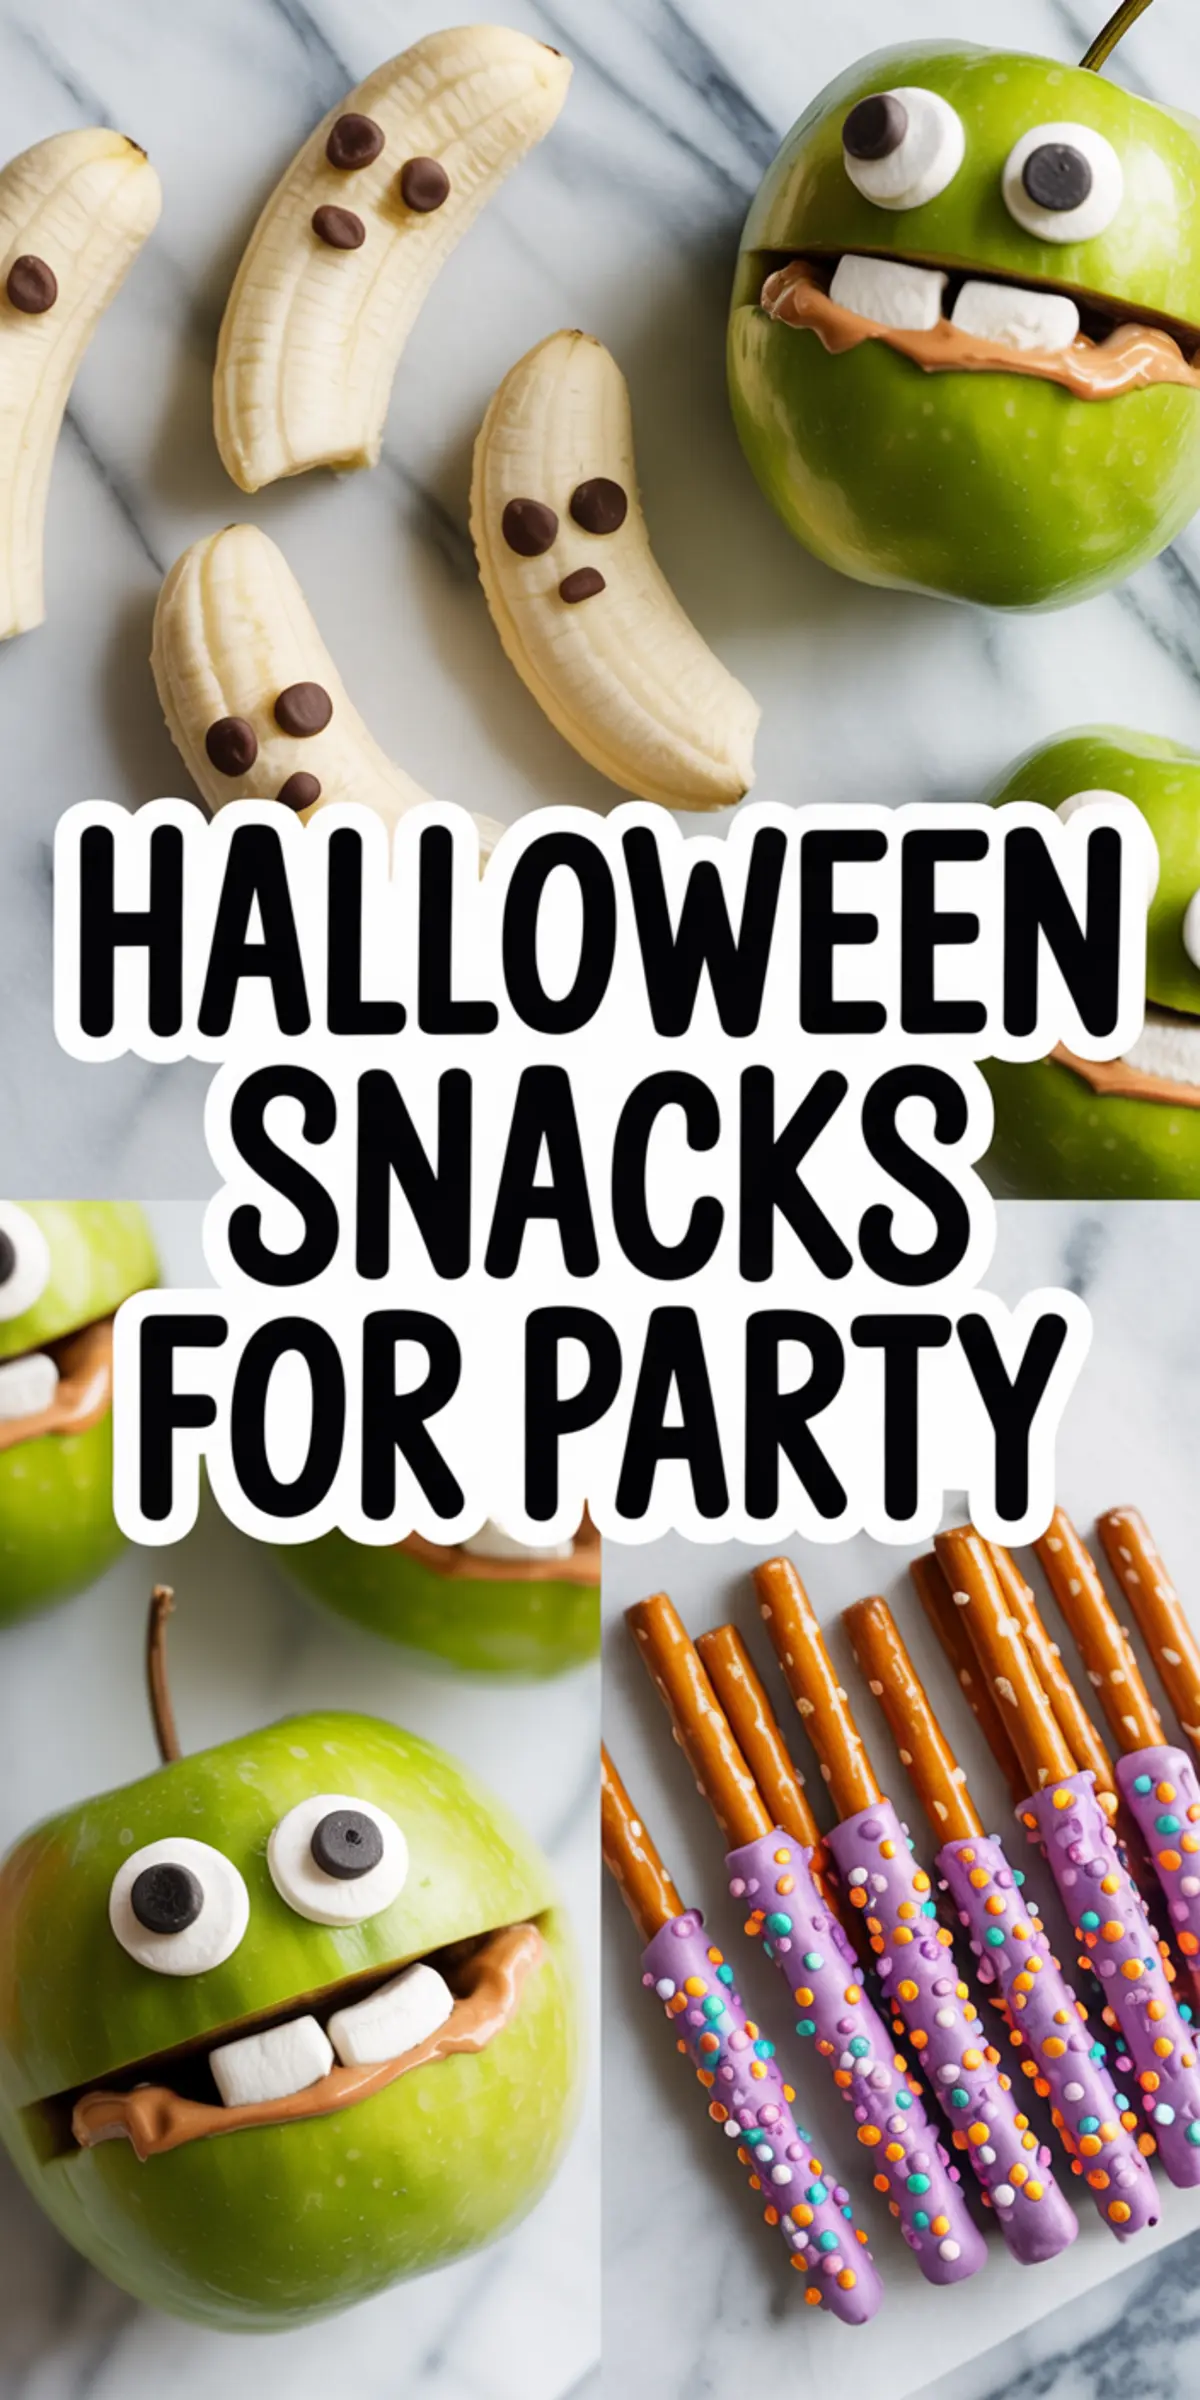
Banana ghosts, apple monsters, and pretzel wands need only a few pantry staples and fresh produce. Bananas make a natural canvas for spooky shapes. I’ve used both semi-sweet and milk chocolate chips for the eyes, depending on who’s eating them. Kids like milk chocolate. Adults tend to go for the darker kind.

Apple monsters work best with crisp green apples. Granny Smith holds its shape longer. If you’re worried about browning, a splash of lemon juice keeps the slices bright. For the spread, I’ve tried both peanut butter and chocolate spread. The peanut butter gives a nice salty contrast. Chocolate spread is a sweeter hit—especially if you’re building out a Halloween fruit platter. You can read more about fruit-focused Halloween party ideas here.
Mini marshmallows are essential for the goofy teeth. Keep them uneven—it makes the monsters look even funnier. If you want to skip candy eyes, just press chocolate chips into mini marshmallows. That trick came from one of my nieces last year.
Assembly Tips for Party-Ready Results
For the banana ghosts, trim the ends to stand each one upright. It keeps the tray looking clean and intentional. I always chill them right after assembly. Cold bananas taste better and hold their shape on the table. These look especially charming next to Halloween sugar cookies for contrast.
With apple mouths, the carving makes all the difference. You don’t need precision—just cut a shallow wedge out to make space for the “teeth.” The spread helps everything stay in place. If you’re making ahead, refrigerate them on a tray covered with plastic wrap. They’ll hold for a couple of hours without issue.

Pretzel wands are the easiest to scale for a crowd. Melt the candy coating slowly in short bursts. I’ve burned candy melts before, it only takes one overheat to ruin the texture. Stir between each microwave burst, and keep a warm water bowl nearby to hold the mixture if it starts setting. Decorate quickly, as the melts set fast.
If you’re planning other themed treats, these pair well with Halloween cocktail ideas. The salty-sweet combo complements punchy drinks.
Peanut Butter vs Chocolate Spread: Which Works Better?
I’ve used both spreads many times and noticed a few key differences.
Chocolate spread gives a smoother mouthfeel and more visual shine. It appeals to younger kids and leans dessert-heavy. But it’s softer, so it doesn’t hold marshmallows as firmly if you prep too far ahead.
Peanut butter holds up better and adds salty depth. It makes the apple monsters taste more like a snack than a dessert, especially if you include them in easy Halloween appetizers for adults. If I’m making the tray early in the day, I stick with peanut butter. For last-minute setups or chocolate lovers, go with the spread.
Serving Notes and Make-Ahead Advice

Serve all three treats on a single large board or platter. I like to separate each section with Halloween cupcake liners or use little paper flags to label them. If you’re short on time, prep the apple mouths and ghosts ahead, then dip the pretzels right before serving.
All three types of snacks chill well in the fridge. Keep them loosely covered. They’ll stay fresh for a few hours, which makes them excellent make ahead Halloween party food. They travel well, too—I’ve brought full trays of these to both school parties and evening potlucks.
Add them to a larger spread with Halloween cupcakes decoration ideas to make your table feel full without baking from scratch.
Let’s Talk Halloween Snacks
These Halloween party snacks offer balance in a season of sugar. They work as Halloween party small bites, easy Halloween snacks, or healthy Halloween snacks for a change of pace. Kids can help make them. Adults can appreciate the whimsy.
They’re flexible, fast, and festive. I’ve made these treats during hectic mornings and quiet evenings before guests arrive. Every time, I’m reminded that Halloween food doesn’t need to be elaborate to impress.
Save this idea to your Halloween board. You’ll want it again next year. And tell me in the comments—do you use chocolate chips or candy eyes? I’d love to hear how you styled your tray.
Halloween Party Snacks

These Halloween snacks are simple to assemble, fun to decorate, and use only a few fresh ingredients. Each treat offers a quick no-bake option for party trays that kids and adults can easily enjoy.
Ingredients
- FOR THE BANANA GHOSTS
- 3 ripe bananas
- 12 chocolate chips
- FOR THE APPLE MONSTERS
- 2 green apples, quartered and cored
- 1/4 cup creamy peanut butter or chocolate spread
- 1/2 cup mini marshmallows
- Optional: extra marshmallows and chocolate chips or candy eyes for decoration
- FOR THE PRETZEL WANDS
- 12 pretzel rods
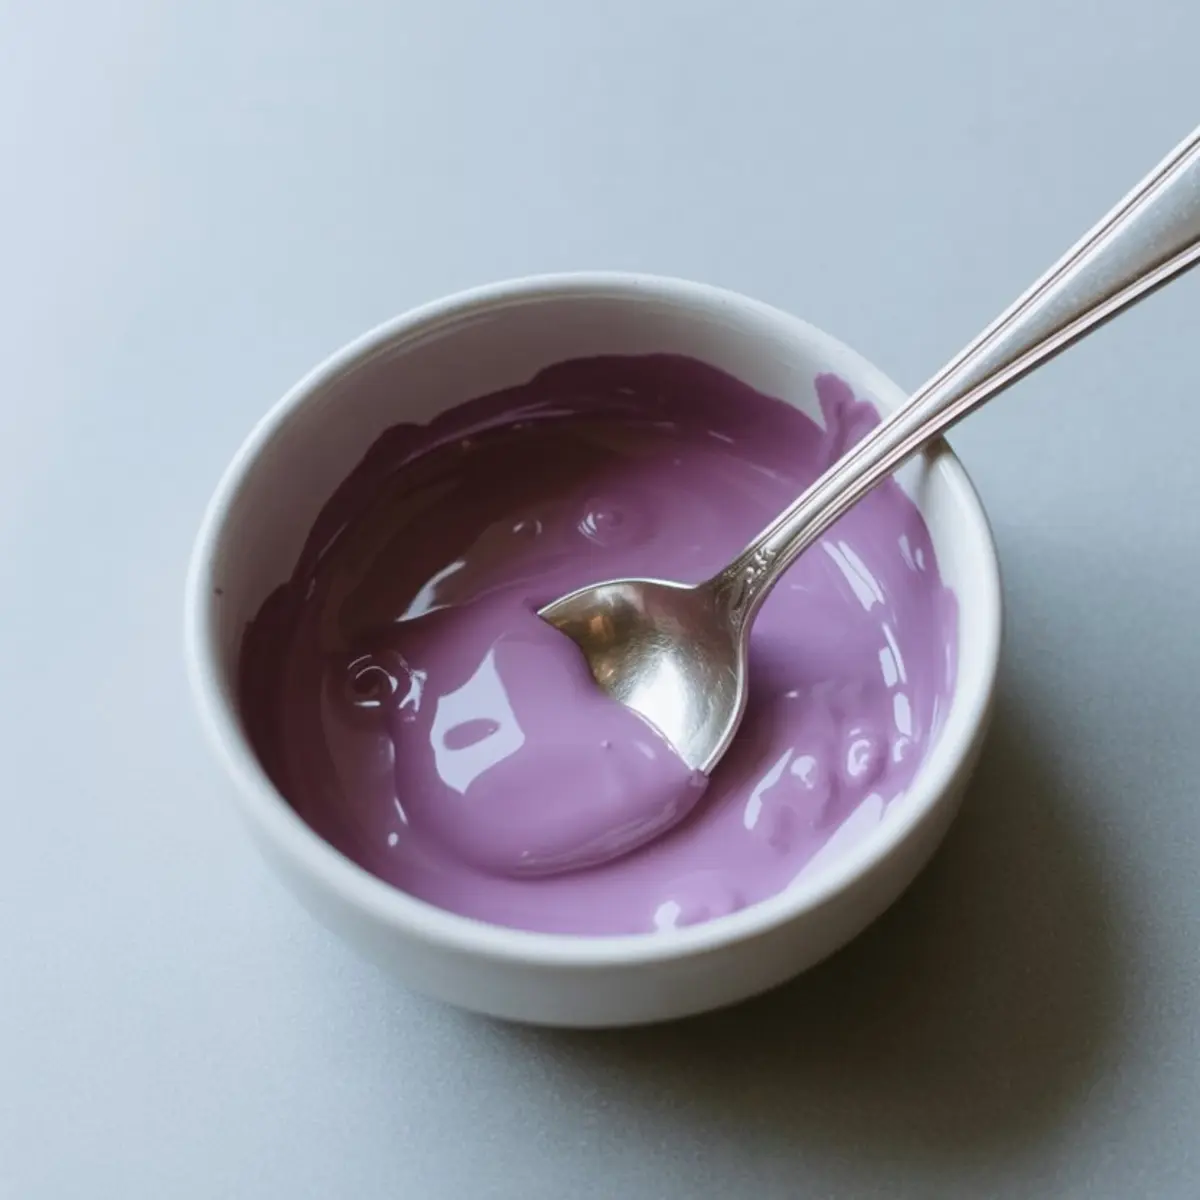
- 1/2 cup purple candy melts
- 2 tablespoons Halloween-themed sprinkles
Instructions
- MAKE THE BANANA GHOSTS: Peel the bananas and cut each one in half crosswise. Stand each banana half upright on its flat end. Press two chocolate chips into the top portion of each piece to create eyes. Transfer to a tray and chill until serving time.
- PREPARE THE APPLE MOUTHS: Slice the apples into quarters and remove the cores. Using a small paring knife, cut a wide, shallow wedge from the skin side of each quarter to create a mouth shape. Keep the curved edges intact to frame the lips.
- FILL THE APPLE MOUTHS: Use a spoon to spread peanut butter or chocolate spread inside each carved mouth cavity. This forms the base to hold the marshmallow teeth.
- ADD THE TEETH: Press mini marshmallows into the spread to form upper and lower rows of teeth. Leave uneven gaps for a funny, jagged grin effect.
- ADD OPTIONAL EYES TO MONSTERS: To make eyes, press two mini marshmallows on top of each apple slice. Place a chocolate chip or edible candy eye in the center of each marshmallow to complete the look.
- MELT THE CANDY COATING: Place purple candy melts in a microwave-safe bowl. Heat in 15-second intervals, stirring after each, until fully melted and smooth. Keep the mixture warm while dipping.
- DIP AND DECORATE THE PRETZEL WANDS: Dip each pretzel rod halfway into the melted coating, allowing the excess to drip off. Lay dipped pretzels on parchment paper and immediately sprinkle with Halloween-themed sprinkles. Let them set at room temperature or chill briefly until firm.
Notes
Use nut-free chocolate spread or sunflower seed butter for allergy-friendly apple monsters. Candy eyes can be replaced with mini chocolate chips for a budget-friendly option. Serve all three snack types on one large tray for a festive party platter.
Nutrition Information
Yield
20Serving Size
1Amount Per Serving Calories 258Total Fat 11gSaturated Fat 6gTrans Fat 0gUnsaturated Fat 5gCholesterol 0mgSodium 115mgCarbohydrates 42gFiber 3gSugar 27gProtein 3g